-
13/4 plywood cuts.
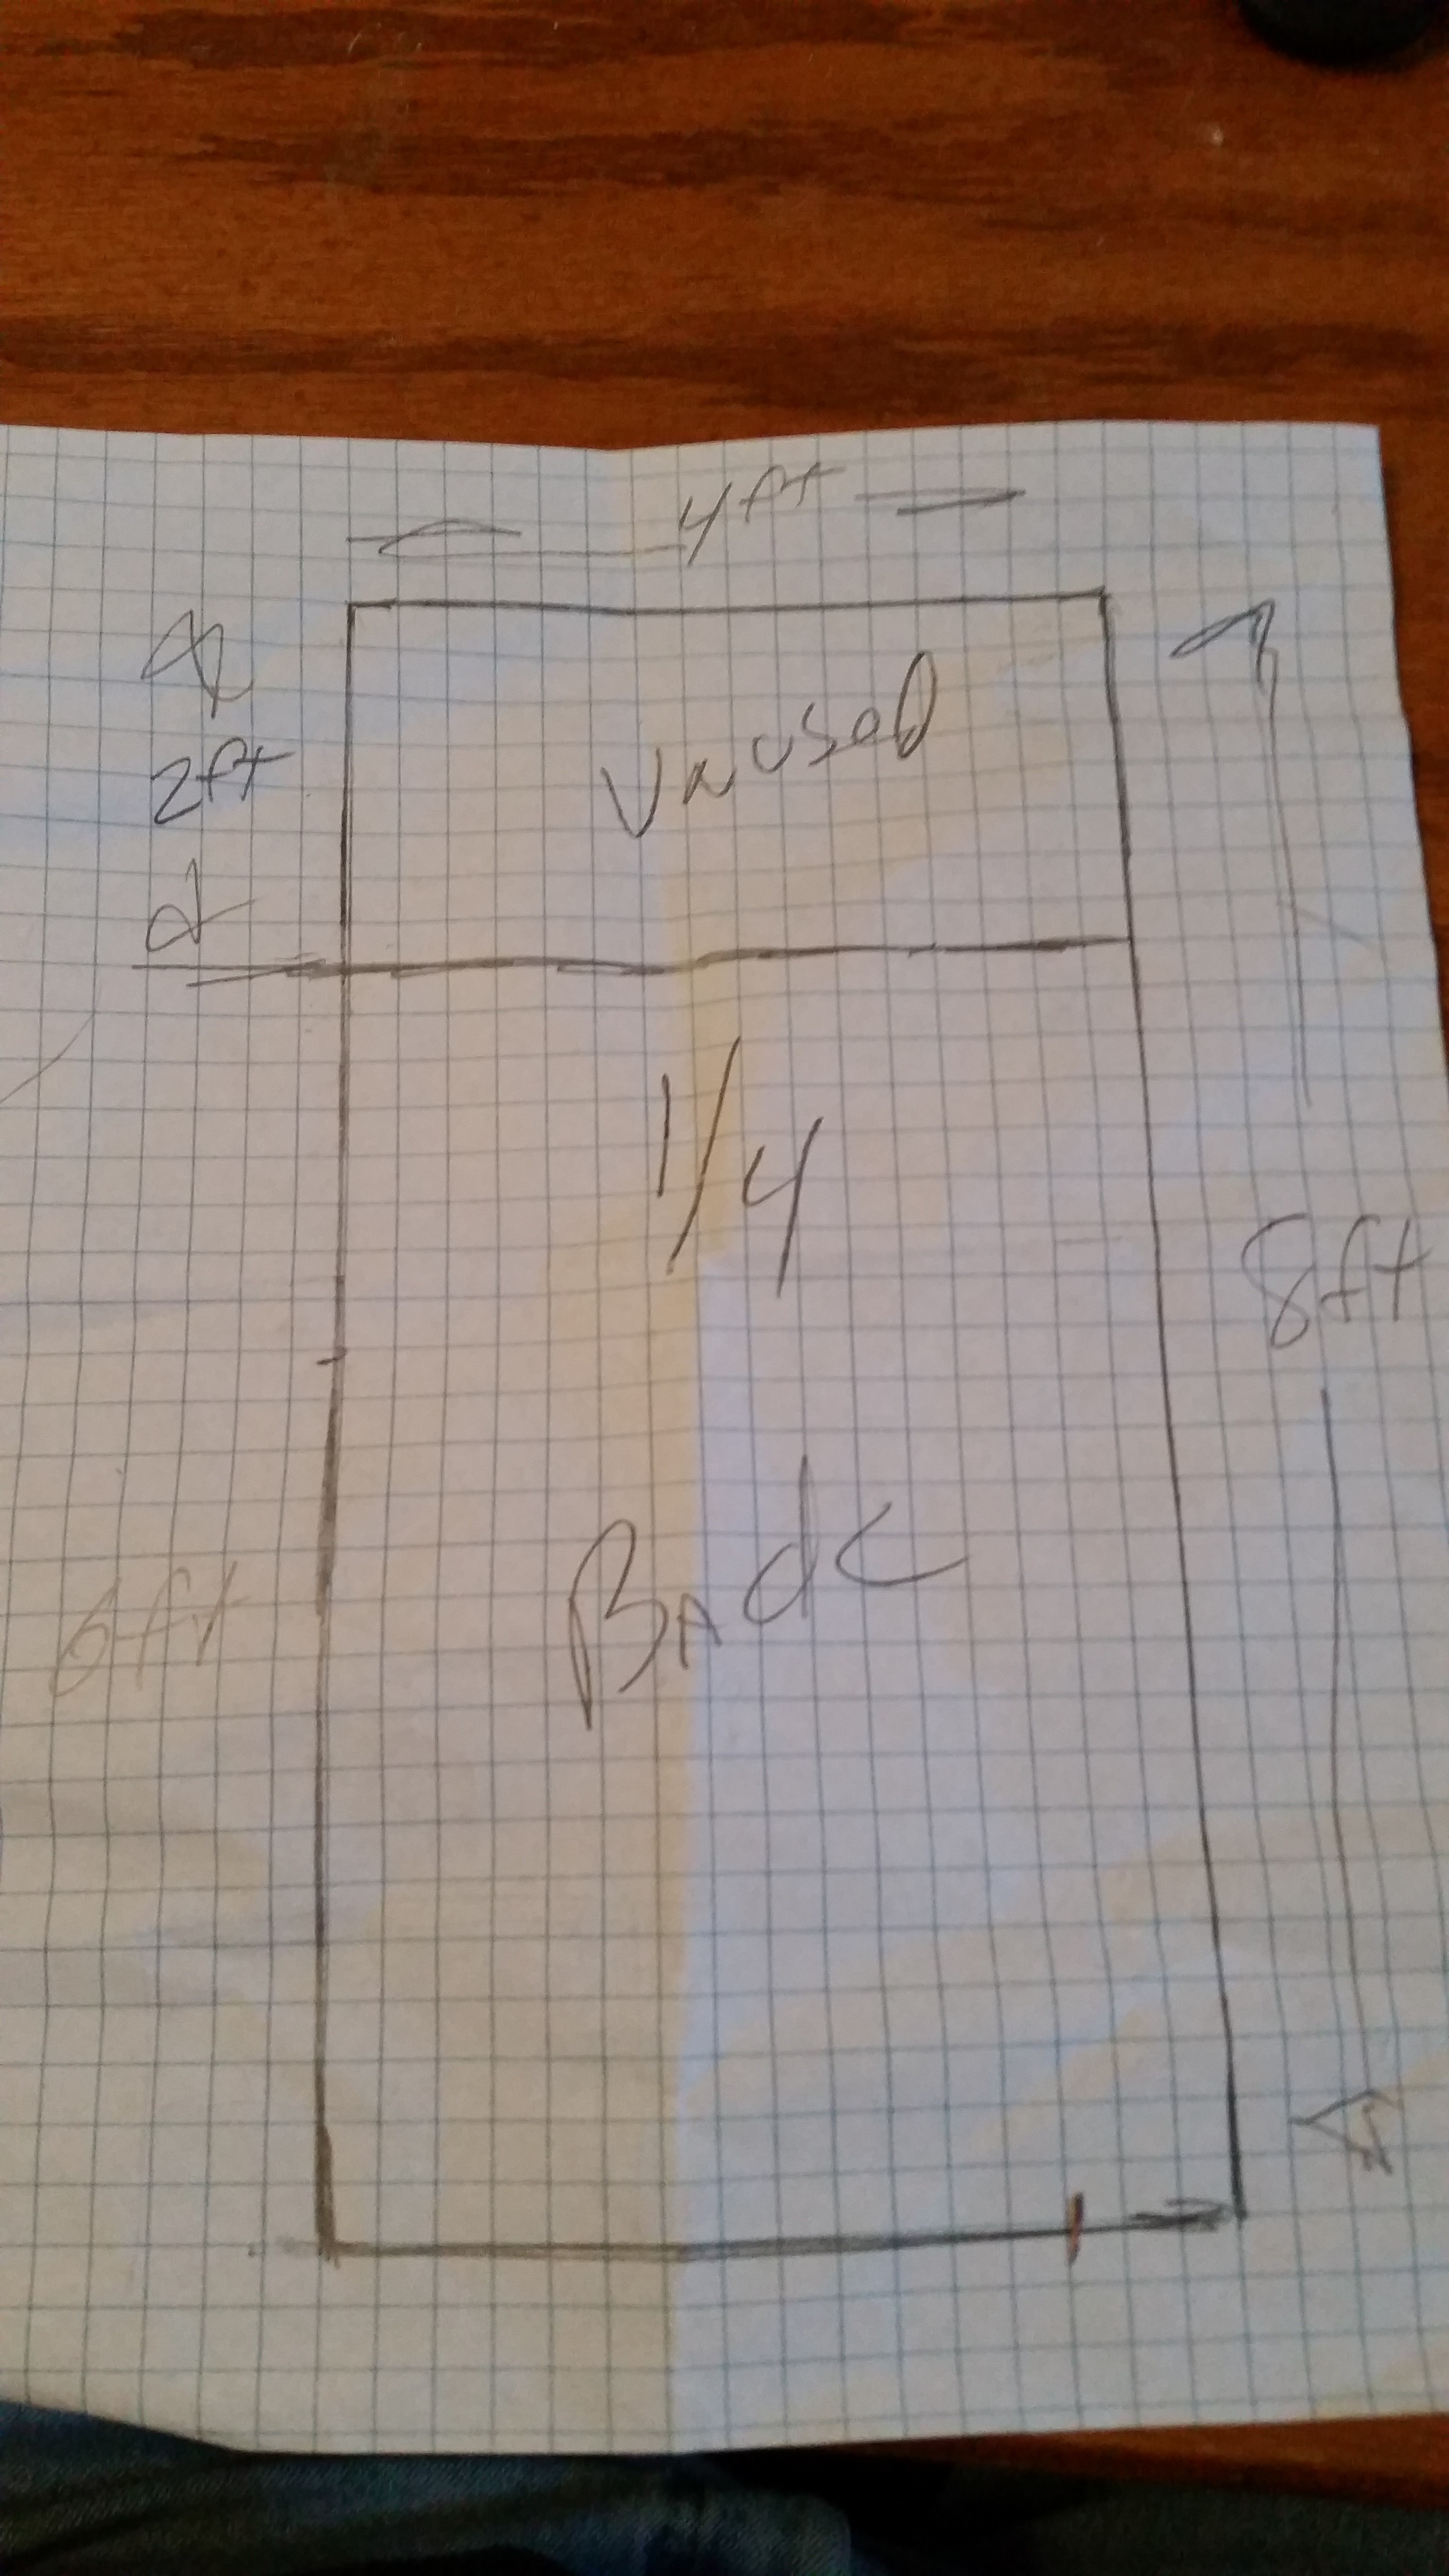
The 3/4 plywood has 5 cuts, All cuts a 12 inches wide. First two cuts trim the wood down to a 4x6ft board and the second 3 cuts take the boards down to four 12inch by 6ft boards. Here is a cut lines for the sides and shelves.
![]()
-
21/4 playwood cuts
For the back cuts, its a single cut and you simply cut 24 inches off the top of the sheet giving you a 4x6 sheet. You will need to trim the width of the plywood to match your shelf width.
![]()
-
3Determine your shelf width..
The 4x8 sheet cut per instructions will yield two 6ft long sides panels plus 6 boards up to 36 inches long for the top , bottom and four shelves. I thought 36 inches was a bit wide for my shelf and 24 a bit small so ended up with a 30 inch wide shelves for my bookcase. Once you have your width you will need to cut the two 6 ft boards and two 4ft board down to size. While this can be cut with a hand saw, an electric saw will speed up the work. Do note that the wood grain on the 4ft boards and 6ft boards go different directions. If your painting then entire bookcase this will not really matter but if your staining the shelves as I did you may want want to make the shelves out of the 6ft boards and the top and bottom out of the 4ft board.
Now that you have your shelf width you need to cut the 1/4 inch plywood panel width to match your book case with. DO keep in mind that your back is actually wider than the shelf. since they fit between the side rails.
-
4Assemble the box.
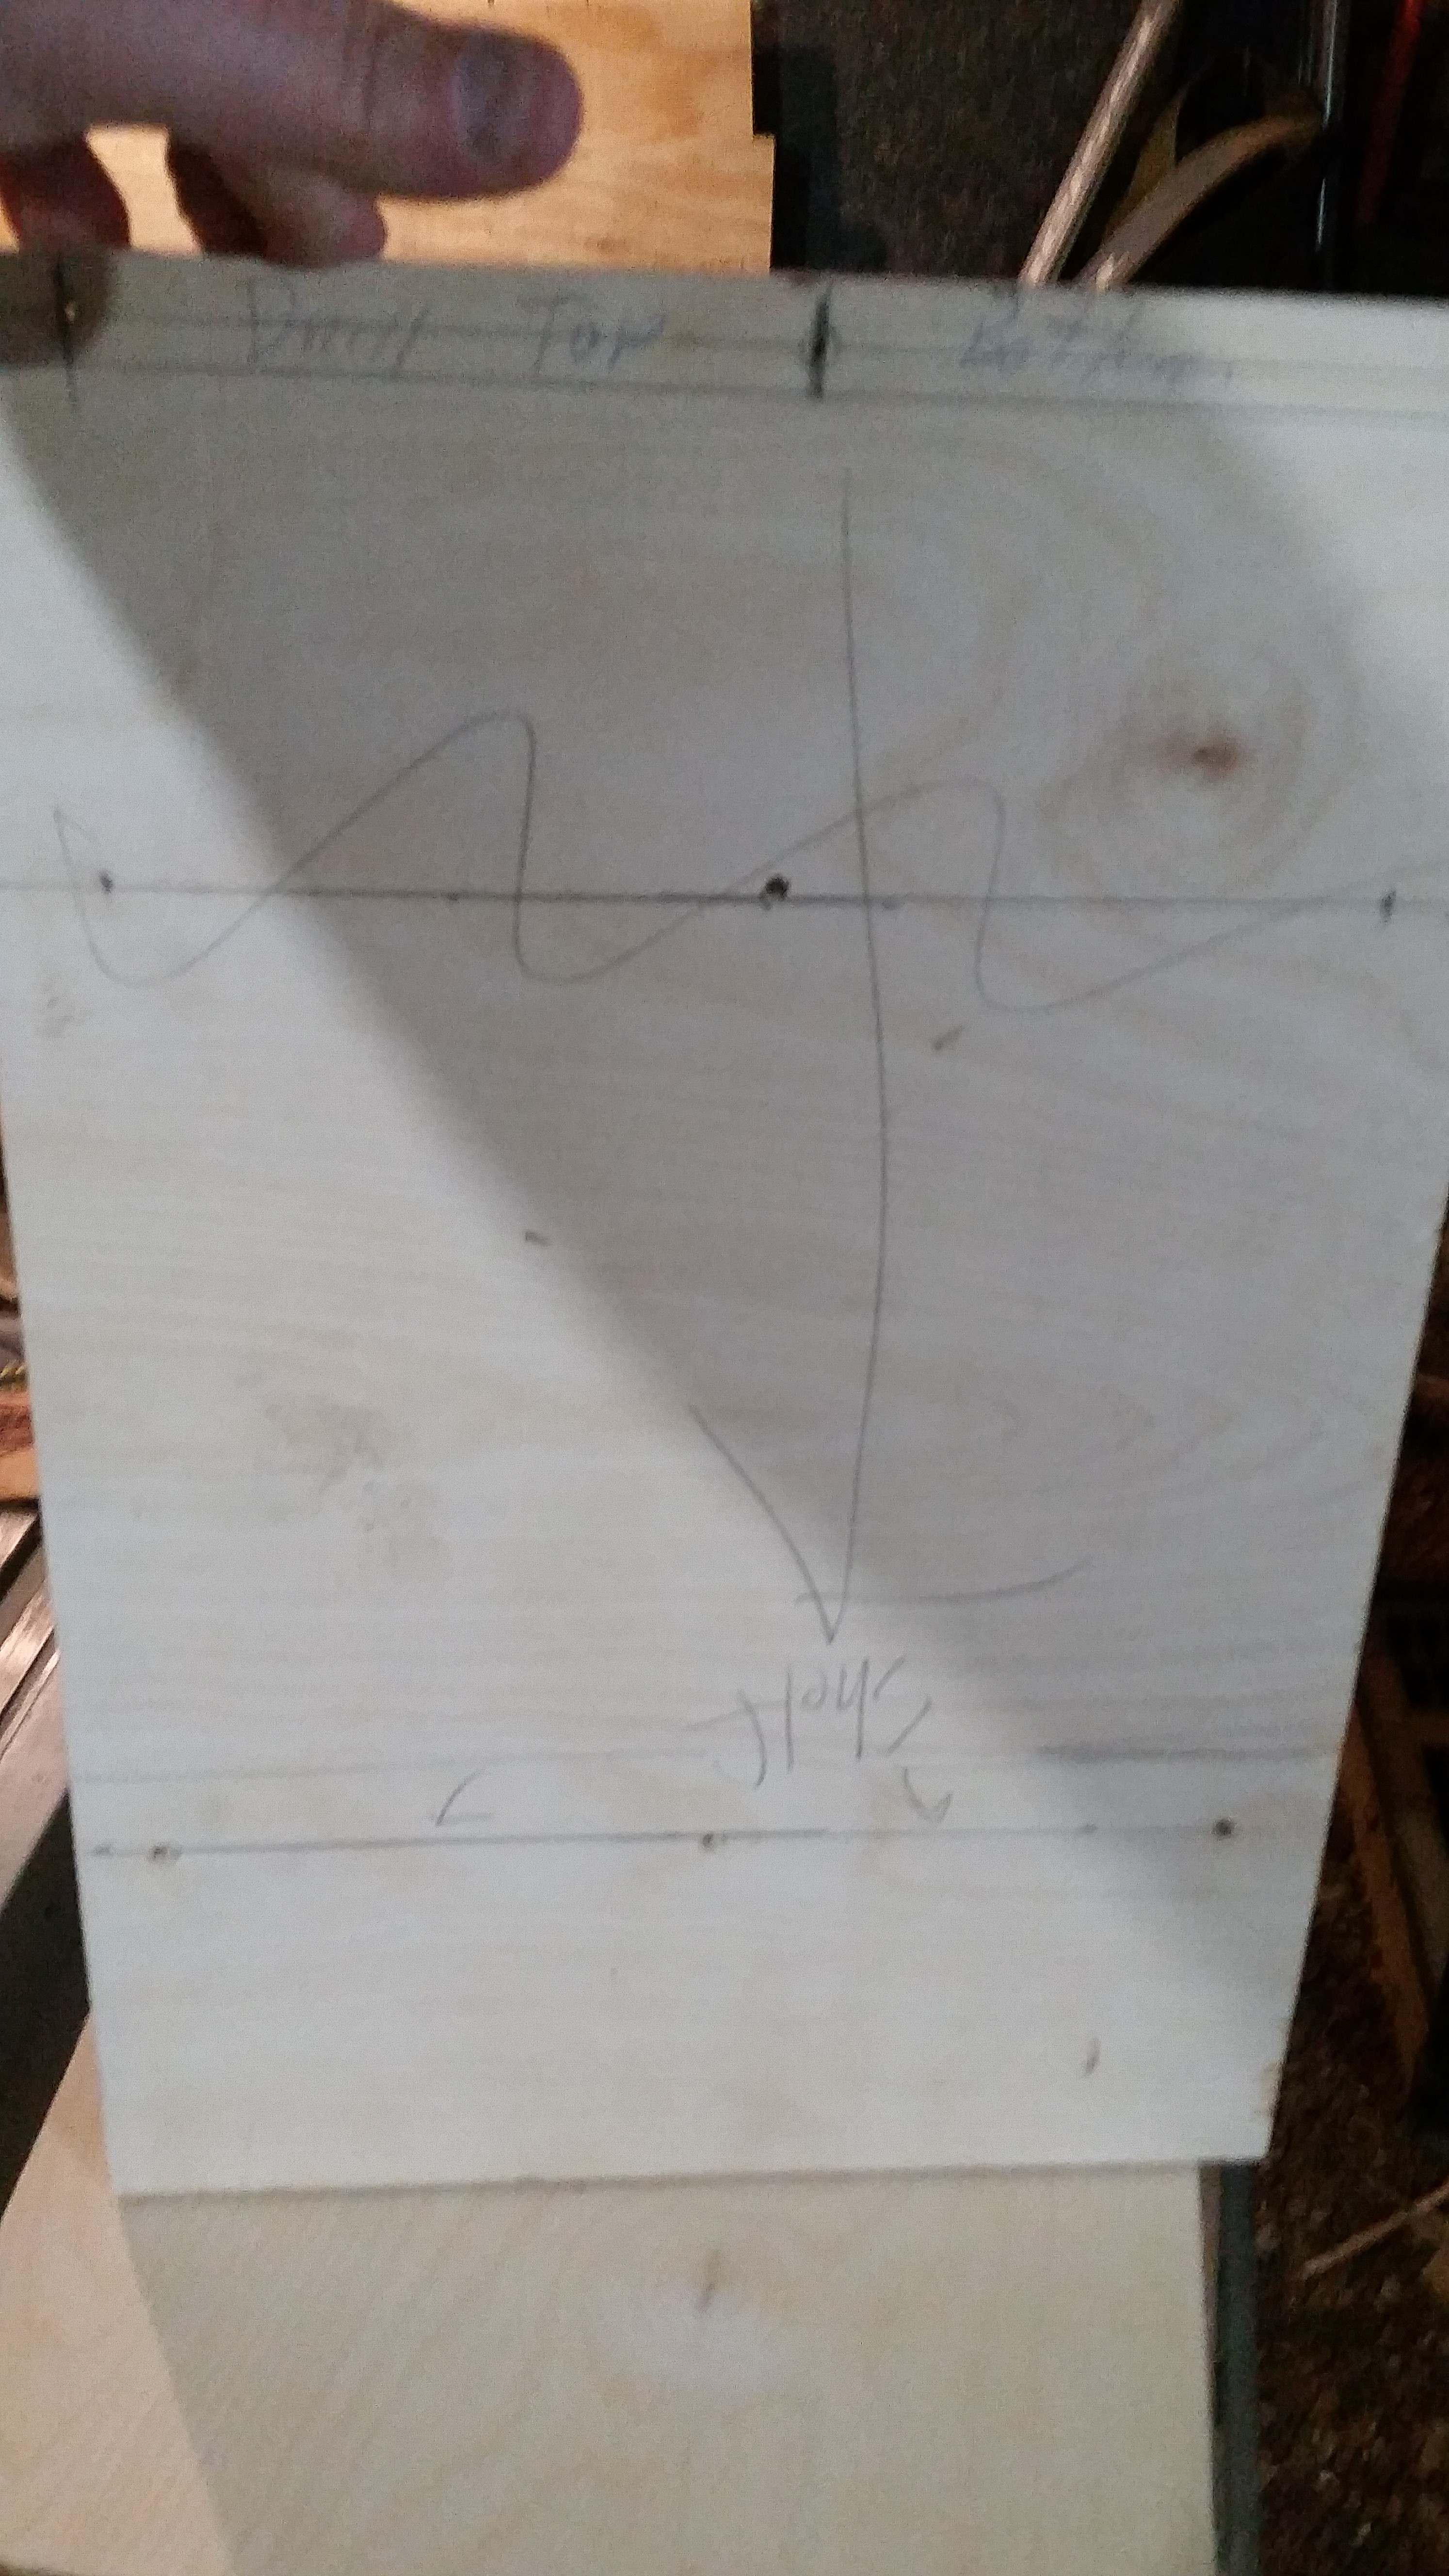
If you can find a friend to help your assemble will go a bit easier. Use 3 screws on each side to hold the sides to the top and bottom panels. I used a template cut from some of the scrap wood for drilling holes. I used 3 holes at the top for the box ends
![]()
-
5Add the back panel
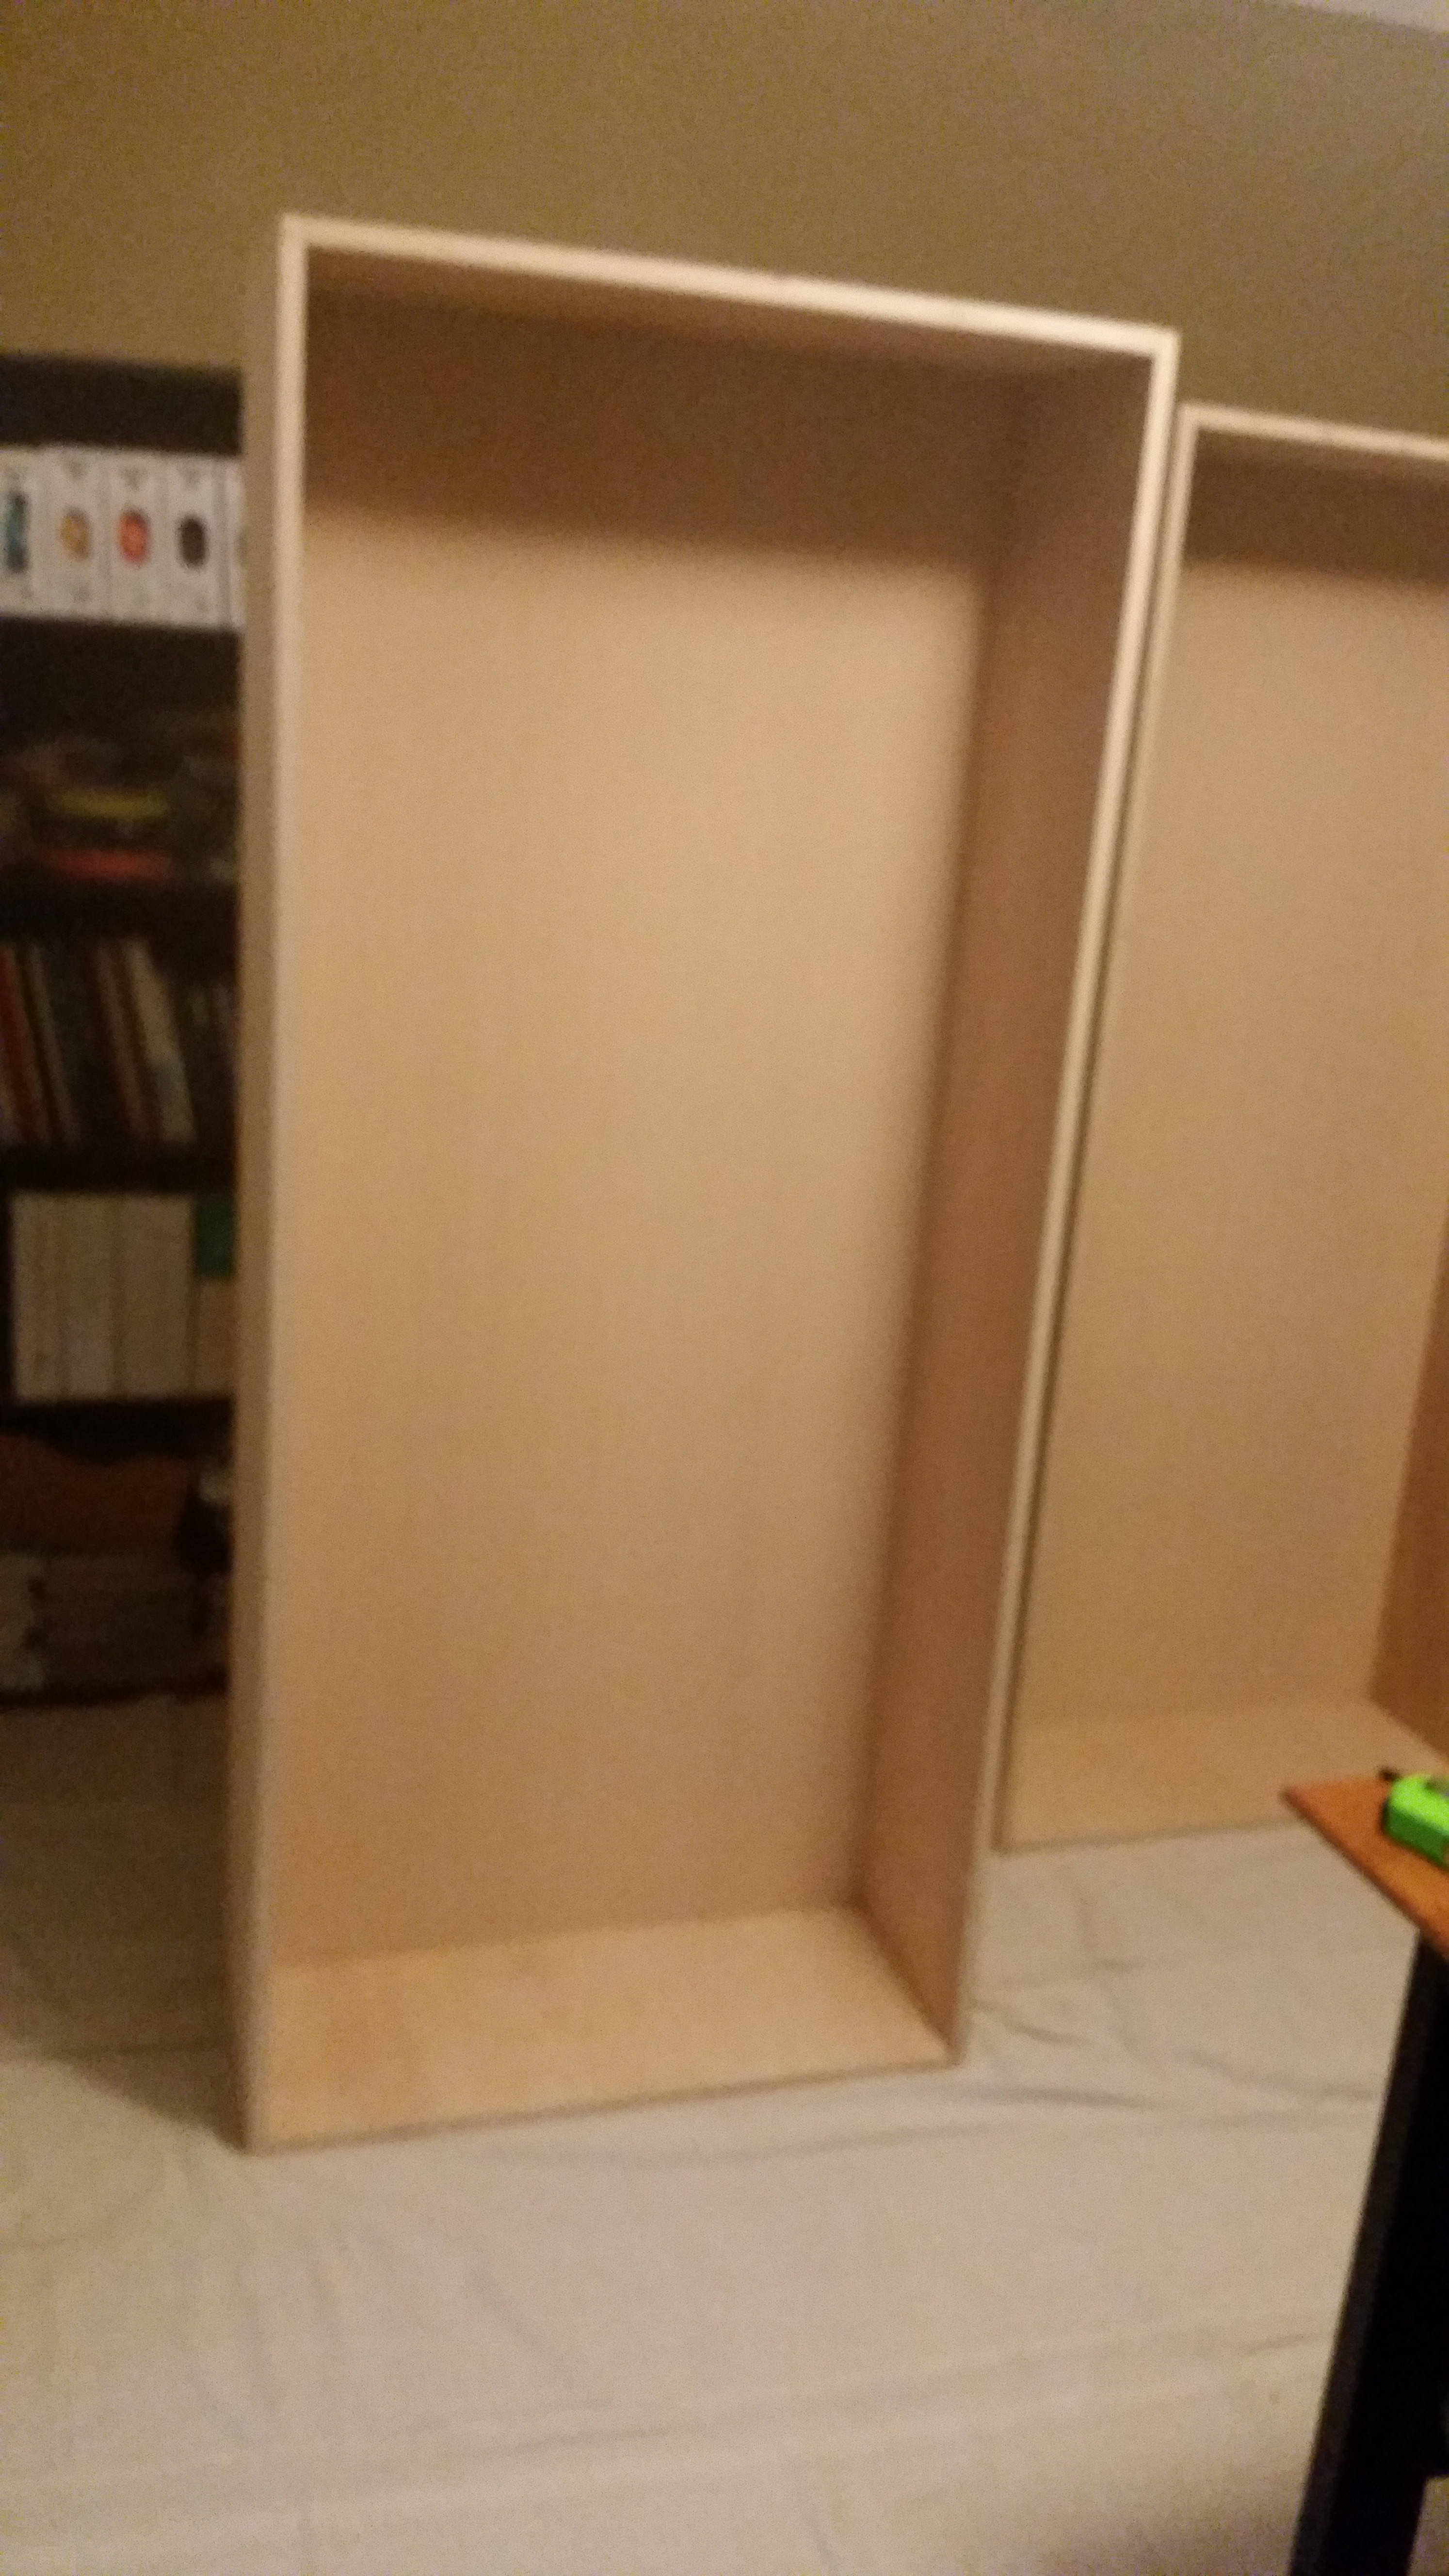
Make sure the box is square. If you have a carpenters square use it. If not here are some tips for checking square. http://www.carpentry-tips-and-tricks.com/Check-For-Square.html . Once you have the box square, nail one corner of the back panel. Recheck for square and nail in an opposite corner. Keep checking square and nail the remaining 2 corners. .
Once you have all 4 corners done nail around the frame. I kept my nails about 6 inches apart. I used 1 inch long panel nails. Larger head nails (often called upholstery nails) can also be used.
-
6Paint/Stain the box and shelves.
Now that you have the basic box built and the back on you may want to paint/stain all your wood.
![]()
-
7painted and stained.
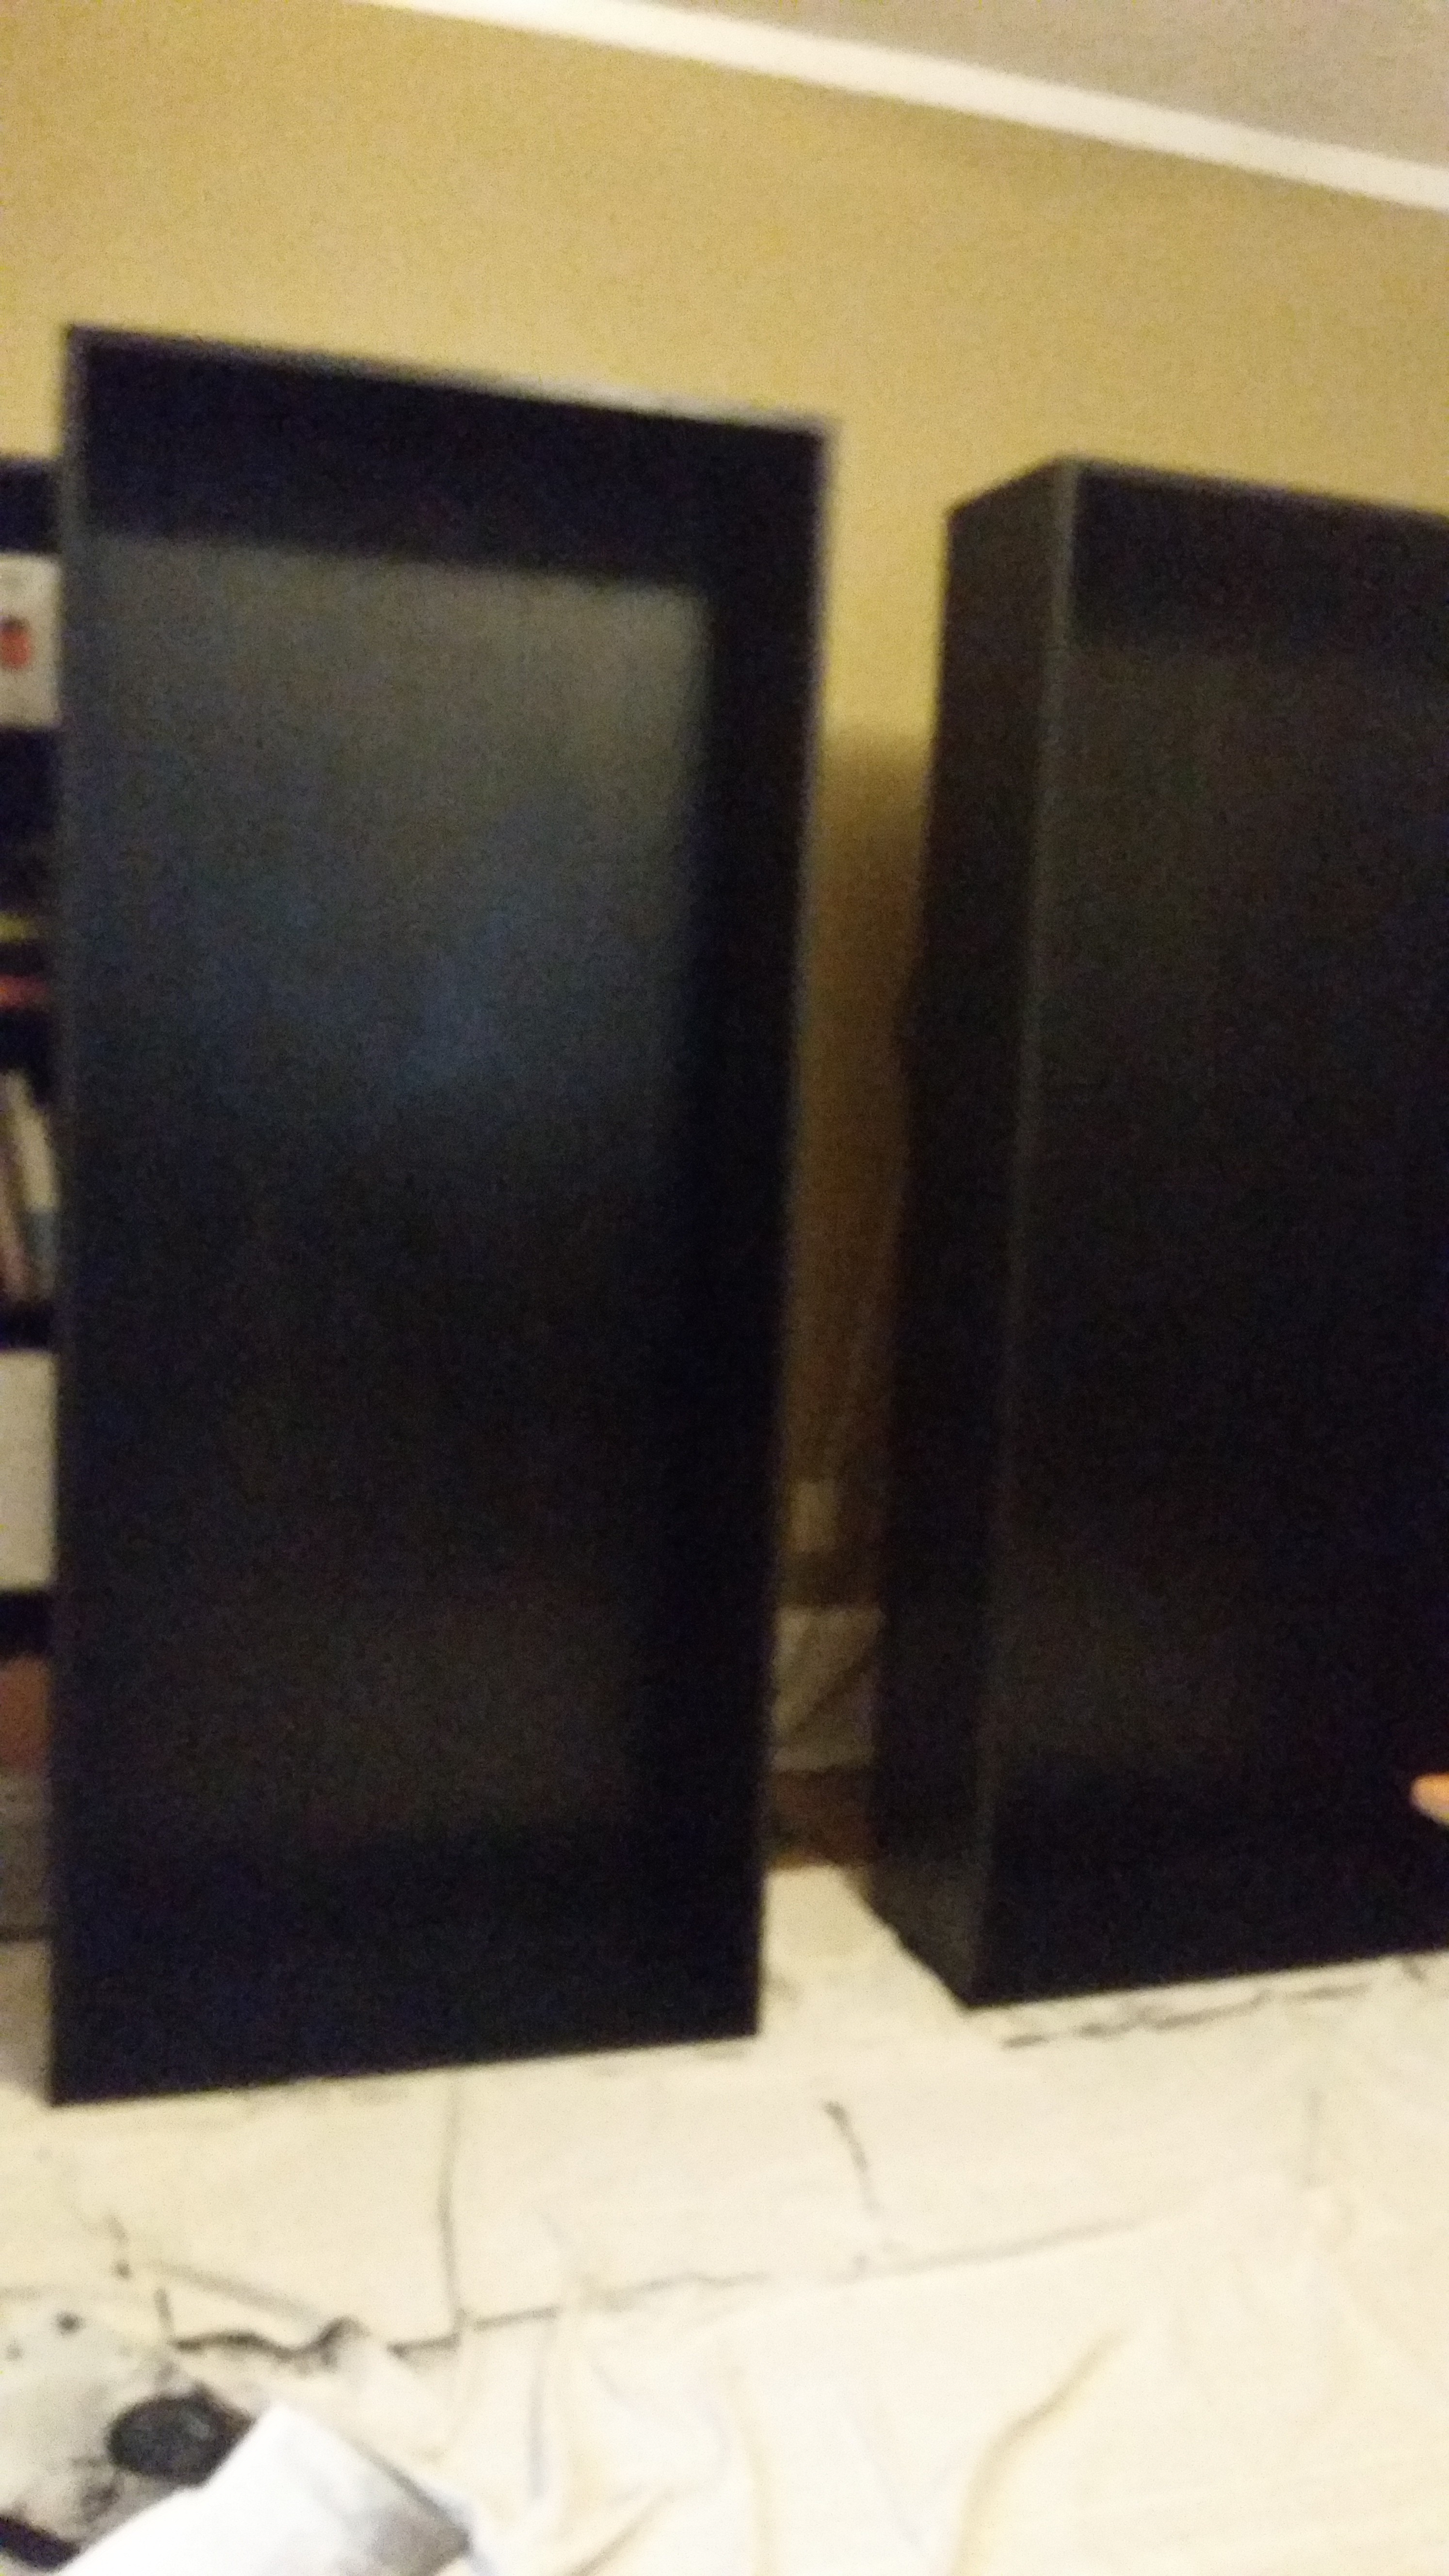
Shelf frame and back were painted black using black latex paint. I used Lowes house brand Valspar extra base and tinted to black. My wife did all the painting and staining for me.
![]()
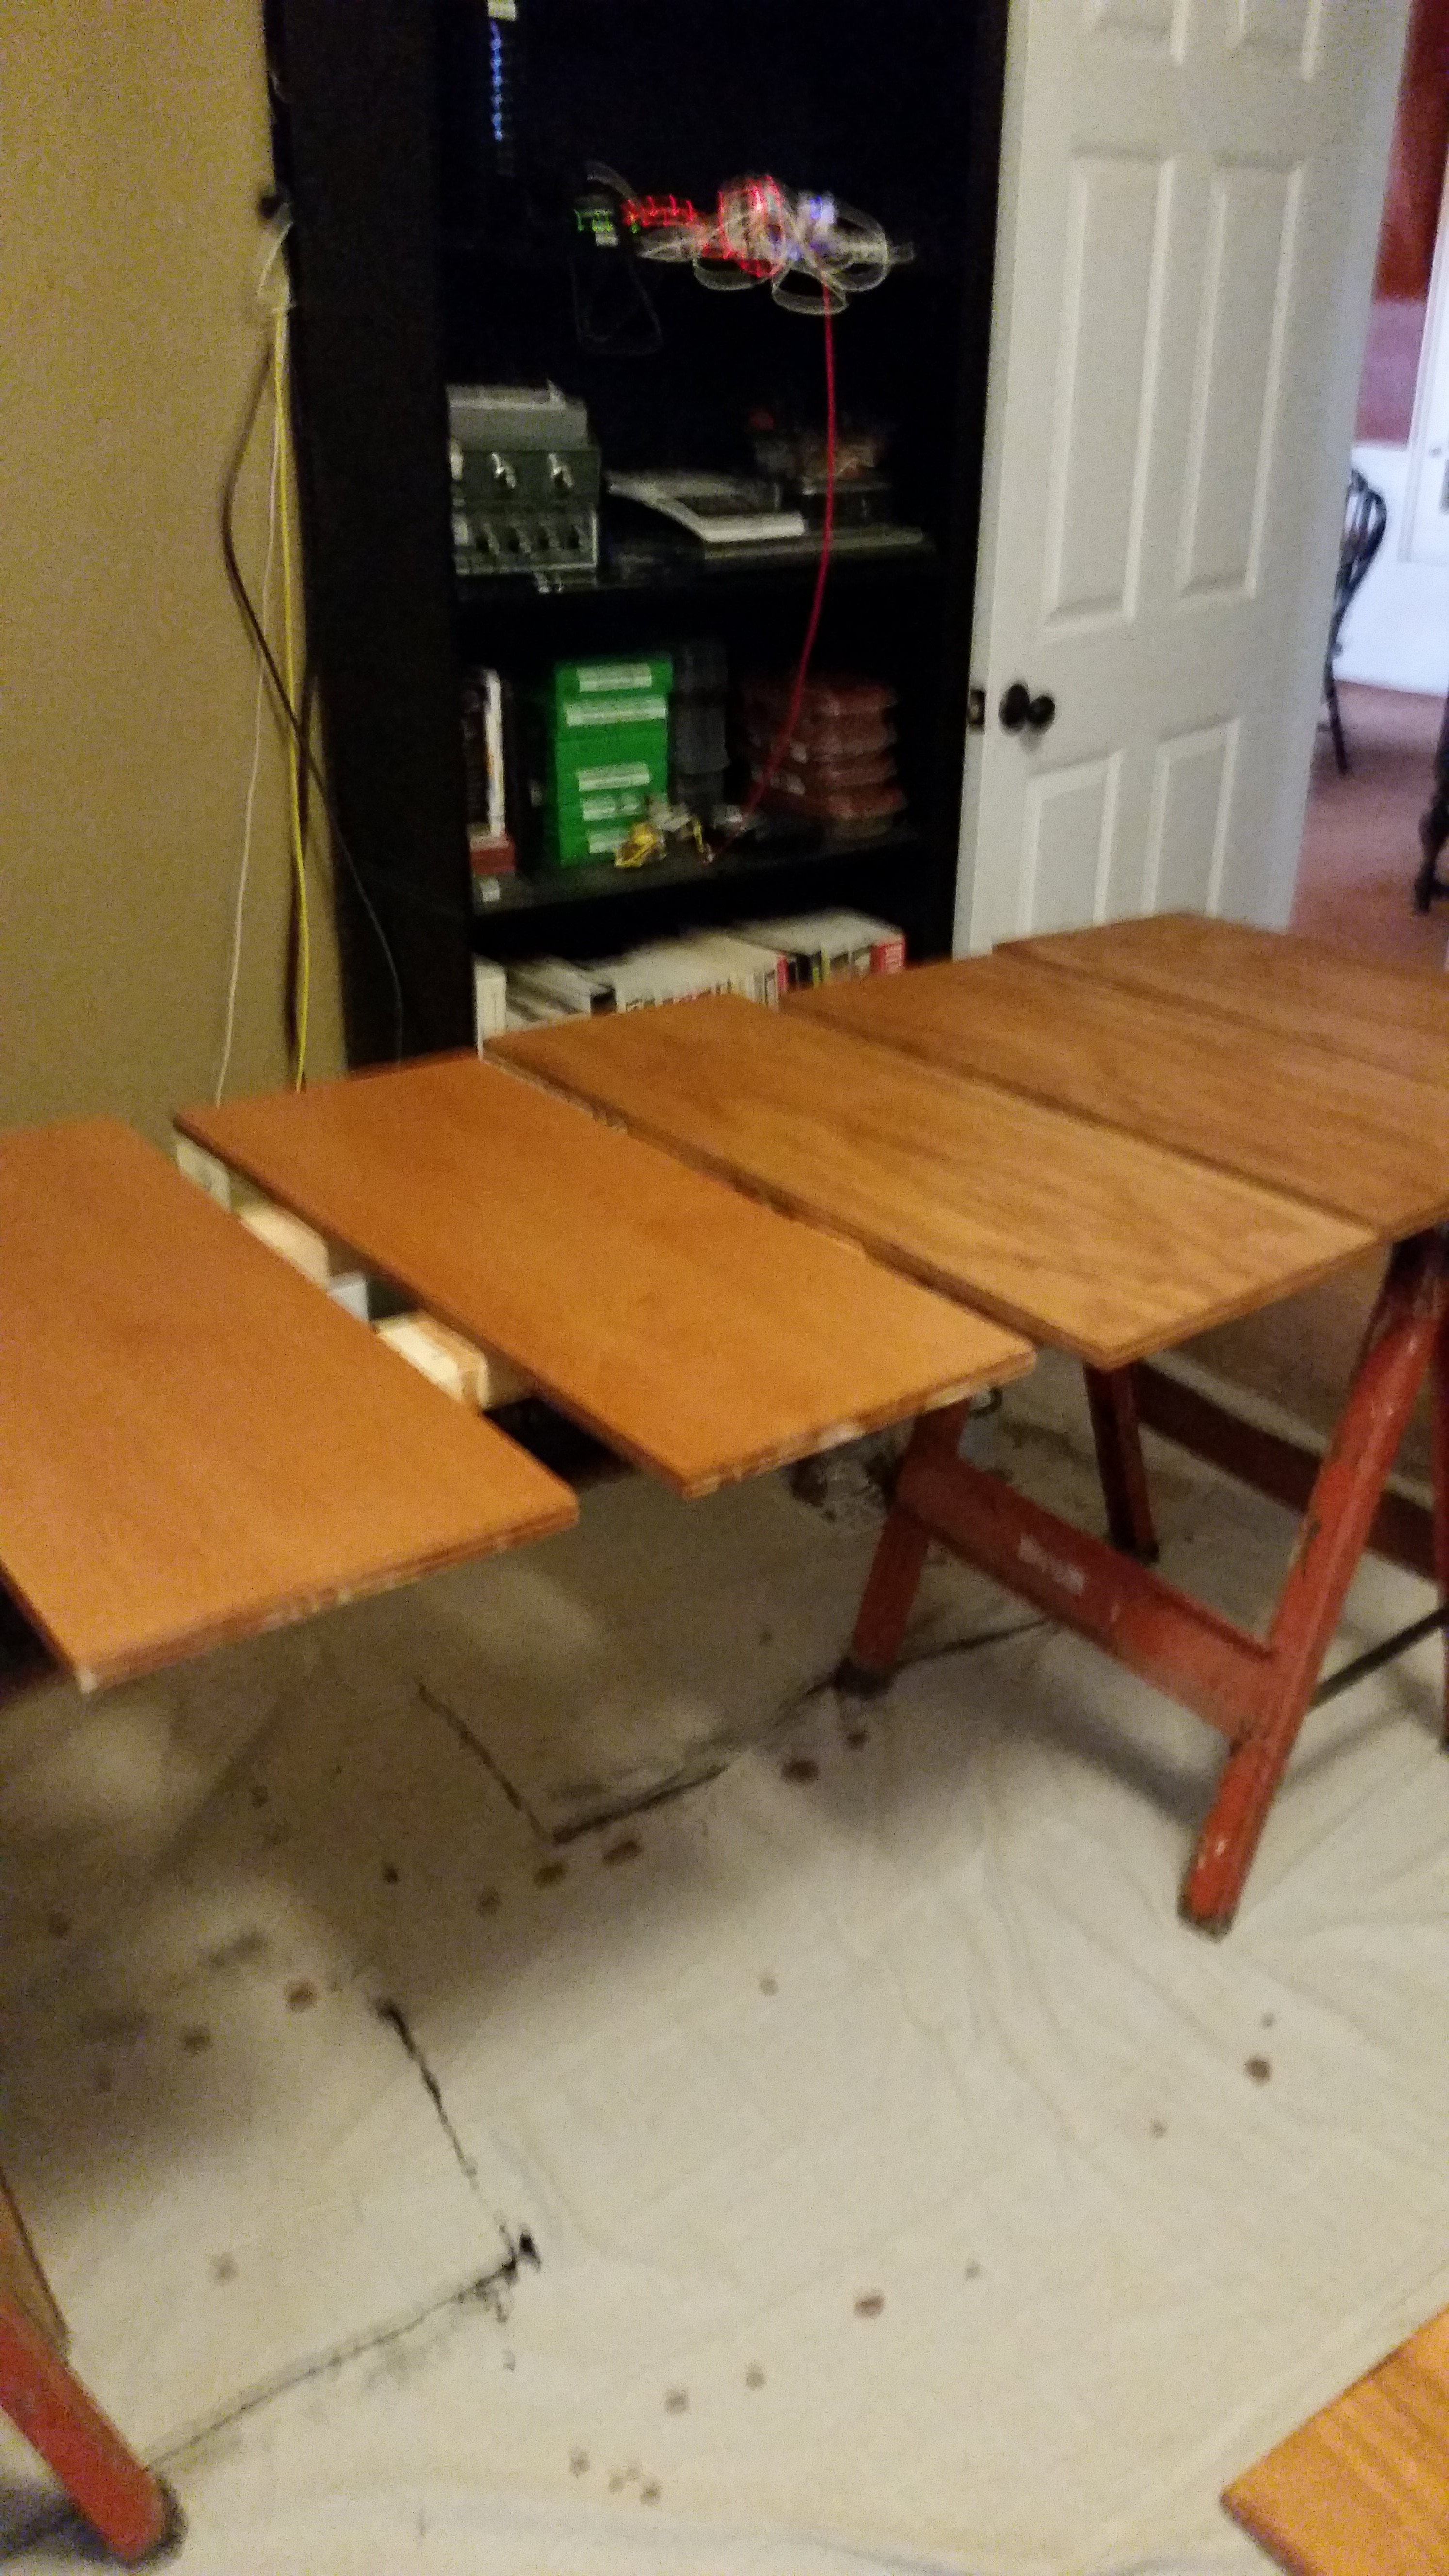
The shelves were stained using Minwax polyshade in pecan. This matched the U-shape desk I also did.
![]()
-
8Add shelves using a drilling jig.
All my shelves were fixed height of 13.5 inches. Adjustable shelves require a more work and complicated the construction. With a fixed shelf height, I was able to cut some scrap board 13.5 inches tall. 2 boards one for each side. Set them on the bottom shelf, lay the next shelf on top of the boards, drill and screw in the shelf. Move the boards up to that shelf and repeat. until all 4 shelves are installed. It provides consistent height. You can also build a drill template and drill your holes again working from the bottom installing a shelf then moving up to the next shelf.
-
9Use and enjoy
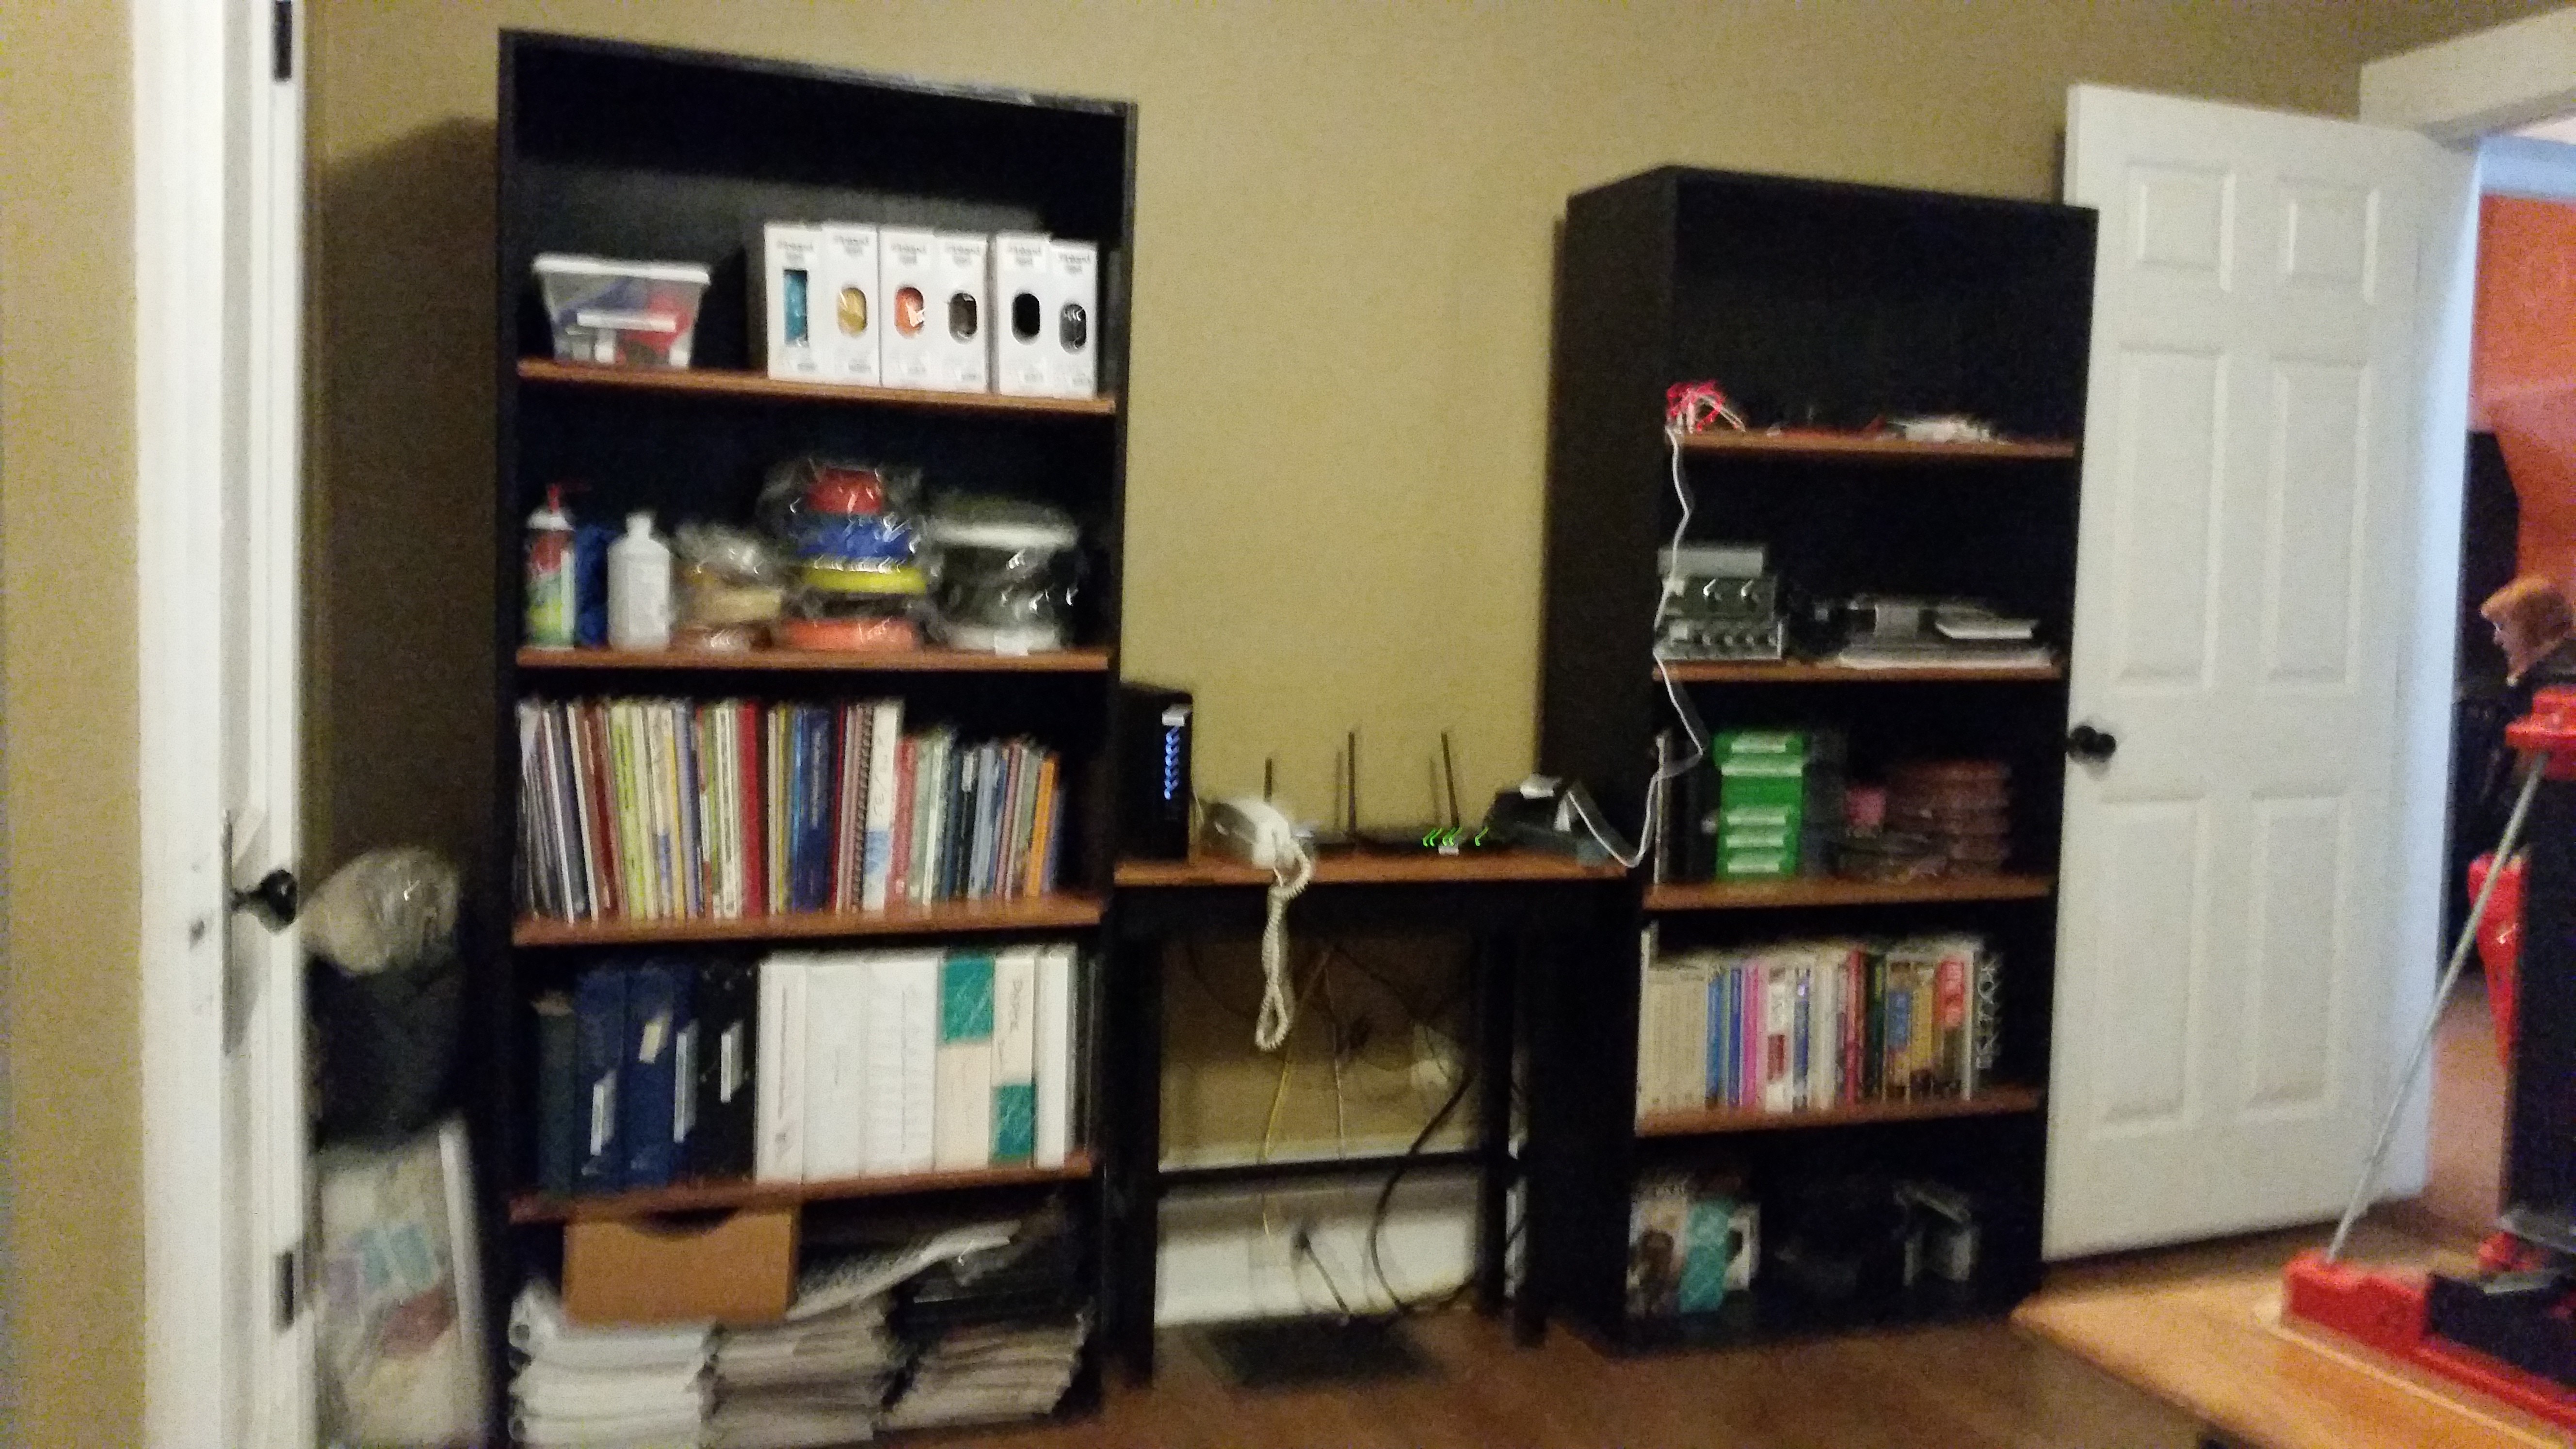
I moved the books and "stuff" from the old unstable shelf into the new sturdy shelves. I also built a small side table to go between the bookcases using the same technique I used for my U-Shaped Desk project, but this one was just 12 inches wide.
![]()
Simple bookcase
Here is a minimal tool bookcase I built. It matches my U-shaped desk.
 Gary
Gary
Discussions
Become a Hackaday.io Member
Create an account to leave a comment. Already have an account? Log In.