-
Please nominate this project in the annual nominations for the 2020 3D Printing Industry Awards!
03/12/2020 at 11:40 • 0 commentsHi! To further contribute to this project and keep it alive, please take a minute and nominate this project in the annual nominations for the 2020 3D Printing Industry Awards: https://michaelpetch486305.typeform.com/to/Gg5WY5
You can nominate this project for a digital Braille display for visually impaired people by nominating under "3D Printing for a Better World" by writing "MOLBED Project https://hackaday.io/project/12442-molbed-modular-low-cost-braille-electronic-display" -
MOLBED being tested and lots of feedback!
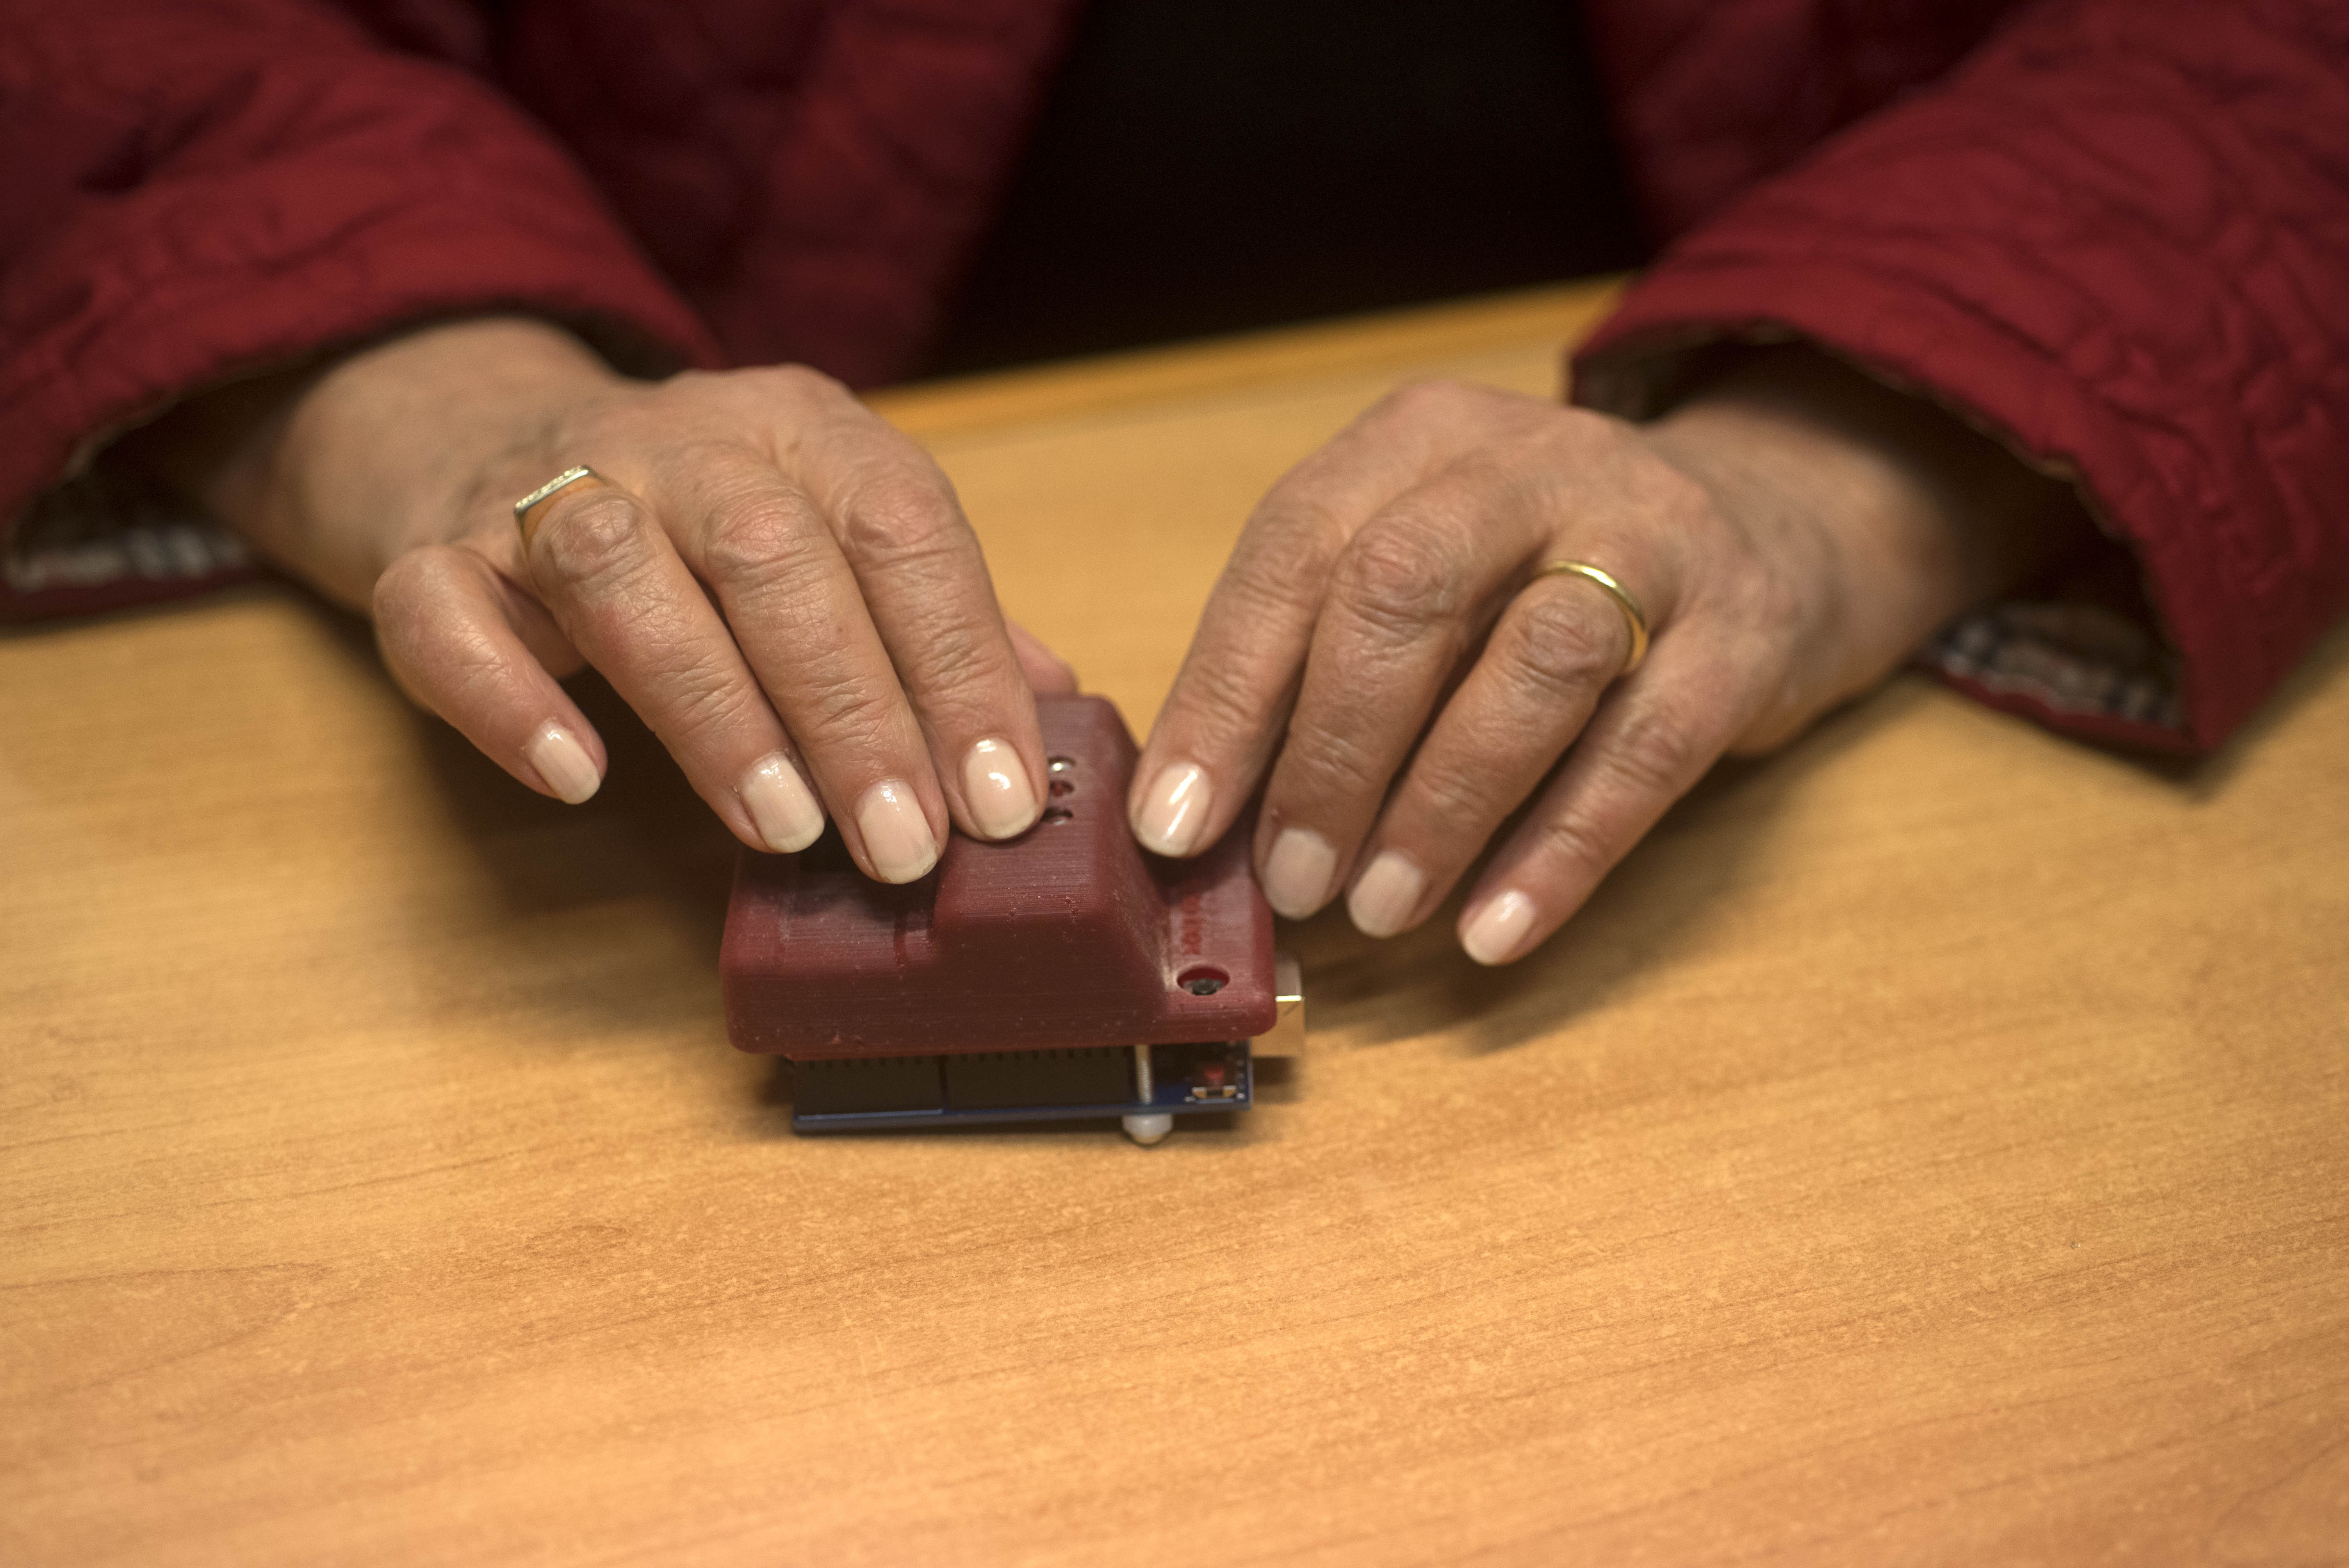
10/13/2016 at 16:55 • 1 commentToday during a meeting with an association for blind people in Italy, MOLBED has been tested and we received a lot of feedback, that will be very important for developing a product that is tailored to their needs.
![]() This is a short list of their suggestions / requirements:
This is a short list of their suggestions / requirements:-Multi line is not important as we might think; a standard size Braille cell dimension, on the other hand, is more desired to get faster read speed. The MOLBED character can be re-configured to take the same, or slightly longer space, but have the same pin size and distance as standard (expensive) Braille cells;
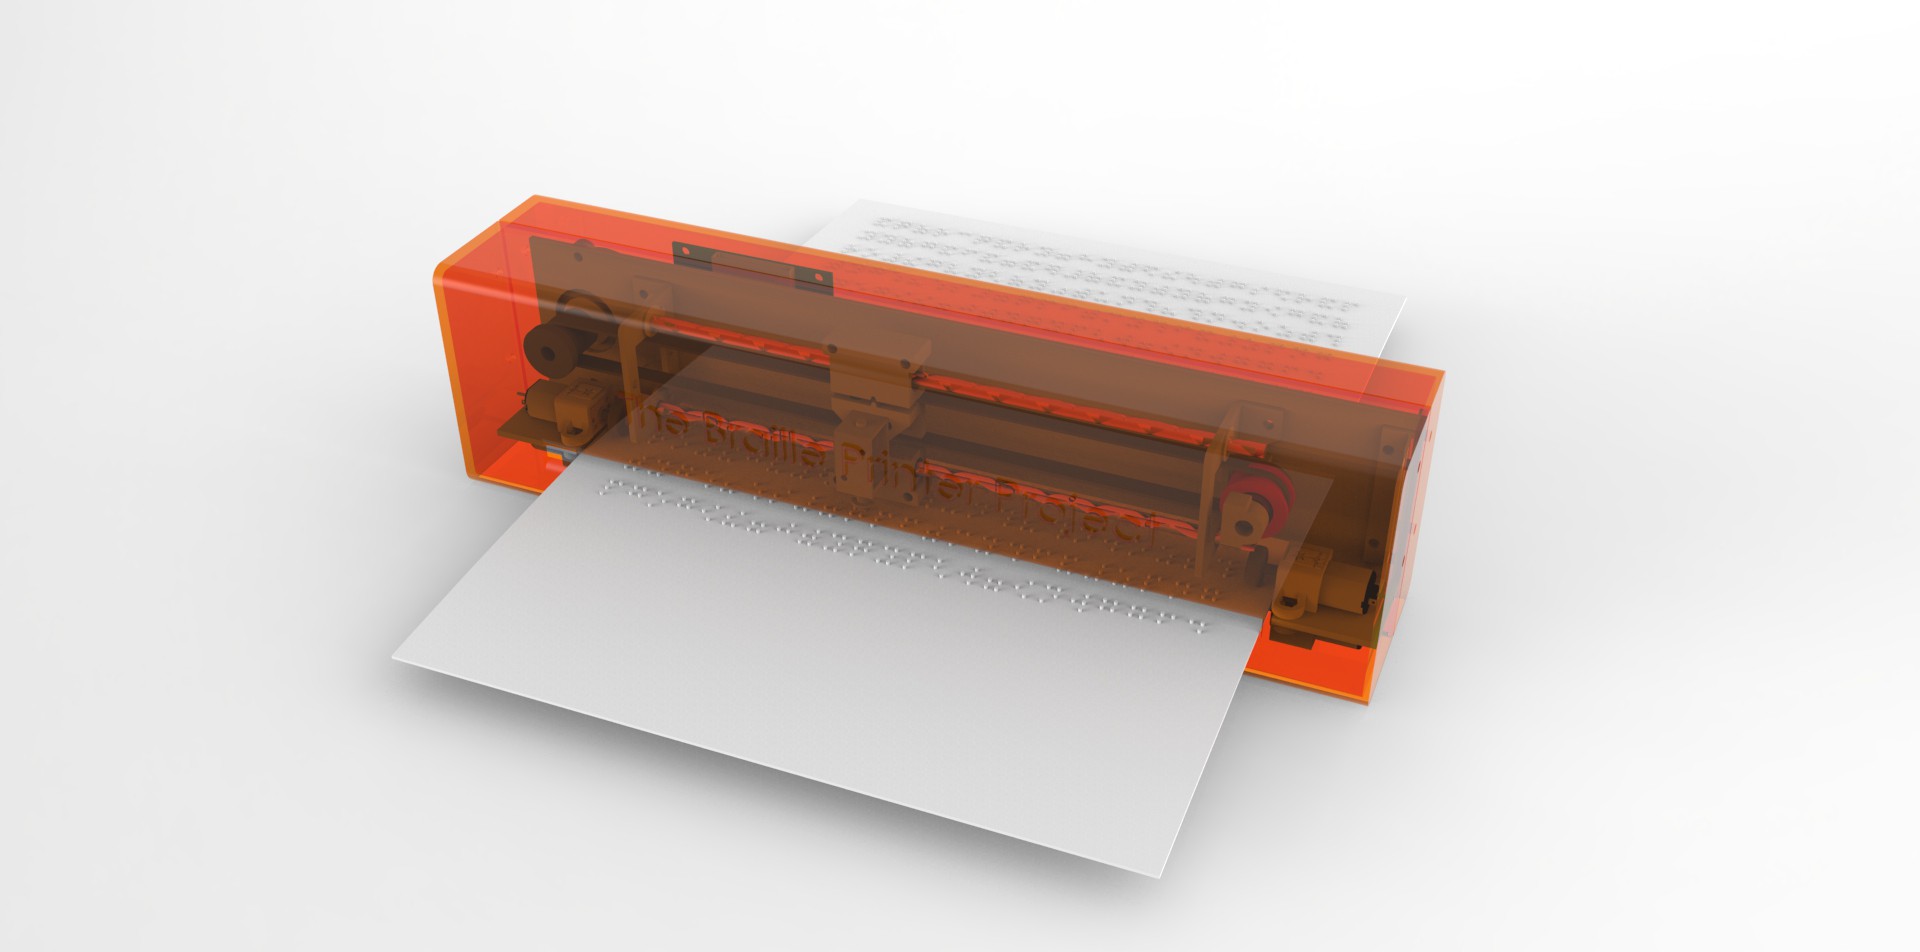
-Integrating a Braille paper printer on the docking station may be very interesting;
-Chances of funding for this kind of projects will probably be much difficult for the current "state of things", at least in this country, despite they recognize that this project really has a lot of potential.
So at the moment the Hackaday Prize is still the best opportunity for this project to be continued and give this people a low cost alternative to expensive products, and that can be really tailored on their needs!
-
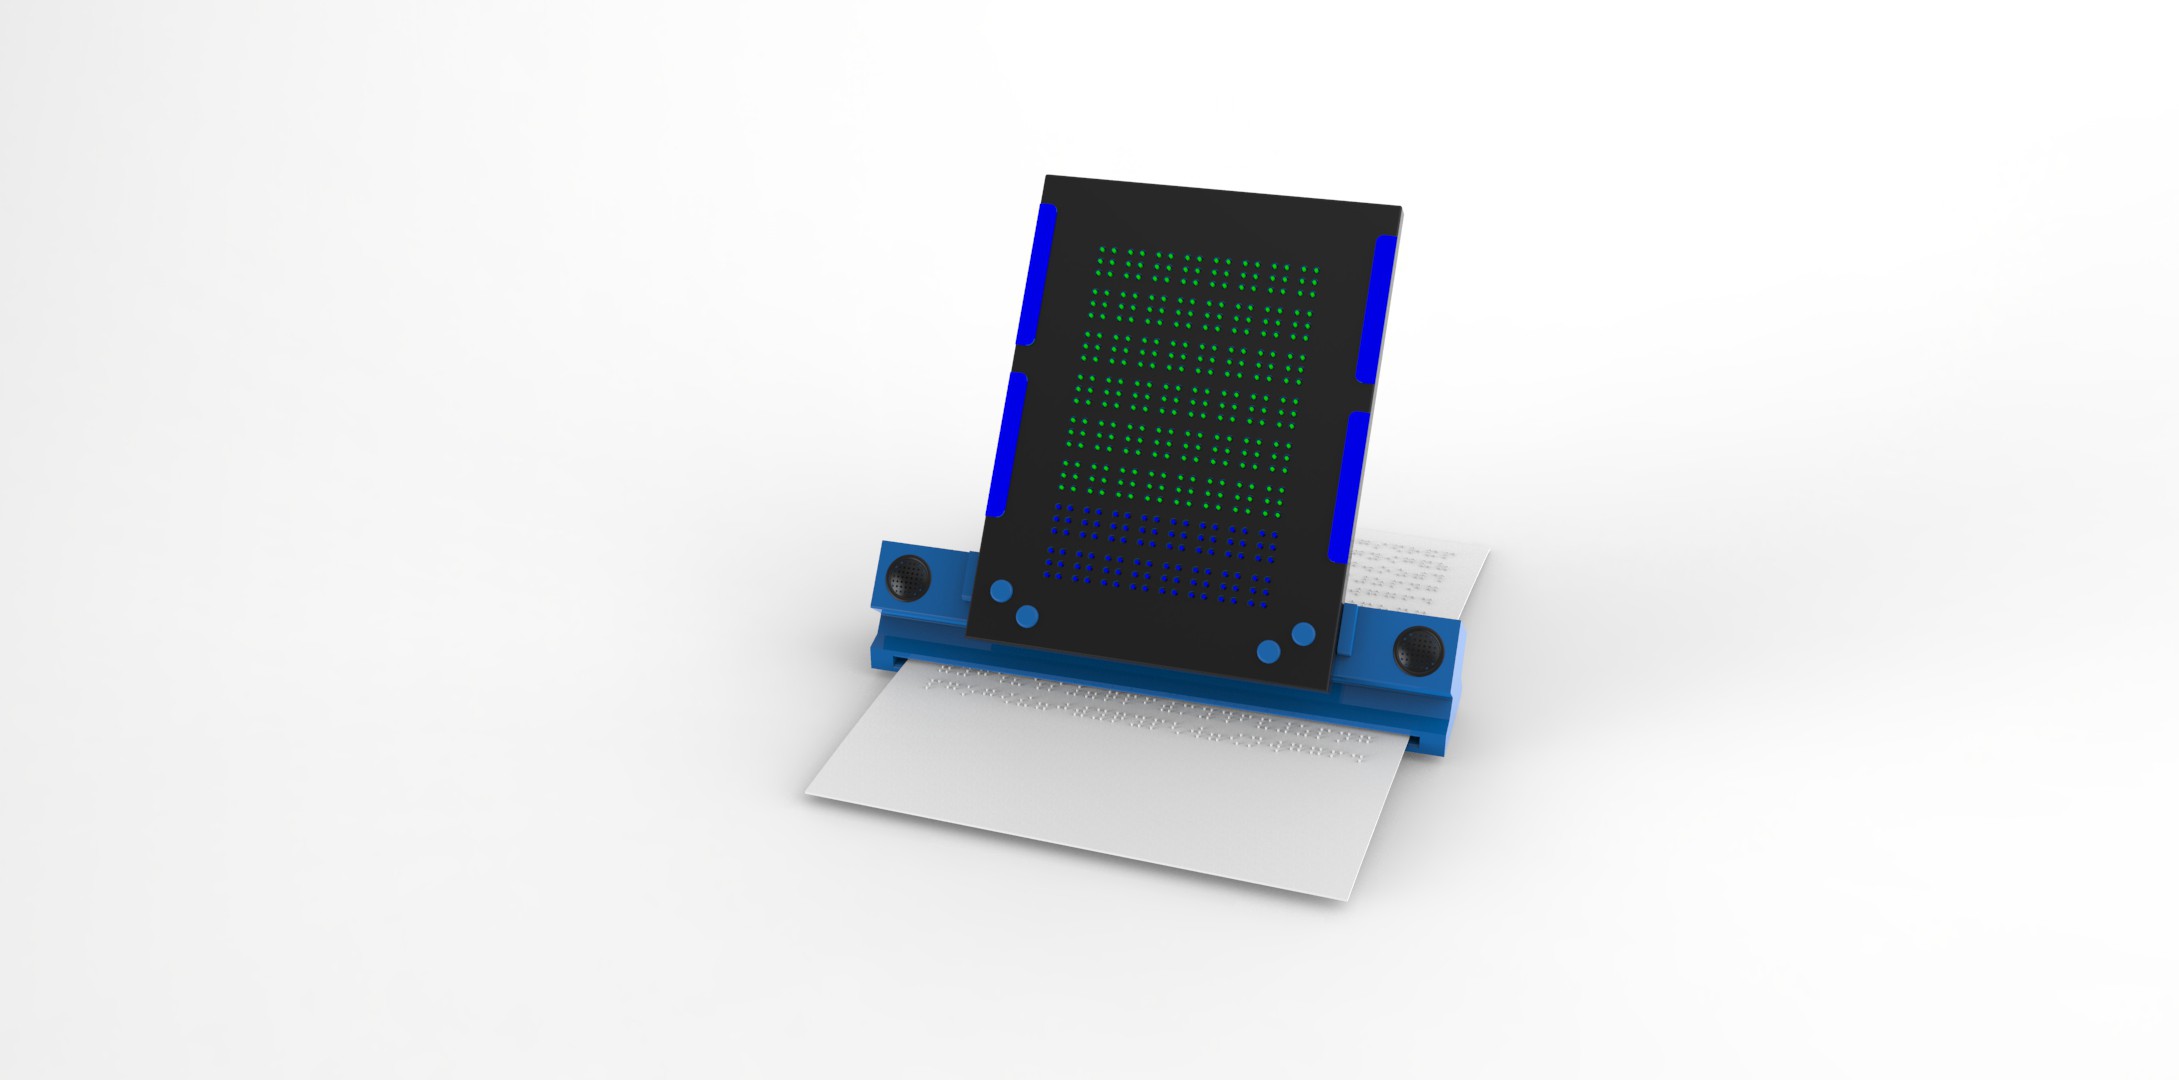
Concepts for Braille Tablet with docking station and printer
10/11/2016 at 08:49 • 0 commentsBoth are available for download as Solidworks assembly. The printer is quite refined and with some refining is ready for prototyping.
Winning the Hackaday Prize would be super! Up to now all the project was self-funded and it has been a quite time-consuming project, so some funding may be necessary for this project to be continued...
Concept design for the final Braille Tablet with docking station:
![]()
Concept design for Braille Printer (that will be integrated into the docking station):
![]()
-
A lot of things
09/30/2016 at 15:20 • 0 commentsThe testing characters are now working well; finding the perfect balance is still under progress, and a lot of optimization of the pins can be done. I have redesigned the character PCB, with smaller pads for easier soldering of the enameled copper wires.
I have made 3 different testing boards, designed as Arduino Uno Shields, for easy testing of the characters. Two of them have a small embedded Oled display for showing the corresponding letter and debugging. I even designed a 3d modeled cover for it ;)
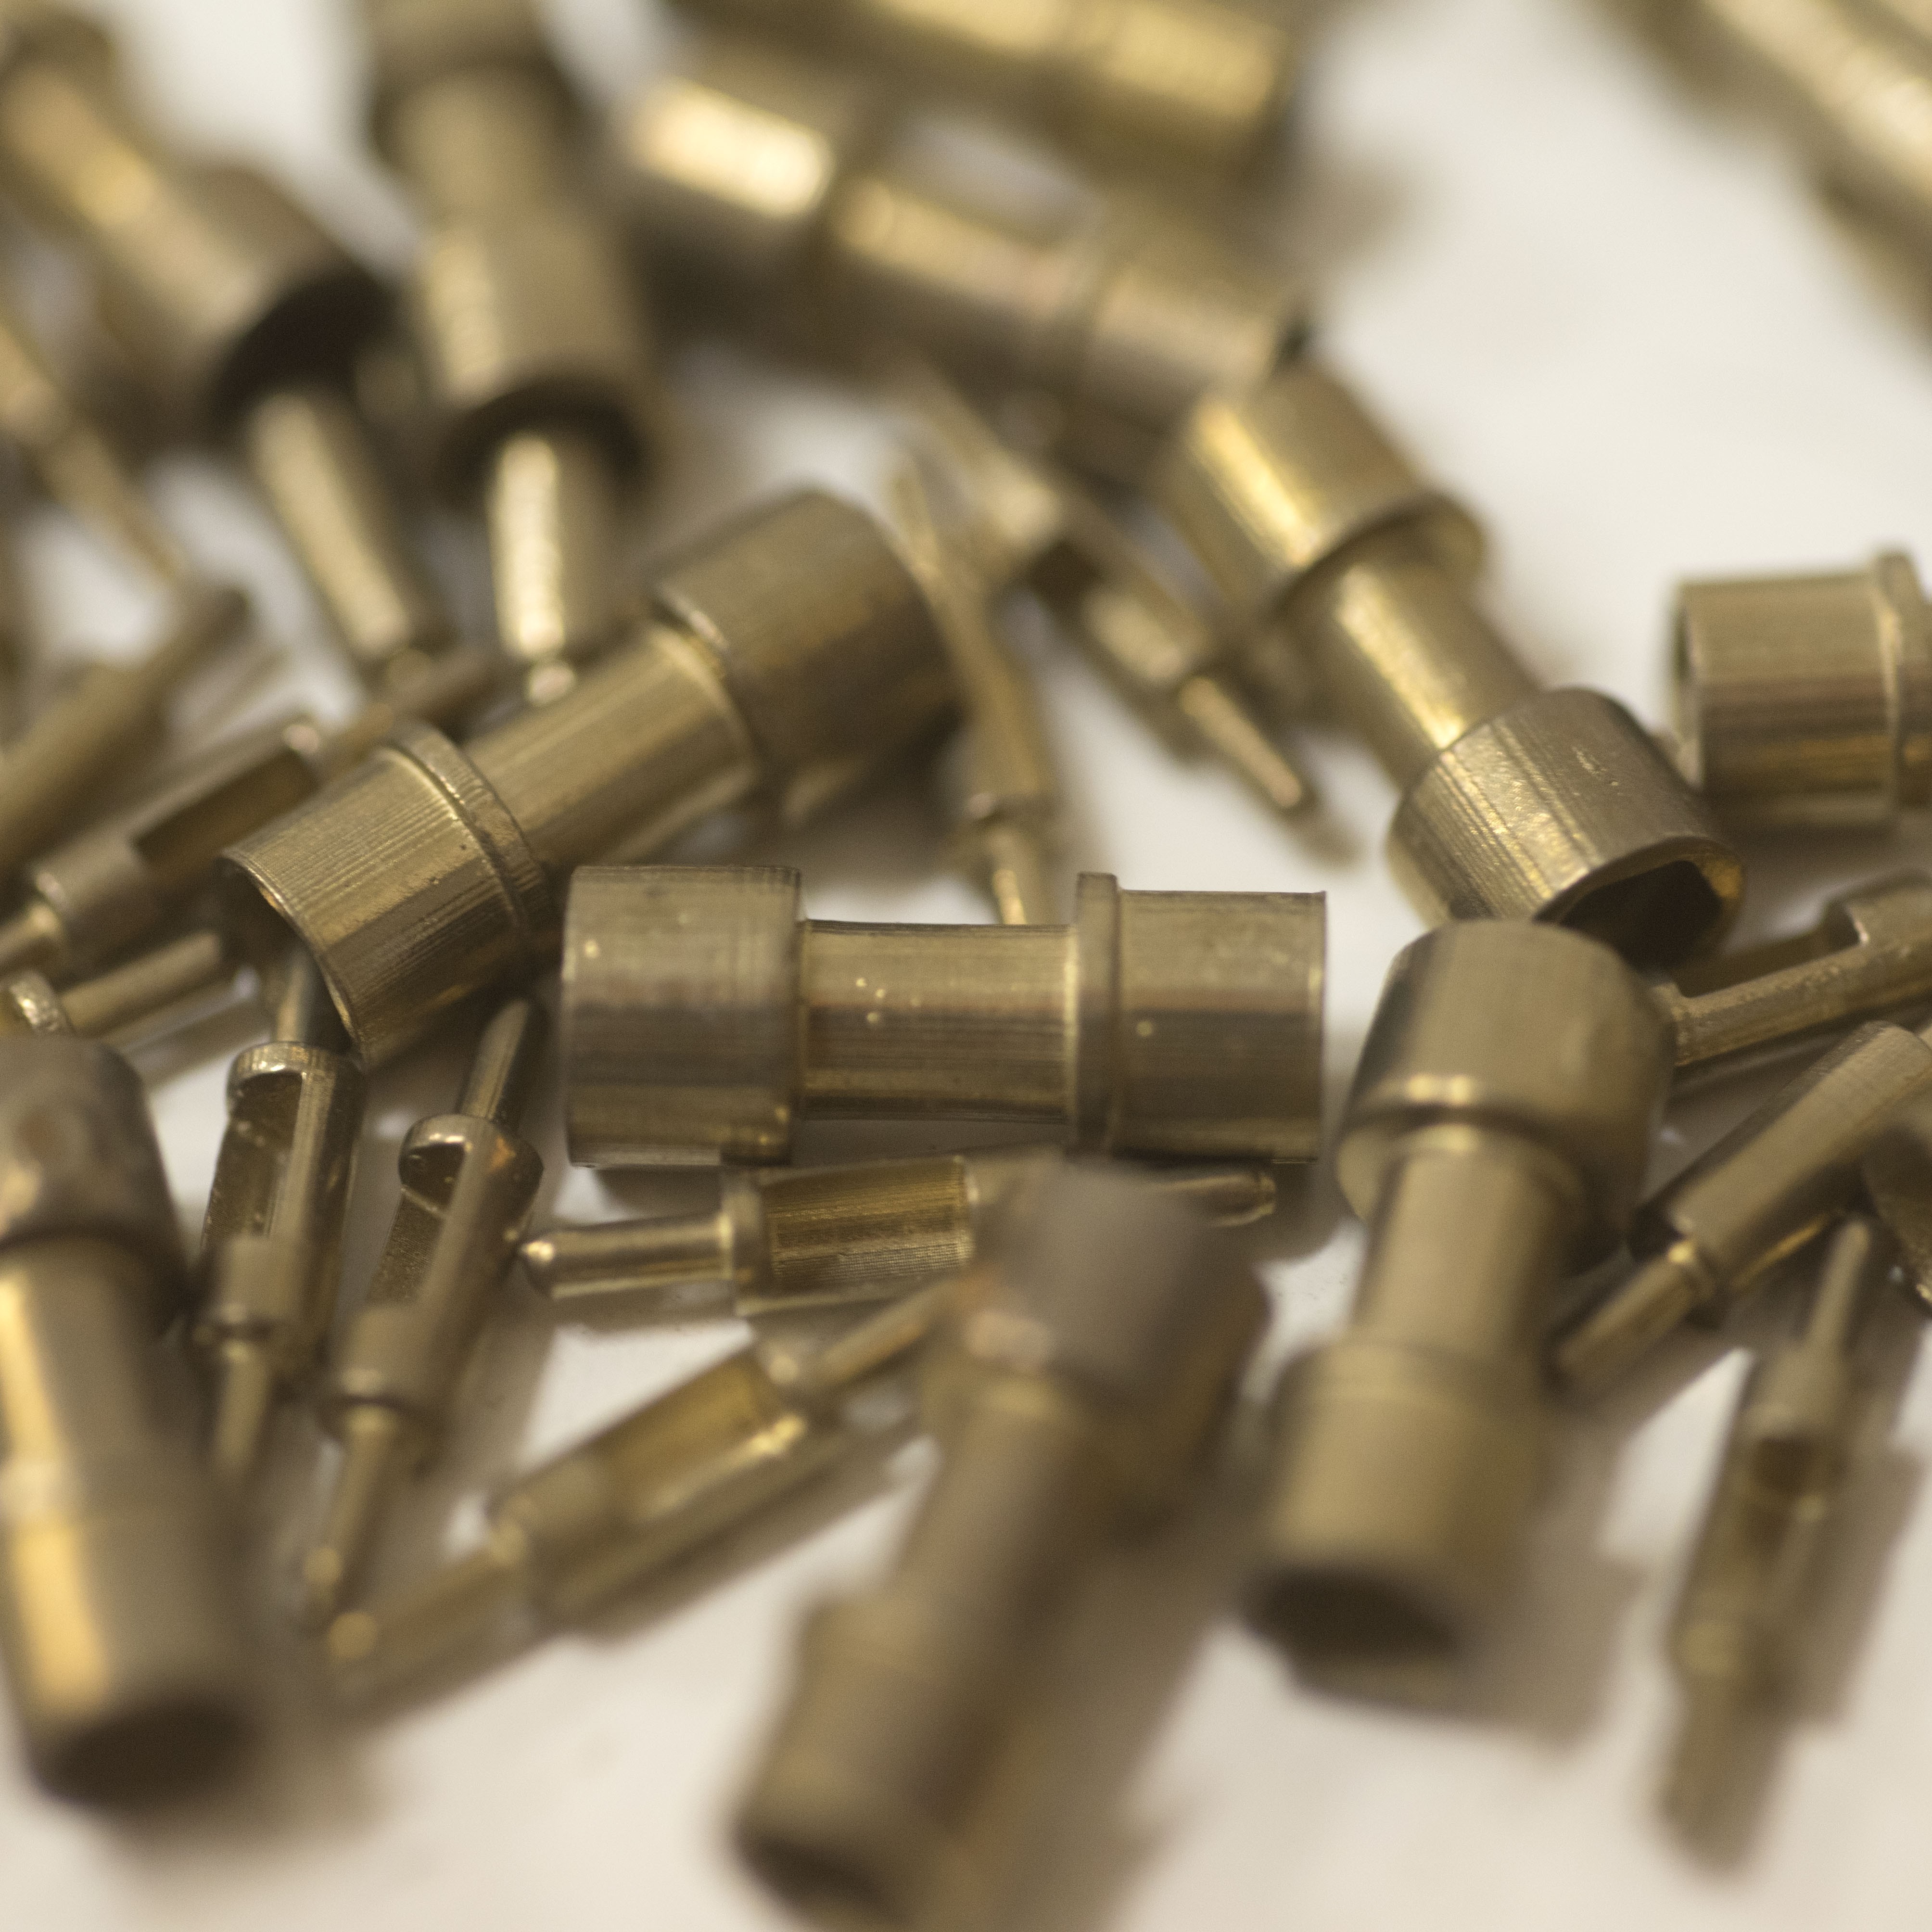
In the meanwhile, I wanted to try different materials. Have the 3d printed parts made in castable resin and casted them in brass, the look is certainly more professional!
![]()
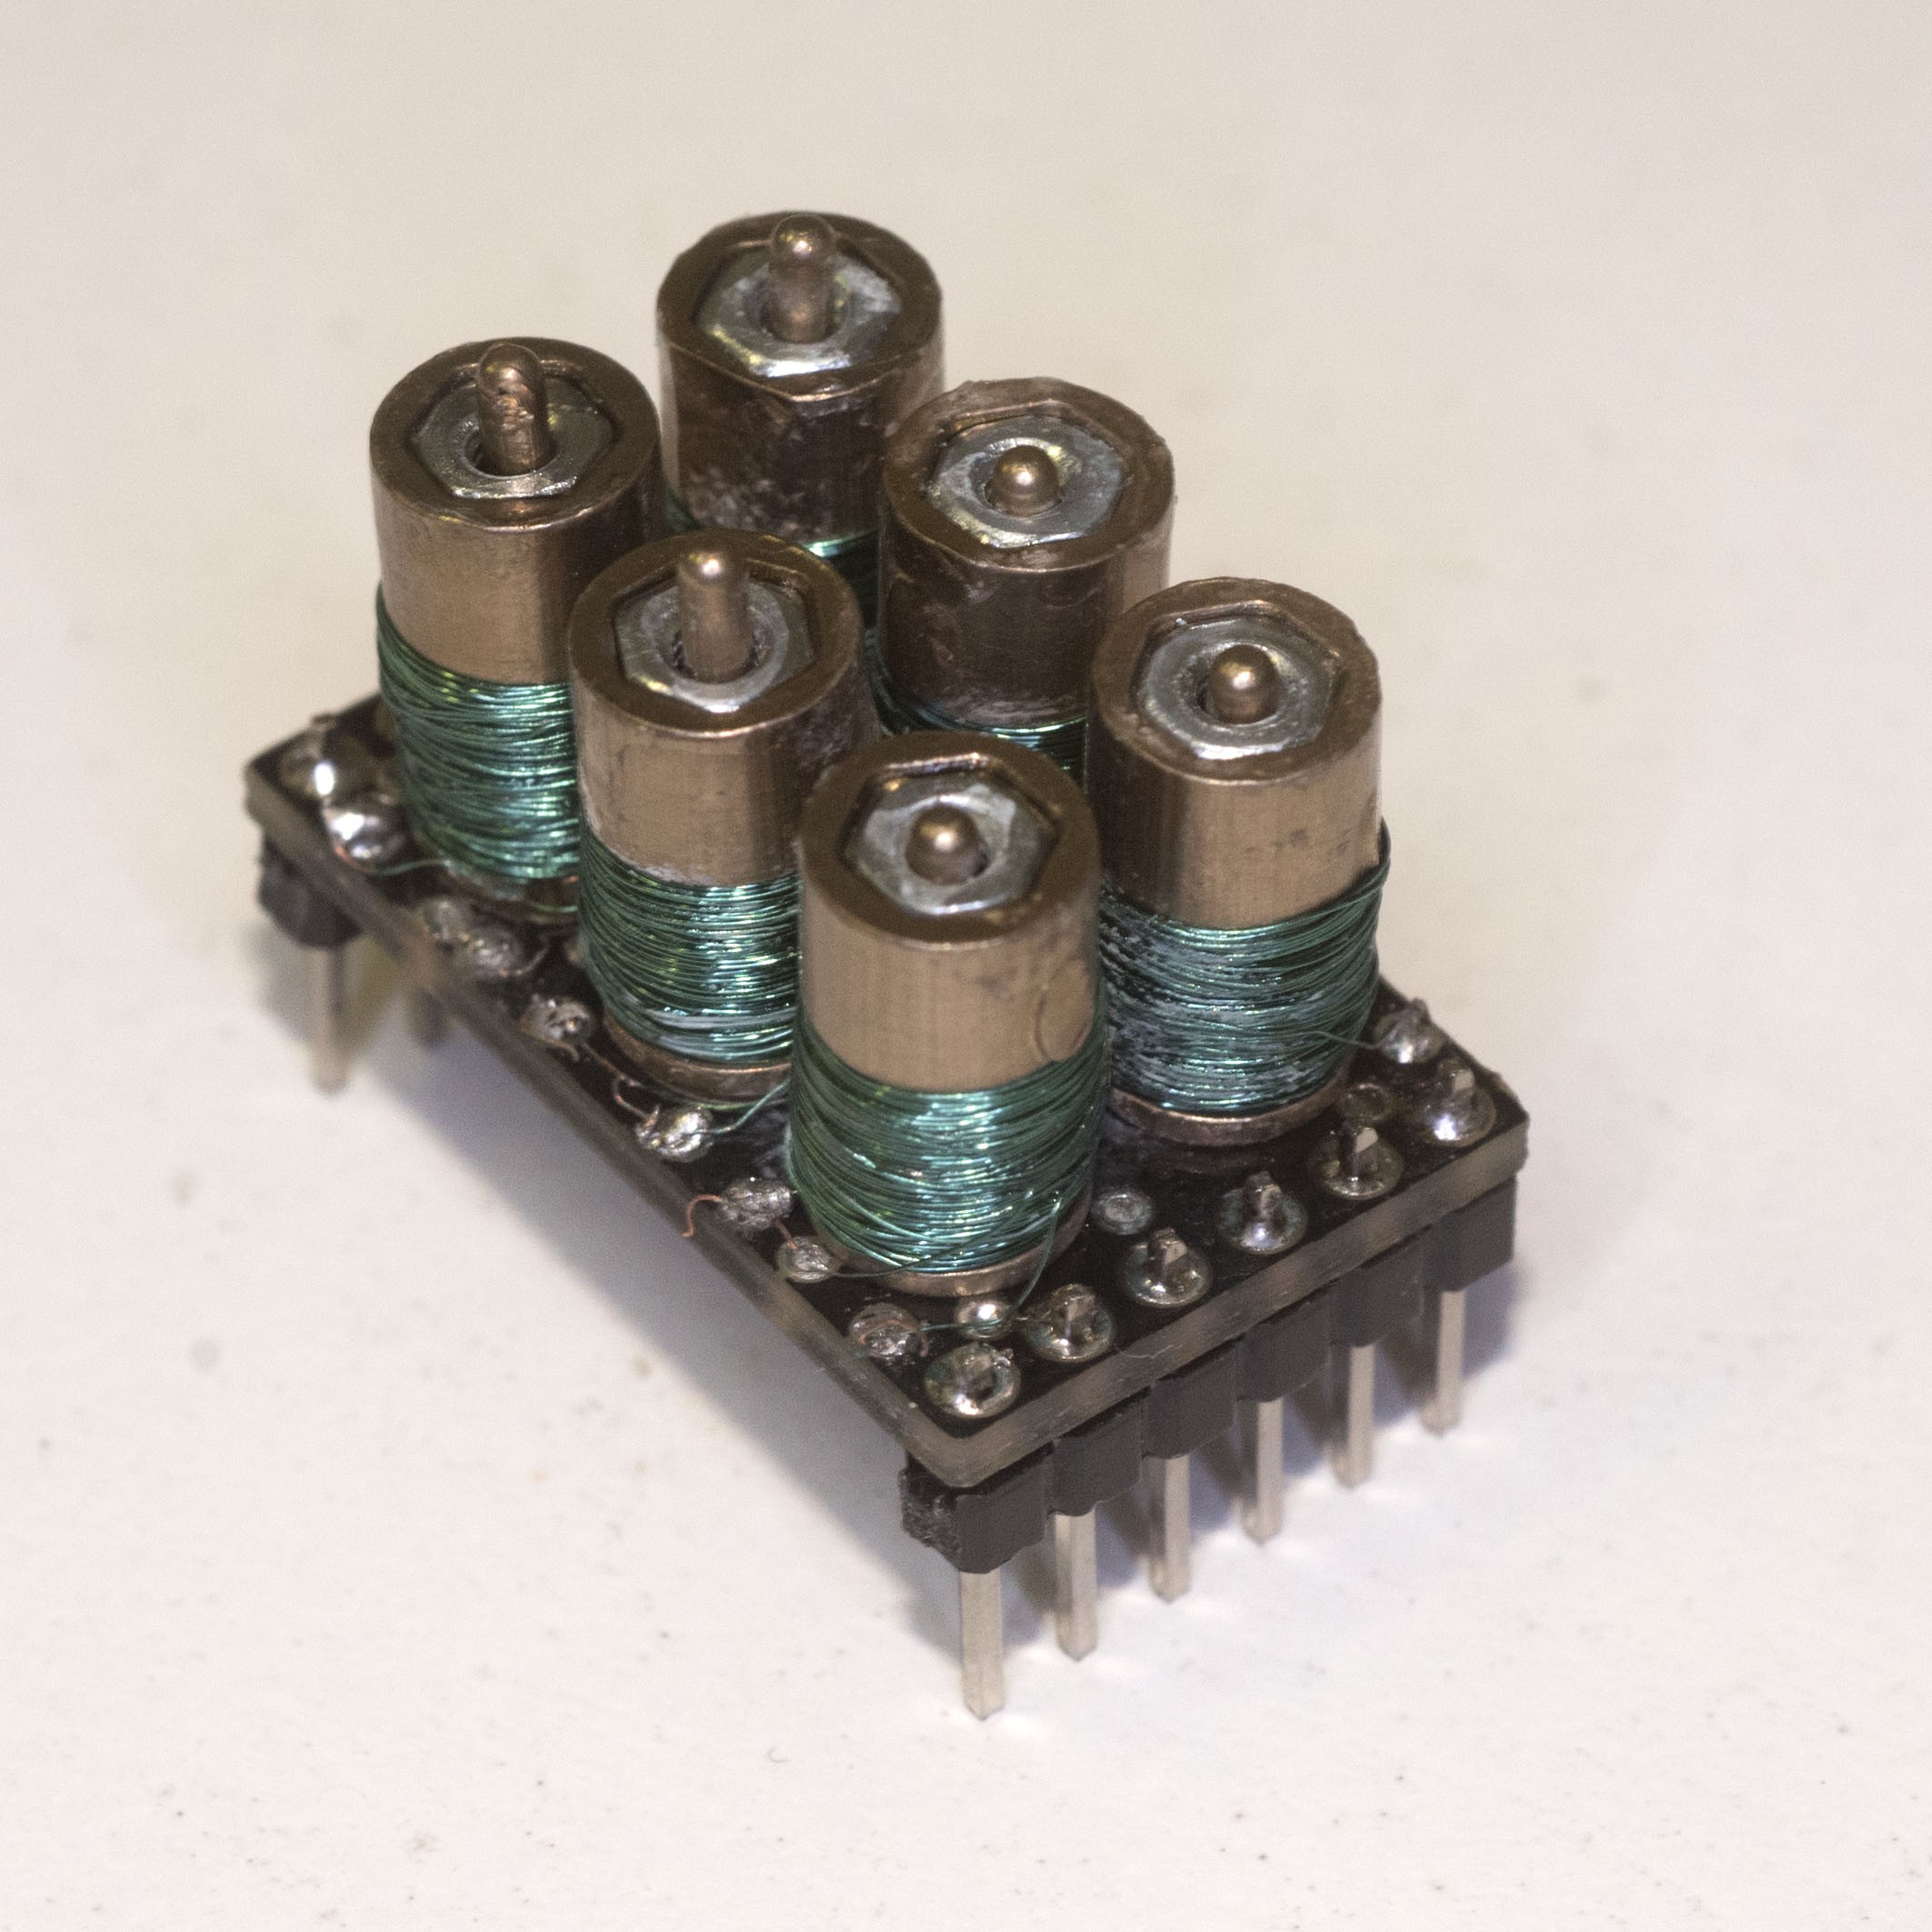
And a character made with the new black Character PCB and these parts:
![]()
-
Testing BrailleShield demo board
09/22/2016 at 15:16 • 0 commentsIn order to be able to quickly test the Braille character units, I designed a demo board, that should be also useful to showcase the project to potential users.
This board is designed as an Arduino shield, 12v powered, using 3 TB6612 ICs to drive the coils.
It has a button to select the showing modes, and the space for a 128x64 Oled that will display the letter that corresponds to the Braille letter shown by the pins.
Eagle design files are available.
-
Refining the single character
09/11/2016 at 10:12 • 0 comments![]()
I received the new PCBs for the single character; I also built an automatic coil winder to speed up the process, even if the design of the coil still needs improvements; Actually the pin mechanism is more similar to a coil gun than to a standard electromagnet, since we have a coil and the magnetic "bullet" travelling inside; the placement and number of turns of the coil is the most critical part.
-
Improving the design
08/01/2016 at 15:16 • 0 commentsNow that the single pin and the character have proven to work, I am focusing on the electronic design.
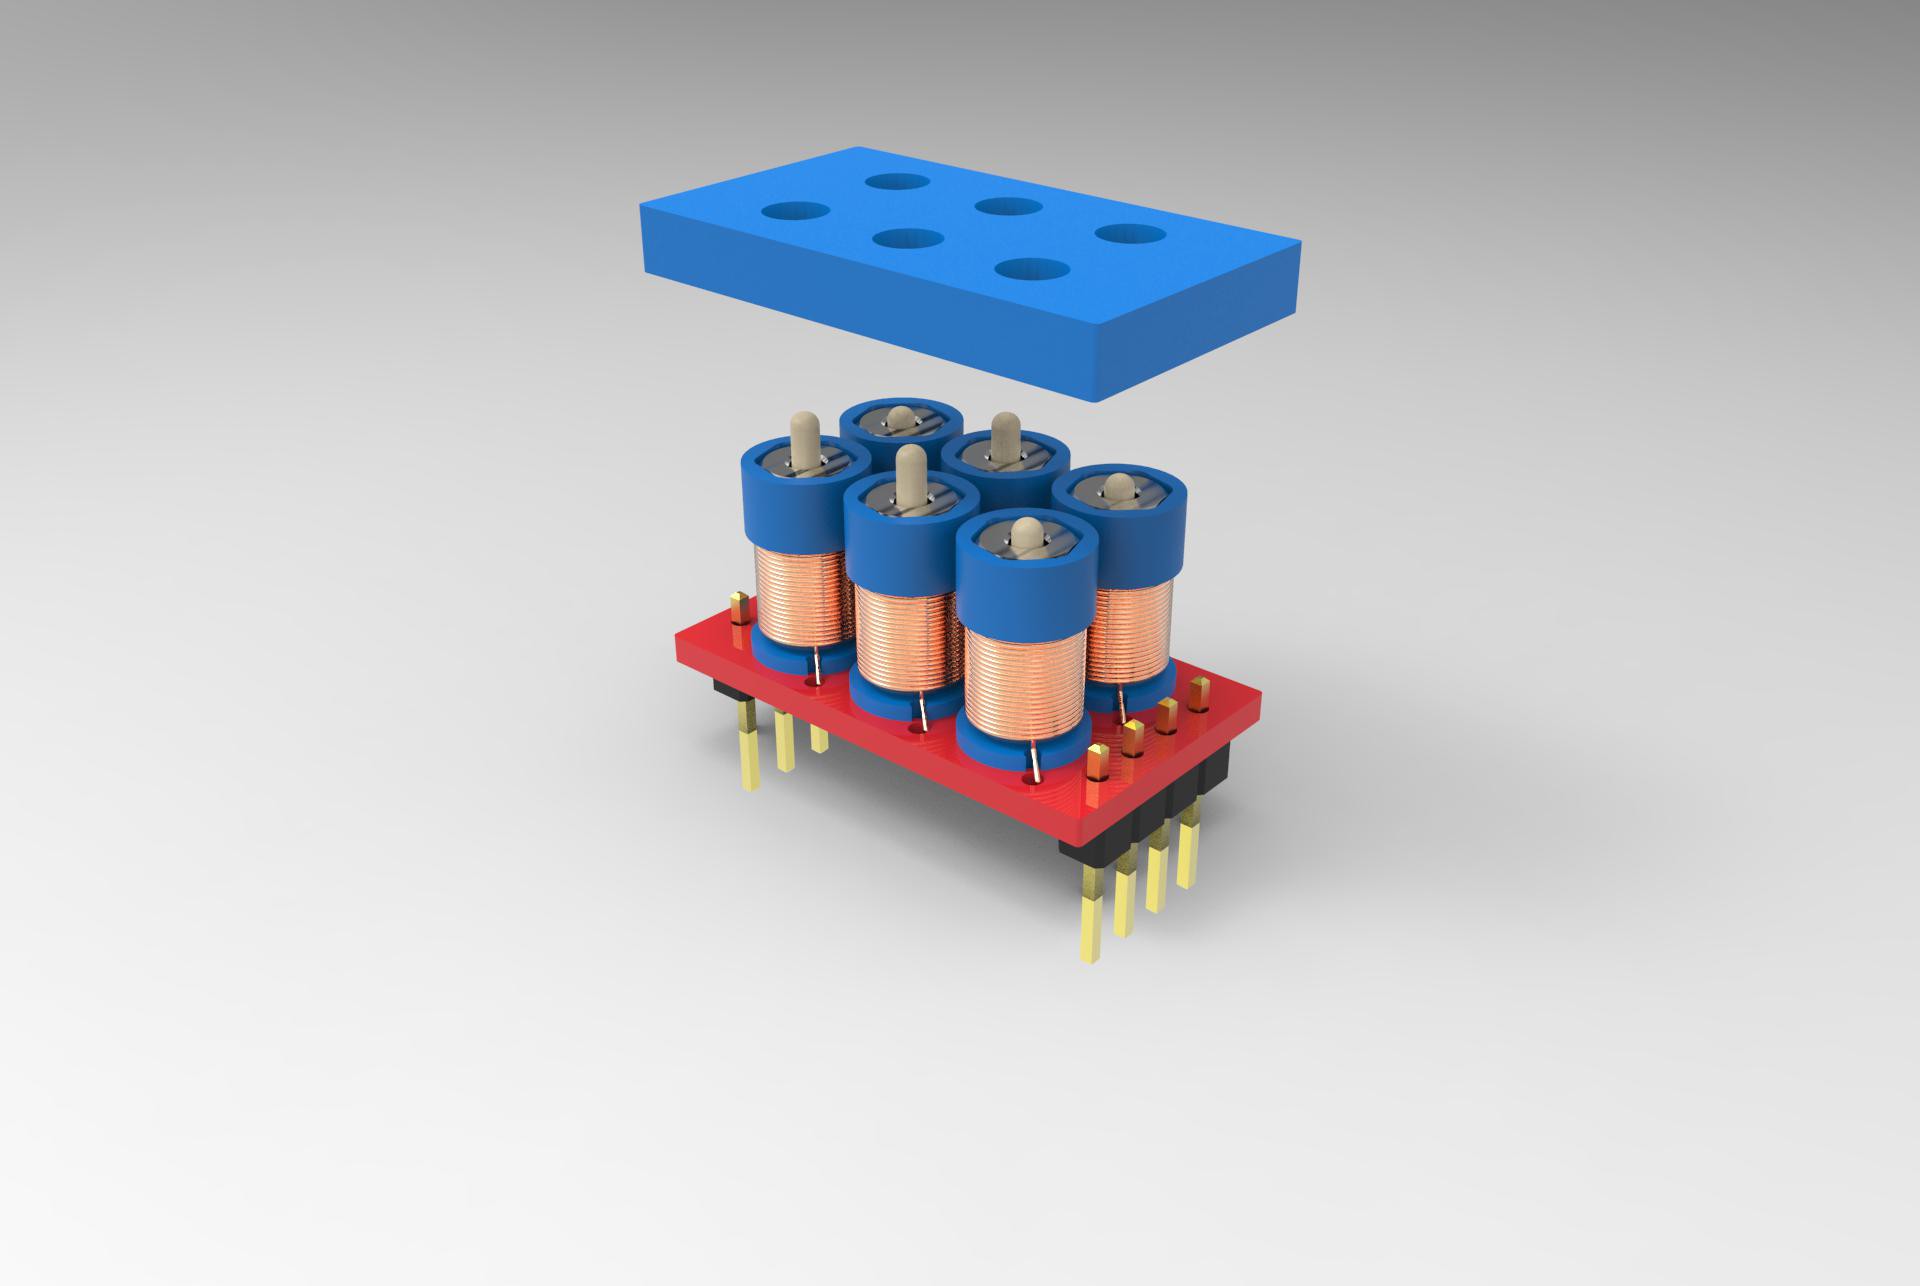
The character PCB has to connect the 6/8 coils with the connector that plugs into the line PCB.
The line PCB will control through H-bridges the coils, and (it's no begin tested) it would be very useful if it can also sense when a pin in pressed down, so the module can be used to "write" too.
In the meanwhile, the quest for the best optimization of the single pin leads to testing of a different design!
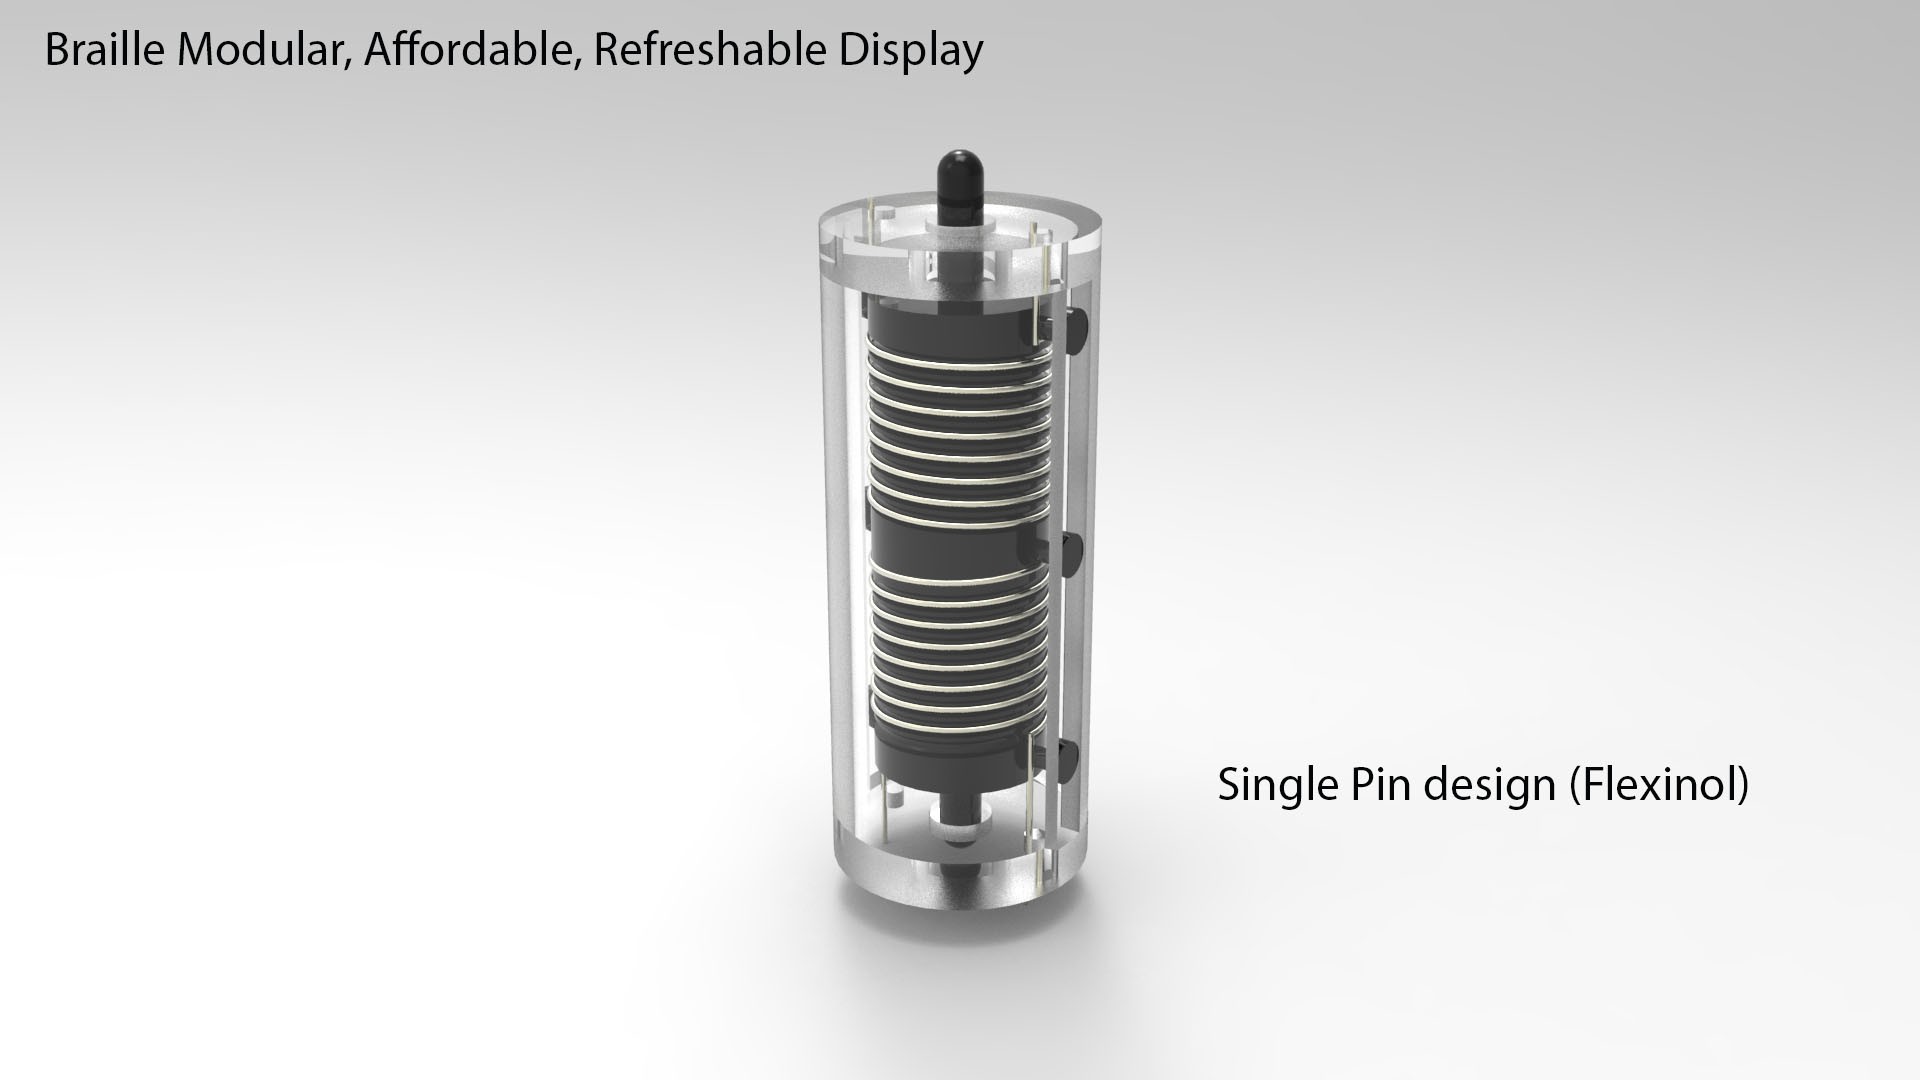
![]()
In this design the got an even lower part count: every Pin has just 3 3d-printed / injection moulding parts, and two Flexinol wires, and still can offer a bi-stable behaviour and power is needed only to change state. The Flexinol wire (you can find some technical info here) is used as an actuator. Around 10cm of wire is used for the "up" movement and the same amount for the opposite direction. Assuming a 4-5% amount of shrinkage when activated, it should provide 4-5mm of movement that should result in 2-2.5mm travel distance of the pin. The wire is wrapped around the moving part in order to keep the Pin small, with enough wire to get at least 2mm of travel.
Currently I am 3D printing the body and the front/back halves.
-
First character testing - It works!
07/23/2016 at 10:10 • 2 commentsIn this test we spell in Braille h-a-c-k-a-d-a-y (correctly, I hope :) It works, finally!
Lot of things still to be improved, coil optimization for faster refresh and state change, smaller overall size, higher holding force, design the PCB for the line control. Each pin has just one coil driven by H-bridges, that will be integrated in the line PCB.
Interesting thing is that the cost for a single character will be very low, since this project is designed with the goal to use parts as common as possible and as cheap as possible.
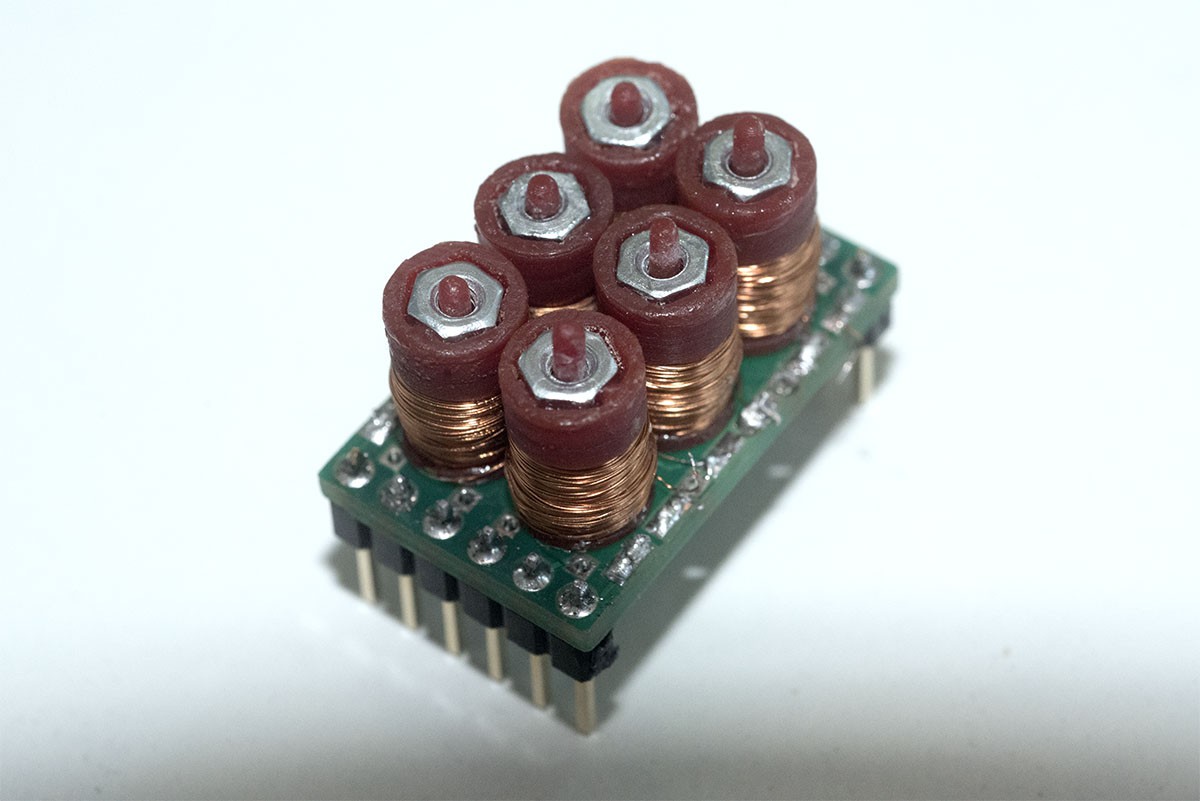
Each character consist in a pcb, connectors to the Line PCB, the body and magnet holder and top plate (injection molded if the project will raise some funds), 2 M2 nuts an 2 magnets and some enameled copper wire.
It is almost impossible to get an even lower part count!
![]()
The next steps will be optimization of the single char and designing of the character / line PCB. An automatic coil winder is already being designed, and I am also evaluating to build a micro-factory where the pins are automatically assembled, more on this in the next updates!
Feedback are also important, we are now getting in contact with Italian associations for visually impaired people, their feedback will help refining the project.
When the design will be refined enough, I'm going to design a full Braille tablet, and it may feature 2G connection via a Fona module, color recognition, eBook reading, maybe a modular design too...
-
Testing and assembling the first character
07/19/2016 at 10:27 • 0 commentsTesting the first character. At the moment an Arduino and 3 L293 are used to control the coils- h-bridges, each pin has a single coil. The key of this system is the magnetic interaction between the magnets that are free to move inside the pin and the retaining M2 nuts at each end. Power is used only to change from a state to the other one. The distance between the magnets and the nuts is quite important for a correct behaviour.
-
Testing and assembling the pins for the first character test
07/12/2016 at 14:04 • 0 commentsTesting and assembling the pins for the first character test.
MOLBED Modular Low cost Braille Electronic Display
A project that I started in 2014, aimed to develop a low cost and modular refreshable Braille system
 Madaeon
 This is a short list of their suggestions / requirements: