-
The blue LEDs arrived
04/20/2018 at 06:09 • 0 commentsSo, this is log 5.
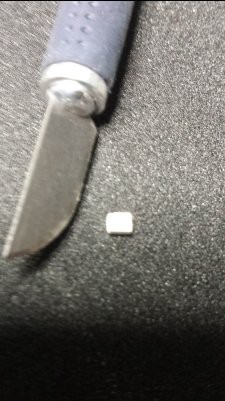
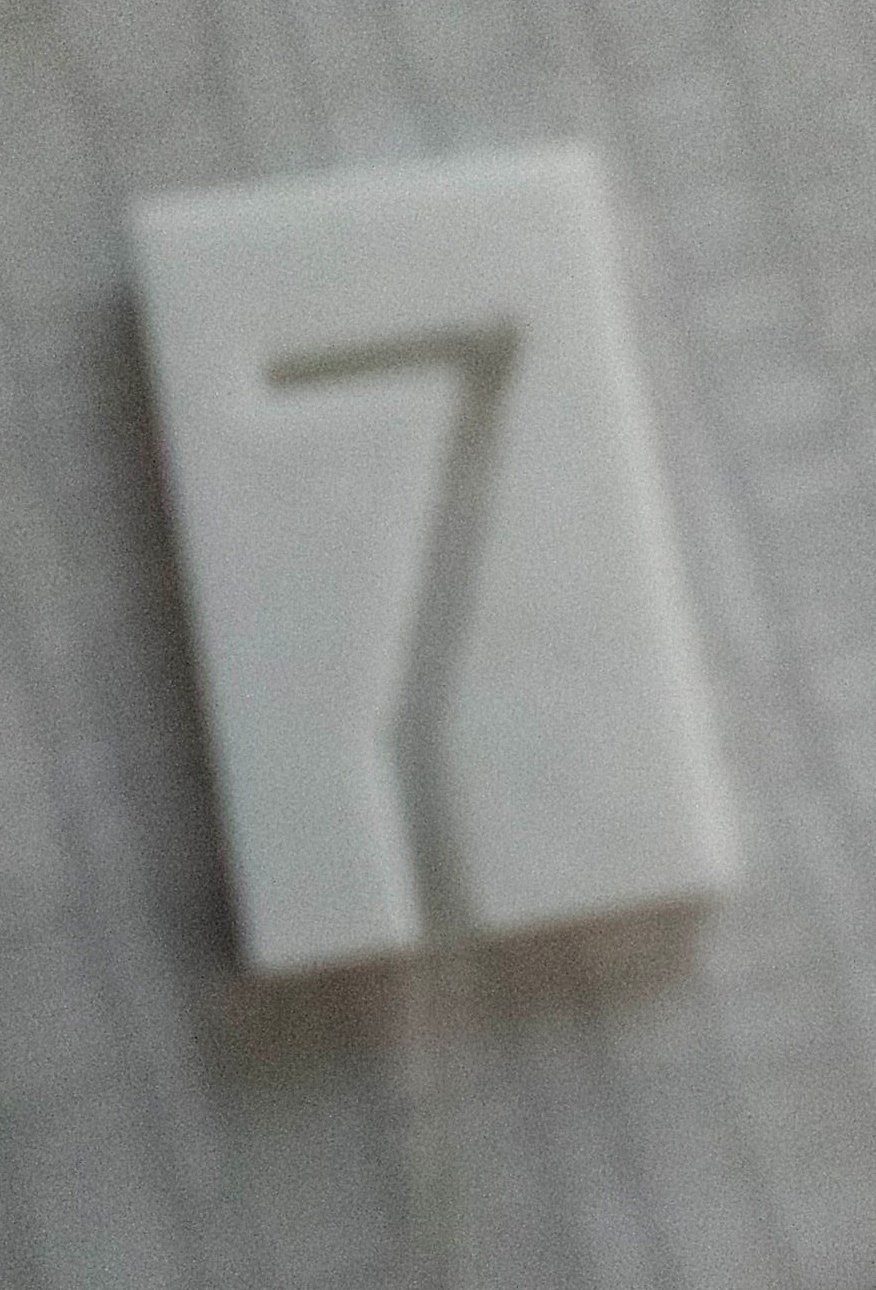
I've been busy over the past 2 days. The new BLUE LEDs arrived ( 3528 SMD PLCC) 500mcd. Wow these things are bright! The white block in the photo is one LED ( hobby knife to give some scale to it)
![]()
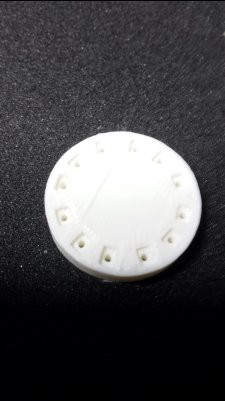
I created a base where it is easy to mount the LEDs on the bottom and slide the filament in the top. It was printed on my 3D printer - and the first prototype worked very well. Took 10 mins to design and 14 mins to print.
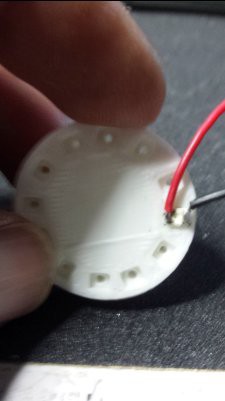
This is the bottom view.
![]()
The;;;;;;th![]()
![]()
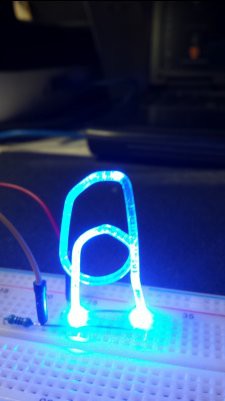
So, my idea fort he base seems to work, in this one, I can fit 12 LEDs in the base, allowing me to use 2 LEDs to drive some numbers.for instance, the number 6:
![]()
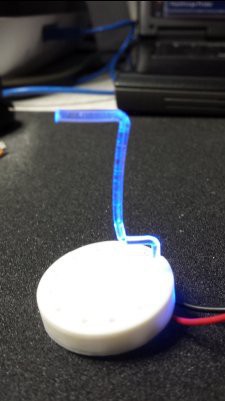
Now let's light the blue touch paper and stand well back!
![]()
Hey, looking good.
If I make the base in Black PLA, instead of white, the bright-spots from the LEDs will be covered - and then only light will escape via the digit itself.
Next,
I want to experiment with the idea from @Chris Knight - to put foil on the open end and see if I can reflect the light back into the filament.
-
the countdown ...7, then 6...
04/13/2018 at 07:06 • 0 commentsOK so my 7 worked... now to add a second digit, and see if the effect is OK or the project is a bust.
So I made a 6 - but this time freehand, just to see if it was possible.
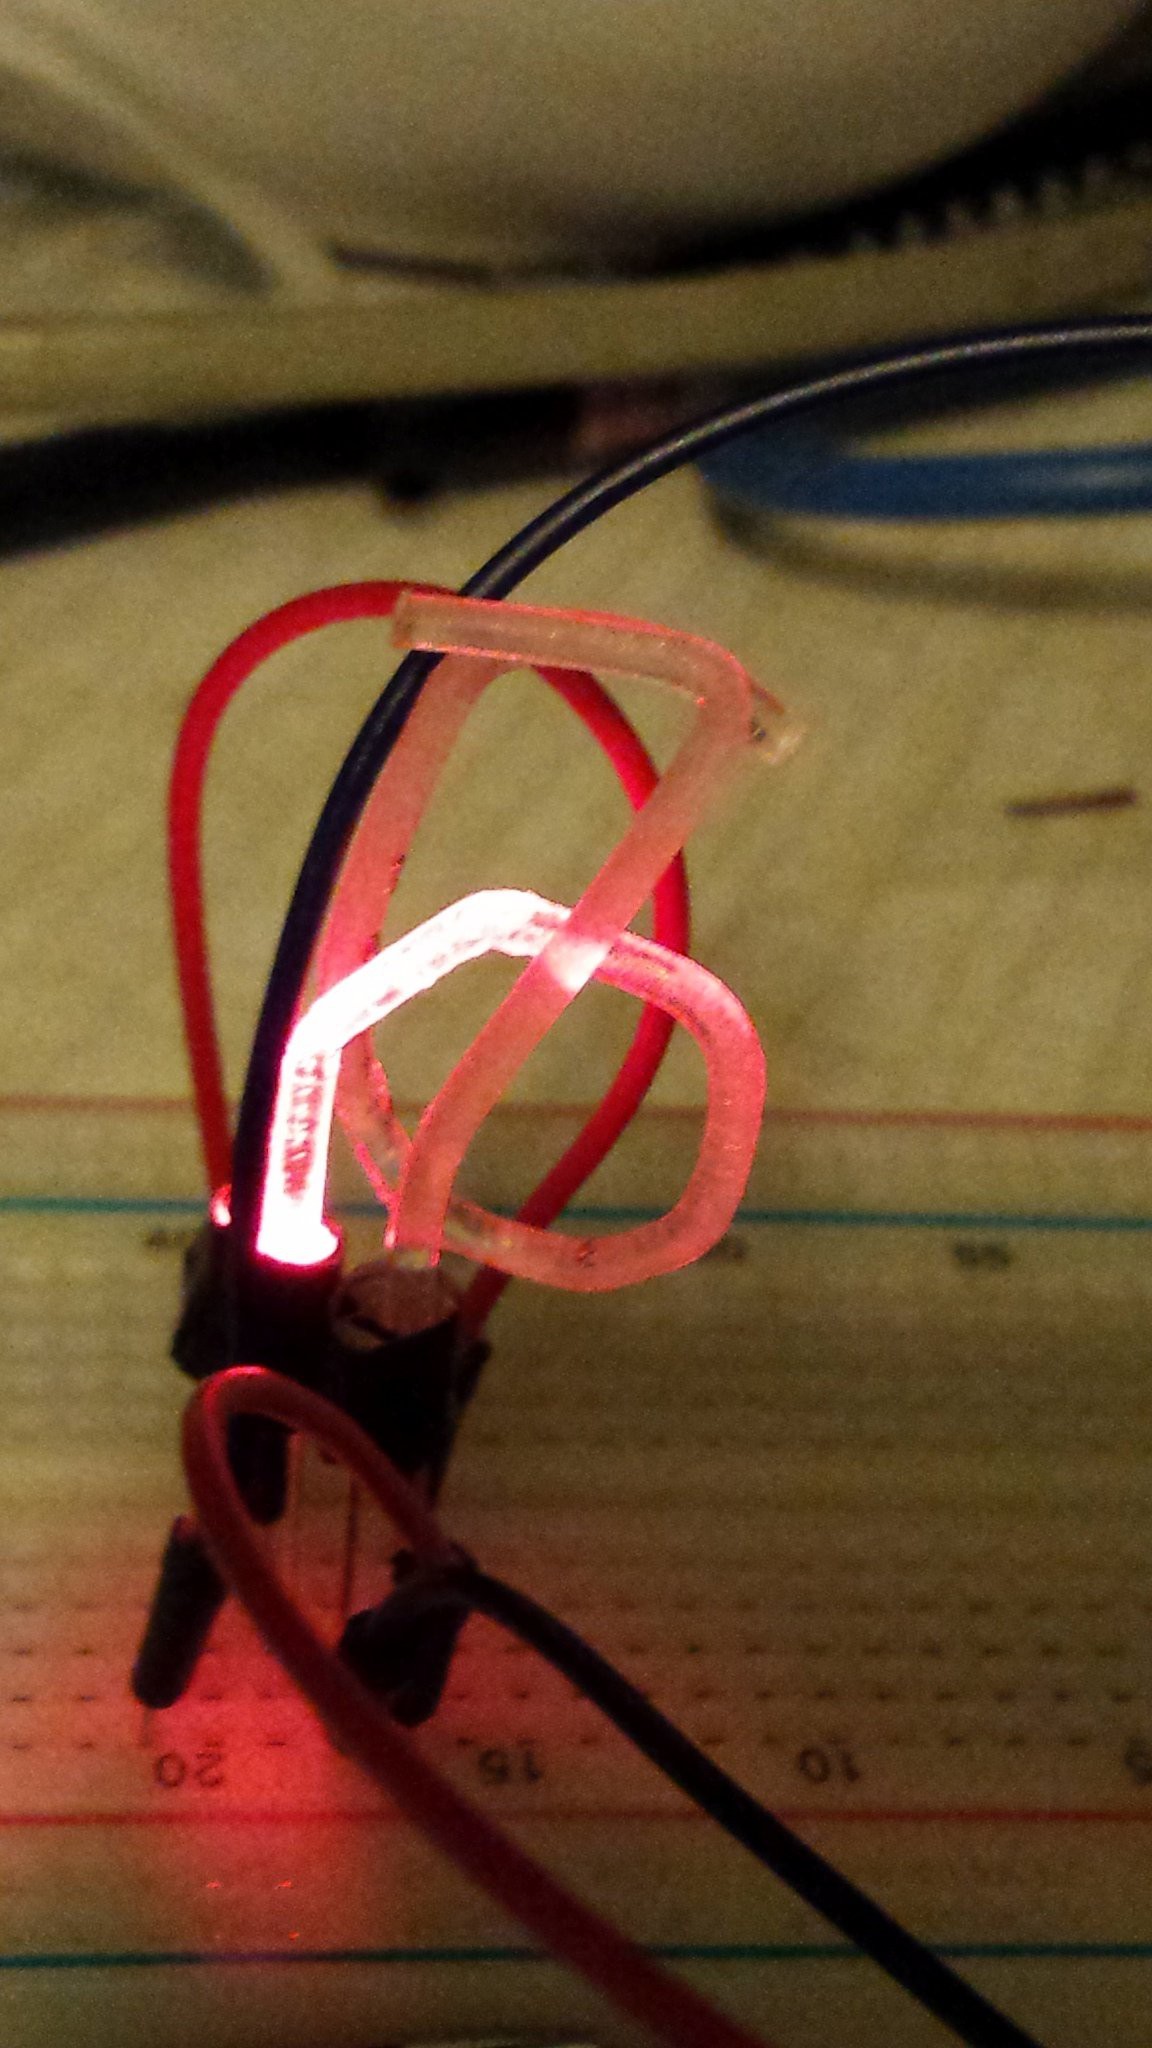
Then I stuck it to the back of the 7 and lit it up.
![]()
Again, the lighter bit at the bottom is only there in the photo - the 6 lights up, but the very top bit is not as bright as I want.
I think my next try will be using the mould and bring the ending leg of the 6 back to the bottom and use a second LED.
If I don't sand the vertical return bit, then it will not emit light - and so appear to be invisible.
So far, it is looking good,
-
Let there be light! - and there was!
04/13/2018 at 06:54 • 0 commentsIn this log, I first needed to rough up the outside of the PETG, so that the light from the LED would diffuse out and look like a nixie.
I did this with 100grit sandpaper, rubbing the areas I wanted to shine lightly with the sandpaper. It only takes a few seconds to rough up the surface...
Then the end of the PETG that I want to shine the light into needed to be polished a bit - I put some toothpaste on a cloth and rubbed the end perpendicular to the cloth to make it smoother and without rough bits. It takes about 30 secs of slow circles on the cloth to finely polish the end of the PETG.
Now the exciting bit, I used some LEDs that were lying around in the workshop. they are orange 3mm with leads.
I used a drop of superglue on the top of the LED ( it had a flat top) and glued the PETG to the LED.
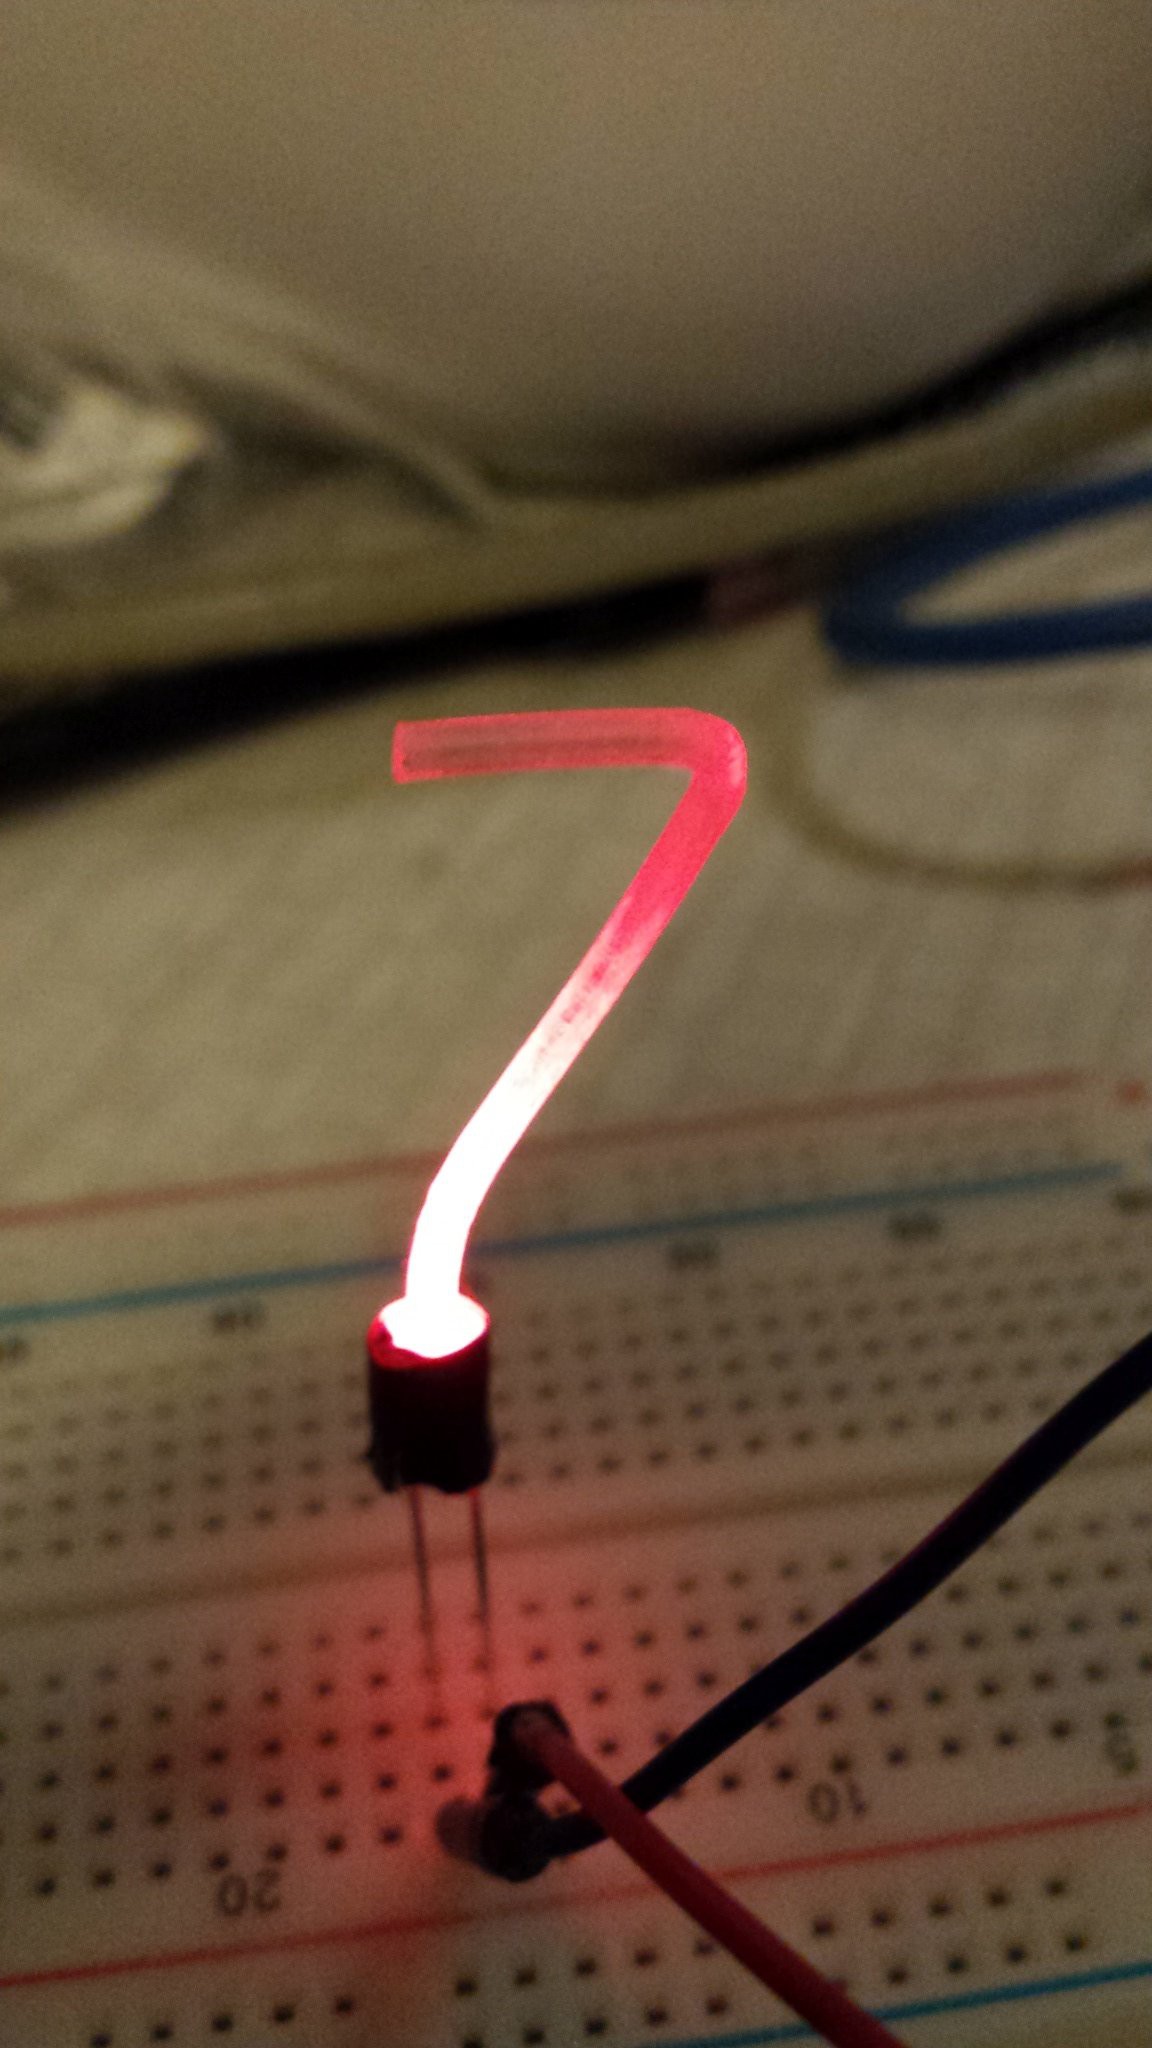
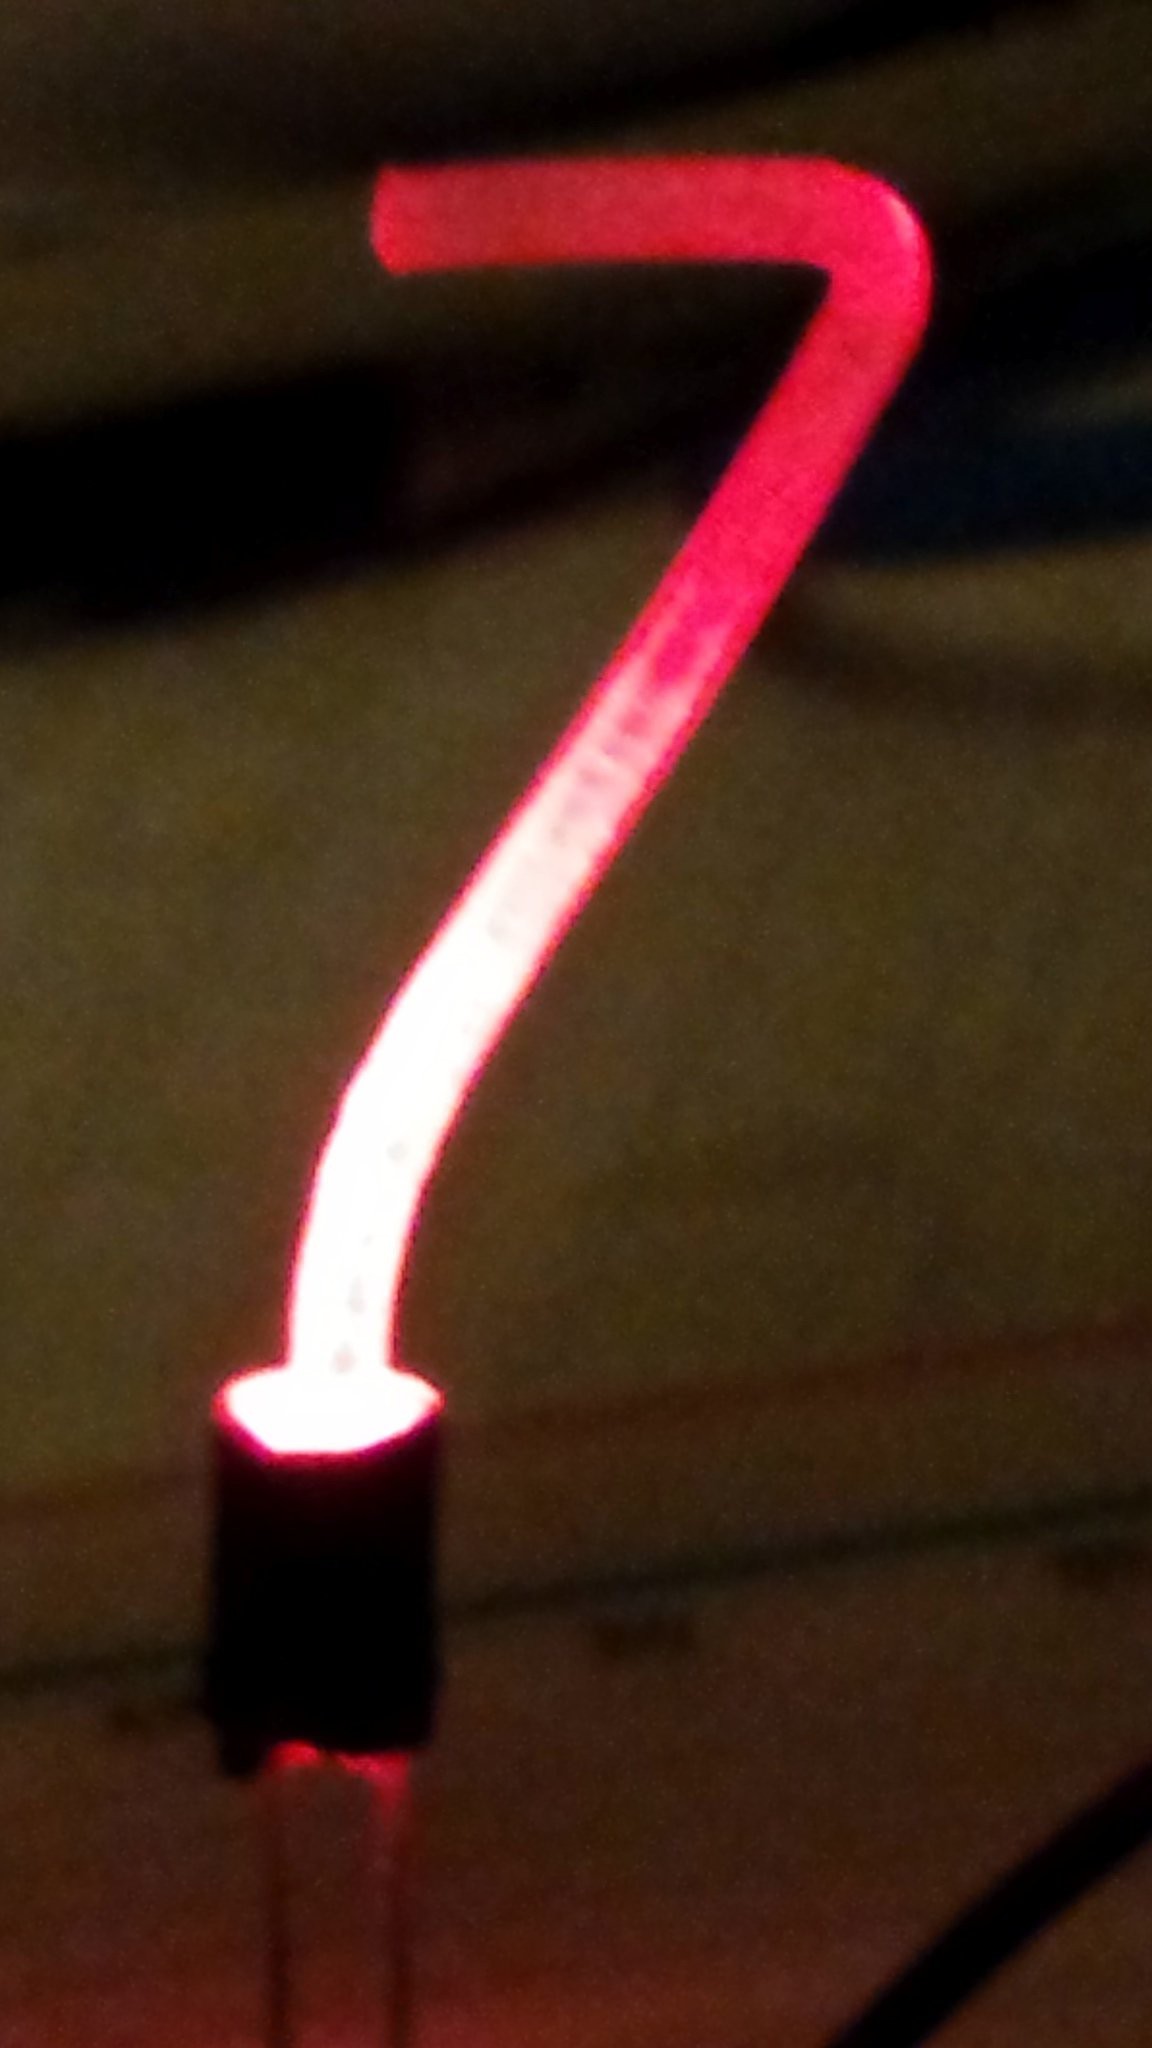
Then the moment of truth... I applied some power to the LED and.....
wait for it....
![]()
![]()
It worked! (the bright effect at the bottom is not really as bright as in the picture...in reality the whole digit has an orange glow).
-
Creating the first moulds and numbers
04/13/2018 at 06:40 • 0 commentsTo be able to create multiple nixie tubes ( the ultimate goal is... of course.... a clock) I decided to create some moulds that the PETG can be formed into and then I would get consistency between the tubes.
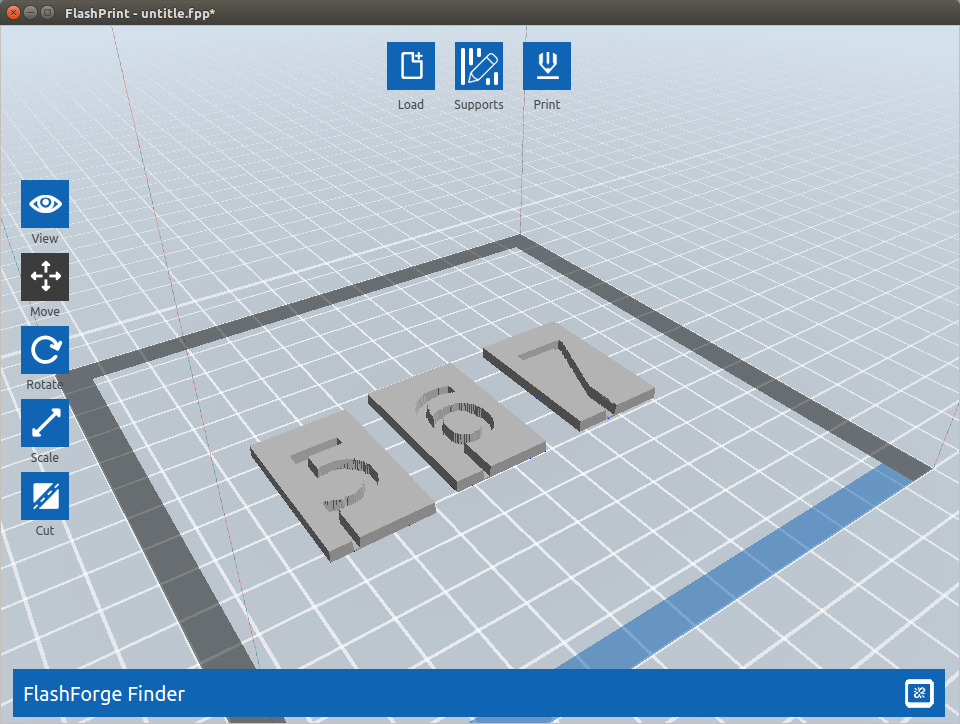
I designed them in GIMP 2.8, using the LOGO-Typewriter Font option. as this was the quickest way to make clean numbers.
Each number was created separately and the additional vertical line added to route the PETG to where the LED will be.
With these PNG files, I loaded them into the FlashPrint software and it has this really cool function that converts 2D images into 3D objects using the color in the picture to determine the height. So using only black and white, I get a cool mould. Where the height of anything white is 4mm and anything black is 0.5mm - then under that all is a base of 0.5mm. This gives me a mould of 4.5mm where the cutout is 3.5mm deep.
Each mould takes about 10 minutes to print in High-Res ( it's only 25mm wide and 35 high).
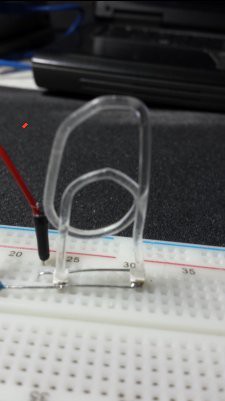
Here is the mould for the number 7 with the PETG in place:
![]()
I warm the PETG with a hairdryer until it is a bit flexible and then form it into the mould. Wait a few minutes for it to cool and out pops a transparent PETG '7'.
I made moulds for all the numbers.
![]()
-
The first Steps - playing with PETG filament
04/12/2018 at 05:53 • 0 commentsThe first step was just to test if I could transmit light through the PETG transparent 3D printer filament, and I did this in a project with my son. We made a 3D printed diesel locomotive with a string of LED Christmas lights and piped the light from the LED lamps to the appropriate lights inside the model.
I made a small block with holes for the LEDs and the fiber, 4 on one side of the block and 3 on the other side of the block. so the fibers could go to the front or the rear of the train. The fibers were then warmed with a hairdryer to make them flexible enough to position correctly through the holes in the train body, when they cool, they keep their shape making final assembly easier.
For the train, the ends of the fibers were 'polished' using toothpaste and a cloth, This brought the light intensity up by almost double.
Although the PETG fiber is not as clear as a real glass fiber, the effect is still quite impressive. (see photos in the details section).
Cool replacement for nixie tubes
Using microLEDs and clear PETG filament, I have discoverd how to replicate a nixie tube, and the effect is super, cheap and reproducable.