-
1Step 1
Firstly we will make a simple calculator that does simple operations like addition, subtraction, multiplication and division. We have used the A, B, C, D keys for the above operations respectively. For the 'equal to' operation we have used '#' key and for 'clear the screen' we have used '*' key in the keypad. In the attached image, connections for keypad are mentioned.
For the coding part we have taken help from the already build code at the arduino site-
http://playground.arduino.cc/Main/KeypadCalculator...
Rest is just tweaking it to run by changing the pins etc. We have modified the code for 1.8" TFT (ST7735R).
But this was very simple!! Lets go ahead
-
2Step 2
For both our input numbers the algorithm is basically the same.
Let the first number be a double named 'first'. We initialize it to be zero.
We make a Boolean 'isDecimal' and initialize it as false. This means that unless the decimal point is given as an input, the number is not a decimal.
Last, declare a float 'decimals' and set it as 10.0. We will use it for keeping a counter of our place after the decimal point.
Now if isDecimal is false, it means the number is not yet a decimal. Suppose you are storing your input number from the keypad as key.
You just need to update first=first*10+key.
But if isDecimal is true, the number is a decimal. You need to now update as
first=first+key/decimals, and decimals=decimals*10.
We keep repeating the above steps until the input for some operation is detected. Then we similarly detect the second number. Using the knowledge of the operation called, we operate the numbers and print the result when '=' is detected.
Remember to restate the values of decimals=10.0 and isDecimal=false after detection for a number is complete.
if(digitalRead(17)==HIGH) { delay(250); if(digitalRead(17)==HIGH) { tone(buzzer,5000,100); isDecimal1=true; } } if(customKey!=NO_KEY){ tone(buzzer,5000,100); Serial.println(isDecimal1); switch(customKey) { case '0' ... '9': // This keeps collecting the first value until a operator is pressed "+-" if (isDecimal1==false) { lcd.setCursor(0,0); first = first * 10 + (customKey - '0'); lcd.print(first,4); } else { lcd.setCursor(0,0); first=first+(customKey - '0')/decimals1; decimals1=decimals1*10; lcd.print(first,4); } -
3Step 3
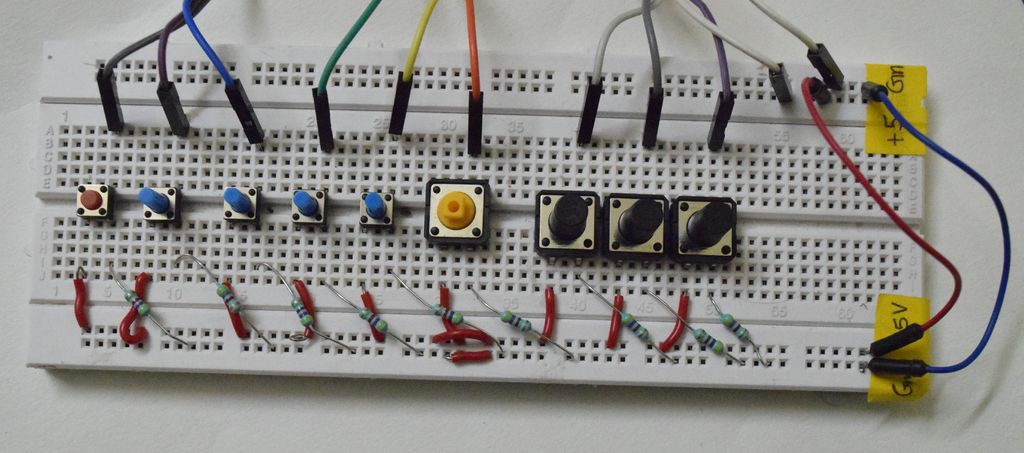
Now, we have to add more buttons for the scientific functionality. We have used some colorful buttons as shown in figure. Now assign them accordingly. Take care to assign similar buttons to similar functions.
![buttons for other scientific functionality]()
Since evive uses Arduino Mega, we have used following pins:
- sine=Pin25
- cosine=Pin27
- tangent=Pin23
- log=Pin22
- arcsin=Pin24
- arccos=Pin26
- arctan=Pin14
- root=Pin15
-
4Step 4
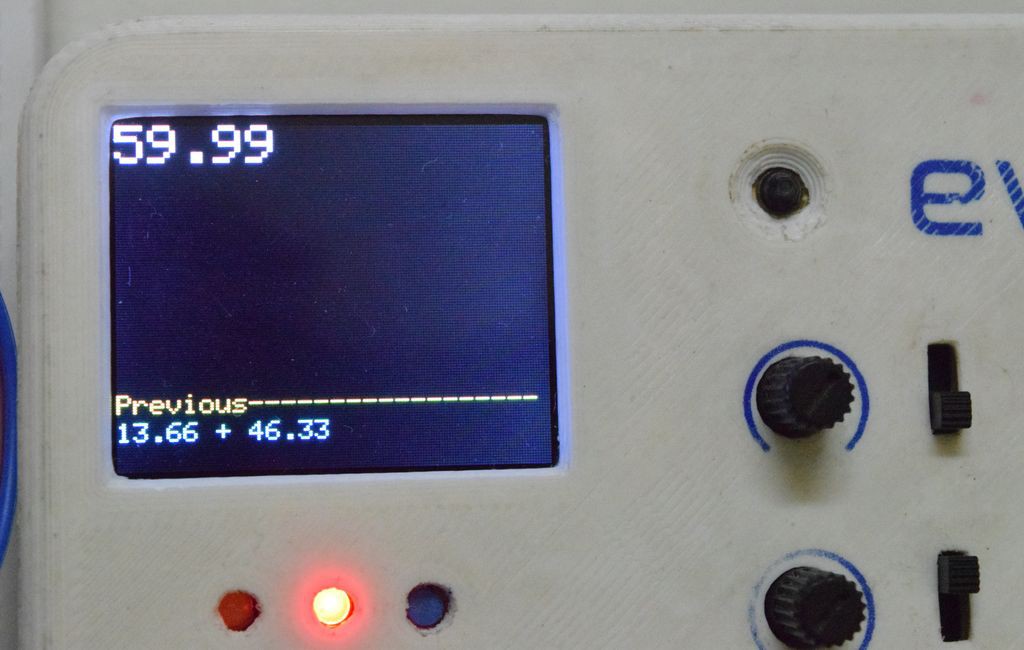
We have printed the calculation log also. In the bottom of the screen you can print the calculation log by just remembering the first and the second numbers of the previous calculation.
![]()
-
5Step 5
First try making the code for any one function (for example, sine function) using the inbuilt function 'sin(val)' of the arduino ide. Arduino ide also has pre-installed functions of cos, tan, inverse sin, inverse cos, inverse tan, log, square root. We have also added one more button for the decimal.
You can view the following image for reference for making different functions.
if(digitalRead(sine)==HIGH)
  {  delay(250);
  if(digitalRead(sine)==HIGH)
    { Serial.println("sine 1");
      tone(buzzer,5000,100);
      if(first!=0)
       first=sin(first);
    else
      first=0;
    lcd.setCursor(0,0);
    lcd.print(first,4);
    }
  }
Scientific Calculator using evive
fully functional scientific calculator using evive
 evive toolkit

Discussions
Become a Hackaday.io Member
Create an account to leave a comment. Already have an account? Log In.