Kevin Lhoste
-
Testing MQTT on ESP8266 with arduino
07/09/2016 at 20:24 • 0 commentsMovuino BLE streaming speed are limited by the relative low bandwith of the ble (theoritically ~1Mbits/s) and we managed to stream data at 10hz using BLE112 module which not so fast considering that accelerometers caneasily get data at 100Khz.
In order to increase streaming speed (and thus sampling rate) wifi modules (such as esp8266) can be a good solution.
Now there is many solutions for streaming data to a the cloud and getting beautiful charts (plotly,phant.io, adafruit, etc..). However those services limit the number of data sent to 1/sec which more than enought for logging temperature but not enought for "real time" plotting. So I chose to try the MQTT protocol as it seems to be made for transferring iot data at high speed.
MQTT installation is not so straightforward yet ! On windows the MQTT broker (the server in MQTT terminology) is Mosquitto . This step by step tutorial worked perfectly for me : https://sivatechworld.wordpress.com/2015/06/11/step-by-step-installing-and-configuring-mosquitto-with-windows-7/
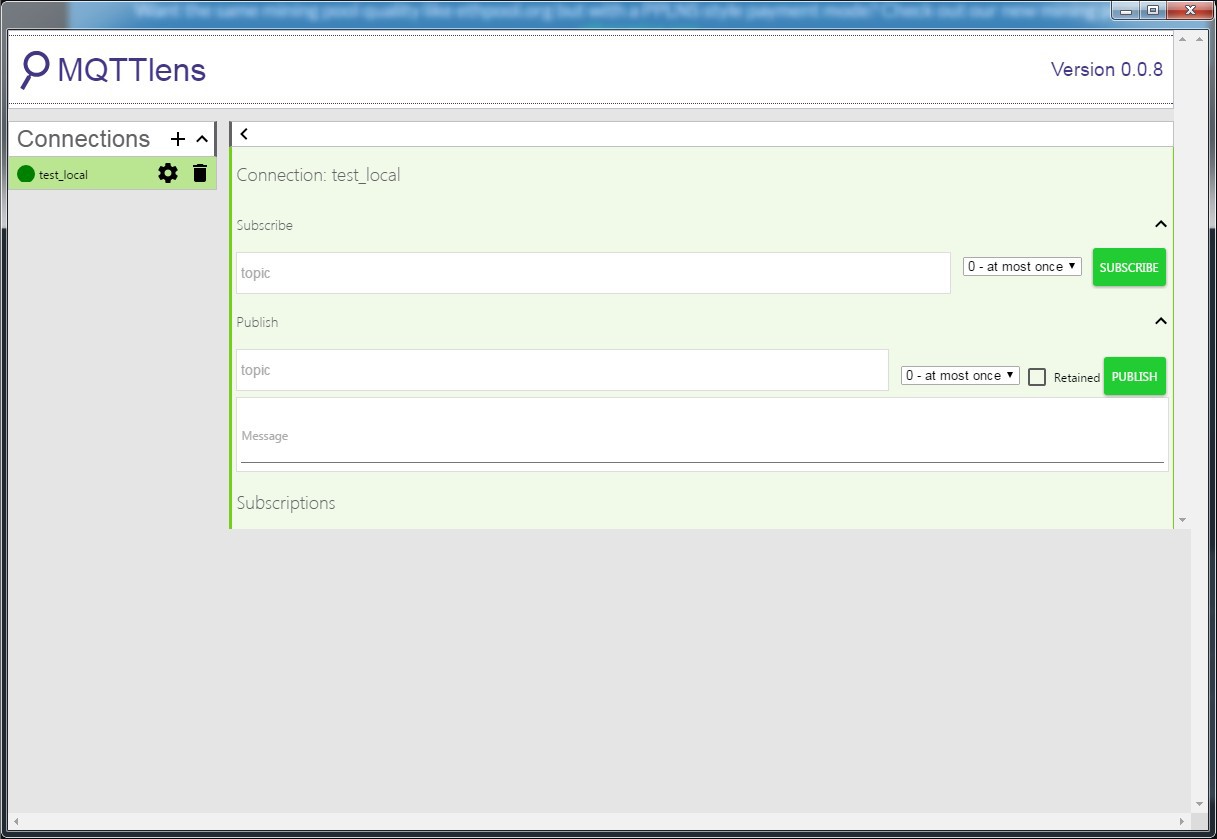
The other essential tool for MQTT is MQTT lens which is a MQTT client in the form of a chrome extension.
![]()
It is the perfect tool for testing the data pipeline between the different MQTT pieces.
In this setup the esp8266 will be a MQTT client that sends data over wifi to the MQTT broker on the local network and on the same machine a MQTT client in chrome receive data.
On the esp8266 side the code running is the mqtt_esp8266 example from the Adafruit MQTT library.
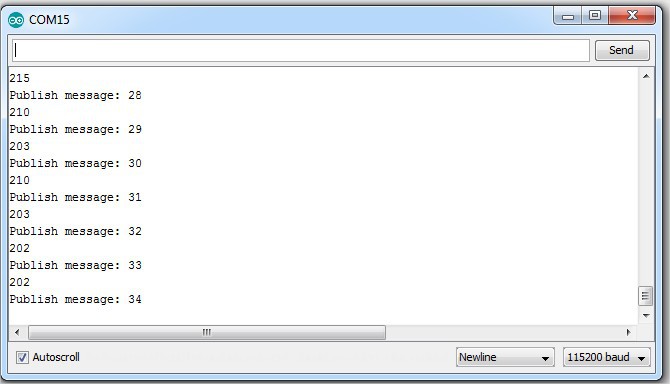
I managed to get everyhhing working together but the data rate is very low : when i print the ellapsed time on the arduino console , there is one data going every ~200 ms
![]()
This is deceiving considering that MQTT is made to send short data frames fast and still not enought for streaming live accelerometer data at a resonble sampling rate. Here the maximum sampling rate would be 5 hz which is worst than in BLE.
It seems that i am not the only one who got this problem :
http://stackoverflow.com/questions/33414441/nodemcu-and-esp8266-slow-mqtt-publish
I will explore more why there is such a delay but i guess it might be because of a bad implementation of a library (for instance a callback that is waiting for a reply before sending another packet and timeout).
-
Roadmap for Movuino hardware and software for the next 3 months
07/09/2016 at 20:23 • 0 commentsThis post will be about the roadmap and the hardware and software changes
![]()
-
How to connect BLE device with a computer
07/09/2016 at 20:22 • 0 commentsAt the beginning of the project (in 2012) their was 2 technical challenges to overcome concerning bluetooth : it was bluetooth 2.5 so it was impossible to connect with ios devices without MFI (too expensive for makers/scientists). In addition it was difficult to connect to desktop computer because the SPP (serial port over bluetooth) profile is not very stable (at least on windows) and it required to install a third party bluettoth stack (such as bluesoleil) or making a custom usb-serial-bluetooth converter.
Now with Bluetooth 4.0 + ble , the problem of mobile compatibility is solved but there is still a problem of connection with computers : BLE stack has not been implemented on every os and in order to connect a BLE device, a developer would have to develop an app for each OS using OS-specific frameworks.
For Movuino we didn't wanted to use this approach because developing, debugging and maintaining sofware for every OS would take too much time. So we chose to make custom dongle that do the ble to serial convertion and so for any os it appears as a generic serial port. The drawback to this approach is a higher production cost because instead of making one object , we have to make two.
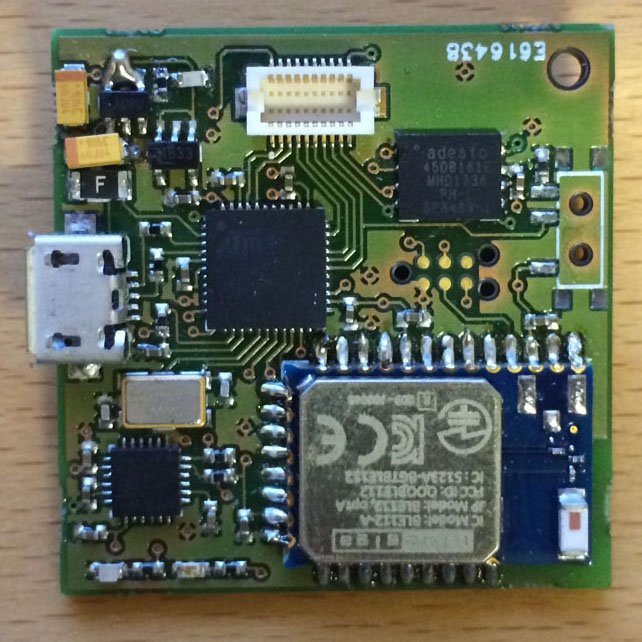
* picture of the dongle -
The hardware files can be found in the Movuino github repository in the dongle folder.
The difficult part was to make the dongle connect automatically to the Movuino. For this we used the scripting language offered by bluegiga in their BLE112 modules.
This module will be replaced by a NRF51822 or NRF52832 in the next versions.
-
Genesis of Movuino : The Dog Collar project
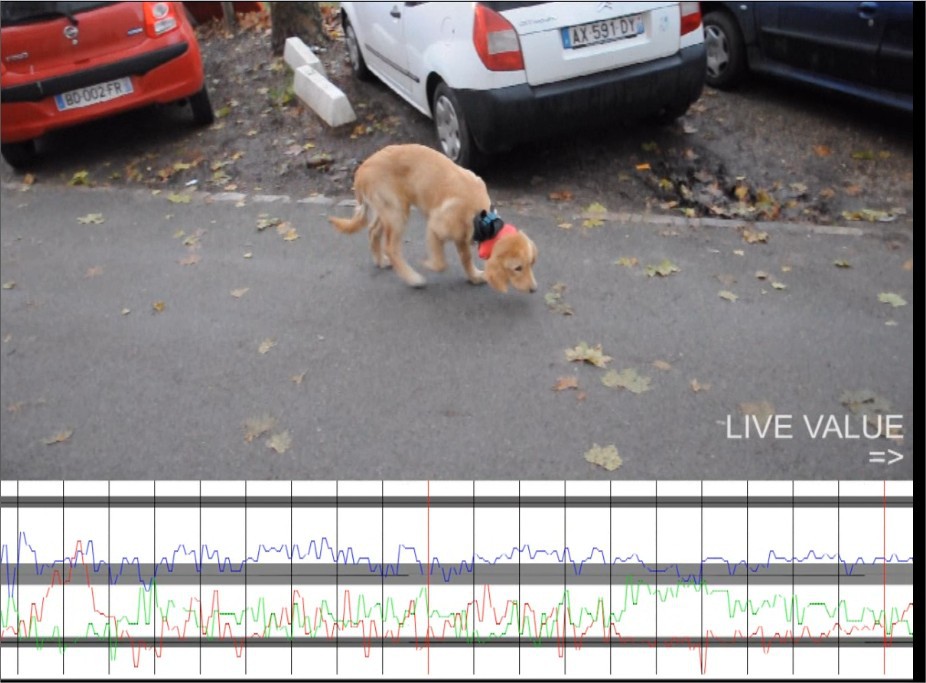
07/09/2016 at 20:21 • 0 commentsThe project started in December 2012 as a research project idea from Francois Taddei : the idea was to make a dog collar with motion sensors to study dogs (and cats ! ) activity. This is scientifically interesting because dogs live on average 20 years but they have the same age-related diseases as humans (e.g Alzheimer's disease). In addition most of dogs breeds have been sequenced and so the relation between the genotype of the dogs, their activity (from sensors) and the diseases they contract could help research on aging.
For dogs owners this tool could help the diagnosis of diseases and could also help to monitor "psychologic" health of the dog (for example a dog that suffer that suffer from loneliness when his owner is not home will adopt repetitive behavior such as running in circles).
First prototype
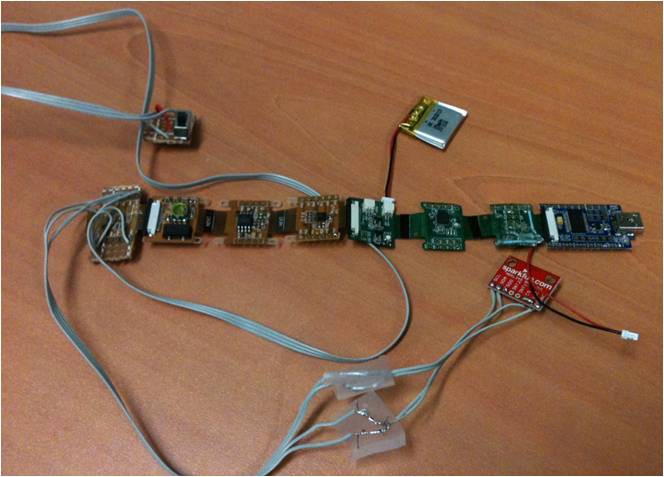
The first prototype was made using seeed studio film + motion frame + bluetooth frame as it was the perfect tool for fast prototyping as it had a arduino-compatible MCU (atmega328) and had already a SPI-flash for storing data , a 3-axis accelerometer , a LiPo battery charge IC and bluetooth 2.5.
![]()
We managed to get a first prototype working and we tested it on a dog of a veterinary school in Paris.
![]()
It appeared rapidly that we couldn't use this design for proper testing on many dogs because :
- the seeed film was too fragile without a frame underneath
- the prototype was too long (even for big dogs) because the seeedstudio film was designed for modularity and not for space saving. Each sensor occupy 1 frame (so it can be removed if needed) and so it is a "waste " of space.
So we chose for the second prototype to use the smallest arduino board possible and to designed a shield on top of it with the motion sensors.
Second prototype
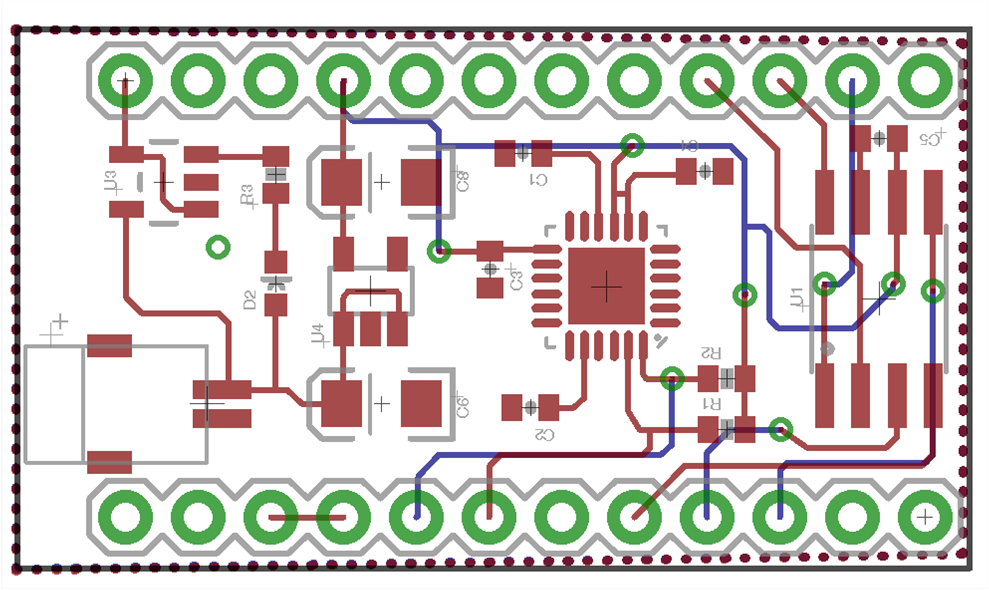
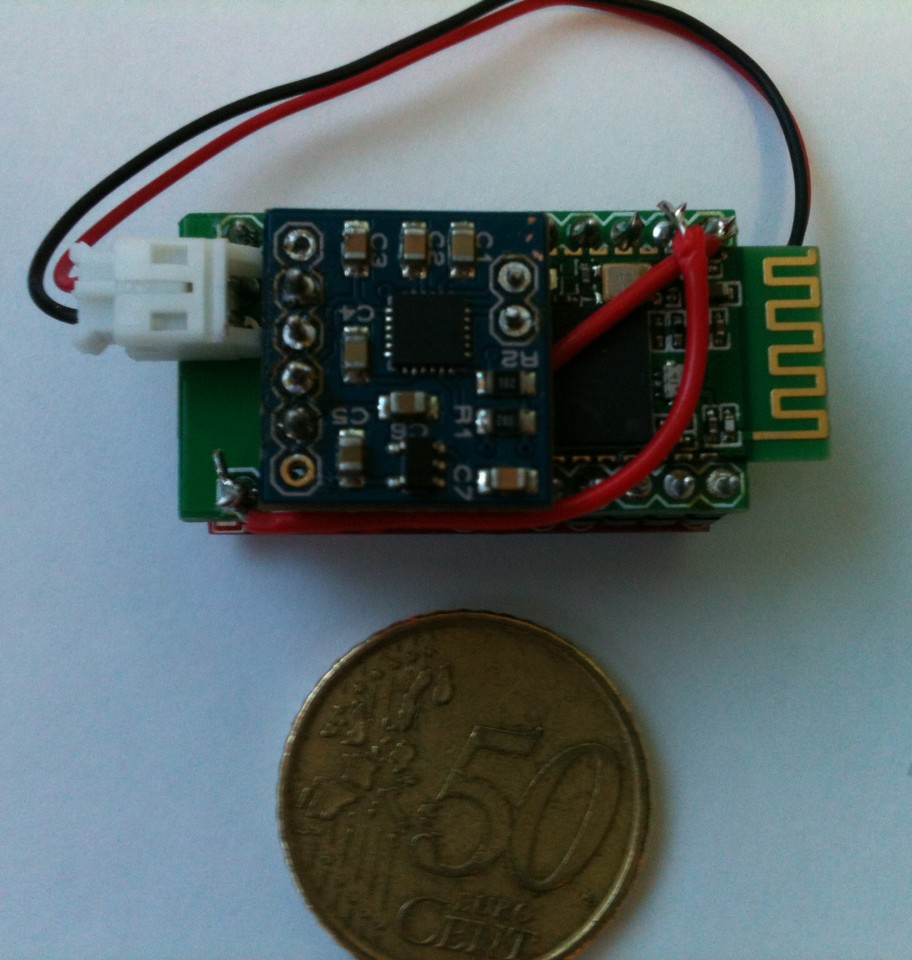
For the second prototype we used the Sparkfun pro micro 3.3V / 8Mhz as it is one of the smallest arduino compatible board (3.3 cm x 1.7 cm), has many input / output and is running in 3.3V which is very convenient for sensors. In comparison with other small arduinos (e.g arduino pro micro) this board as the advantage to be based on the atmega32u4 and so it is natively usb compatible with any FTDI adapter.
I designed a shield to fit on top of the Sparkfun pro micro with a 6 DOF sensor (MPU6050), a SPI-flash memory (AT45db161) and a LiPo charge IC (max 1555). Eagle files of those design can be found in my github in the "opencollar-hardware" repository.
![]()
The bluetooth 2.5 module was on top of the shield.
![]()
![]()
![]()
To be continued !!!!
Movuino
A low cost Open-Hardware wireless sensor board + online Machine Learning platform for Citizen research on motion.