I was hoping to finish the build last night but no such luck...
Since last time
My shaft fix held for a while but just before I managed to video it the entire shaft broke off. The torque is clearly too much for a 10mm 3D printed shaft!
Mechanical Progress
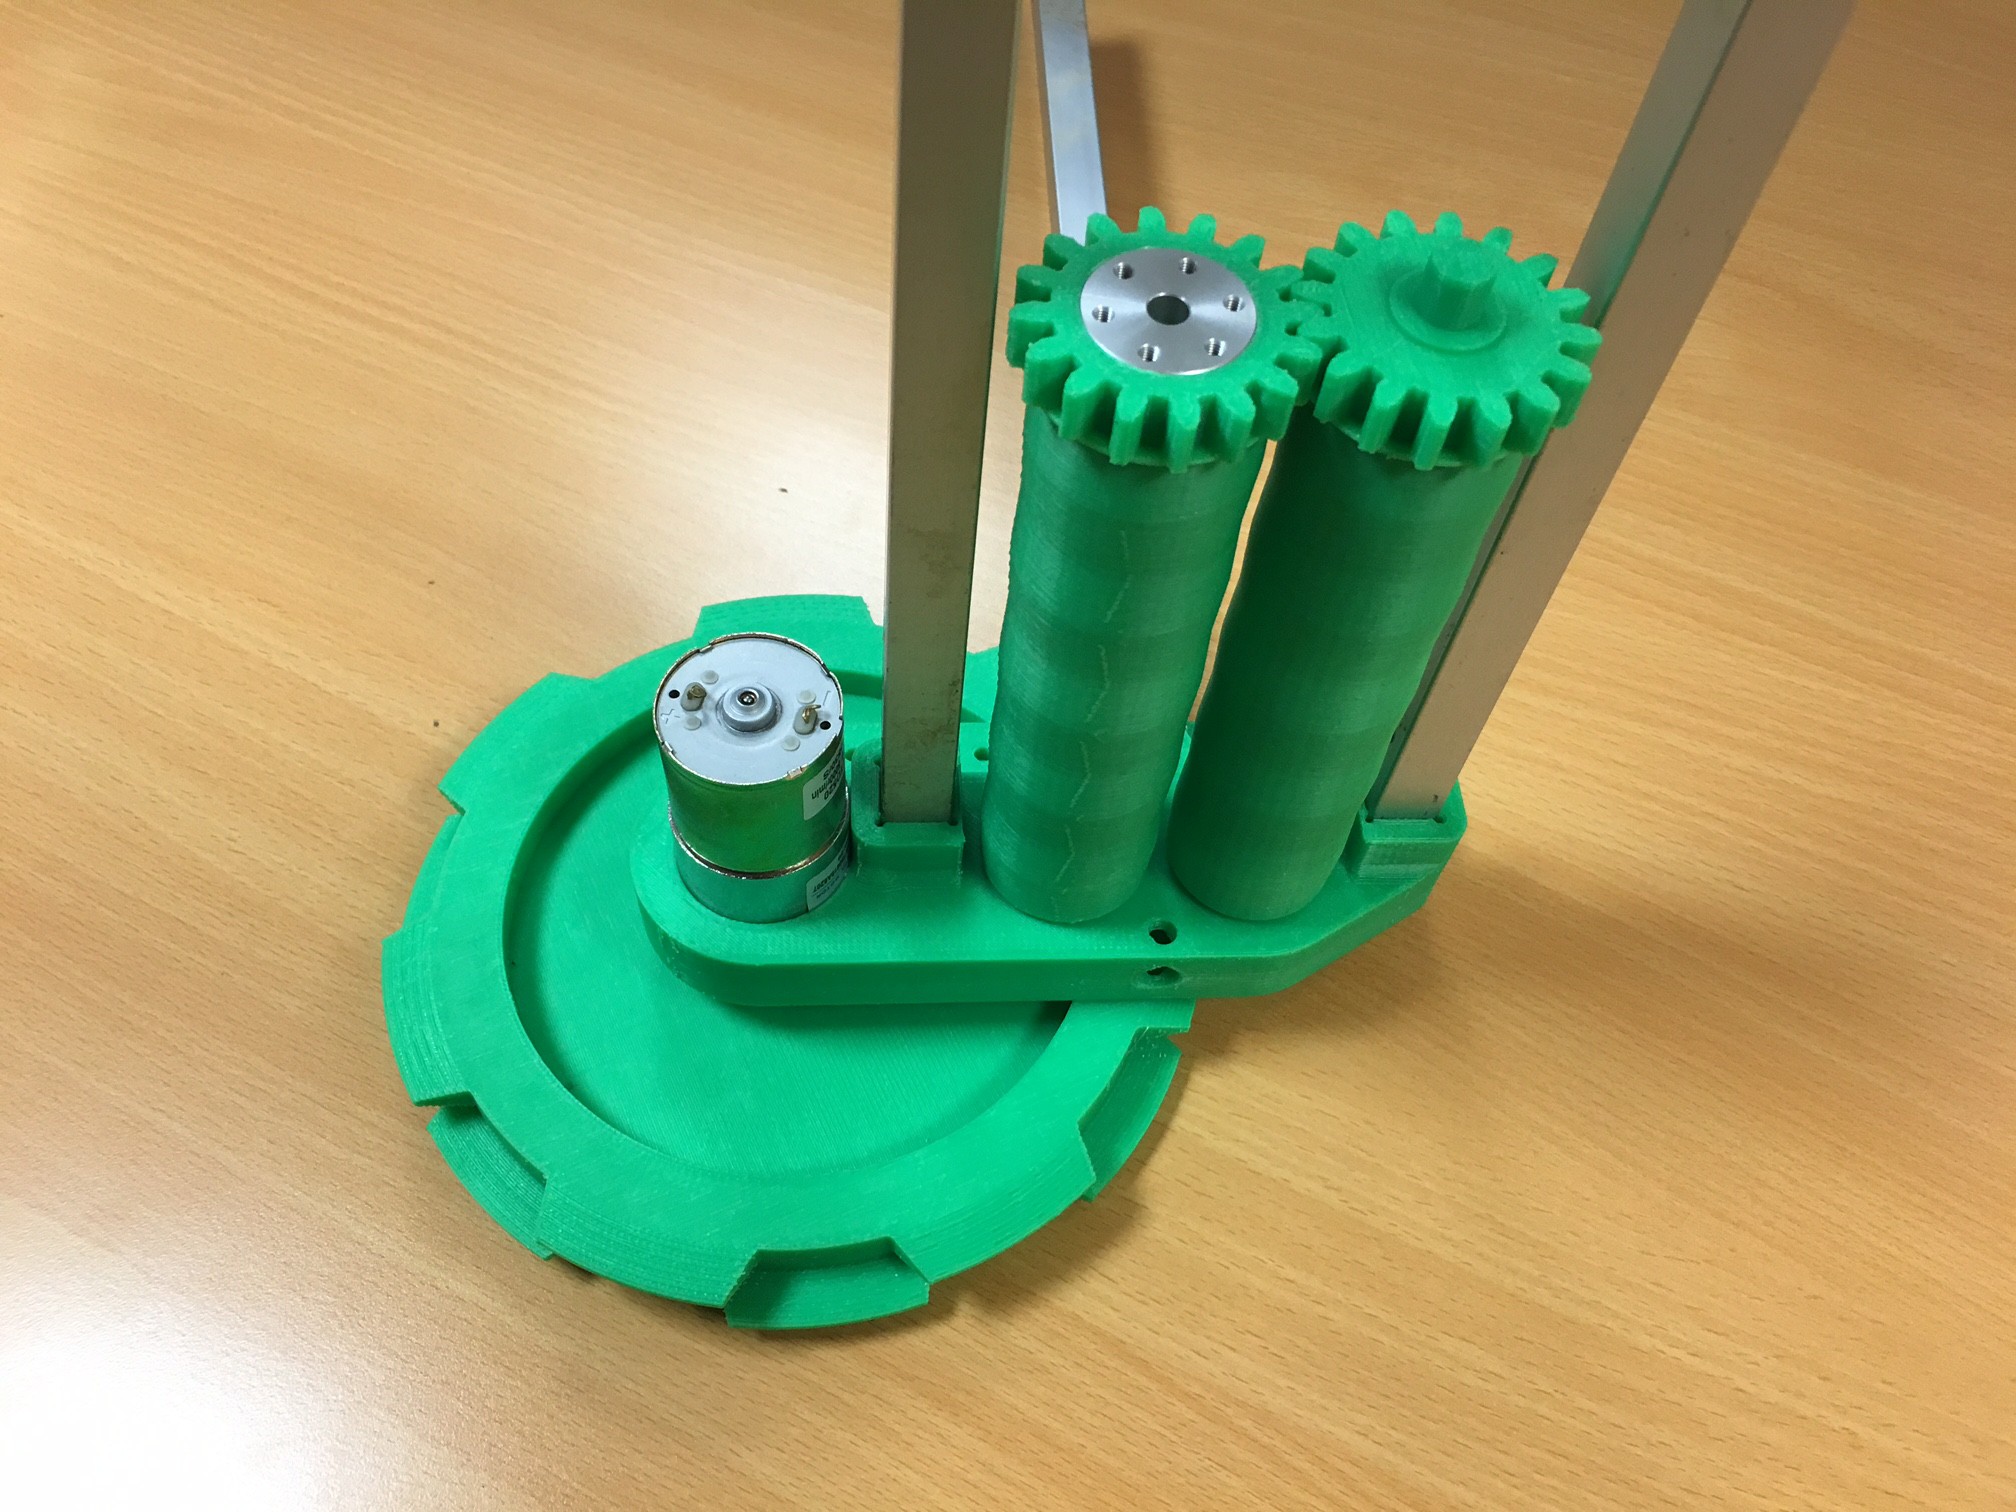
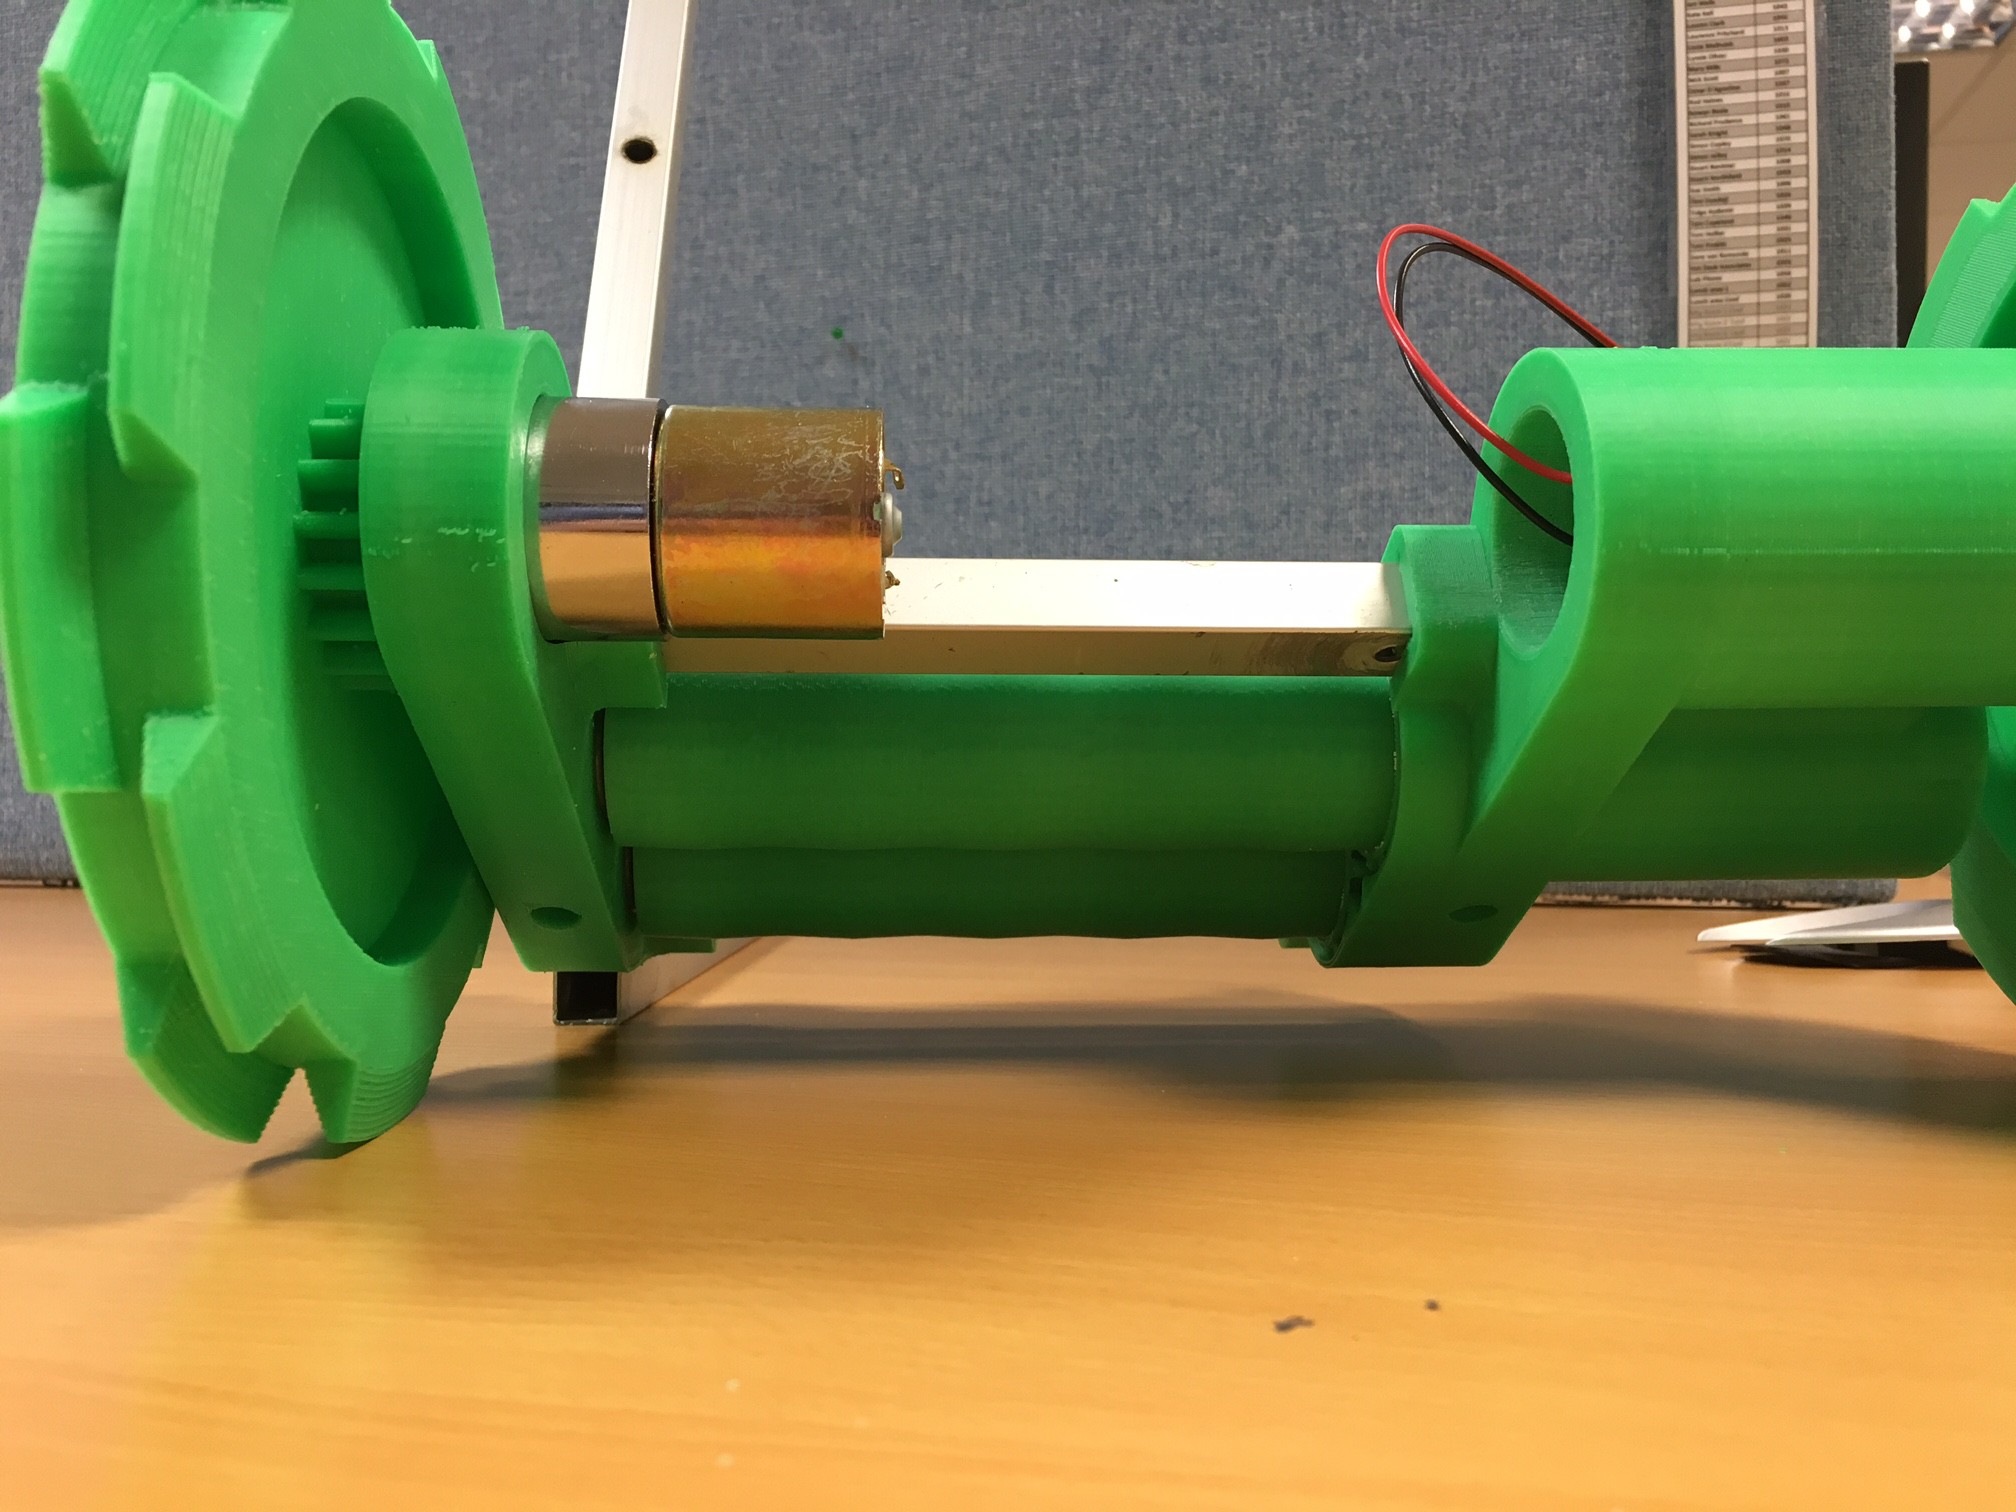
I have resolved the shaft problem by using aluminium hubs to transmit the torque. Six screw holes distribute the stress into the body of the 3D print.
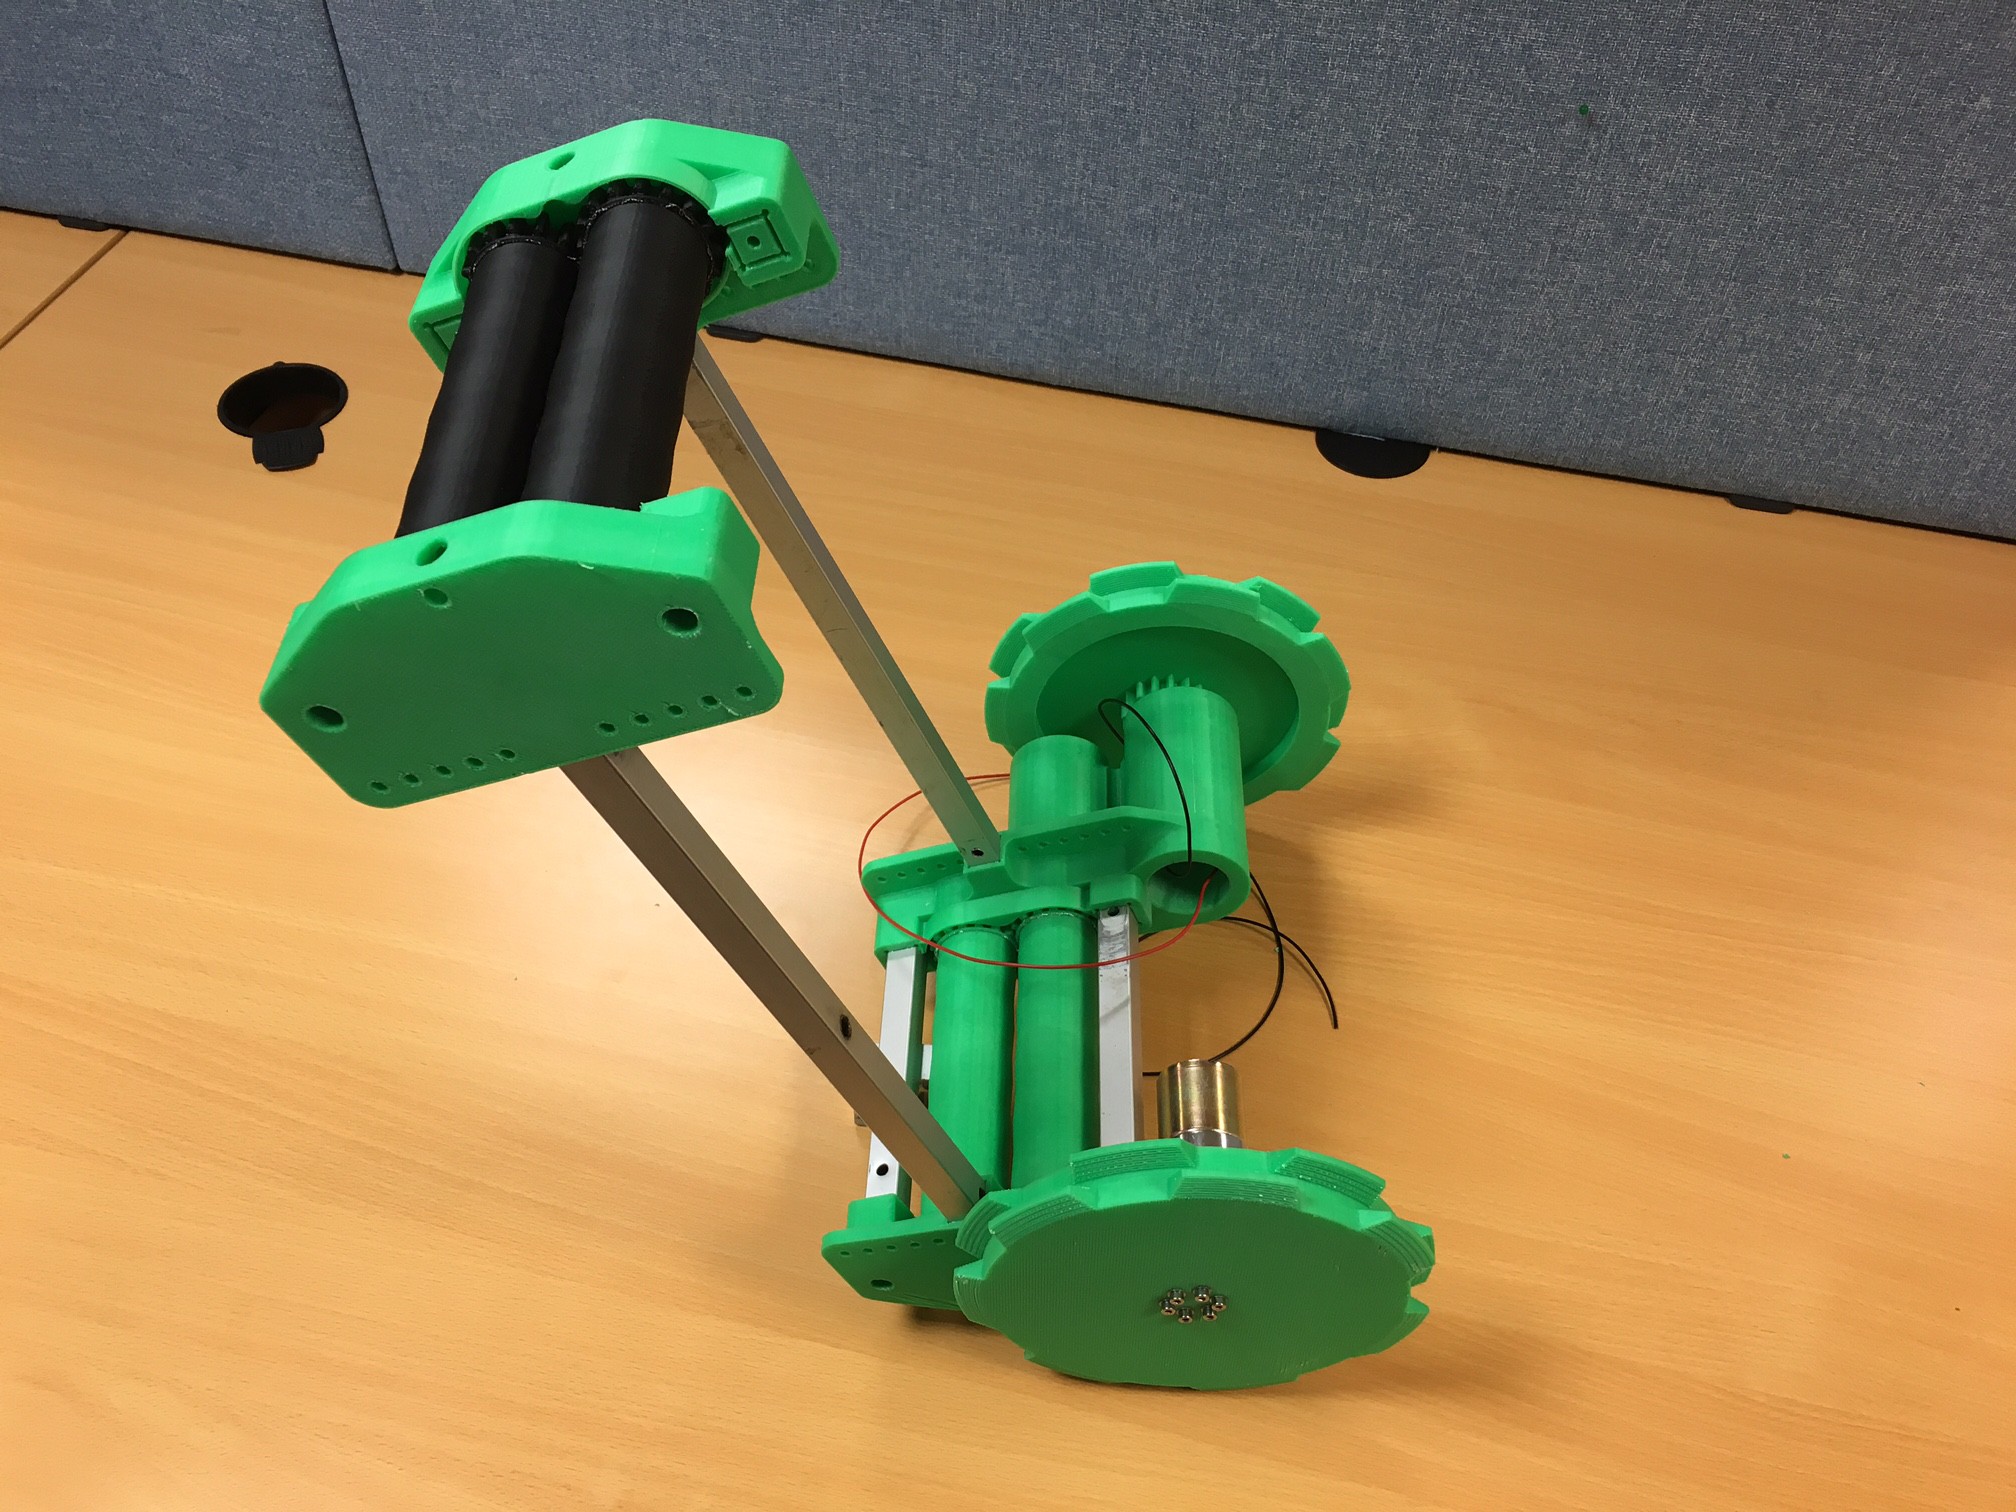
The munching end is now angled by design to minimise the amount of grass that is bent down out of the way rather than being munched. I plan to introduce height control by varying the height of the rear castor (yet to be fitted) which will adjust the angle between 15° and 30° and the cutting height from quite low to very high.
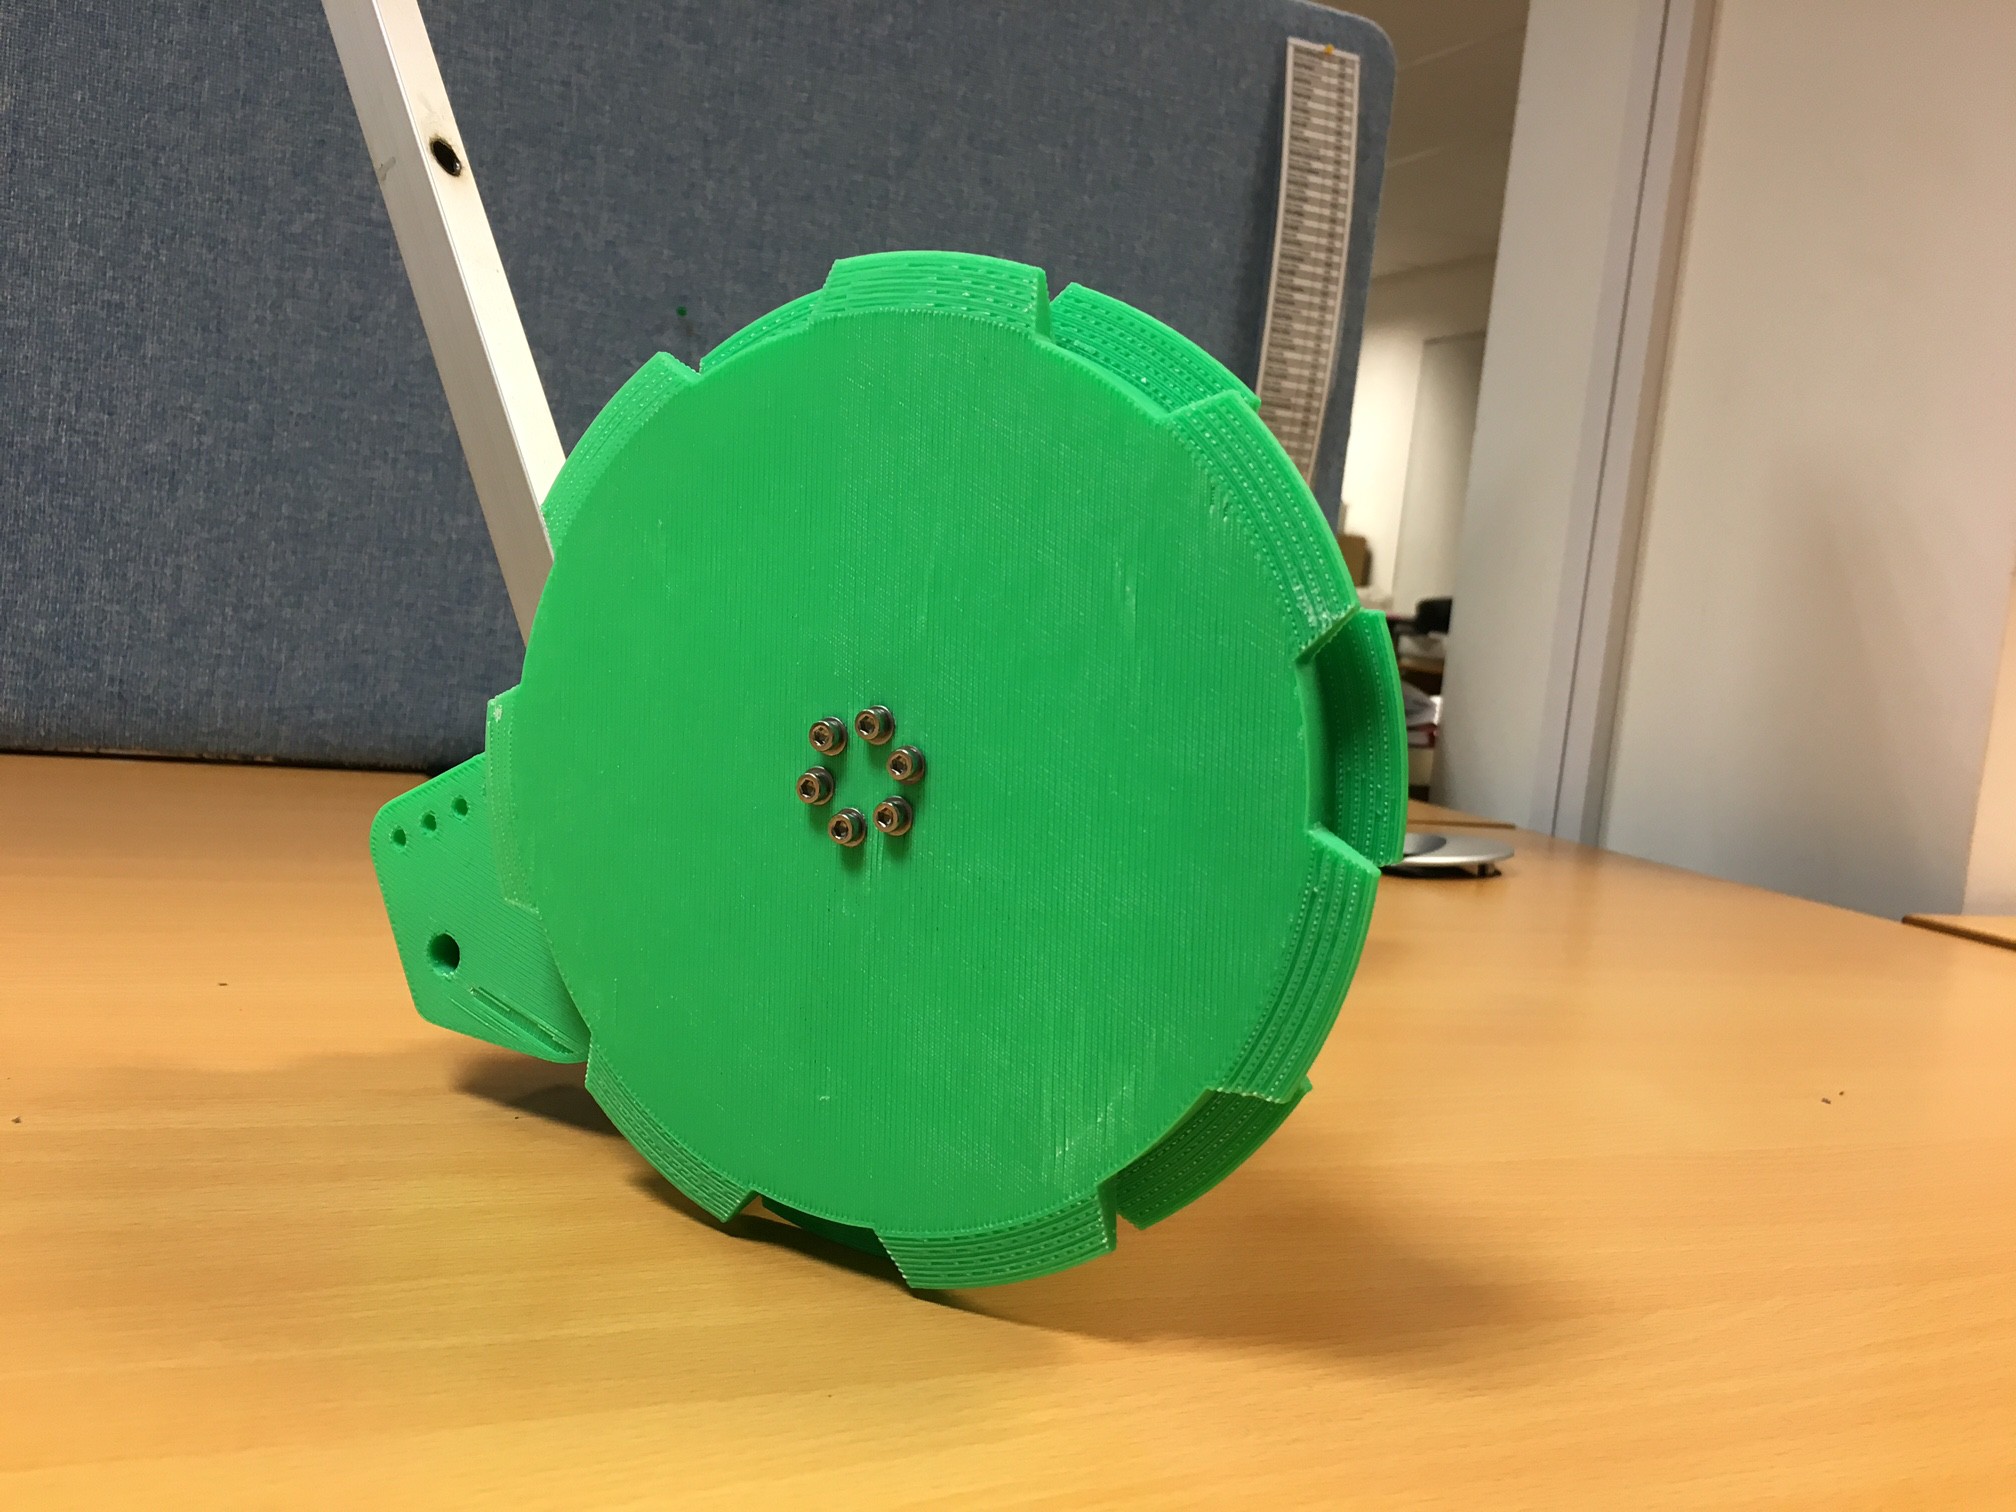
The wheels are 160mm diameter for good performance on grass.
Power system
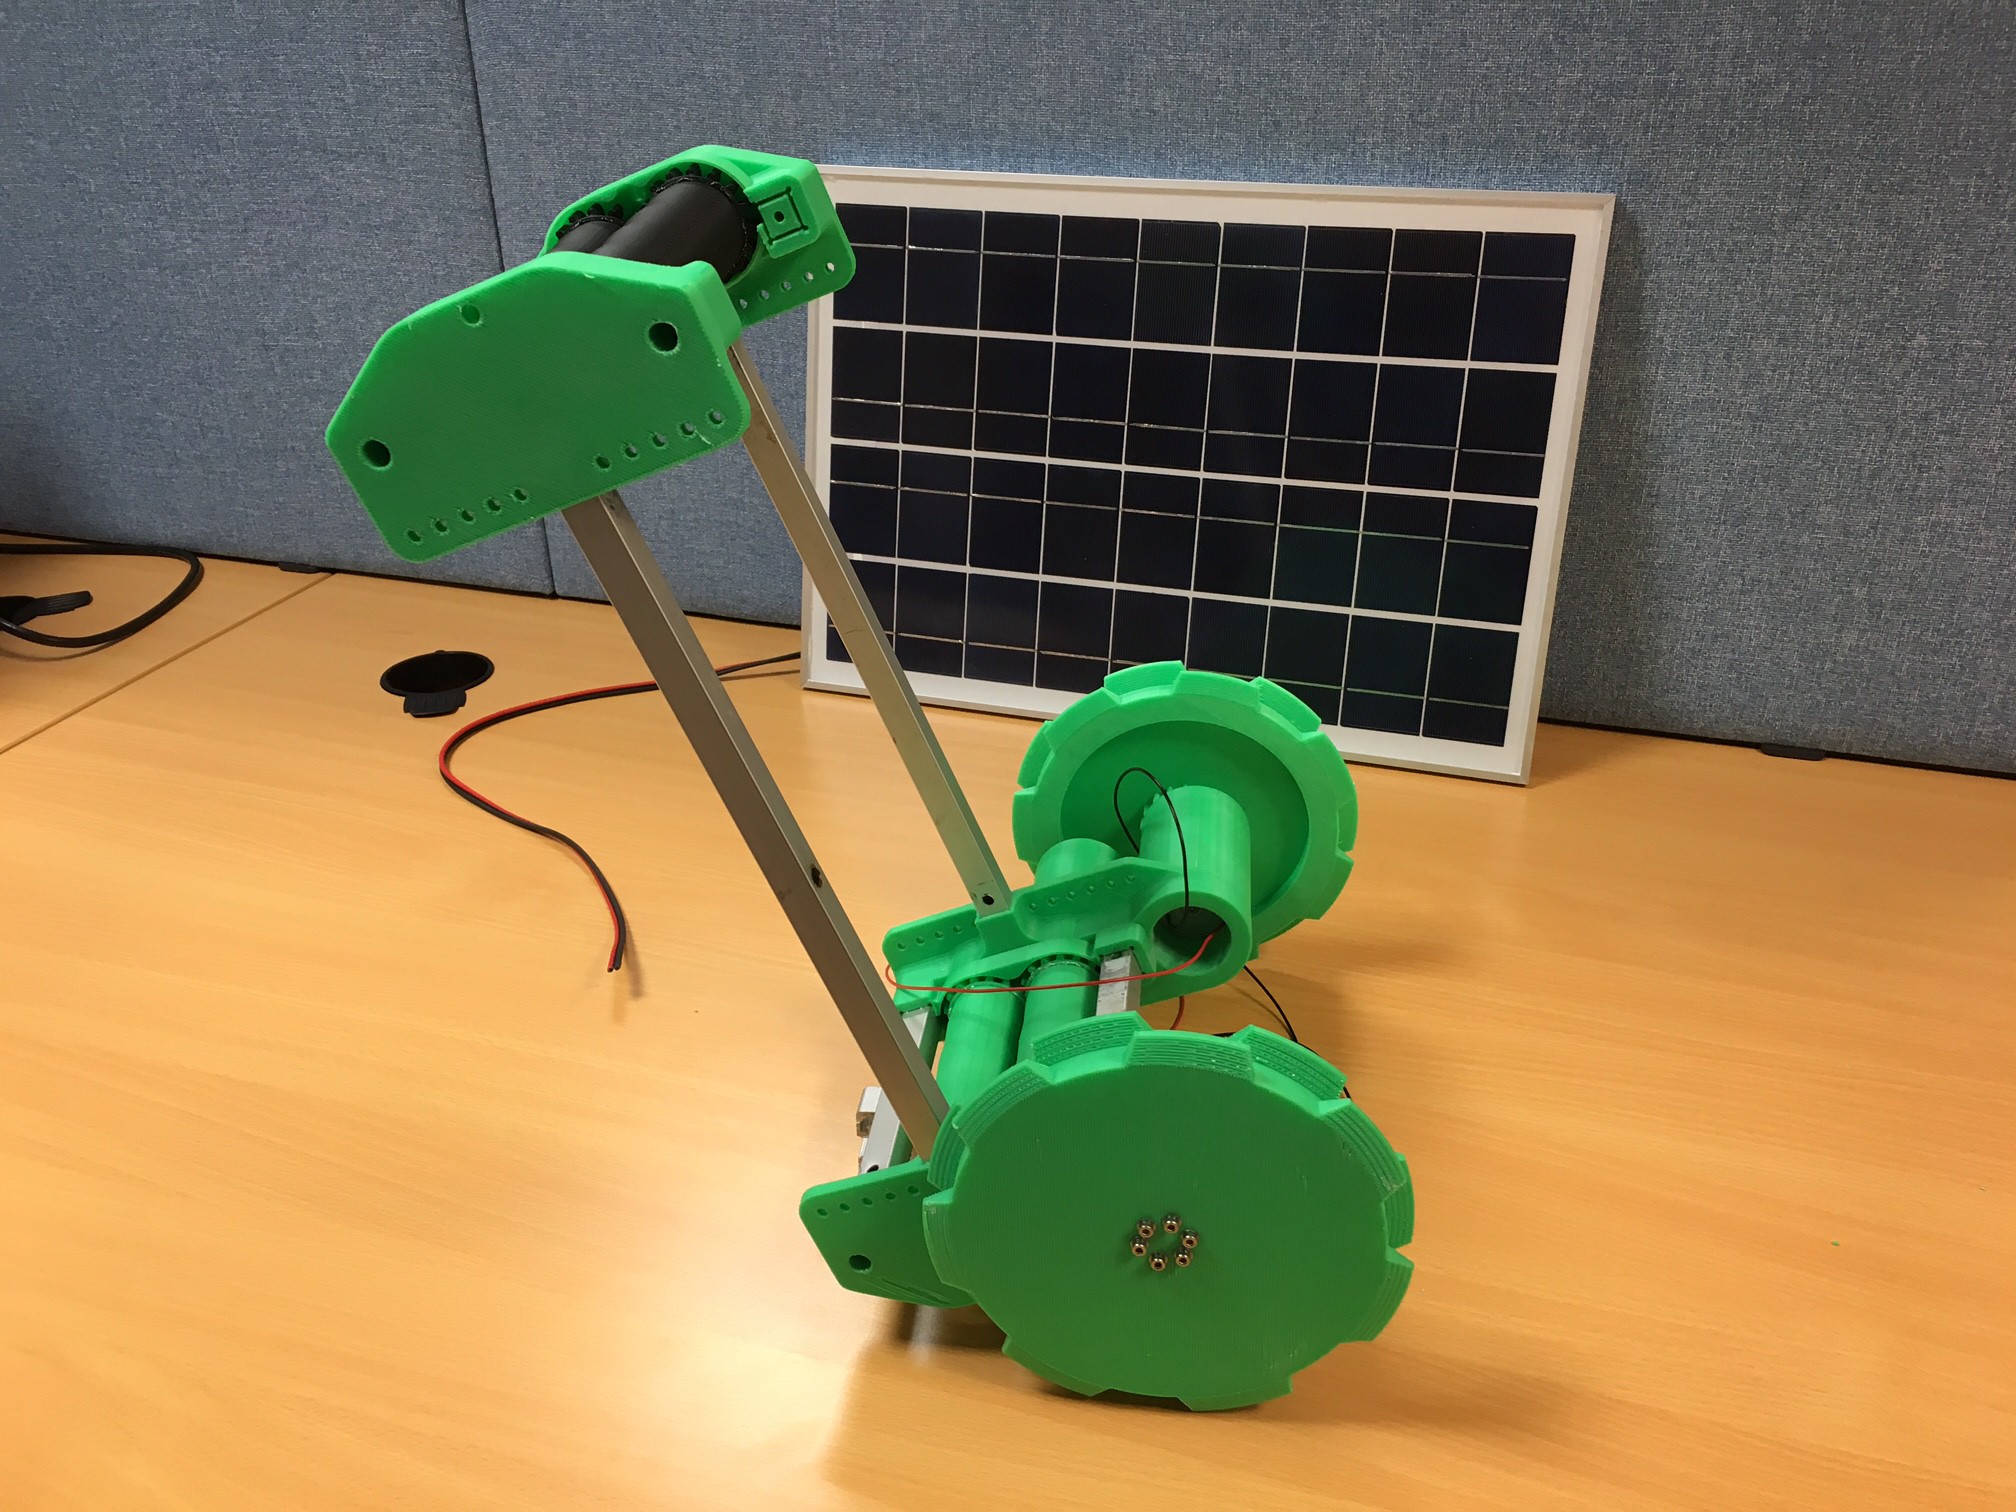
I bought a 25 Watt solar panel with a PWM 12V lead acid charge controller. I had hoped to make a lithium battery system but couldn't find anything off the shelf that could charge at ~20W and was small enough to be mobile. Given that I am out of time I settled for a small 7Ah deep cycle lead acid battery. I am very impressed with the solar panel, it generates over a Watt when pointing at blue sky in the shade. Based on tests the system should only use about 2W on average so up to 50% duty cycle is achievable with no direct sun (especially important as I live in Britain!) Here is a picture to show the panel size:
Thoughts on project so far
Issues with my approach have been frustrating. 3D prints are on the limit strength-wise for some of the components, and the belts complicate things. I did distract myself with a simpler munching assembly made from the rollers in a laminator but didn't get enough grip. I still think this might be a way to go, but I have persevered with the more complicated belt to hopper idea for now.
Setbacks, along with being busy with my day job and life in general, have meant I haven't got this finished for the Automation Hackaday prize deadline but I'm not going to be defeated, keep watching for updates.
CAD
All of my CAD will be uploaded shortly. It isn't done neatly because of the rush, but it might be of interest to someone.
Still to do
I need to reprint the far side lower roller bearing housing due to the motor not fitting properly. Once that is done I can assemble the system with the belts and cut and fit all the aluminium extrusion.
I will be interested to see whether the crowning on the rollers is sufficient to keep the belts located, otherwise I will need to add a guide comb.
I need to add the tail wheel (I have the castor from a broken wheel chair but I need to fit it)
I need a cut grass hopper and guides/brushes to clear the belts.
I need to mount and wire in the motor controllers, battery, charge controller, arduino, colour sensor, compass, and solar panel.
I need to add a waterproof casework.
I will need to check the colour sensing algorithm once assembled and test the software for the first time and go bug hunting.
I then need to write it up properly, add bill of materials, design files and code.
I then need to watch it do all the hard work while I laze in a hammock with a cold beer!
Until next time...
 jellmeister
Discussions
Become a Hackaday.io Member
Create an account to leave a comment. Already have an account? Log In.