Now that I had all these nice bits of equipment, I needed a place to mount them all. For that purpose I considered the requirements.
- Light
- Strong
- Insulator
In retrospect, while it's true that the projected temperature of the atmosphere at the balloon's maximum altitude is lower than that of the minimum operating temperature of many of the components, the atmosphere has lost so much of its density by that point that it cannot wick away heat effectively enough to matter.
Regardless, my past self saw it logical to choose a small styrofoam cooler to fit the above specifications.
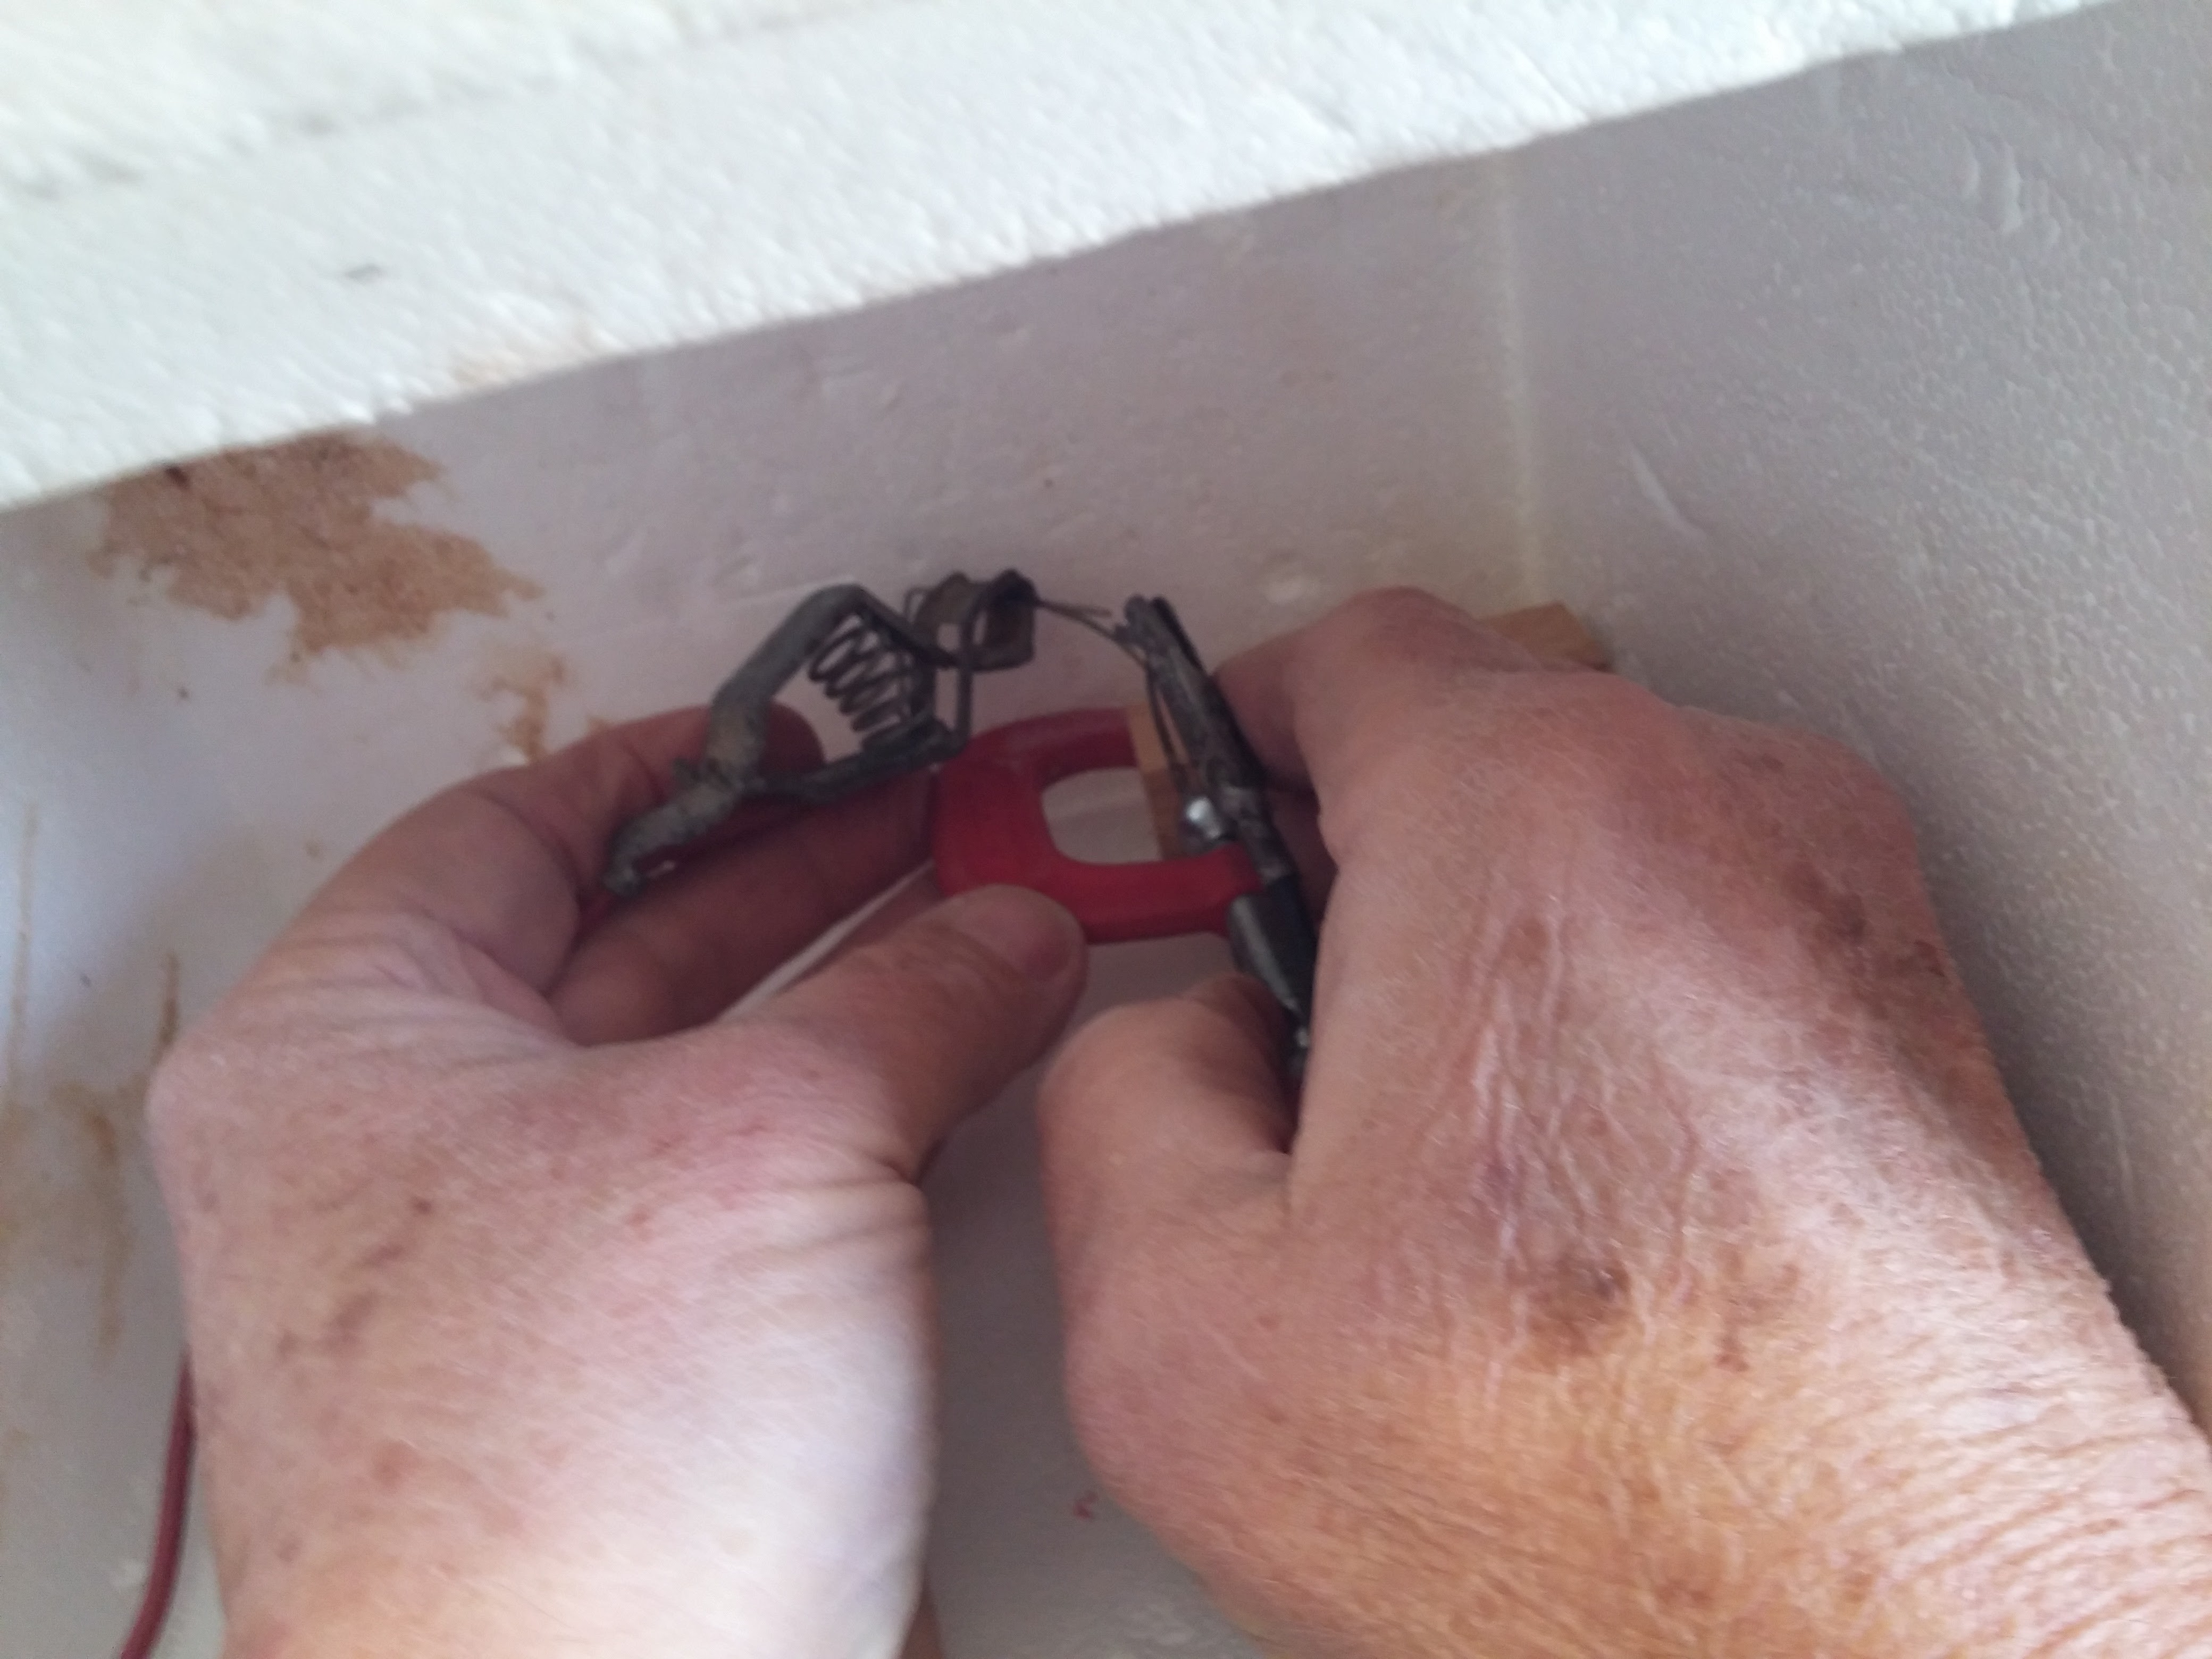
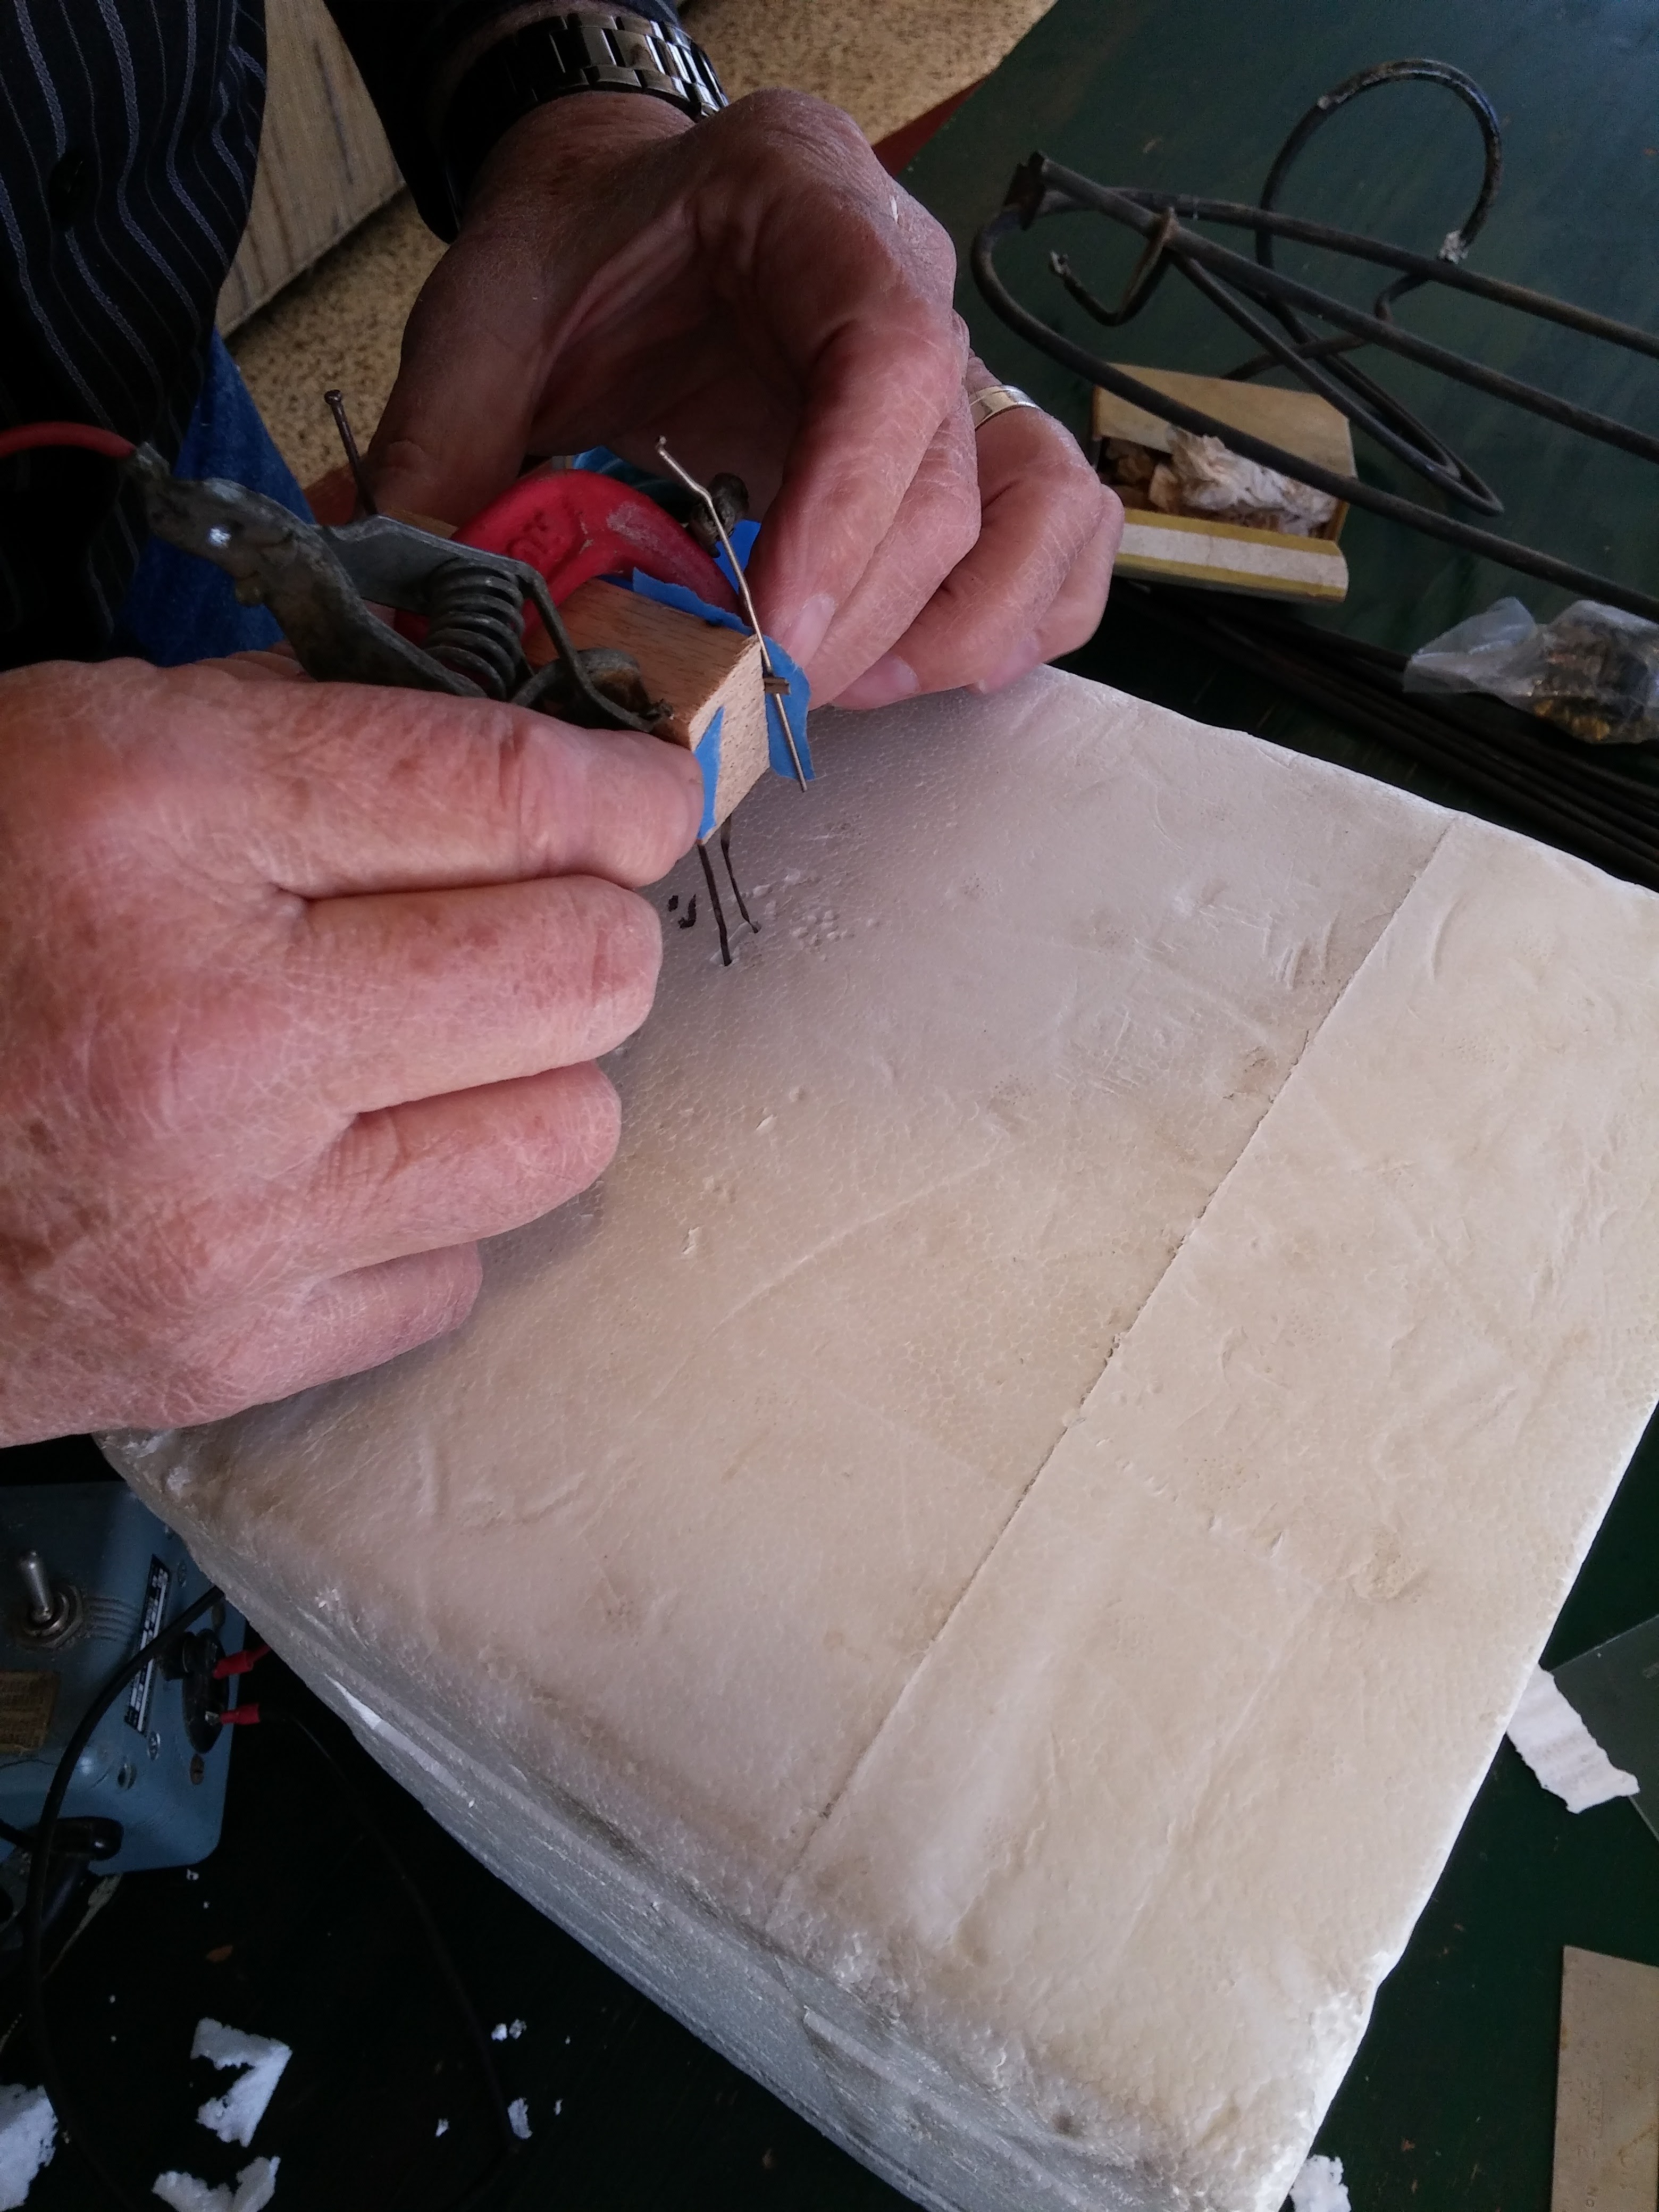
Anyone who's ever tried knows you can't precisely cut styrofoam with a knife. It kind of just bludgeons through as if the knife wasn't even sharp. To overcome this, my Grandfather suggested shorting a wire to heat it up and melt through the foam. Here are some pictures of that process.
 |  |
I chose to mount the lower resolution camera facing downward and the better one horizontal because if I want high resolution pictures of the ground, I can go to google earth. Pictures I took of the curvature of the Earth would be much cooler.
The Barometer/Thermometer was mounted in the side, which may have been a mistake as it could have been exposed to sunlight.
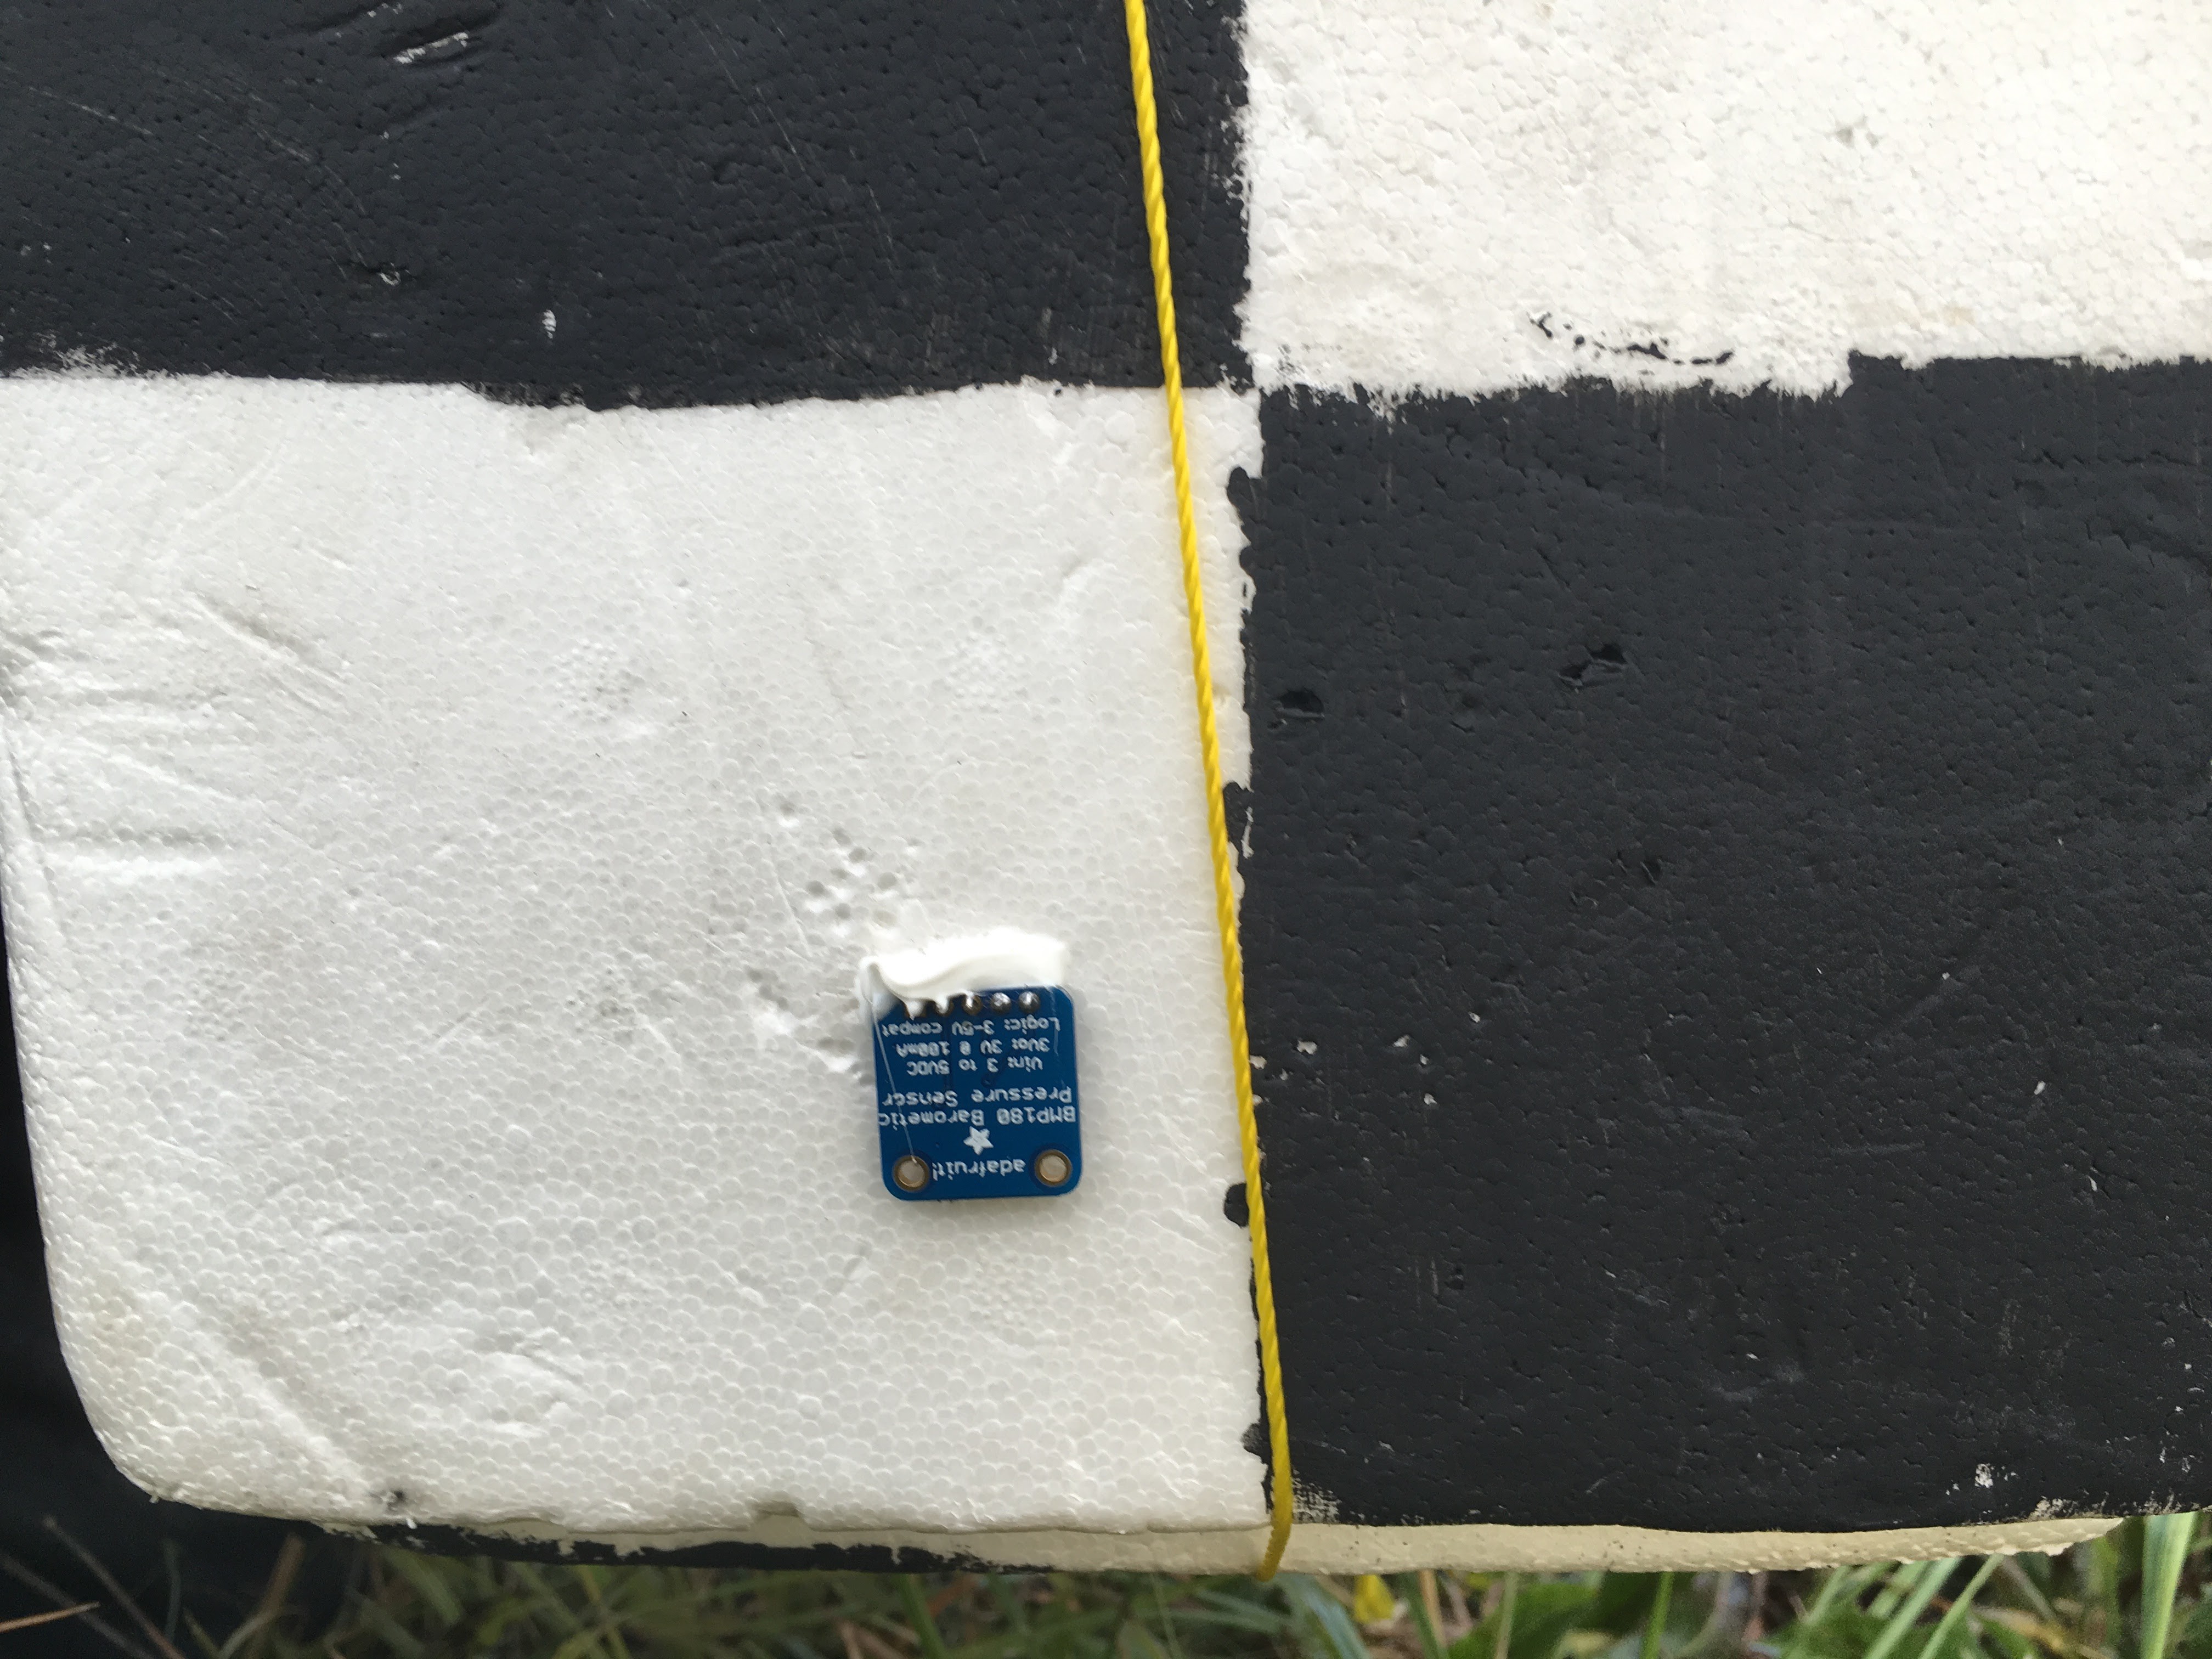
We also painted it with a lovely checkerboard pattern to increase visibility.
 | 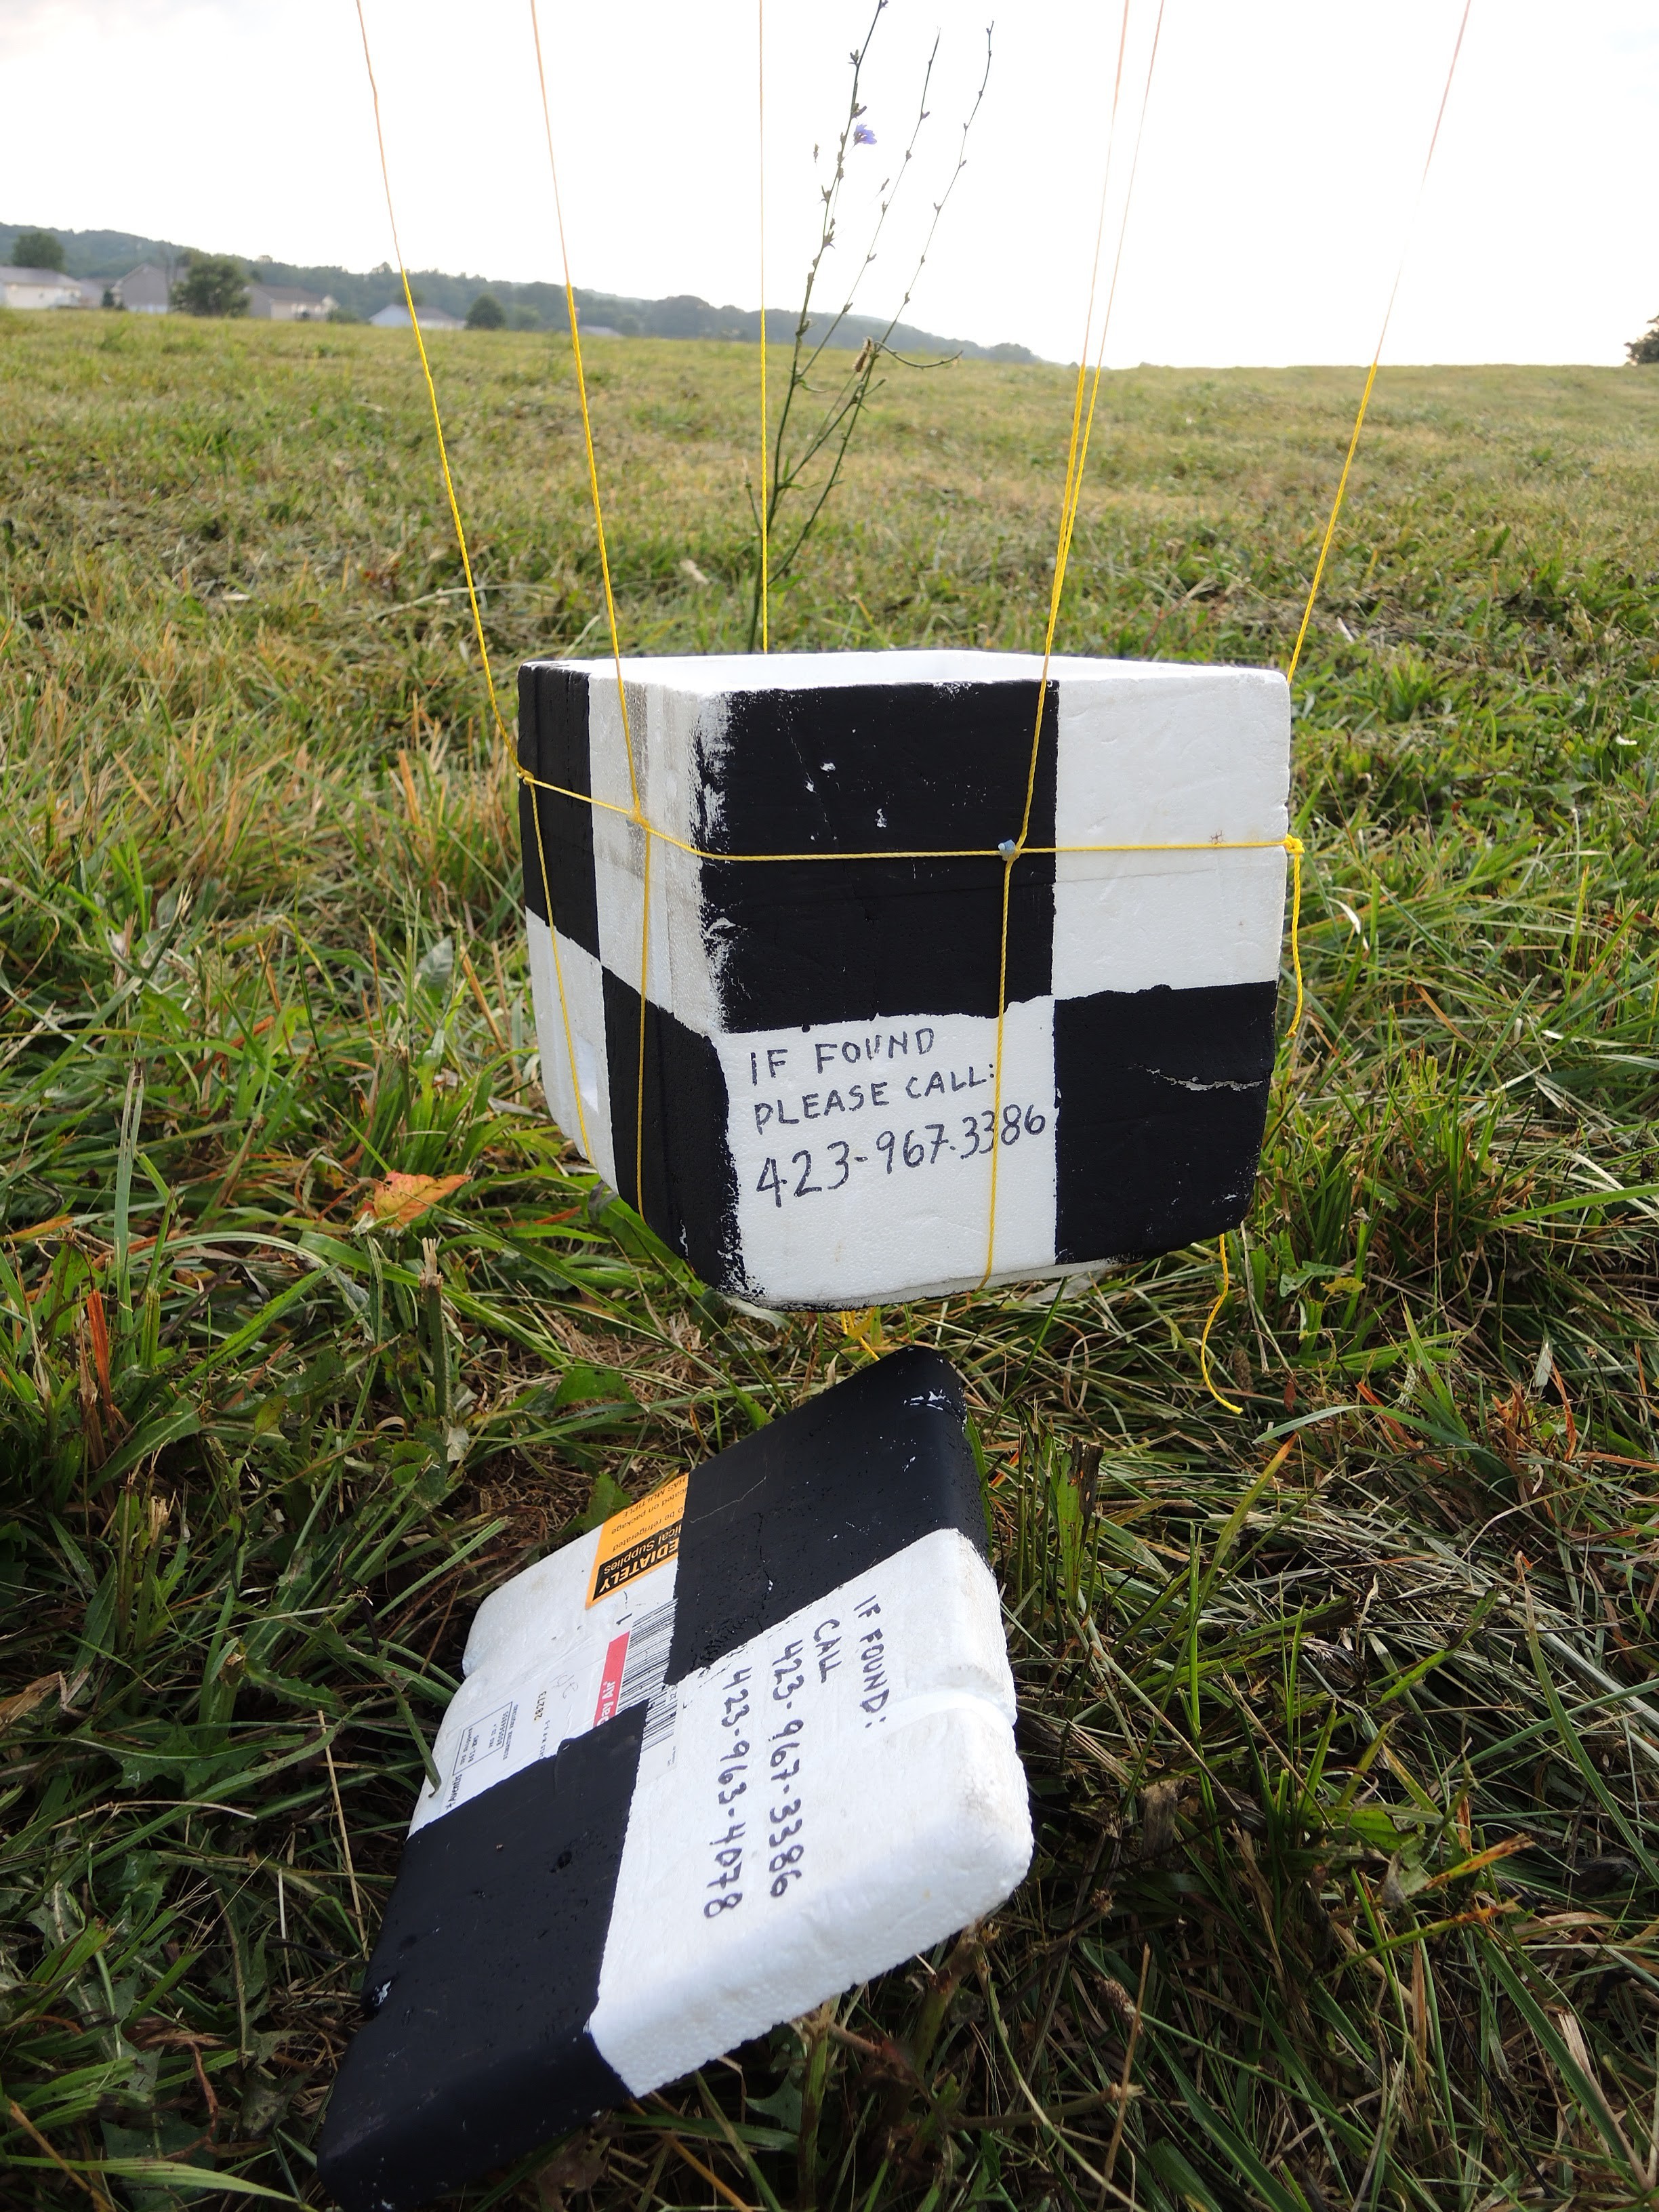 |
For securing the box to the balloon, we used this fancy rig, which incorporates the radar reflector. It'll be explained later. Also please pardon the awkward photo patching. It was too tall for one picture.
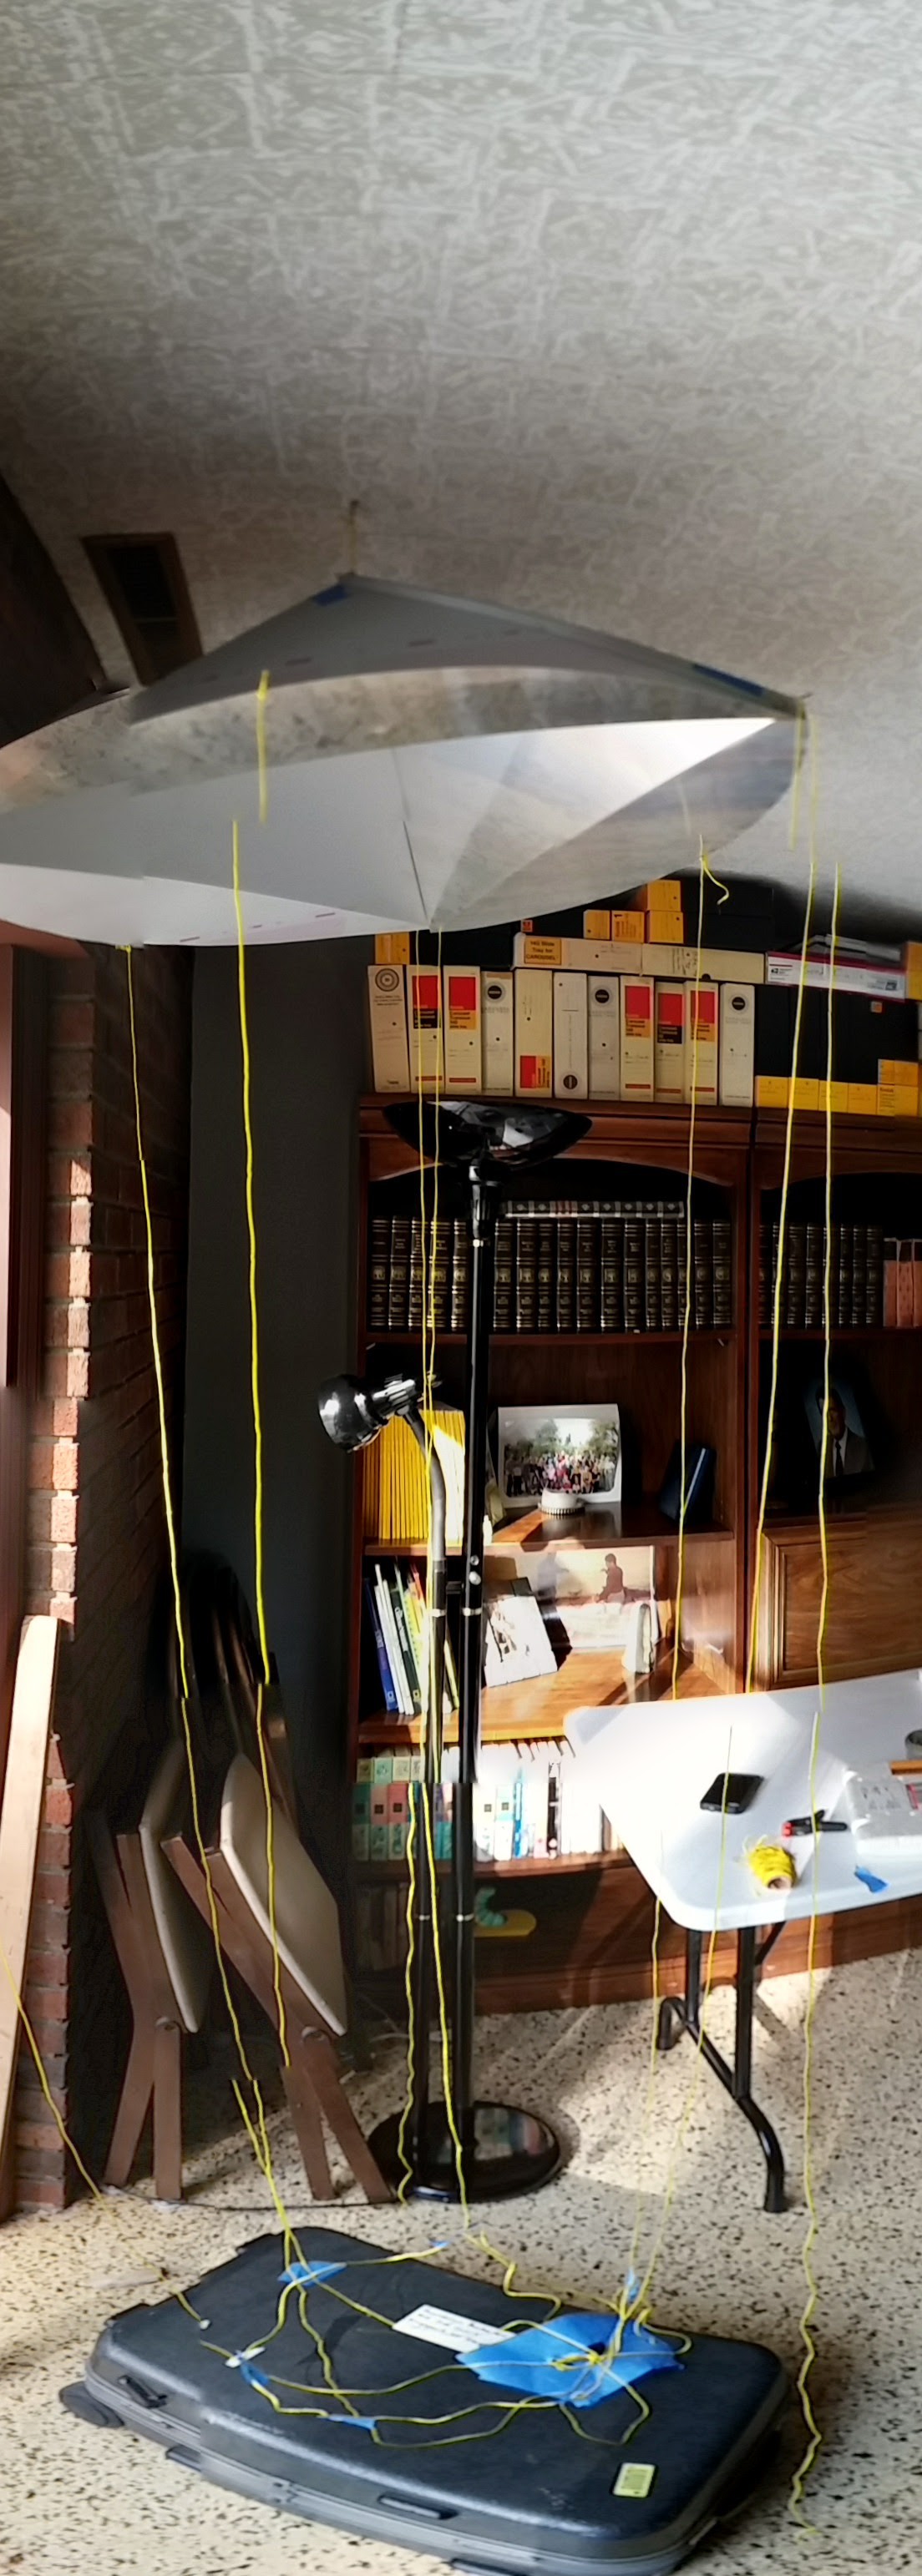
The box sits in the harness a the bottom.
 Jonathan Buchanan
Discussions
Become a Hackaday.io Member
Create an account to leave a comment. Already have an account? Log In.