 fl@C@
fl@C@
It had to.. Murphey's Law.. Well, I have printed quite a bit on the new Da Vinci 3D Printer... I actually really like this thing...

But it is out of commission for the moment.. Sputtering prints... I ran through all the normal cleaning procedures... Long story short... .. A combination of problems.. Many failed attempts and a lot of wasted time and plastic...I think I have it under control...It is currently 5 hours and 8 minutes into a print with 3 hours and 2 minutes remaining....and the print looks good so far.
If anyone is interested, I can share a couple lessons learned...
Update: Thanks for the interest! Here's what I learned..
It started out with the printer just having little spots here and there where there'd be sputters and inconsistent flow.. That didn't always ruin a print.. but it was annoying, I'm sure most people are familiar with that.. The major problem came when the extruder started making the clicking thumping sound...that sound it makes when the drive gear slips and strips the plastic... It only seemed to do it at certain points in the print.
So, the nozzle was pretty dirty... (worse than this actually because I forgot to take a pic of it)
So, I started with the normal suggested cleaning... Wire brush... Broke out the little wire cleaning tool provided with the Da Vinci.. Heated the nozzle, poked the wire in there scrubbed around.. Looked good.. Tried it again.. nope. Same problem and more wasted time and plastic.
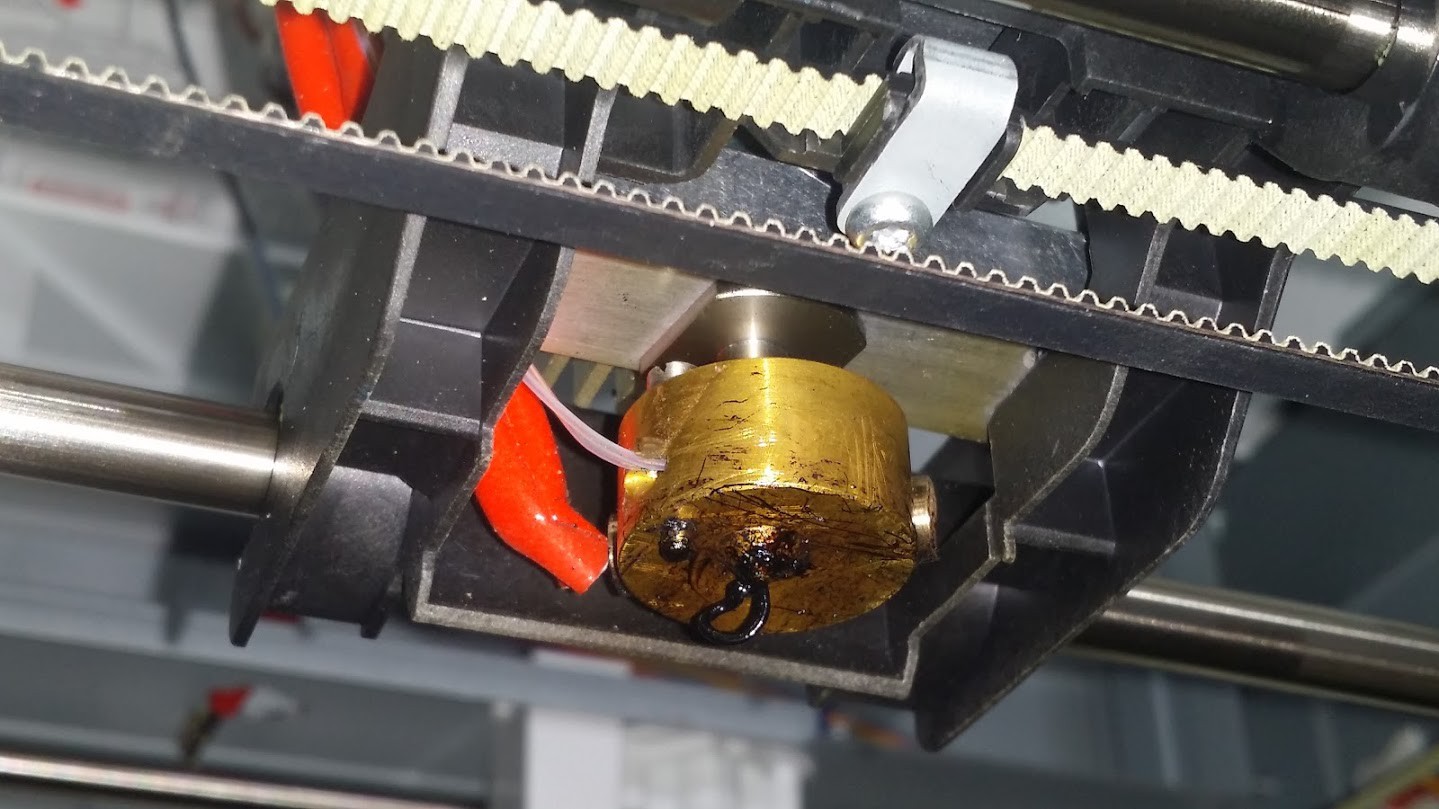
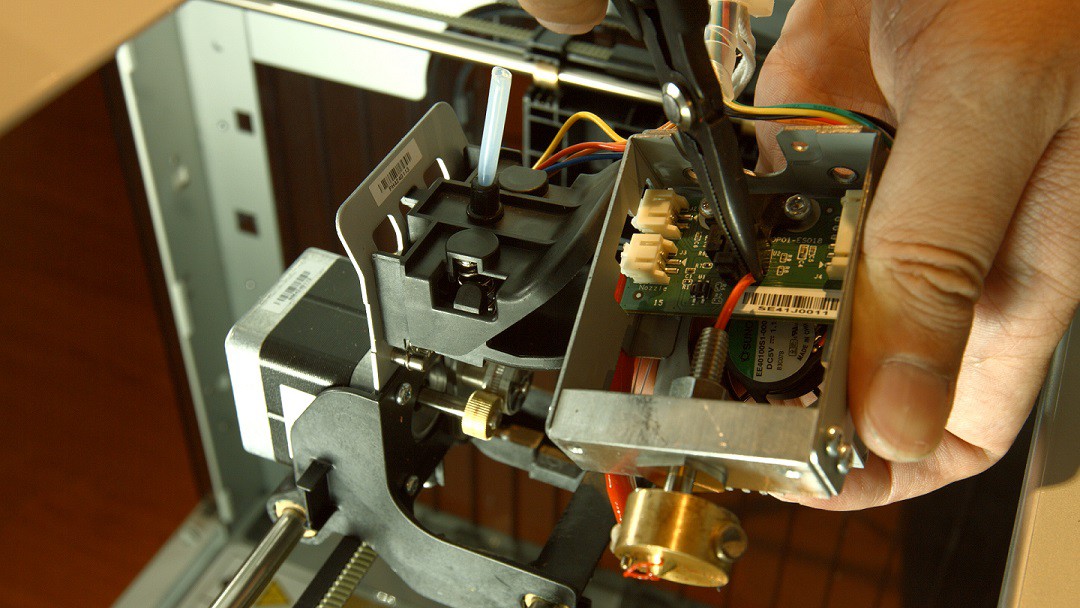
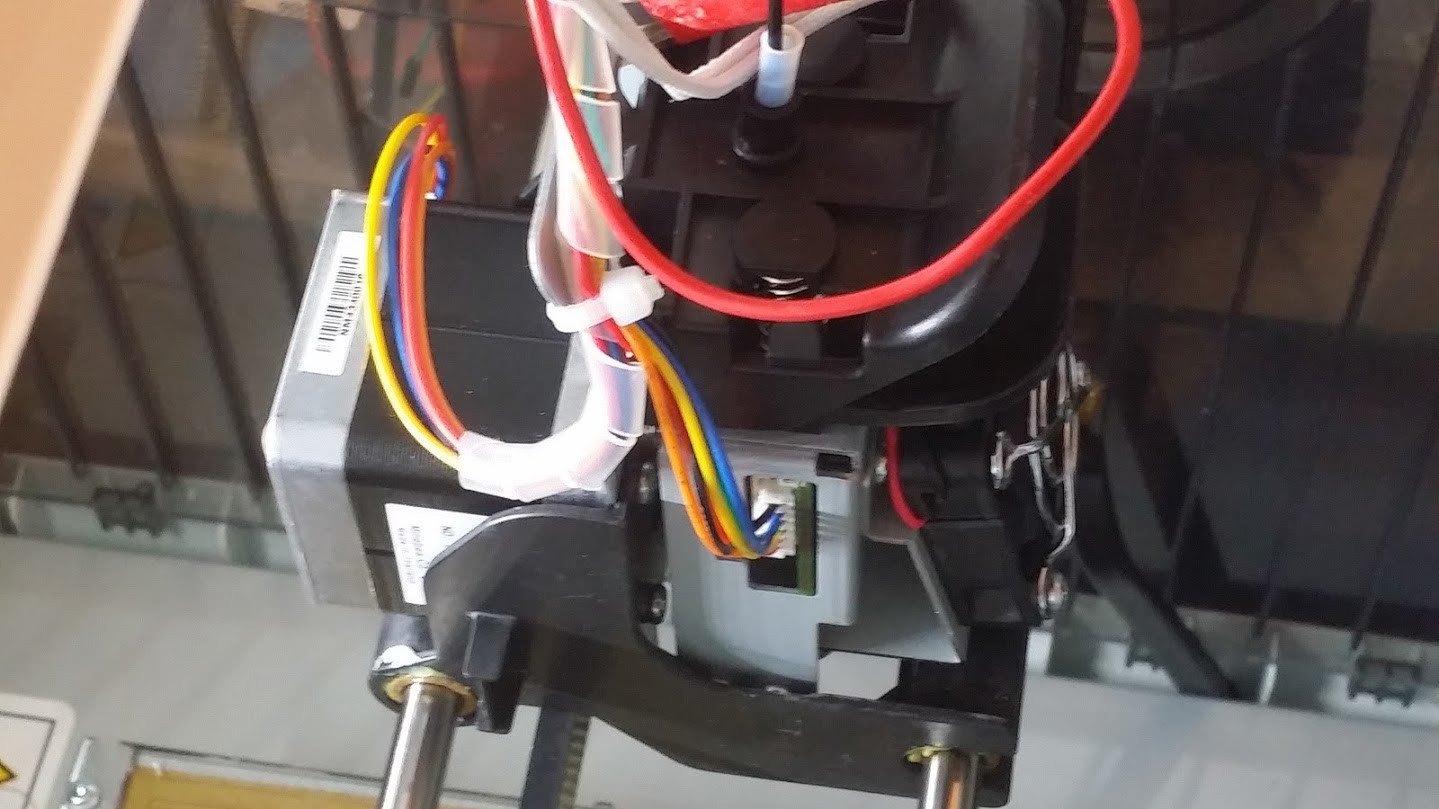
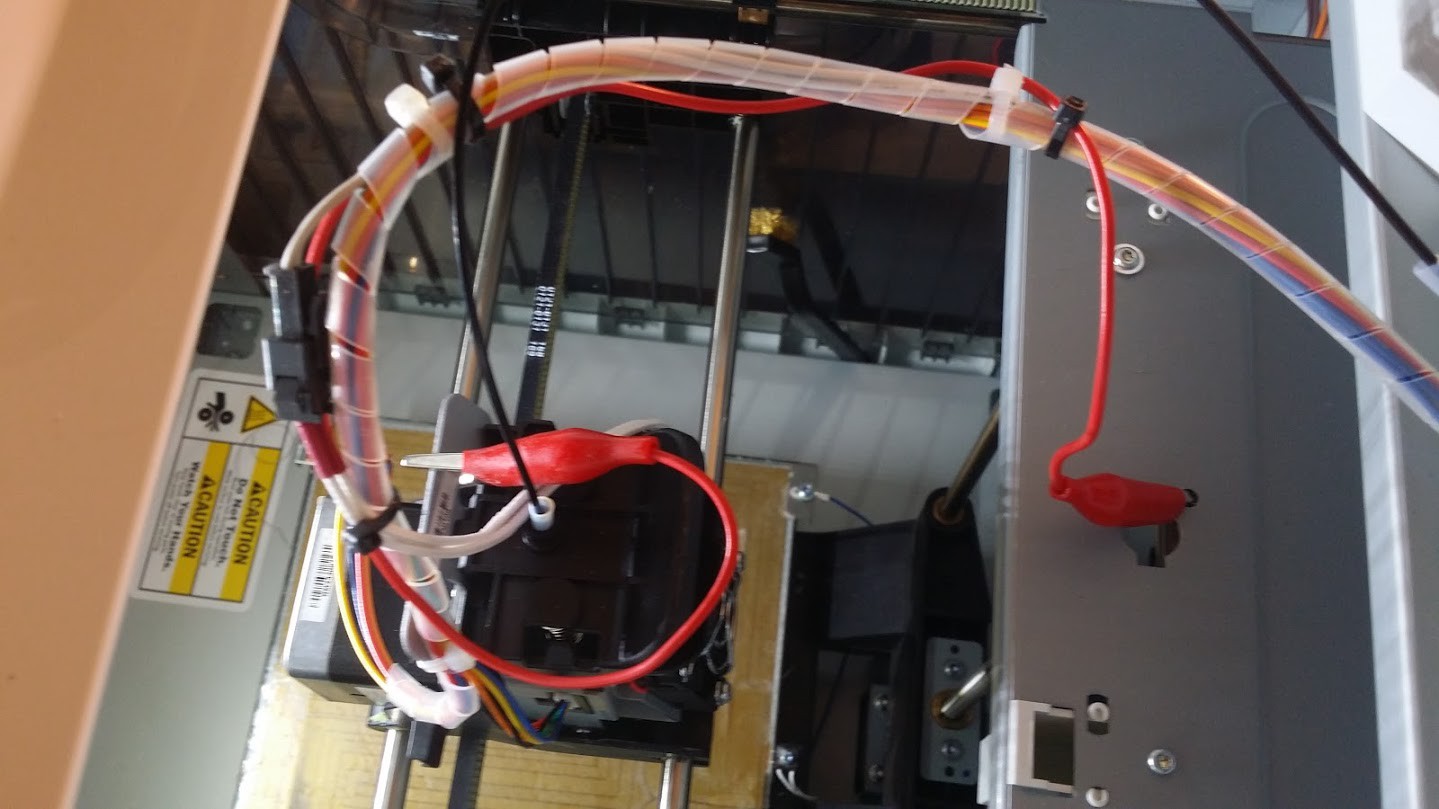
Next round.. This time I decided to go a little further.. The Da Vinci is pretty cool for a few reasons.. The extruder is mounted with a quick release...(which is a double edged sword that I will get into in a bit.).. I pulled the cable to the extruder and hotend.. then removed the extruder..
I cleaned more.. even cleaned the optical encoder wheel they have on the extruder gear..pretty cool.. This time it was going to work for sure.. .. right?
Nope. When I put the extruder back in, and connected the cables..powered on the printer.........I went to the menu option to inset the filament......the nozzle temperature was reporting 10 degrees Celsius.. It was heating..I found that out the hard way.. But the thermocouple wasn't sending.. So I pulled it out again, tested the resistance.. nothing... Huh? How did I break a wire? The thermocouple surely couldn't have just gone back that quickly..and I don't think I am that clumsy...the wires are pretty substantial...
Tried again.. nope.. another meter... dead battery.. Ugh.. Lucky I had a third because that meter showed some resistance.. Murphey's Law in full effect..
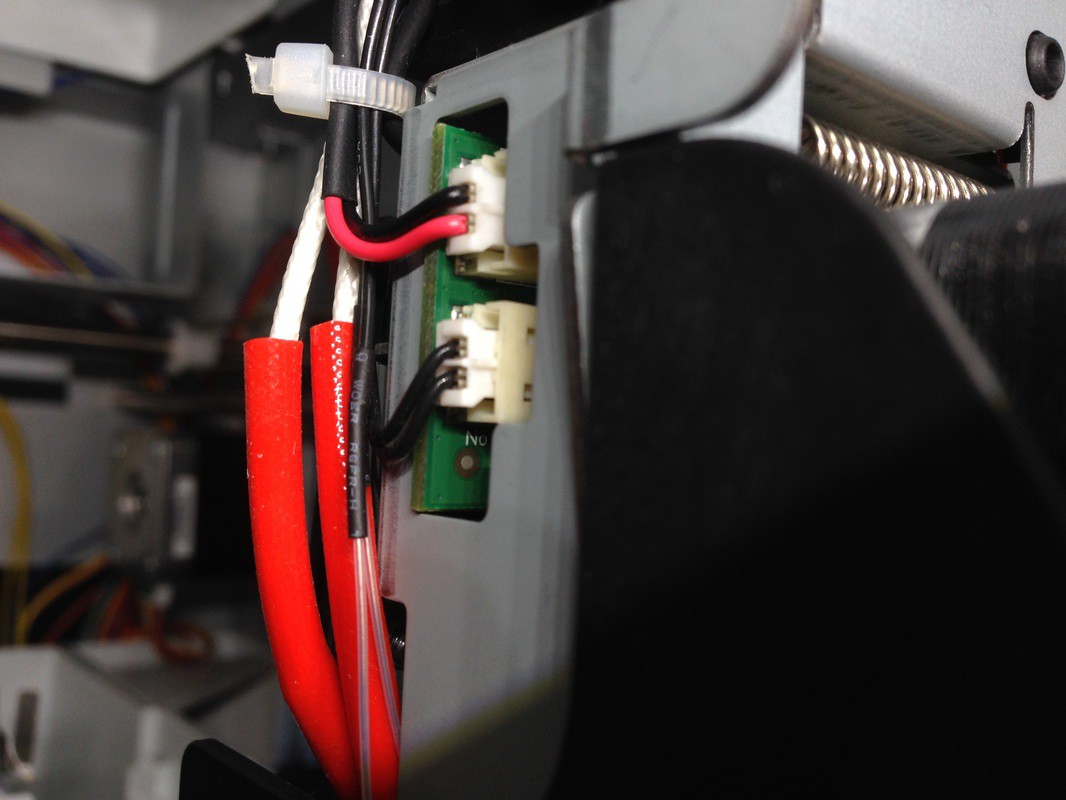
So... I trace the connection.. the top half of the thermocouple goes to gnd and the case of the machine.. the other goes to the top pin on the big connector with the black wire..I do a reading and get resistance at that connector.. So, the extruder assembly seems good.. I put the whole thing back together and connect it up.. still nothing with the sensor.. In my brain, this means something is up from the connector to the main board.. And again.. I don't think I'm that clumsy.. So I try an old trick that works with cheap connectors sometimes.. I tweak the pins in the connector so they're just angled enough that they are guaranteed to make connection...
Put it back, this time I get a reading... Good. I push on the extruder to make sure its seated.. reading goes to zero. AGH.. Long story short, after a couple rounds I started noticing that it wasn't the connector after all. It was more to do with how the extruder was seating.. So, I whip out the multimeter...continuity between the metal frame of the extruder to the metal frame of the printer was iffy... Weird.. So I decided to try an alligator clip from the extruder to the frame... Bingo... a reading every time and movement and bending the wires made no difference..
After all of that. and running through another pretty thorough cleaning... I ran white filament through, kept running it until it was clean... then removed it.. then cleaned it again.. making sure to heat the nozzle the whole time.. I ran the wire from the top down through the whole thing.. getting every little particle out.. I didn't want to try the blowtorch thing because I'd hate to try and rebuild this thing.. especially in the middle of a project. I then put the black filament back in, ran it through for a bit..
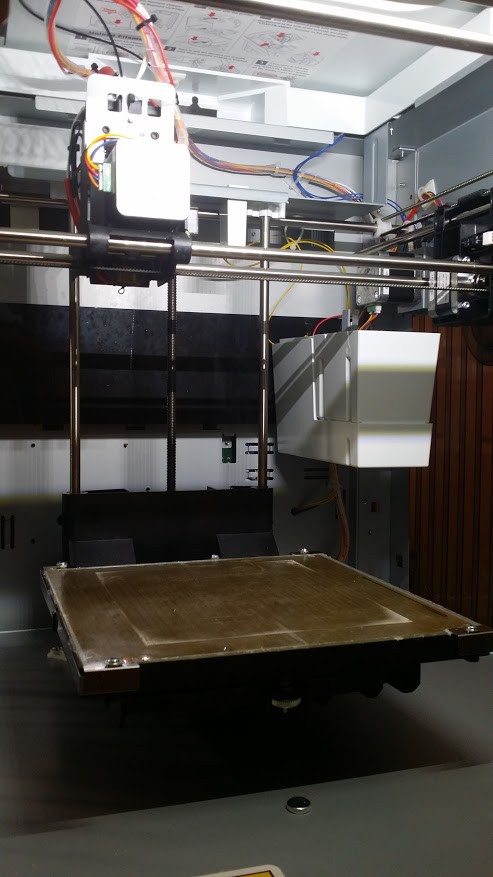
And the next step is what I think made the most difference.. The bed on this printer is mounted at three points with springs and thumb screws..
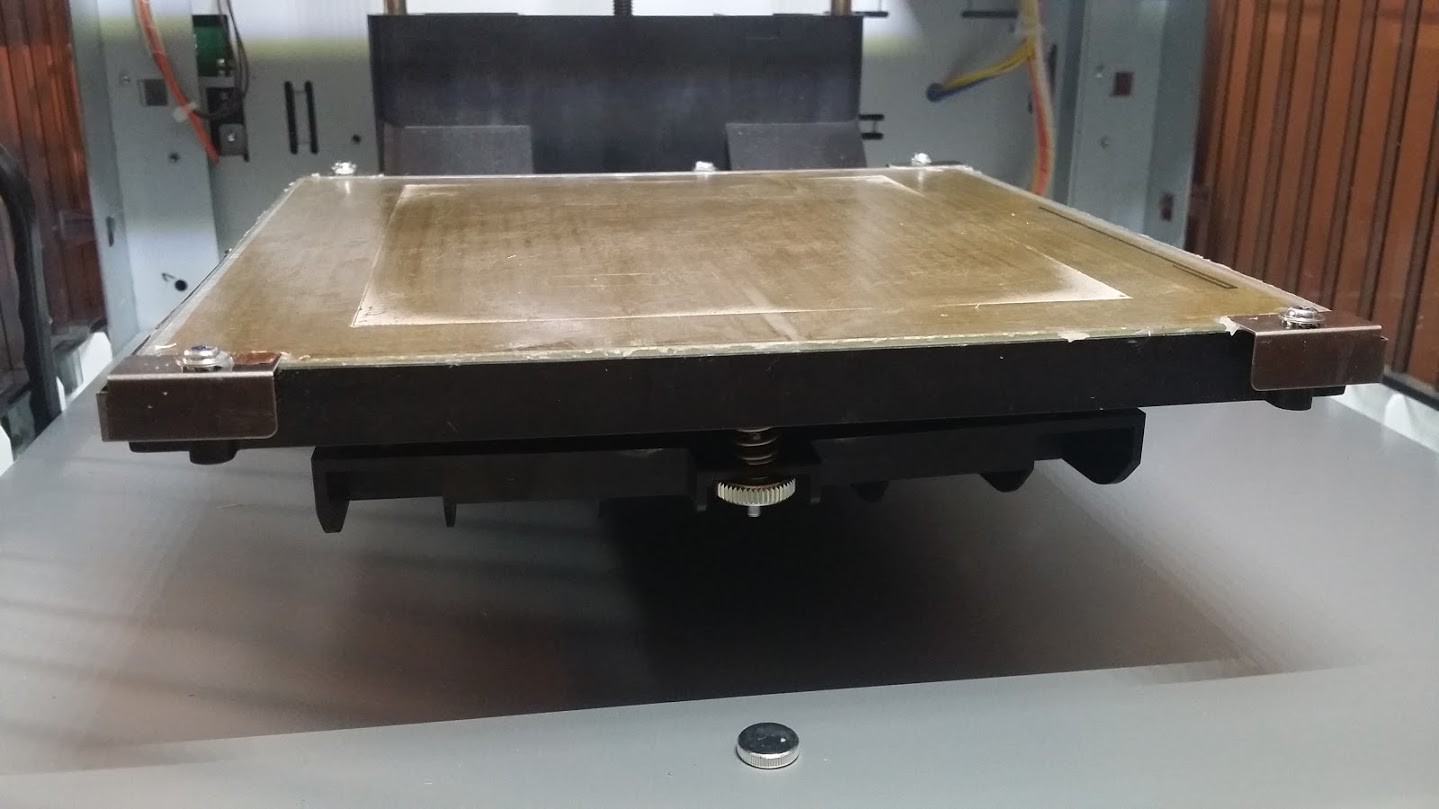
The printer automatically calibrates by moving the bed up and having the nozzle touch three corners of the bed to make an electrical connection.. if the bed is out of whack more than 5mm on any corner it fails.. I tried the calibration (and you really have to make sure the metal tabs are clean) and it failed several times.. I adjusted since my front right corner was too low...until it passed..
So, it finished the print after over 8 hours... and it looked great.. Couldn't be happier.. Lesson learned.........1. you get what you pay for.. $500 is super cheap for a 3D printer, and this one does a great job for that price.. And I don't regret buying it... However, it's not perfect, and you will have some minor but not insurmountable problems.. 2. Bed leveling is not fun and being out of what can cause major issues. 3. 3D Printers need better technology for extruders and hot ends... I want a printer I can dump scrap into the back of, and it prints wonderful parts in an array of colors and doesn't take forever.. Ha.. I can dream. 4. I'm going to investigate further, but I think part of the issue might have been the filament.. I'm not sure how long it takes this stuff to get soggy, and I'm not sure how much of a problem that really is...and the major issue with the Da Vinci is the filament... you can only use theirs, and it's like double the cost of normal filament...and you can only buy ABS.. I know there are hacks, but I haven't had time... and from what I read, XYZ plugged that hole by using encryption.. sad.. But that's the world we live in..
But ultimately, it seems to be back on track and printing great parts!
Hope that was worth the wait... =D

Discussions
Become a Hackaday.io Member
Create an account to leave a comment. Already have an account? Log In.
Awesome read! I also have this printer and love it. So good for the price. Anyway, I am well over 100 hours without any major problems, but during my last couple of 5 hours prints, when the extruder carriage is moving quickly and changing direction abrubtly there is this odd clicking almost cracking noise. But the print is still perfect quality and I can't tell where the sound is coming from. Something may be coming loose, any ideas?
Are you sure? yes | no
My boss cleans the extruder nozzle in an acetone bath, maybe this is helpful for you too?
Are you sure? yes | no
I thought about acetone.. but I really didn't want to take the extruder assembly apart.. It doesn't look like it could survive.. I wonder if you could hook a tube to the top and just pump acetone through it...?
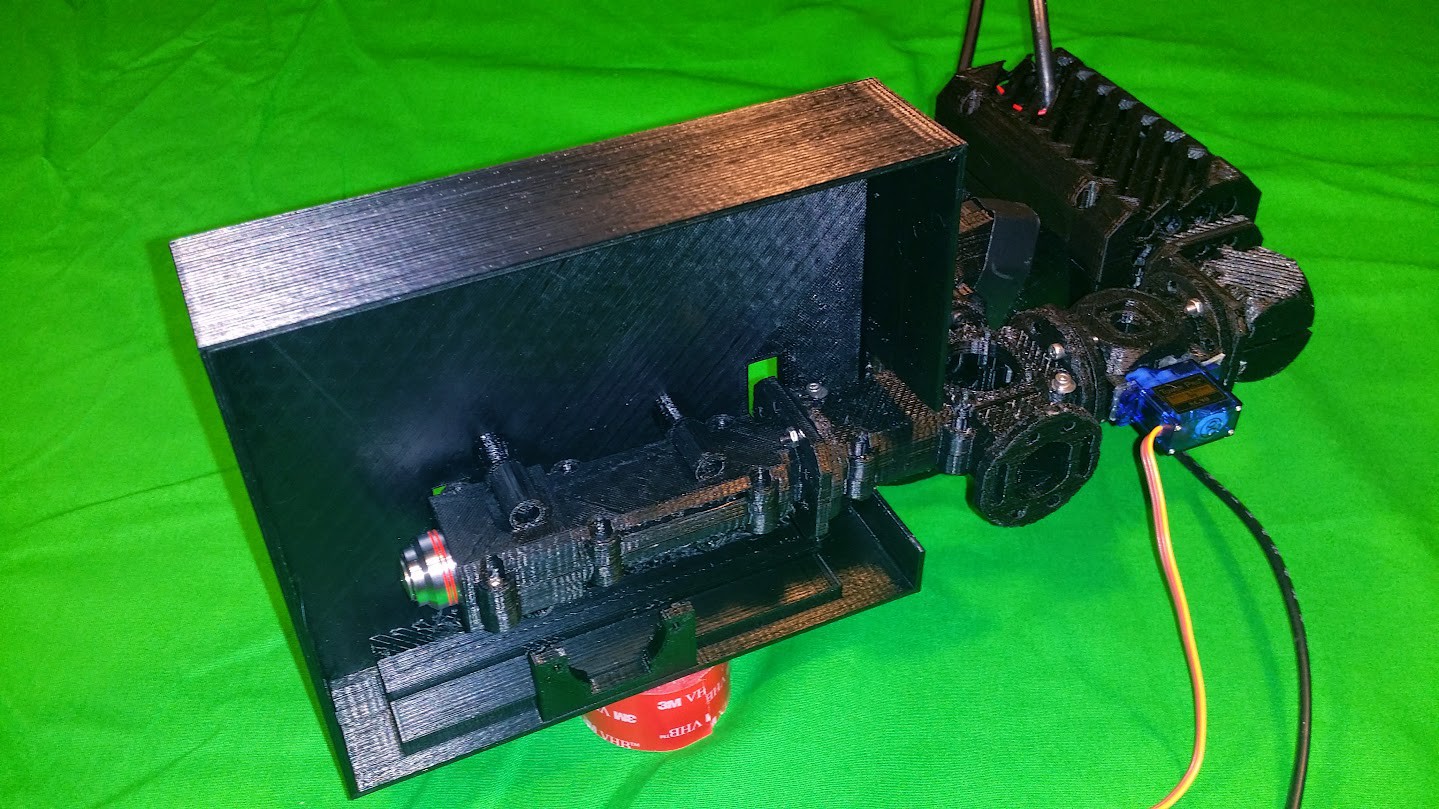
Maybe some time in the future when I have spare time, I'll replace the extruder in my Da Vinci with one like the one in the link above..
Are you sure? yes | no
Are you sure? yes | no
Are you sure? yes | no