-
Success of sorts
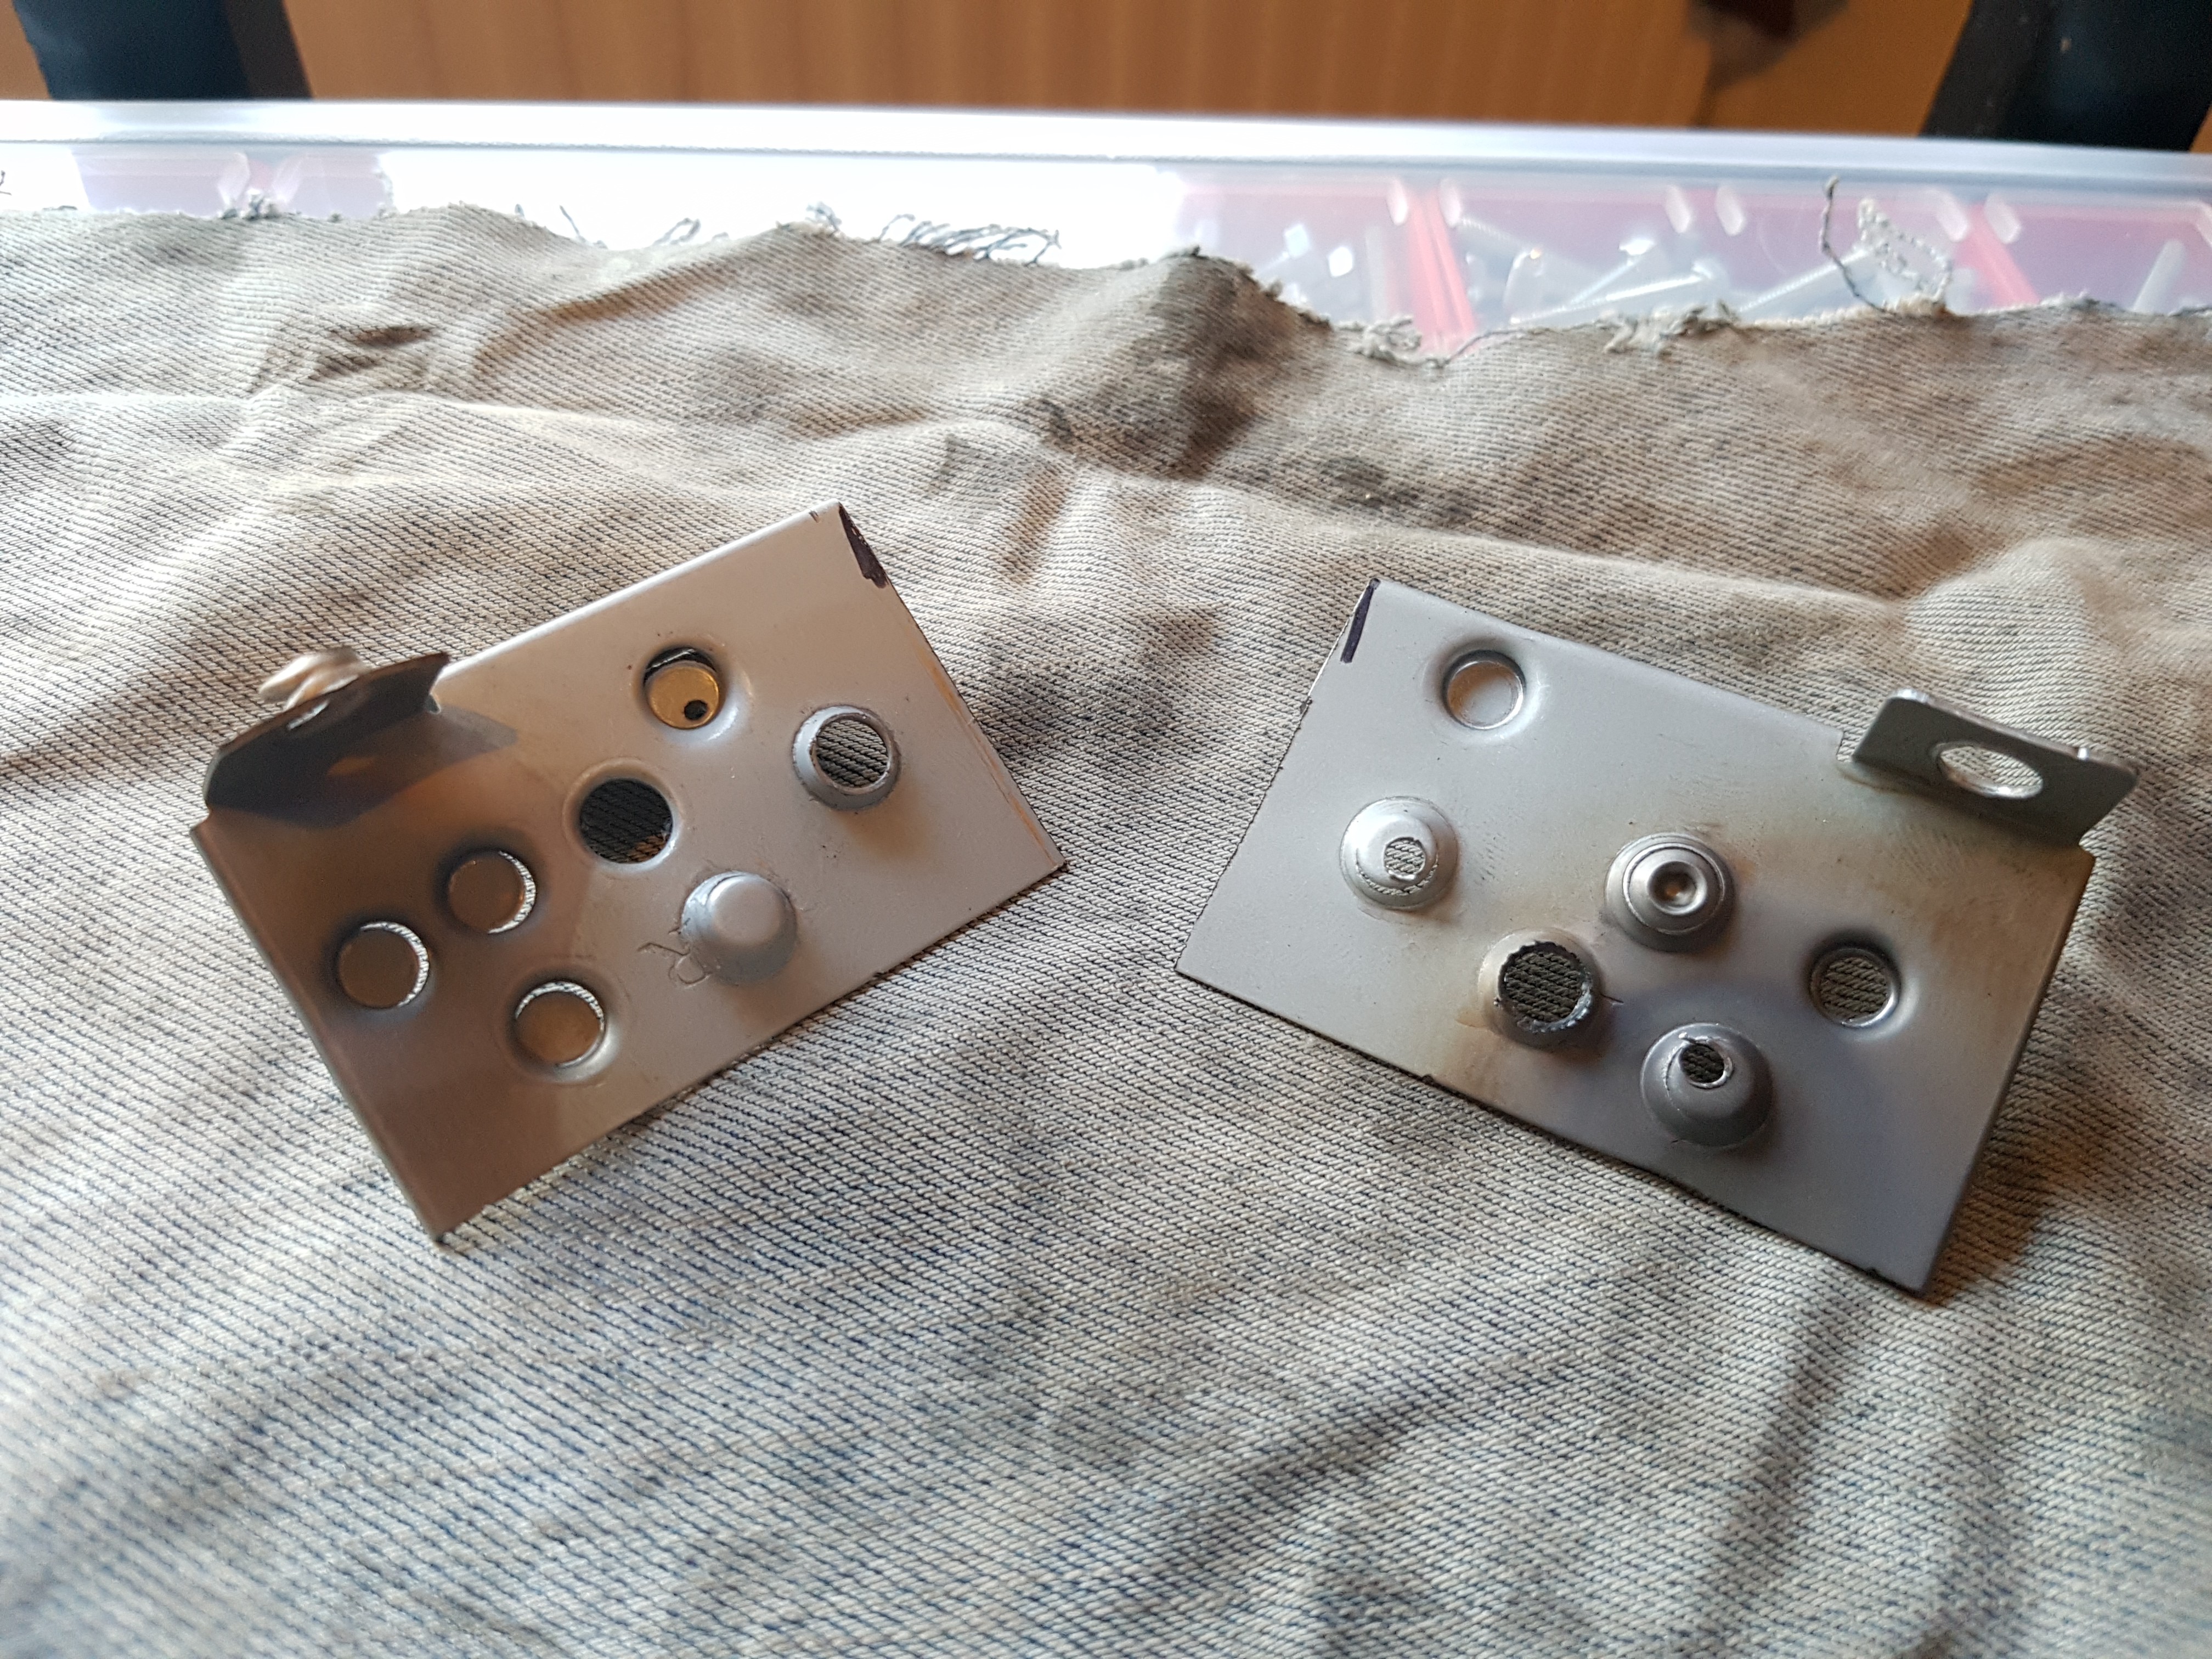
07/28/2016 at 19:46 • 0 commentsI've punched the 'counter-bores' for the screws that will be used to hold the DVD plate onto the chassis. They didn't come out as well as I'd hoped, but they work.
![]()
I left off last time with the punch set banging holes through the steel instead of forming it. I enlarged the die hole and tapered and smoothed the punch, which helped. I could punch on a hole and it would simply enlarge the hole and flare it, but it wasn't tearing.
I tried to punch without the hole, which was a lot harder to align. Every time it would BANG! and the metal would tear. I also tried annealing the steel by heating it red hot and letting it air cool, but it didn't make much of a difference.
![]()
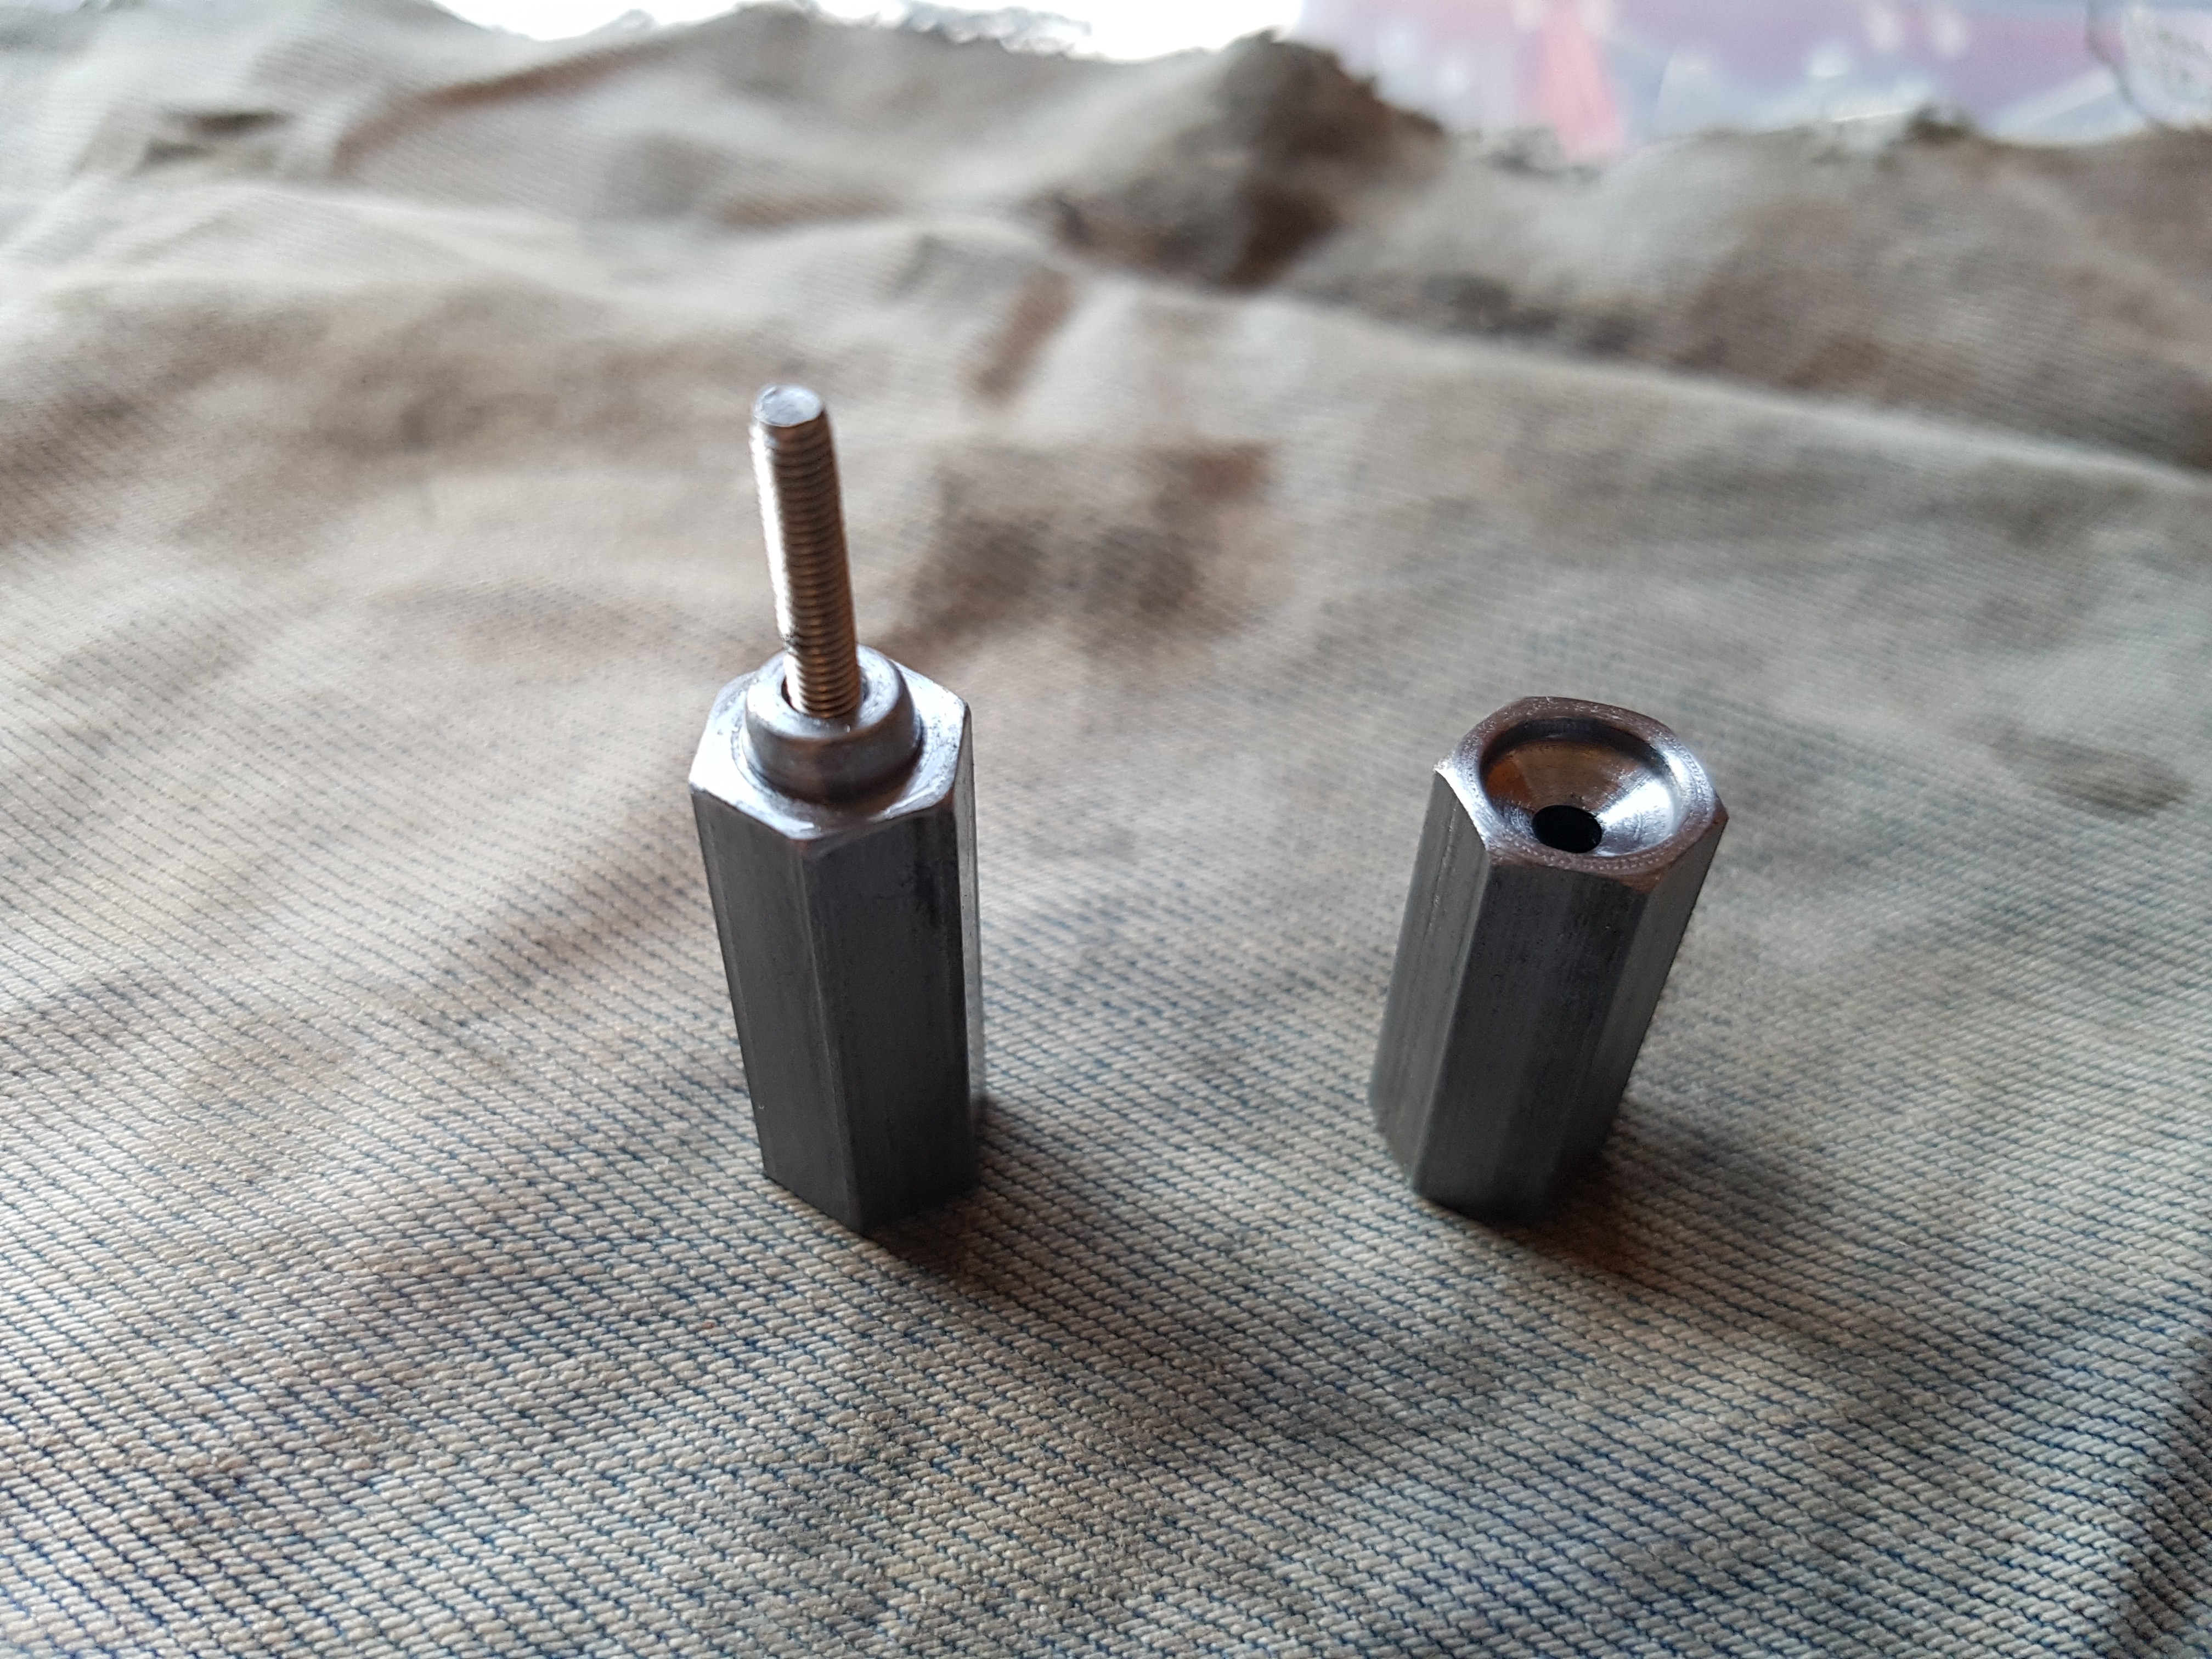
I drilled another die hole in the other end, shorter than the punch, with the thought of using it as a two step process. This made a big difference - the metal didn't tear on the first side, and only just tore once the die was flipped. However, trying to drill the screw hole in the middle was a pain. I need a pillar drill...
![]()
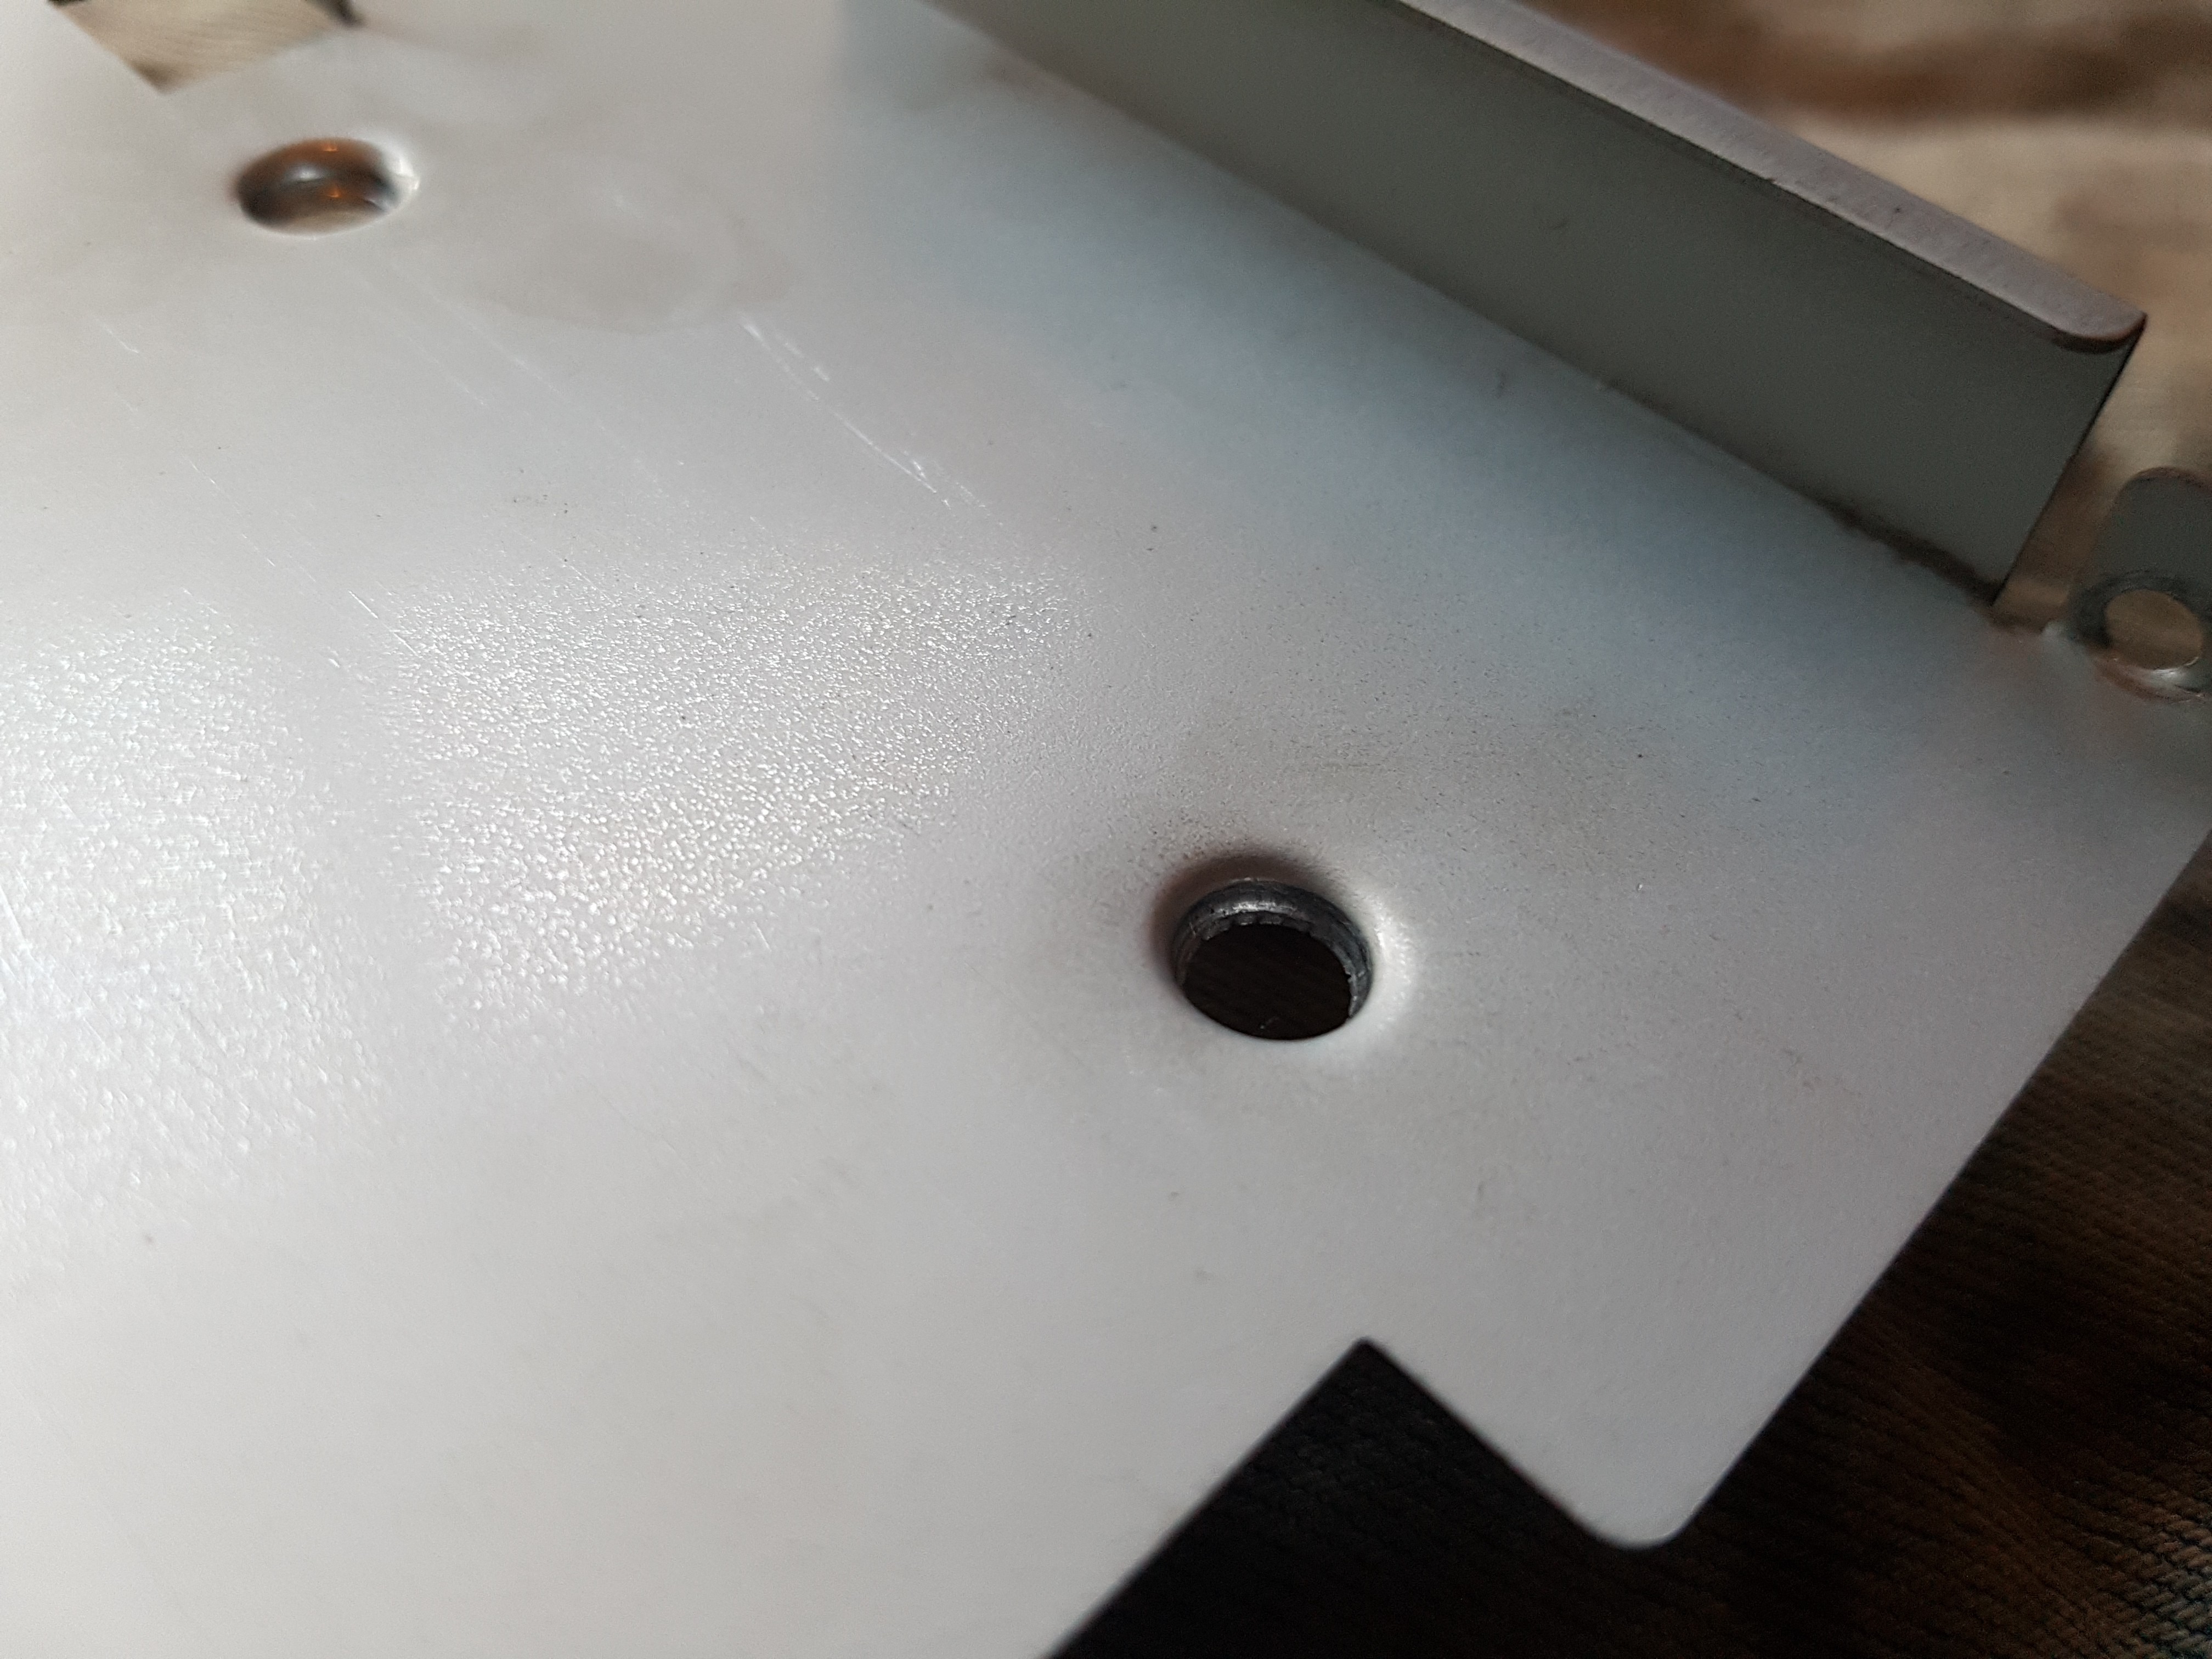
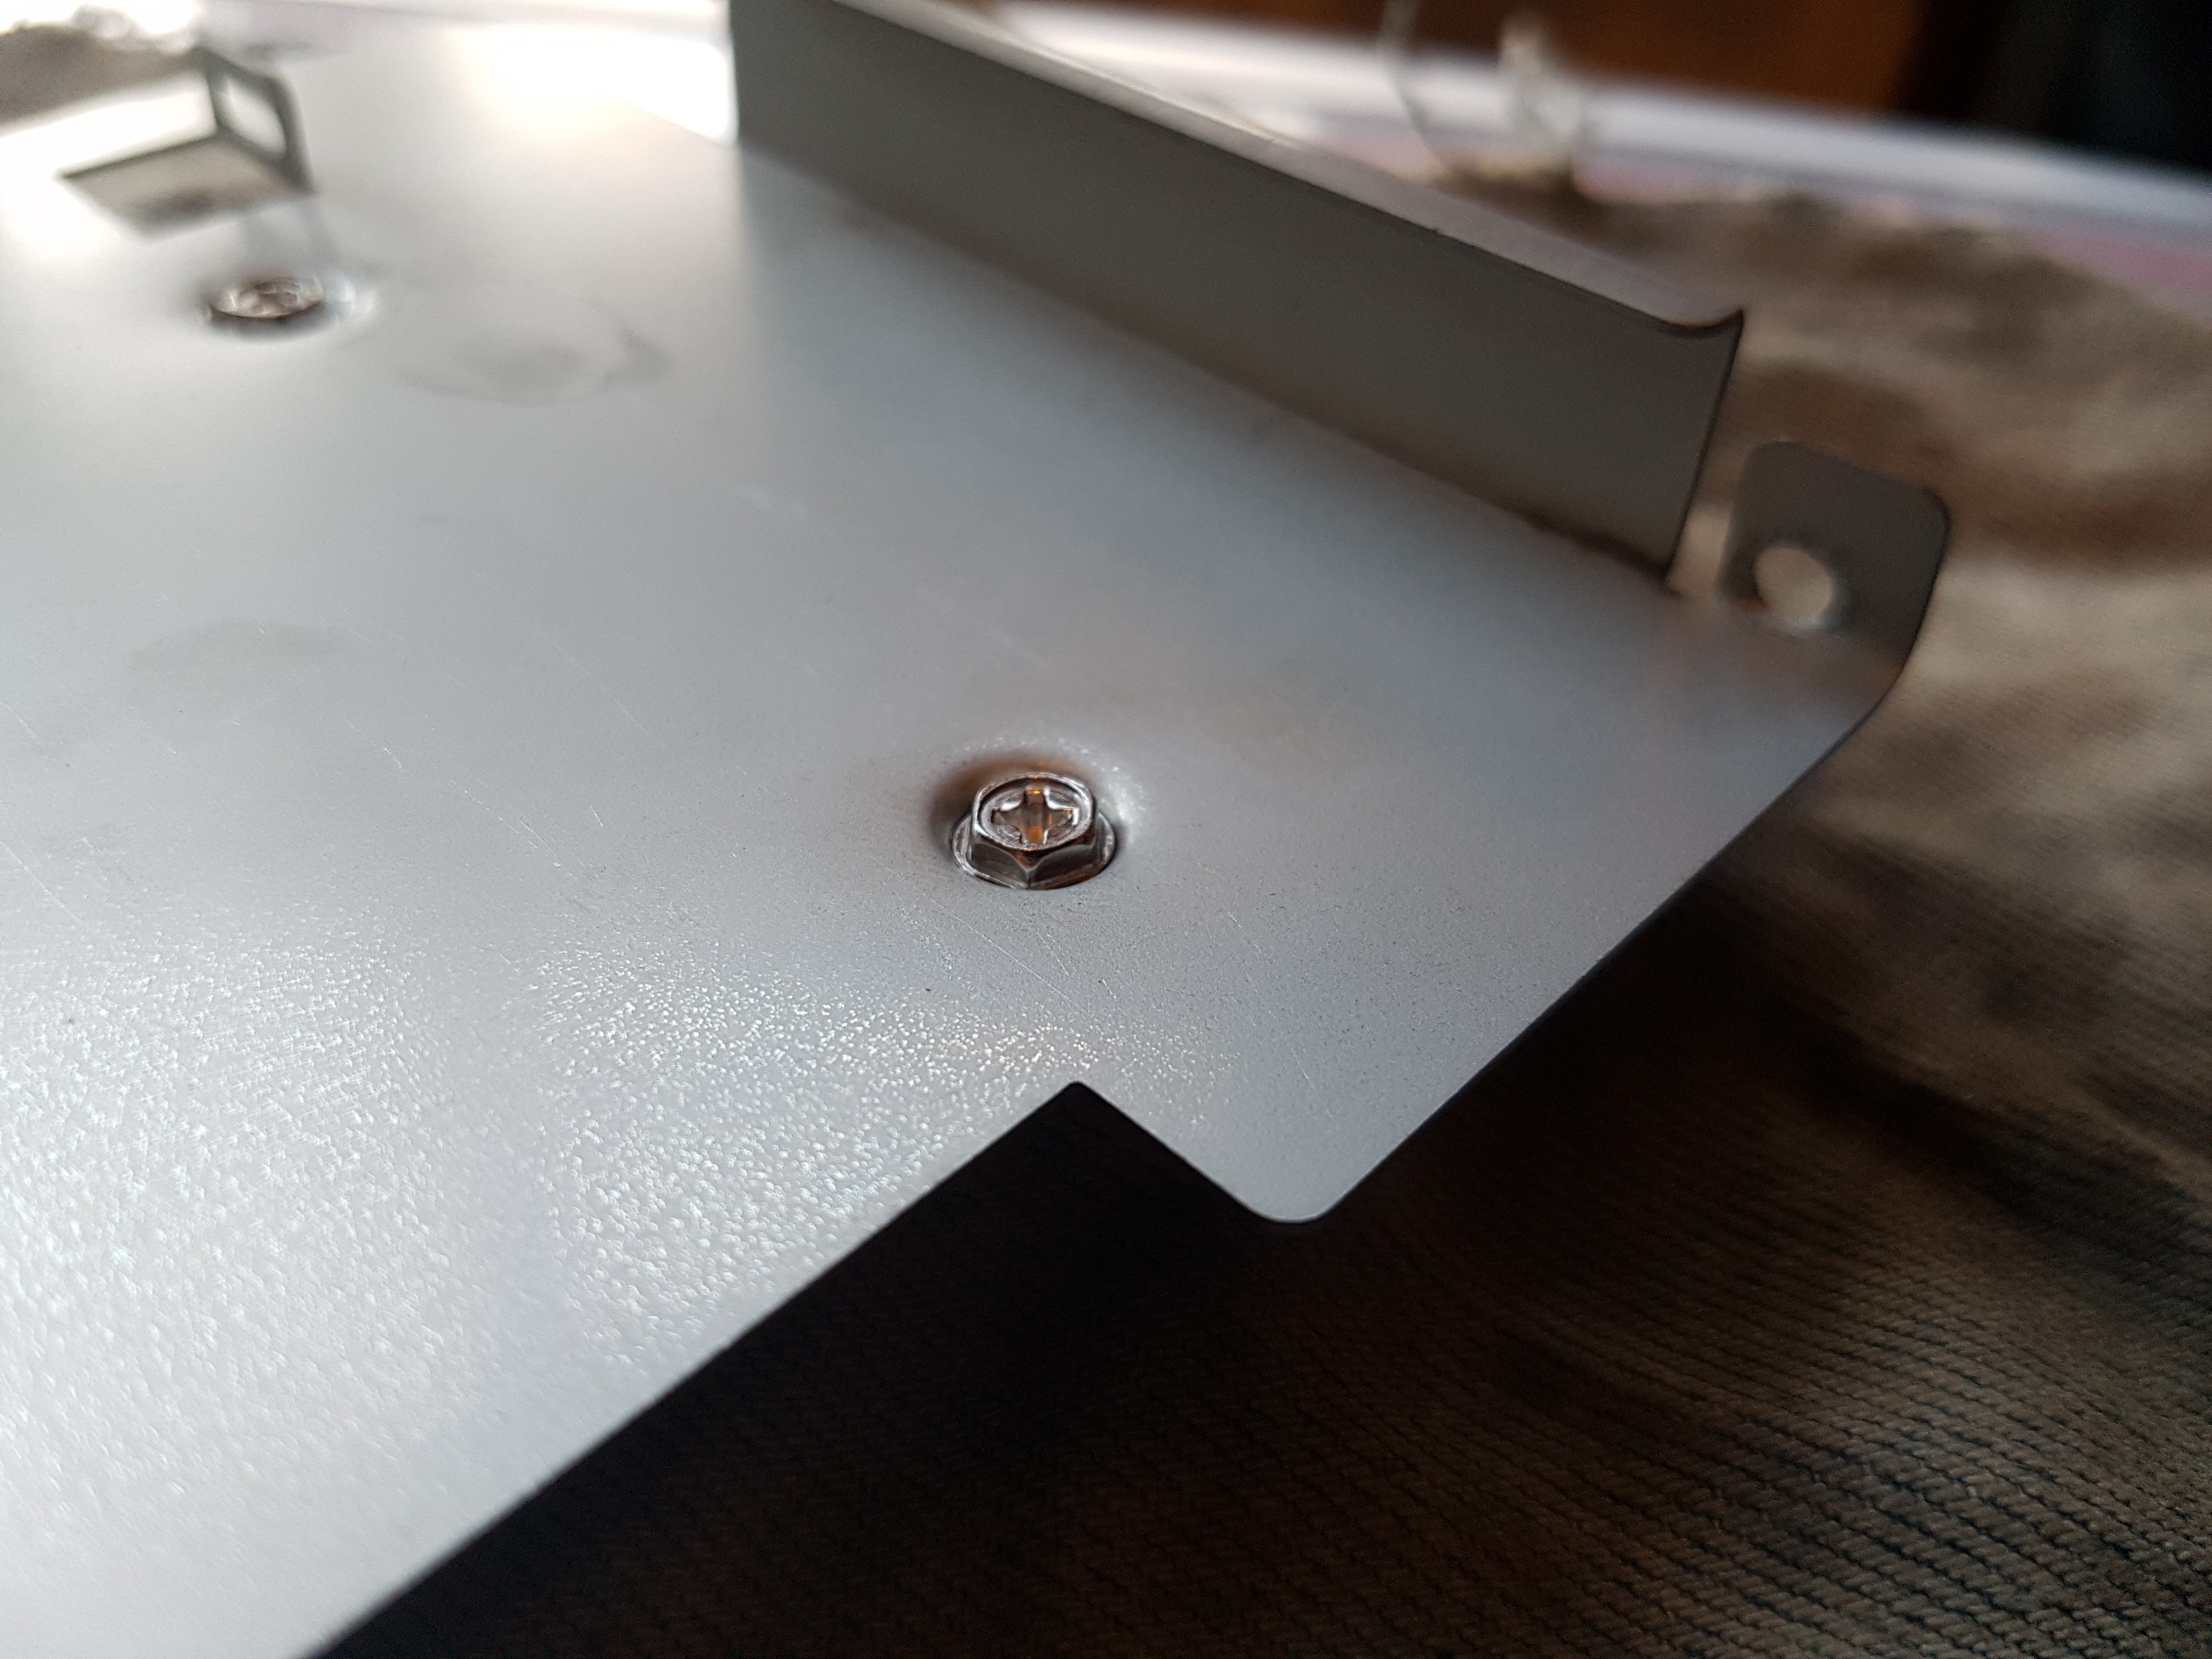
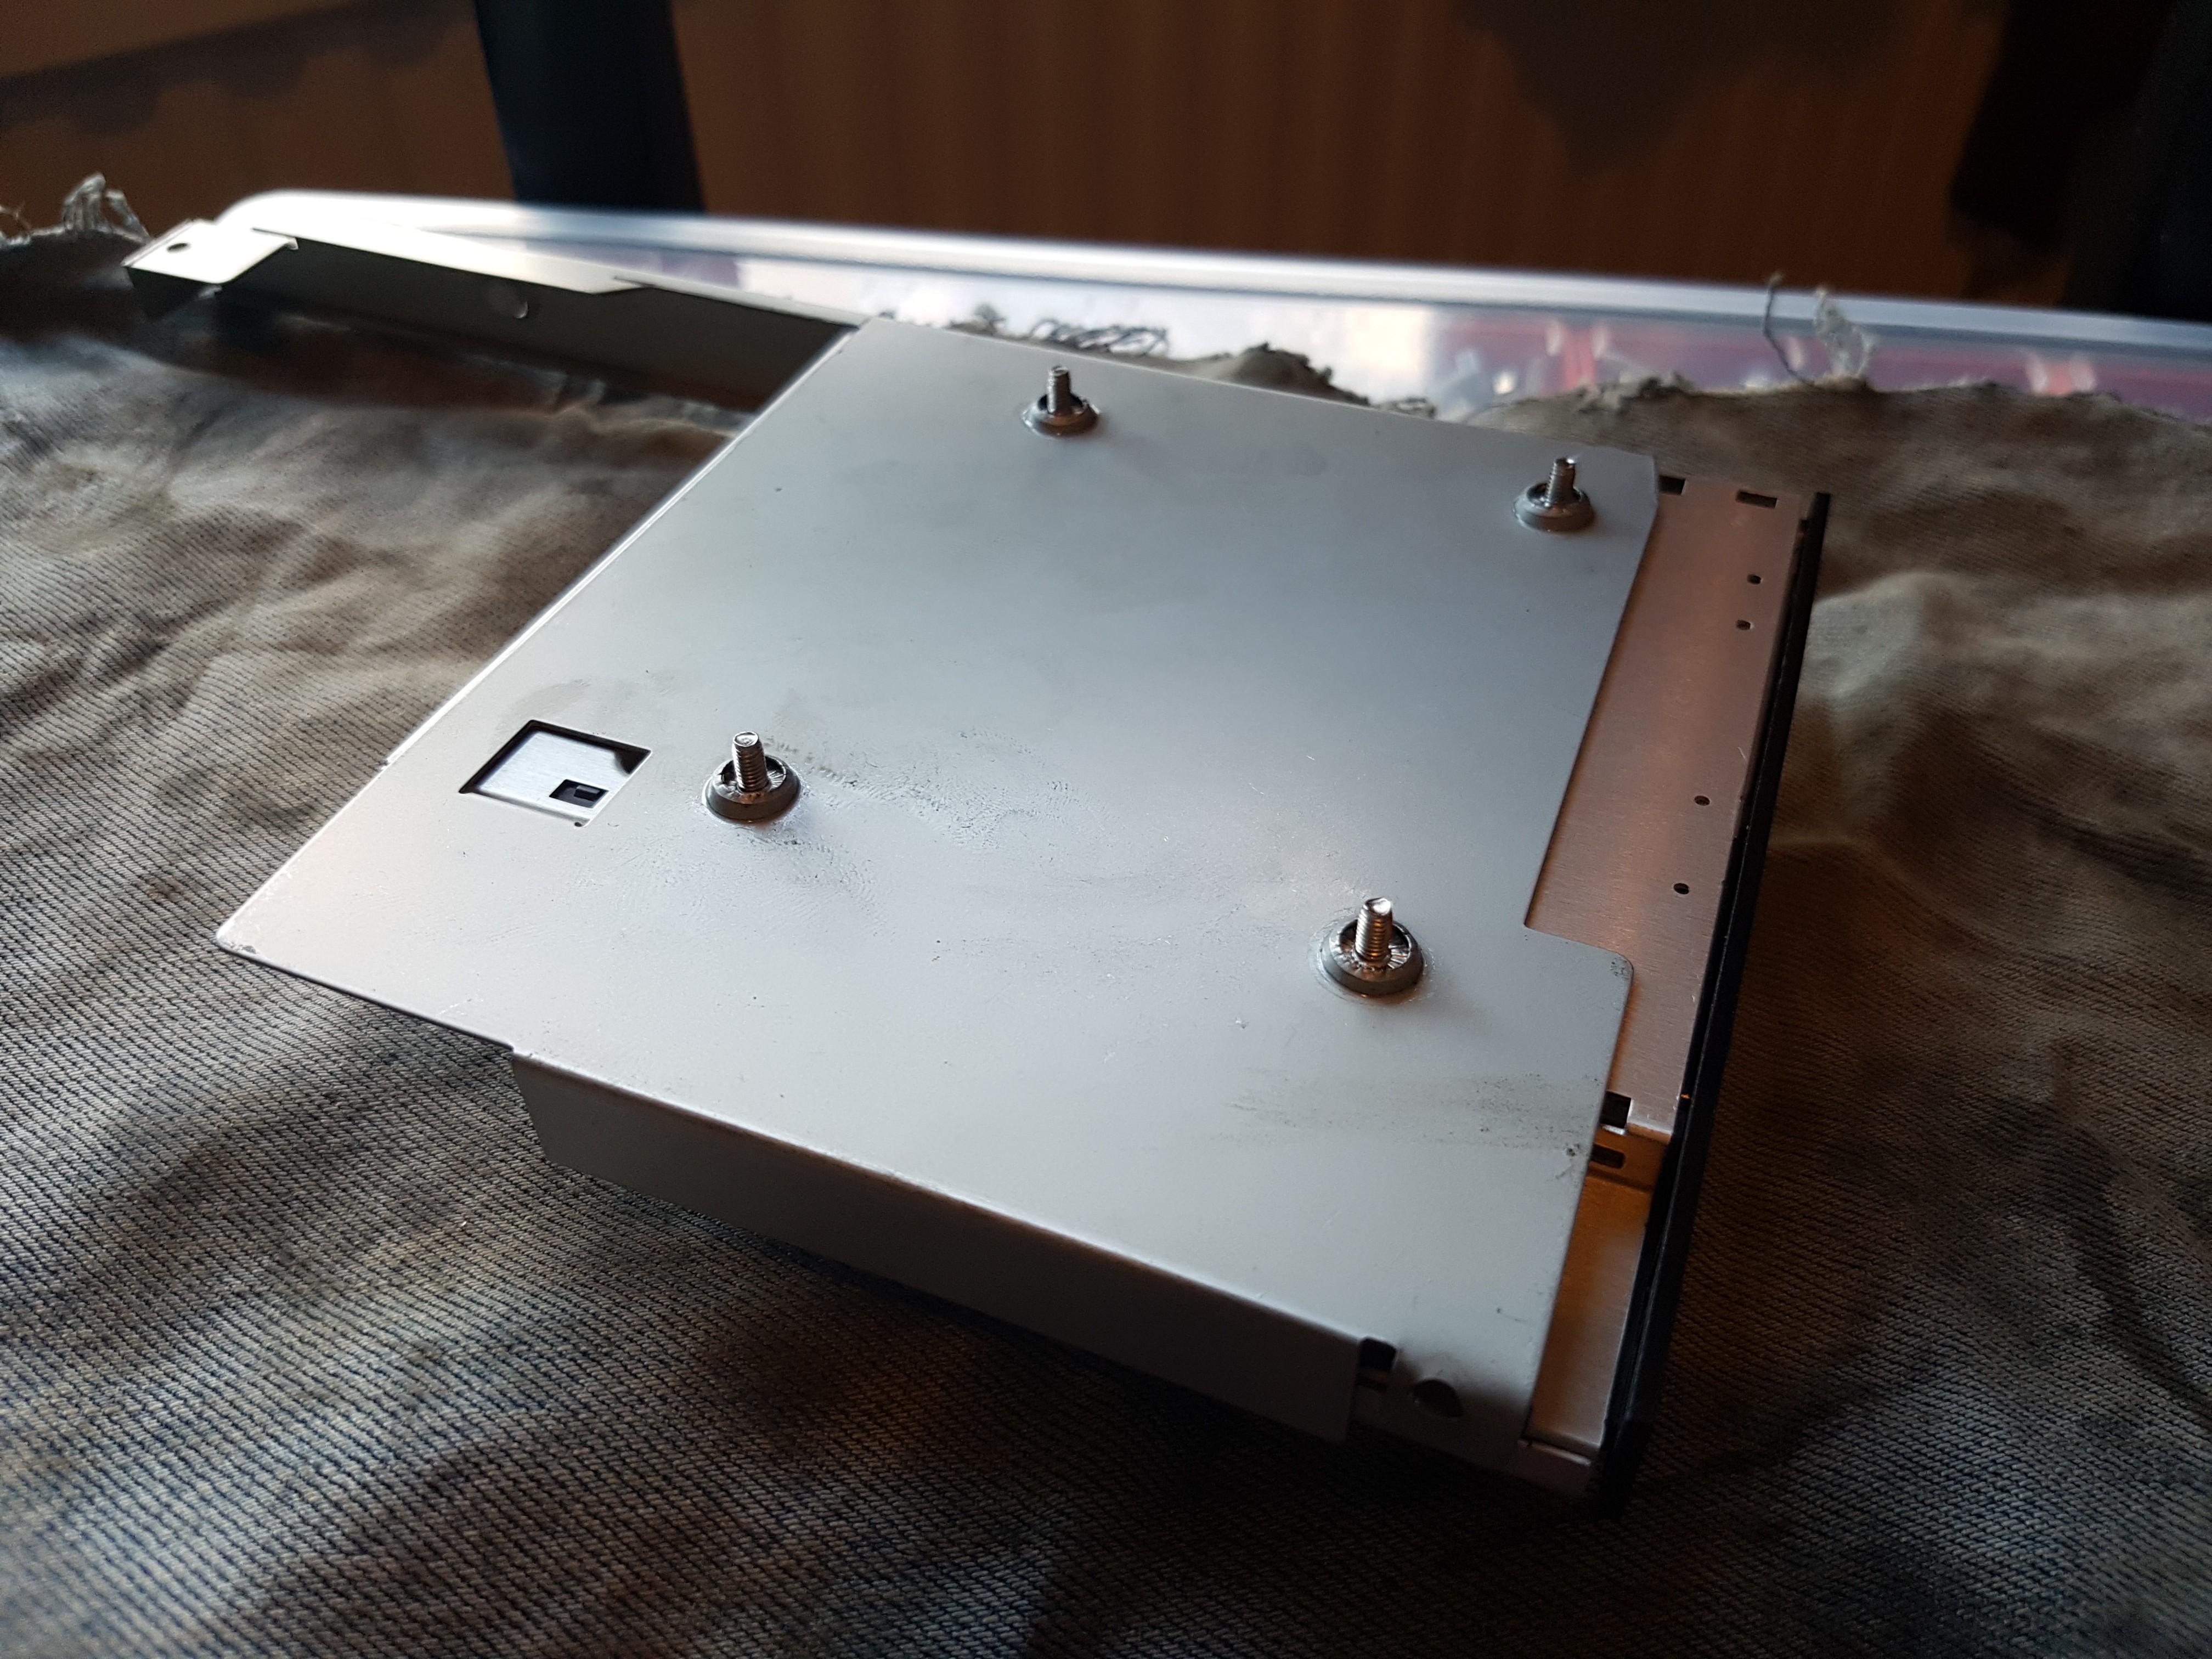
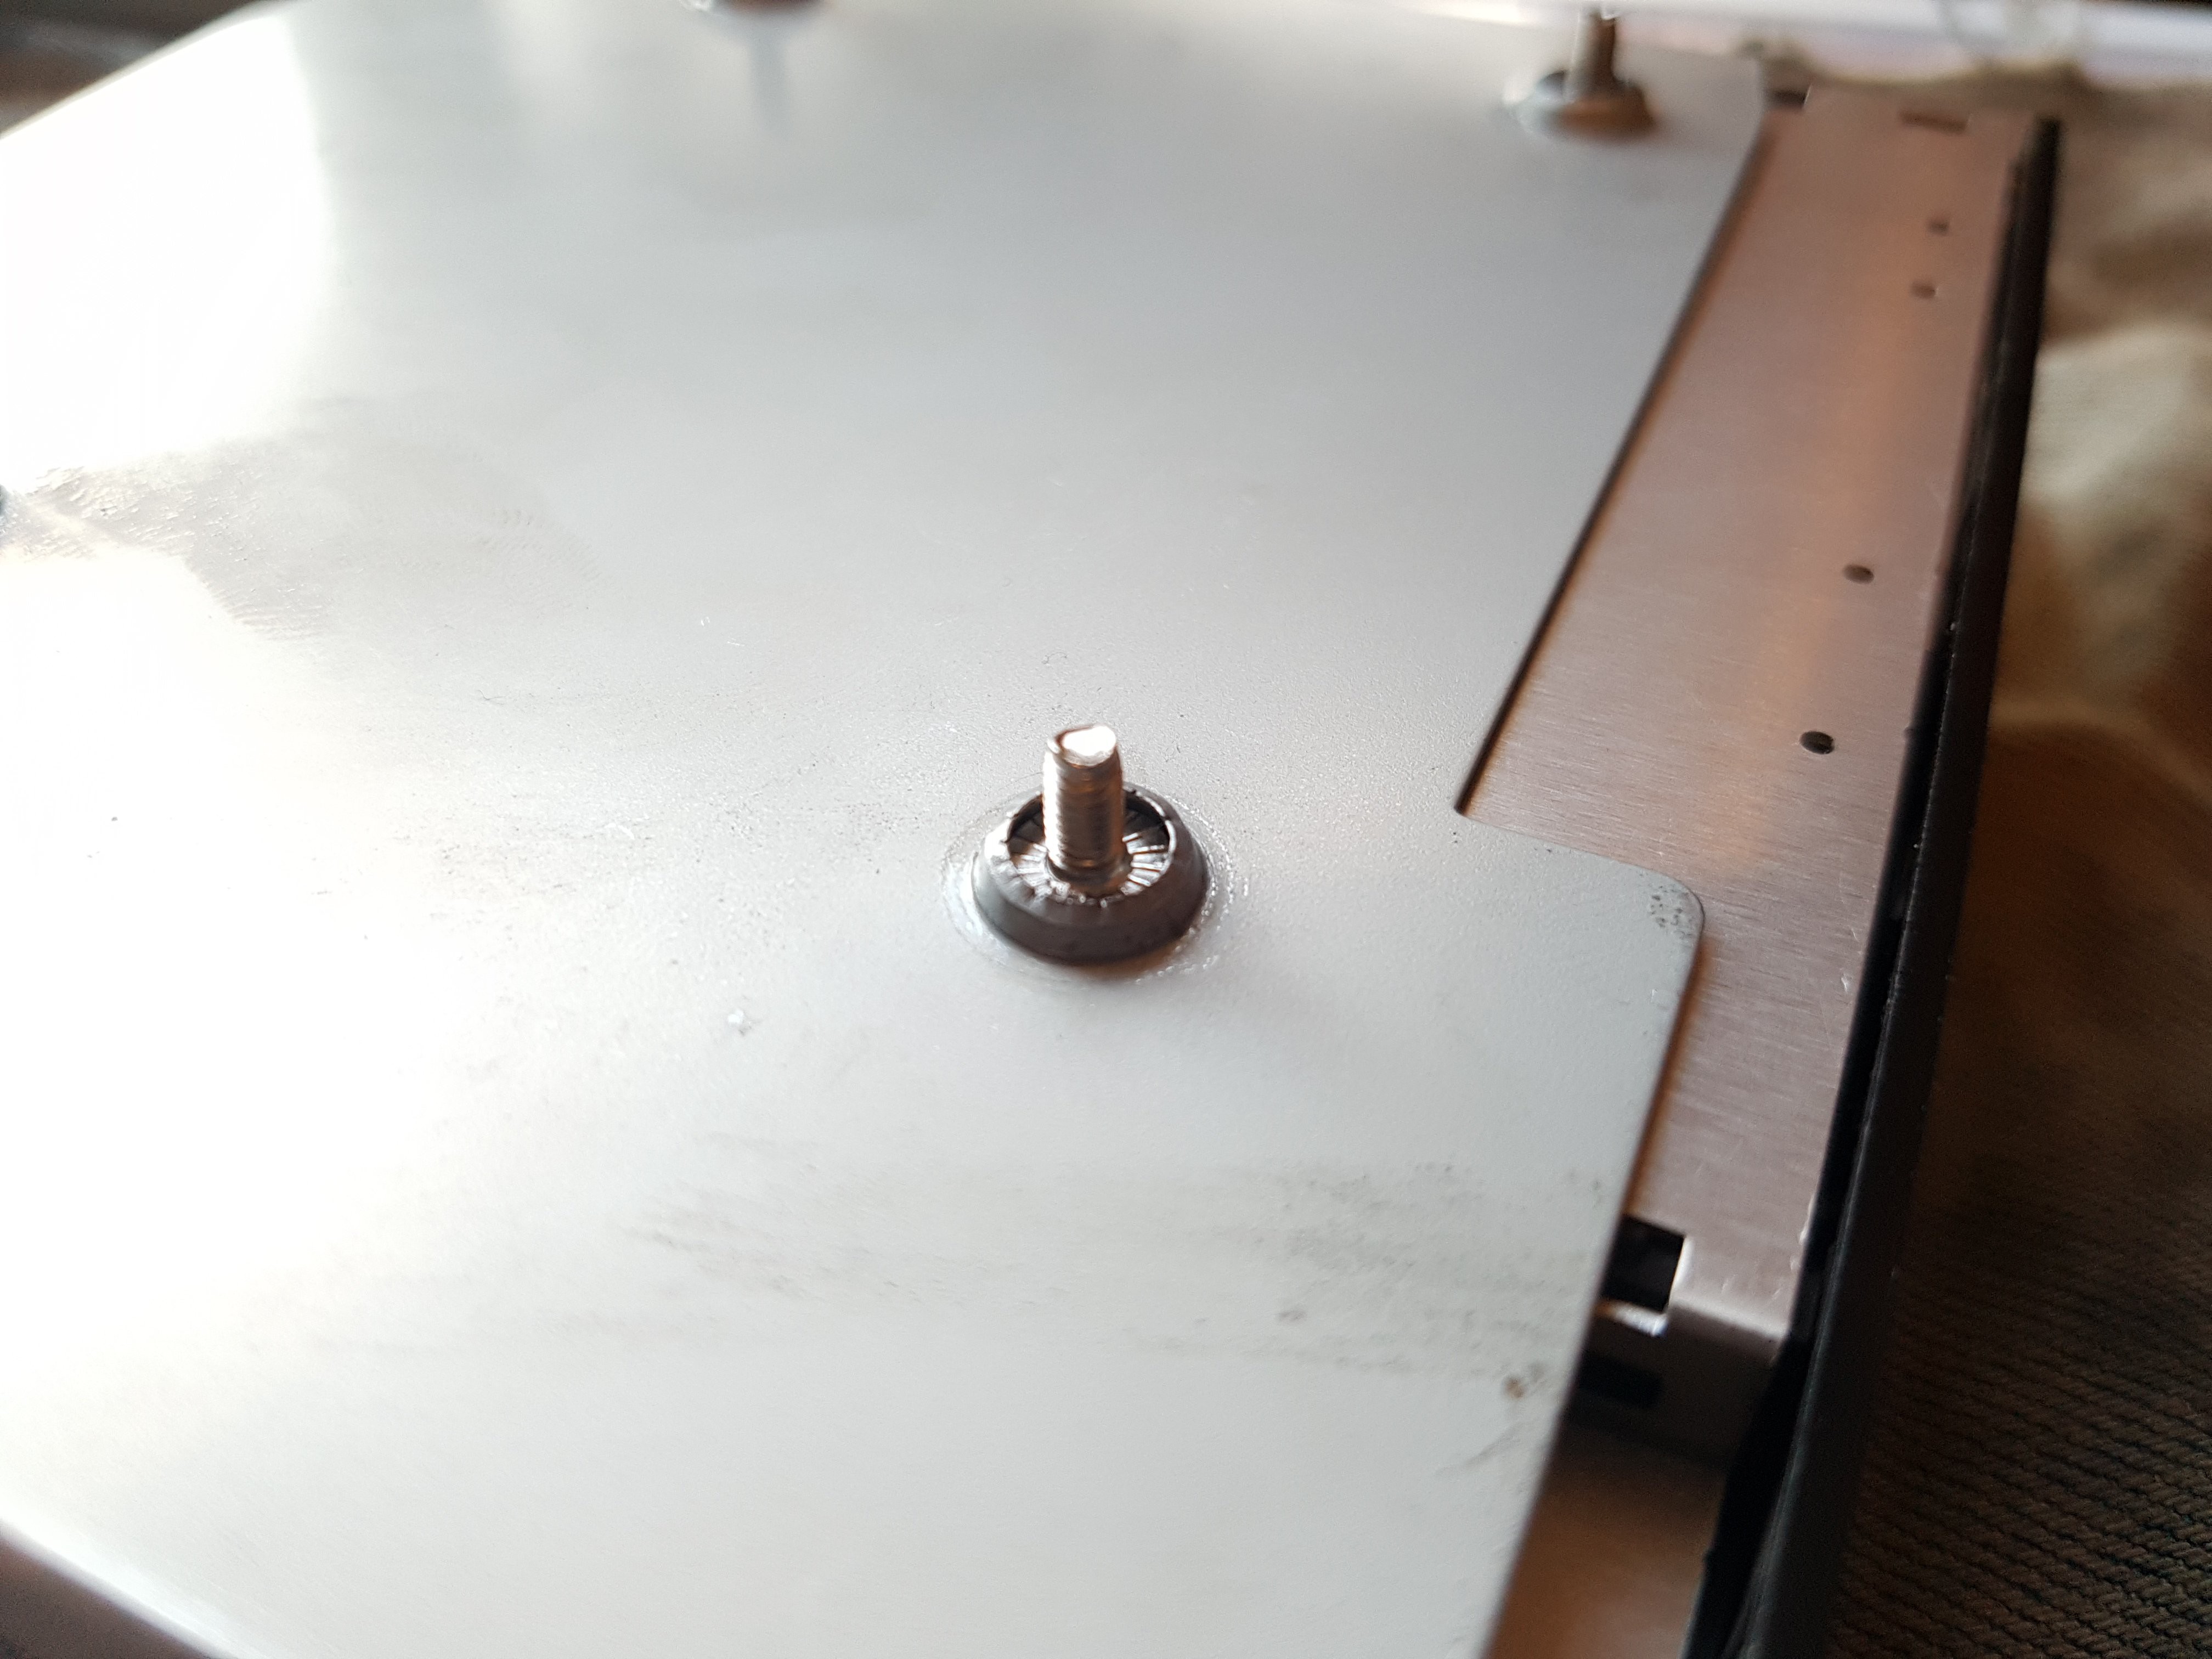
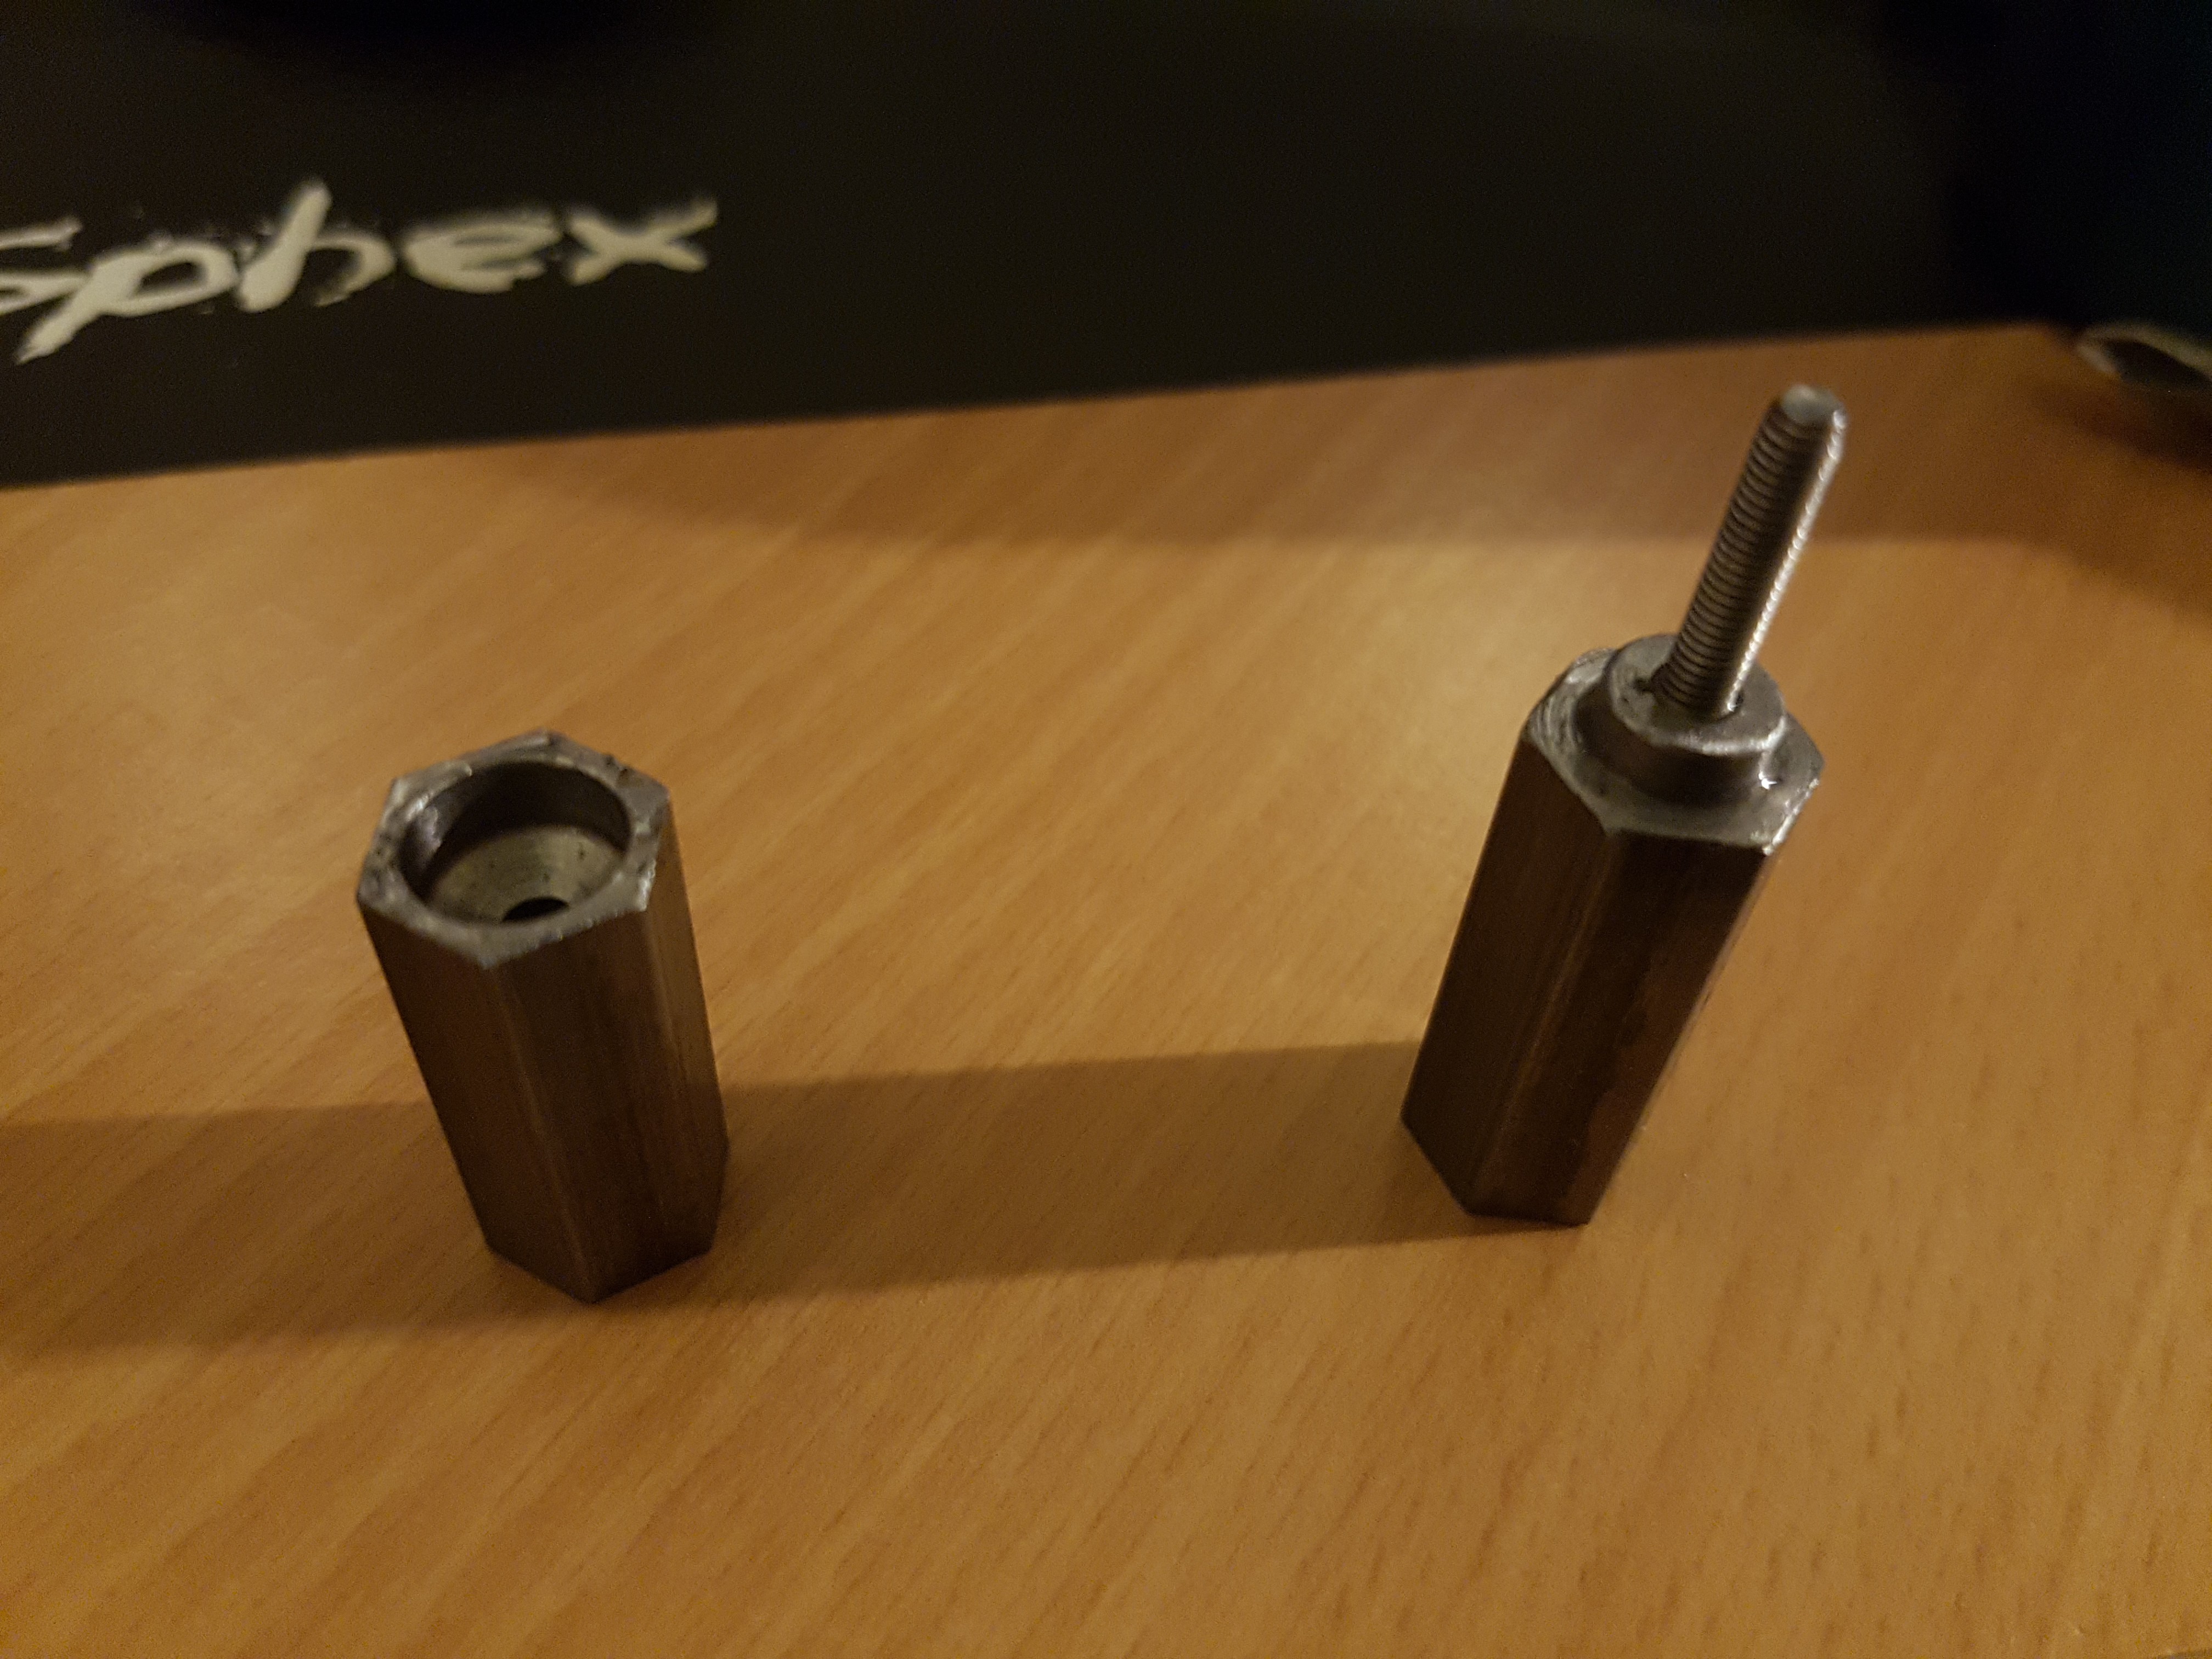
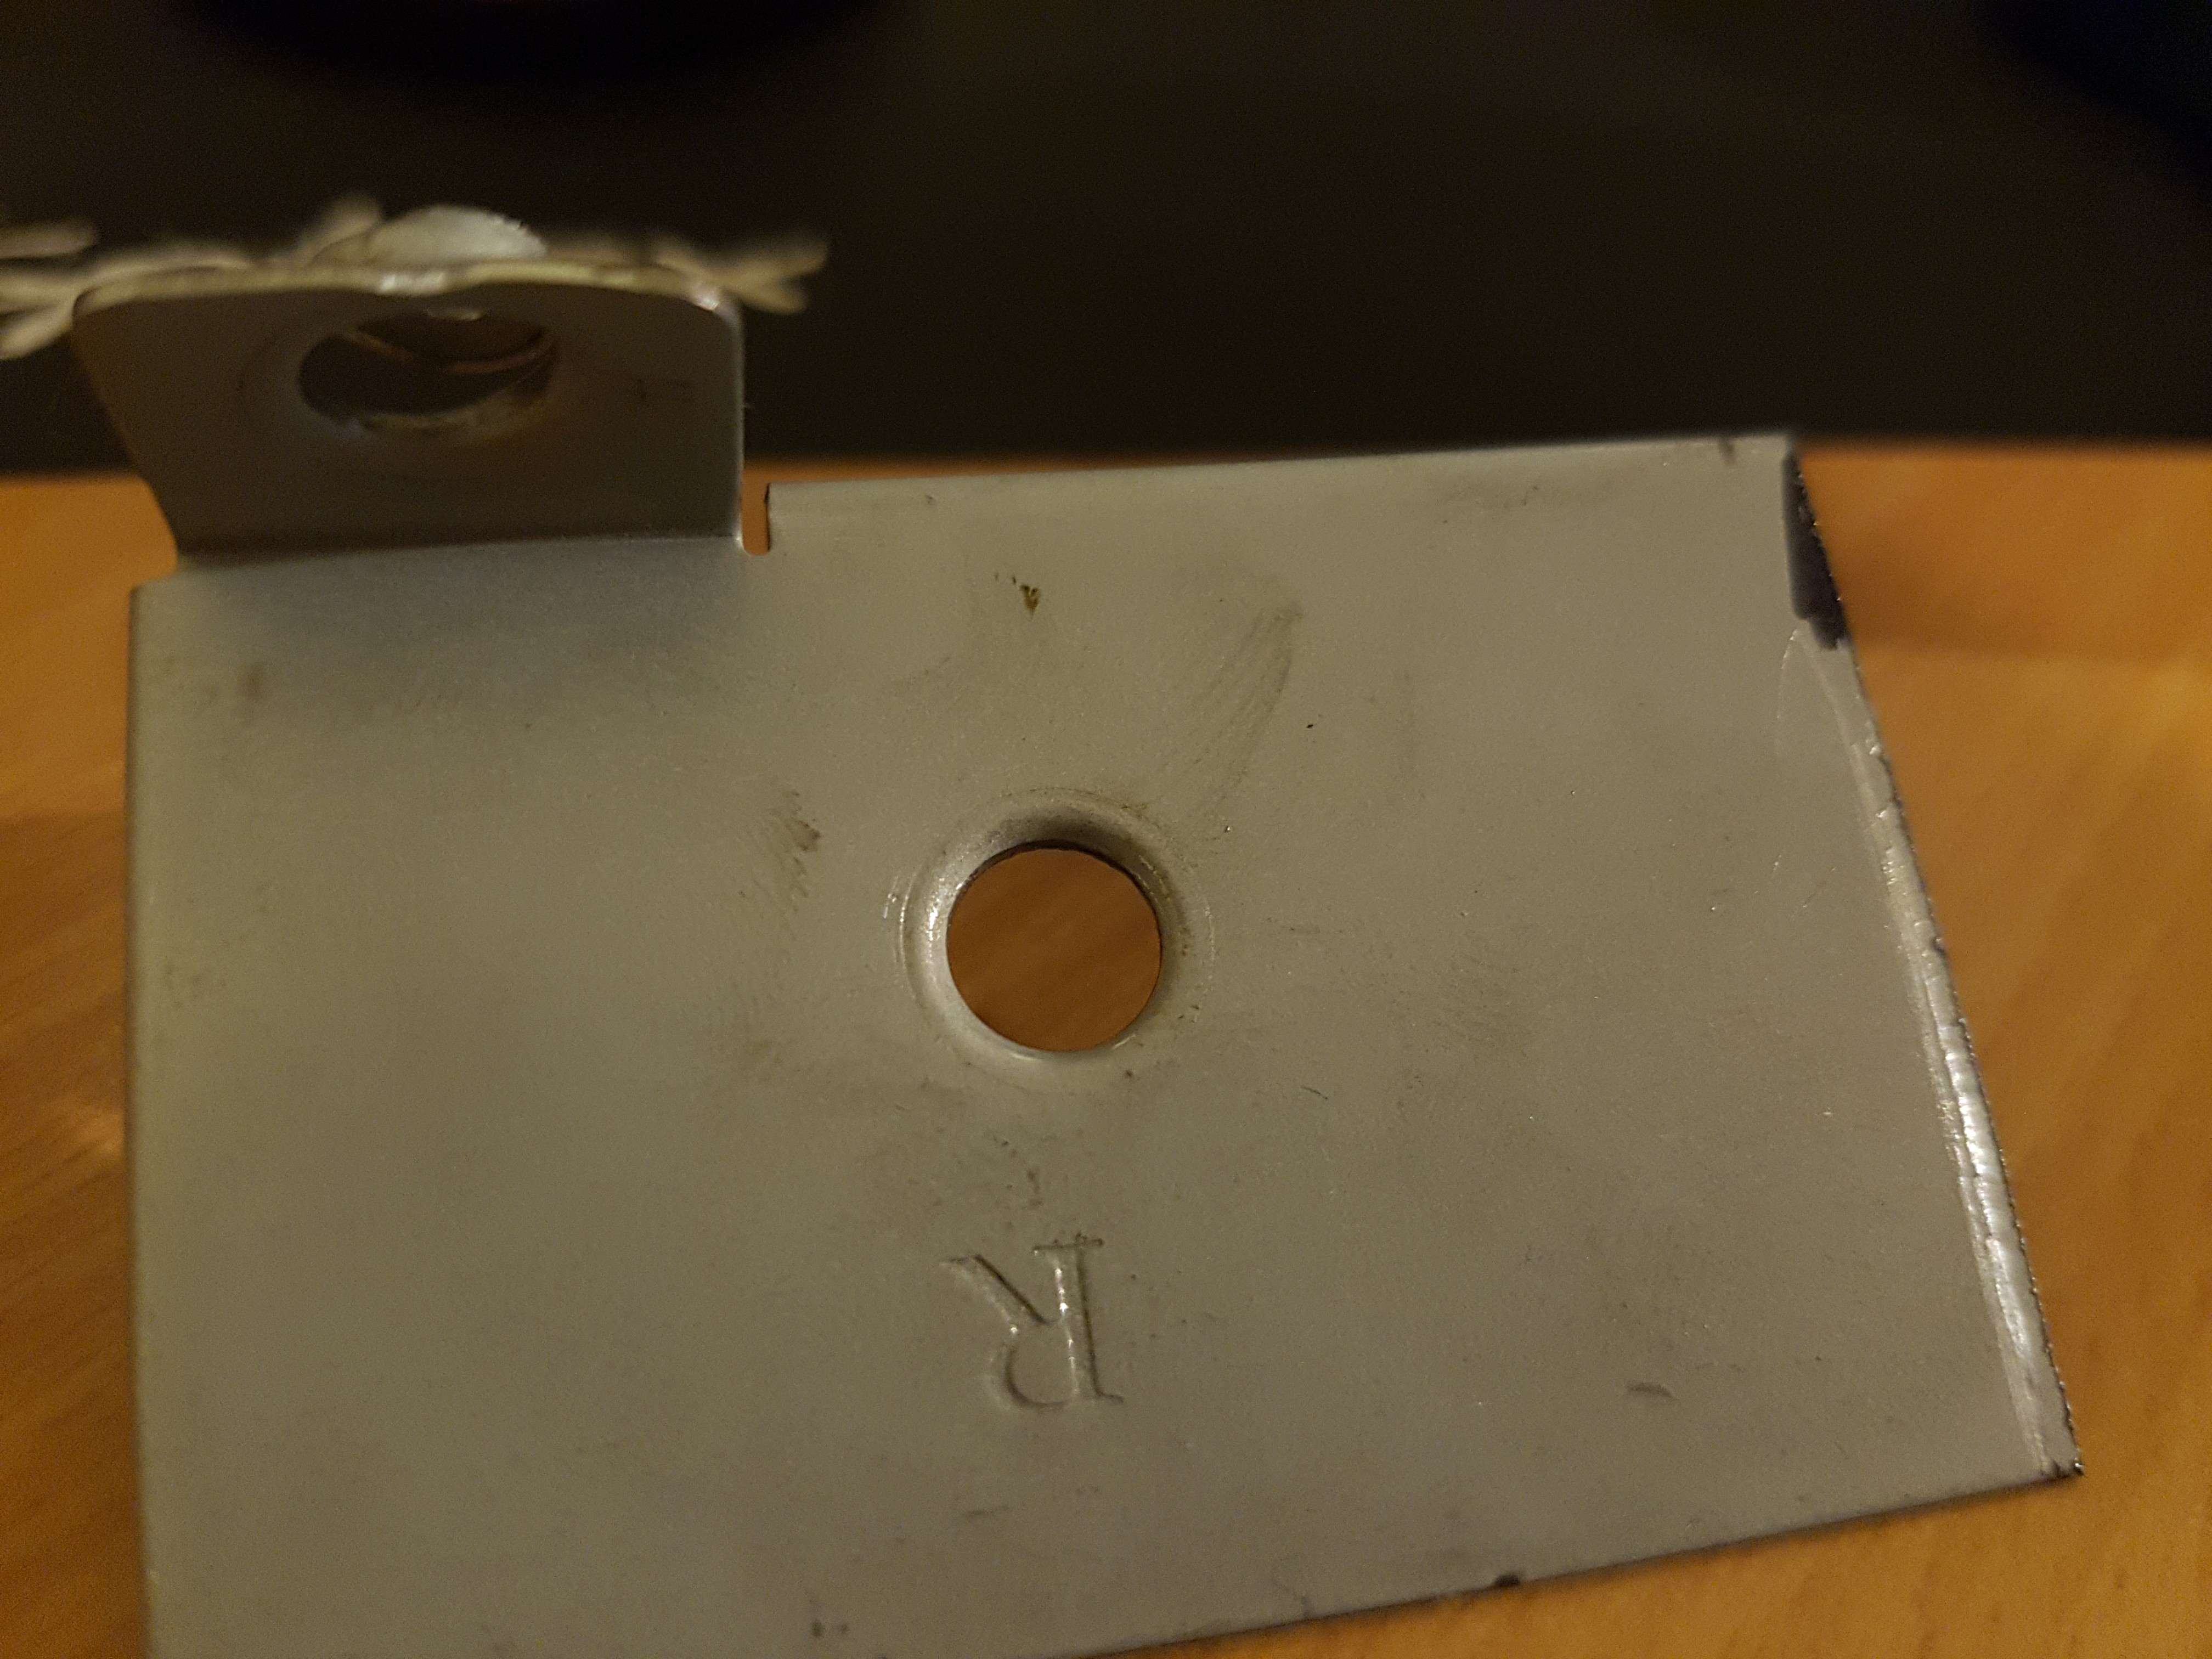
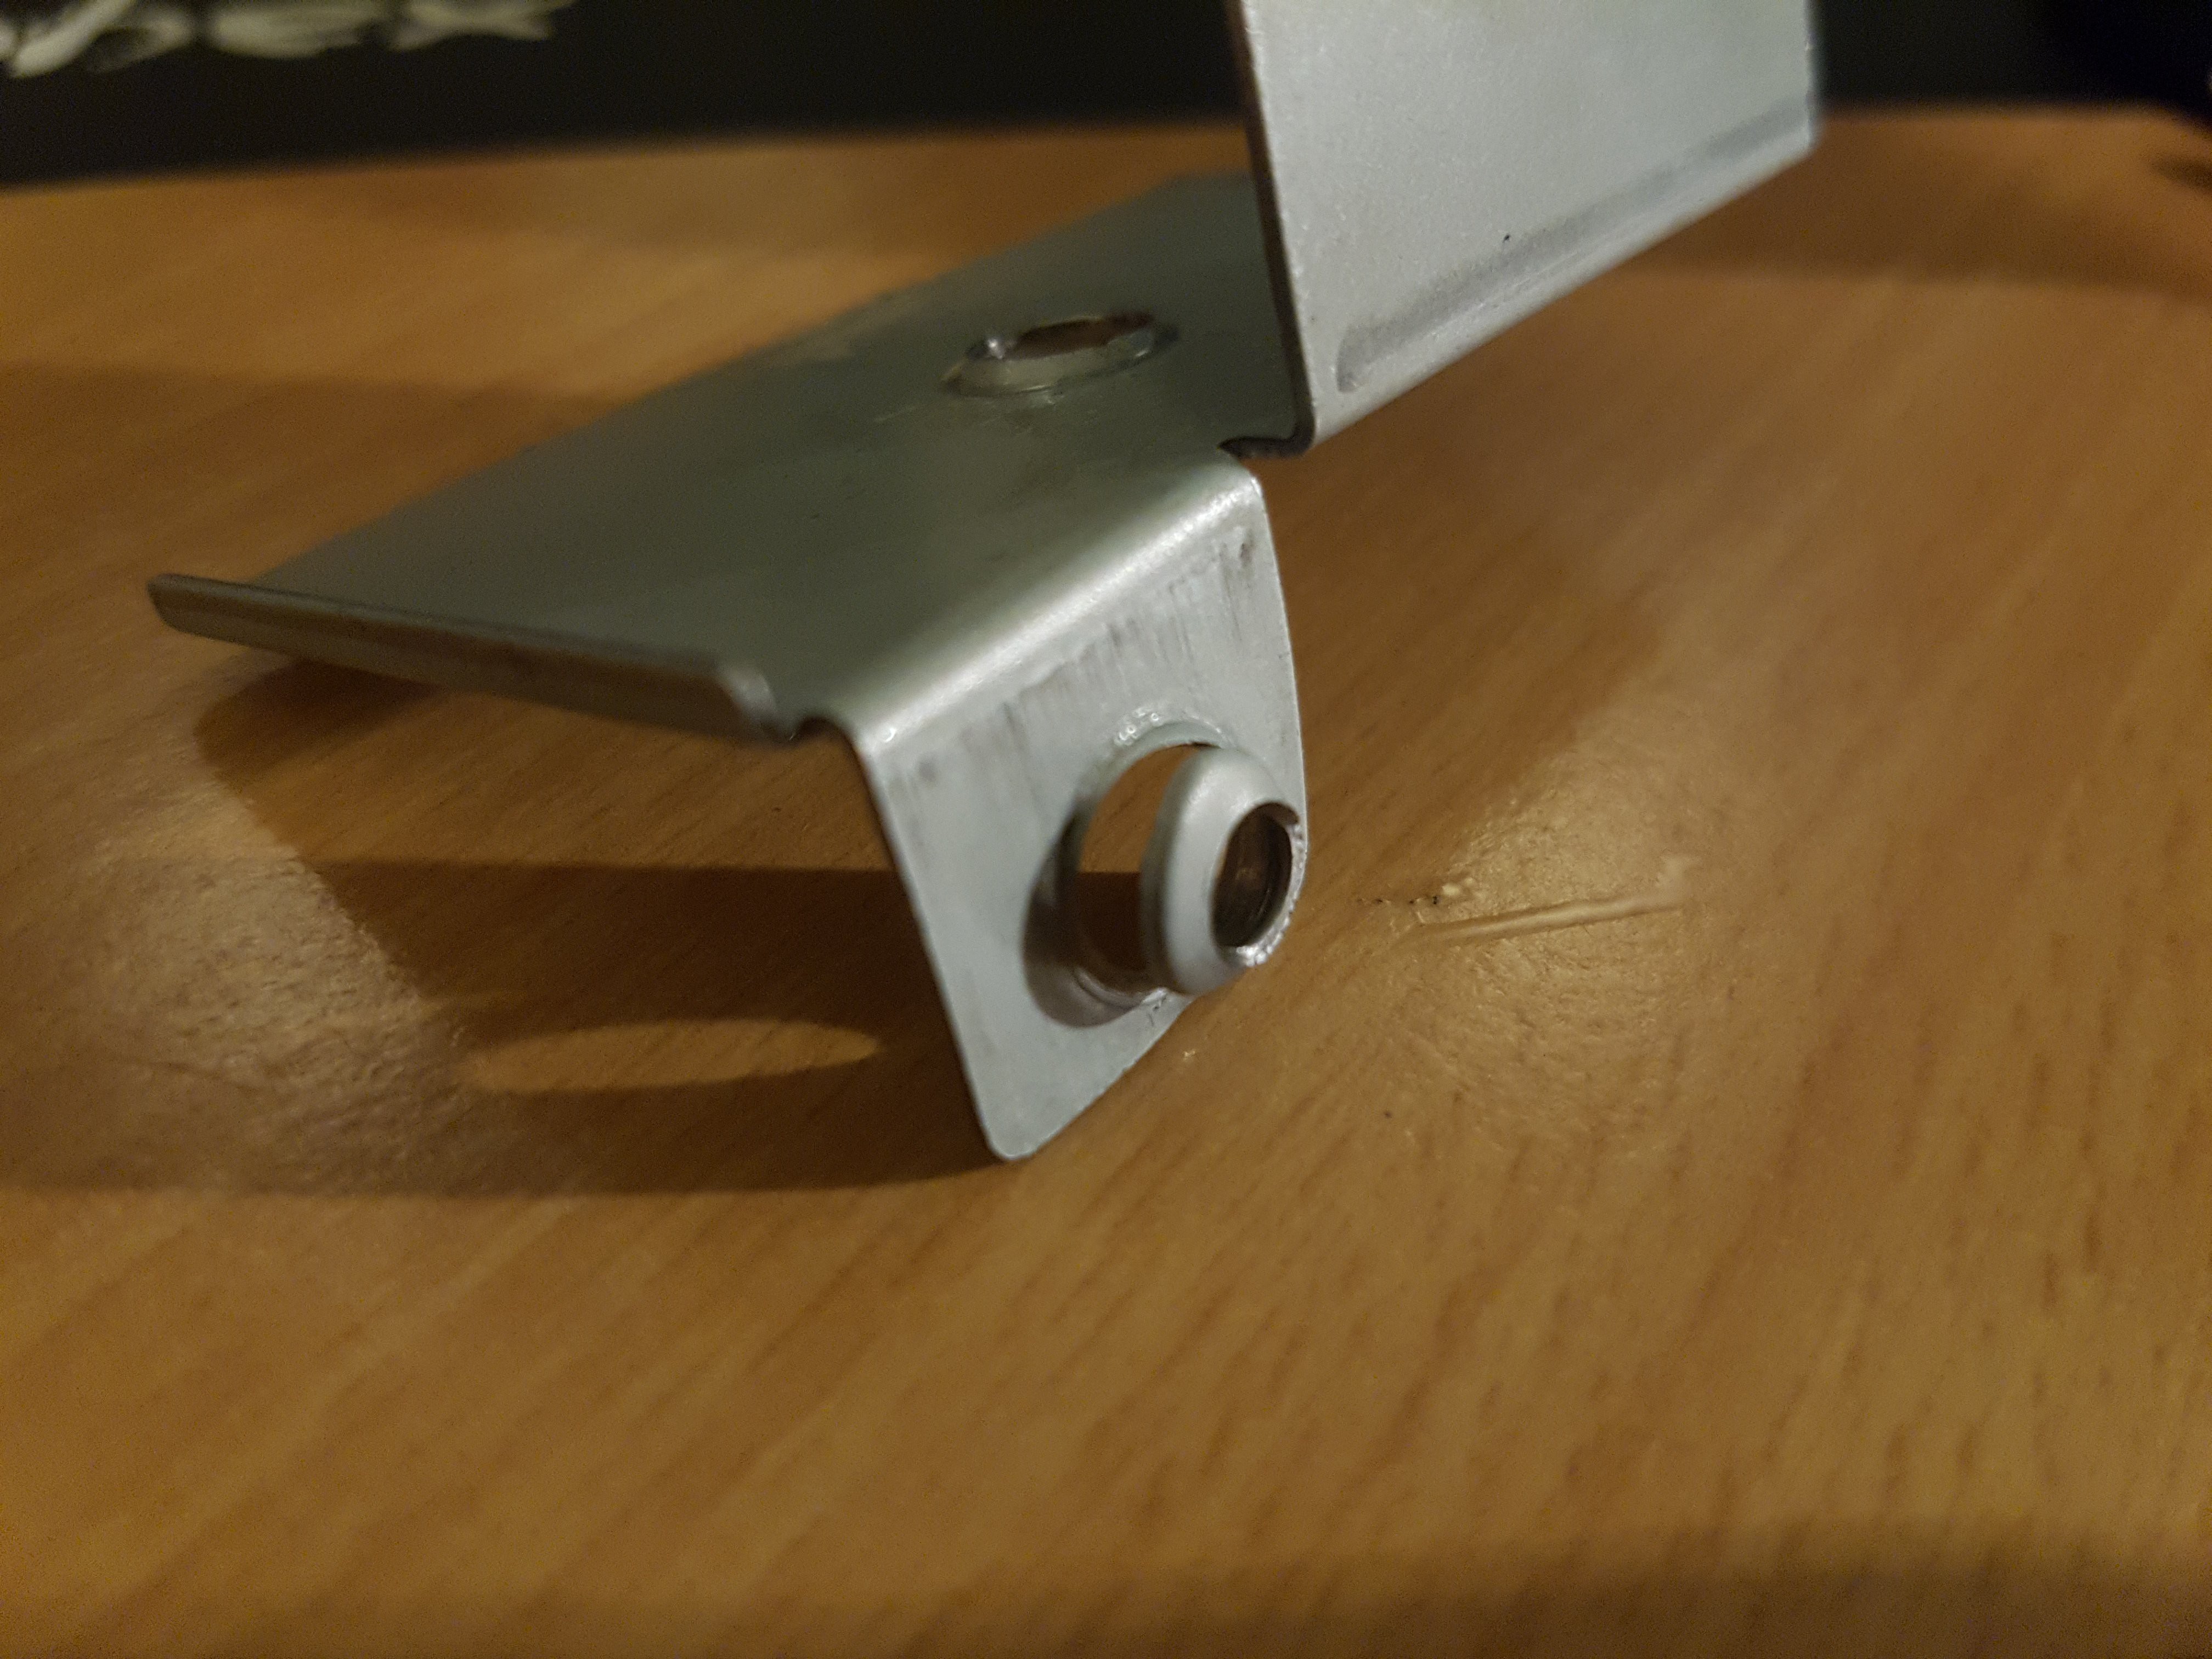
In the end I settled for punching on a hole, just using the short die. After a practice try, I ran it on the DVD mount and it produced four enlarged holes, counter-bored, with just enough metal at the bottom for a flange screw to hold.
![]()
![]()
![]()
With the screws in place the DVD drive slides over no problem. Now I need to draw and cut the adapter plate.
Also, I've ordered a PSU. It's a 250 Watt flex-ATX, which is quite a bit smaller than standard ATX PSUs.
-
Mounting the DVD Drive
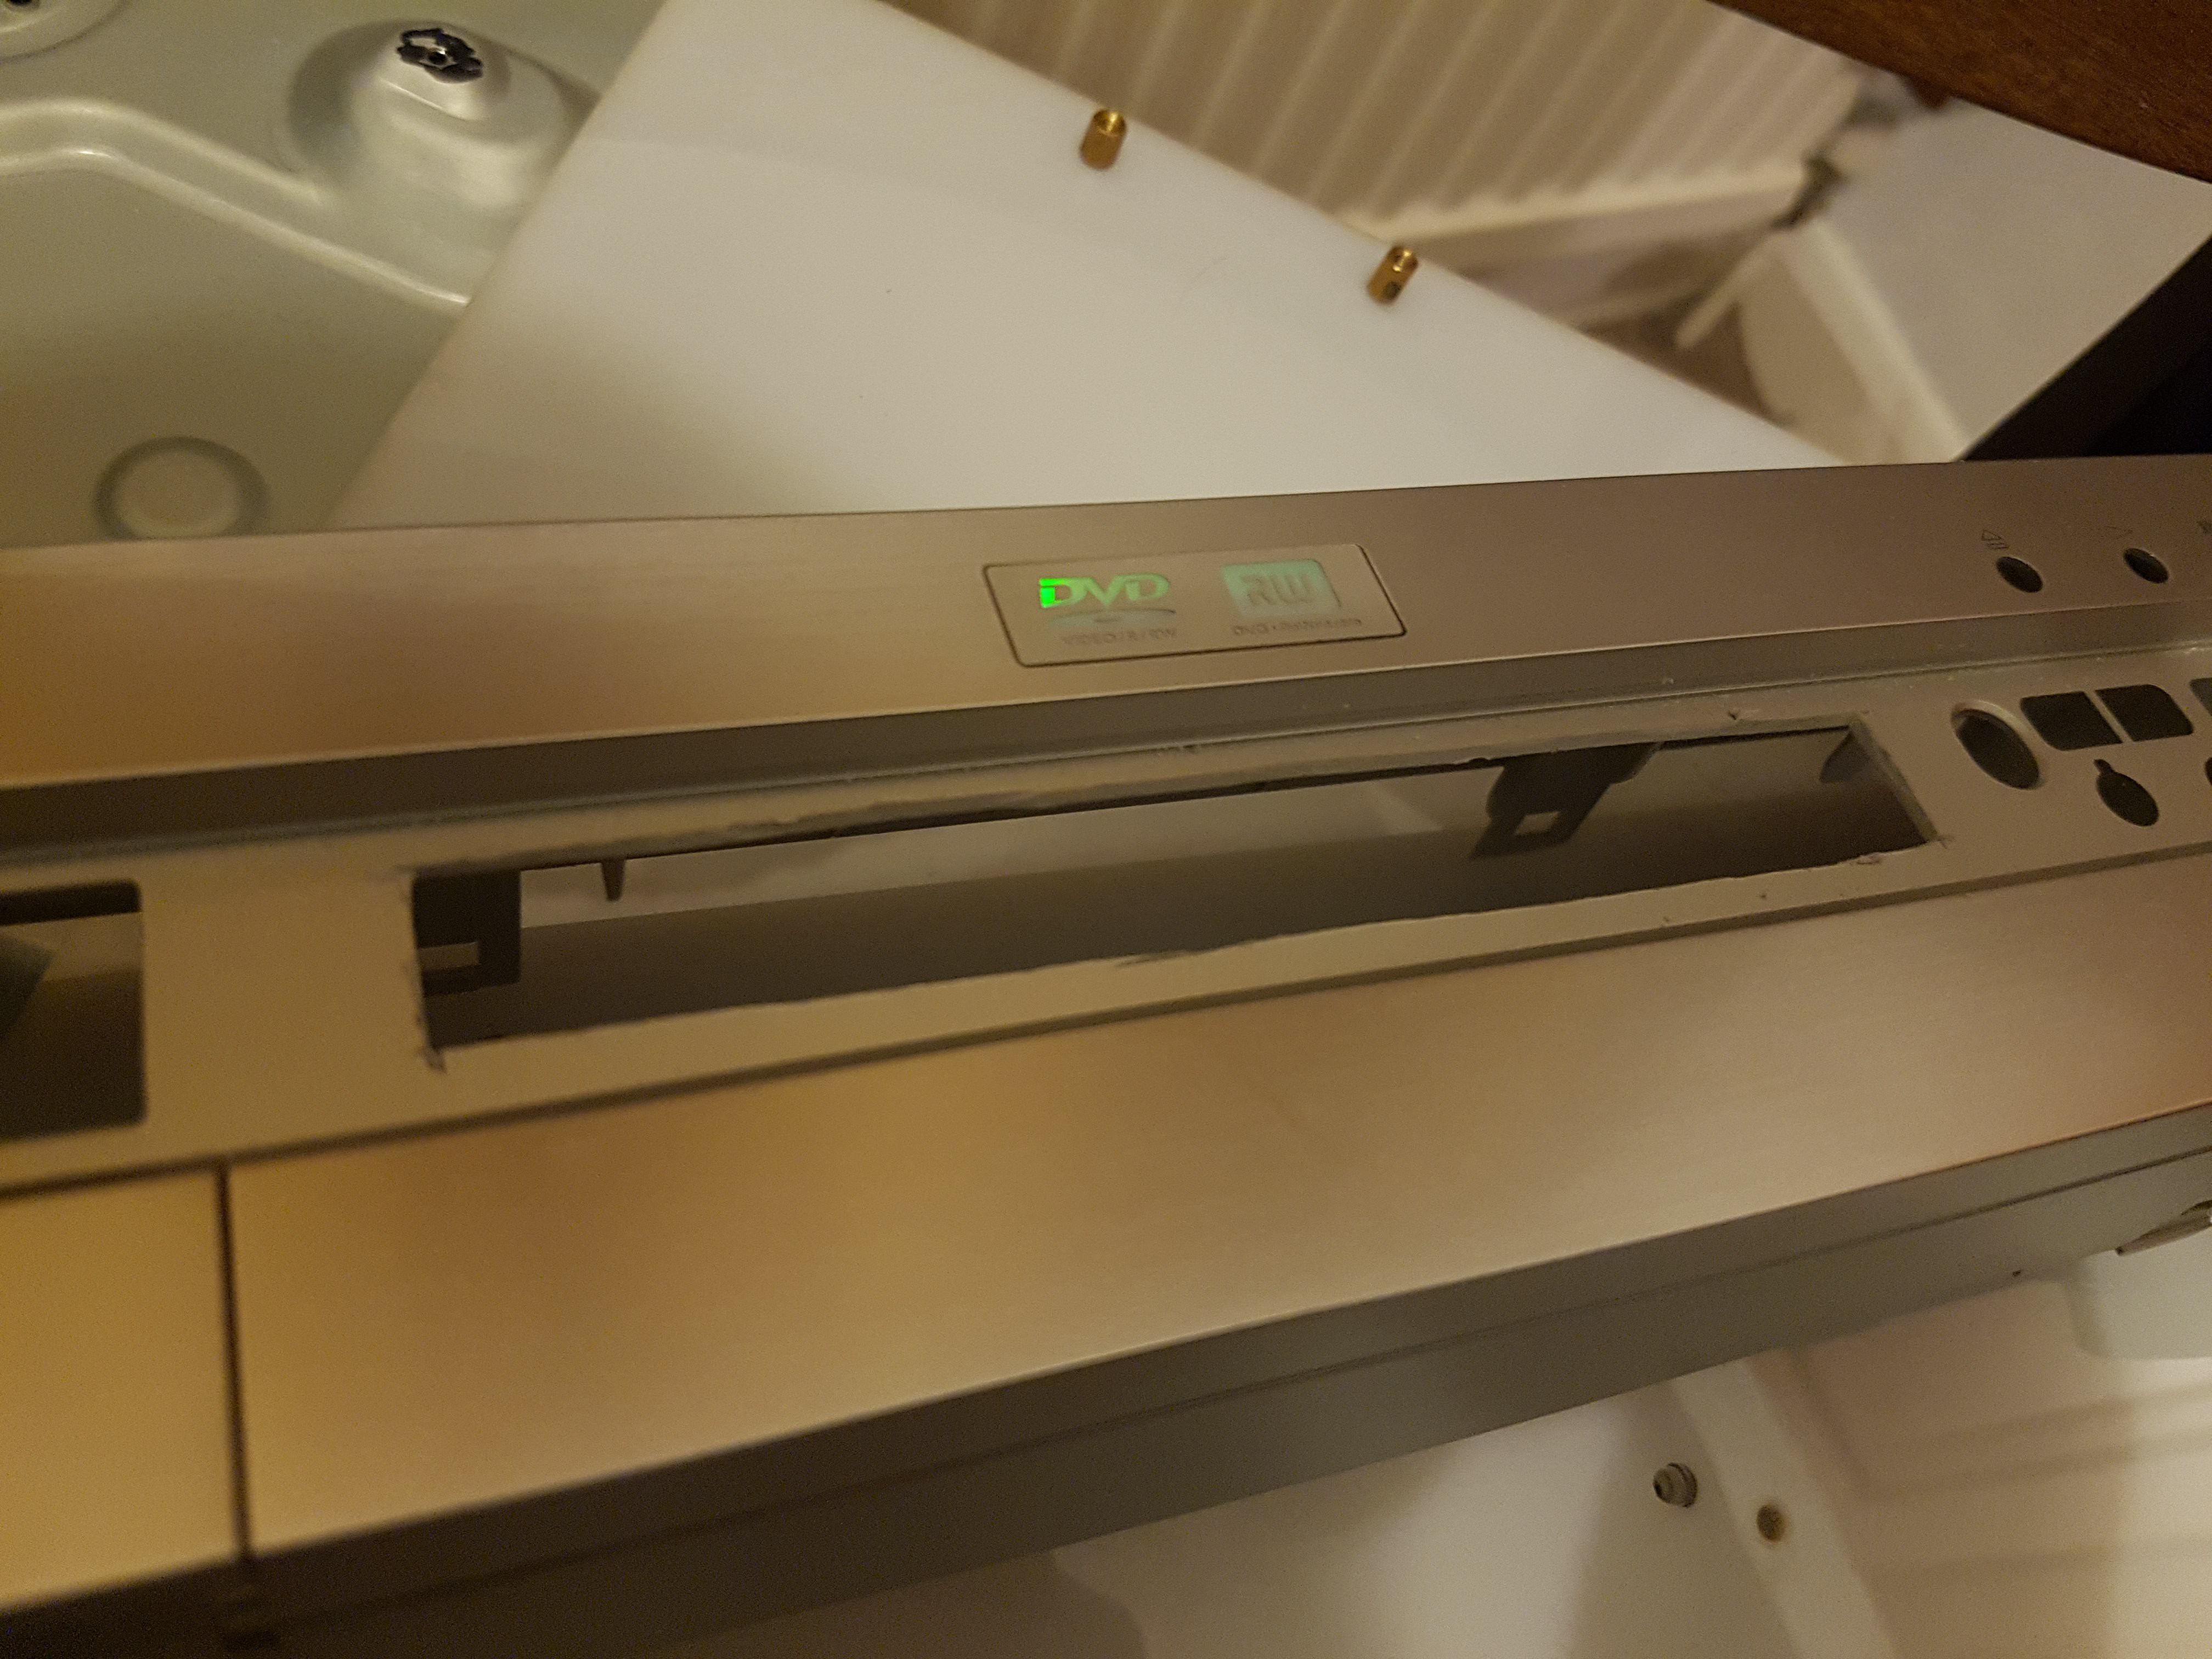
07/26/2016 at 21:45 • 0 commentsI started today by making the hole in the fascia large enough to get the DVD drive through. The black trim was pealed off and the existing hole enlarged to allow for the different style DVD drive. Being neat isn't necessary at this point as I will make a new black trim to cover the mess (and the unused buttons on the right).
![]()
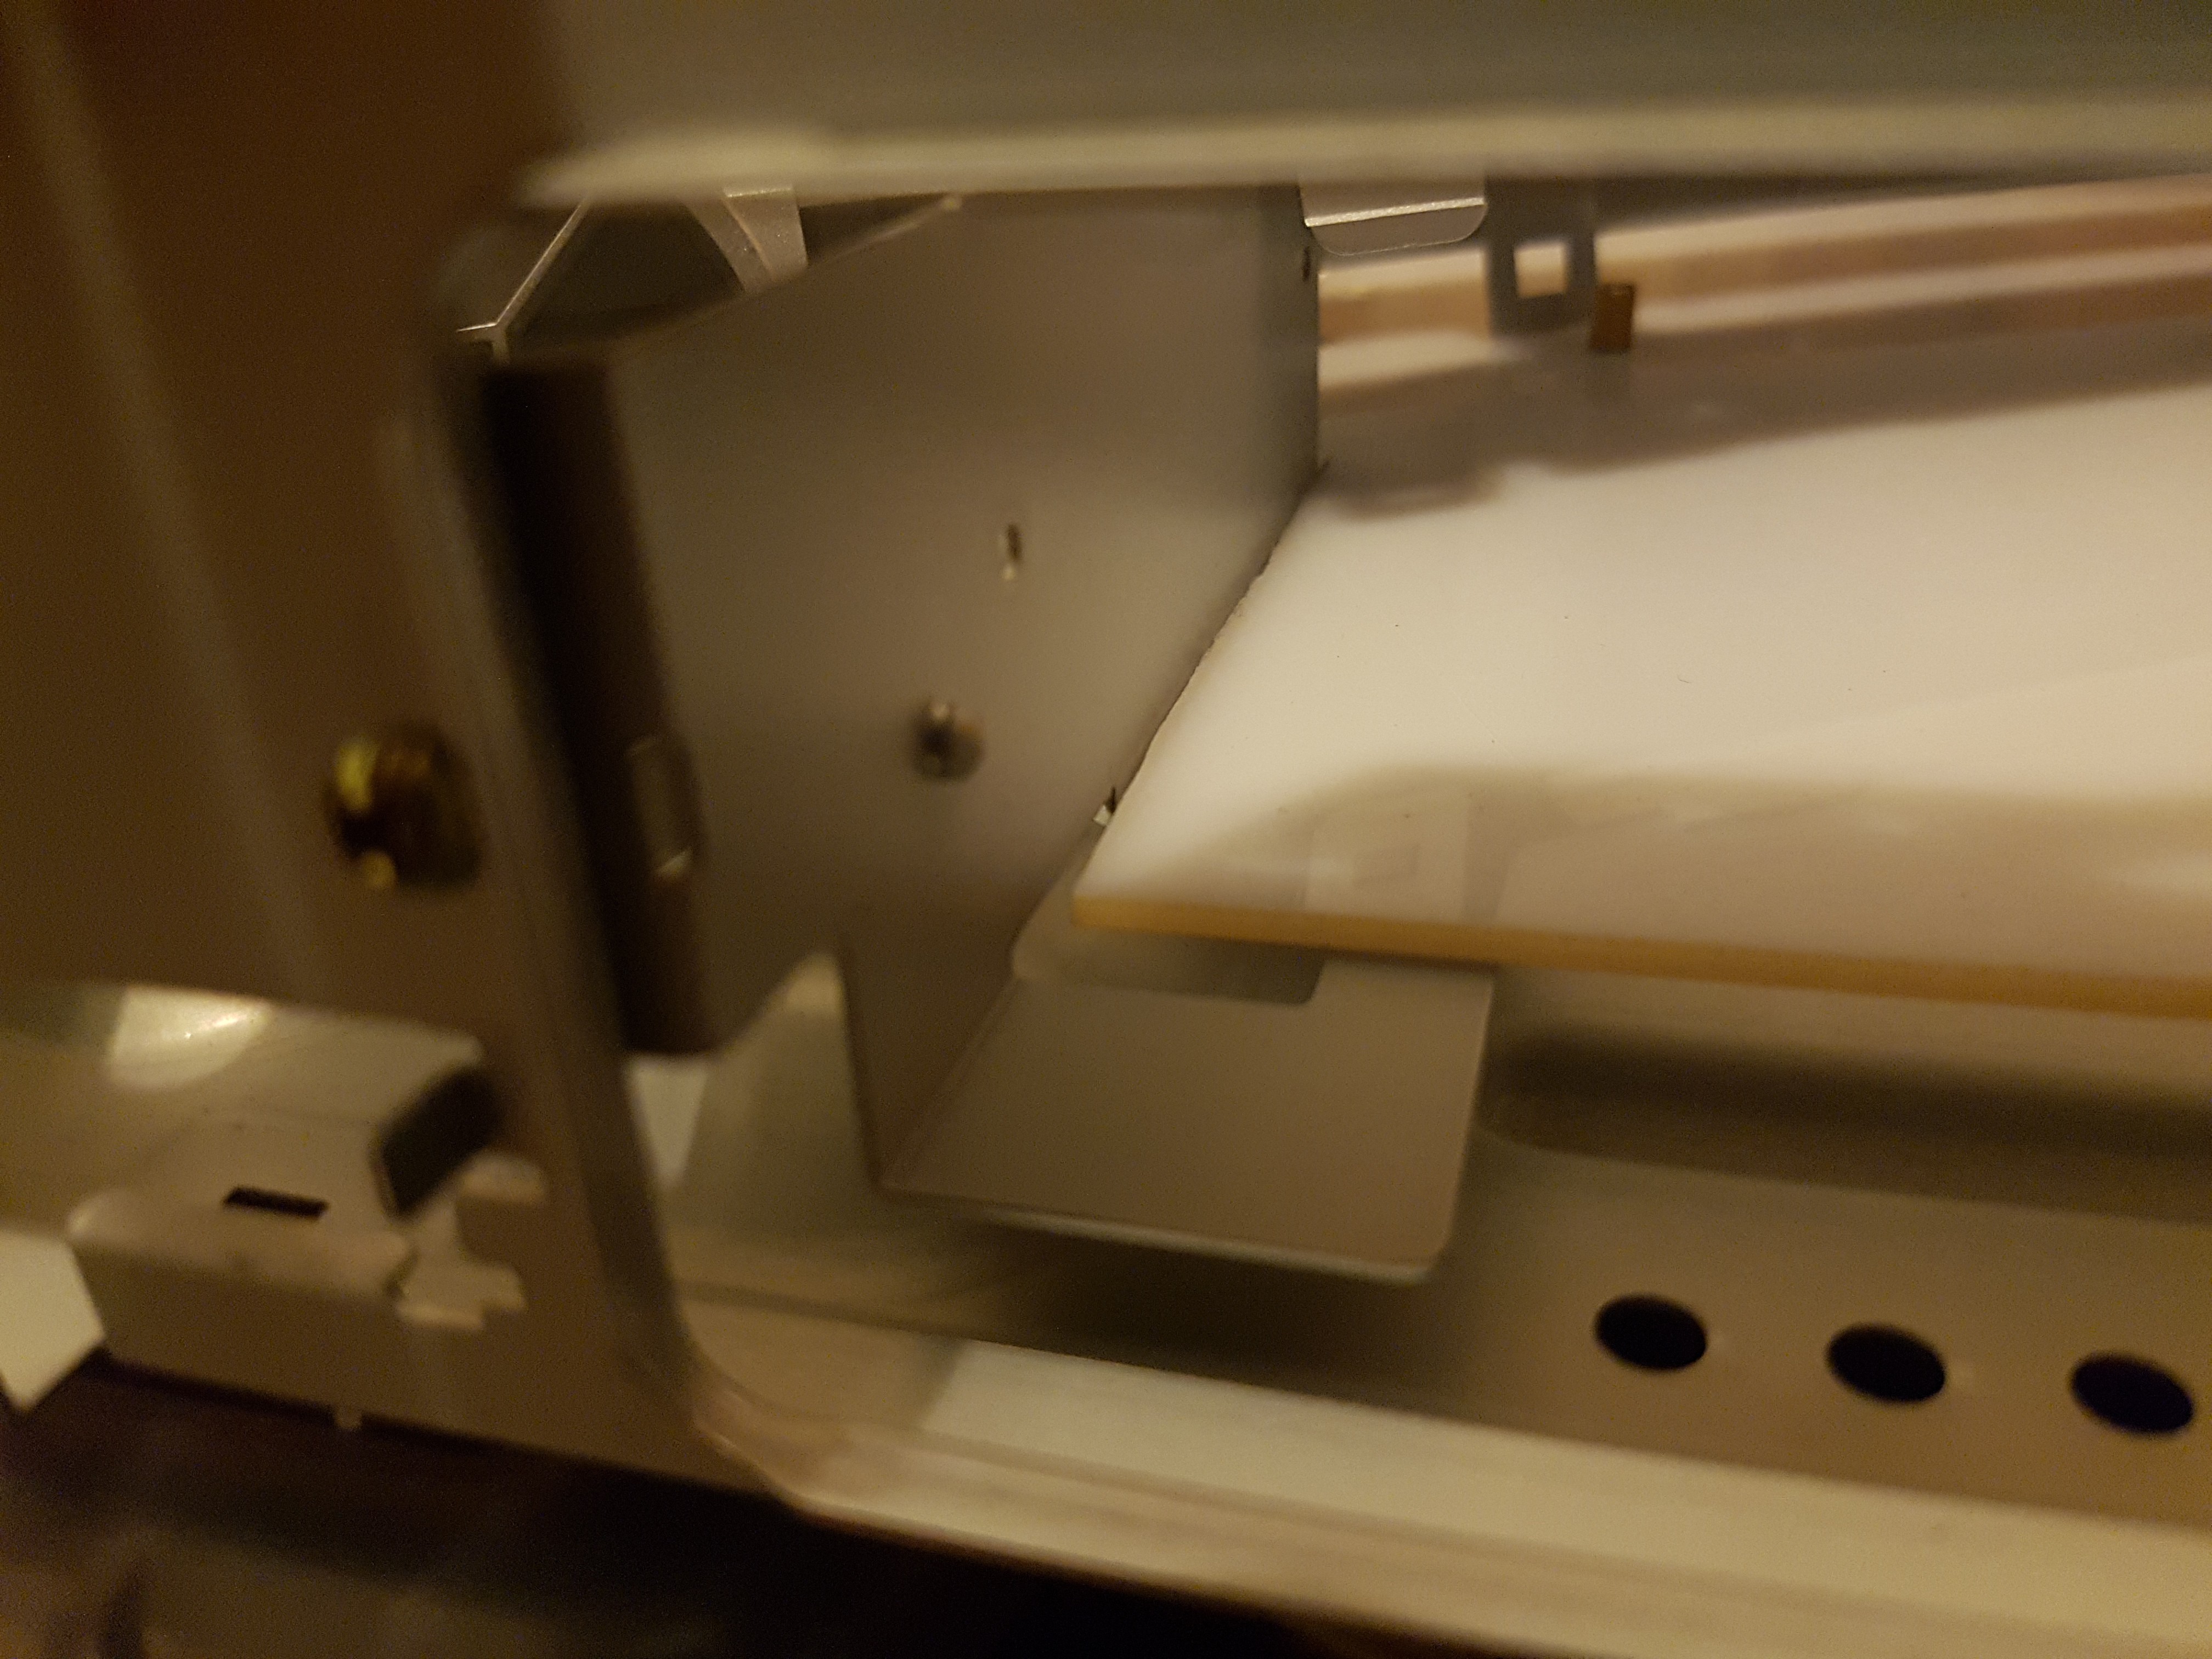
The original mounting brackets will be reused, but required shortening to avoid the motherboard. The poly-carb plate needed some slots to fit around the brackets.
![]()
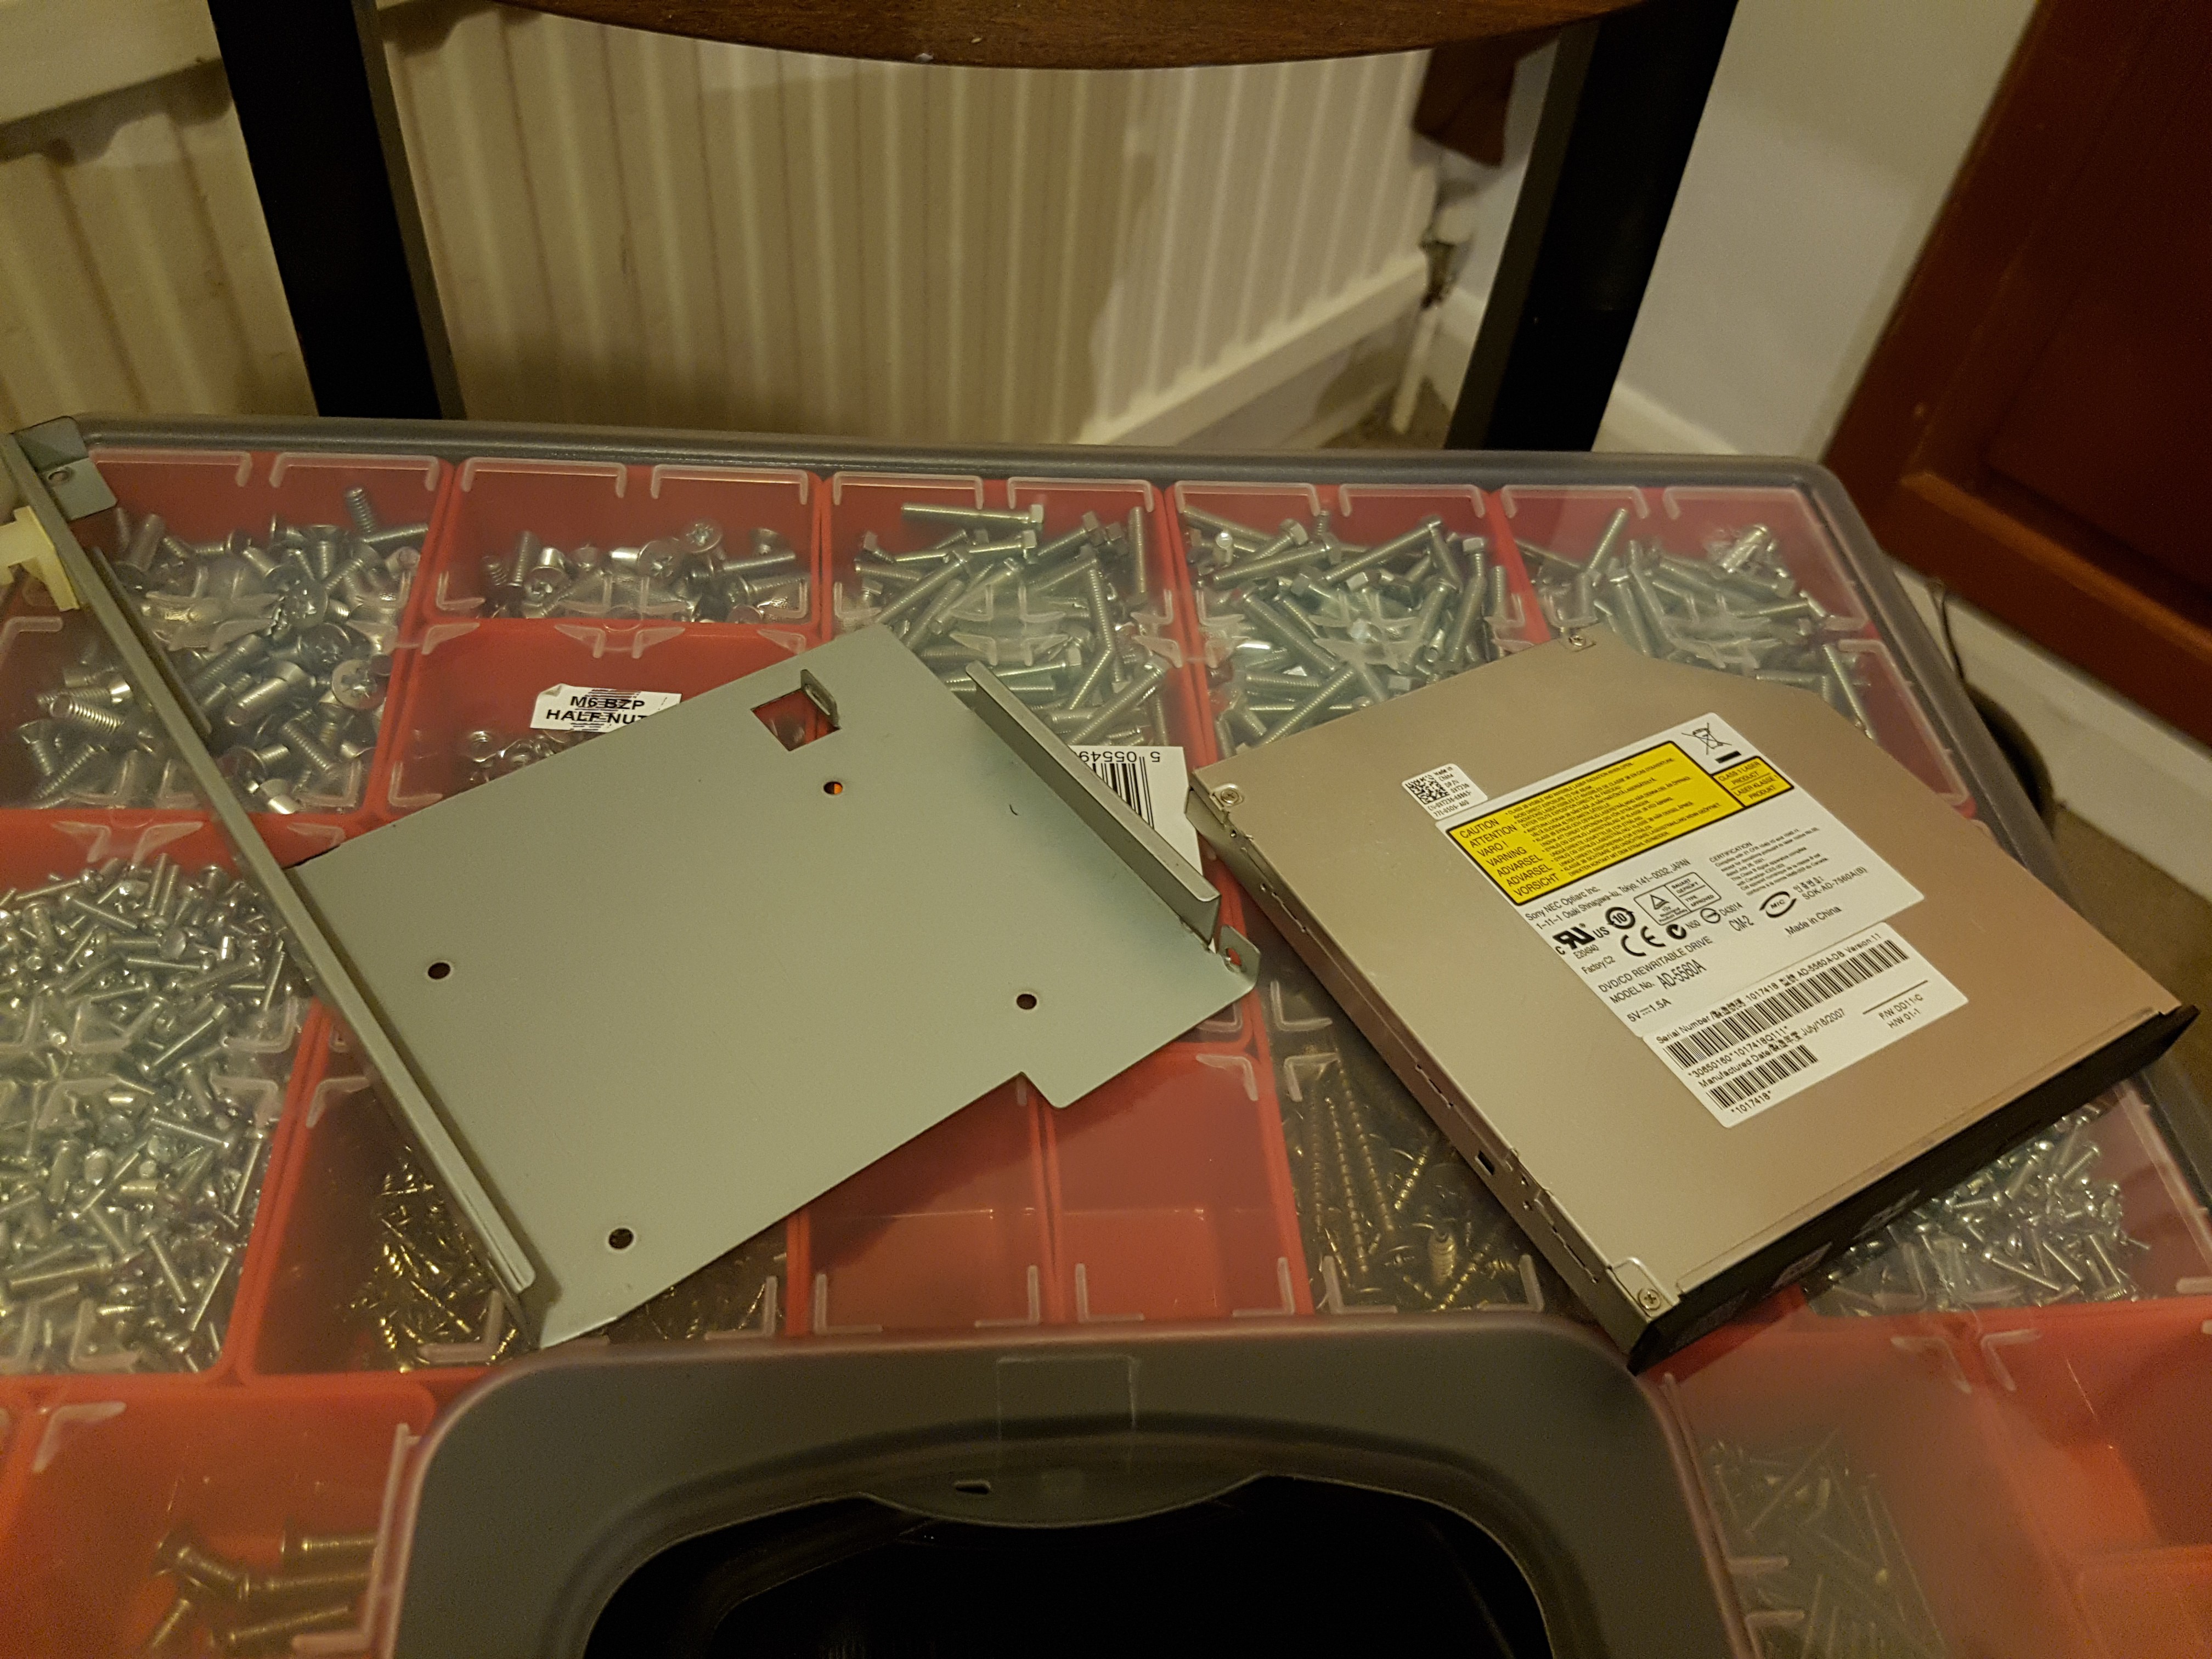
Because the new drive is smaller, I will need an adapter. I am going to use the mount from the old case and another poly-carb bracket to join the two.
![]()
The mount has four holes on the bottom which would be ideal for this, except that they leave no room for the heads of the screws. I intend to alter the metalwork to alleviate this problem.
![]()
Out of some steel hex, I've turned up a punch and die with the intent of 'embossing' the counter-bore required for the screw heads. The screw aligns it to the holes and helps keep it all square. It is pressed in a vice.
So far the test pieces have worked pretty well... if I wanted to punch /through/ the steel...
![]()
![]()
More testing is required, but I think that this will work. Probably.
I'm thinking a bigger hole in the
die, and a taper on the punch...
-
Starting Halfway Through...
07/26/2016 at 21:18 • 0 commentsI am already part way through the project, but I decided to log it on here in case it interests anyone, and more importantly, so I can remember how it all goes together...
![]()
![]()
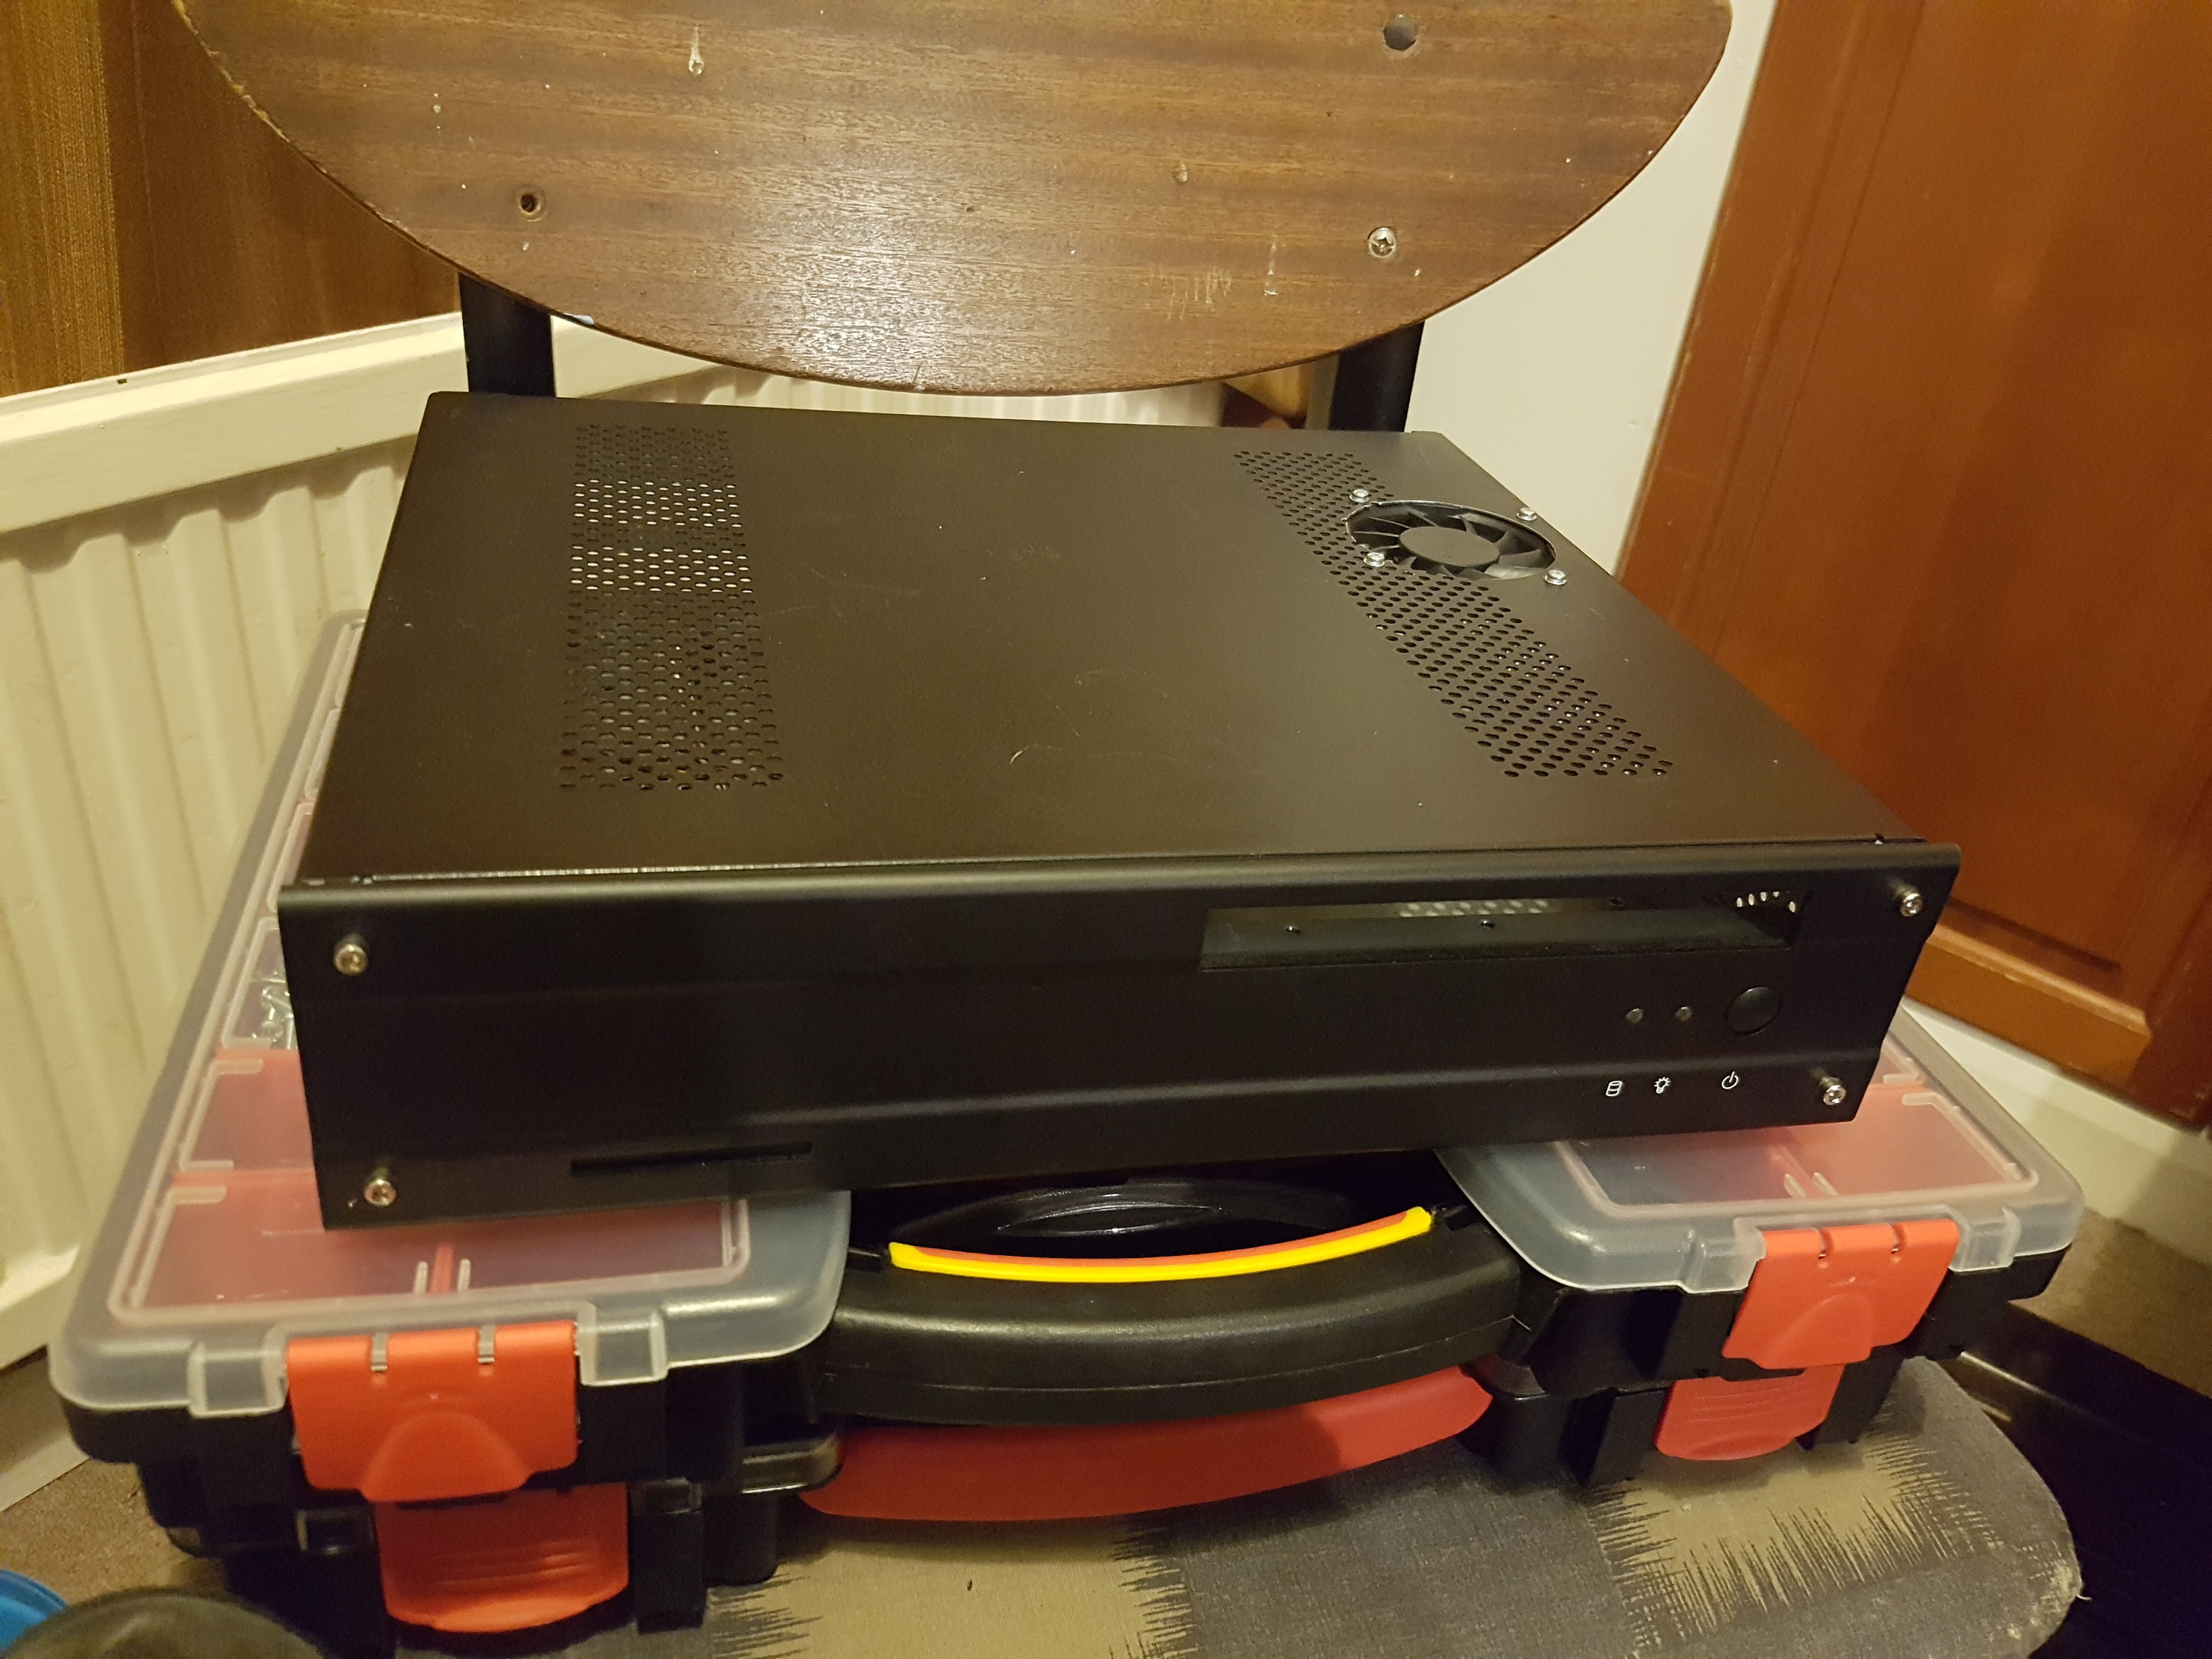
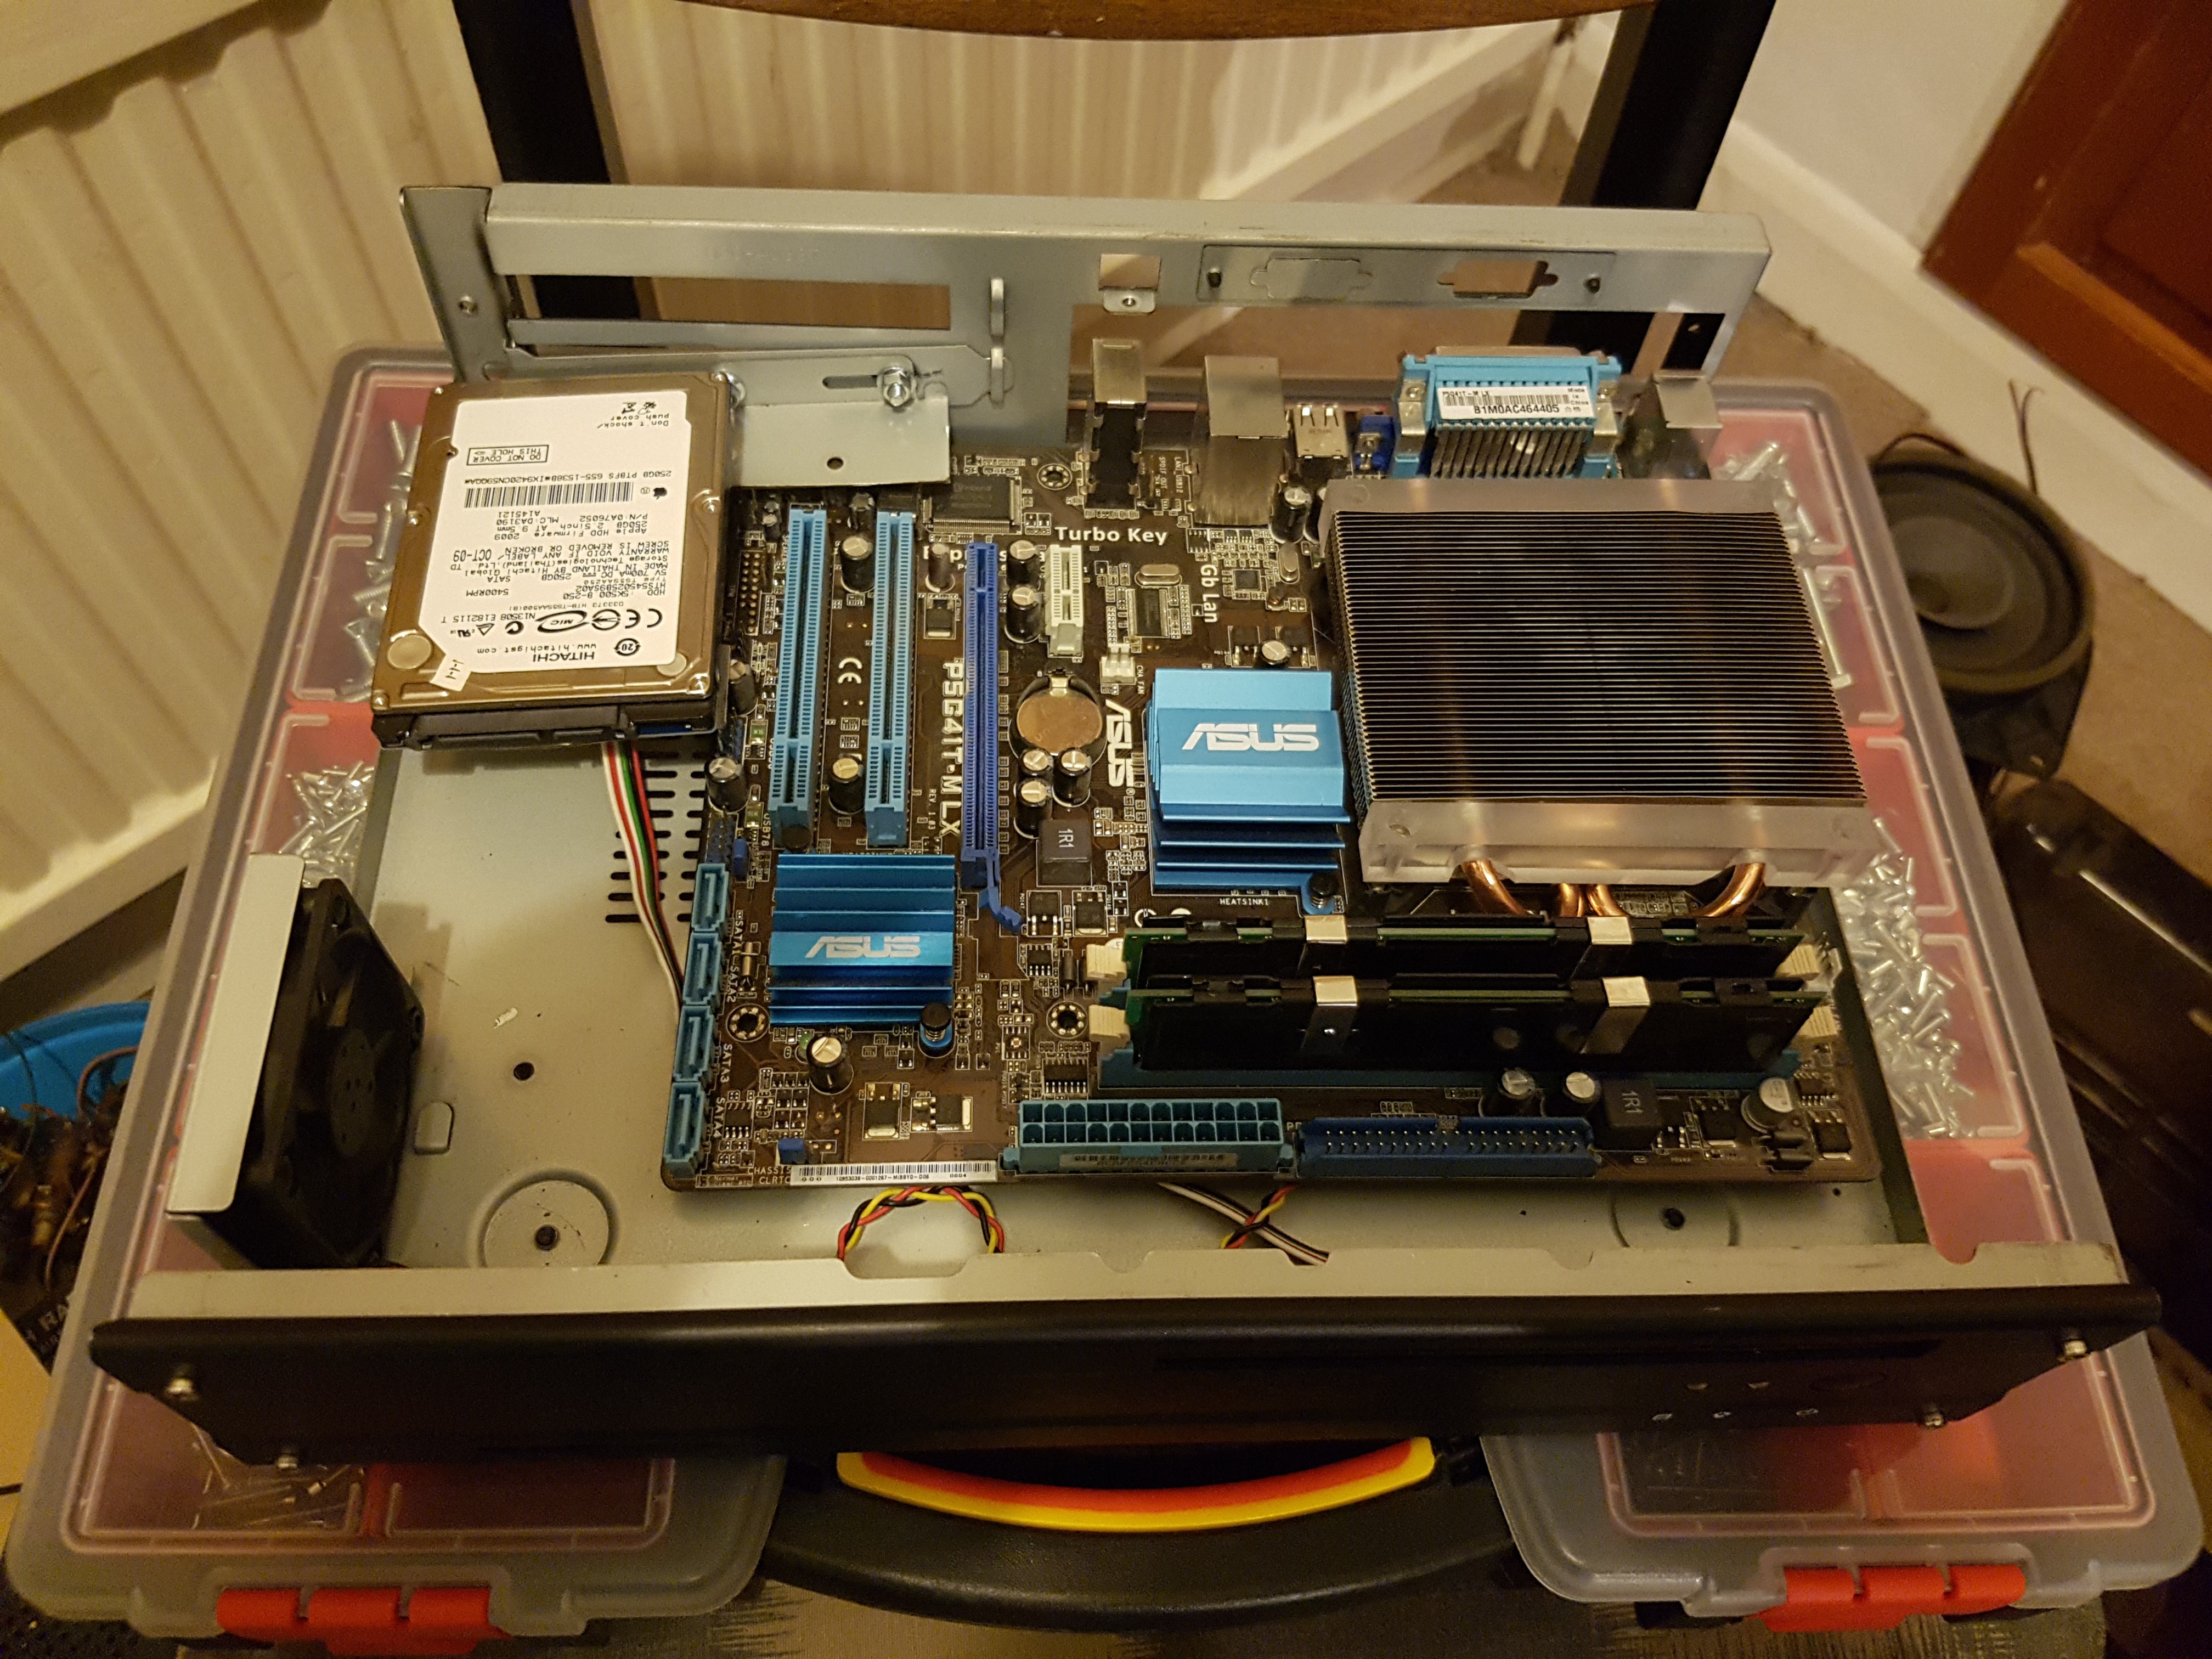
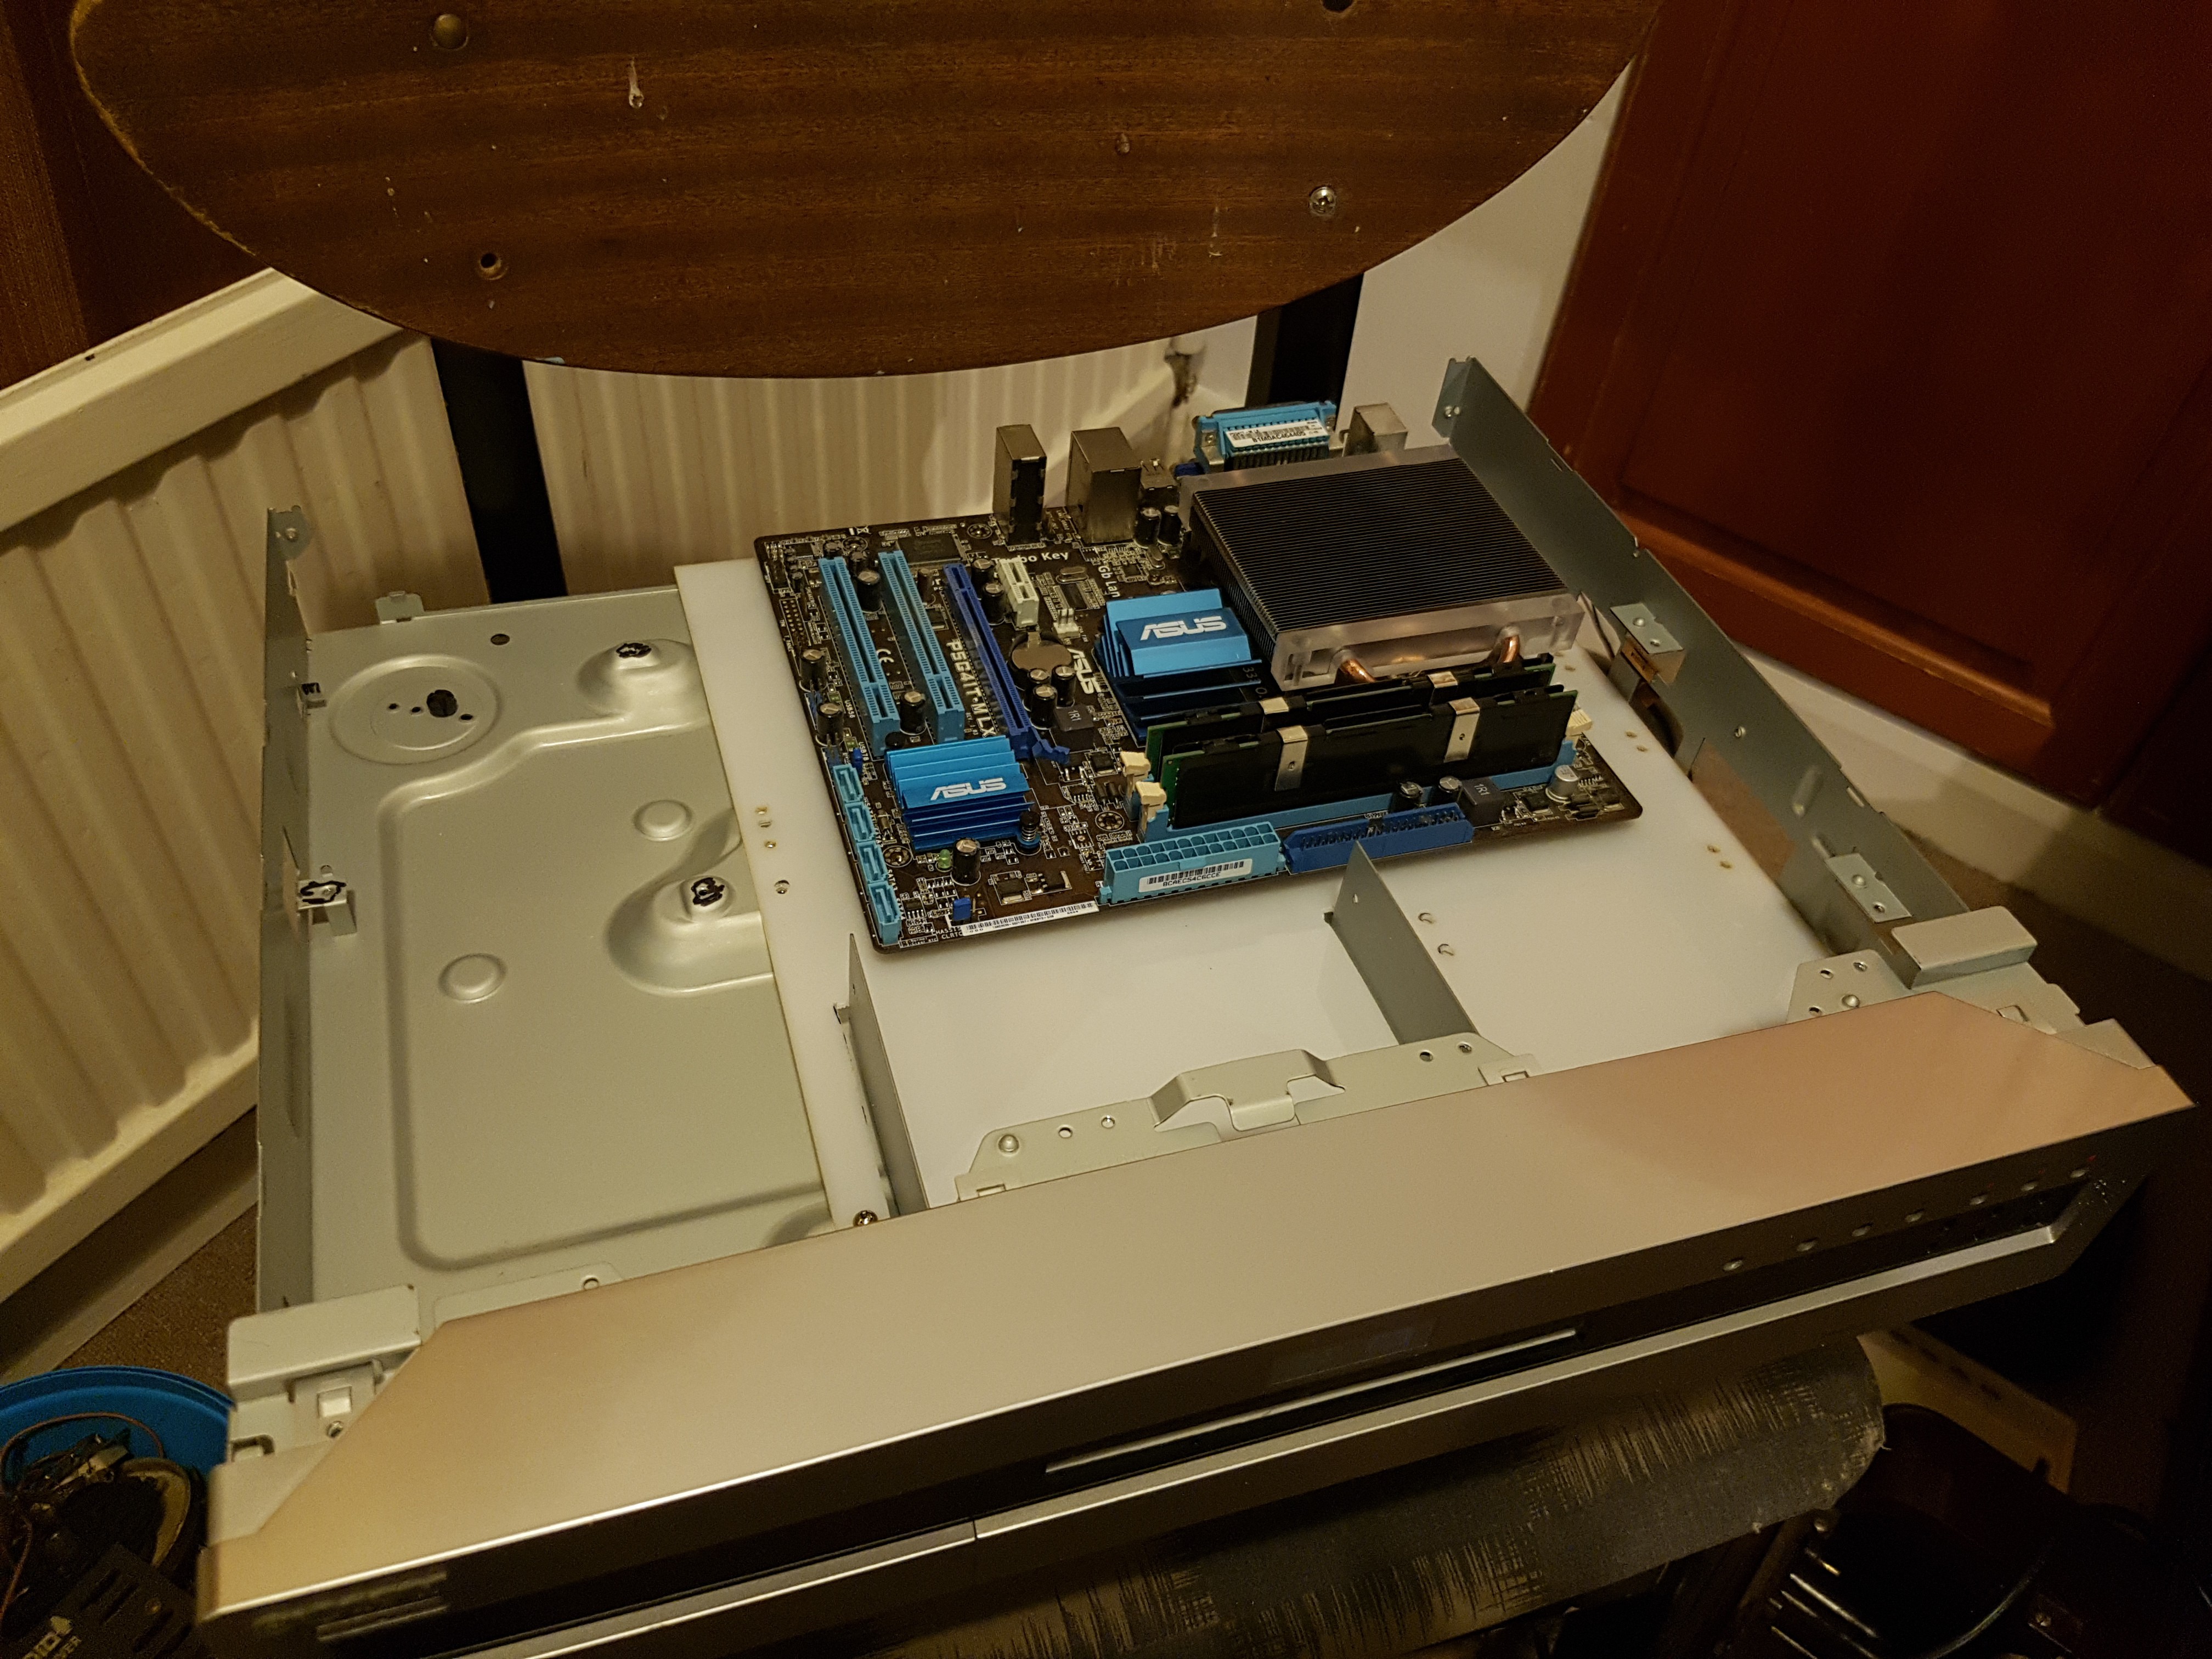
The project started with an ITX media PC rescued from the bin at work. I realised that the motherboard holes matched u-ATX, and that the case had /just/ enough room to fit a u-ATX PC - I'm the sort of person that has spare PCs lying around... This only worked with a pico-PSU, and with no fan on the low-profile CPU cooler. it worked fine on the old, low dual core, but after upgrading to a quad core it was struggling, and eventually, the PSU died.
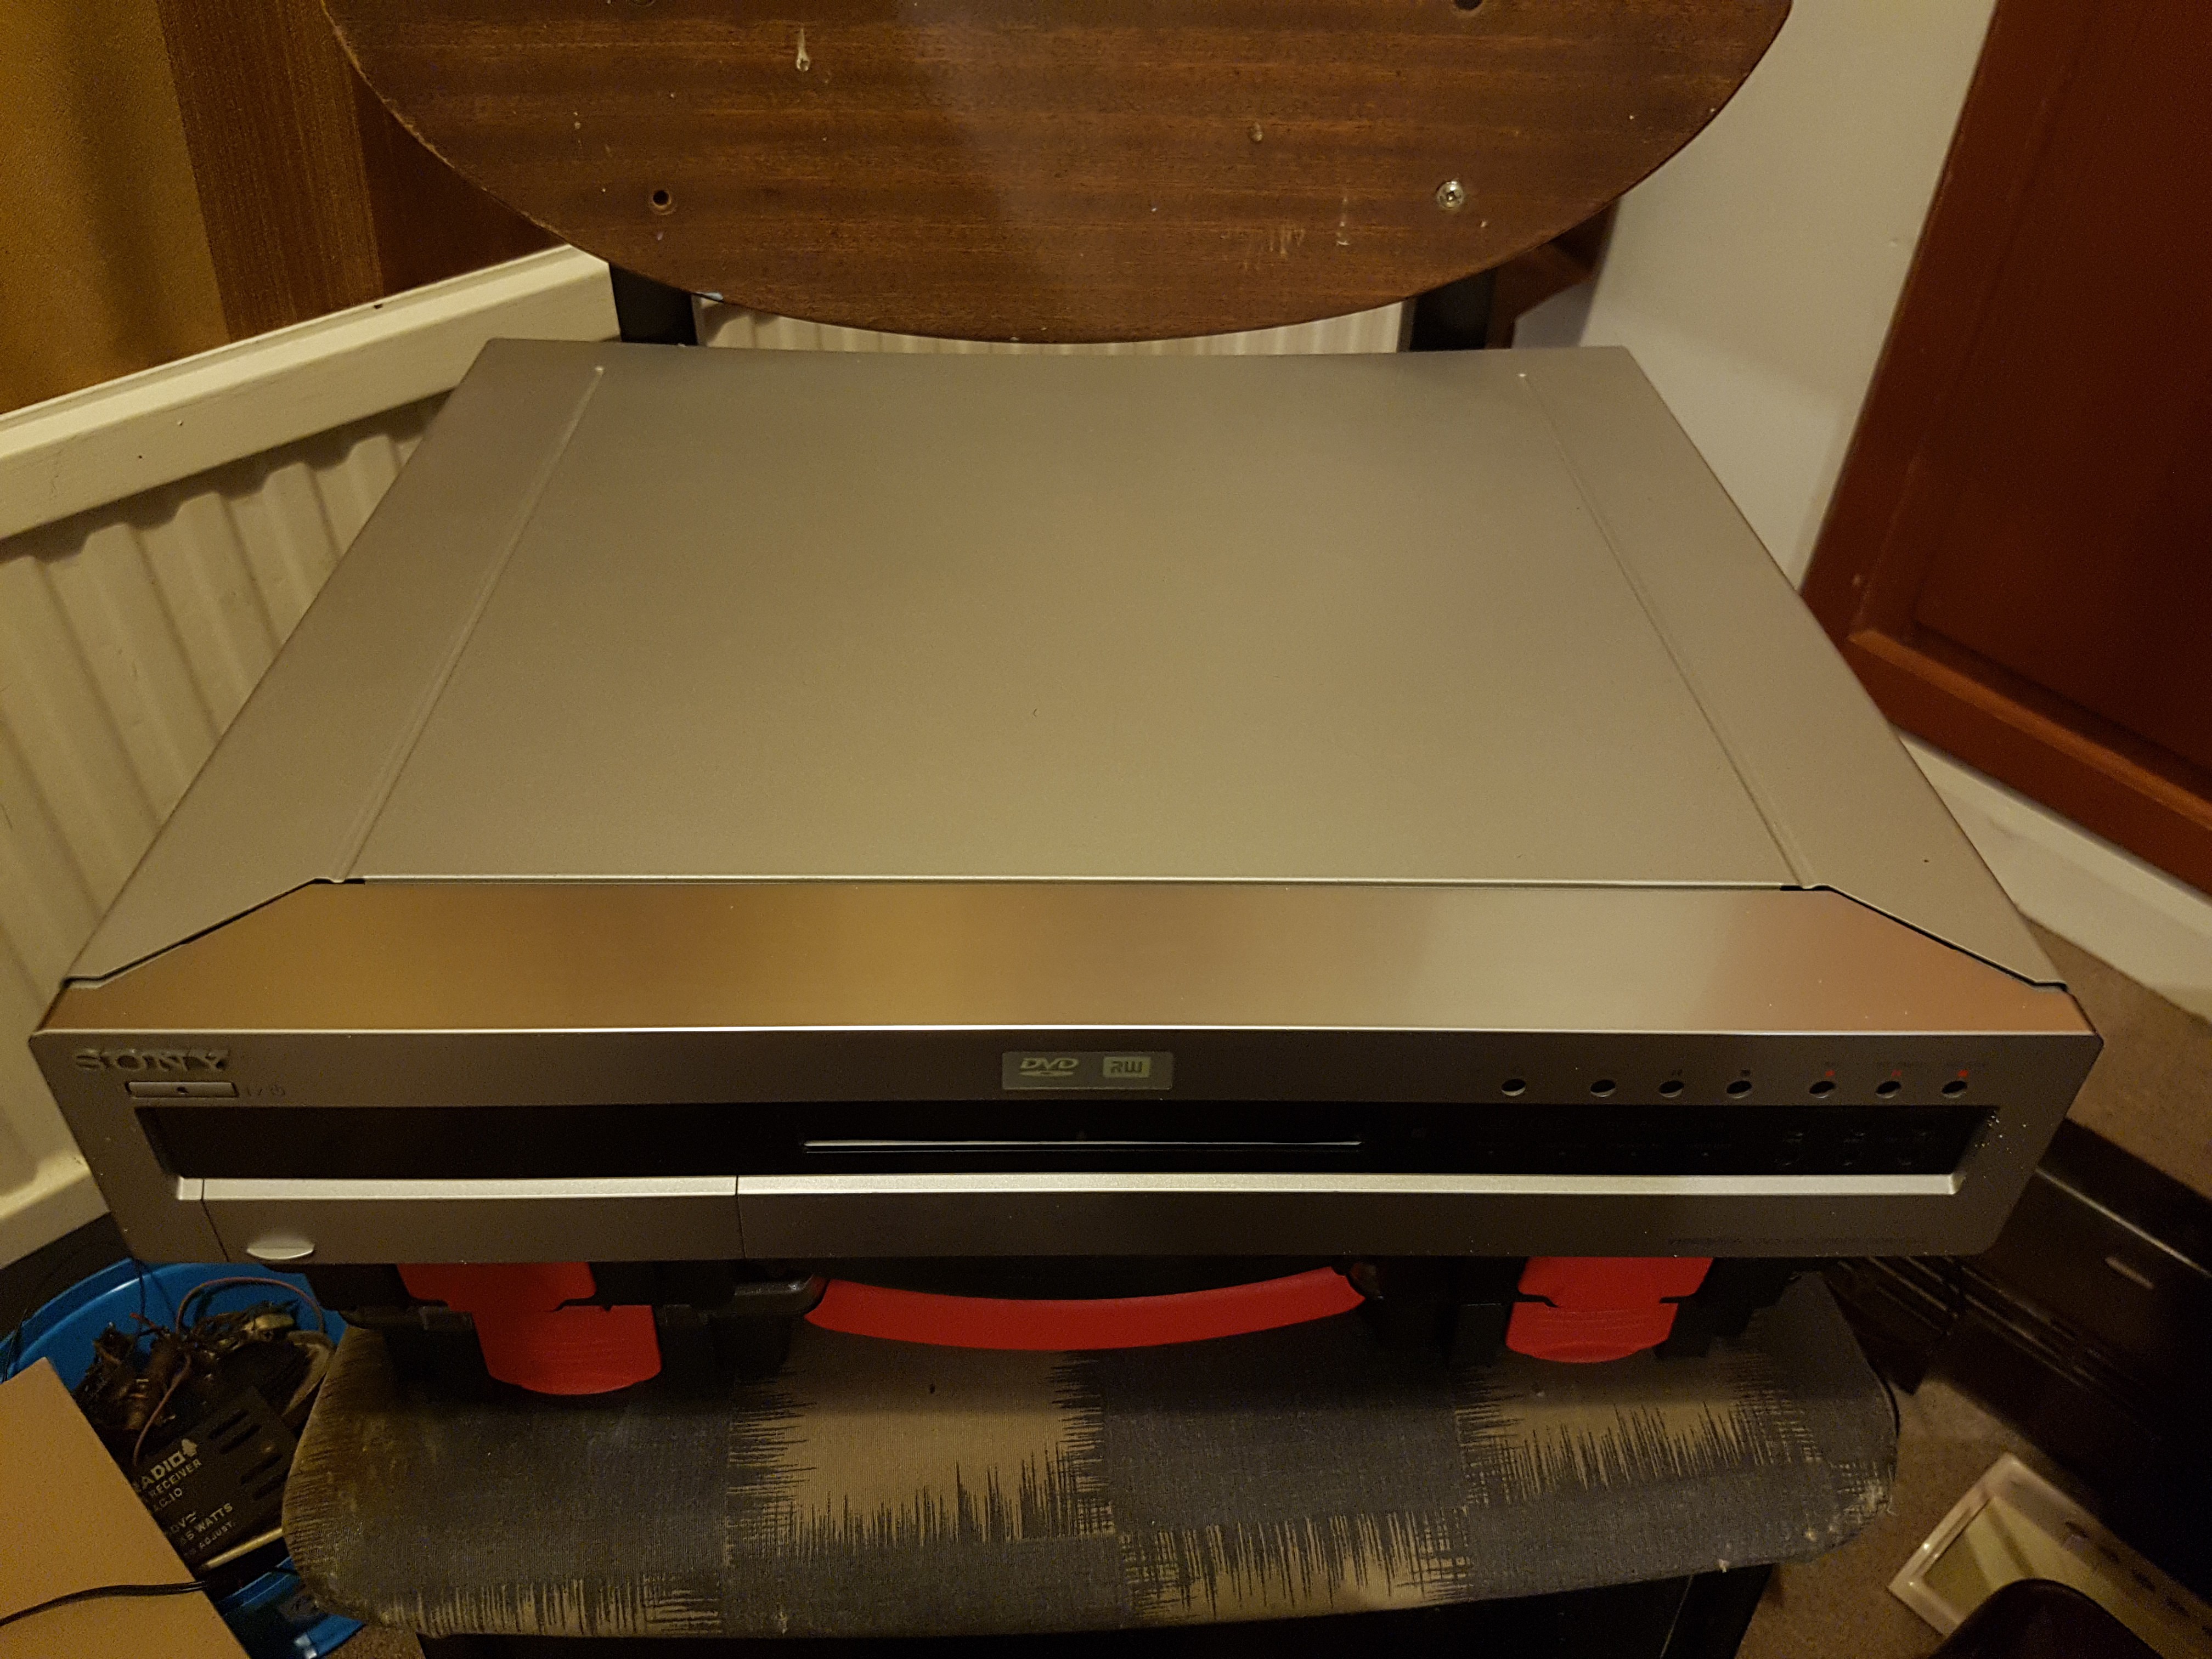
Looking for a better, bigger case I realised that I had a DVD recorder that had never been used, and never would. It came second hand from a colleague. Most importantly, it was bigger, taller, and matched the rest of my "stack".
![]()
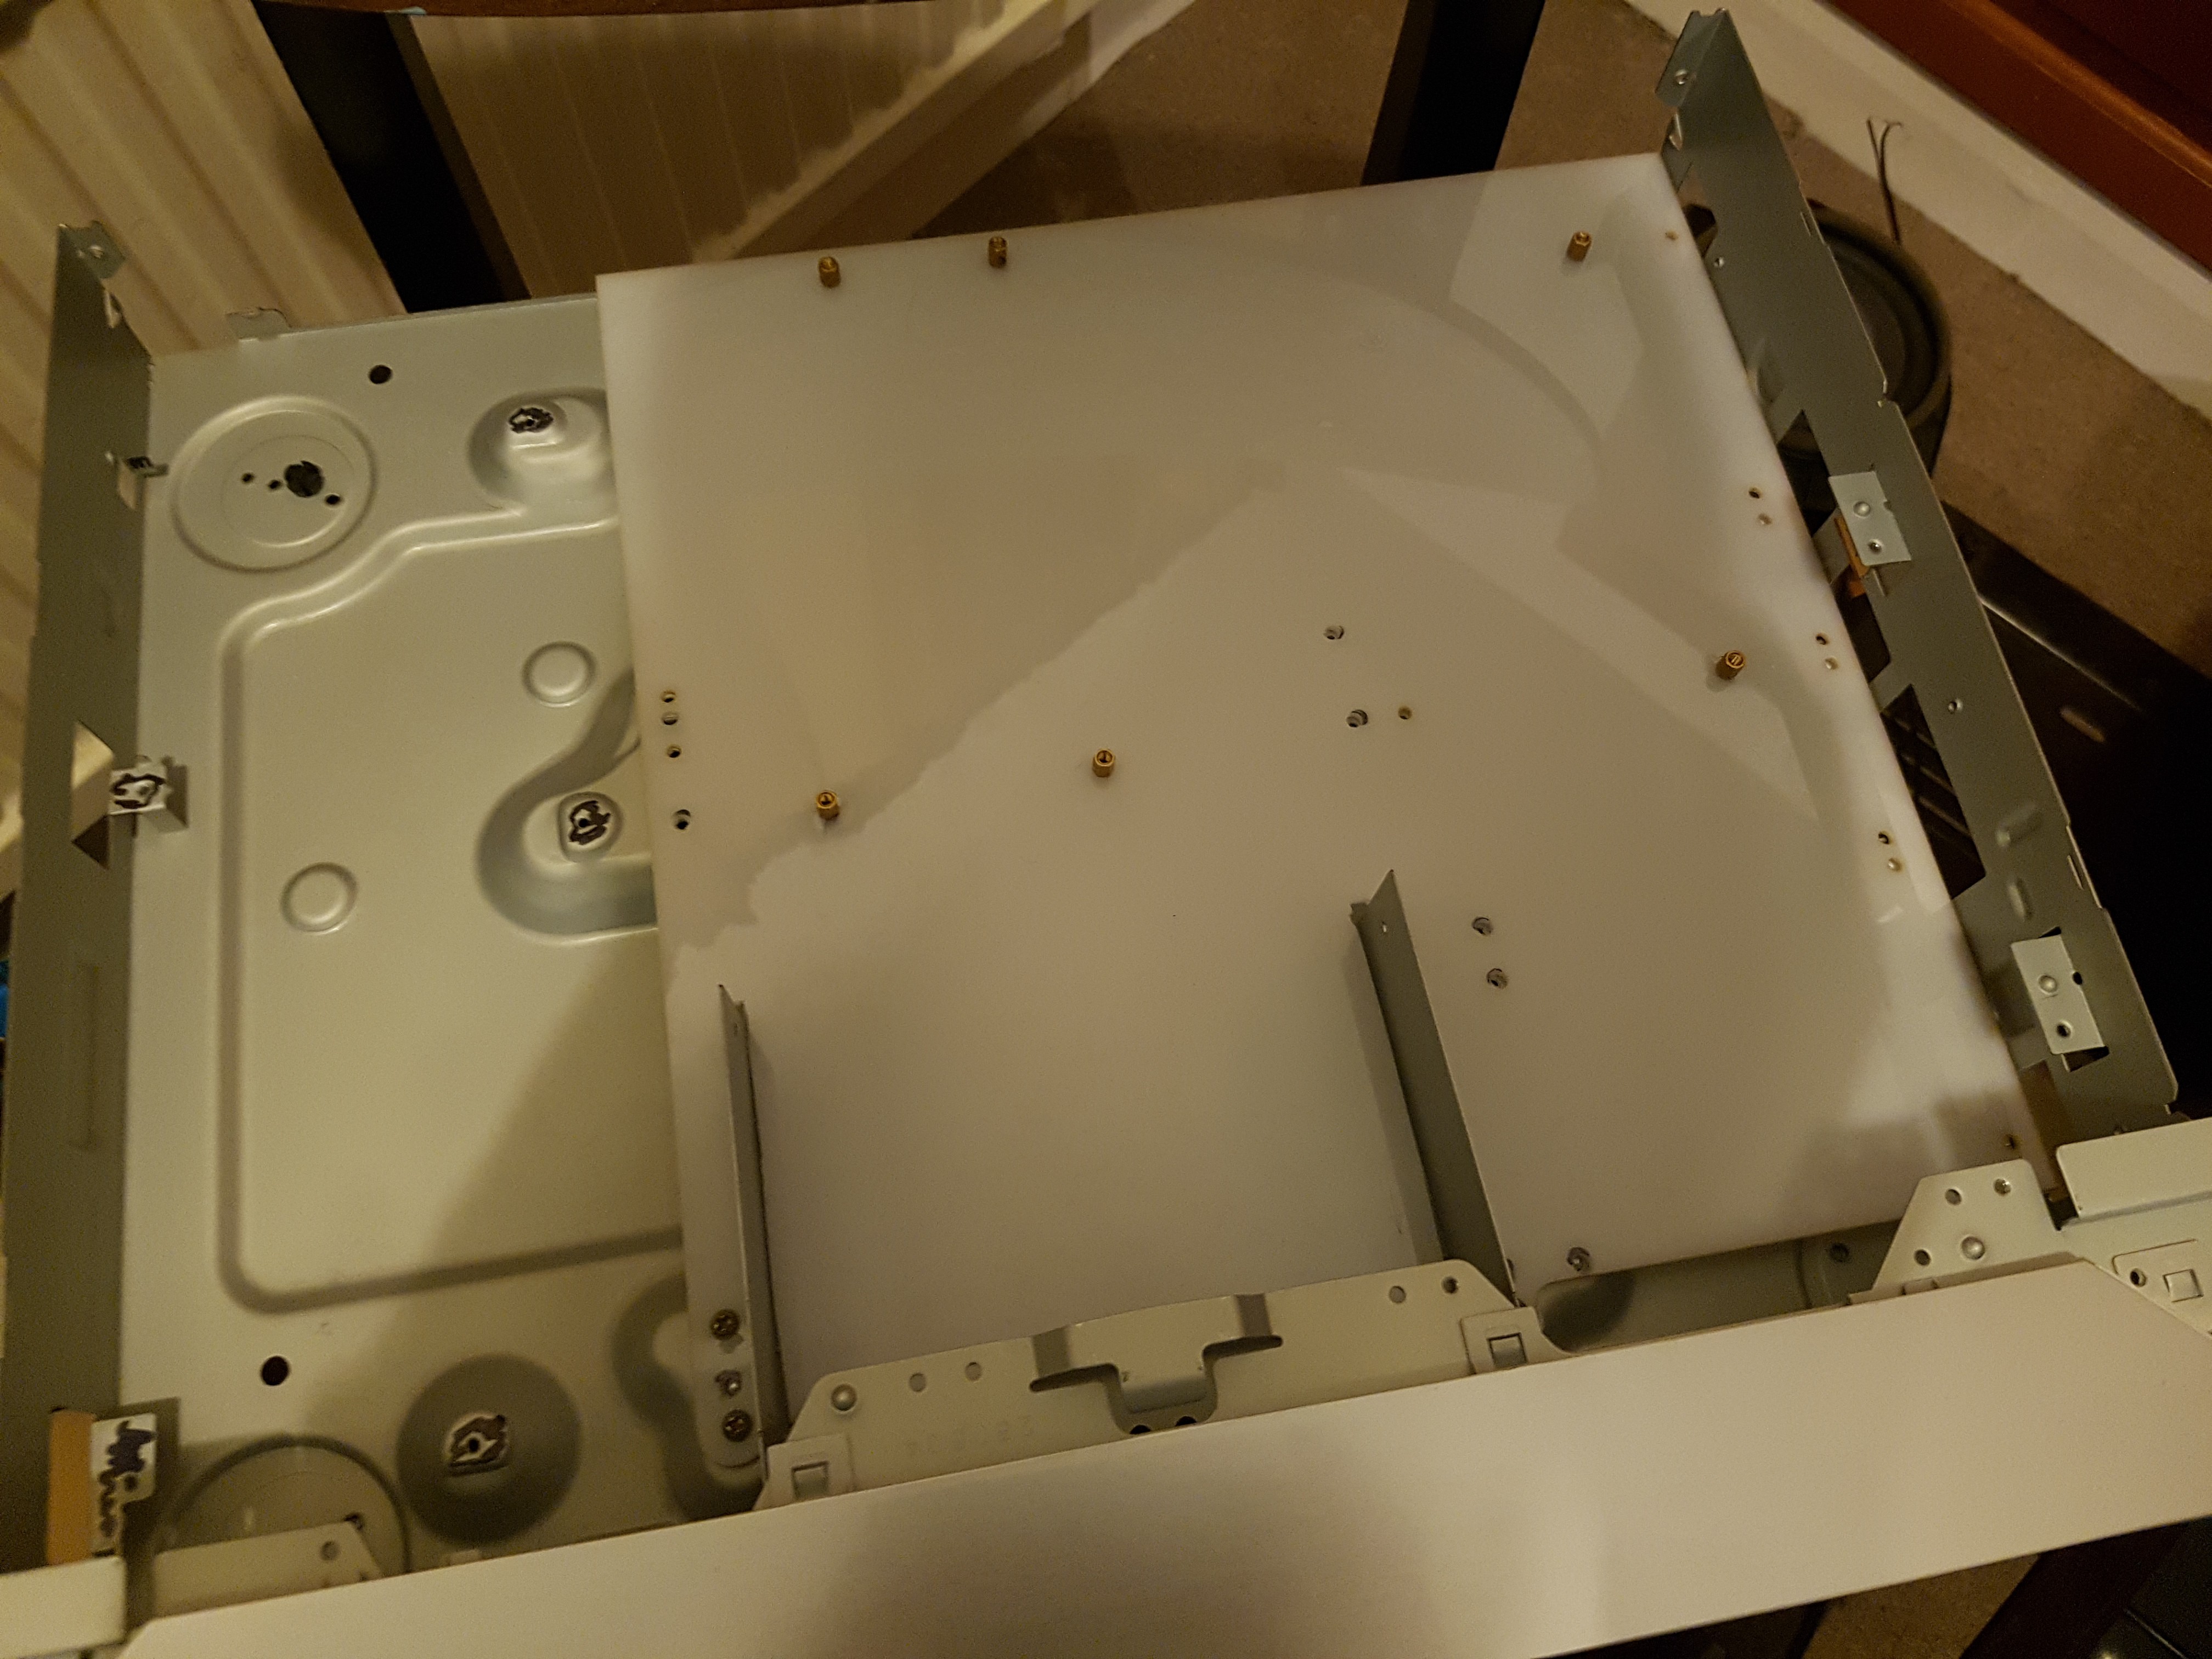
The Sony RDR-GX3 was stripped, and I made a drawing of all the screw-holes in order to make a plate with which to mount the motherboard. (The file will be attached somewhere.) It was then laser-cut out of 2mm Poly-carbonate at work; only a couple of holes needed altering, but it was essentially perfect.
![]()
The motherboard was laid in place, and its holes traced, drilled and standoffs inserted.
![]()
Next I will look at mounting the drives, starting with the DVD drive - it is to line up with the original DVD drive.
On a side note, the original drive is a standard PC IDE drive. Unfortunately, it encroaches on the motherboard, and so will be replaced with a low profile laptop style drive.
Please note, these photos are staged...
HTPC in DVD Recorder Case
Building a Home Theater PC (Media Centre) in an old Sony RDR-GX3 DVD Recorder
 Rainingheavy