Assemble the skeleton
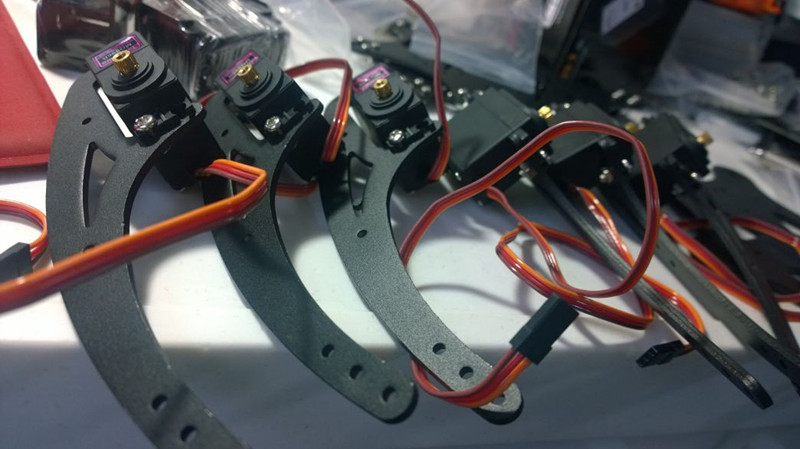
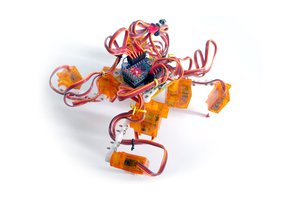
To assemble the skeleton, you need to follow the sequence as below. At the same time you need to adjust all the degree of servos before your installation. Otherwise it would be very hard if you want to modify the angle of the joint.
Firstly install the legs:
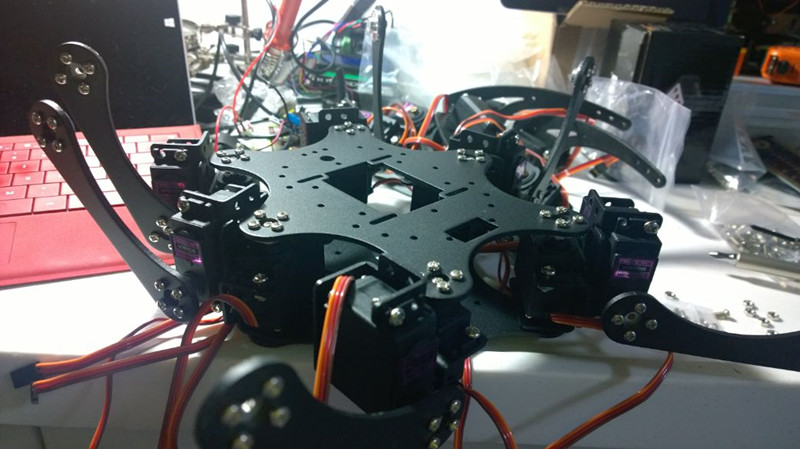
secondly install the thigh and the body:
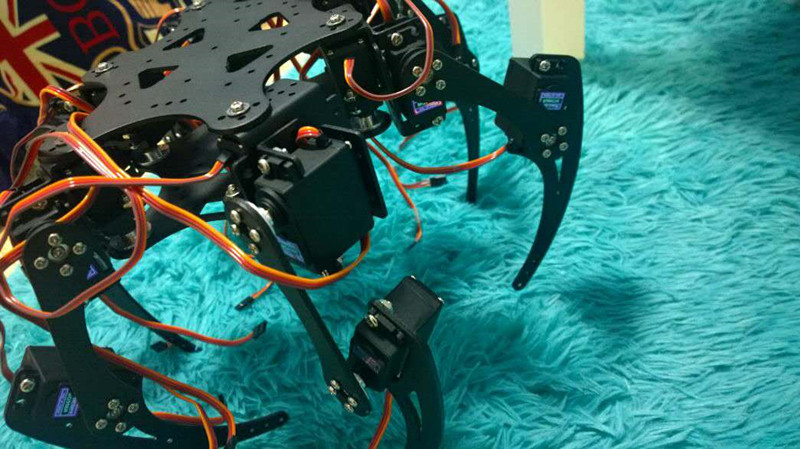
last thing is to assemble them all together:
Wire linking
You need two board to implement this project.
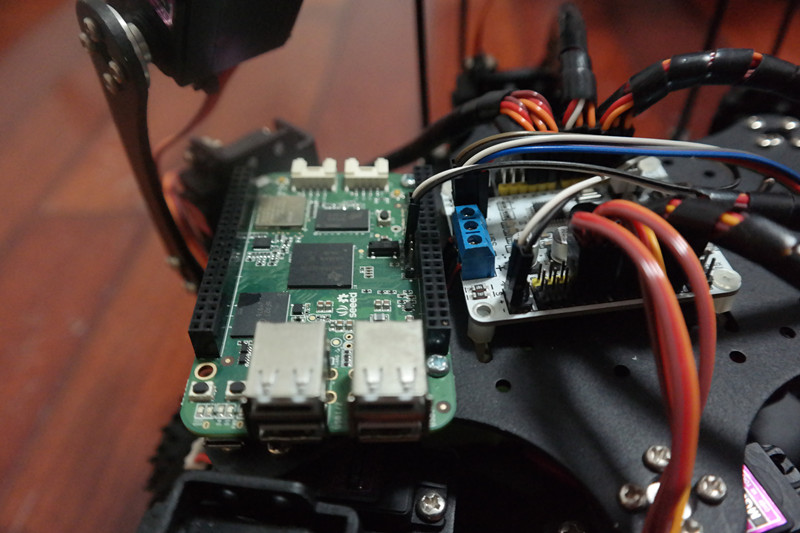
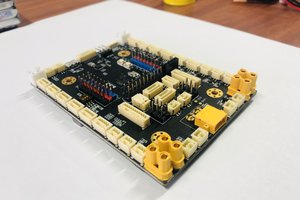
One is the servo controller, which can provide powerful motor driving energy to the 18 servos.There are two level for the board,one is the VL for the servos,it's about 5v.Another is Vss for the MCU on the board, it's about 7v.Thus you need a level shift with huge currency to change the voltage of the power output.
The second board I choose Beaglebone Green wireless. It's powerful and have mutiple interface. I can make further functions like voice controlling, remote controlling , face recognizing function and self balance controlling.Here I simply have programmed some movement steps inside.
The two board use serial port to communicate with each other.
Movement program
There something wrong in my github so I have to upload part of my code directly here.I will upgrade my code later.Here are part of the movement I programmed in the bbgw.
Compare with 4WD robot Hercules
To make people have a better look at the movement of hexapod, I've record a video and compare hexapod with another 4WD robot Hercules. Here is the video:
Make.Improve.Communicate.
After making the Hexapod, I've been thinking how to upgrade it and there are many way to upgrade it.I hope there are other hackers like my hexapod and communicate with me. Then together we make a more powerful and multi-functional Hexapod- Pro.

 deʃhipu
 GEEKROS
 muzi
muzi
Very nice robot, but it seems like you just assembled it from a ready kit? What's the point of this project, other than to prove that the kit works?