-
1Overview
This tutorial will teach you the basic of monitoring and controlling multiple devices within Blynk. You will learn how to easily create a mobile app, track and control two devices within the app, record data from them, and export that data for analysis. We will use just two devices with one sensor each for this tutorial, but once you're comfortable with the concepts you can repeat these same principles to monitor dozens of devices with many sensors. If you do something cool with this please let us know in the comments!
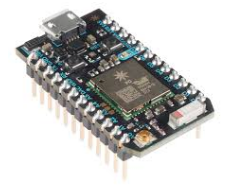
We will use the Particle Photon as the microcontroller for this tutorial, but advanced users can use any microcontroller they'd like, as long as it connects to the internet.
-
2Install the Particle and Blynk apps on your phone and create accounts for each
-
3Set up both Photons to connect to the internet and the Particle cloud
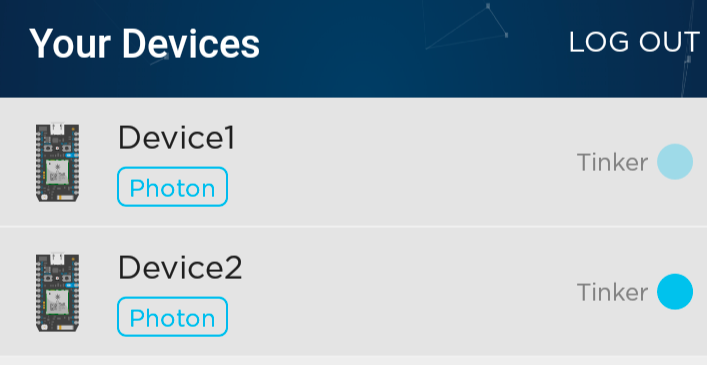
- Connect each photon to the Particle cloud. The smartphone app will talk you through it, including connecting it to your WIFI network. It is advisable that you become more familiar with Particle.io and the Photon, so spend some time on their site. Here are some quickstart instructions.
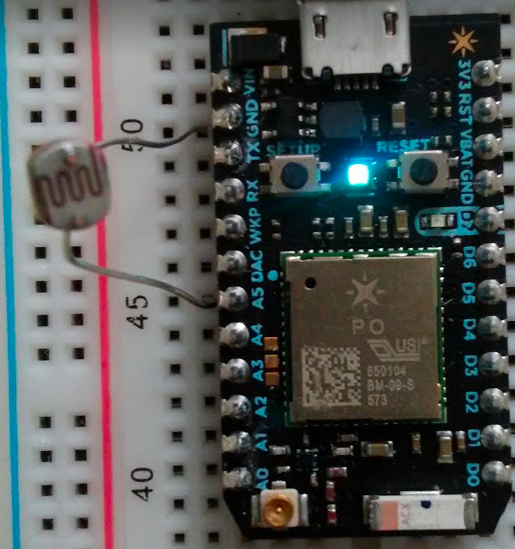
- Connect a photo-resistor between GND and A5 (this is the sensor we'll track for this tutorial)
To verify that each are functioning correctly, click the "Tinker" app, set pin D7 to "Digital Write" and pin A5 to "Analog Read". You should be able to control the onboard LED on each photon, and read a value from the photosensor as well.
-
4Create a Blynk app to track the photosensor data in realtime
- Open the Blynk app on your phone
- Create a new project, with device set to Photon and connection over Wifi (advanced users can use other things here)
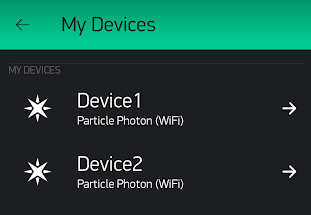
- Click the "nut" icon to open settings, go to devices and click "add device"
- Add a second device and name it "Device 2". You can rename the first device to "Device 1" at this point.
- When you add each device you will receive an email with the 32 character authentication token for that device. This token allows the app to identify each device independently.
-
5Flash the devices with Blynk example code
In the above step we connected the photons to the Particle cloud and controlled some pins using their default code, "Tinker". We will now need to flash them with a different firmware that will connect these devices to Blynk.
- Go to the Particle IDE (login to your Particle account)
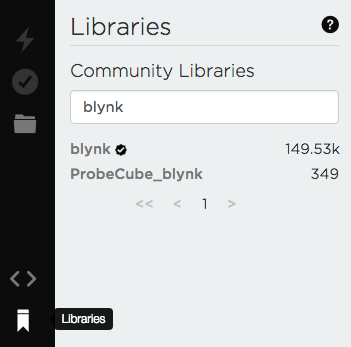
- Click the "libraries" icon and search for "blynk"
- Click on the blynk library and scroll down to the examples, click on the first one, "01_Particle.ino" and click "Use this Example". Rename it if you'd like.
- Go down to line 29 and replace the words "YourAuthToken" with the Auth Token you got for Device 1 (this is a 32 character string).
- Click the lightning bolt icon to flash Device 1
Repeat the above step for Device
Both devices should reset and re-connect to the internet and Particle cloud (cyan breathing) after flashing
-
6Set up the Blynk app!
- At this point you should have 2 devices that are connected to Particle and ready to be controlled with Blynk
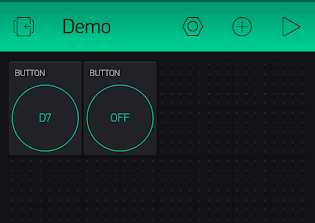
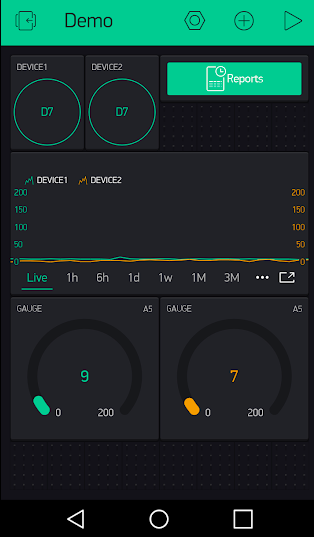
- Click on the app grid area to add Blynk widgets. First add 2 buttons (these will control the LEDs on the two photons.
- Click each button, and scroll down to set the "Pin" of each button to "Digital Pin 7" and the "Target" of the first button to Device 1, and the 2nd to Device 2.
- Click the play button - if you've set everything up correctly the first button should light the LED on device 1, and the second button should light the LED on device two
- Click stop so we can add another widget to graph the photosensor data
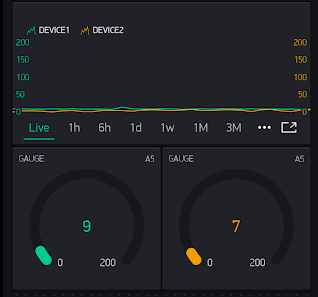
- Add a widget called "Superchart" (documentation here)
- Set up the first "datastream" to monitor pin "Analog Pin 5" from Device 1 and the second to monitor "Analog Pin 5" from Device 2.
- Finally, set up two "Gauges" in the same way to visualize the photo-sensors in real-time.
-
7Data reporting
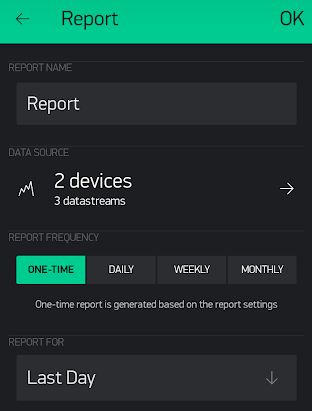
We envision MÍOS being used for research. To this end we worked with Blynk to create a robust Reports tool that allows for export of all data from the app in CSV format.
Add it like any other widget and click on it to set up individual or scheduled reports for the devices in your app.
There are many options in the Reports tool to control the frequency and resolution of data output, as well as what data streams are being sent. The Reports can also be "scheduled", such that they output data at a set time every day.
-
8Scaling up to more devices!
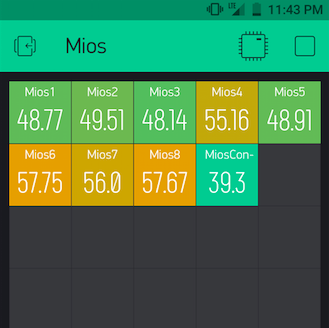
The above instructions give you the basics of tracking 2 devices. We envision MIOS being used for much larger installations (we have an experiment going at the moment with 40 devices!). To facilitate visualization and data reporting for large installations, we worked with Blynk to develop a widget known as DeviceTiles. DeviceTiles is an innovative way to view and control multiple hardware devices that all have the same sensors and configuration.
The initial view of this widget shows a grid, in which each square corresponds to a single device (fun fact: this widget was designed to mimic a rodent colony rack!).
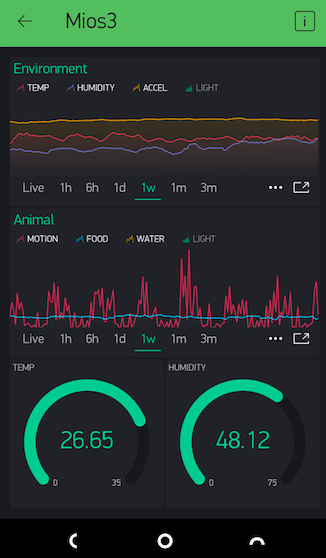
When you click on a square (ie: a device), it will bring you to a new screen showing detailed information from that device:
-
9Follow along on a demo app
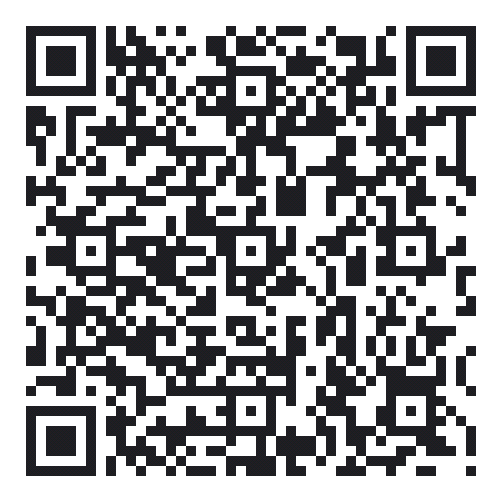
Even before you build any of your own hardware you can follow along on the above demo app to get a feel for how everything will work when properly configured. Install the Blynk app and scan this QR code from the home screen:
(The demo device lives in my apartment in Washington DC but you can actually control the two LEDs from wherever you are!).
 Lex Kravitz

Discussions
Become a Hackaday.io Member
Create an account to leave a comment. Already have an account? Log In.