Victor Frost
-
Completed
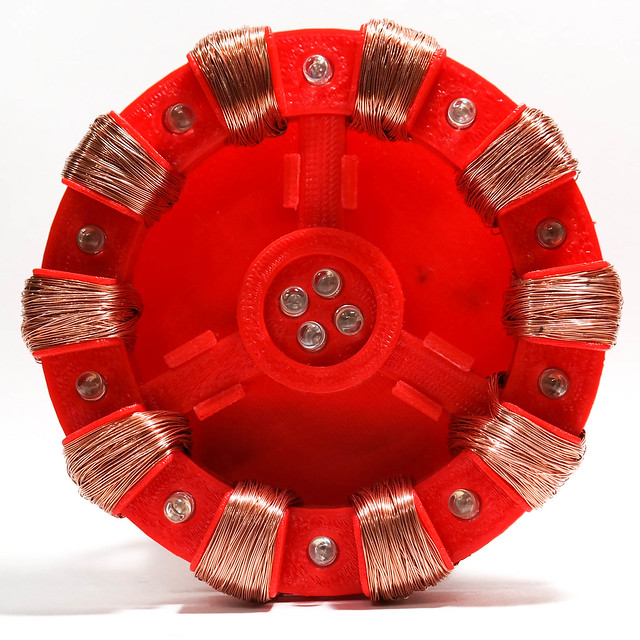
06/03/2014 at 04:59 • 0 commentsThe LEDs arrived and I was very confused. For whatever reason, they refused to work in series, so I had to wire them in parallel. Of course, now I had the problem of keeping them from shorting out against those wonderful copper coils. So, I took the original arc reactor model, and cut off every from 1mm up and everything in the center. This created a nice shielding plate which would cover the coils while still allowing the LED leads to pass through. Then I added a 1mm tall rail to the top of it for partitioning the positive from the negative. All this being done, I soldered the LEDs into pairs and used solid core wire to join the pairs together into a single loop, then connected it to the center.
![]()
Looks damn nice too, I should say.
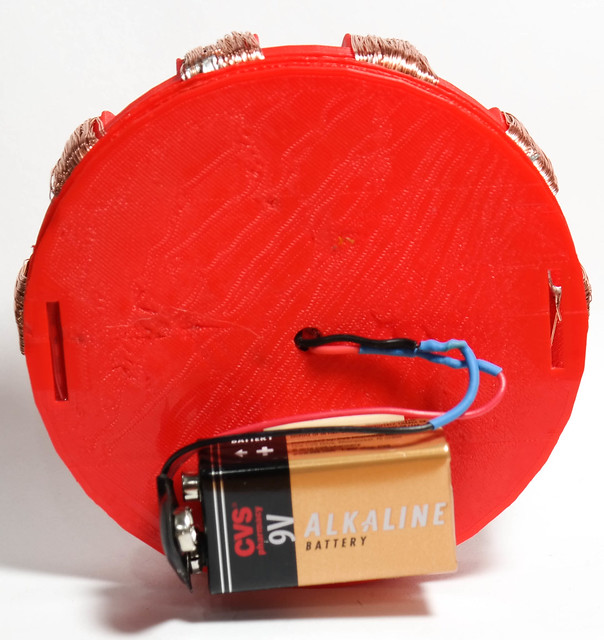
But, this is for my little brother to wear, so we can't have all that wiring showing. Again, using the original arc reactor model, I created a clip-on backplate for it and ran the leads from the LED bank out the back, foam taped a battery to it, and soldered on a 9v battery clip. Now, I'm going to turn it over to my parents to find a strap for it to strap to his chest. On my end, it's complete!
![]()
![]()
-
The hardest part is done
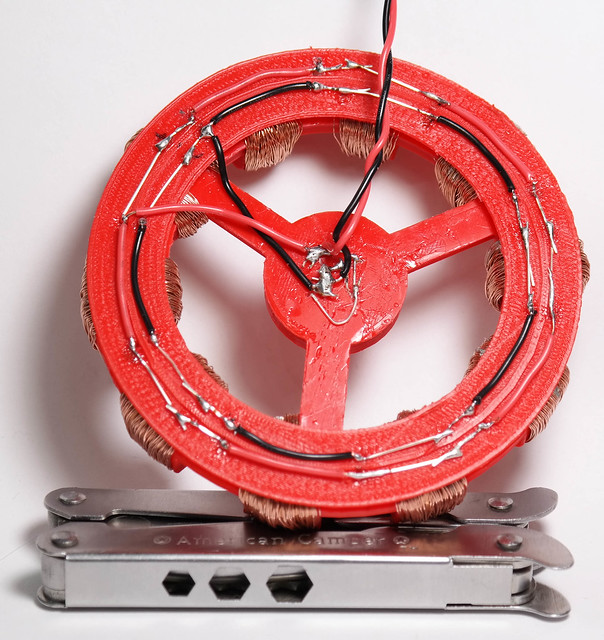
06/02/2014 at 08:38 • 0 commentsThe original file has been printed. Took... 2-ish hours at .3mm because anything longer would have been simply unbearable for such a long file. I stripped the lamp cord and wrapped it around each area where coil ought to be and soldered it in place. Unfortunately, I wish I had thought of spray painting it silver before doing that. Oh well.
The blue LEDS arrive tomorrow so, in the mean time, I'm mocking up a snap-on back plate in tinkerCAD to cover up all the wires and stuff and provide a concealed surface to mount a battery pack in.
Chest Arc Reactor
When you have a 3D printer and a little brother that love Iron Man, there's only one thing to do.