-
1Step 1
Put you SMD component upside down
-
2Step 2
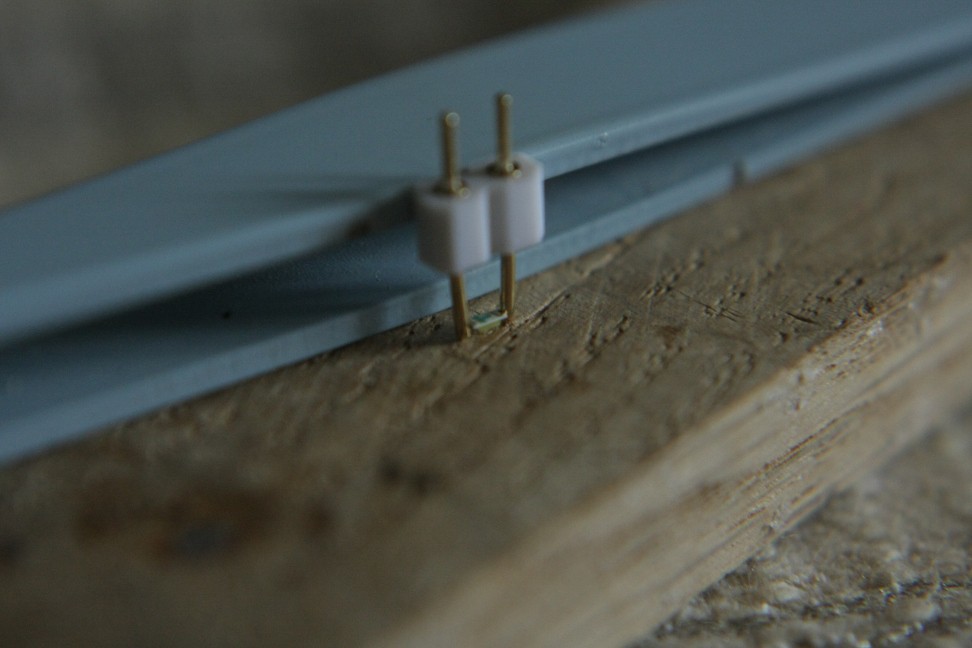
Bend the pins until the gap between the upper end of the pins is about the size of your SMD component (1.6mm for 0603 size)
-
3Step 3
Bend the pins just a little more, so you can snap the pins on the component.
When you snap, hold the component by pressing it downward with tweezers. You know you bent the pins enough when you ear a little "tac" when you snap the component.
The round pins will fit in the half-round holes on each side on the component.
-
4Step 4
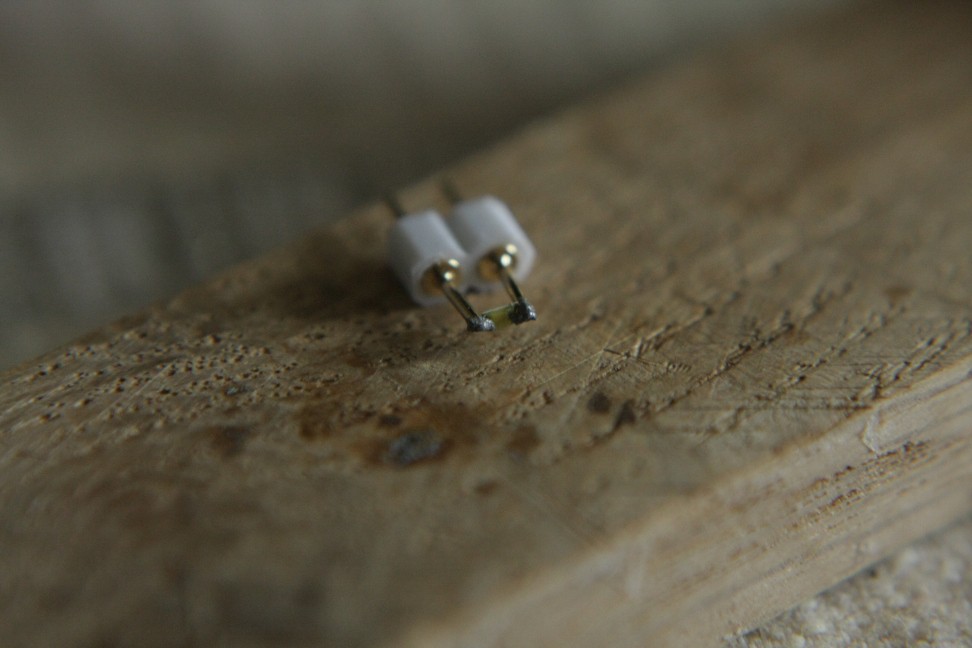
If you use solder paste, apply it now. Be sure that it touches the component pins.
Don't put more than you see on this picture. Use less if you can.
-
5Step 5
Grab the pin header with tweezers and apply heat. I did it with a cheap, old and dirty 20W soldering iron. Not hard than soldering any through hole component.
Using a hot air soldering station or even a heat gun would be even easier.
-
6Step 6
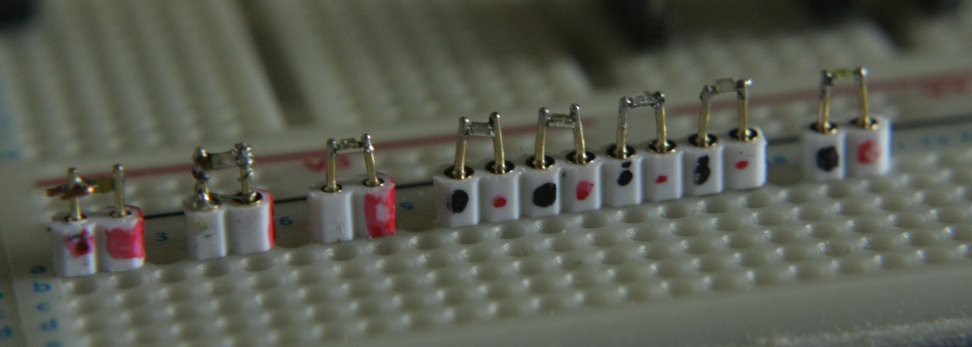
Check connections, mark polarity with permanent marker. Done !
From left ot right :
-First attempt: adding a 0.6mm wire to close the gap. Works fine, but does not look nice.
-Second attempt: Using finer wire on both side. Looks better but keeping the led in position during soldering was hard
-Third attempt: make ring of thin wires on each side, bend the pins a little bit so the ring support the led. Works fine but you need a steady hand, if the soldering iron is shaking, the led will fall
-Fourth attempt (two leds on the left of the four leds row): I bent the pins, then took the led with tweezers and move them from bottom to top until it is kept in place by the pressure of the pins. It worked, but the led won't always stay in place. Sometimes it falls, sometimes it jumps out :)
-Fifth attempt (two leds on the right side of the four leds row): That's when I understood I just needed to snap the led in! You can see the leds are better aligned, and you can not see how easier it was to do.
-Sixth attempt : same as previous one. I did it again just so I could take pictures for you ;). (btw : I used less solder paste and it looks better)
!! In order to prevent any damage to the led, use tweezers to insert and remove the led from the breadbord !!
Easy breadbording of 0603 SMD led / resistor
Beginner friendly way to solder 0603 or larger components to pinheaders so you can plug them in your breadboard. 2 minutes and you are done.
 ftregan


Discussions
Become a Hackaday.io Member
Create an account to leave a comment. Already have an account? Log In.