-
The End of the Beginning...
08/22/2016 at 18:12 • 0 commentsThe time limit for the Hackaday price is over. We accomplished most of the planned things.
And yet, we want to do more.
Our team members are specialized each one in parts of the projects. As a consequence, we want to teach us all every aspect of it, so any of us could do it entirely.
Also, we project to expand our work to every layer of the prototype, so we could have more precise masures.
We aim to fill the water tank everytime it has to work and mix it with the nutrient solution. The pump'd throw the water into the system and then it would throw away the collected water. So every time the pump works it'll send new fresh water.
We envisage to control the water level of each section and create a controlled fence which could open itself and fill with mixed water the level below. HGC'd manage it.
We aspire to grow comfortably many Stevia plants in our next future lab experiments.
Keep in touch!
-
08/22/2016 - The Beginning of the End
08/22/2016 at 17:50 • 0 commentsWe arrive at the Deadline with these two video.
They both show how our HGC and Crop System are work together.
We tried to customize and show you both videos as one.
We recorded them at the same time but... our abilities in video remaking are limited.
So, here you have. Enjoy it!!
-
08/19/2016 – Ending soon...
08/19/2016 at 17:01 • 0 commentsDeadline is closing by.
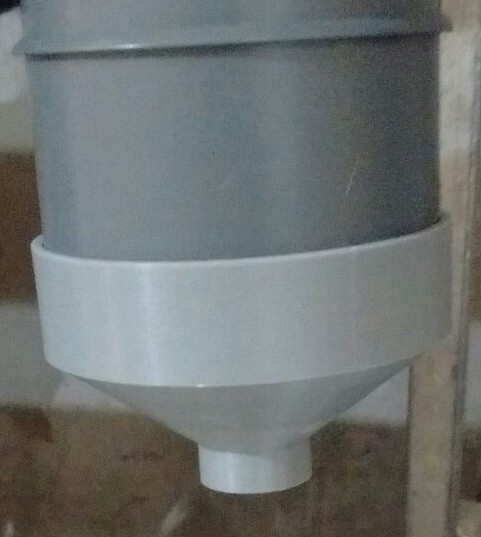
The funnel was already printed for the time we arrived at the lab, so we put it on its place.
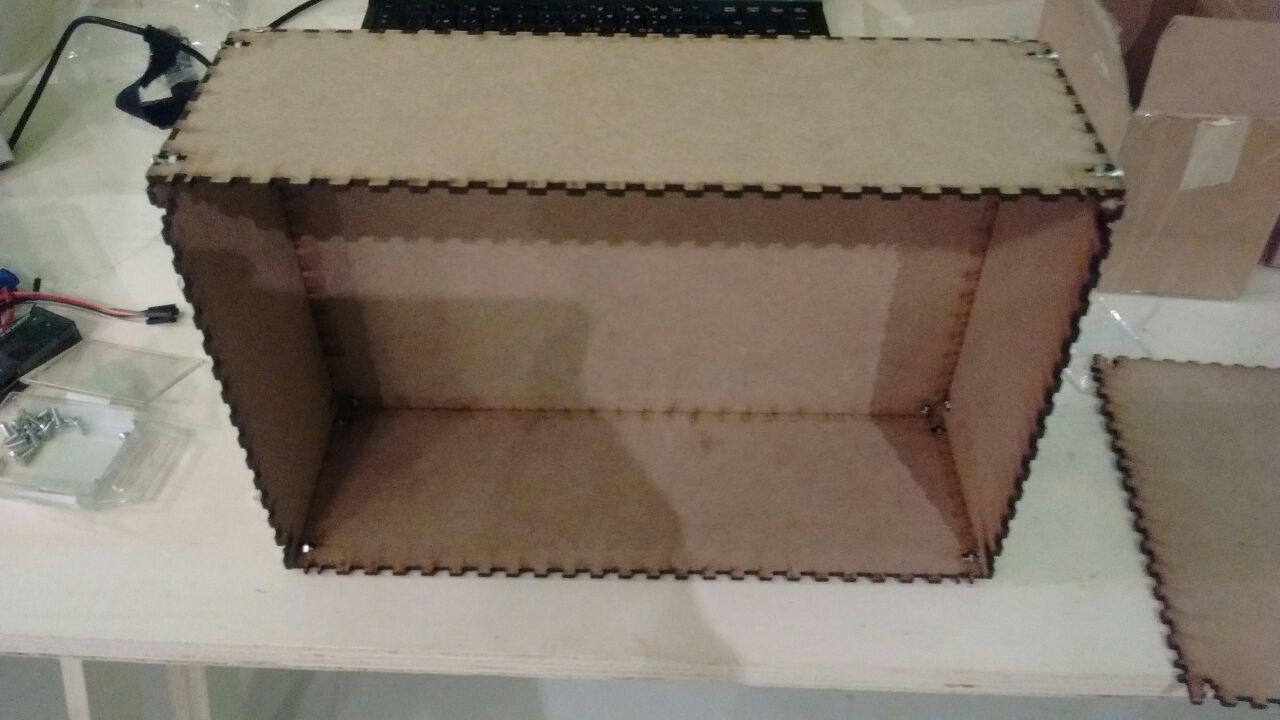
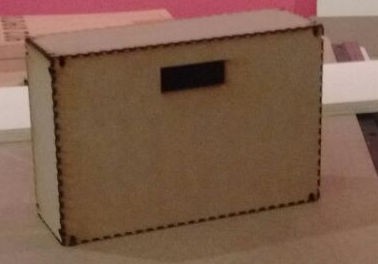
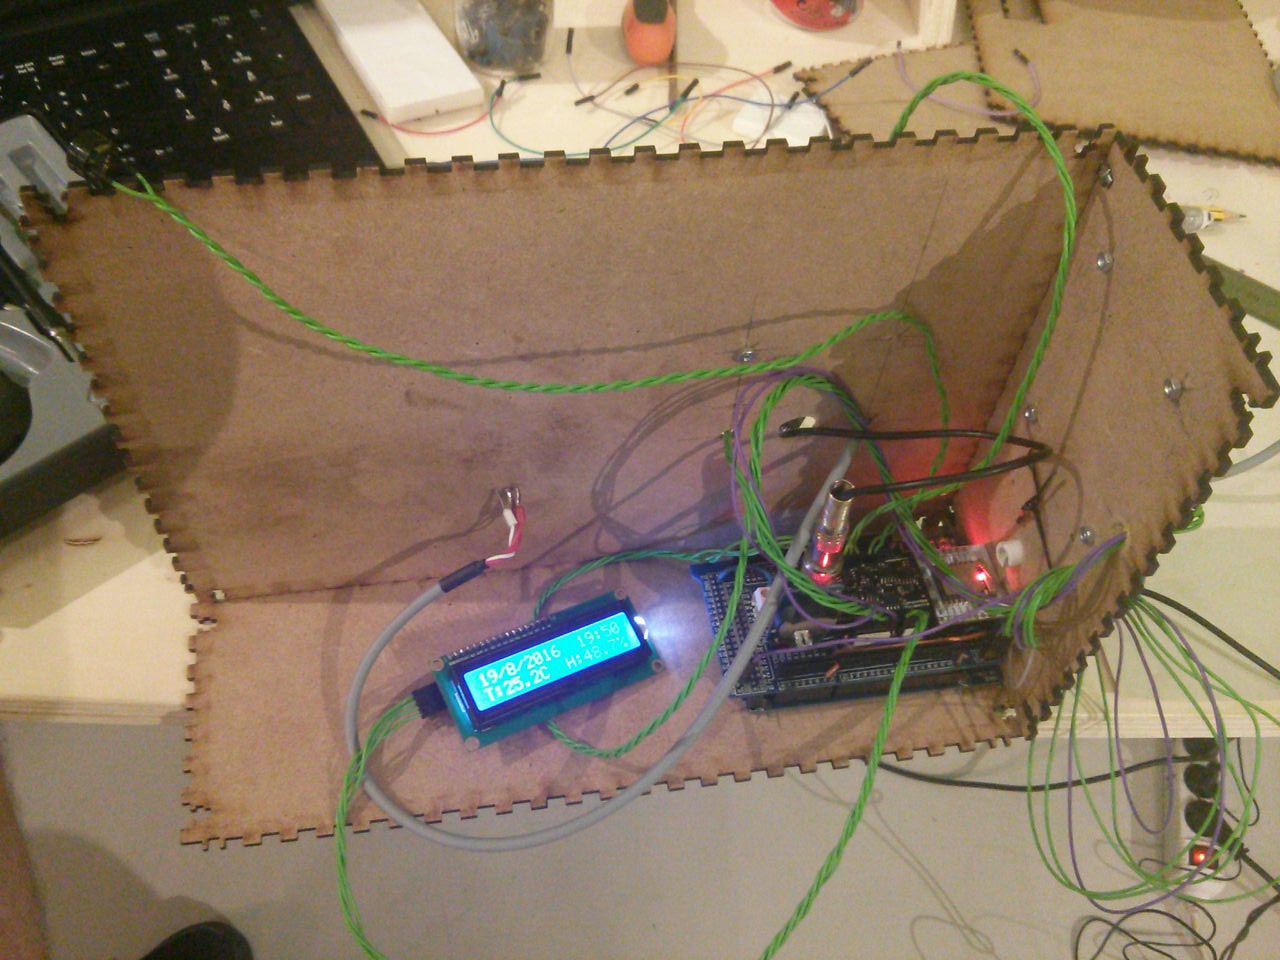
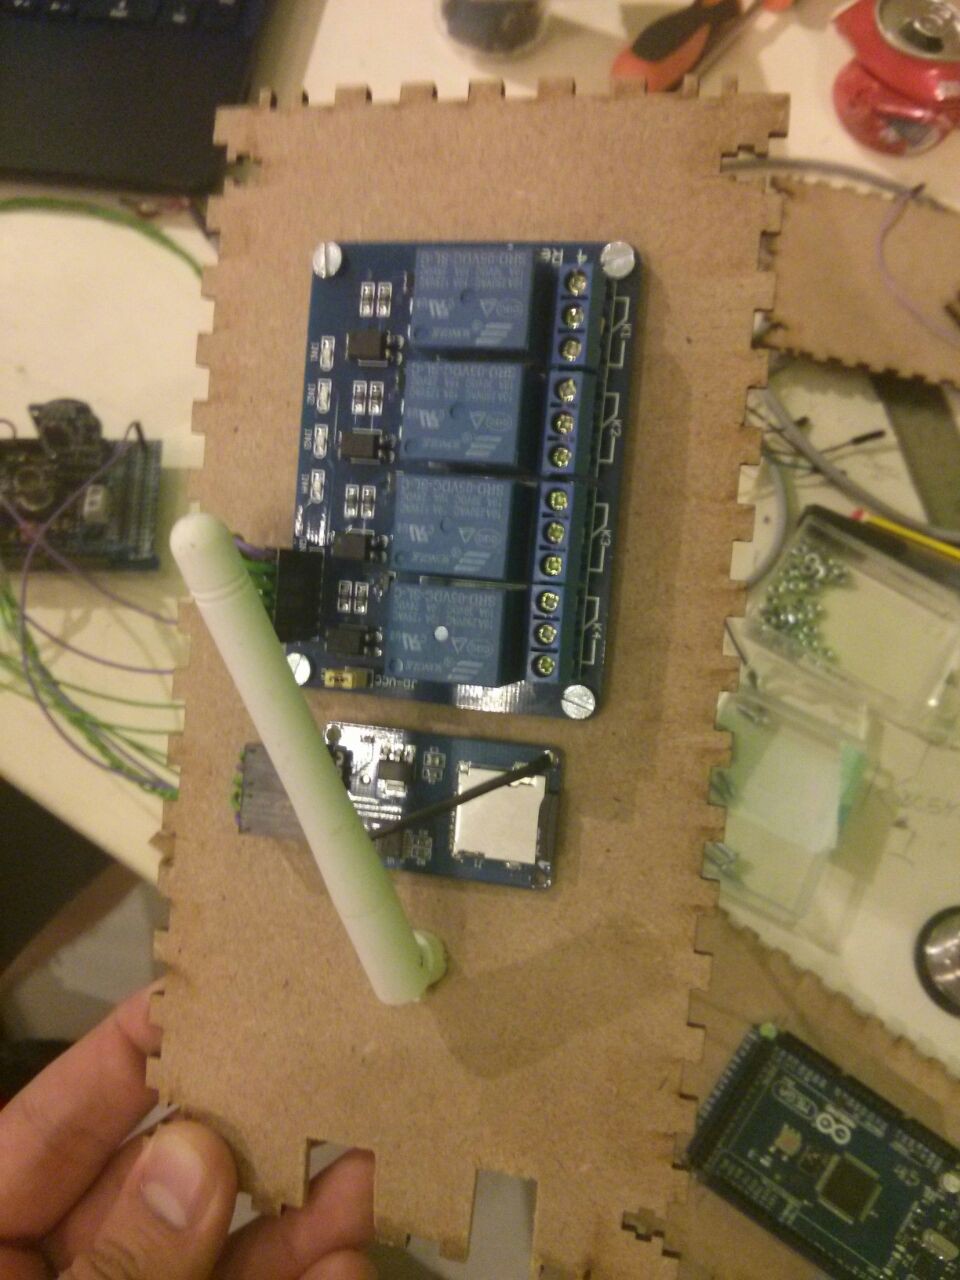
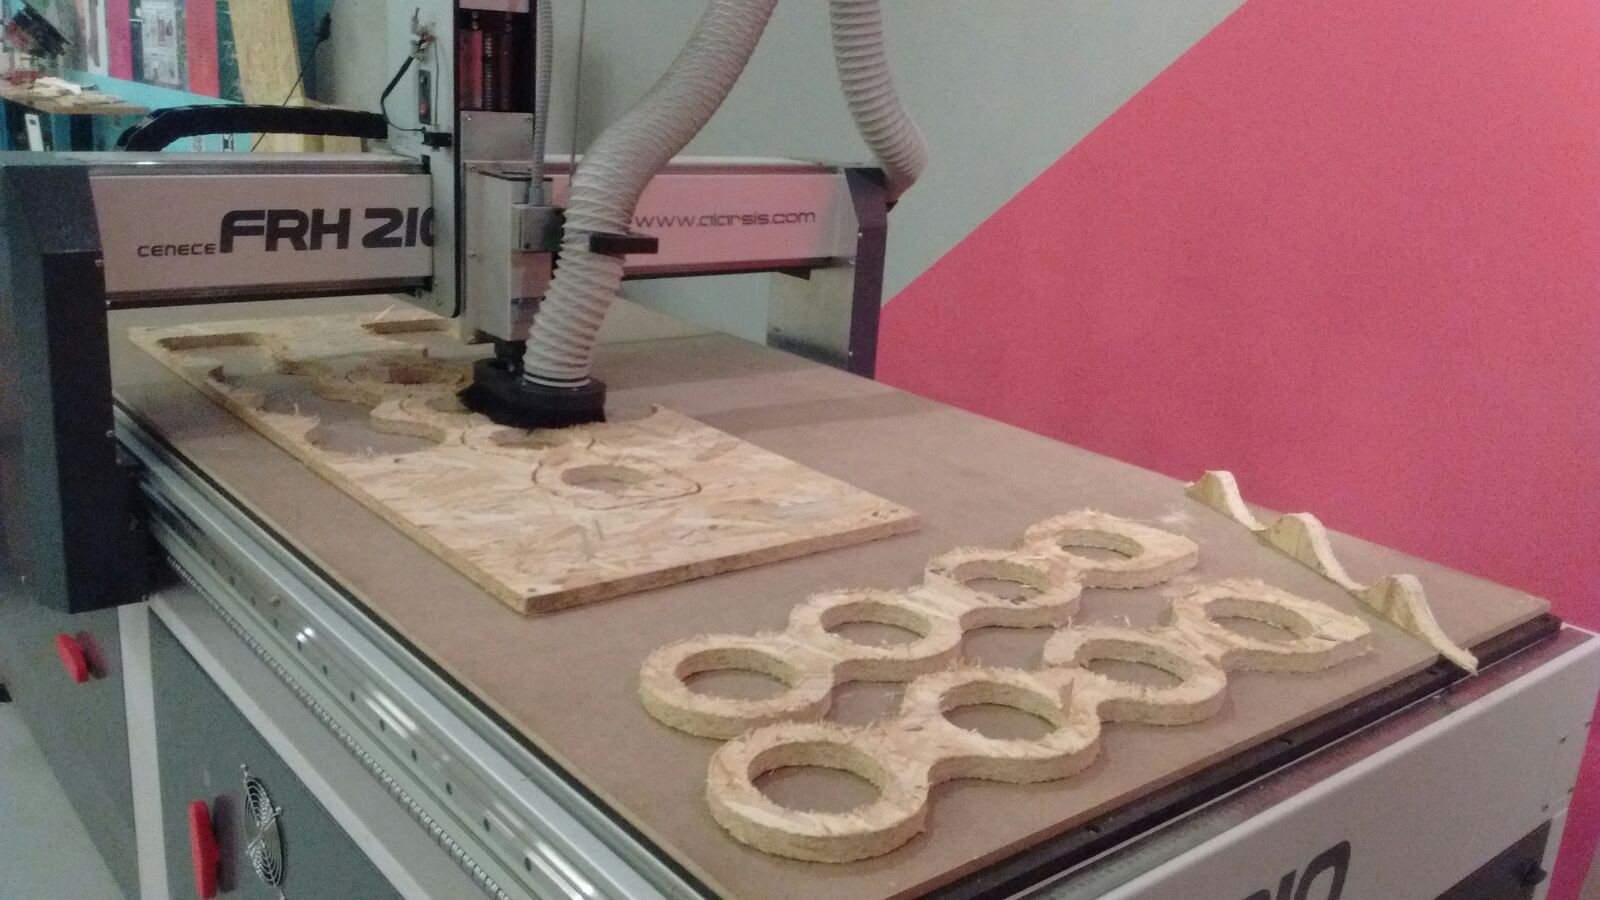
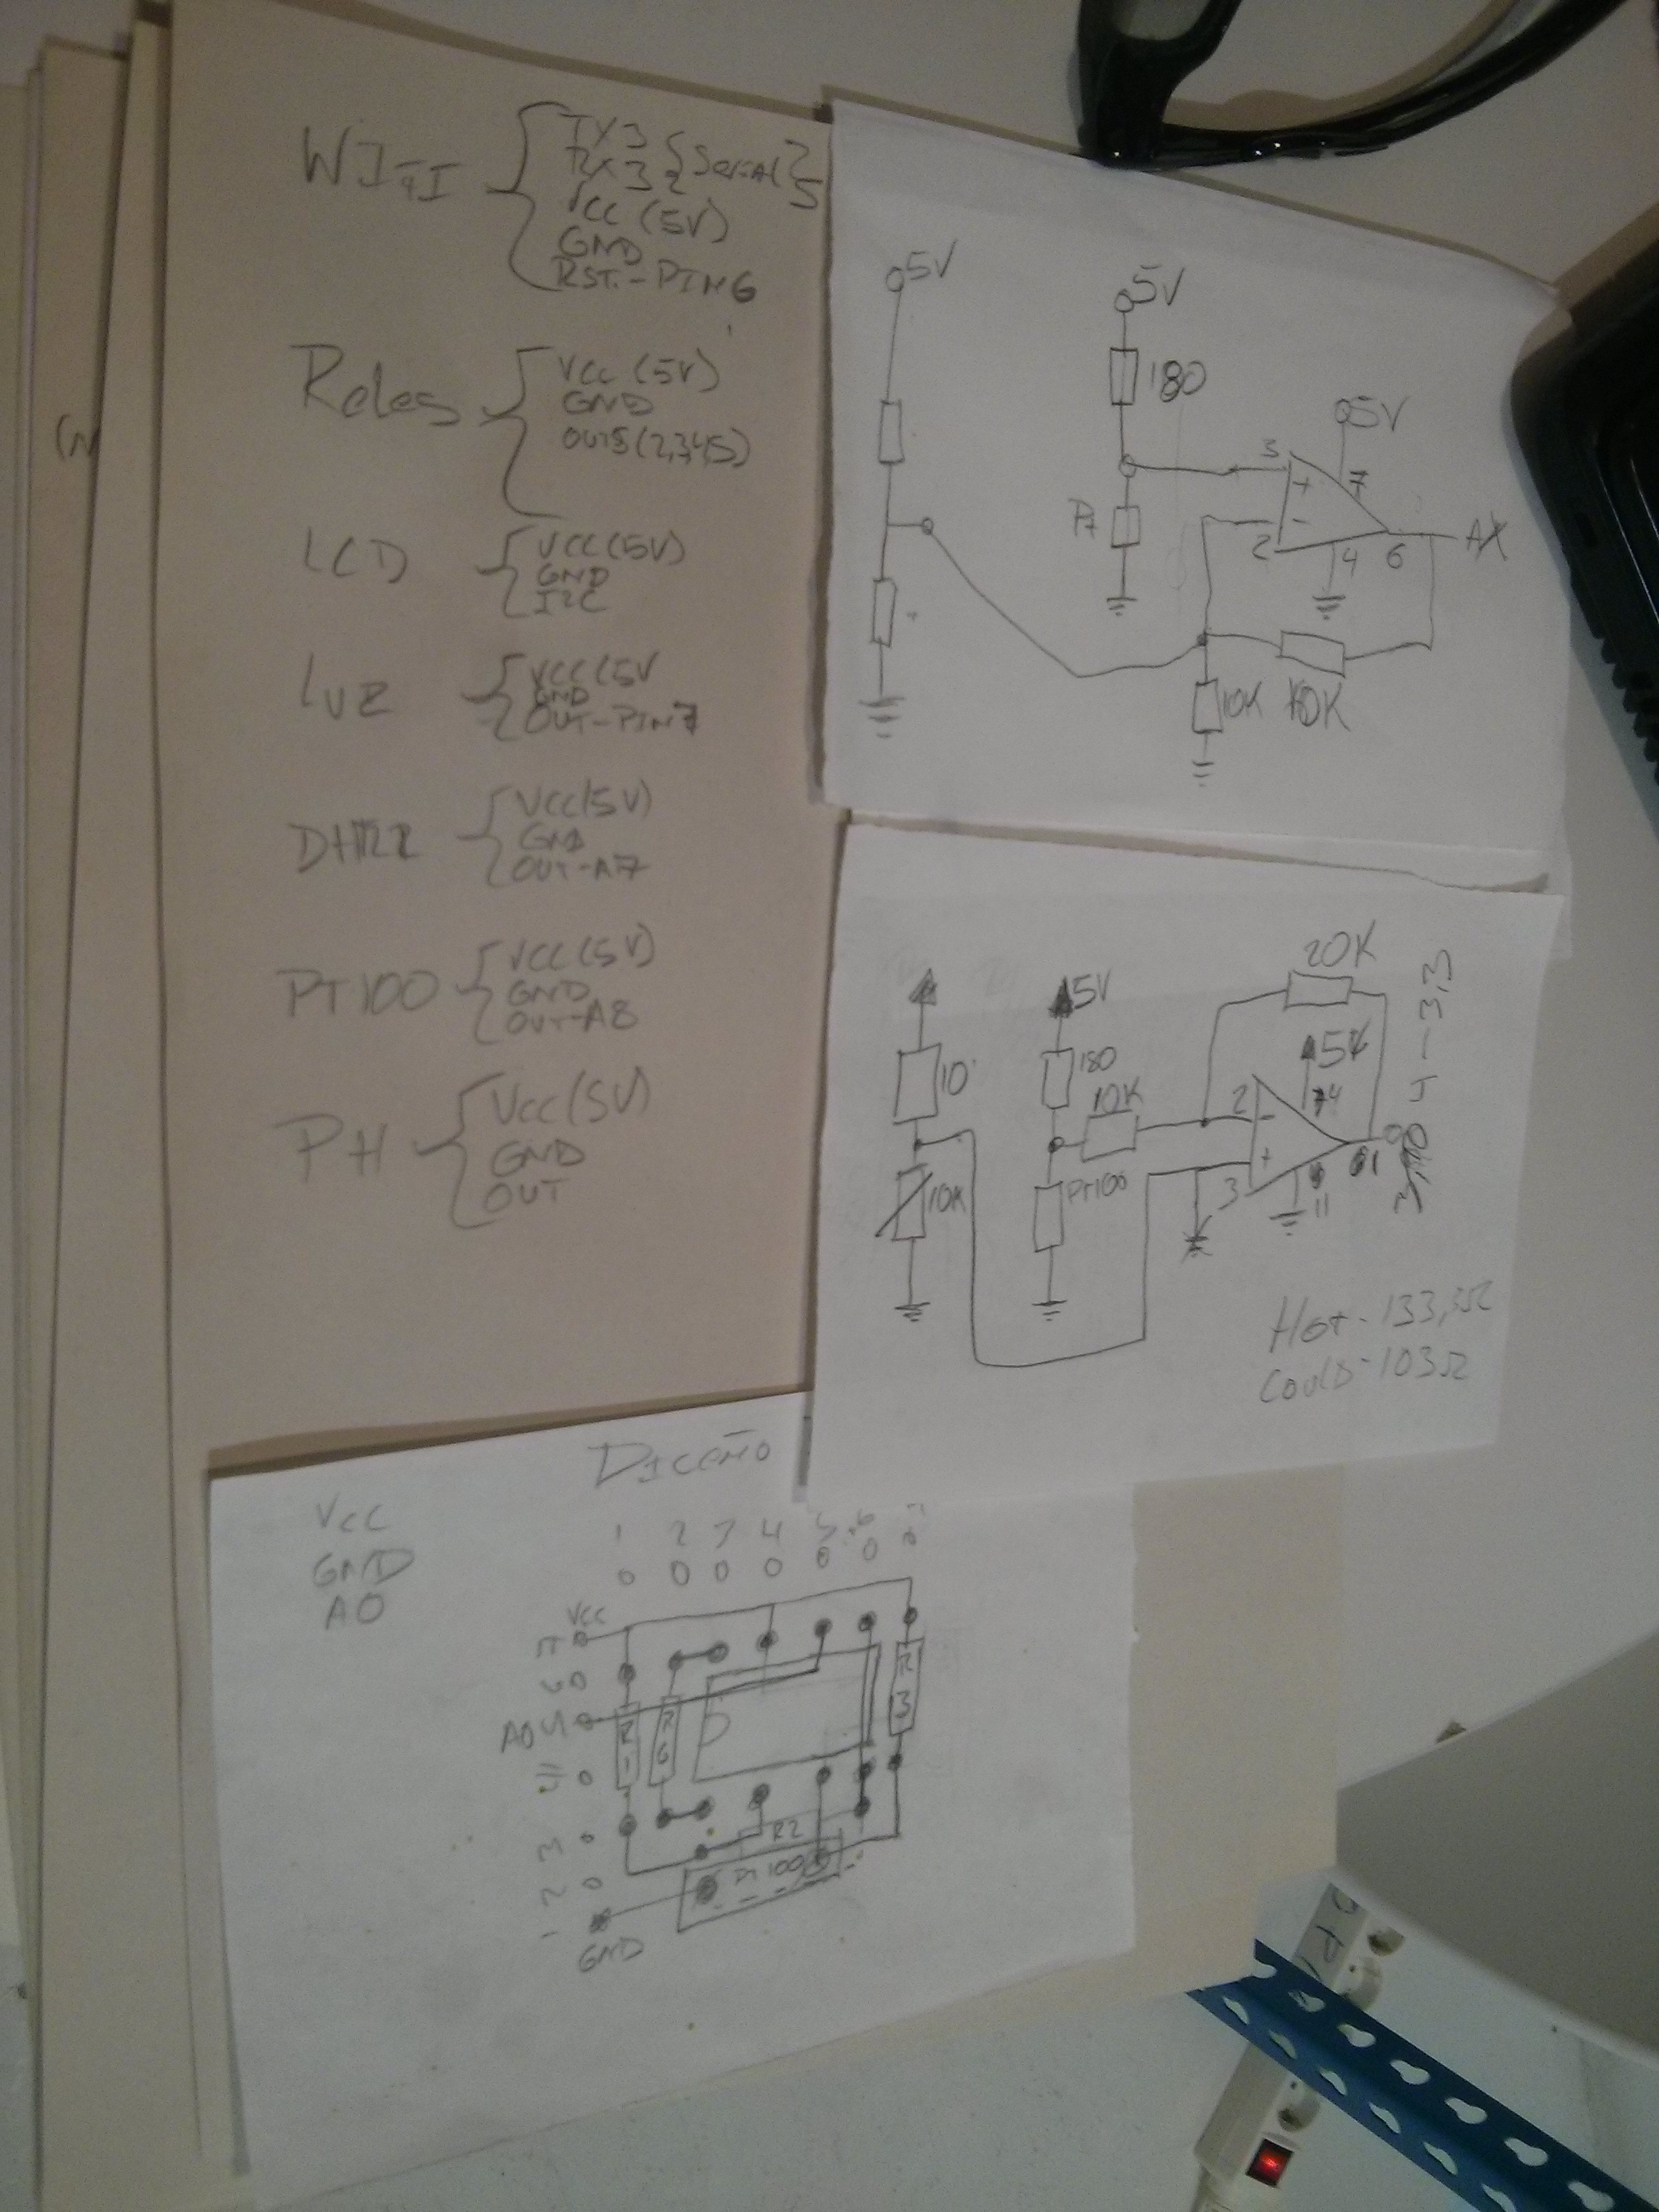
Today, we turned on the laser cut machine to carve the HGC's box pattern. We expected to screw the Genuino controller inside it and we'd place the box close to the tank and the prototype. Thus, environmental sensors'd be placed on the outer face of the box, next to the prototype. The water sensor'd be submerged inside the tank.
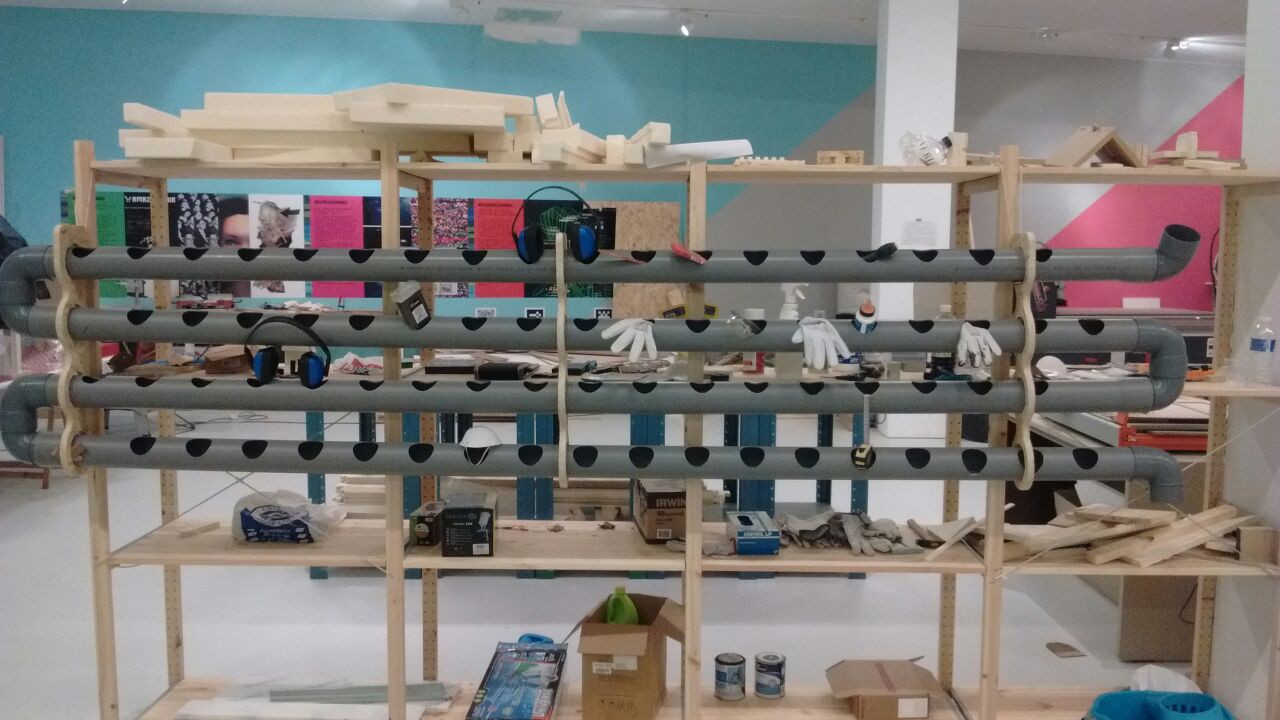
We have also set up the entire structure, provisionally supported on a rack (the support structure and the water circulating structure).
On Monday we'll put everything in place!
-
HGC's Box
08/19/2016 at 16:13 • 0 commentsHGC's box making process
-
Funnel Printing Process
08/19/2016 at 16:11 • 0 commentsZortrax M200 printing our funnel on Z-Ultra grey filament
-
HGC Boot
08/19/2016 at 16:04 • 0 commentsHappy Growing Center live on!
-
08/18/2016 – Divide and Conquer
08/18/2016 at 21:29 • 0 commentsToday, we decided to split into groups because we're in a hurry here and there are only a few days left... It seemed necessary, so each team could be more focused while doing their part.
Three teams were constituted.
- Structure Team
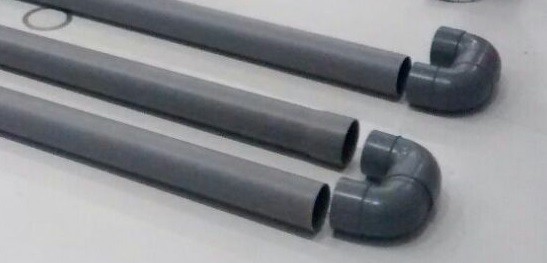
The order arrived with the material (pipes and bends).
This unit took care of two things at first:
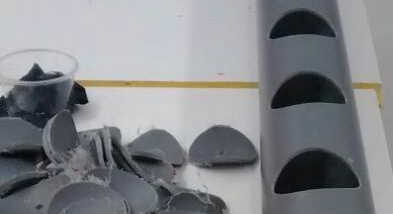
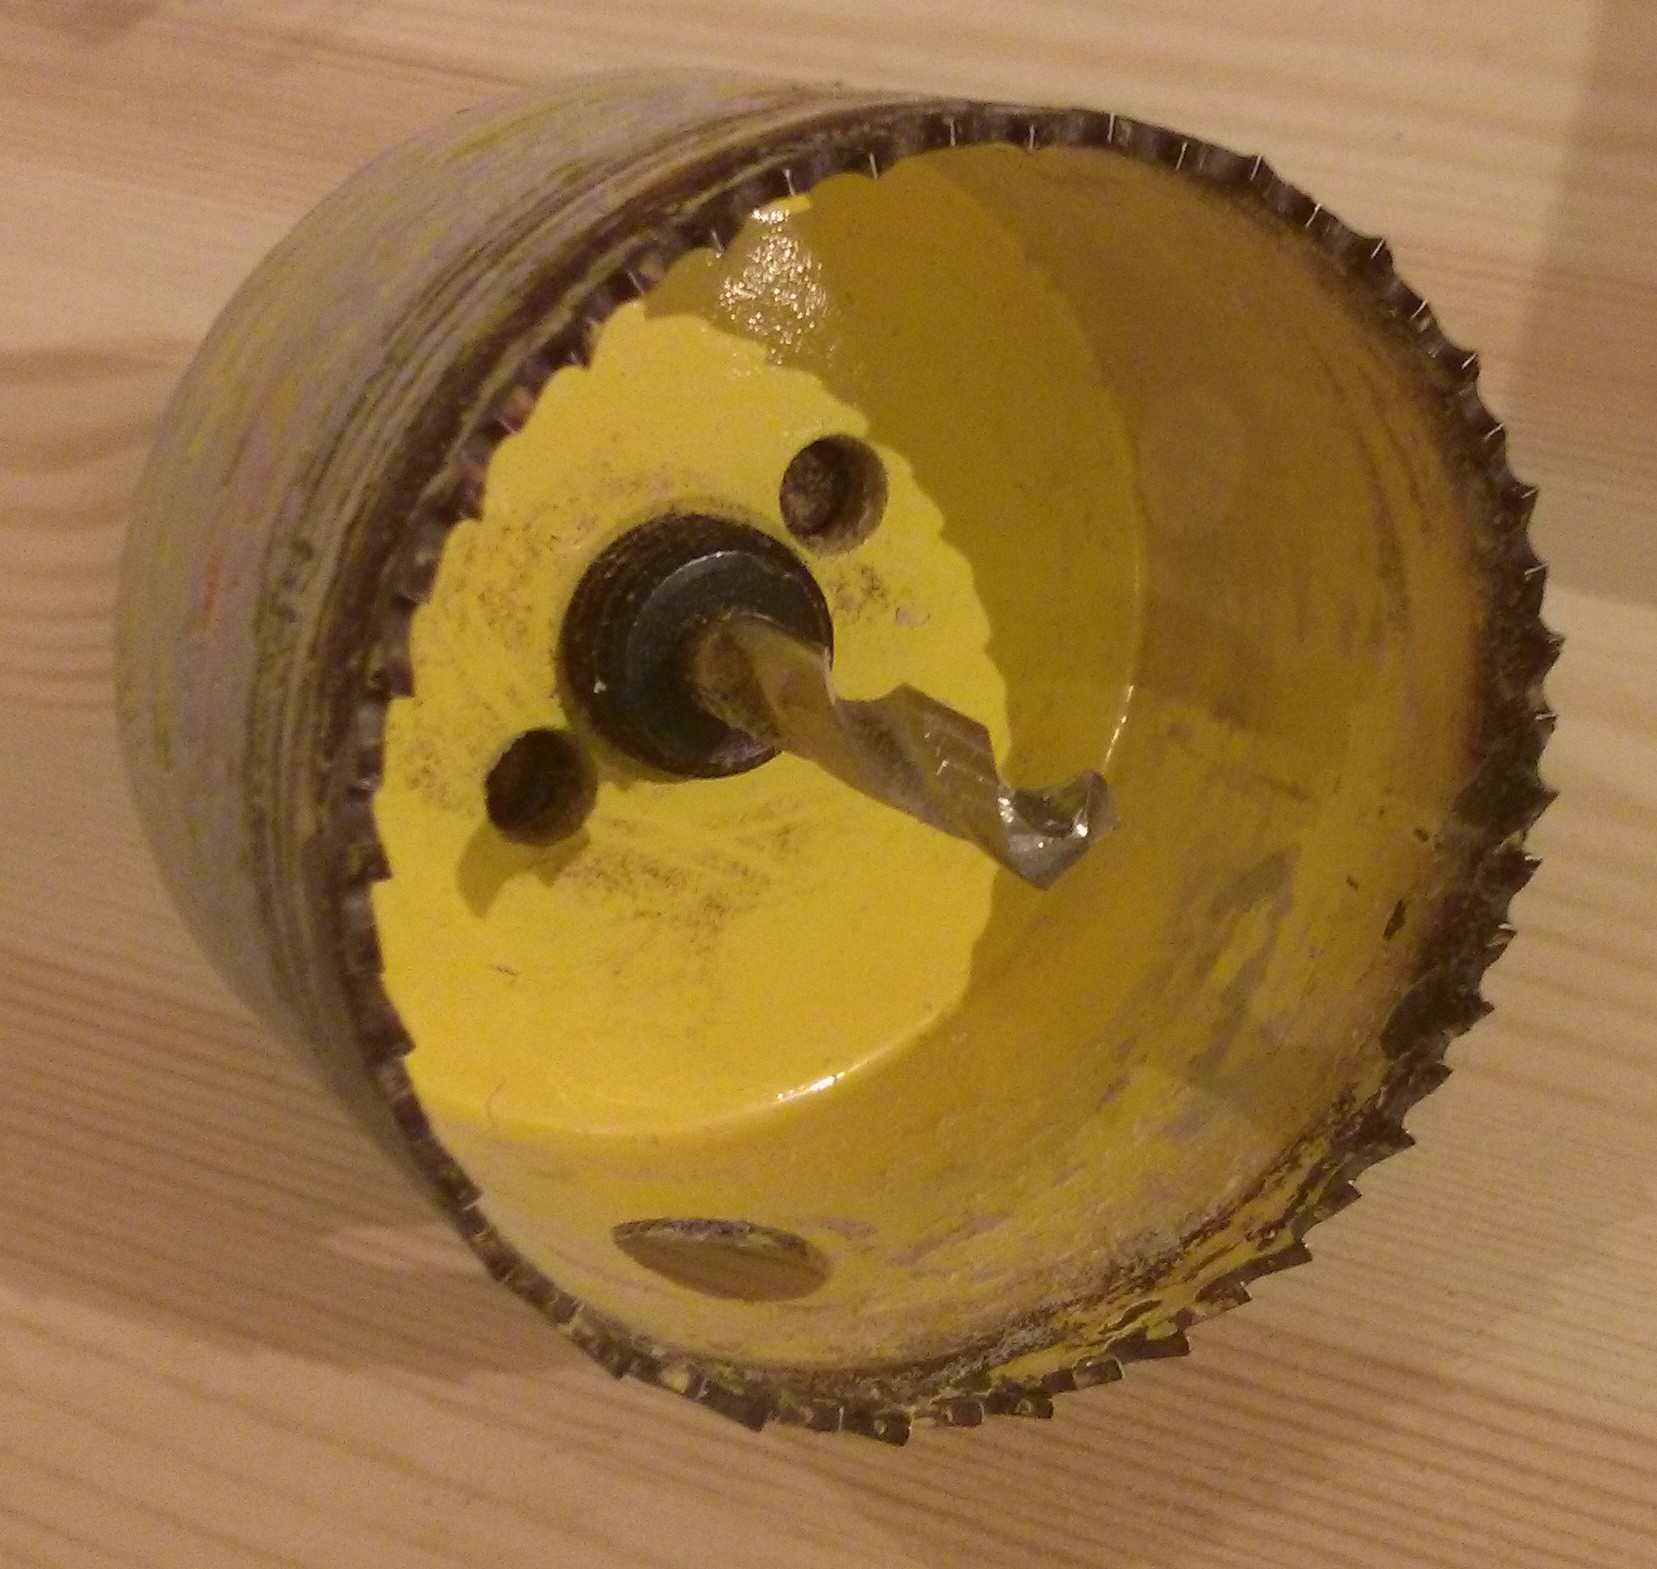
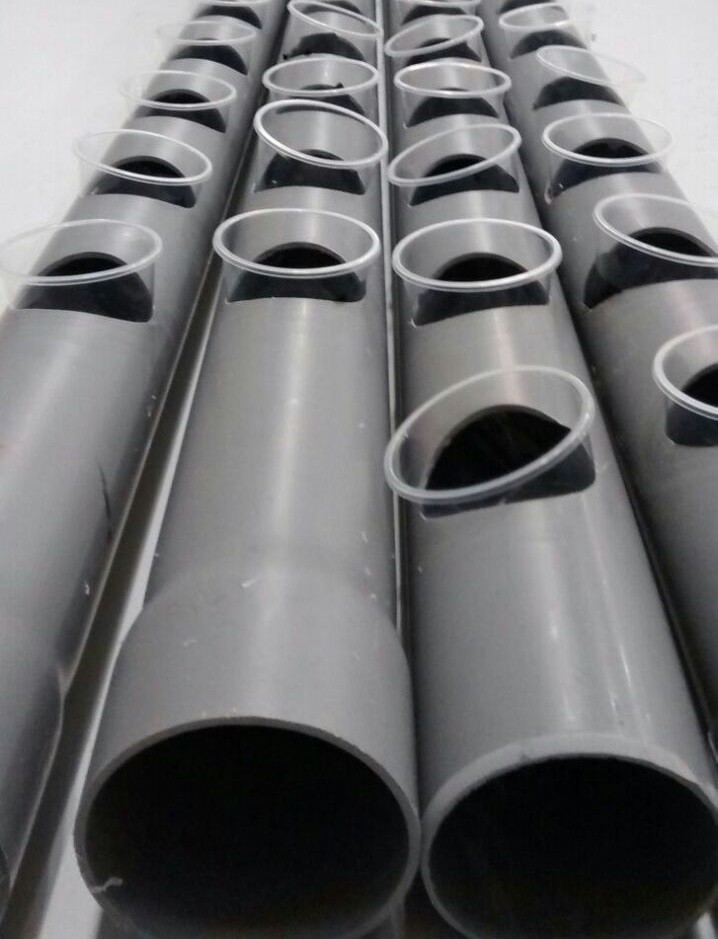
- Drilling holes (Ø 68mm) along the pipe for pots (20 holes/pipe)
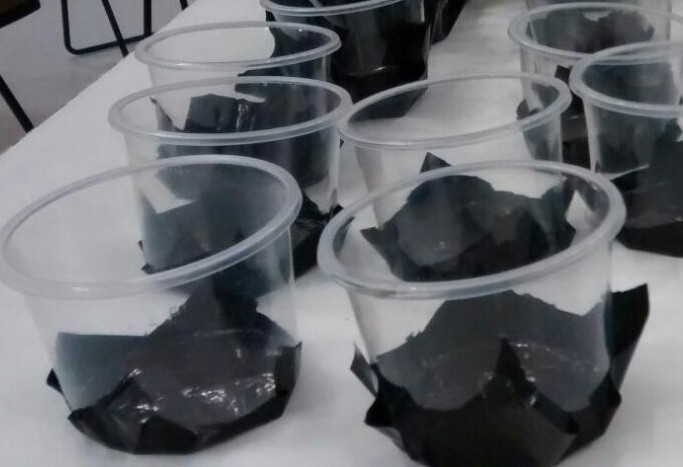
- Assembling the buckets. (a total of 80 pots)
The PVC plastic wasn’t really thick so drilling the holes with a drill and a circular saw was relatively easy.
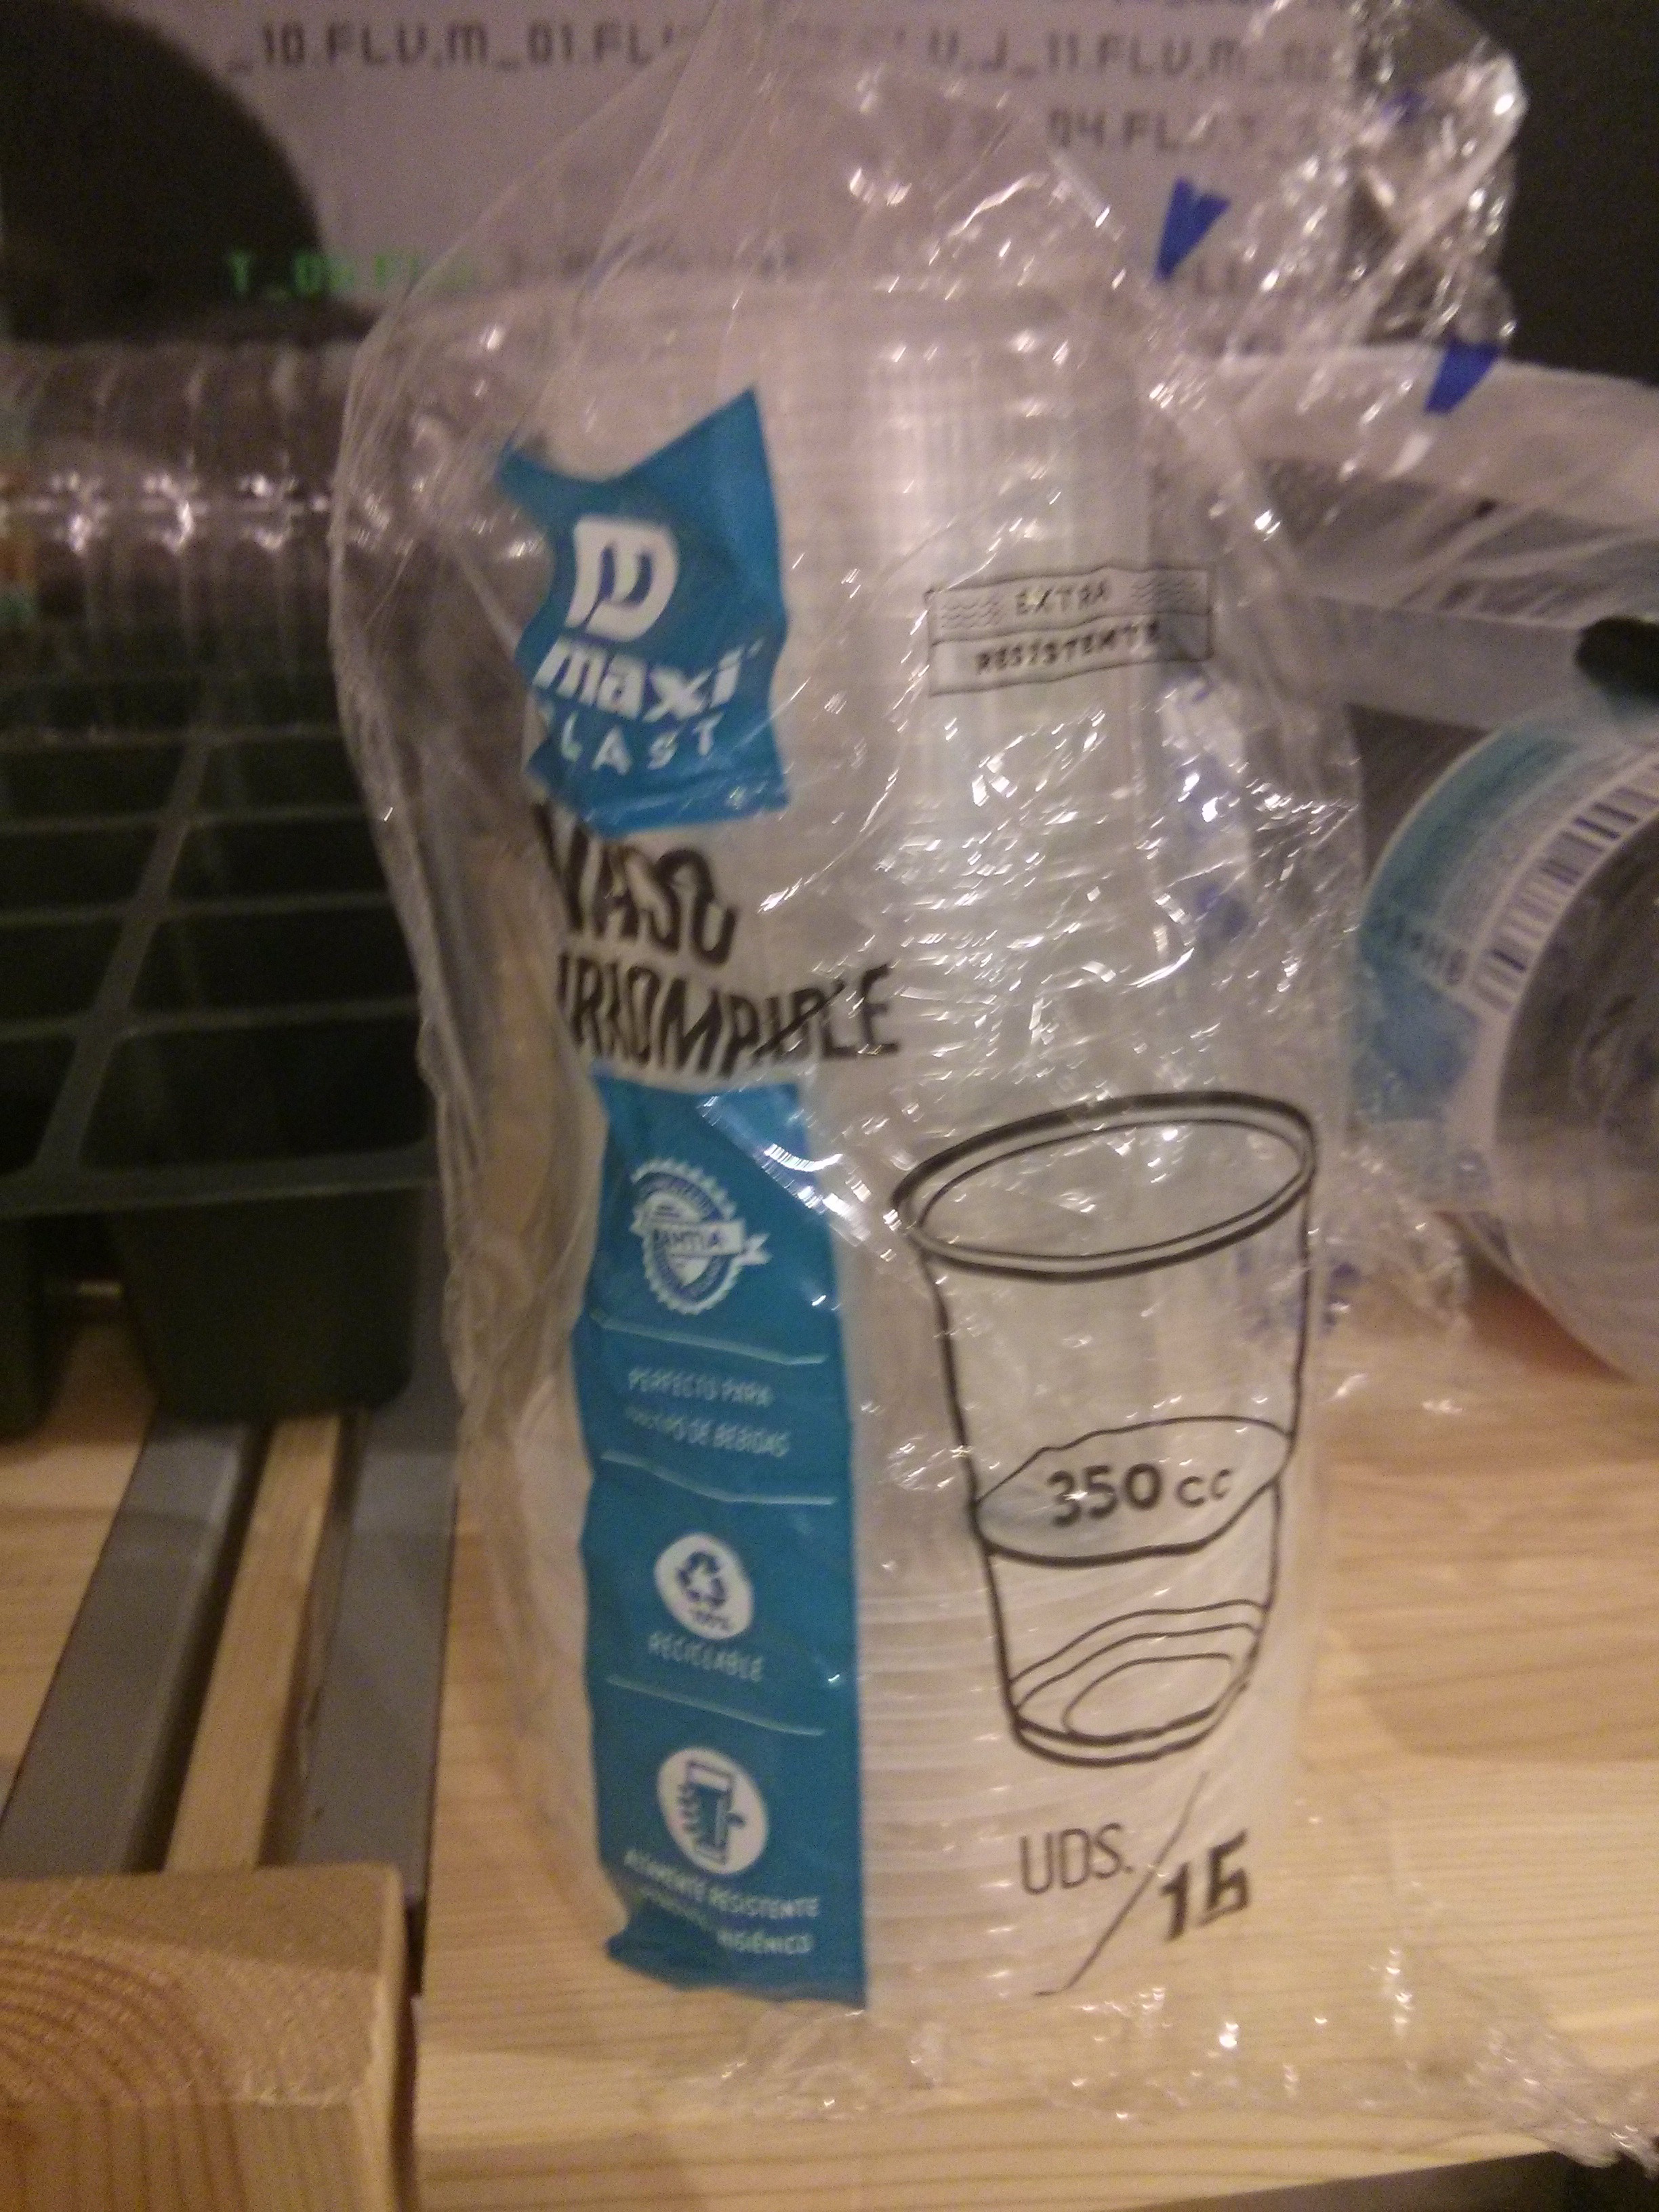
Plastic cups (x80) were cut in half, and the upper side was used as the container. The ground was constructed with a black plastic film imitating a base. Their were glued toghether adding non-water-soluble glue on the outer face of the cups to avoid any possible contact between it and plants. (this was easier but it took much time)
- Support Team
This time, we wanted to hang the ultimate prototype. Thus, this part of the crew had to design and cut a support structure which could hold it in place.
We drafted through Vcarve a support structure. This design set four levels (one level/pipe) of structure. Four spaces to keep on place the pipes were carved into the wood. Additionally, it had some height differences of 10mm between holes to create a subtle slope along each pipe. Afterwards, we cut it using our lab’s CNC.
(File link: https://hackaday.io/project/13008/files ).
We also produce a funnel to gather water at the end of the prototype. In such manner that no water loss occurred. Also, we could redirect the water flow to a hose and then a tank. Therefore our concerns about flooding the floor'd vanish. We left the 3D printer working all night (because it said it'd take almost 8h). We should have thought it before but things come when they come. Anyway, tomorrow it should be finished.
File link: https://hackaday.io/project/13008/files)
- Electronics Team
Finally, the most important part.
After testing every component and having regulated every sensor, it was time for some coding. The third group had the most important part to accomplish:
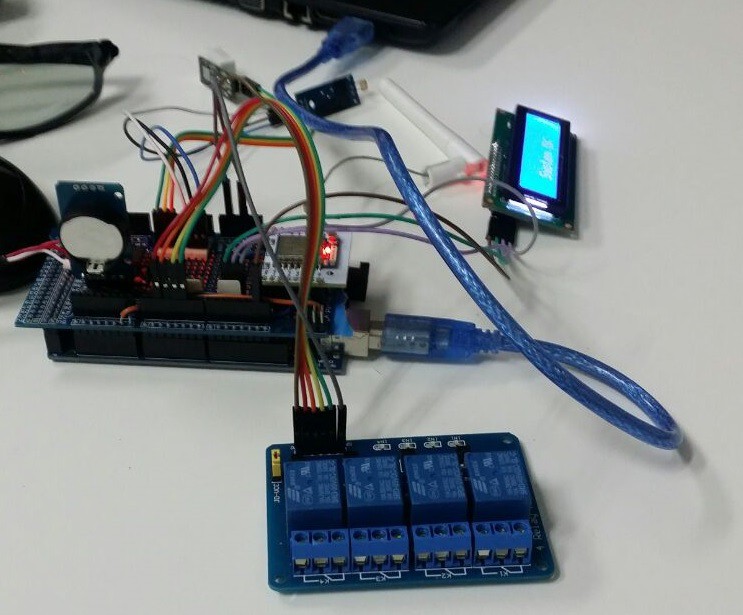
It was to programm every aspect of the genuino controller (HGC).
They had already started for a couple of days with no rush, but today as the self-imposed deadline, it took almost all day to code everything correctly.
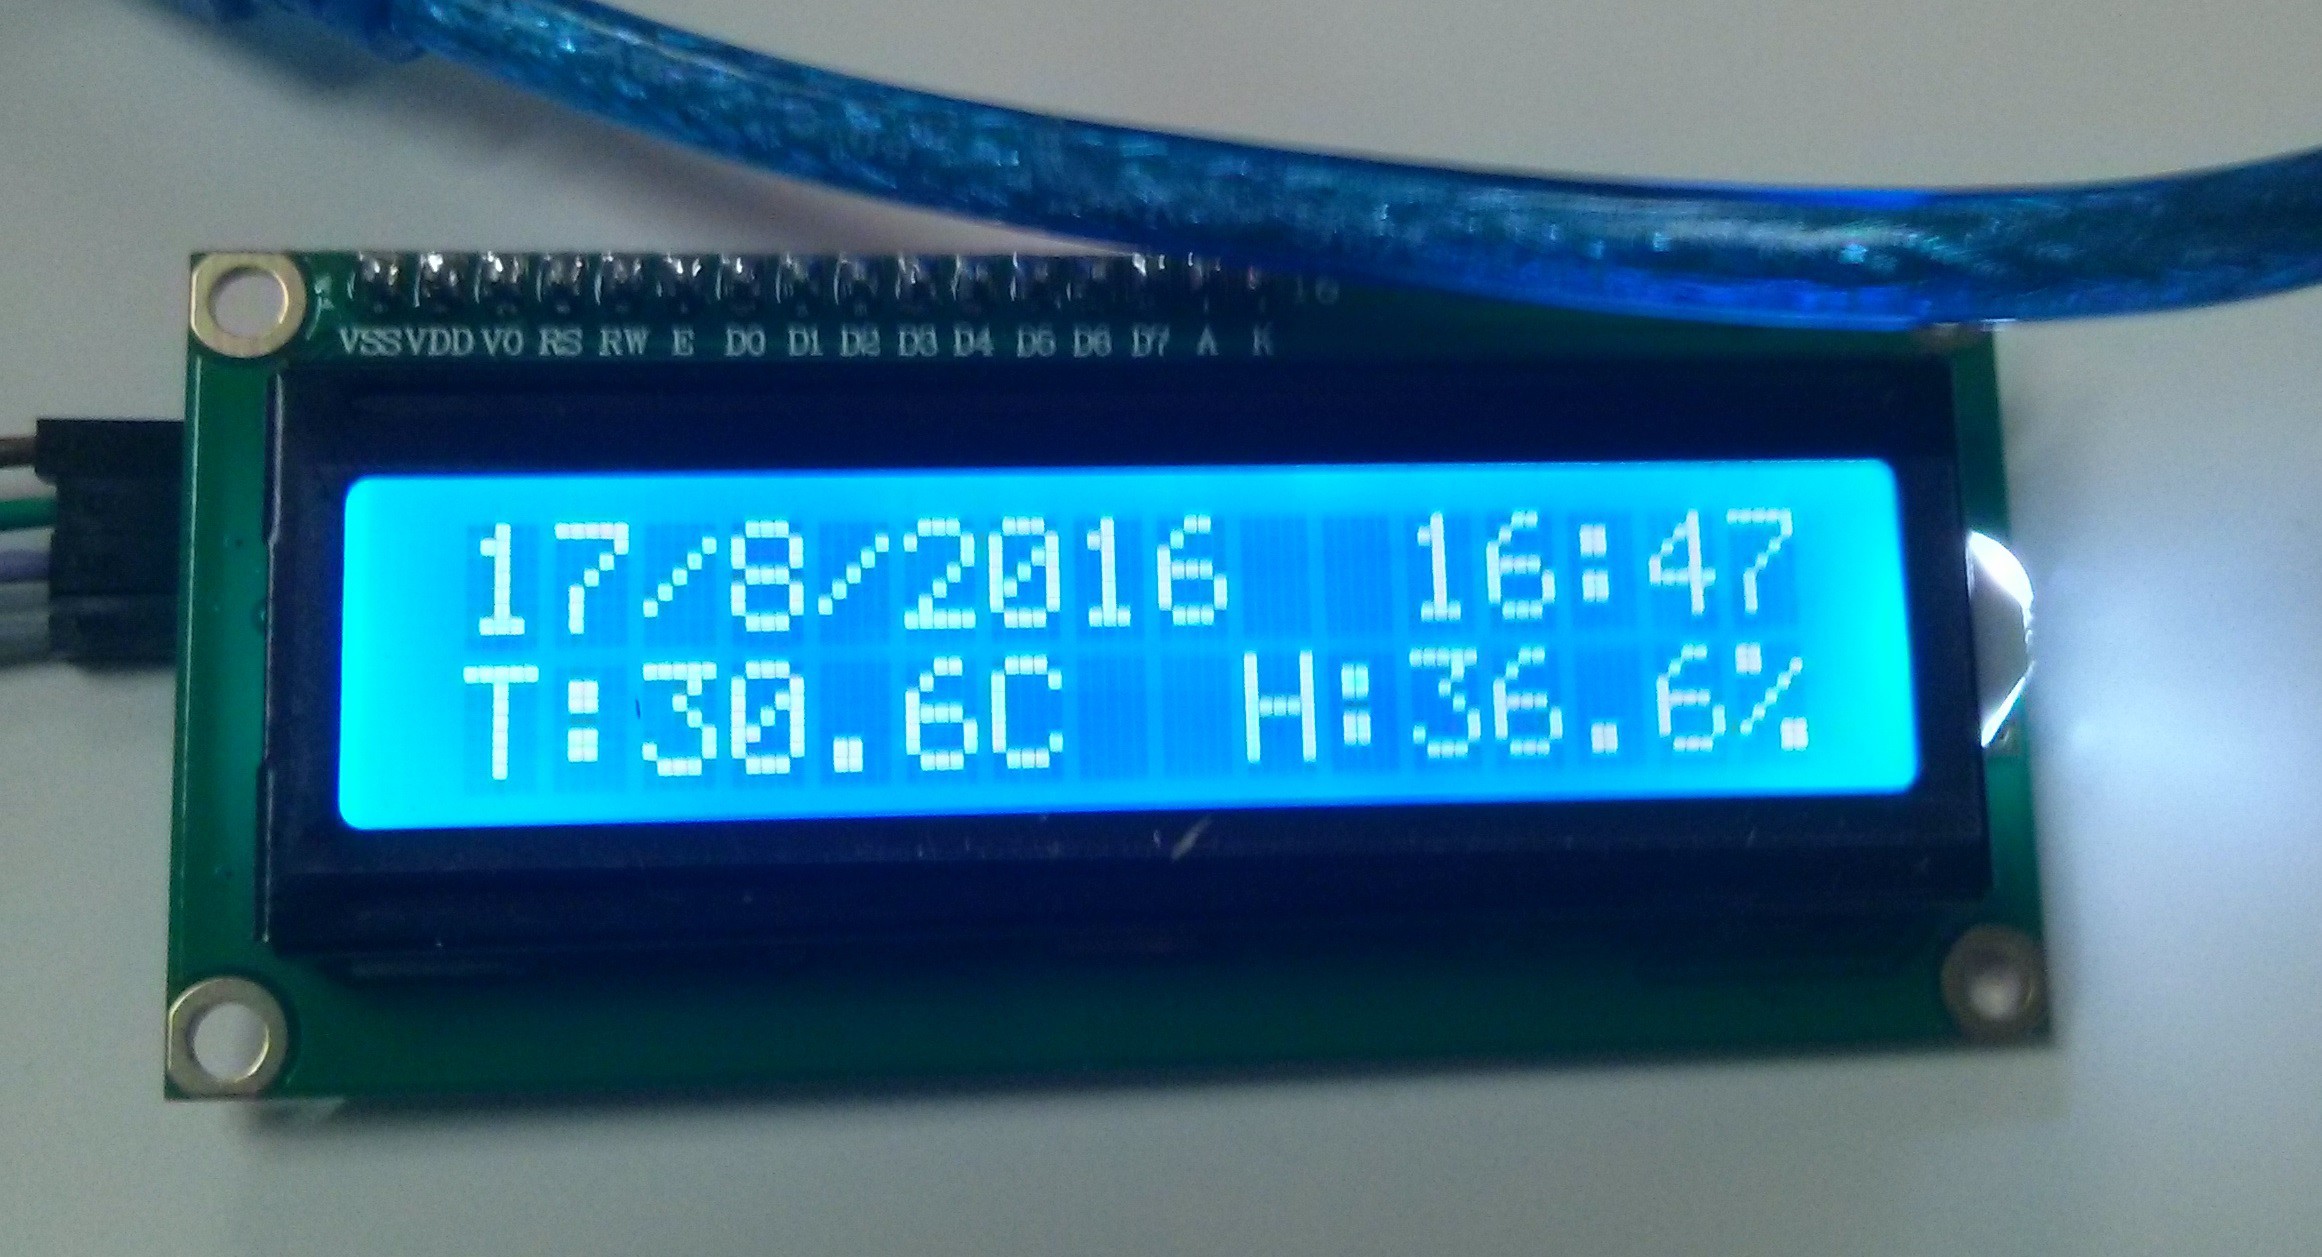
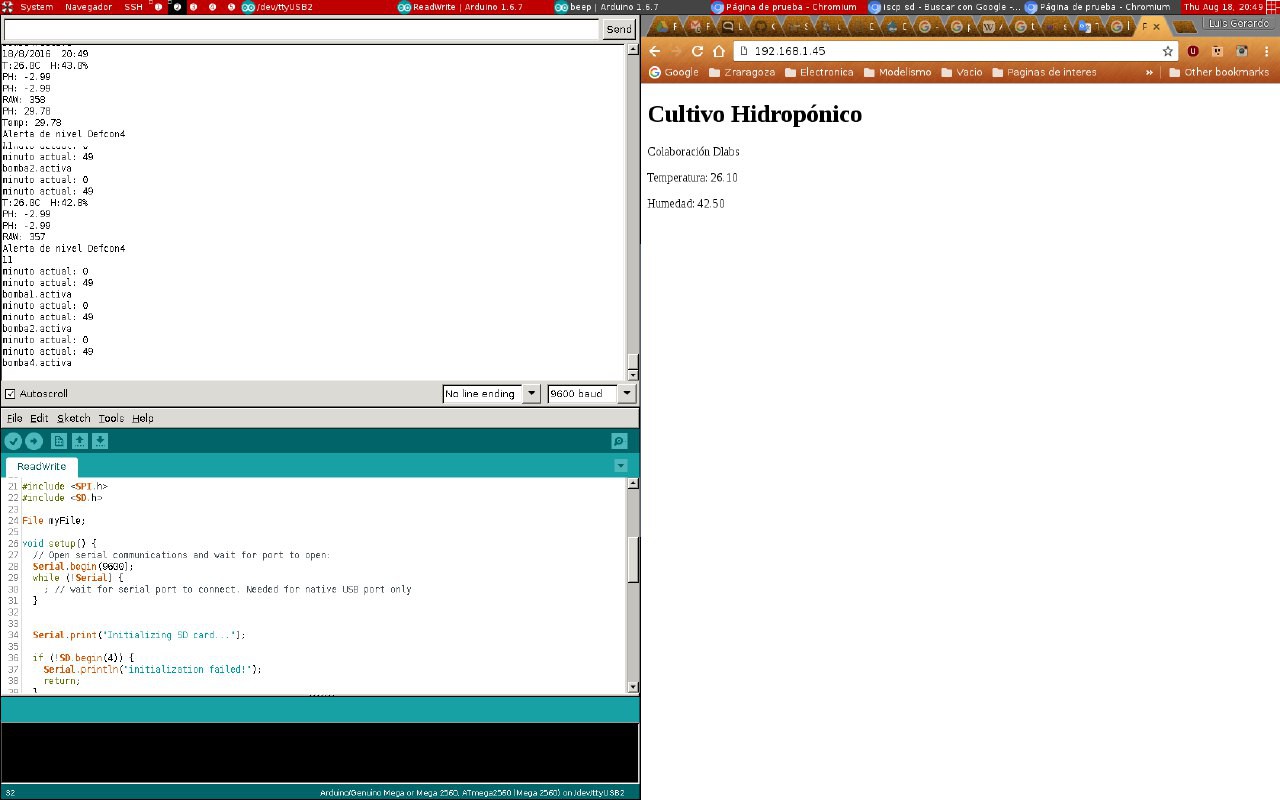
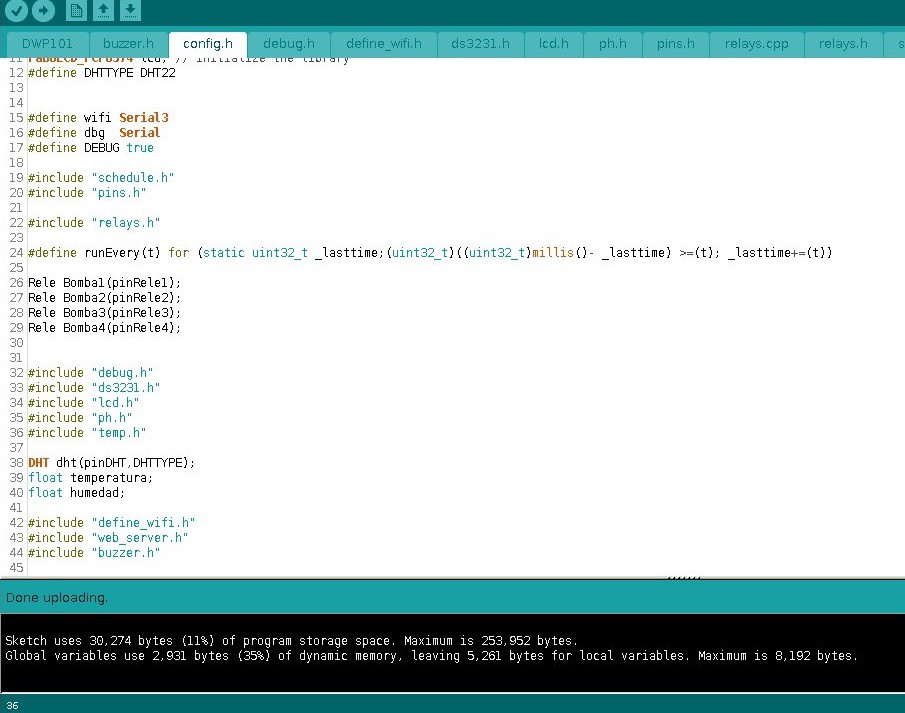
Additionally, they welded the pieces together. On the pictures you can see the main screen of HGC,(already working!) and the website where all data'll be posted.
The programming was developped in C++, We took advantage of the Object-oriented programming, but some problems emerged, because we didn't organised our library correctly. It has been really interesting working in this project because of its closeness to a real production system. Originally, planification was really strict, but as the project grew, we realised everything wasn't going to be ready for the 2016 Hackaday Prize. In any case, we keep improving the code everyday and the basics are ready to work.
Temperature, humidity and pH are being controlled. We have incorporated an alarm voice system upon the log error detection. Doing so, we have delimited the alarm noise upon the DEFCON standards (from 1 to 5)
Programming is ready for error correction, and system's information feedback.
To find the Initial Boot Video of HGC follow the link:
https://hackaday.io/project/13008-automatized-hydroponic-vertical-crop/files
It's almost finished guys!
-
08/17/2016 – Results and Genuino Birth
08/17/2016 at 18:44 • 0 commentsGood news everyone! (Pr. Farnsworth voice)
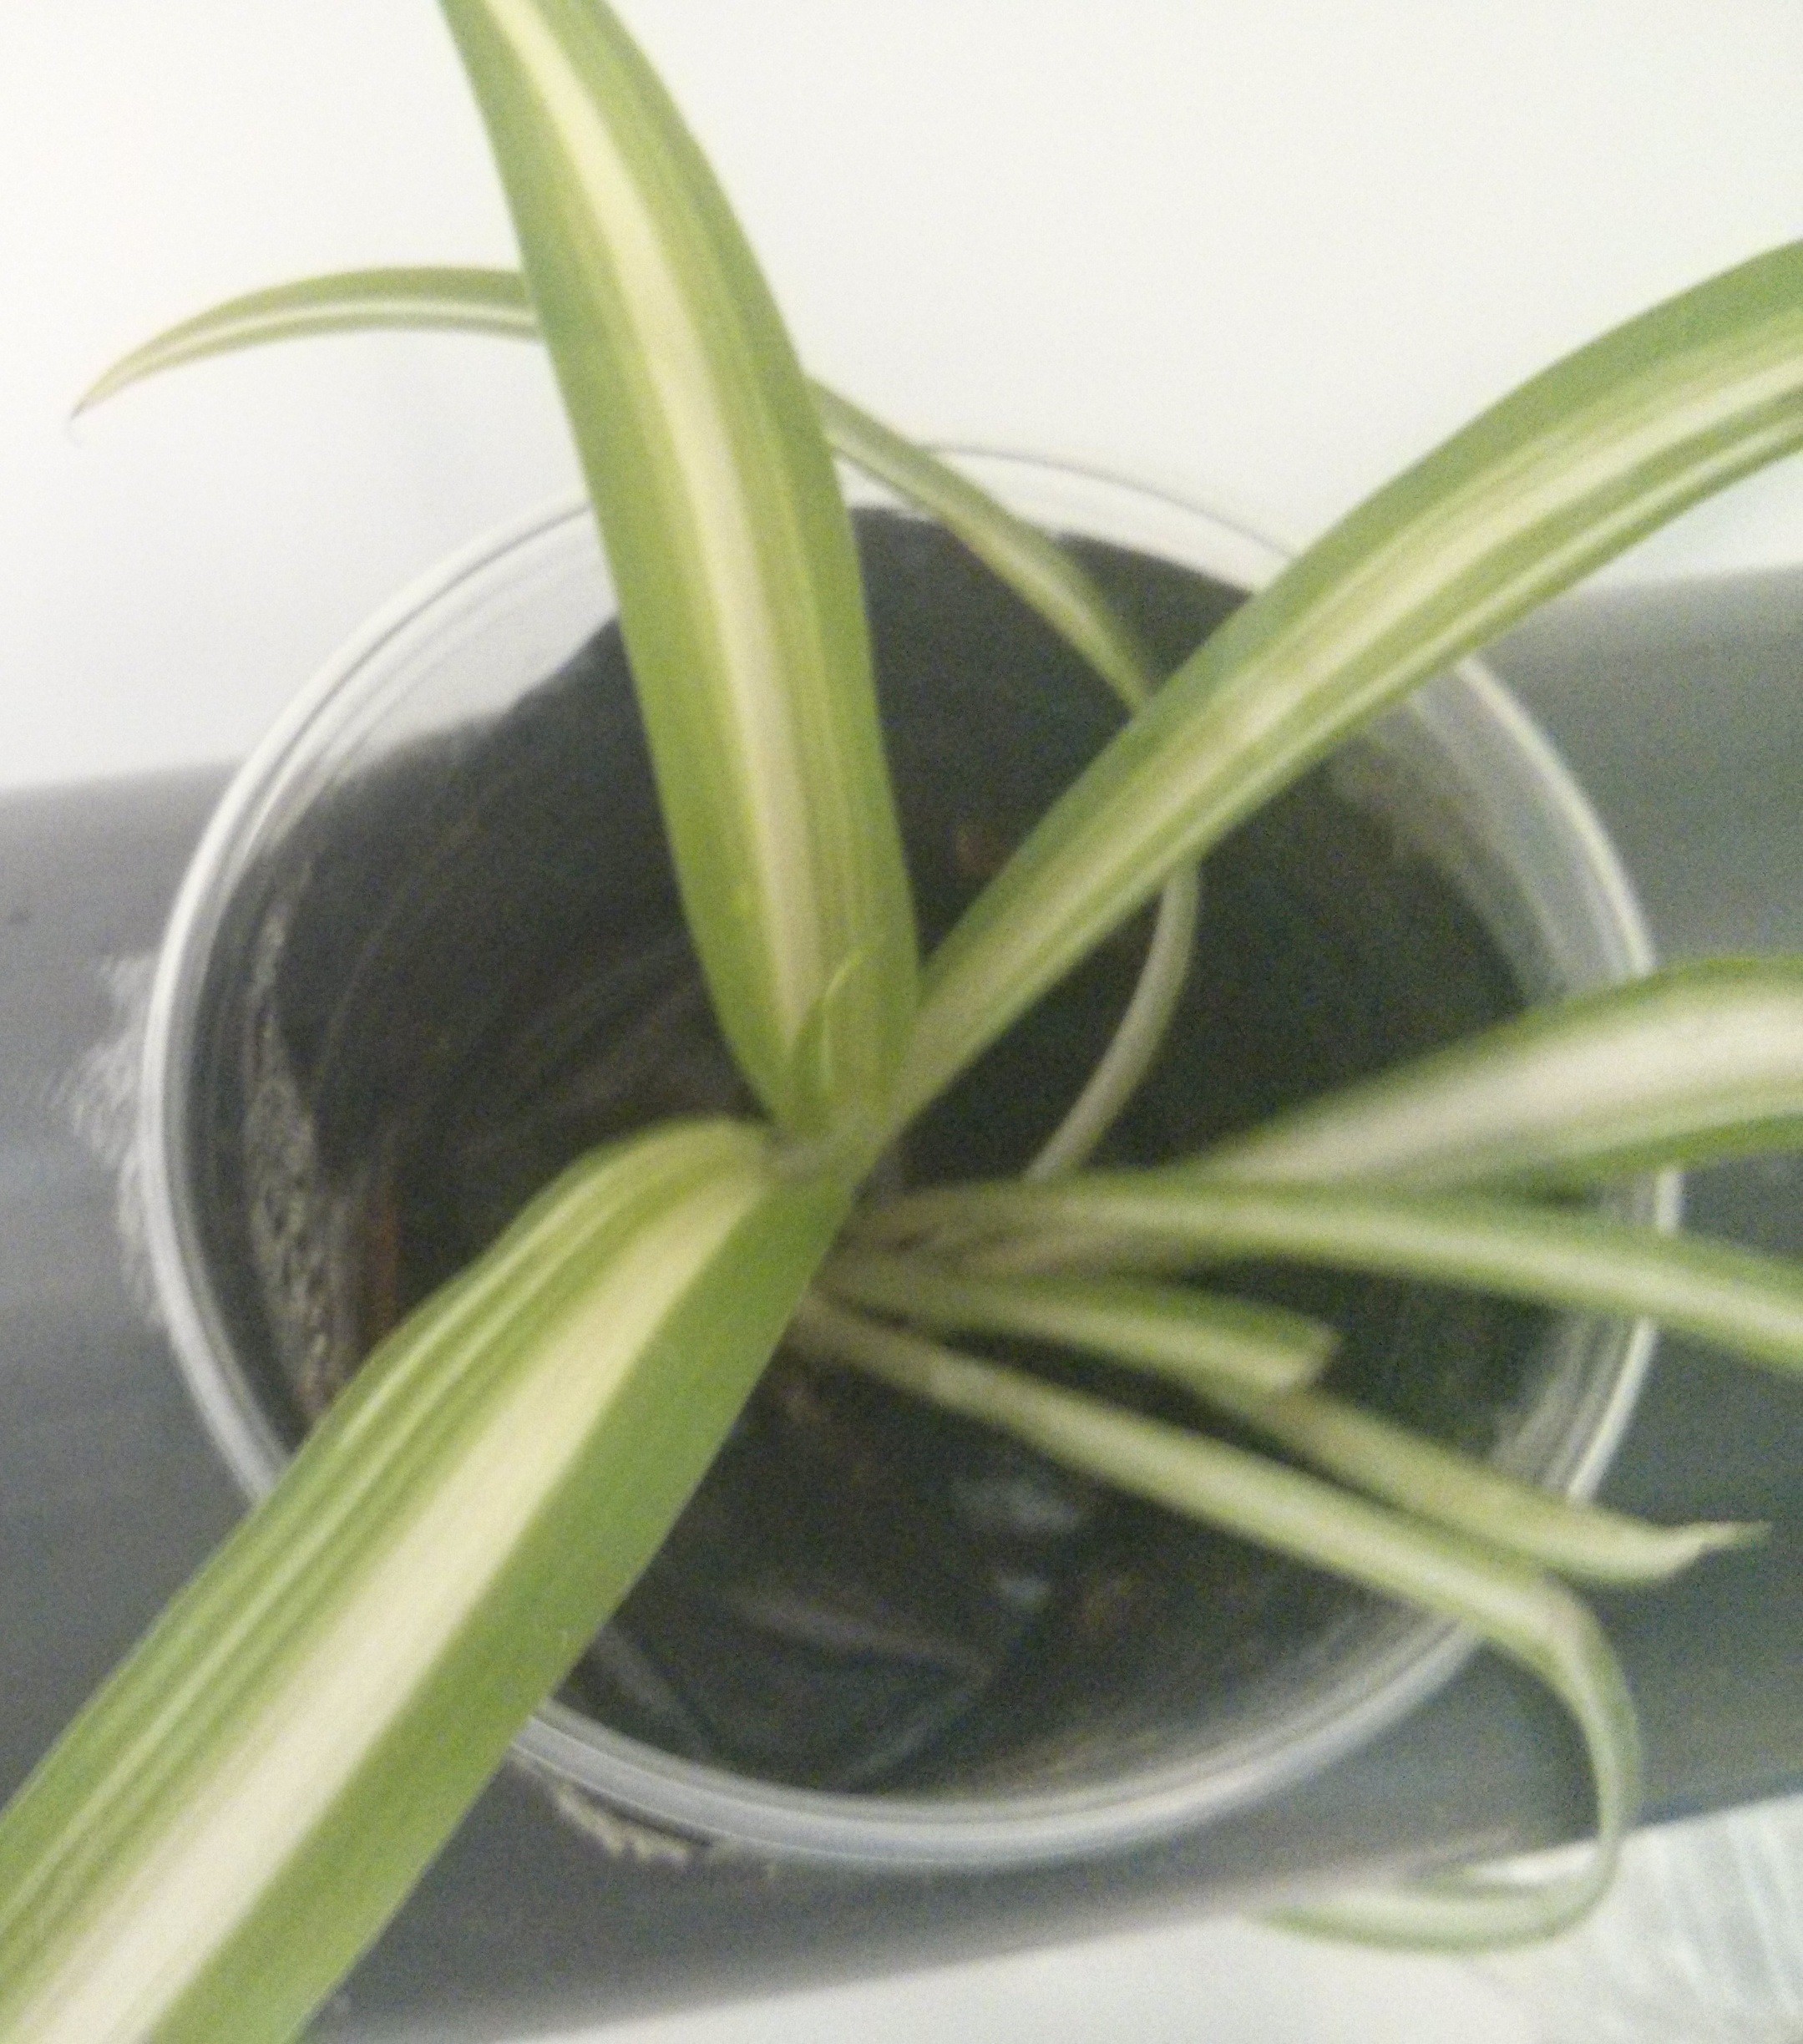
A cute tiny leaf is sprouting from one of the plants. Success!!
It’s not like we doubted the hydroponic system… But some of us were sceptical about “accidentally drowning” our own plant storage instead of sustaining it…
Today, we clarify the Genuino flowchart. Basically, for you to comprehend our messy design. (Link: https://cdn.hackaday.io/images/9569571471552505563.jpg ).
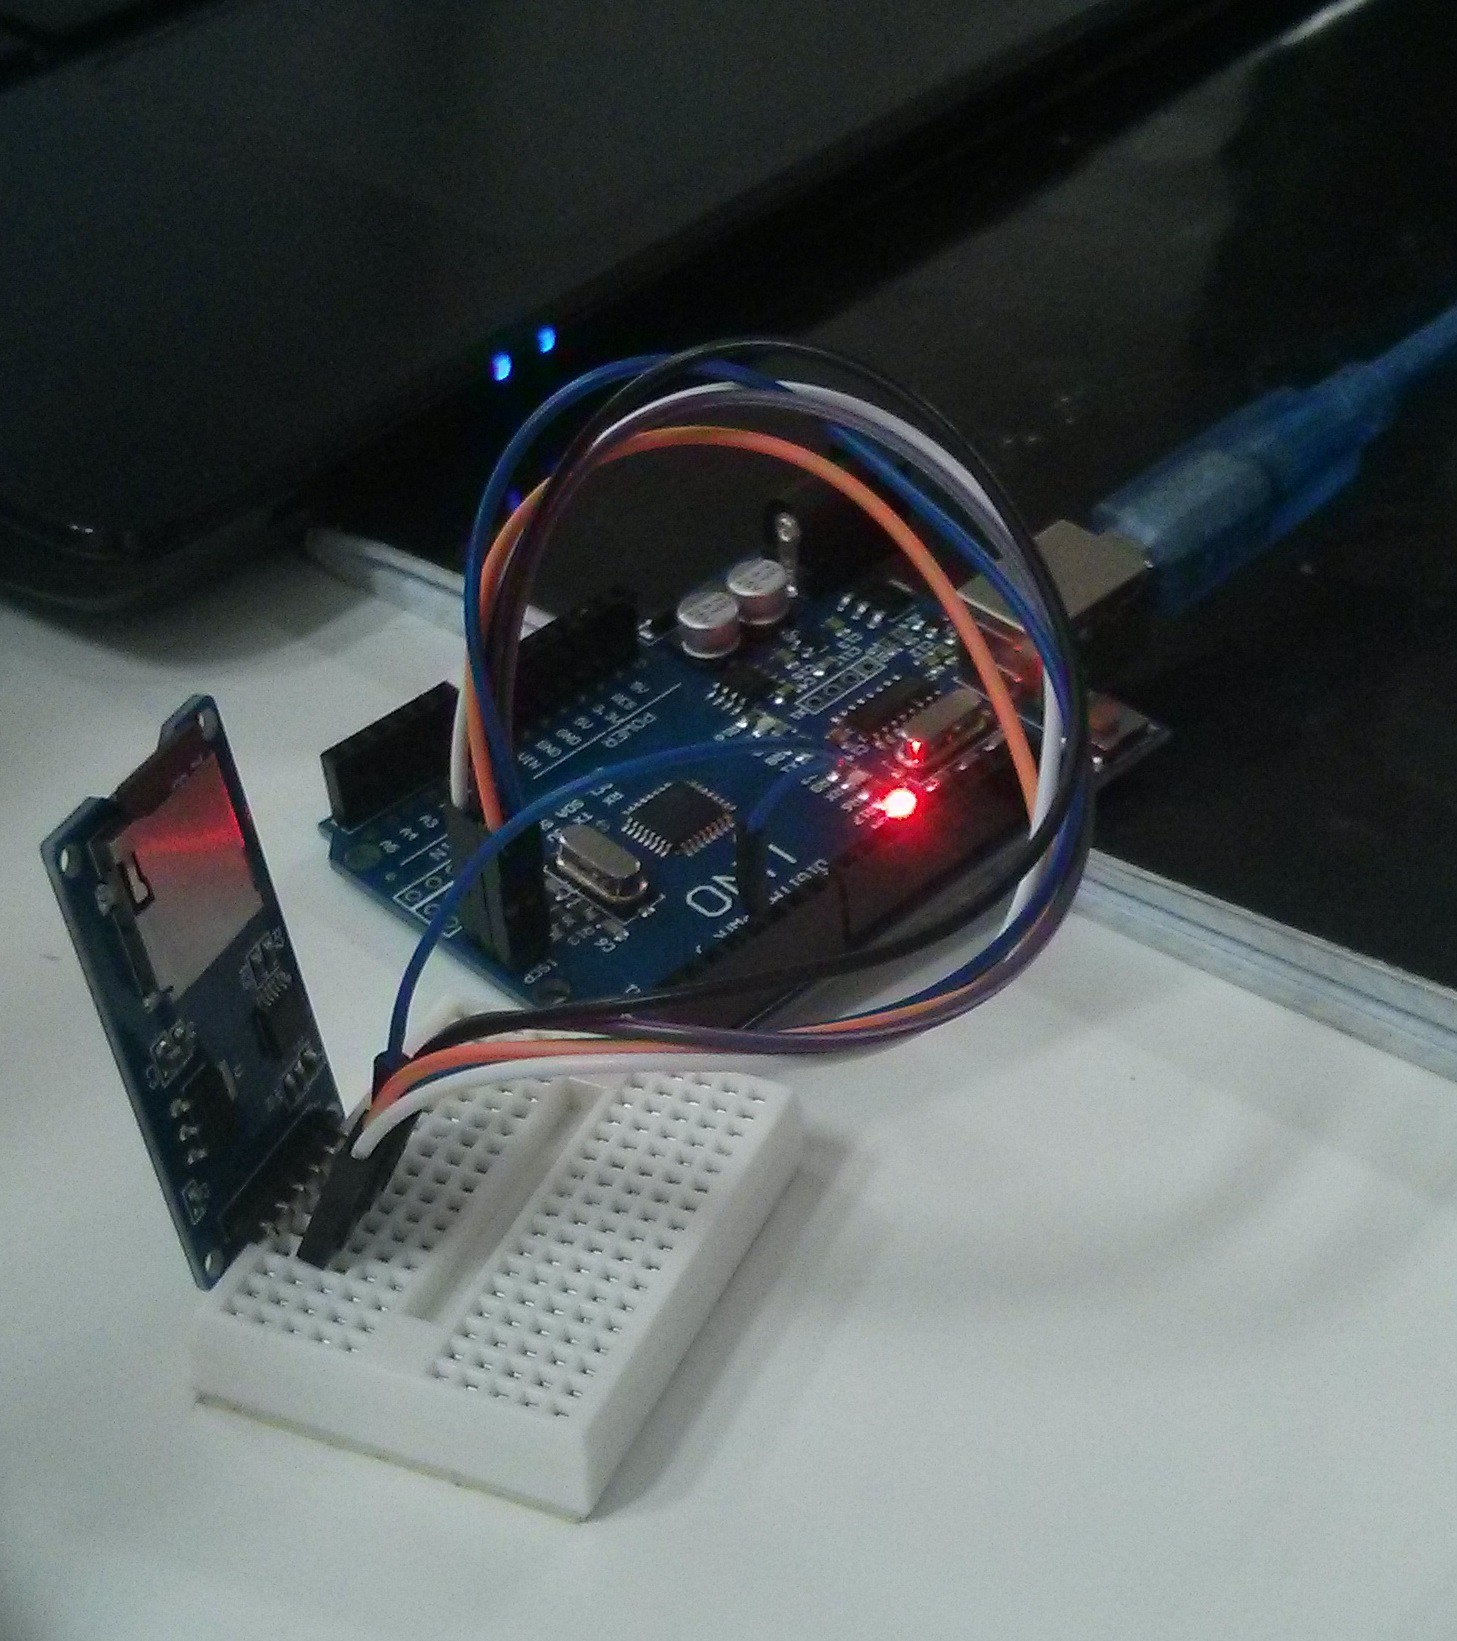
Also, we named our Hydroponic Genuino Controller as HGC or Happy Growing Center and we tested individually every part of it. Thus, we could verify they worked correctly.
We didn’t take photos of every element being checked but here you can find a photo while assessing the SD card lector.
We had some difficulties while translating the default signal of the temperature sensor because it gave a very tight range of values (100º were only 70 values). We had to intensify the signal with an operational amplifier, and now a difference of 100º equals almost 1024 values.
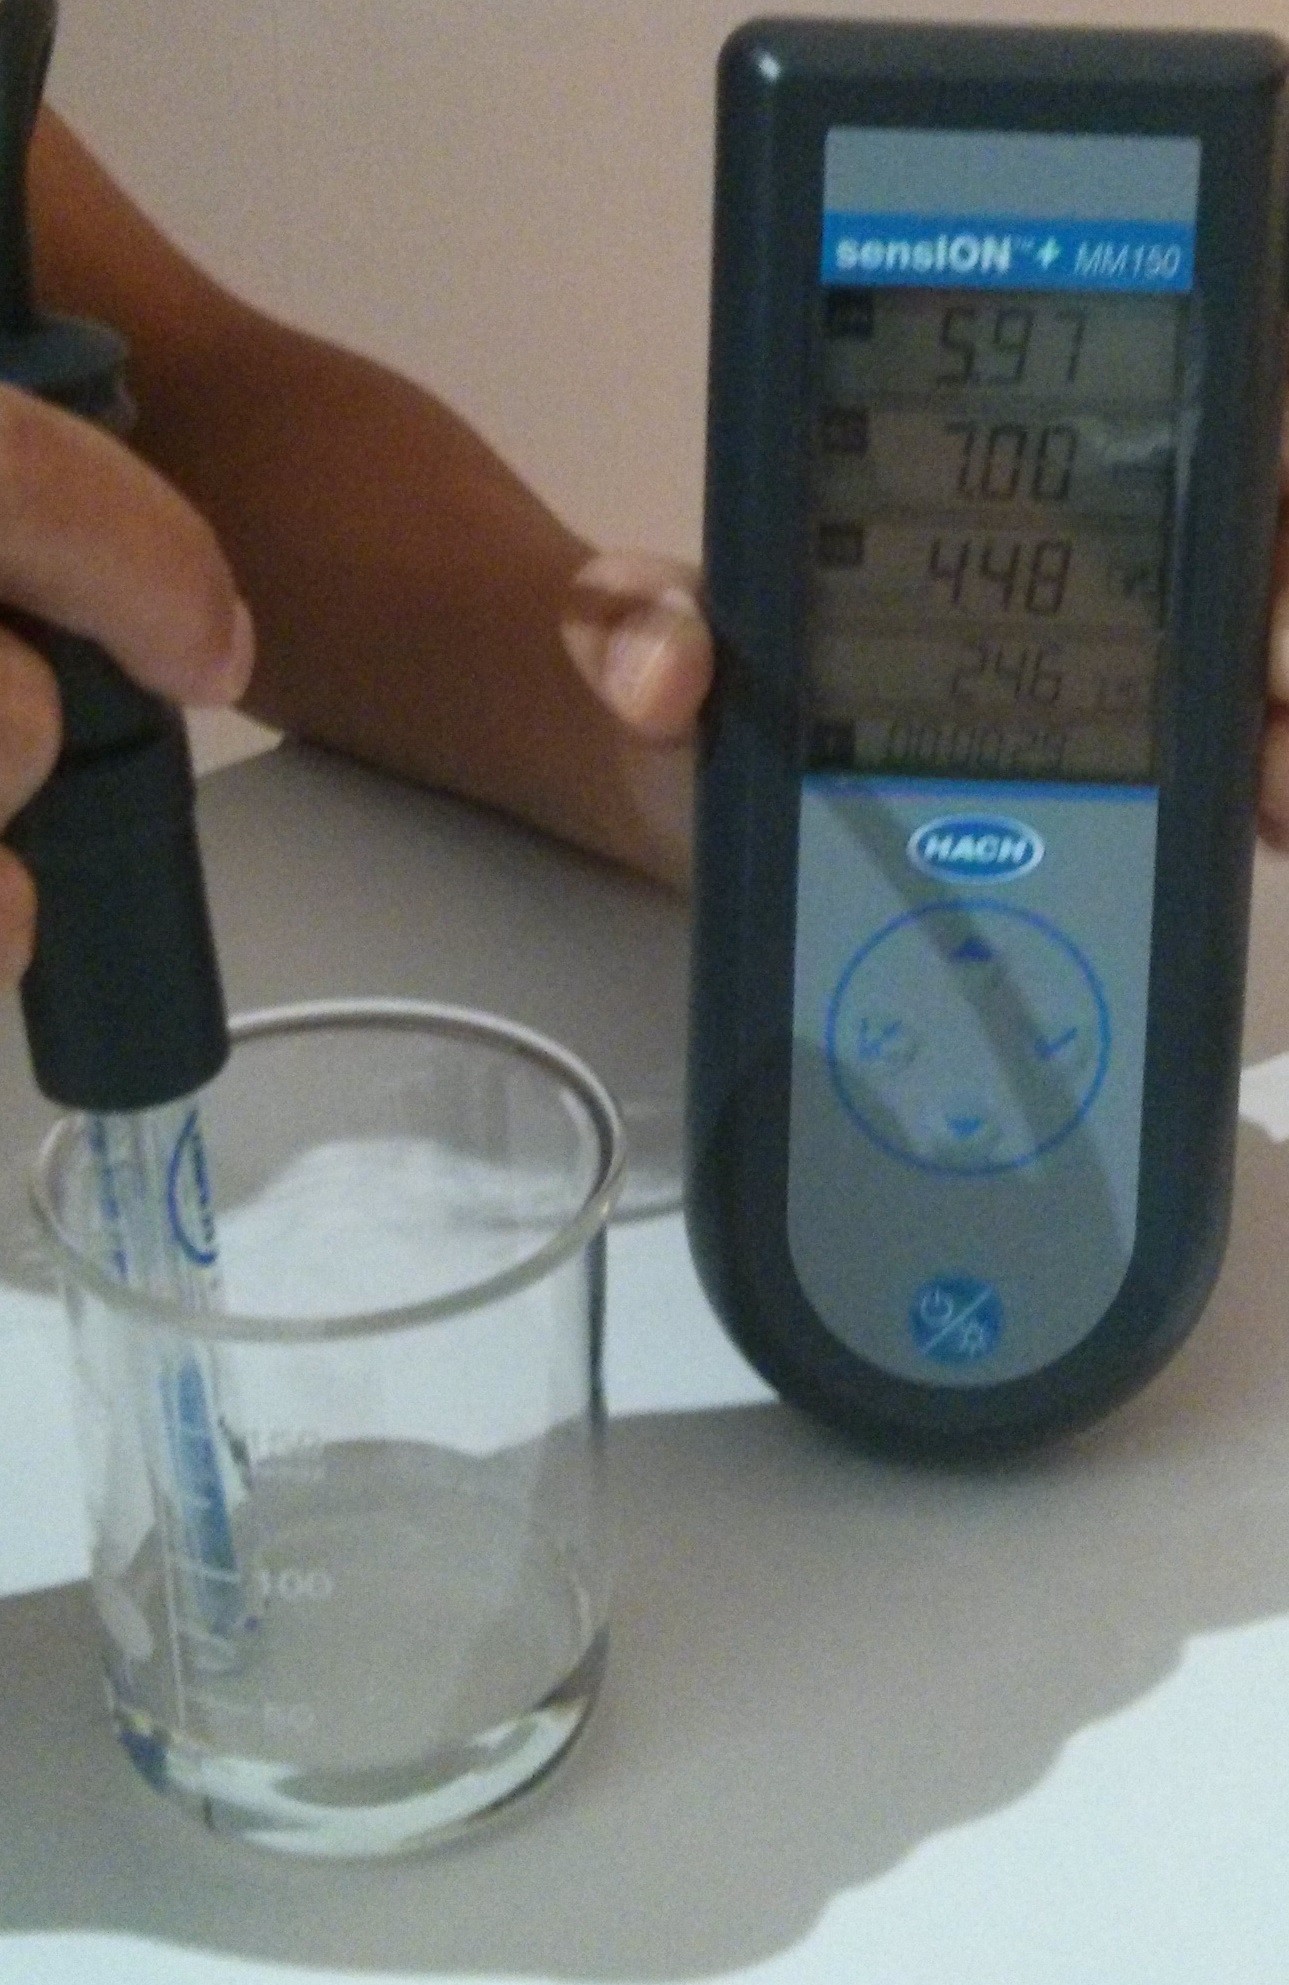
Additionally, we prepared some acid and basic solutions at different known pHs (a range from 3 to 10). A pH difference of 1,5 units gave us a value difference of almosy 40 units with the pH sensor. We established a calibration line on genuino software.
For security reasons, we later compared the results we were obtaining in the pH sensor with those given by a multimeter. Just to be sure we were doing it right.Tomorrow we’ll try to assemble all the pieces together.
Greetings from Happy Growing Center!
-
08/16/2016 – Ordering and Starting Genuino
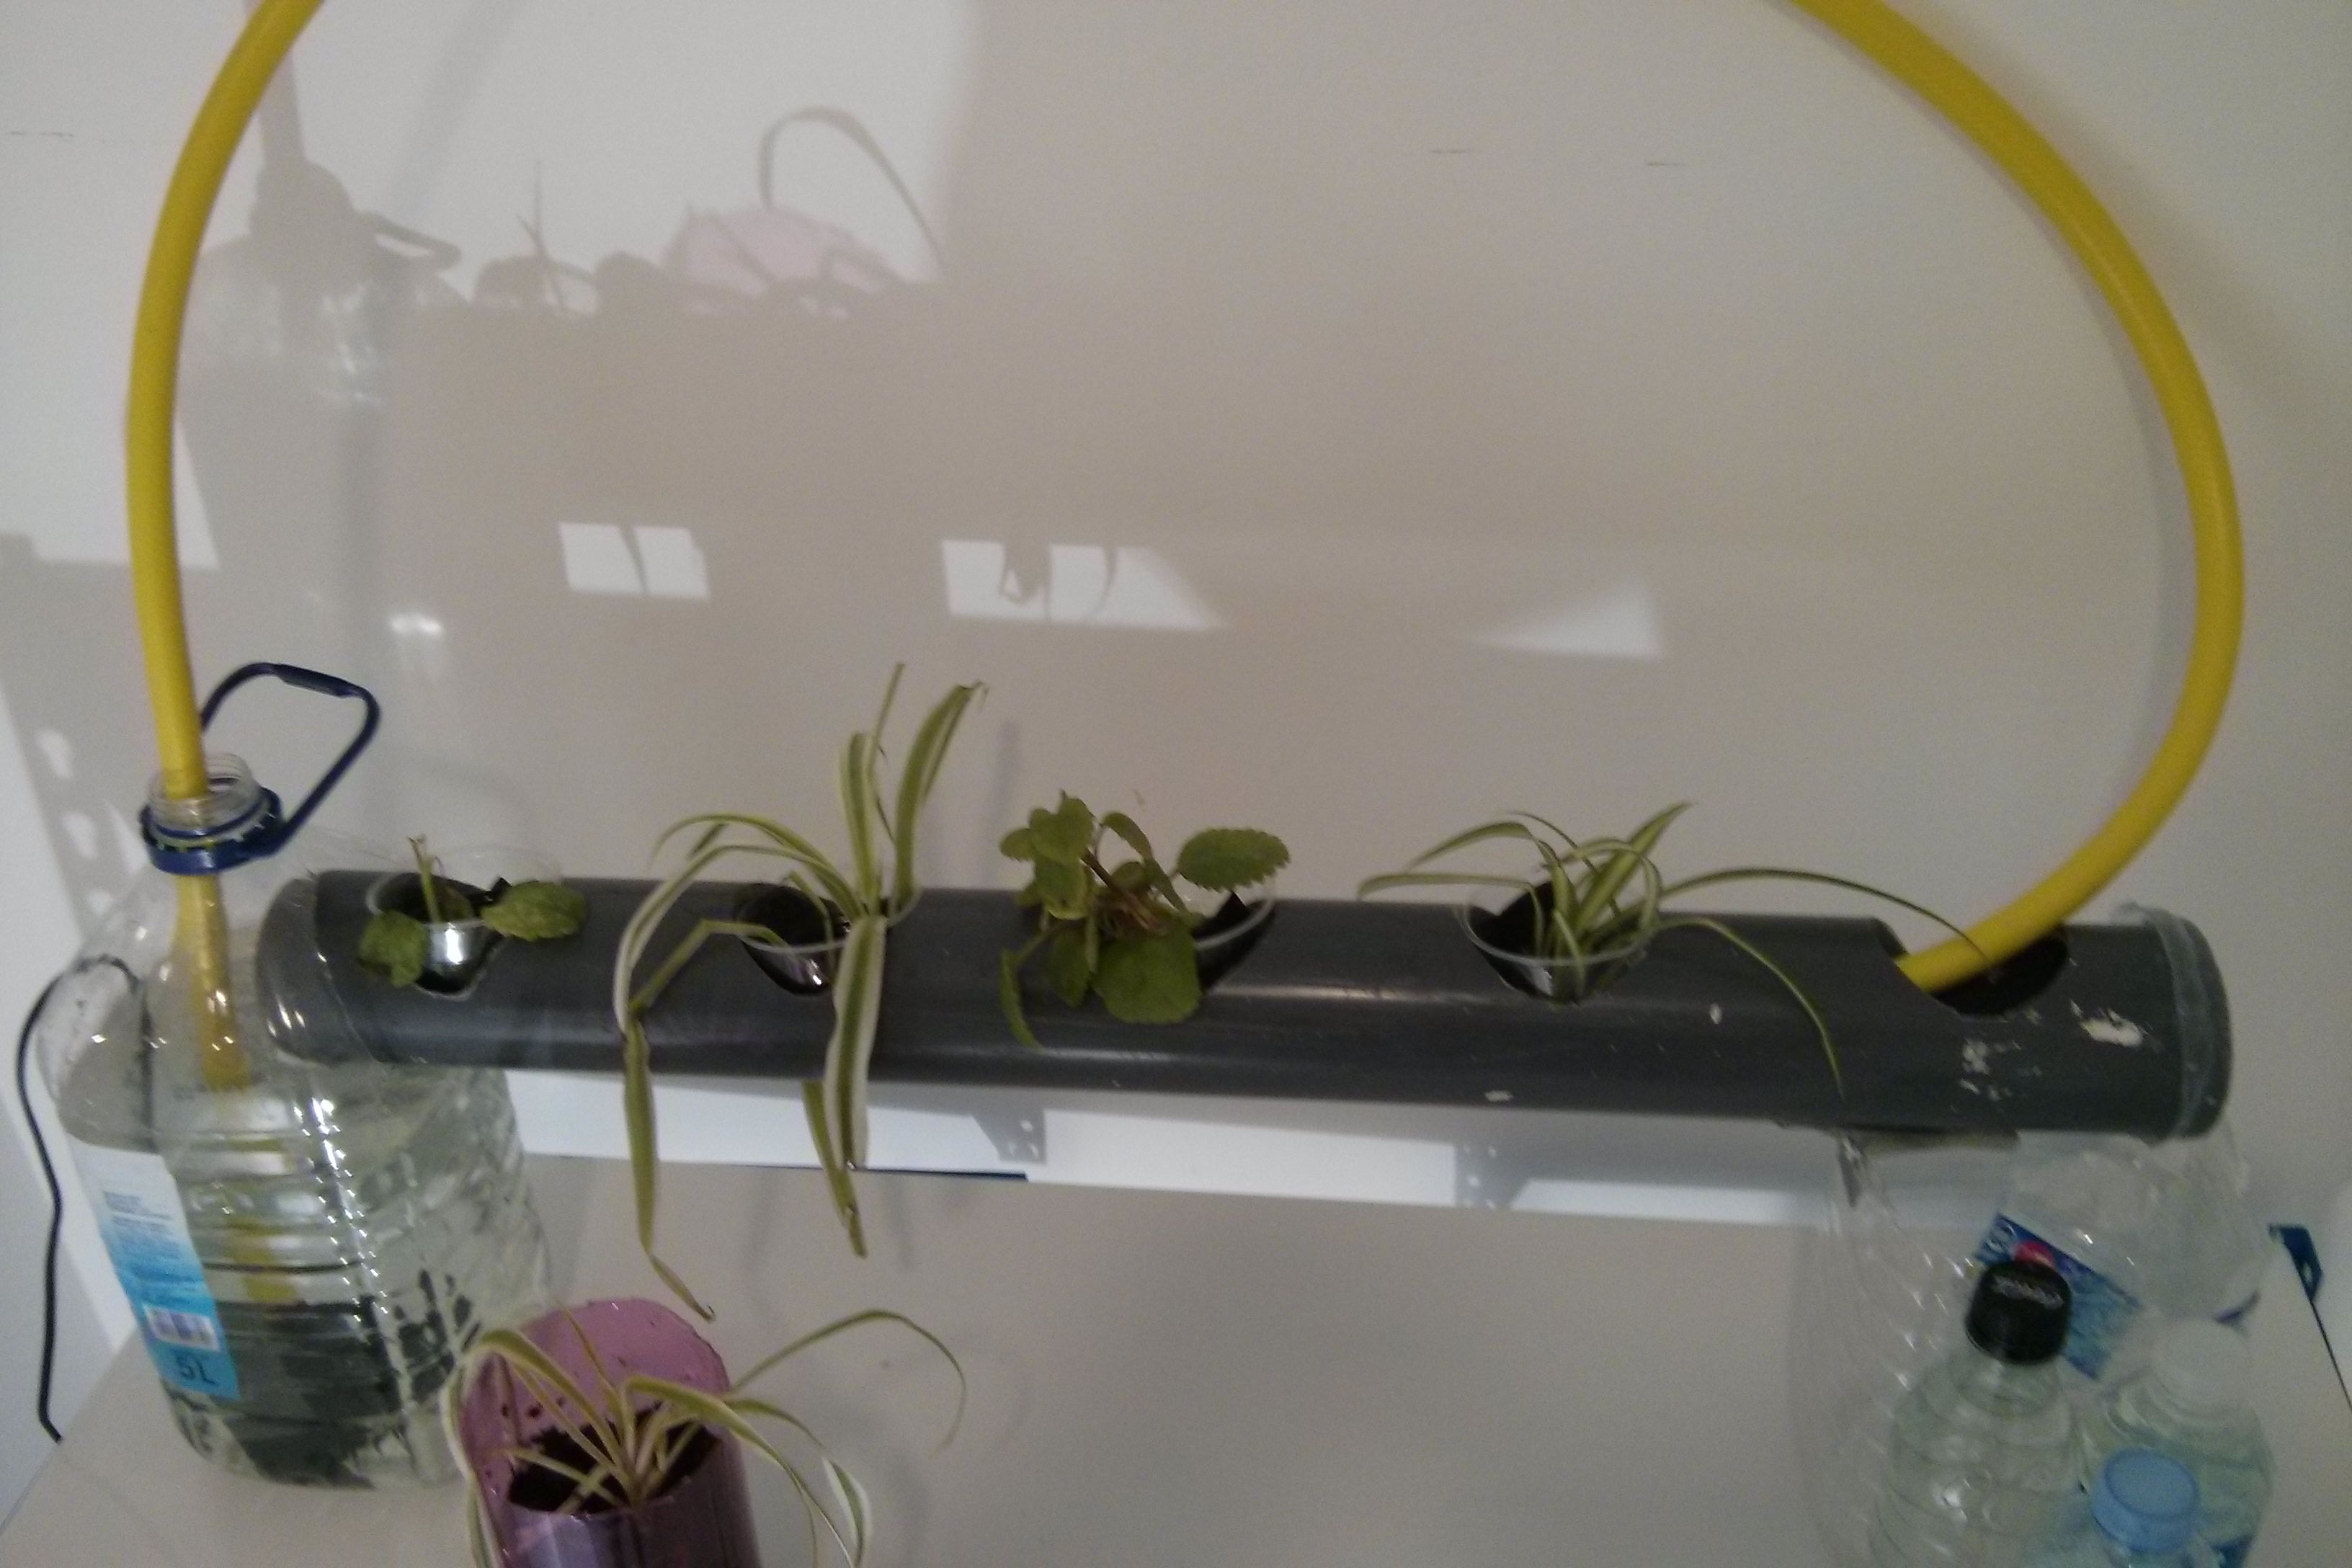
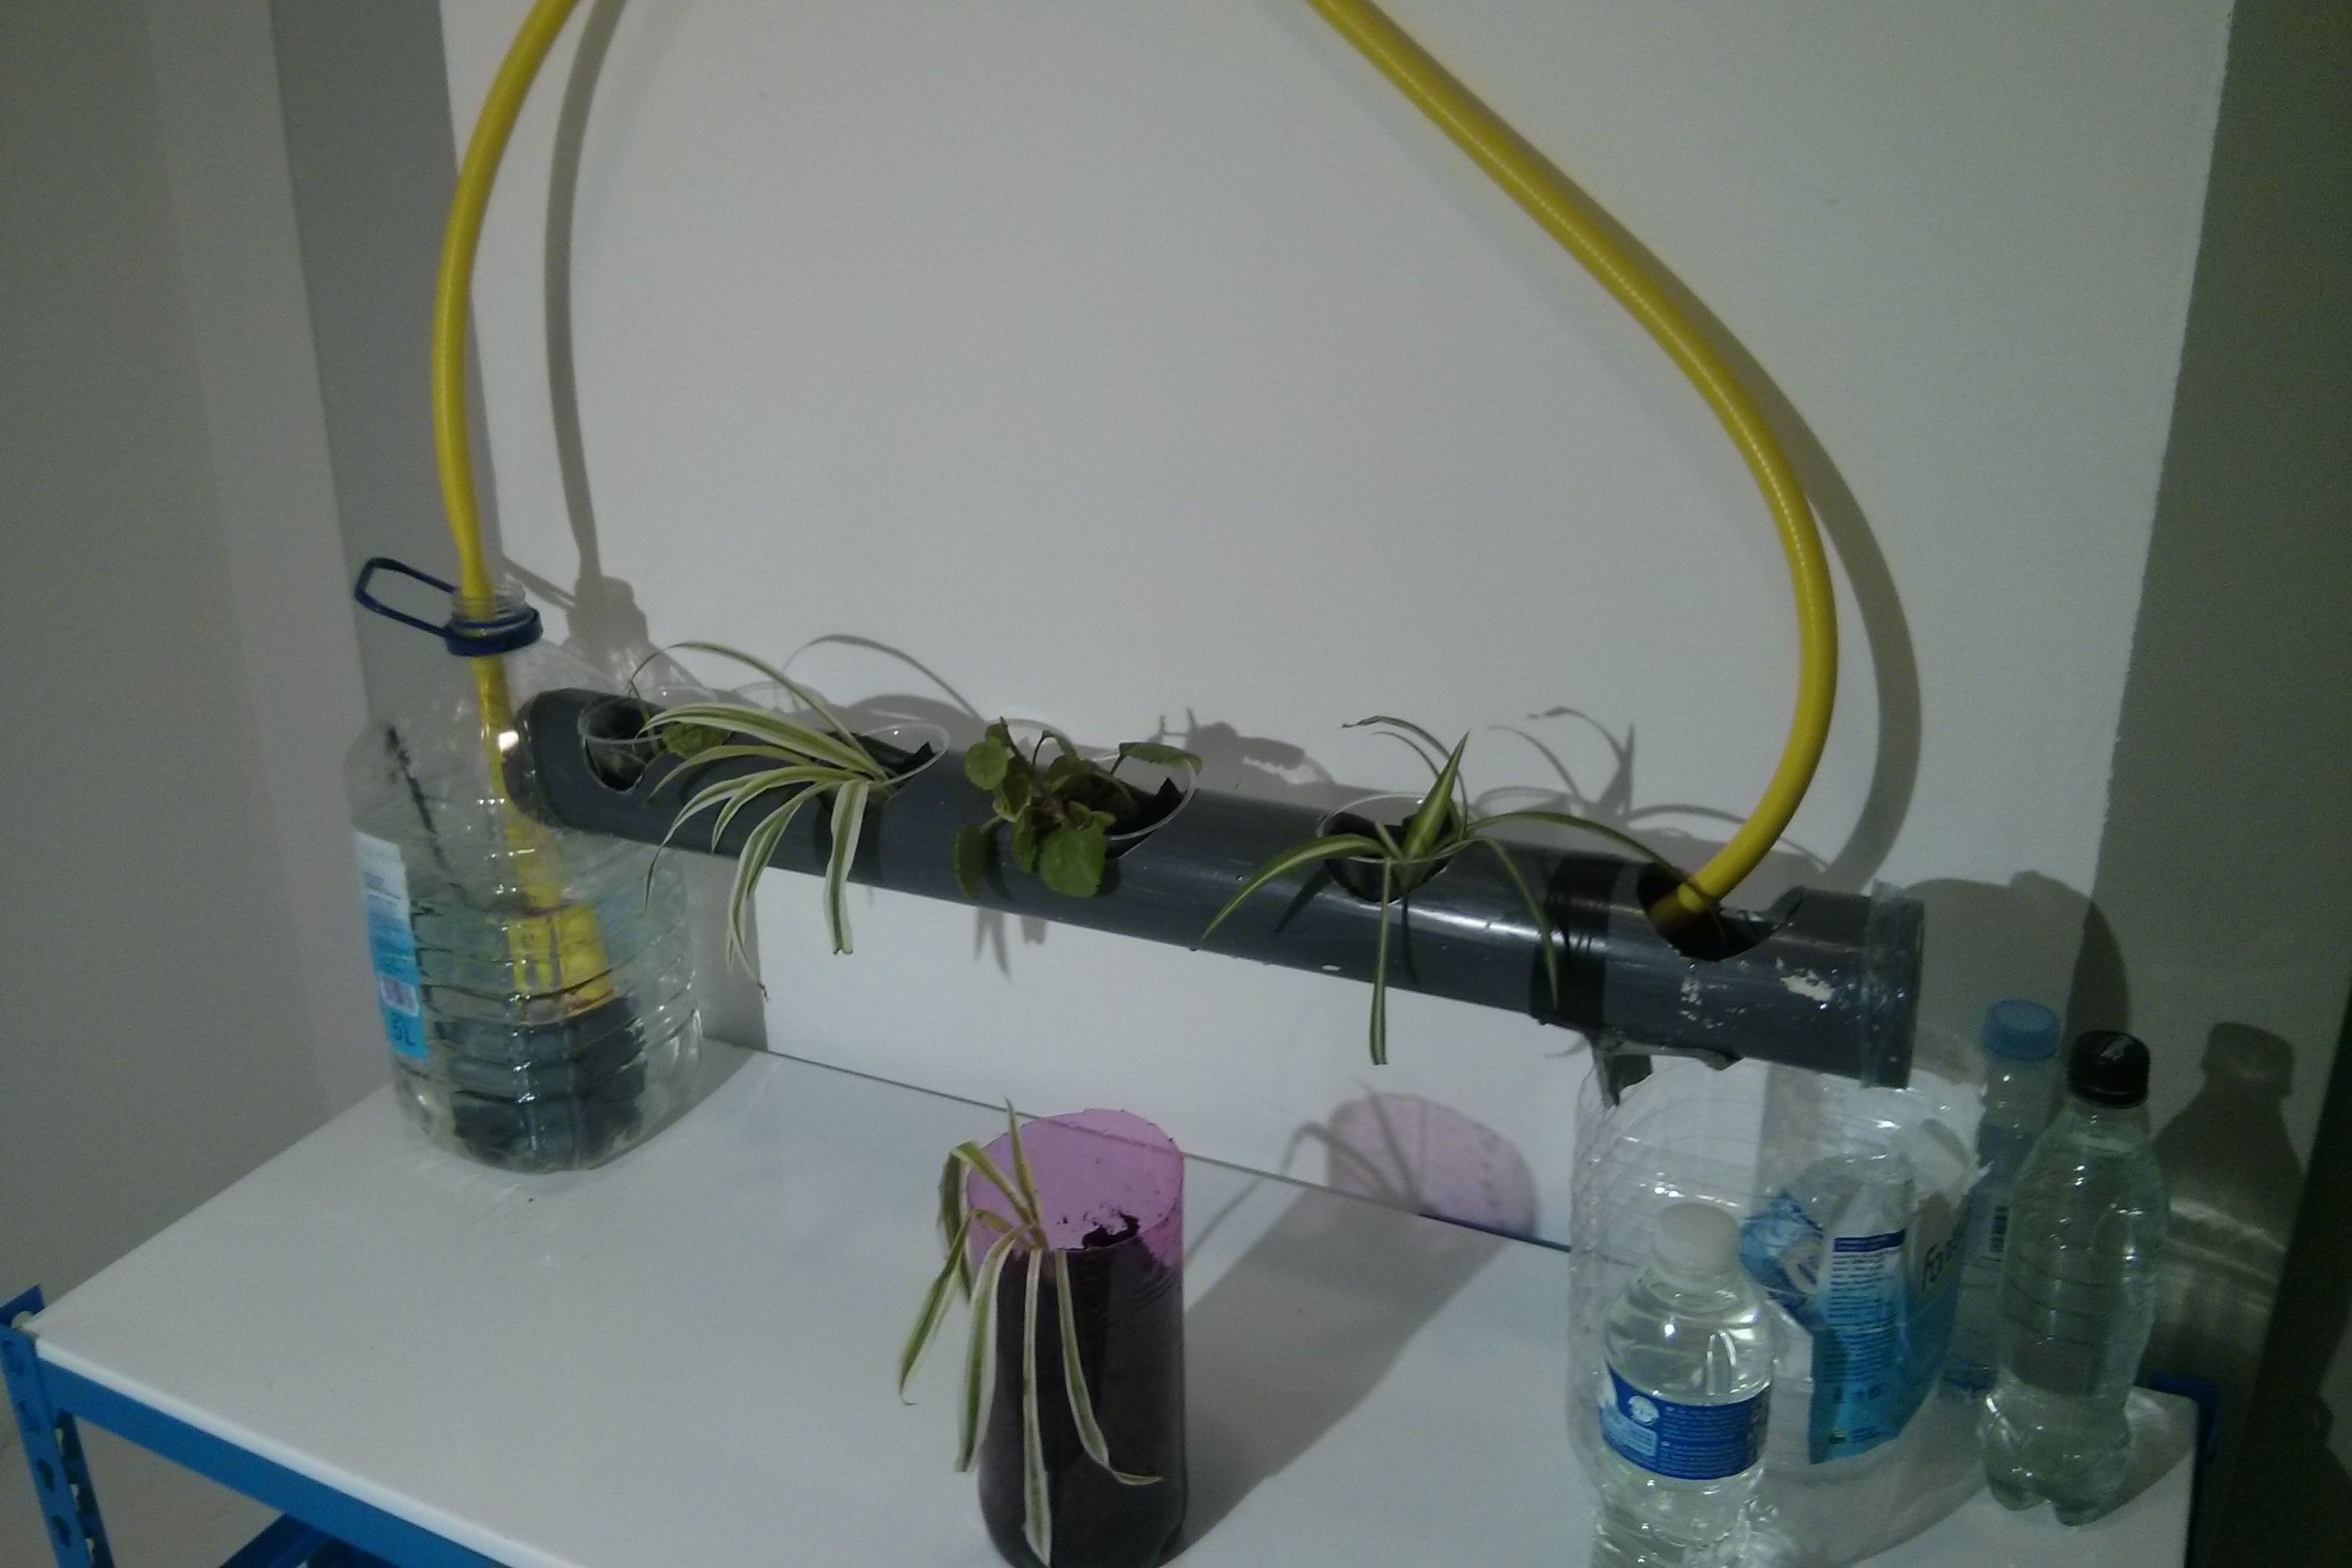
08/16/2016 at 21:44 • 0 commentsToday, the 3rd prototype seemed in place. No leaks, no drip. The plants looked well (or rather healthy enough).
Everything in order.
We ordered the material for the final structure (pipes and bends) and we started designing the Genuino flowchart.
We checked the components of everything we wanted to measure such as a pH sensor, a light sensor, a timer, a board, a screen… (All the elements used are listed in the website)
There were most of them at the lab. But, back at the day, we had many difficulties to buy a pH meter in a good quality/price relation. Eventually, we buy it locally (we have attached many links for you to follow).
Tomorrow we’ll check the functioning of every part.
This is starting to take form!
-
08/15/2016 - 3rd Prototype
08/15/2016 at 17:36 • 0 commentsToday, the glue had achieved its maximum endurance and the plastic layer seemed strongly attached. We didn't check it by pulling, just in case it could be removed by sheer force.
We assembled the whole prototype again (3rd version already) and put everything in their place. We forgot to cut the plastic sheet before gluing it. It is worth mentioning that we were also afraid it wouldn't hold together with a cut piece.
Anyway, we decided to use one of the cup hole as the entrance for the hose.
We have started to look for shops where we could buy all the material for the final structure and the Genuino sensors we need.
We'll keep you updated!
Automatized Hydroponic Vertical Crop
Ideally, Stablishing an underground crop based on hydroponic technology and controlled through genuino to sustain a plant storage.
 Roberto Vicente Romero