-
Finished my first portrait!
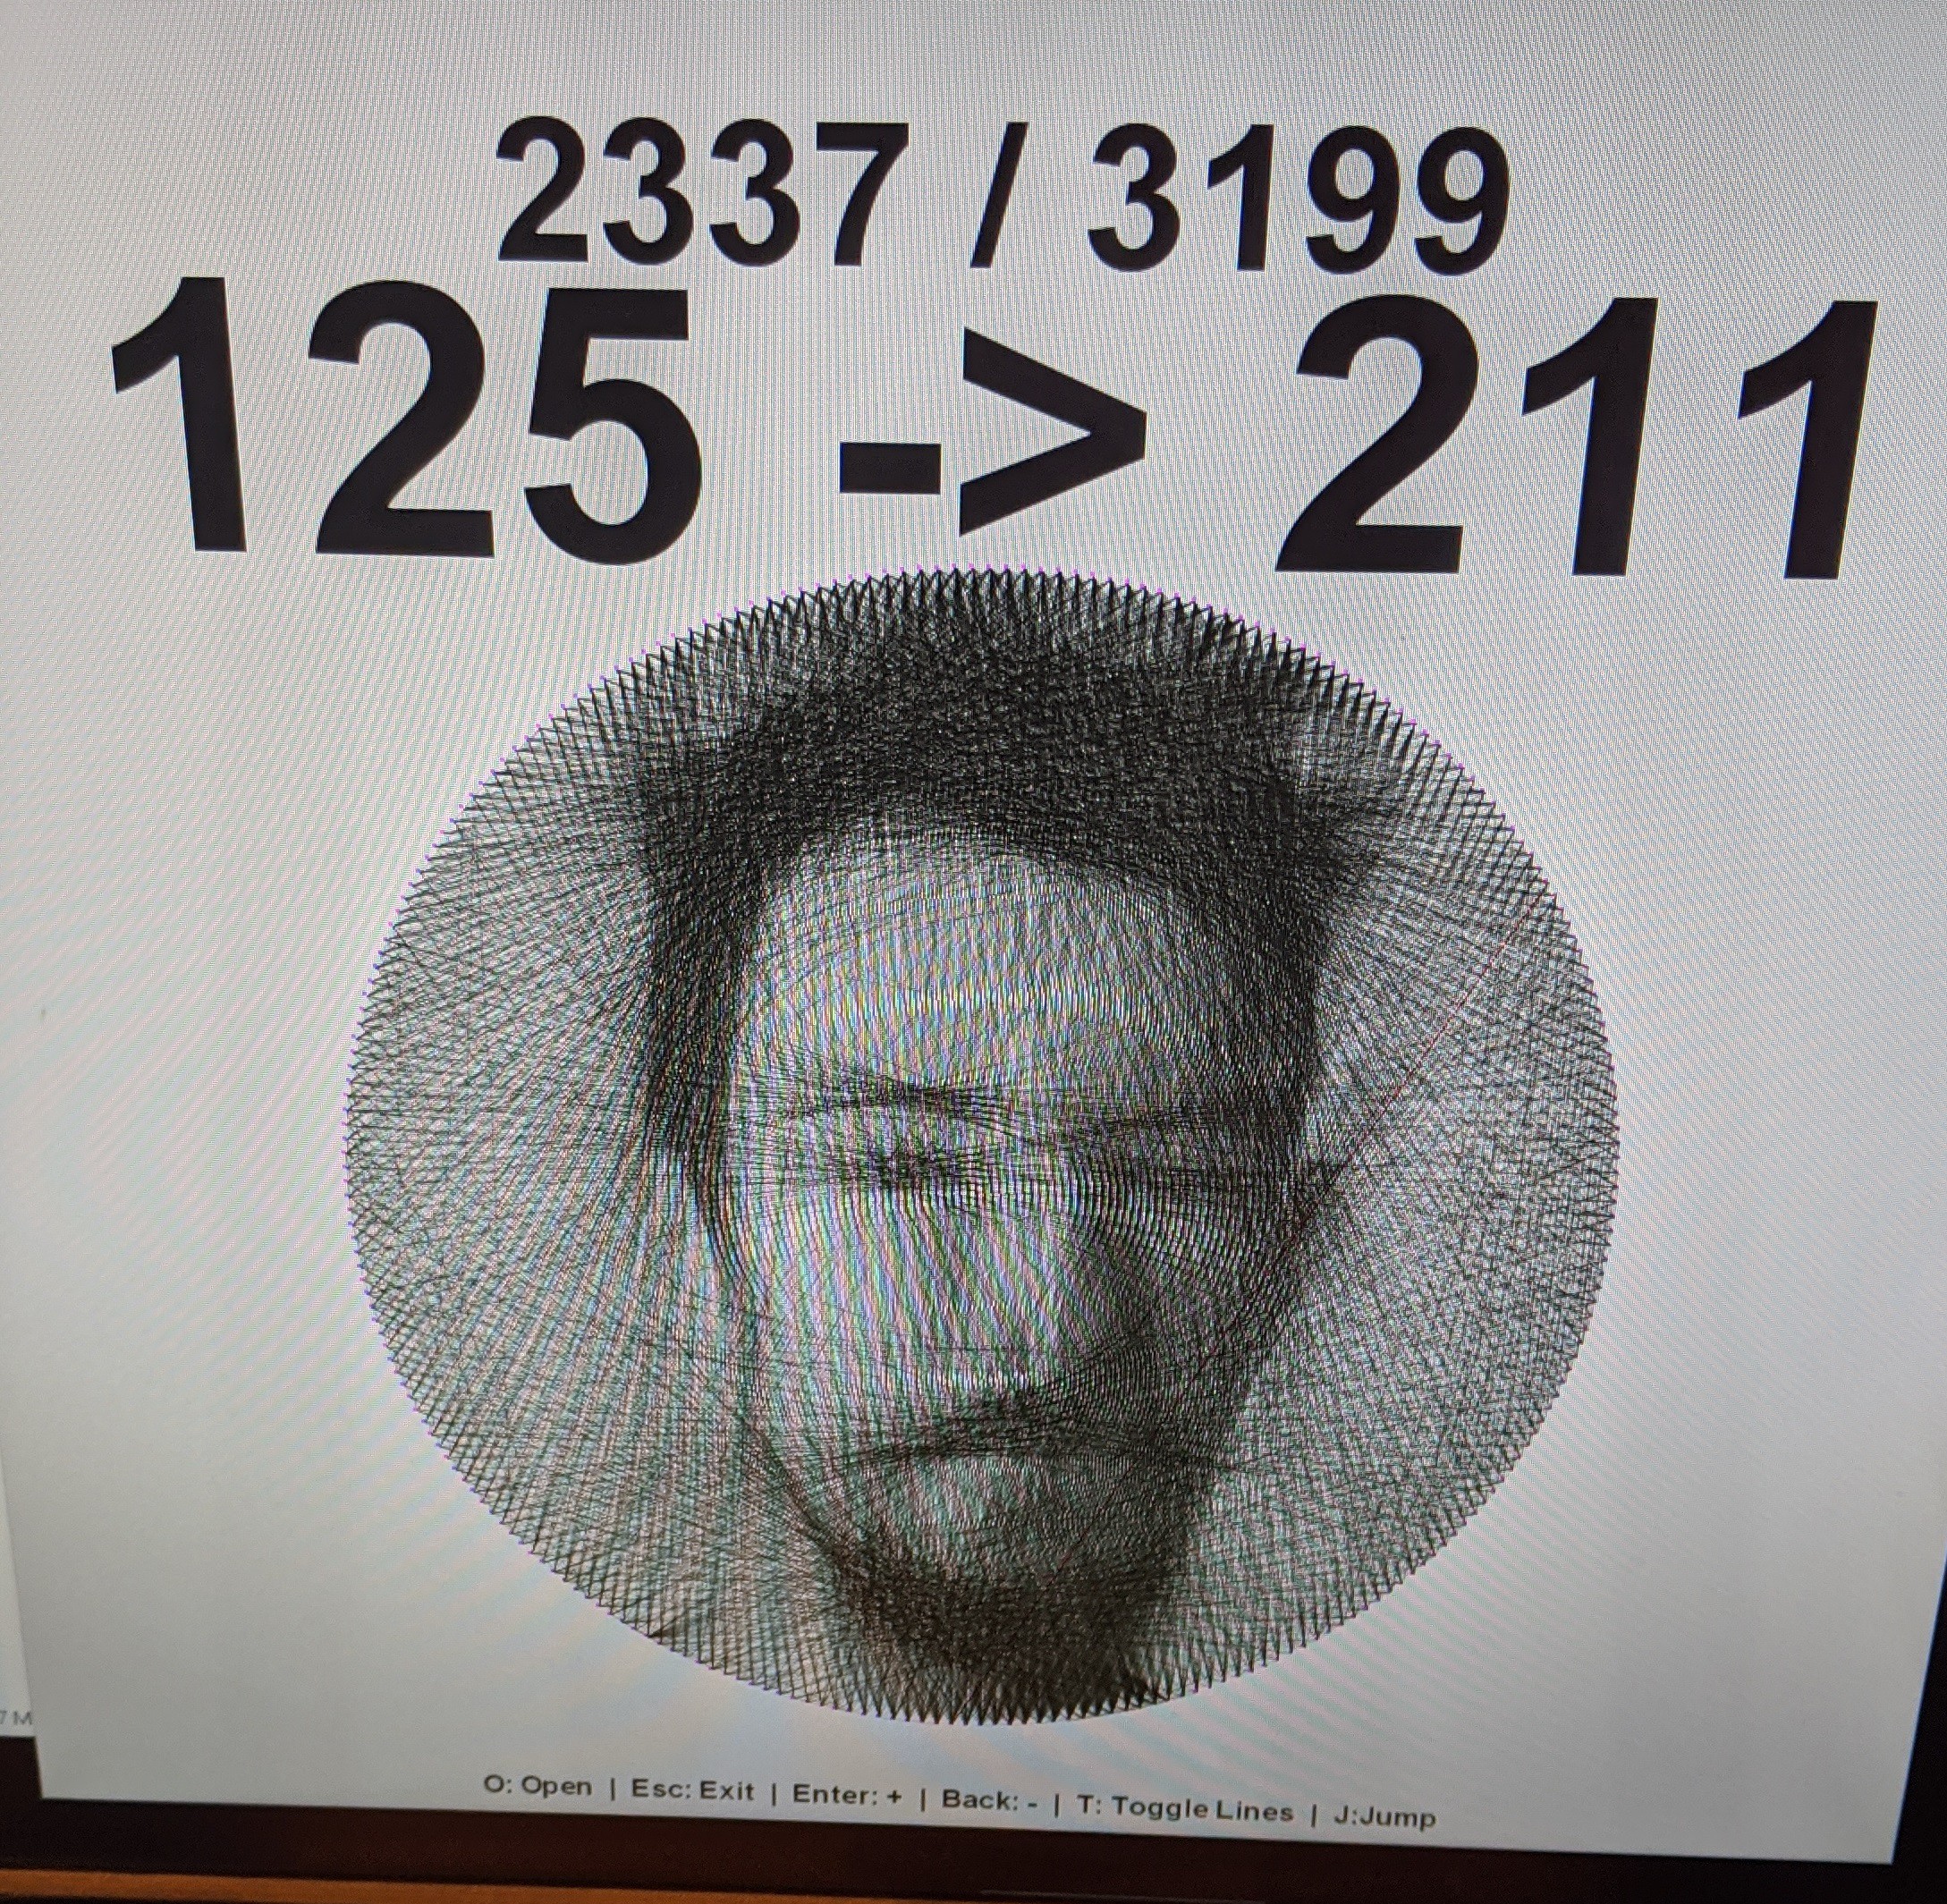
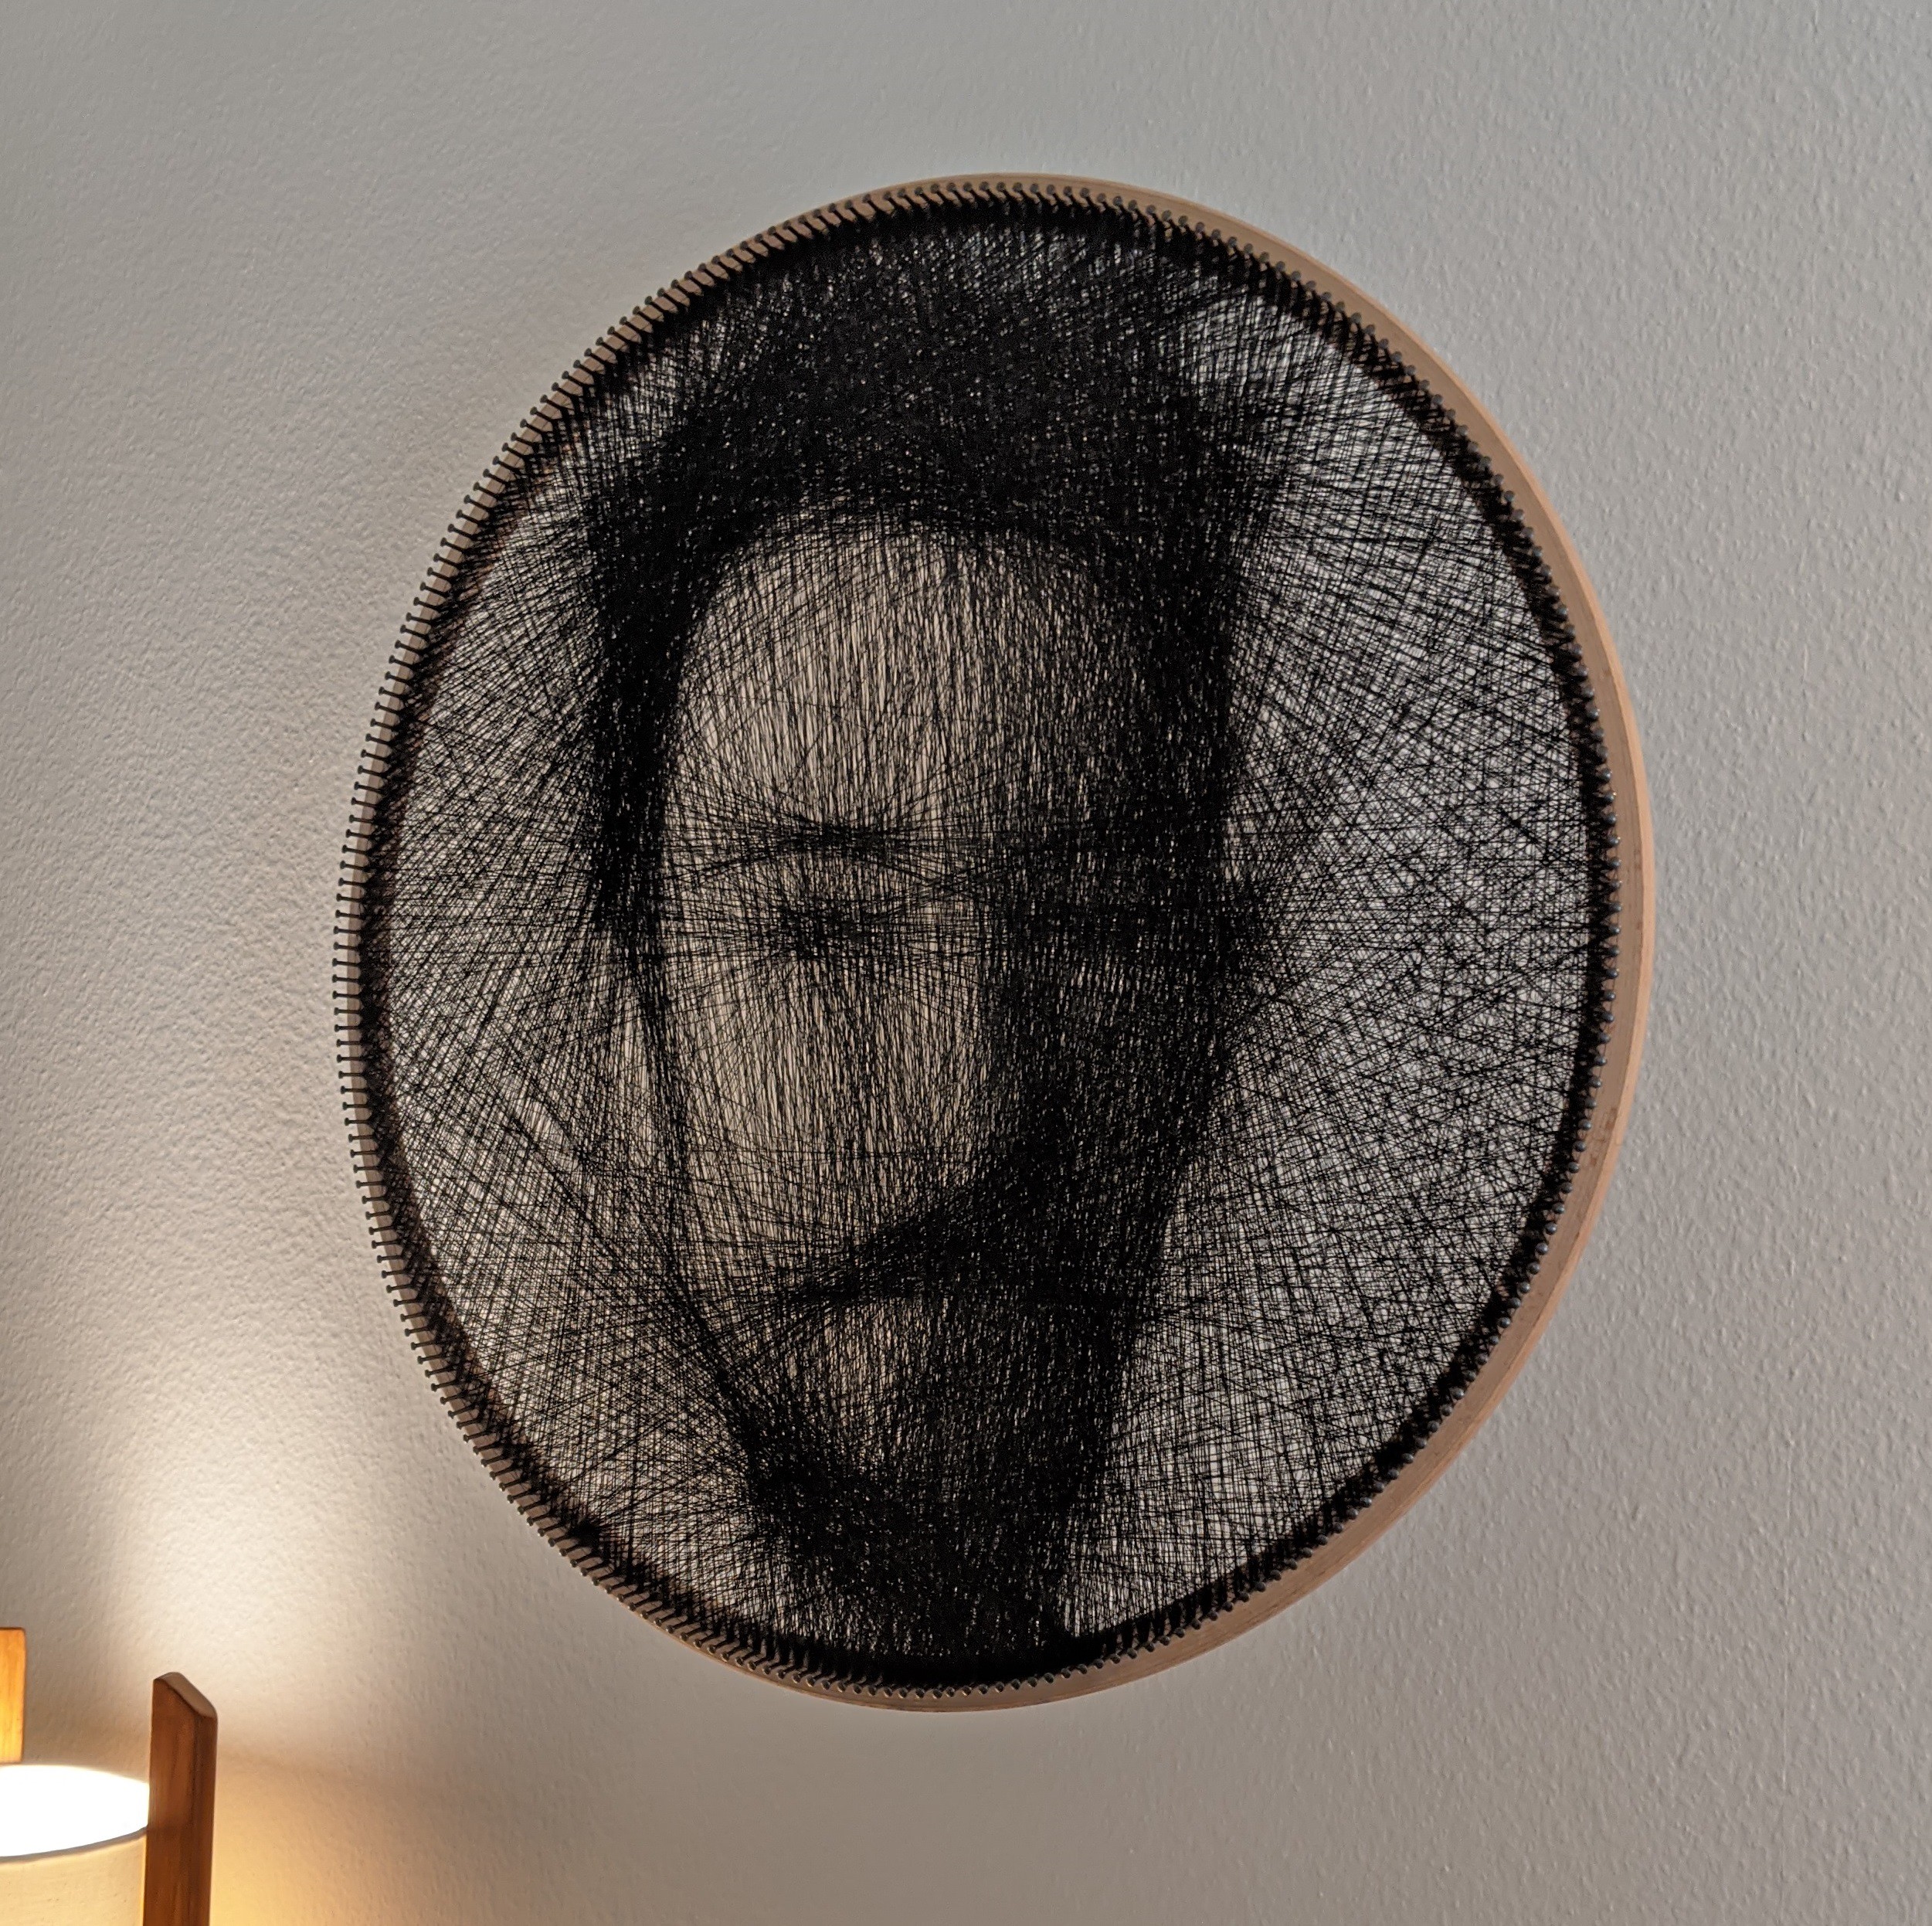
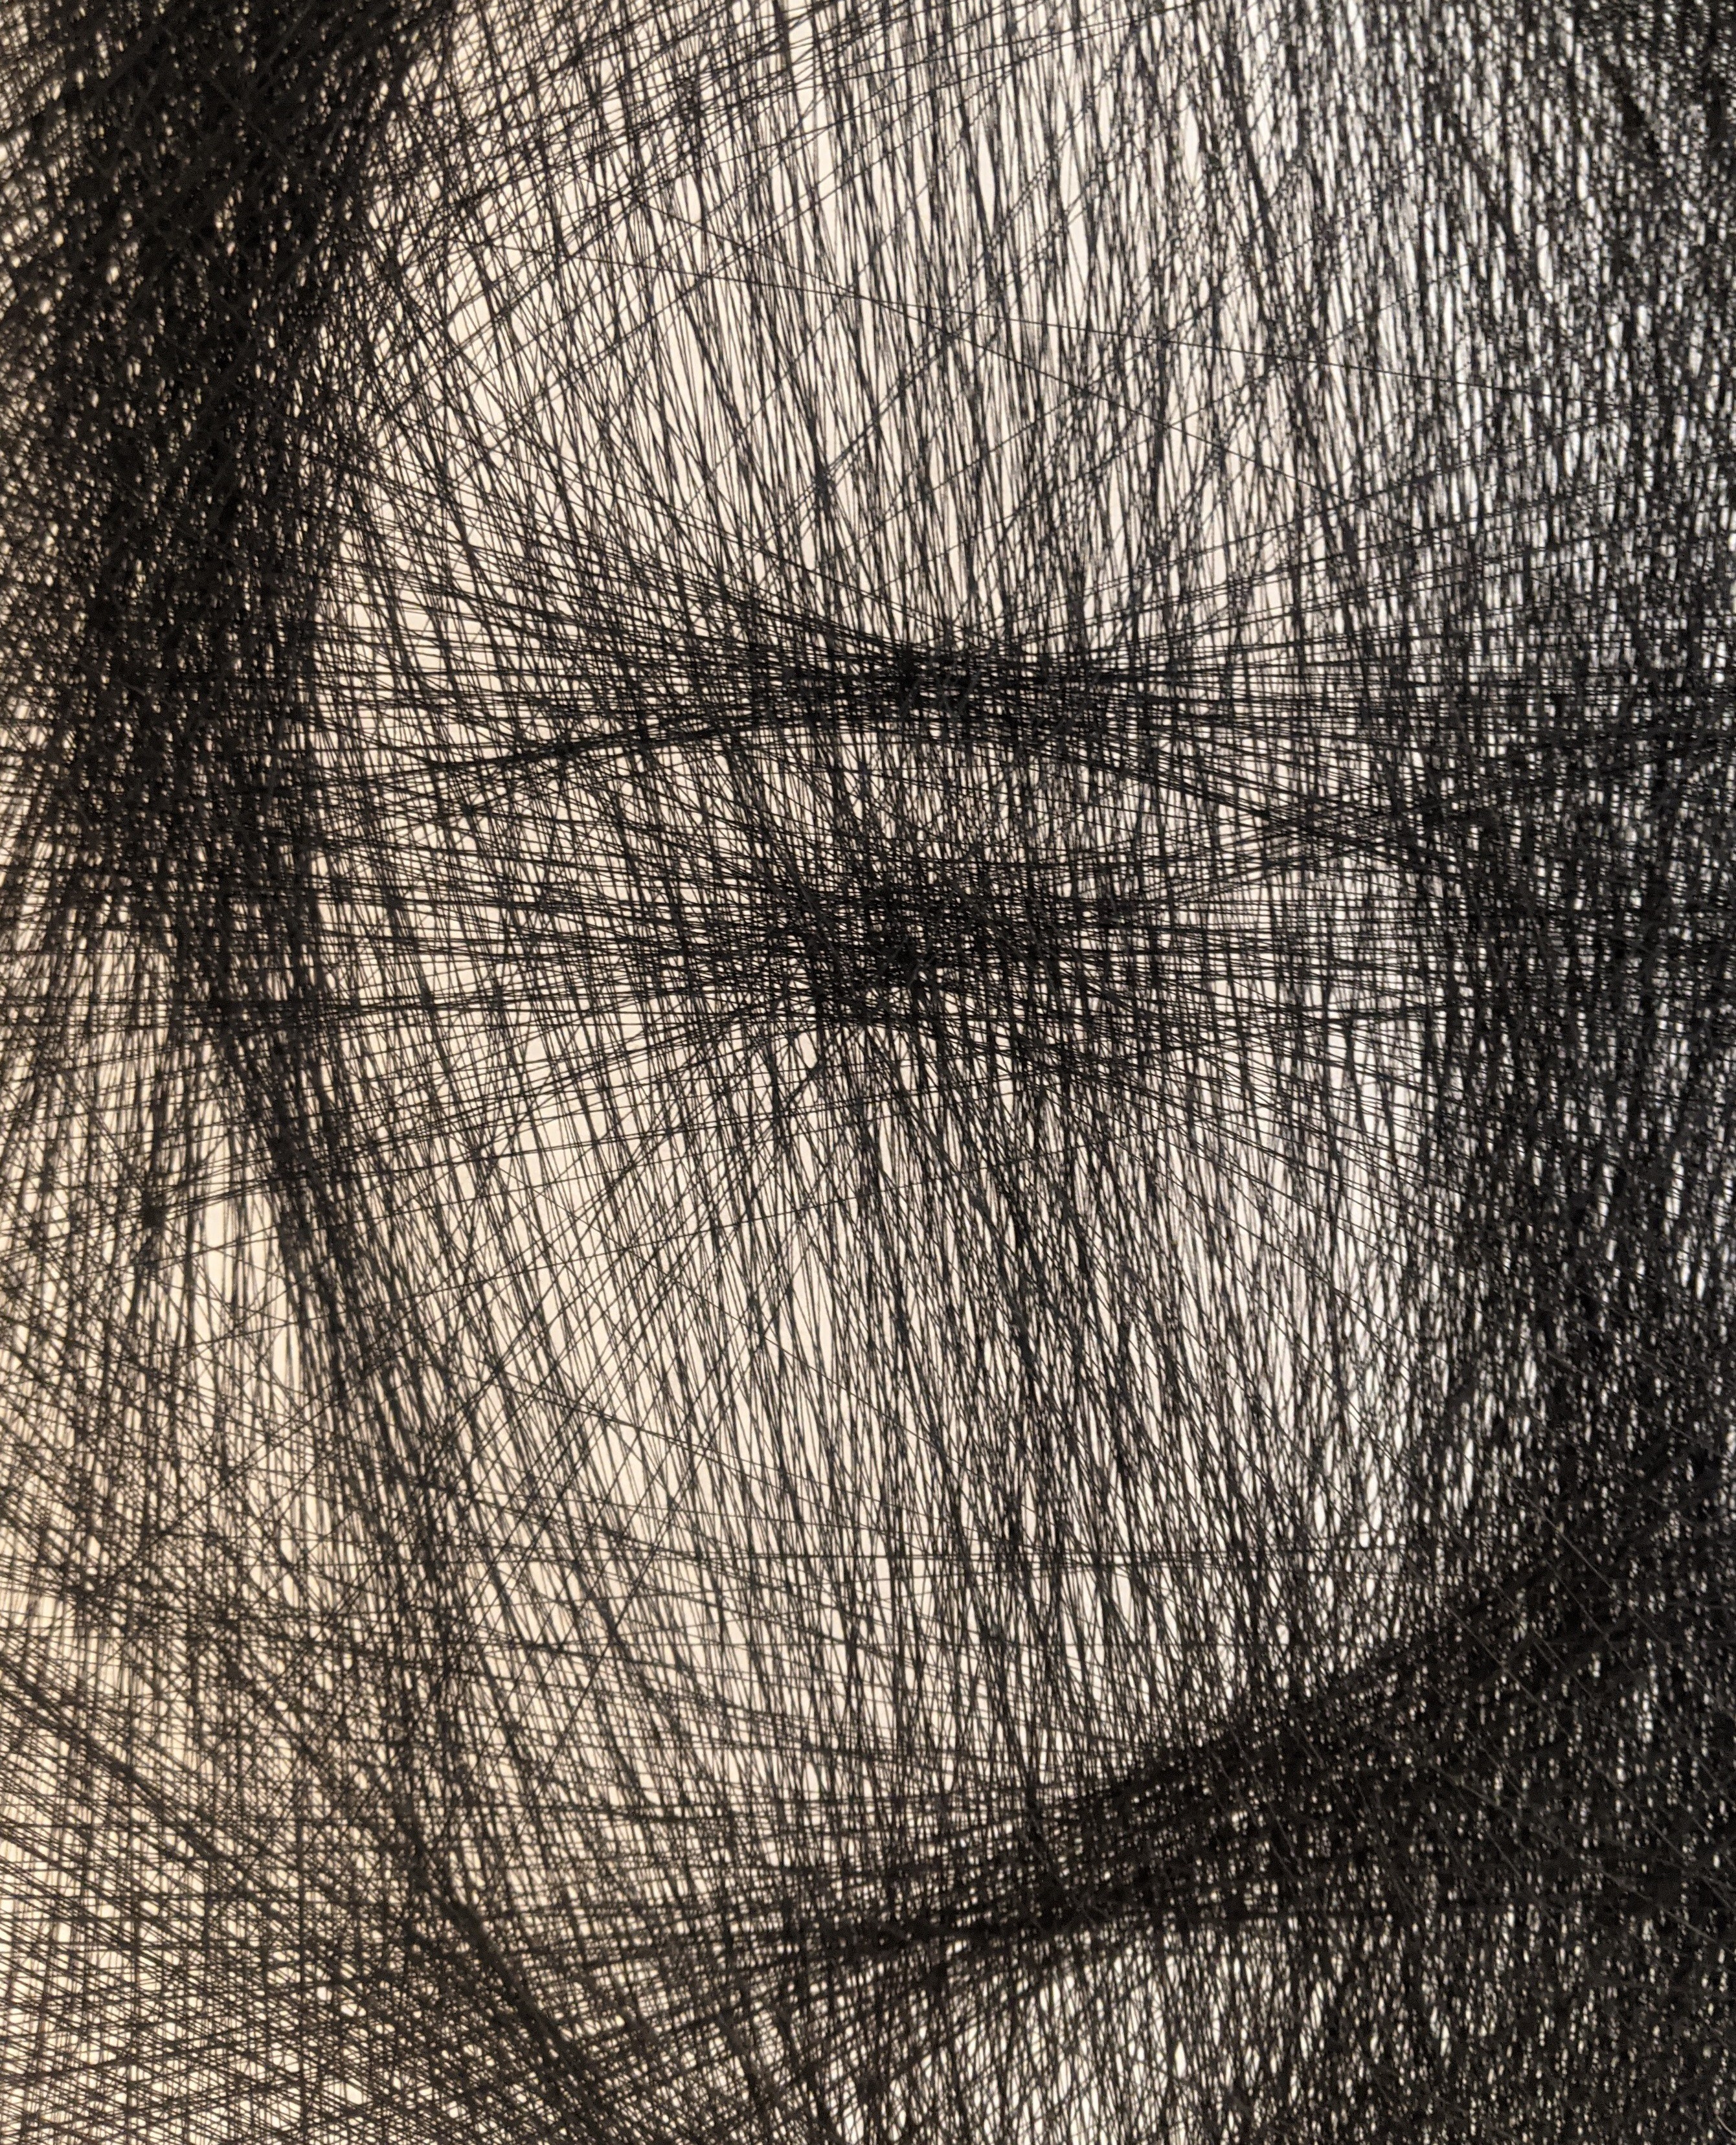
12/15/2020 at 23:31 • 4 commentsI finally finished my first portrait!
And as any great artist has to have one, I decided to make a self portrait ;D
Here are some pictures of what it looked like in the software and the finished product:
![]()
![]()
![]()
I'm quite happy with how it turned out :)
Some notes:
The wooden ring is not strong enough for 3000+ lines of string, it gets slightly distorted into a "pringles" shape. This might cause a loss in details. A second ring glued to it might help with that.
The picture can't be hung directly on the wall, as not enough light passes through it and there wouldn't be sufficient contrast between the string and the background, making the image too dark. A backlight would help with this, but I just hung it from the ceiling, about 20cm from the wall.
It turned out slightly darker than in the software, keep that in mind if you try your hand at one of these string portraits :)
-
Settings explained
11/11/2019 at 22:28 • 1 commentSince I get some questions about the settings from time to time I thought I'd explain them a bit better:
Radius:
The radius of the circle in pixels. Does not have any connection to how large you want to make the actual portrait. A bigger radius will make a more precise portrait, but will also take longer to compute. Use a small radius for quick previews and a bigger one when creating the final instructions for your portrait.
Hooks:
The number of hooks or nails you will use. More hooks make for nicer portraits with less geometric artifacts, but take longer to compute. Keep in mind how close together you can fit the hooks/nails.
Lines:
The number of lines that will be drawn between the hooks. Good values generaly between 2000-3000. When the generating process is near its end and all the new lines are placed around the border of the ring you have too many lines. When they are still being placed through the ring you have to few lines. Try to find a good balance.
Contrast:
The most tricky one to figure out. Basically the value that gets subtracted from every pixel when a line passes through it. A higher value should be used for thicker threads or smaller portraits. 20-50 seems to work fine.
Scale:
Zoom in and out of the picture with 1 & 2.
Offset:
Move the picture with the arrow keys.
Detailled view:
To open & close a more detailled view of what is going on during the generating process press D. This will show all the lines calculated so far and the remainder of the source image. Will slow down the calculation imensely, so don't leave it open.
DIY Knit Portrait
Software to create your own Knit-like string pictures.