i.abdalkader
-
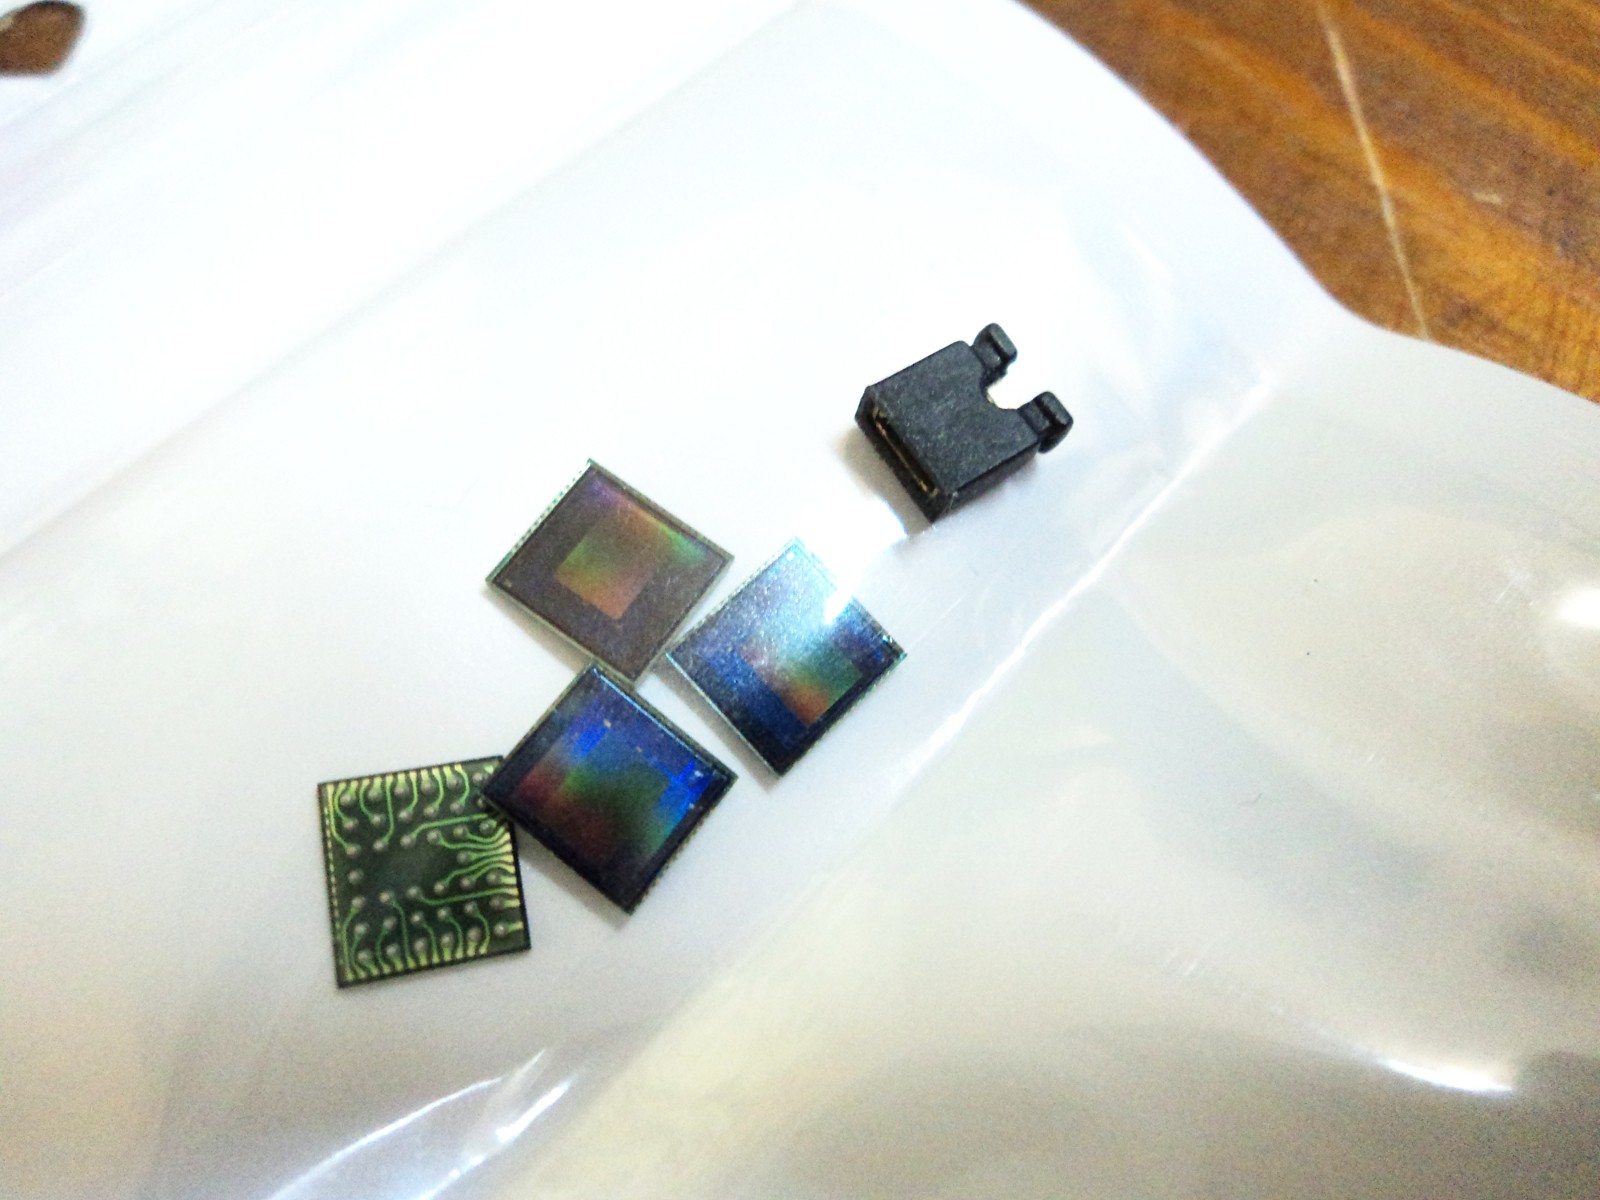
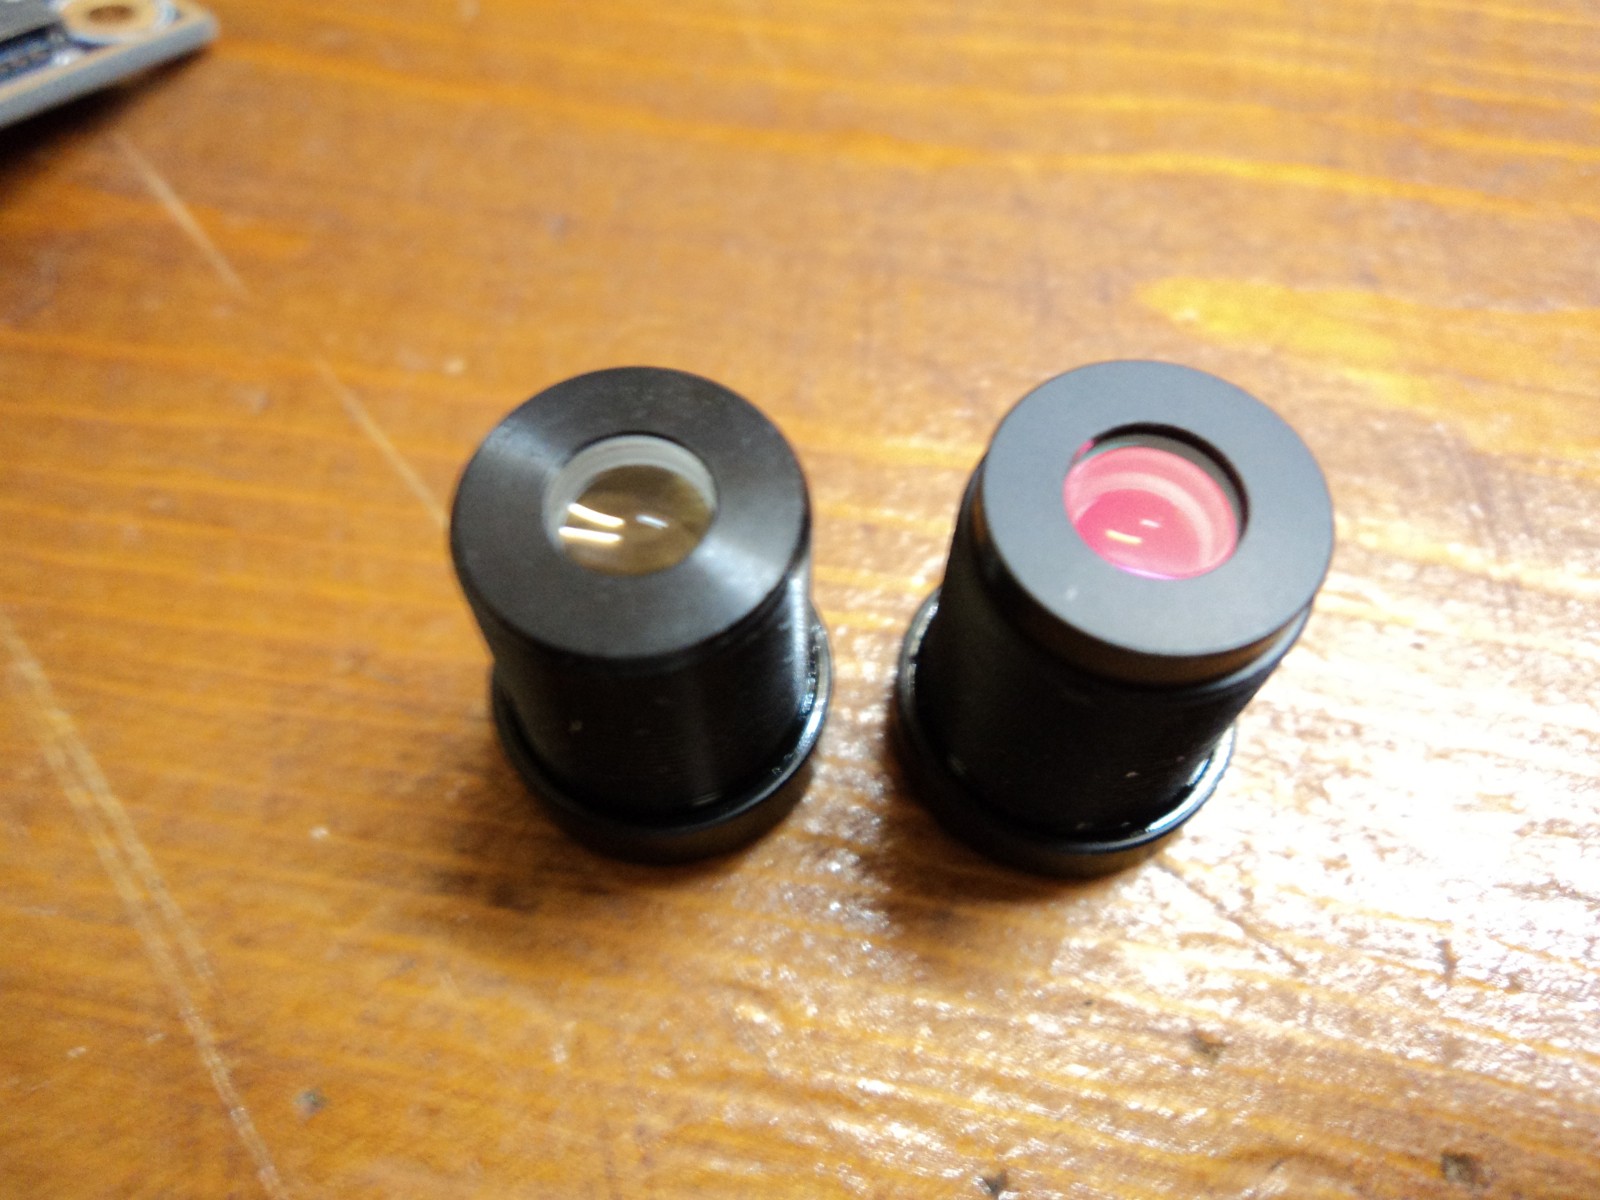
Sensors/IR Lens Arrived
07/21/2014 at 00:44 • 0 commentsIt seems that my sensors were on their way while I was writing the last project log, just got them today in the mail, also got an IR lens.... stay tuned :)
![]()
![]()
-
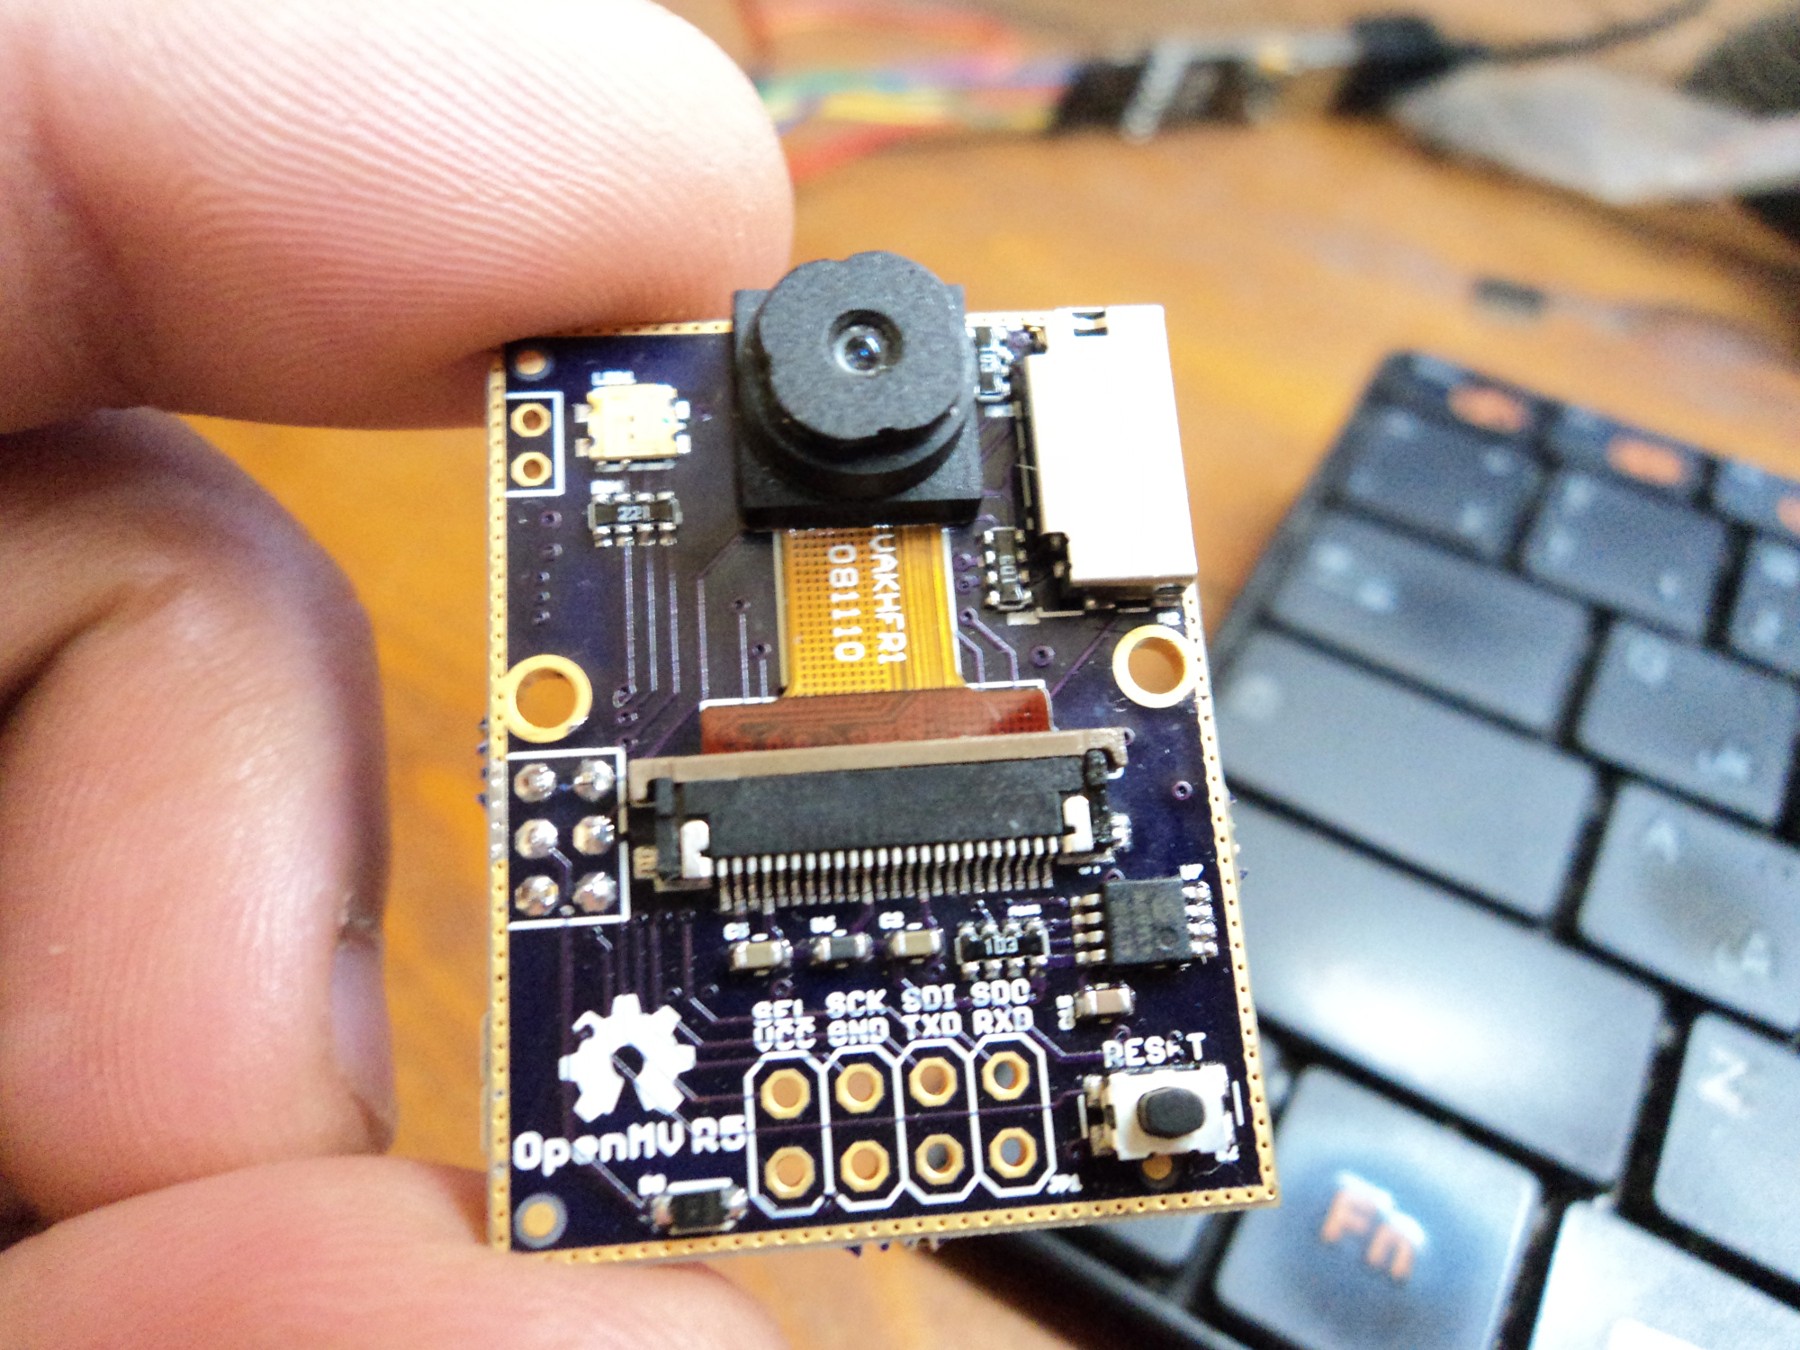
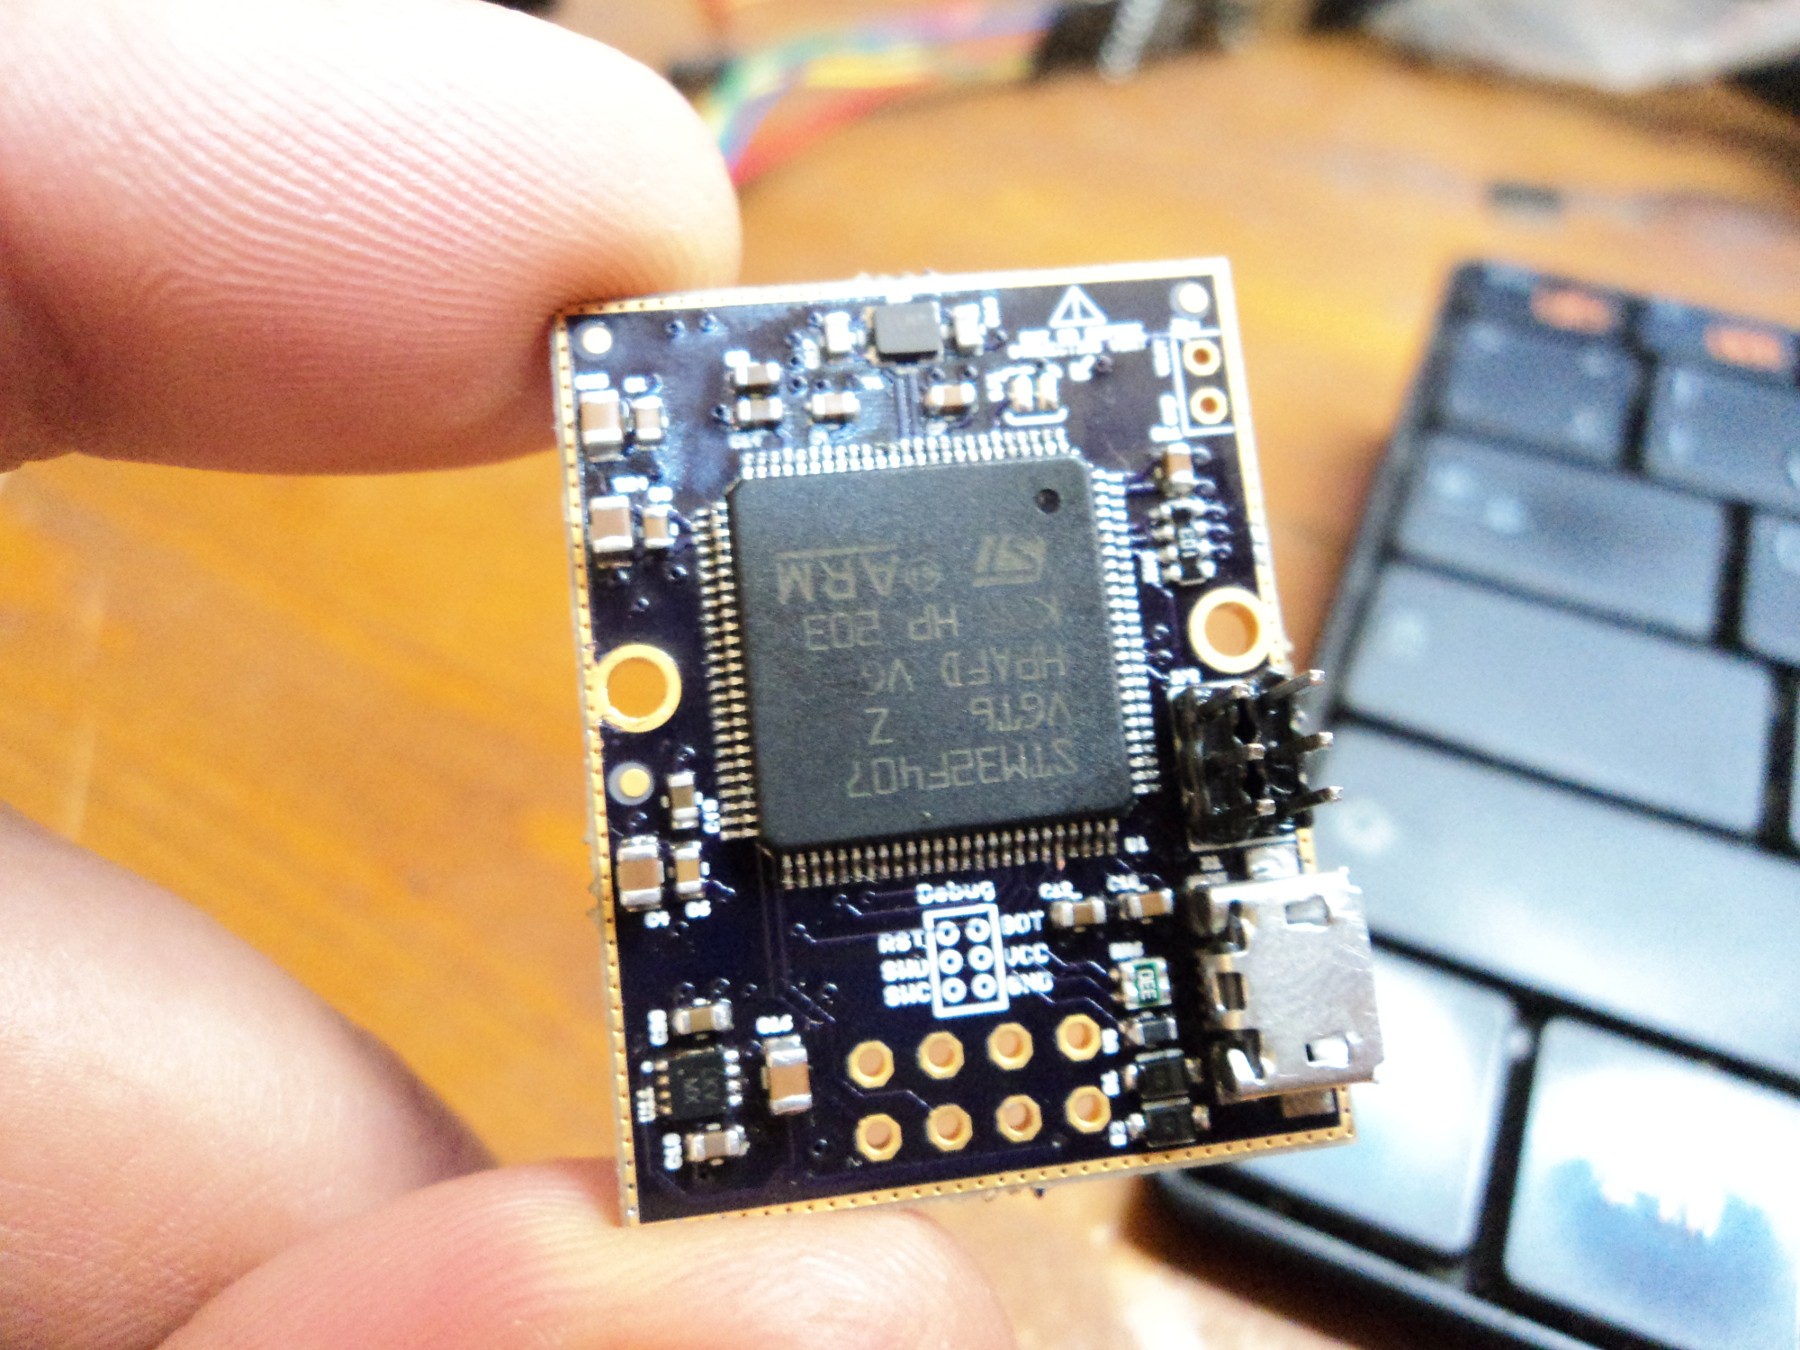
Testing OpenMV2 (STM32F429)
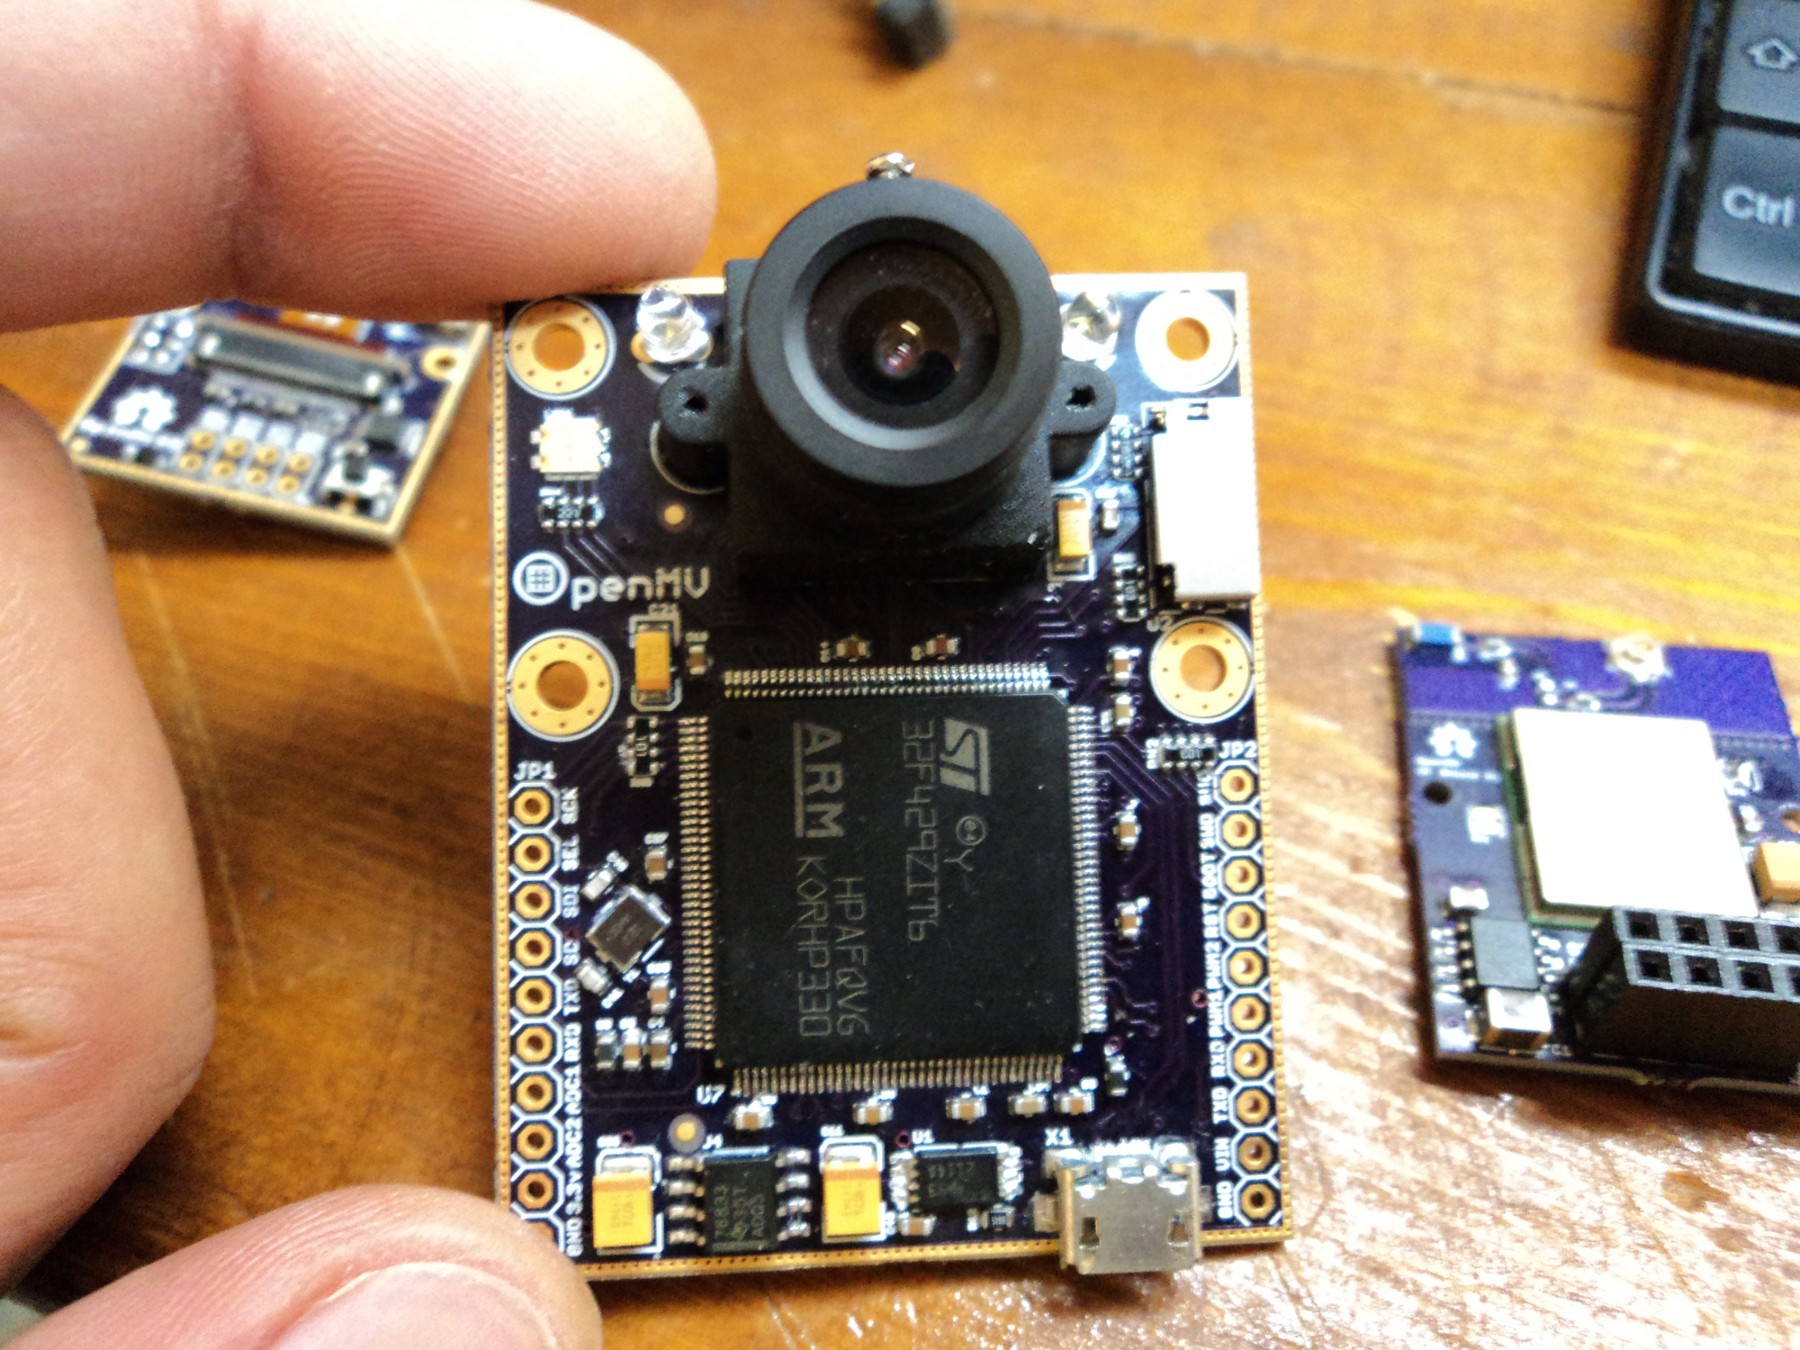
07/17/2014 at 02:49 • 2 commentsFinally worked up the courage to build this one :) after hours of assembling, testing, hacking the code, debugging, probing etc.. I finally managed to run the first script :)
![]()
![]()
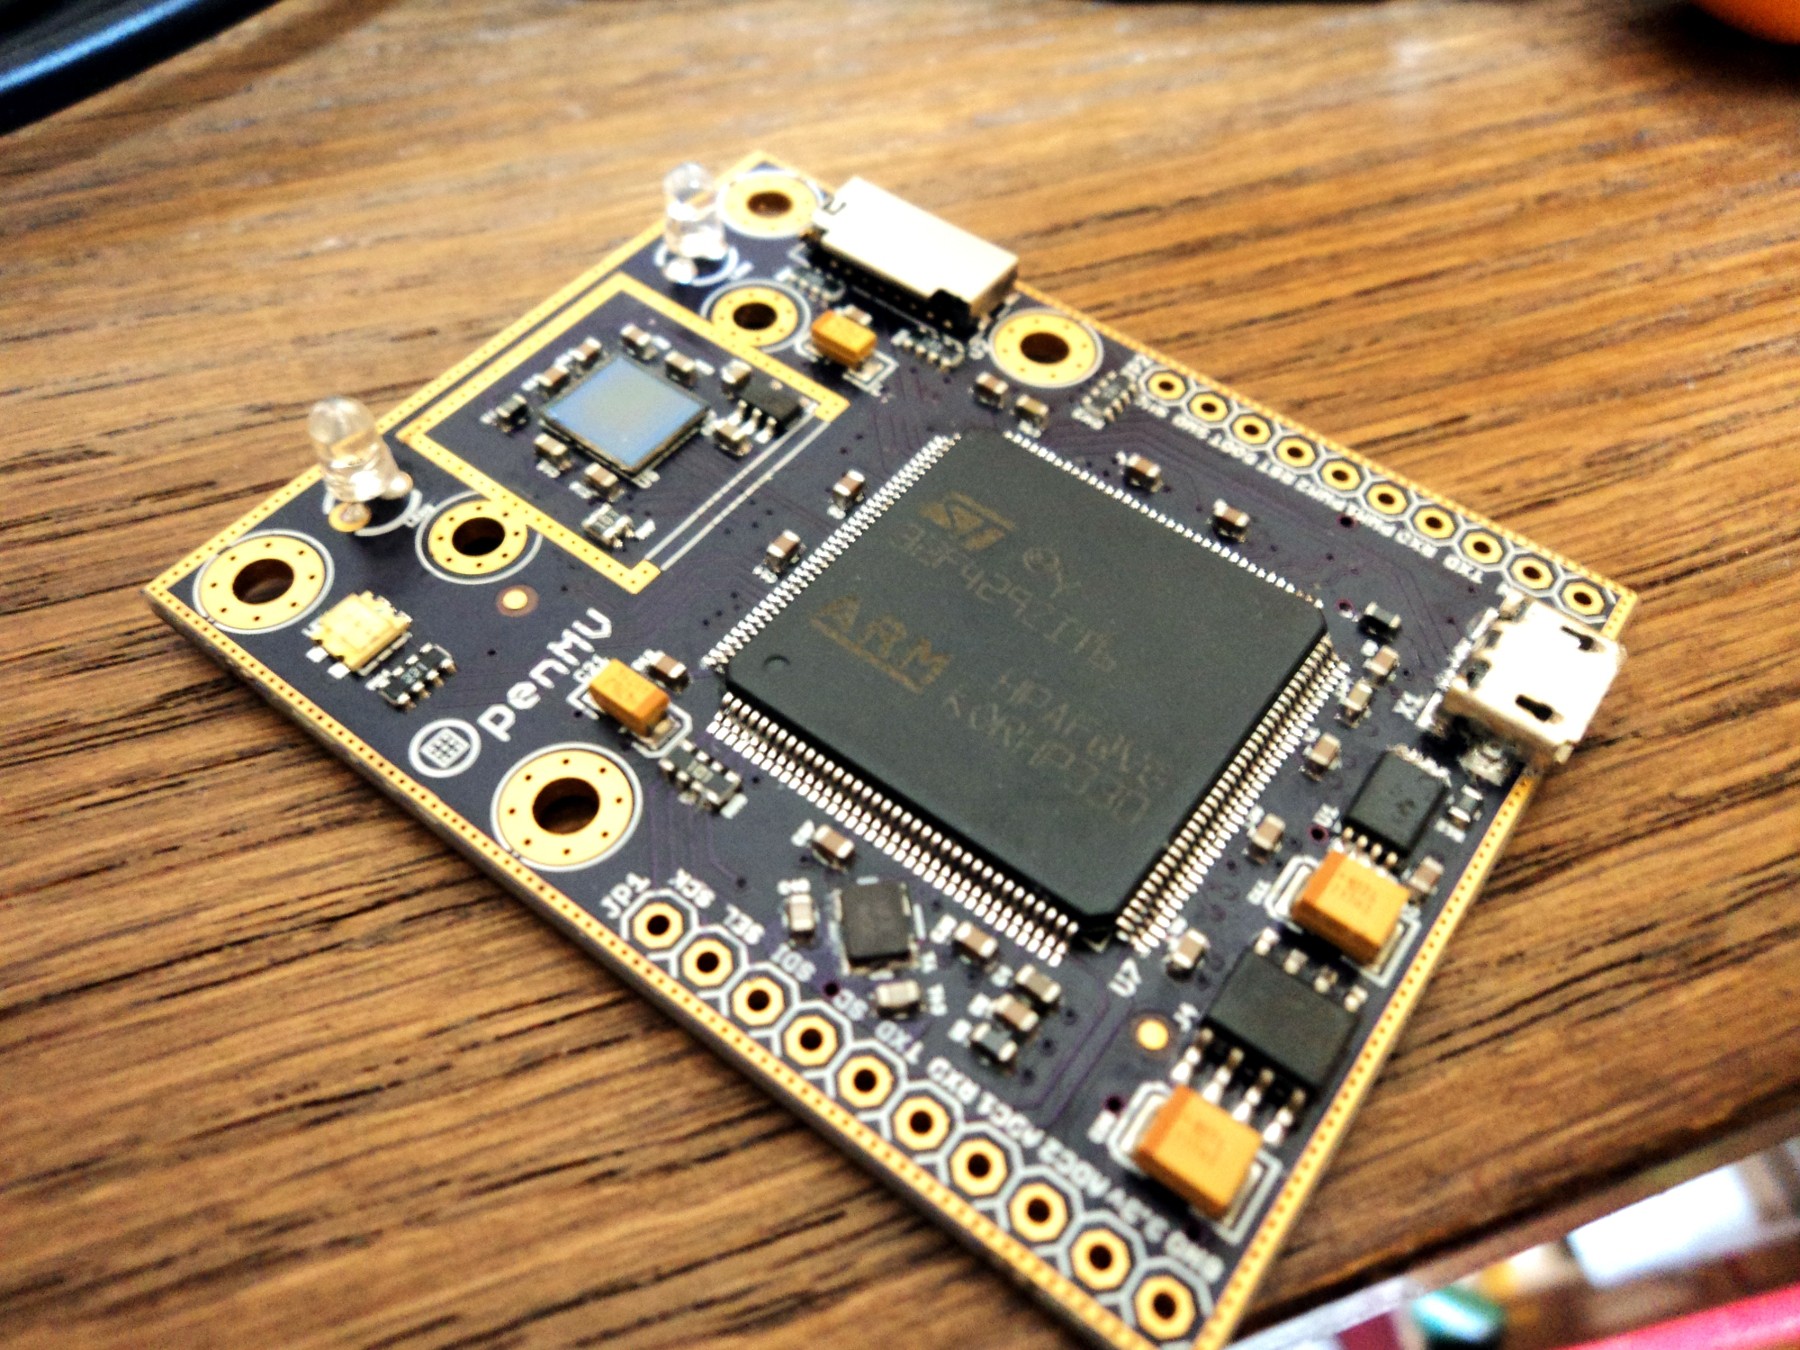
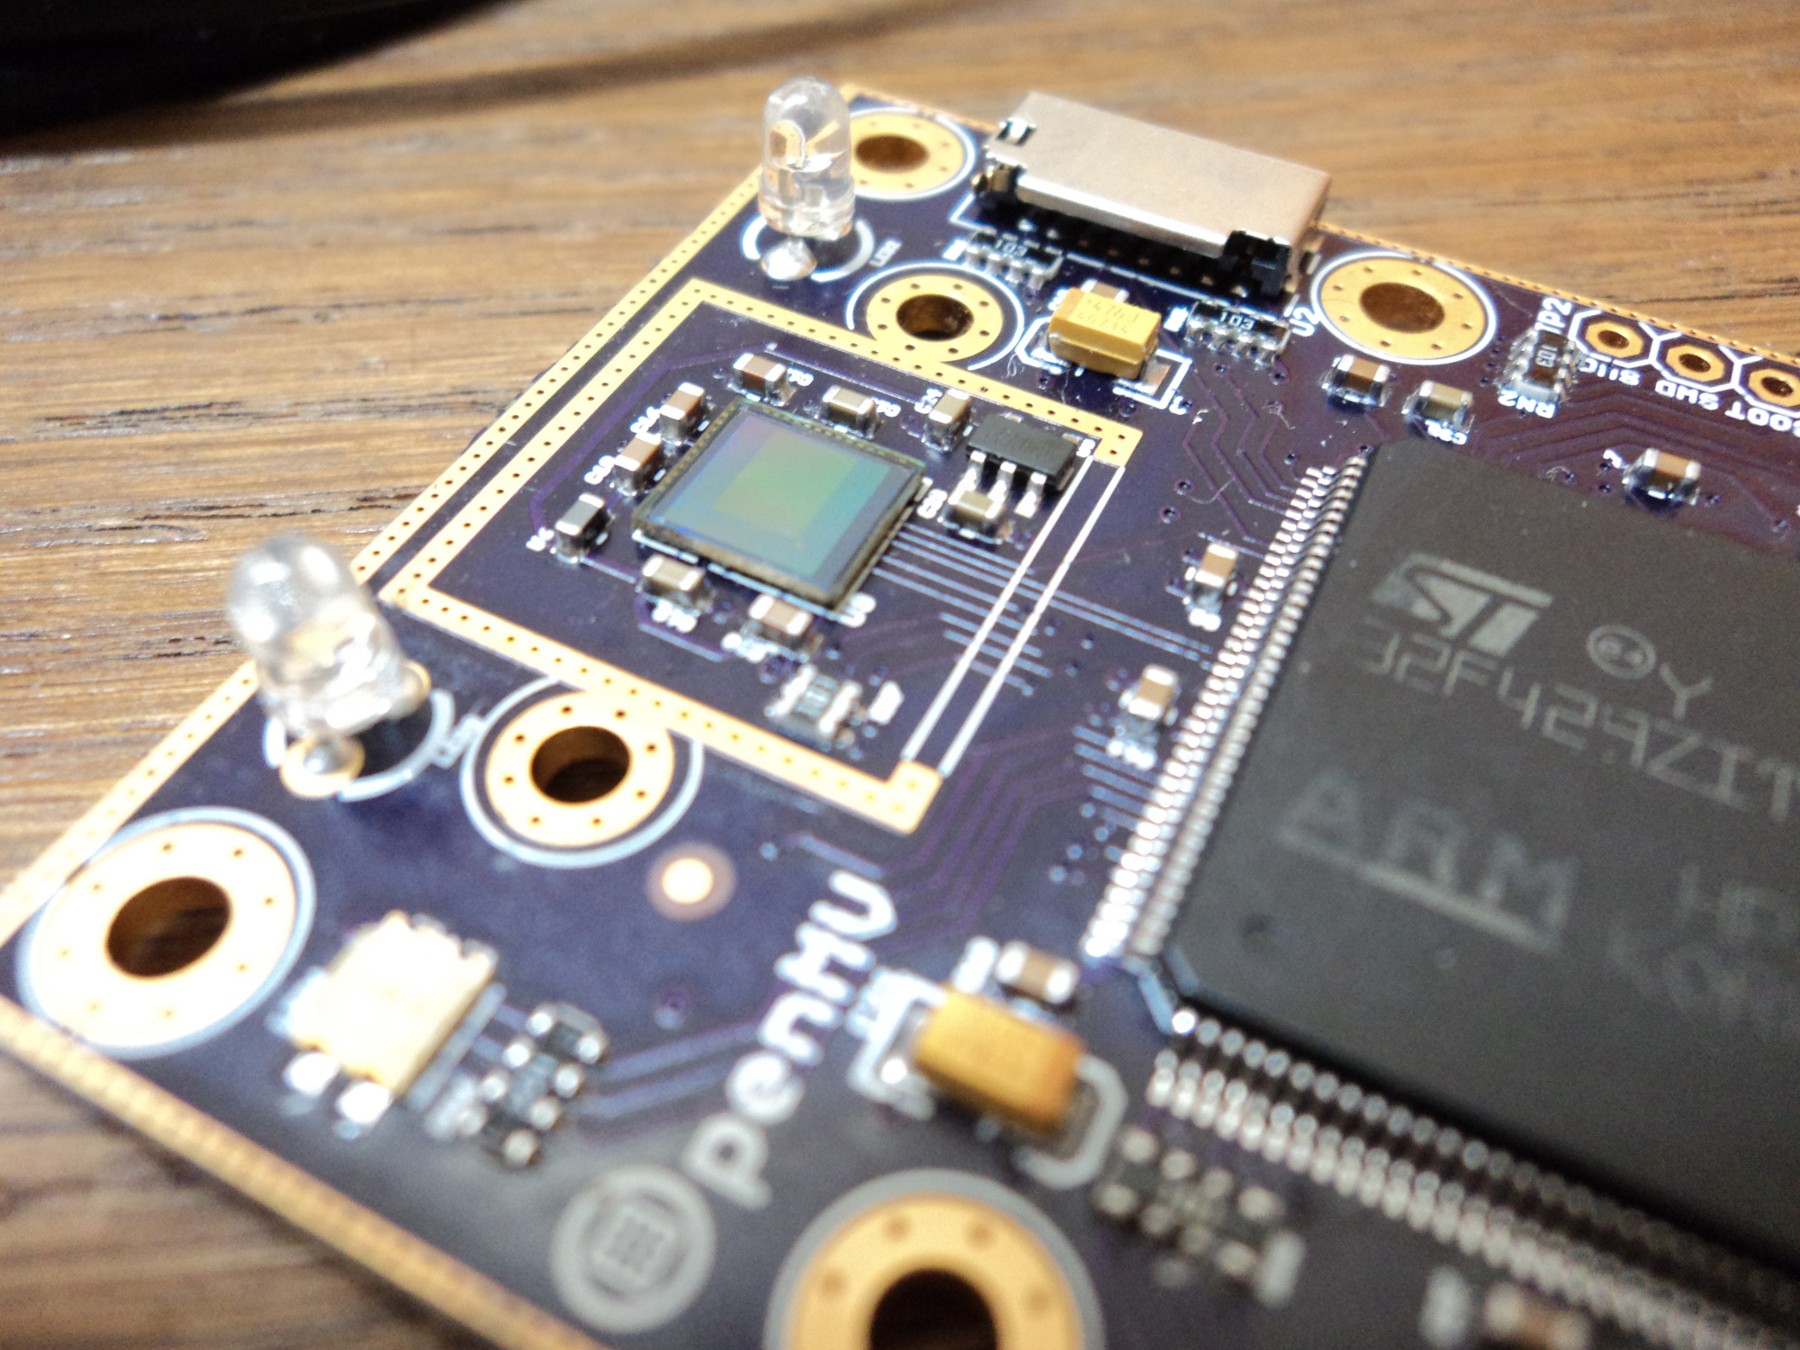
This one has everything OpenMV1 has plus an SDRAM, 2 IR LEDS, 2 servo headers, a power management chip, and 20 I/Os... Here's a closer look at the sensor block:
![]()
I ordered a few sensor chips weeks ago, but still haven't received them yet, I couldn't wait any longer, so I took one out from a sensor/lens package, it looks like I tore off some pads while desoldering it, now I'm forced to wait for the sensors before I can do further testing :(
-
Revision 5
07/12/2014 at 22:17 • 0 commentsJust received R5 PCBs, finished assembling and testing one, everything is looking good, and working as expected :) the new rev has a new 300mA dual LDO (tiny chip on the lower left back side), a new (smaller) 12MHz crystal, a header for connecting vbat, and more space for components.
![]()
![]()
-
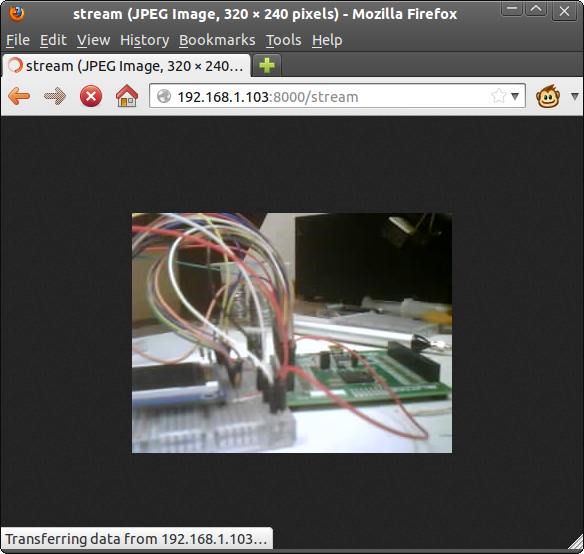
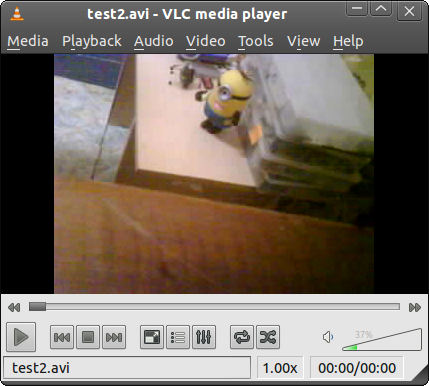
Recording and Streaming MJPEG
07/05/2014 at 23:51 • 0 commentsSo after getting JPEG to work, I started working on recording video to SD, I wrote a script that records MJPEG/AVI and stores it on SD, then I thought why stop here, so I wrote a simple MJPEG streaming server (written completely in Python source), most browsers support viewing MJPEG (like Firefox, Chrome etc...) here's some snapshots:
![]()
![]()
In order to support this, I had to update the CC3000 drivers first (ported the SPI driver to HAL), something I wanted to do for a while, and I wrote a couple of Python modules to expose the CC3K to user scripts, and a sockets wrapper around the CC3K sockets API, I made the sockets module compatible with Python's sockets API, so existing networking scripts could be easily ported.
-
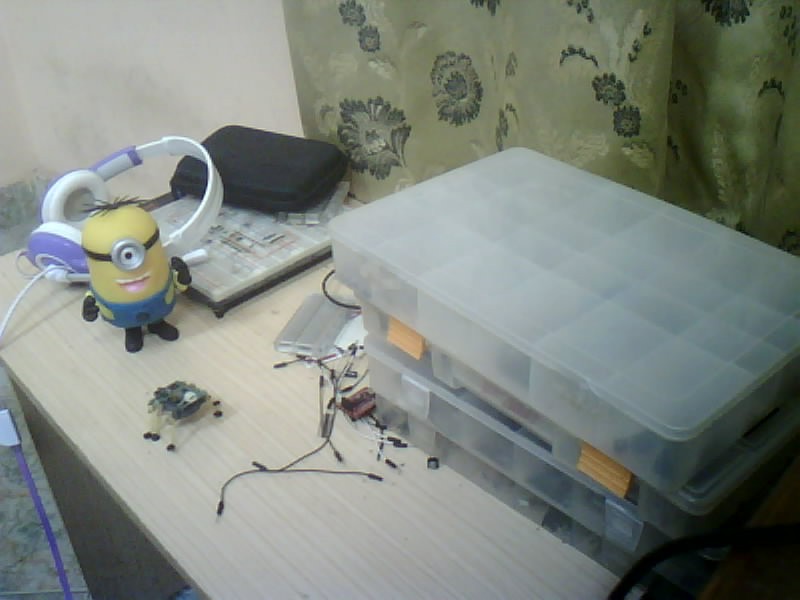
First JPEG Image
06/26/2014 at 18:24 • 0 commentsFinally got around to working on JPEG capture, here's the first JPEG image captured from OpenMV-1 (800x600 ~54KBs)
![]()
-
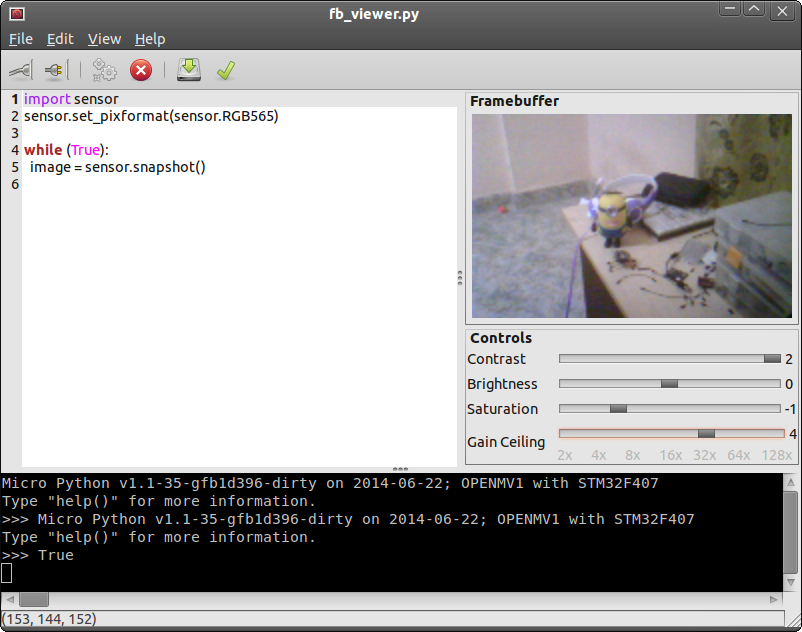
IDE Sensor Settings
06/22/2014 at 18:40 • 0 commentsSpent a few hours adding new widgets to the IDE to control the sensor's contrast, brightness, saturation and gain ceiling. The USB debugging interface accepts a new command now to set/get those settings... now, it's time to work on JPEG support :)
![]()
-
Updating the Software
06/21/2014 at 09:18 • 0 commentsSo I spent last week cleaning up the repo and updating the software, starting with the peripheral libraries, I finally switched to the new STM32Cube HAL it's much better than the old libraries, many bugs were fixed, especially in the USB stack, it's more reliable than ever and easier to use, plus this abstraction layer will make it really easy to support the STM32F429 for OpenMV2..
I've also updated MicroPython code, MP's repo is now added as a submodule to my git repo, so I can fetch the latest sources, and all other libraries are there too, this should make it easier for anyone to hack the code since it's all now in one place now.
-
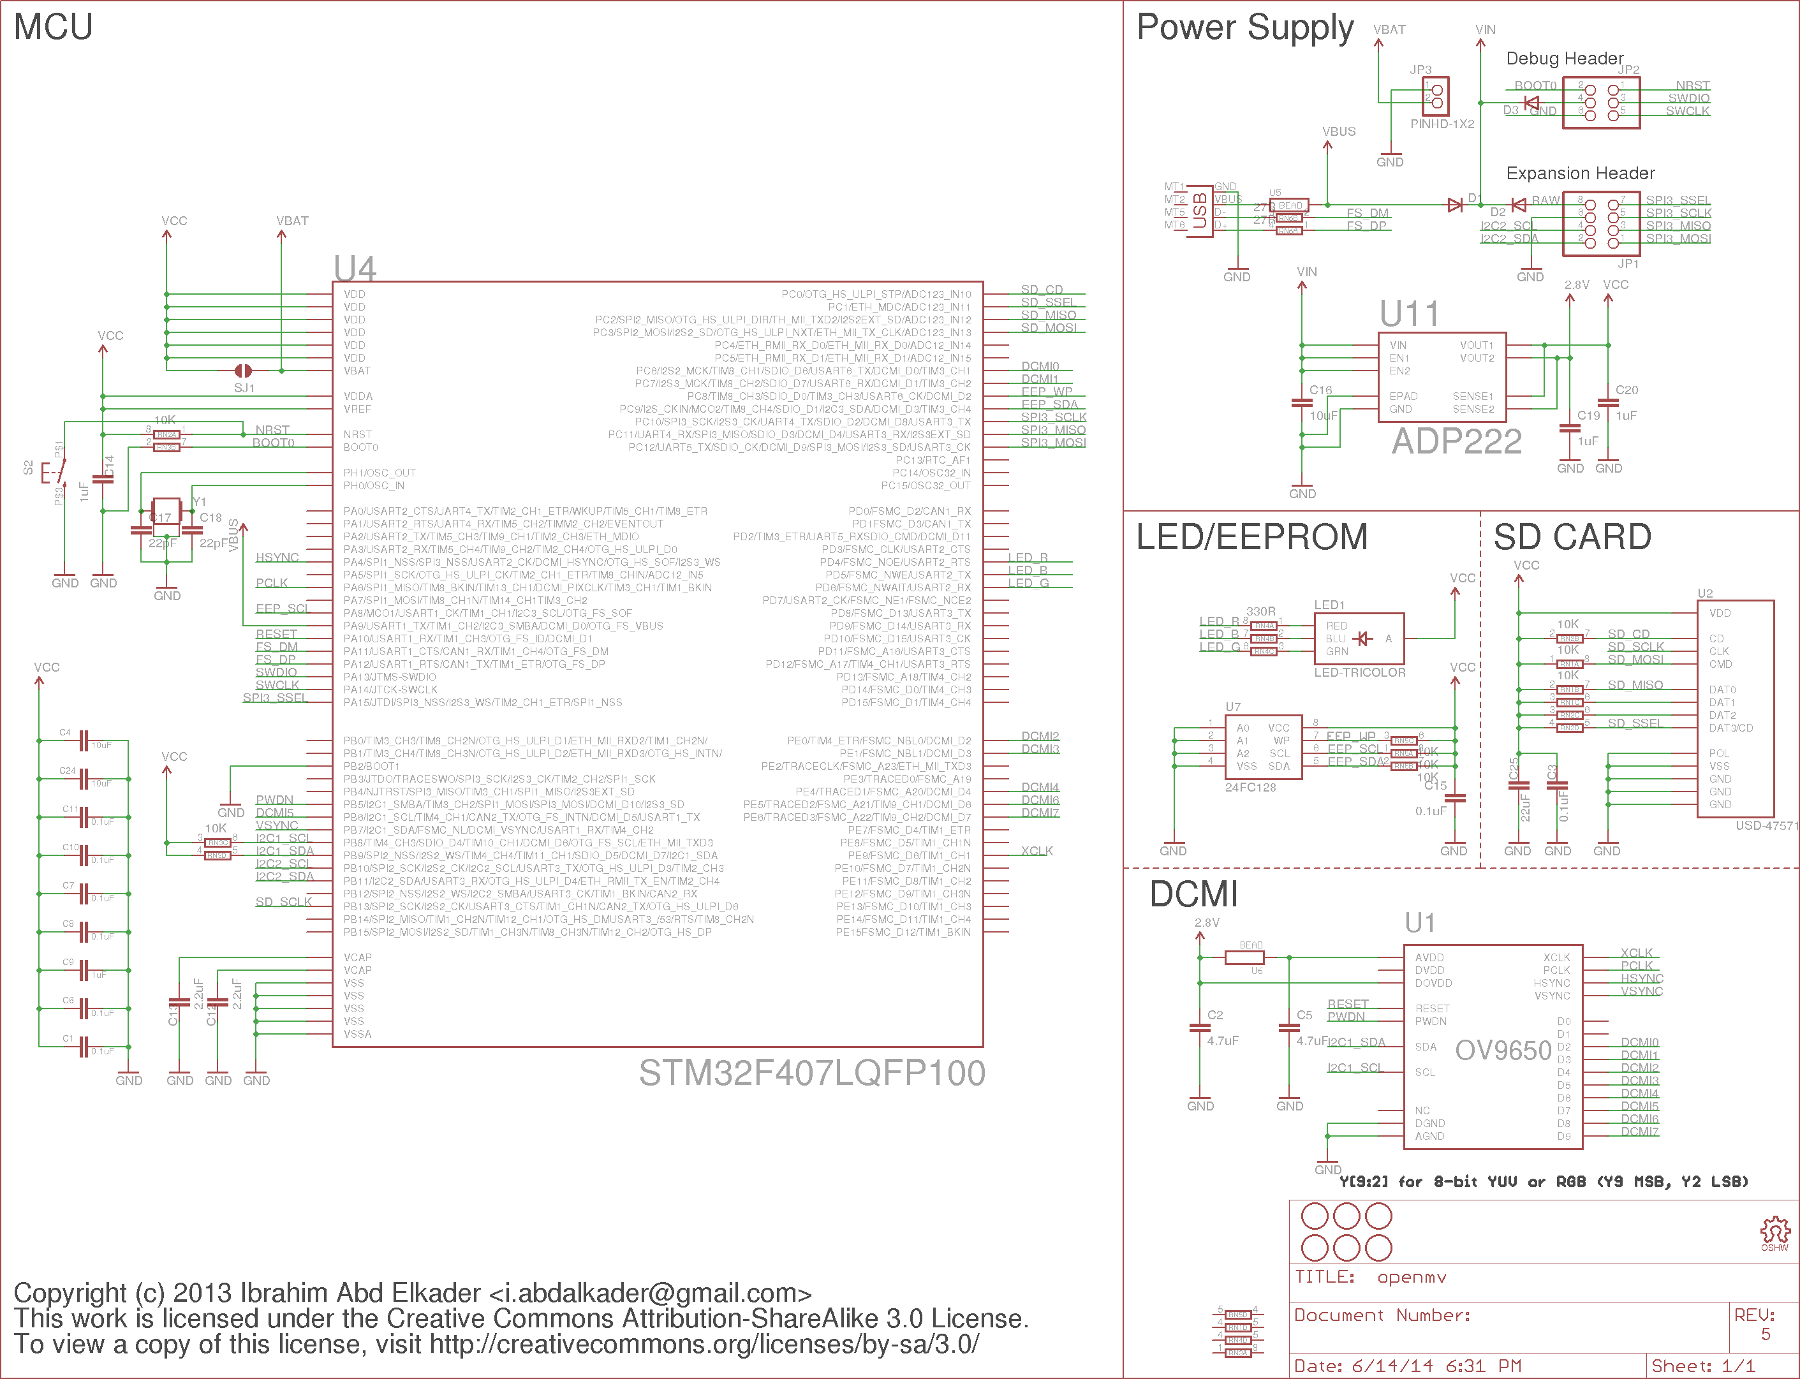
OpenMV1-R5 Schematic
06/14/2014 at 15:43 • 0 commentsJust finished up the latest revision, R5, here's the schematic:
*Eagle files in the repo![]()
-
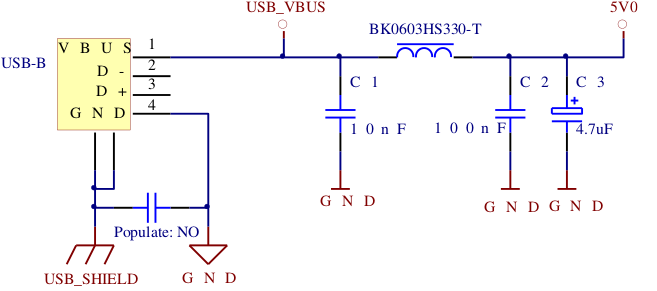
Notes on the Power Supply
06/09/2014 at 07:20 • 0 commentsUSB: The camera is USB powered, there are lots of app notes on USB interfacing to read, but here are some tips that I've learned: match the deferential pair, use terminations(1) , use a ferrite bead on VBUS, limit the inrush current and limit the current to 100mA before negotiating power with the host (see FTDI Hardware Design Guidelines app note)
![]()
The USB 2.0 specs requires limiting the inrush current to an equivalent 10uF capacitance, and since there's no PM chip (on the small camera board) I needed a triple regulator with an internal soft-start to save components and board space...
After some searching I found a triple ADP regulator (3.3/2.5/1.2) which fits nicely, but I also found out that the sensor has an internal regulator for the core supply (that can be controlled in SW) so basically I only needed 2.5v/3.3v, finally, I used the ADP222 (3.3v/2.5v) 300ma in addition to the internal soft-start, it costs less than 2 separate LDOs, wastes less power and has better heat dissipation.
Sensor: The sensor needs 3 different supplies, core, digital and analog, the analog supply can be connected to the digital supply through a filter, which takes care of that, and the core is supplied via the internal regulator, so it basically boils down to a single 2.5-2.8v supply, this is from an OV HW app note:
![]()
STM: The STM is powered from the main supply (3.3v) it works at a lower voltages, but that will limit the speed (and other things). I followed the recommended power supply scheme in the STM datasheet, each VDD pin gets a 0.1uF cap, plus one or two 10uf, caps for VDDA and 2 more caps (2.2uF) for the internal regulator:
![]()
SD Card: The uSD is decoupled with a 0.1uF and 22uF (or more), more importantly, all pins that can float are pulled-up.
(1) The STM32F429 has internal terminations in the driver, so no termination is needed.