Close
0%
0%

Call Box

Pushing a button will sound a piercing alarm to alert a caregiver (in another room) that attention is required.

Similar projects worth following
170 views
0 followers
A 92 year old relative was recently diagnosed with pancreatic cancer. There was a
need to be able to alert a caregiver (in another room) day or night when assistance was needed.
We discovered that the hired attendants would fall asleep at night and fail to awaken when the patient summoned help. The goal is to provide an alarm (operated by push button) that cannot be ignored--this needs to be something that can be easily and quickly assembled.

I bought a smoke detector and a remote control switch in the evening (overnight from Amazon) and designed/printed and assembled the box the next day. Push the button and power comes on the box, which causes the smoke detector buzzer to sound.

For power, I used a 9 volt wall wart (8.4 volts actually). This was a salvaged power supply from an old video camera which had died. I always save the power supplies from dead electronics for future projects.

buzzer base.stl

sla - 1.25 MB - 08/23/2016 at 23:37

Download

buzzer lid.stl

sla - 1.51 MB - 08/23/2016 at 23:37

Download

buzzer lid design.123dx

123dx - 93.11 kB - 08/23/2016 at 23:37

Download

buzzer base design.123dx

123dx - 75.98 kB - 08/23/2016 at 23:37

Download

  • Assemble and Test

    Mike Rigsby08/23/2016 at 23:57 0 comments

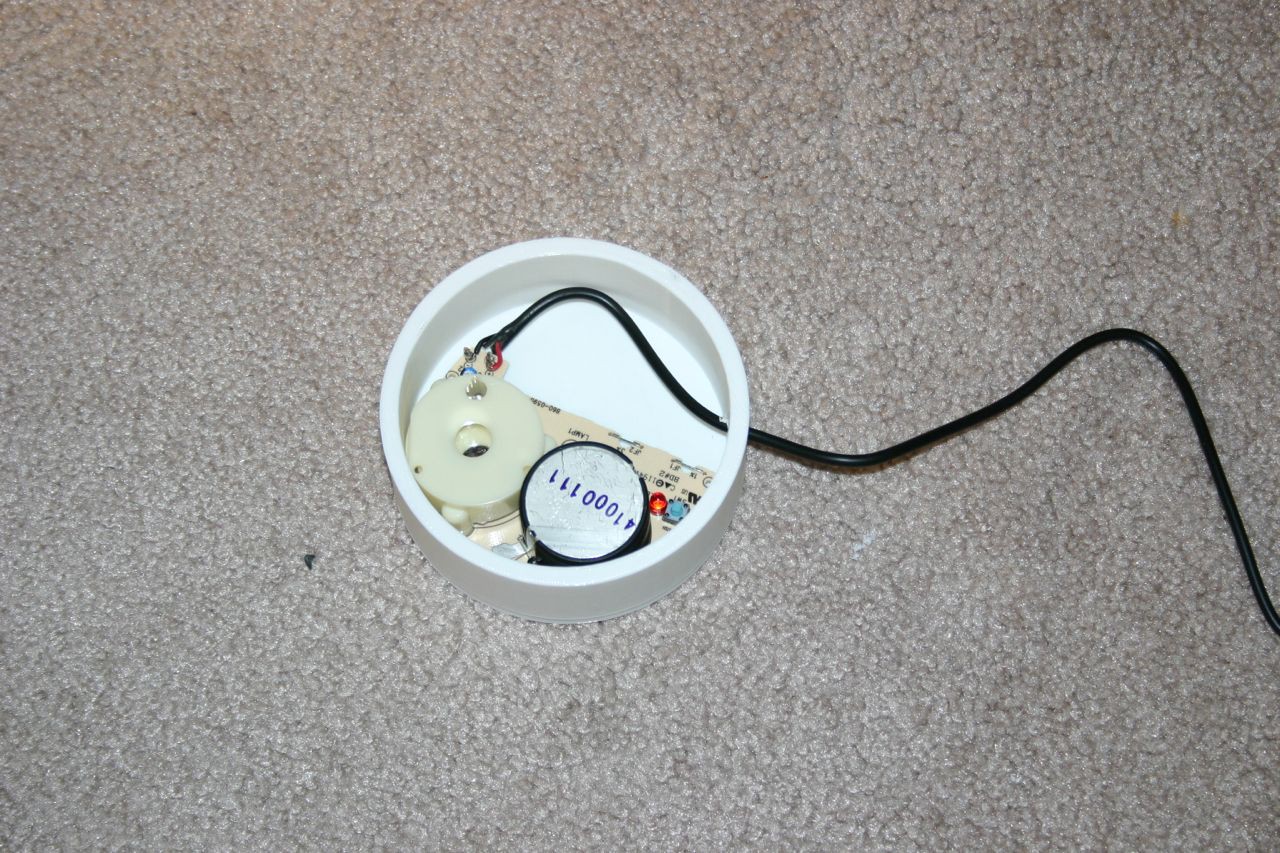
    Place the alarm inside the box.

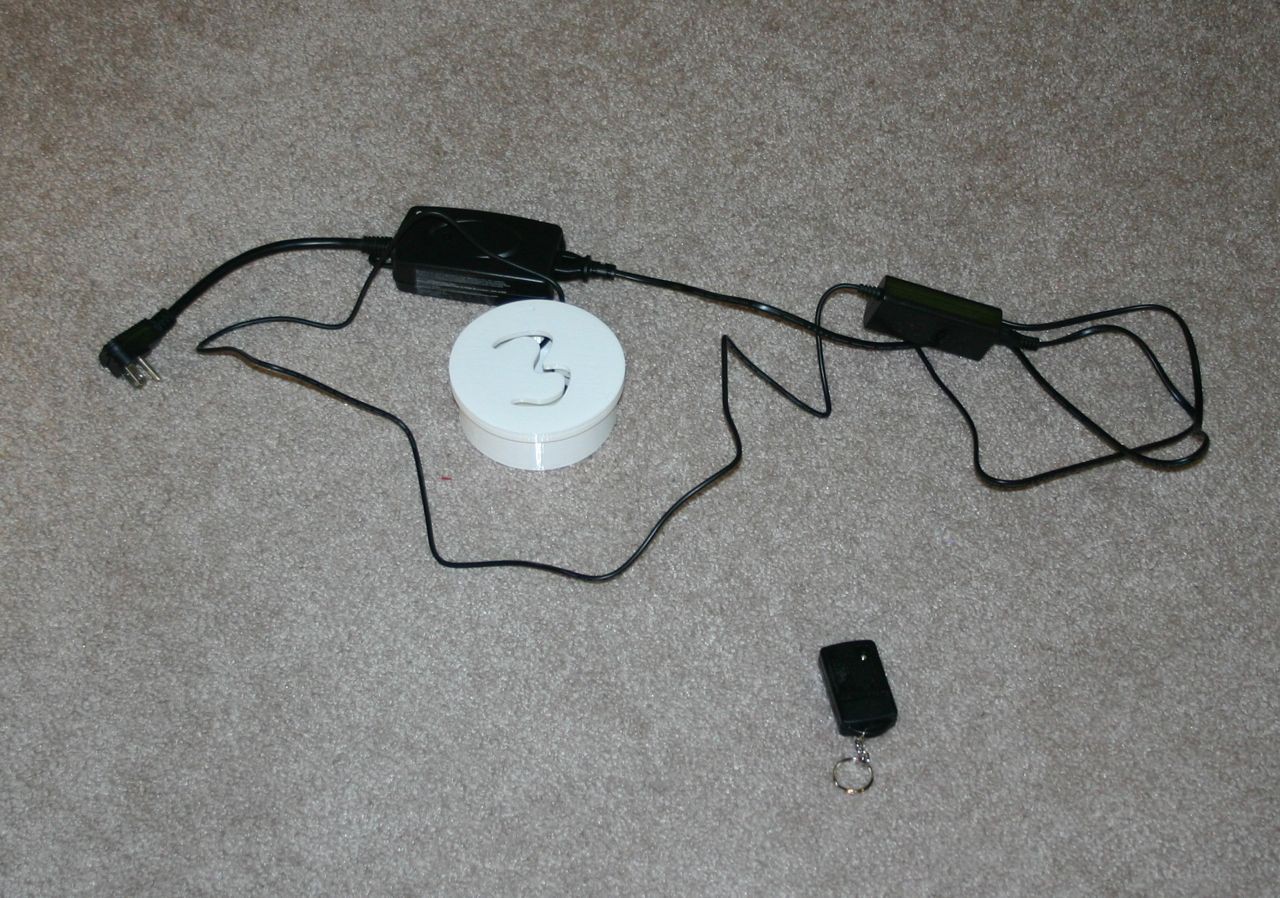
    Close the lid and plug the power supply cord into the remote control switch receiver.

    I used this remote control switch because I had found it to be durable and functional for a reasonable range (and through a wall or two):

    http://www.amazon.com/Woods-32555-Outdoor-Control-...

    Push the "on" button on the battery powered on/off switch. This will supply power to the call box and the LOUD alarm will start beeping within a few seconds.

  • Connect the Power Supply

    Mike Rigsby08/23/2016 at 23:54 0 comments

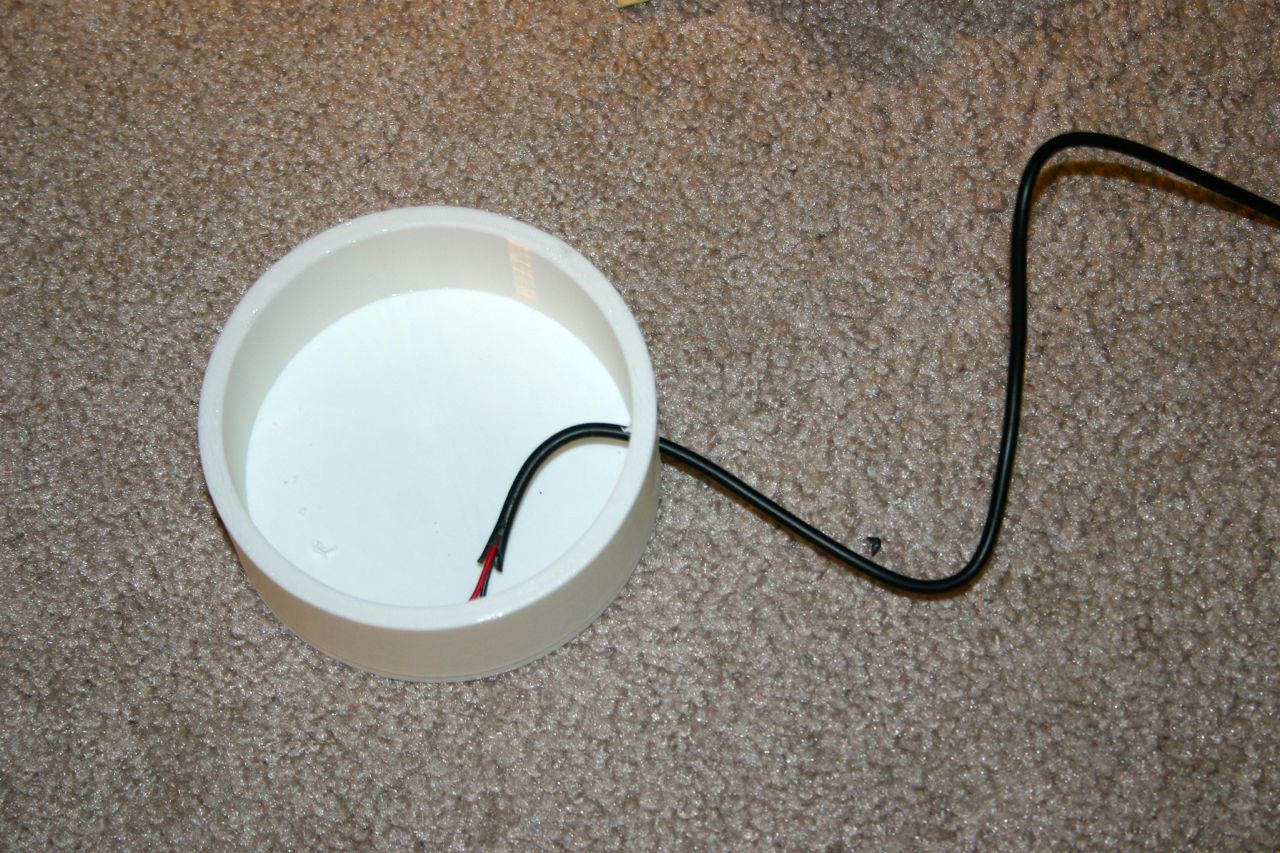
    After the alarm container has been printed, insert the wire from the 9 volt power supply through the hole in the container.

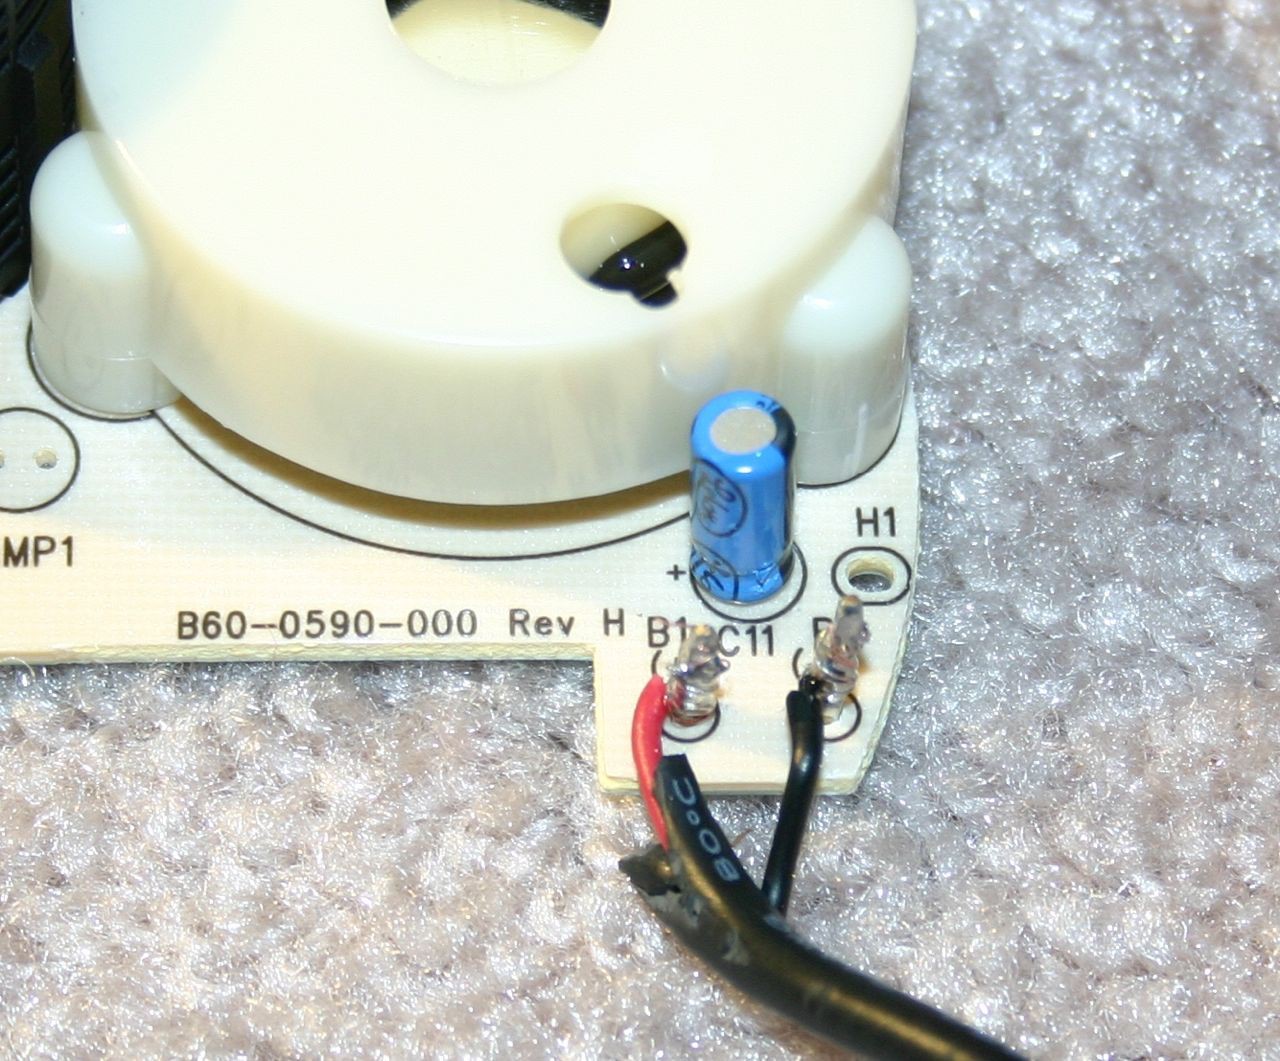
    Now, solder the wires to the alarm module (where the battery was intended to connect). Be certain that polarity is correct.

  • Alarm Always On

    Mike Rigsby08/23/2016 at 23:49 0 comments

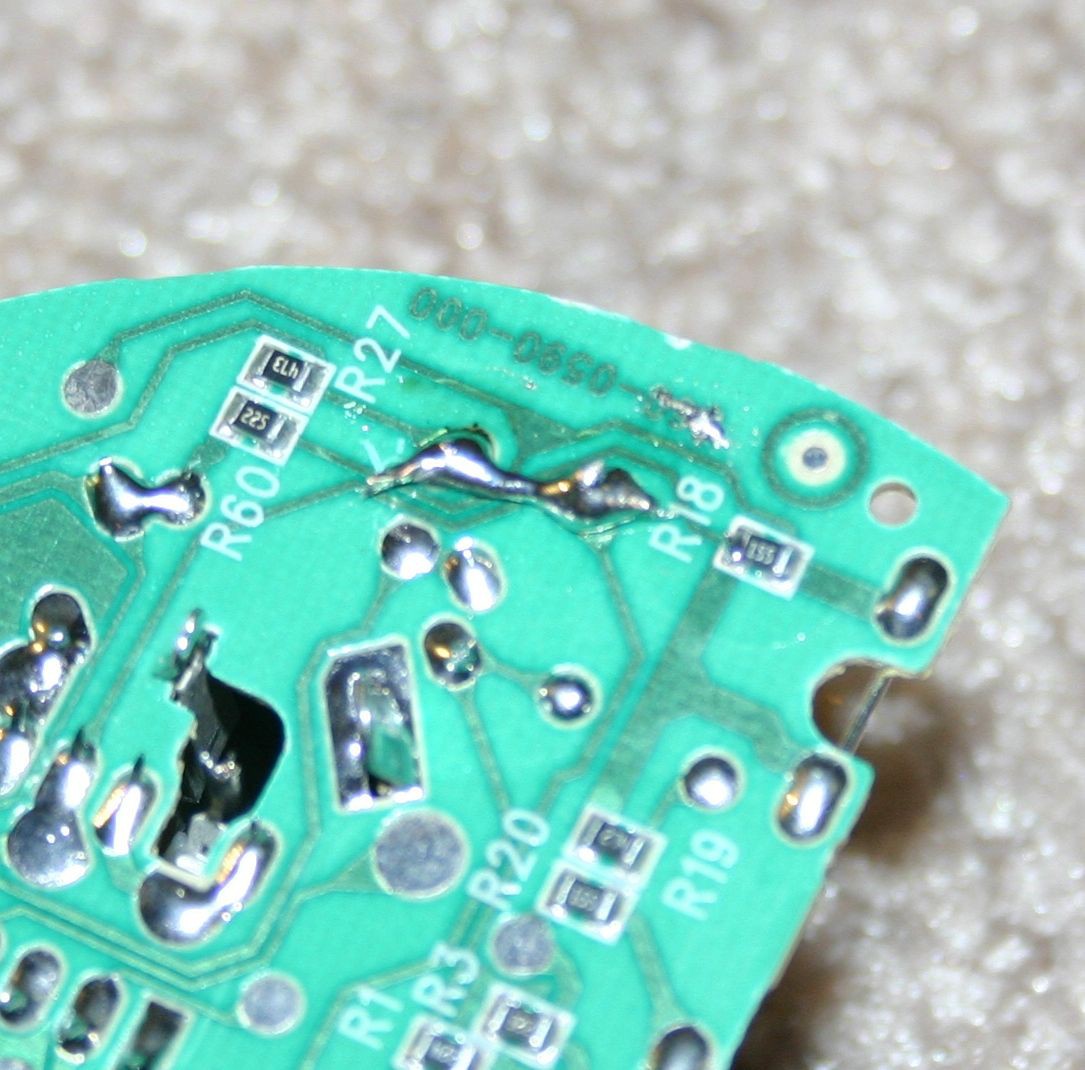
    I needed to make the alarm "always on" so that it would sound (and continue to sound) on power up.

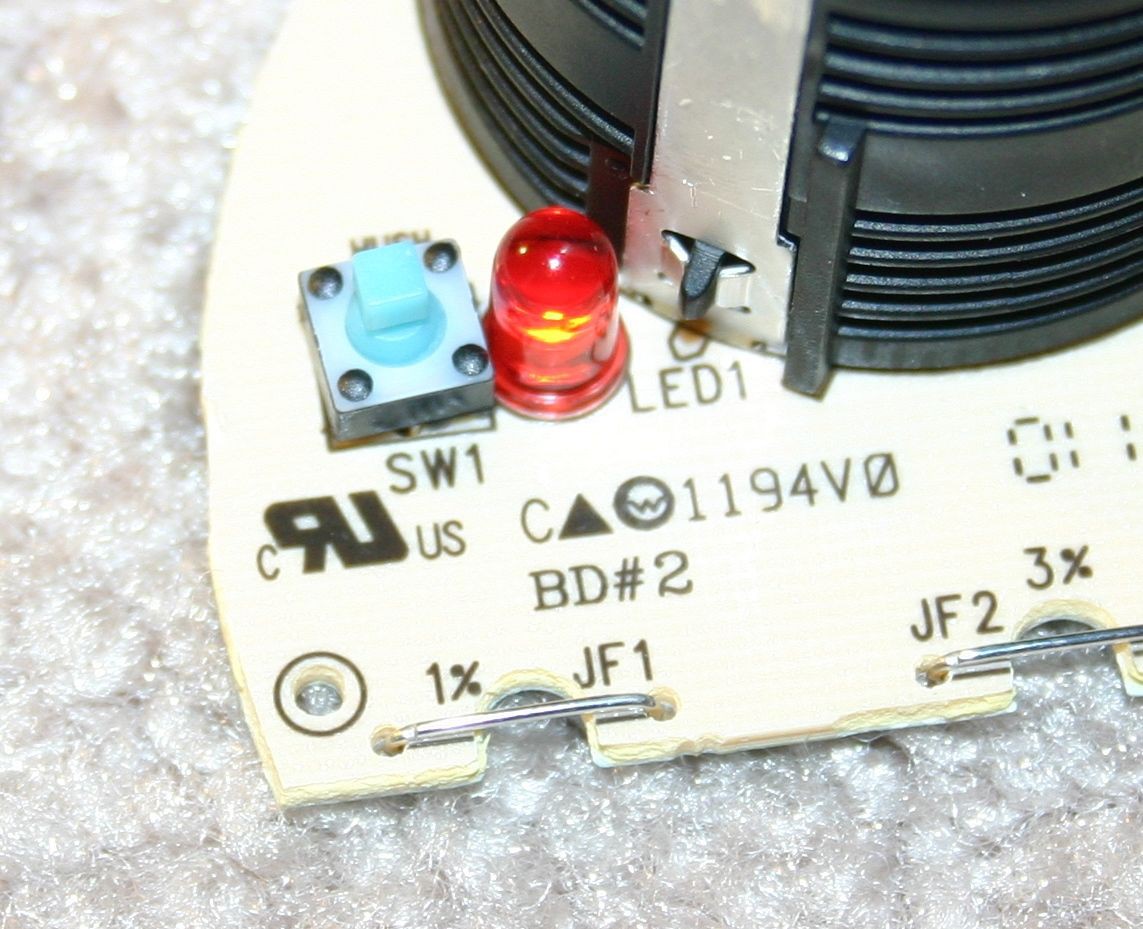
    First, find the "test" switch."

    Next, create a solder "bridge" across the switch terminals from the back side.

  • Remove the Alarm/Electronics from Smoke Detector

    Mike Rigsby08/23/2016 at 23:44 0 comments

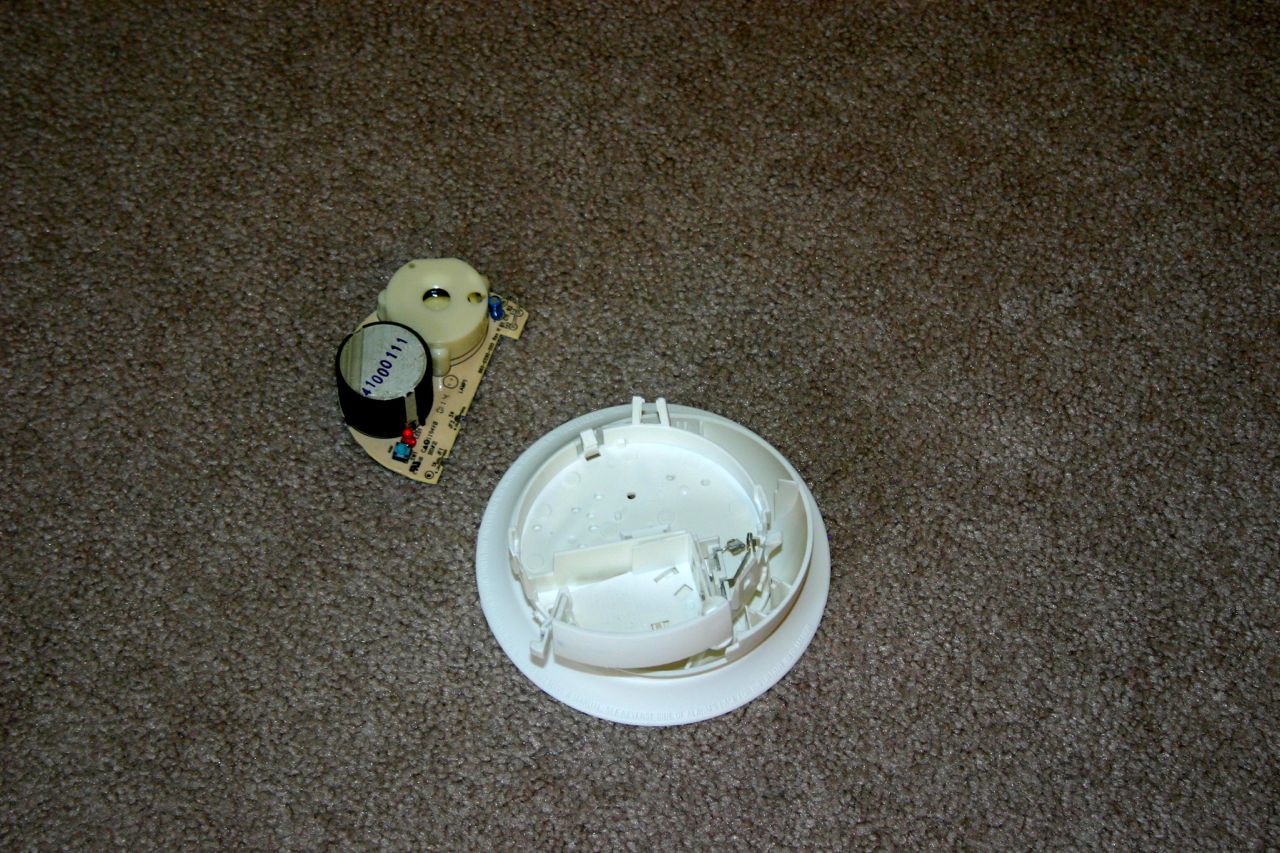
    Pull the electronics from a smoke detector.

    I had to get somewhat physical and mangle the thing to get it out of the case.

View all 4 project logs

Enjoy this project?

Share

Discussions

Similar Projects

Does this project spark your interest?

Become a member to follow this project and never miss any updates