-
Assemble and Test
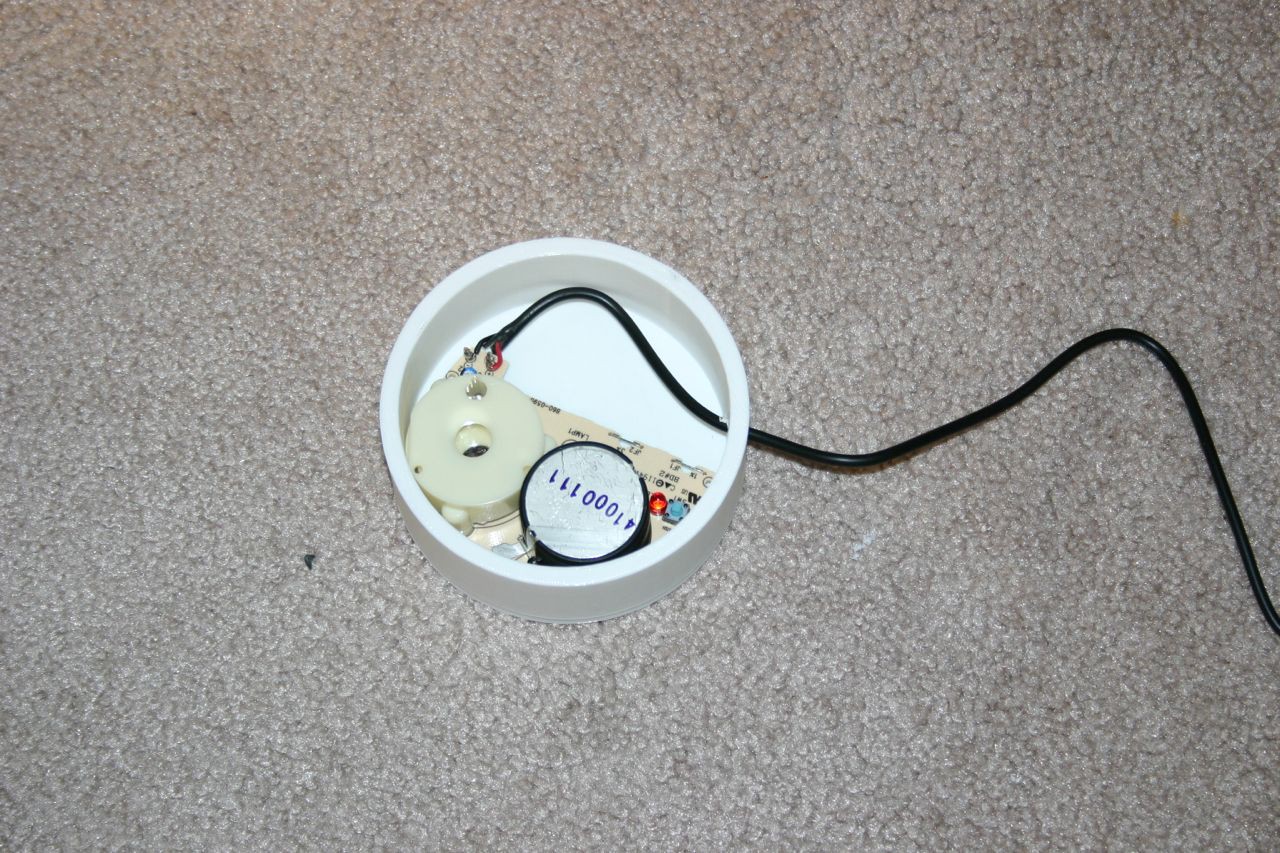
08/23/2016 at 23:57 • 0 commentsPlace the alarm inside the box.
![]()
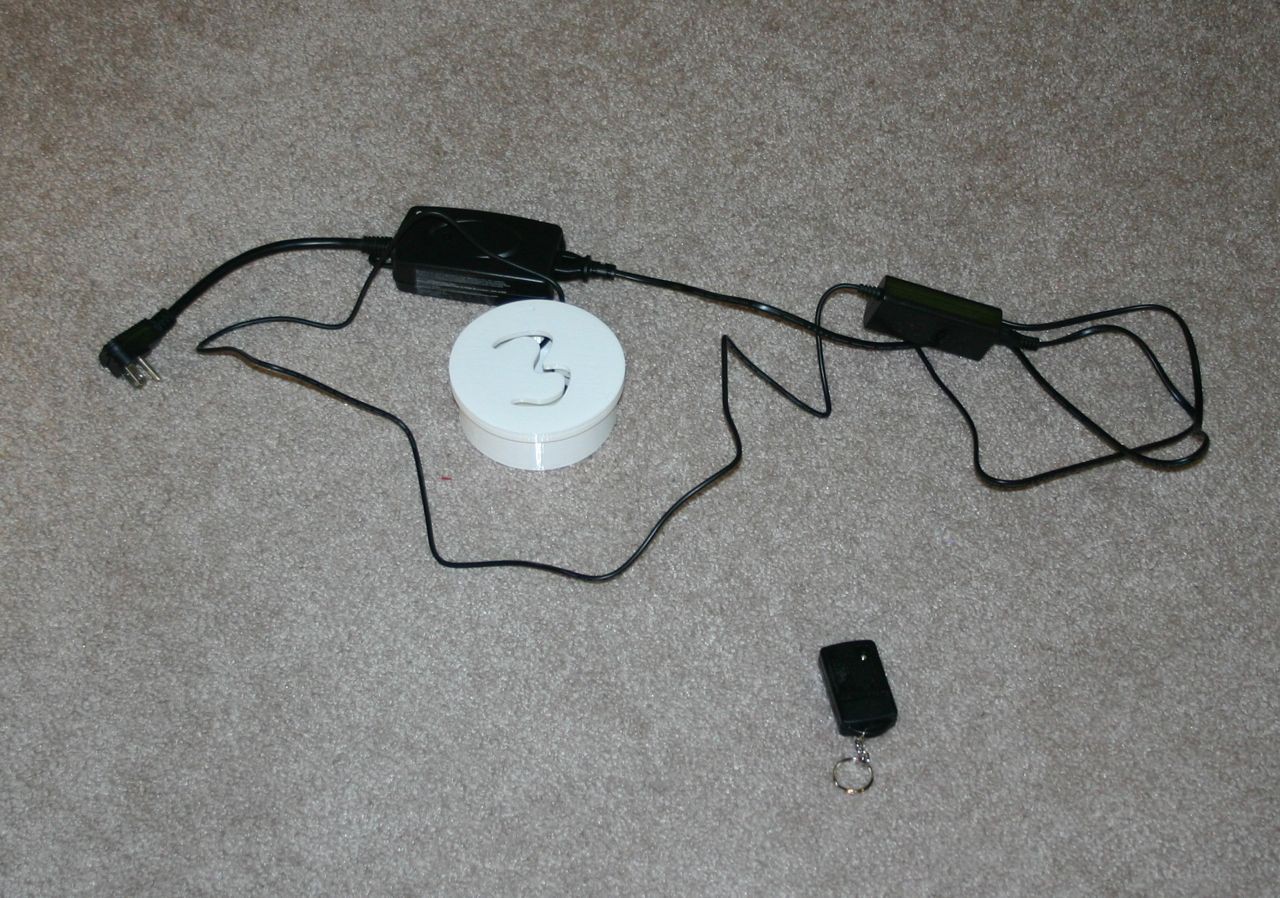
Close the lid and plug the power supply cord into the remote control switch receiver.
I used this remote control switch because I had found it to be durable and functional for a reasonable range (and through a wall or two):
http://www.amazon.com/Woods-32555-Outdoor-Control-...
Push the "on" button on the battery powered on/off switch. This will supply power to the call box and the LOUD alarm will start beeping within a few seconds.
![]()
-
Connect the Power Supply
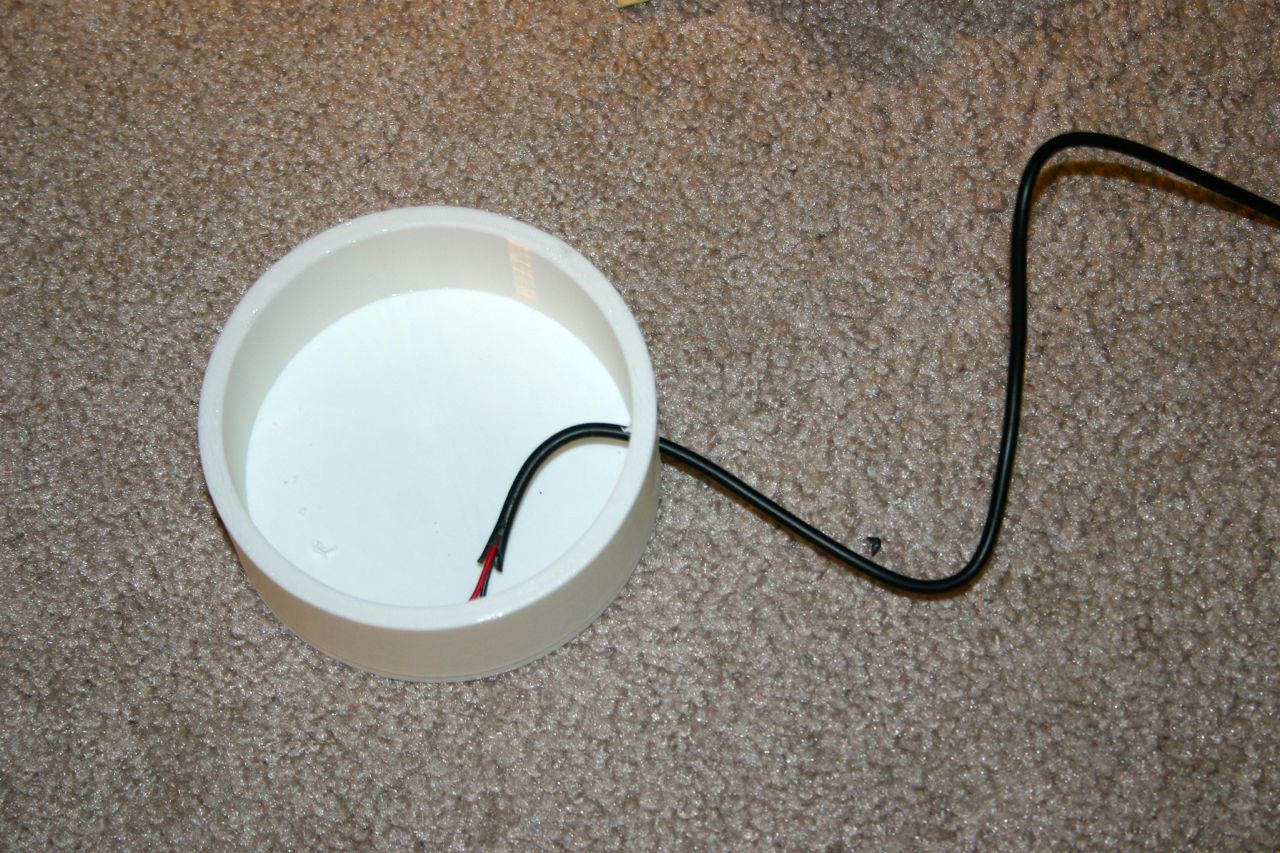
08/23/2016 at 23:54 • 0 commentsAfter the alarm container has been printed, insert the wire from the 9 volt power supply through the hole in the container.
![]()
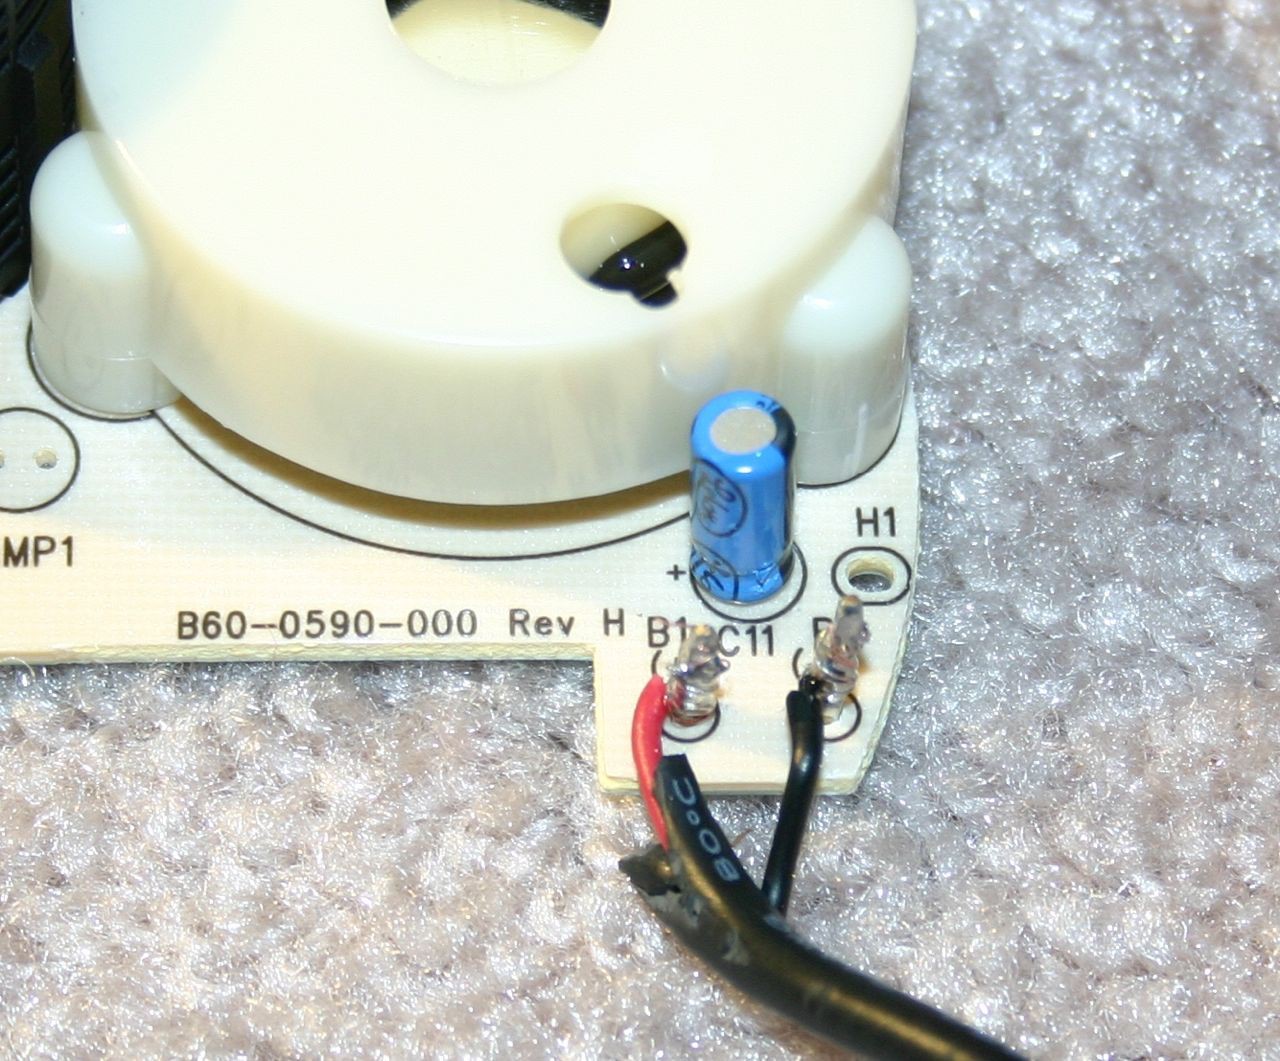
Now, solder the wires to the alarm module (where the battery was intended to connect). Be certain that polarity is correct.
![]()
-
Alarm Always On
08/23/2016 at 23:49 • 0 commentsI needed to make the alarm "always on" so that it would sound (and continue to sound) on power up.
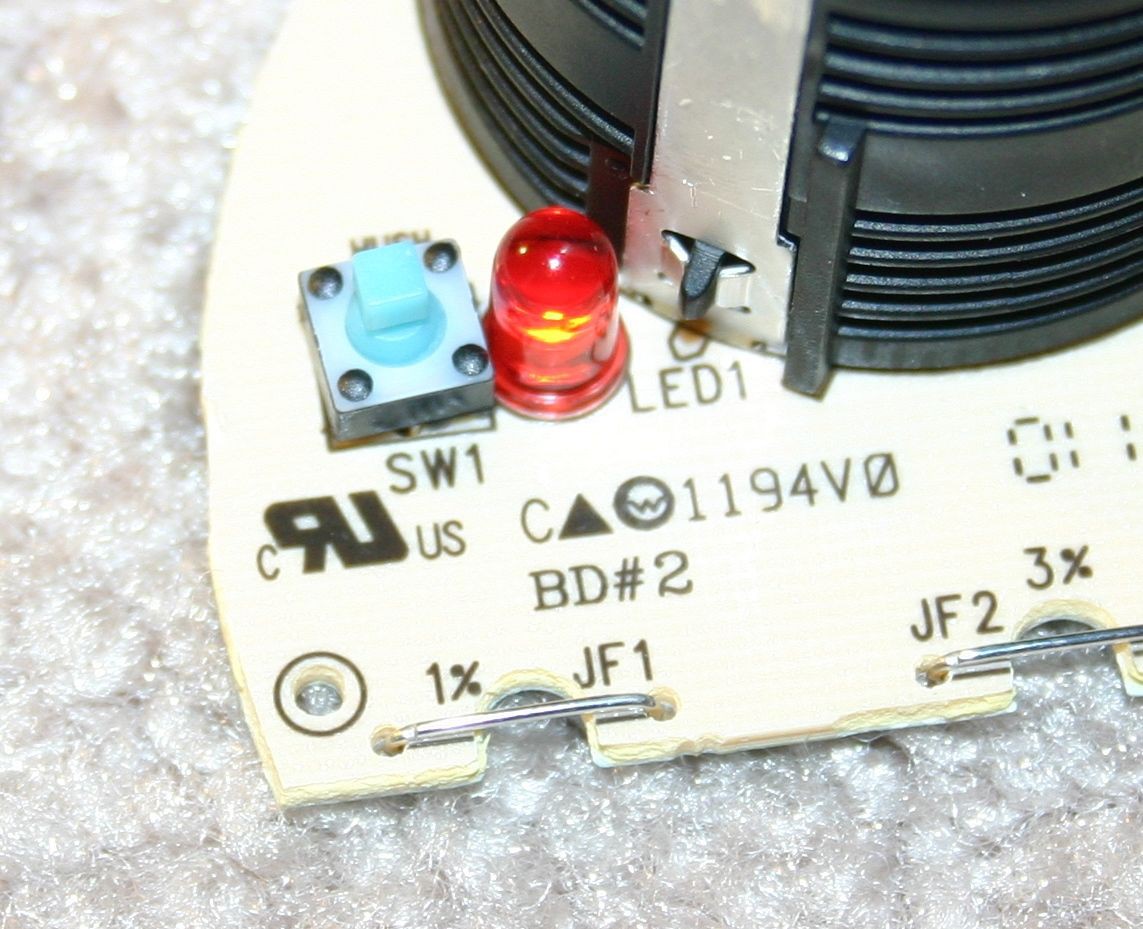
First, find the "test" switch."
![]()
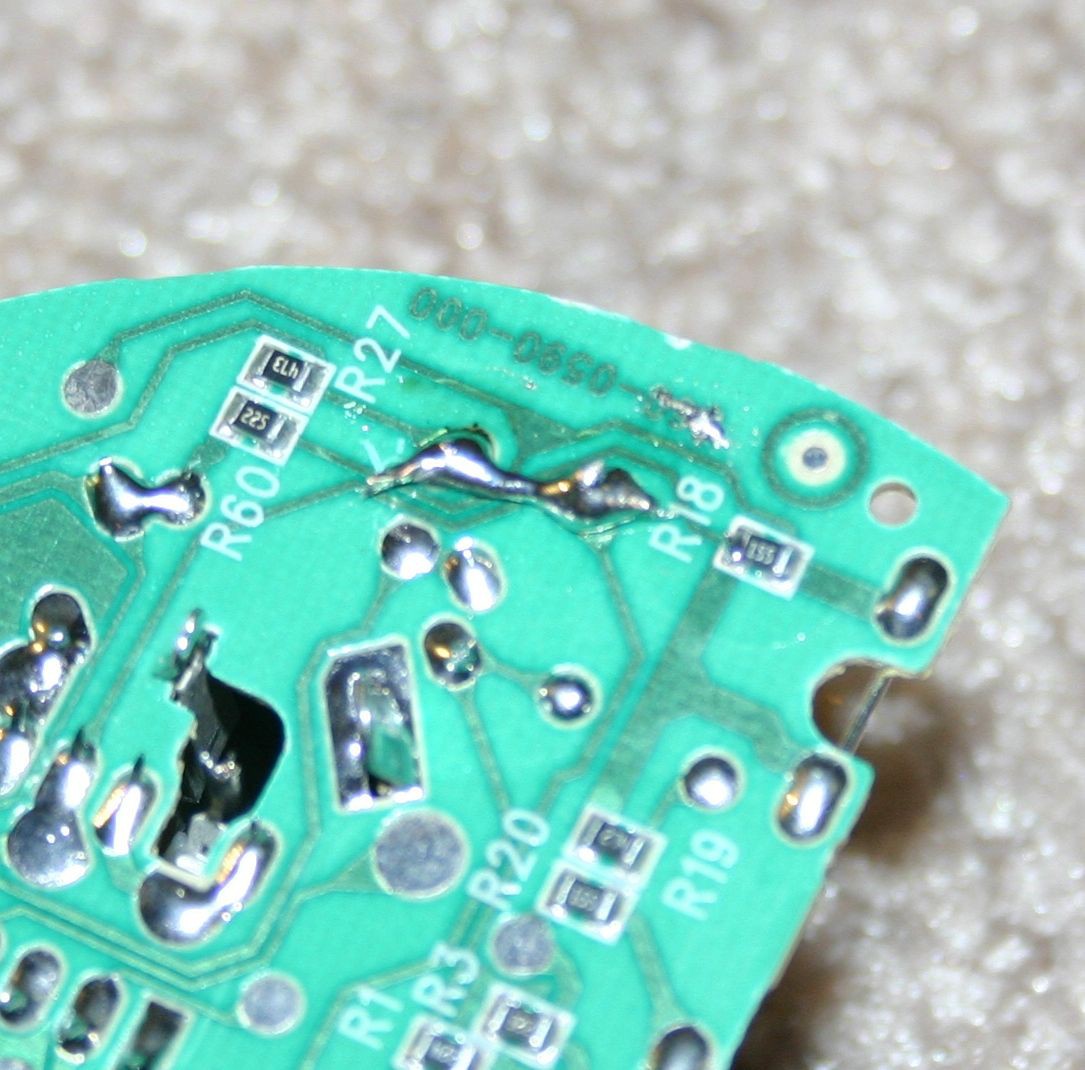
Next, create a solder "bridge" across the switch terminals from the back side.
![]()
-
Remove the Alarm/Electronics from Smoke Detector
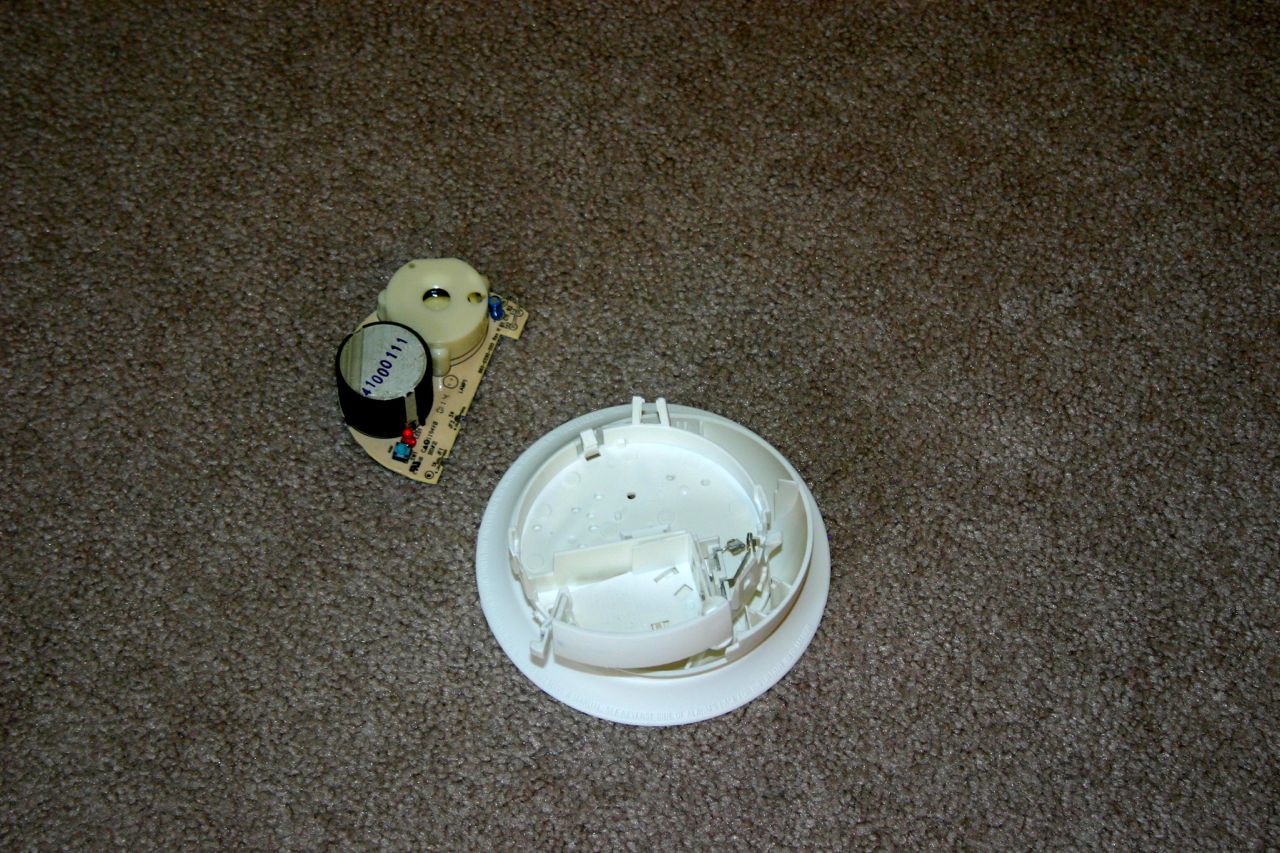
08/23/2016 at 23:44 • 0 commentsPull the electronics from a smoke detector.
![]()
I had to get somewhat physical and mangle the thing to get it out of the case.
Call Box
Pushing a button will sound a piercing alarm to alert a caregiver (in another room) that attention is required.
 Mike Rigsby