-
11Step 11
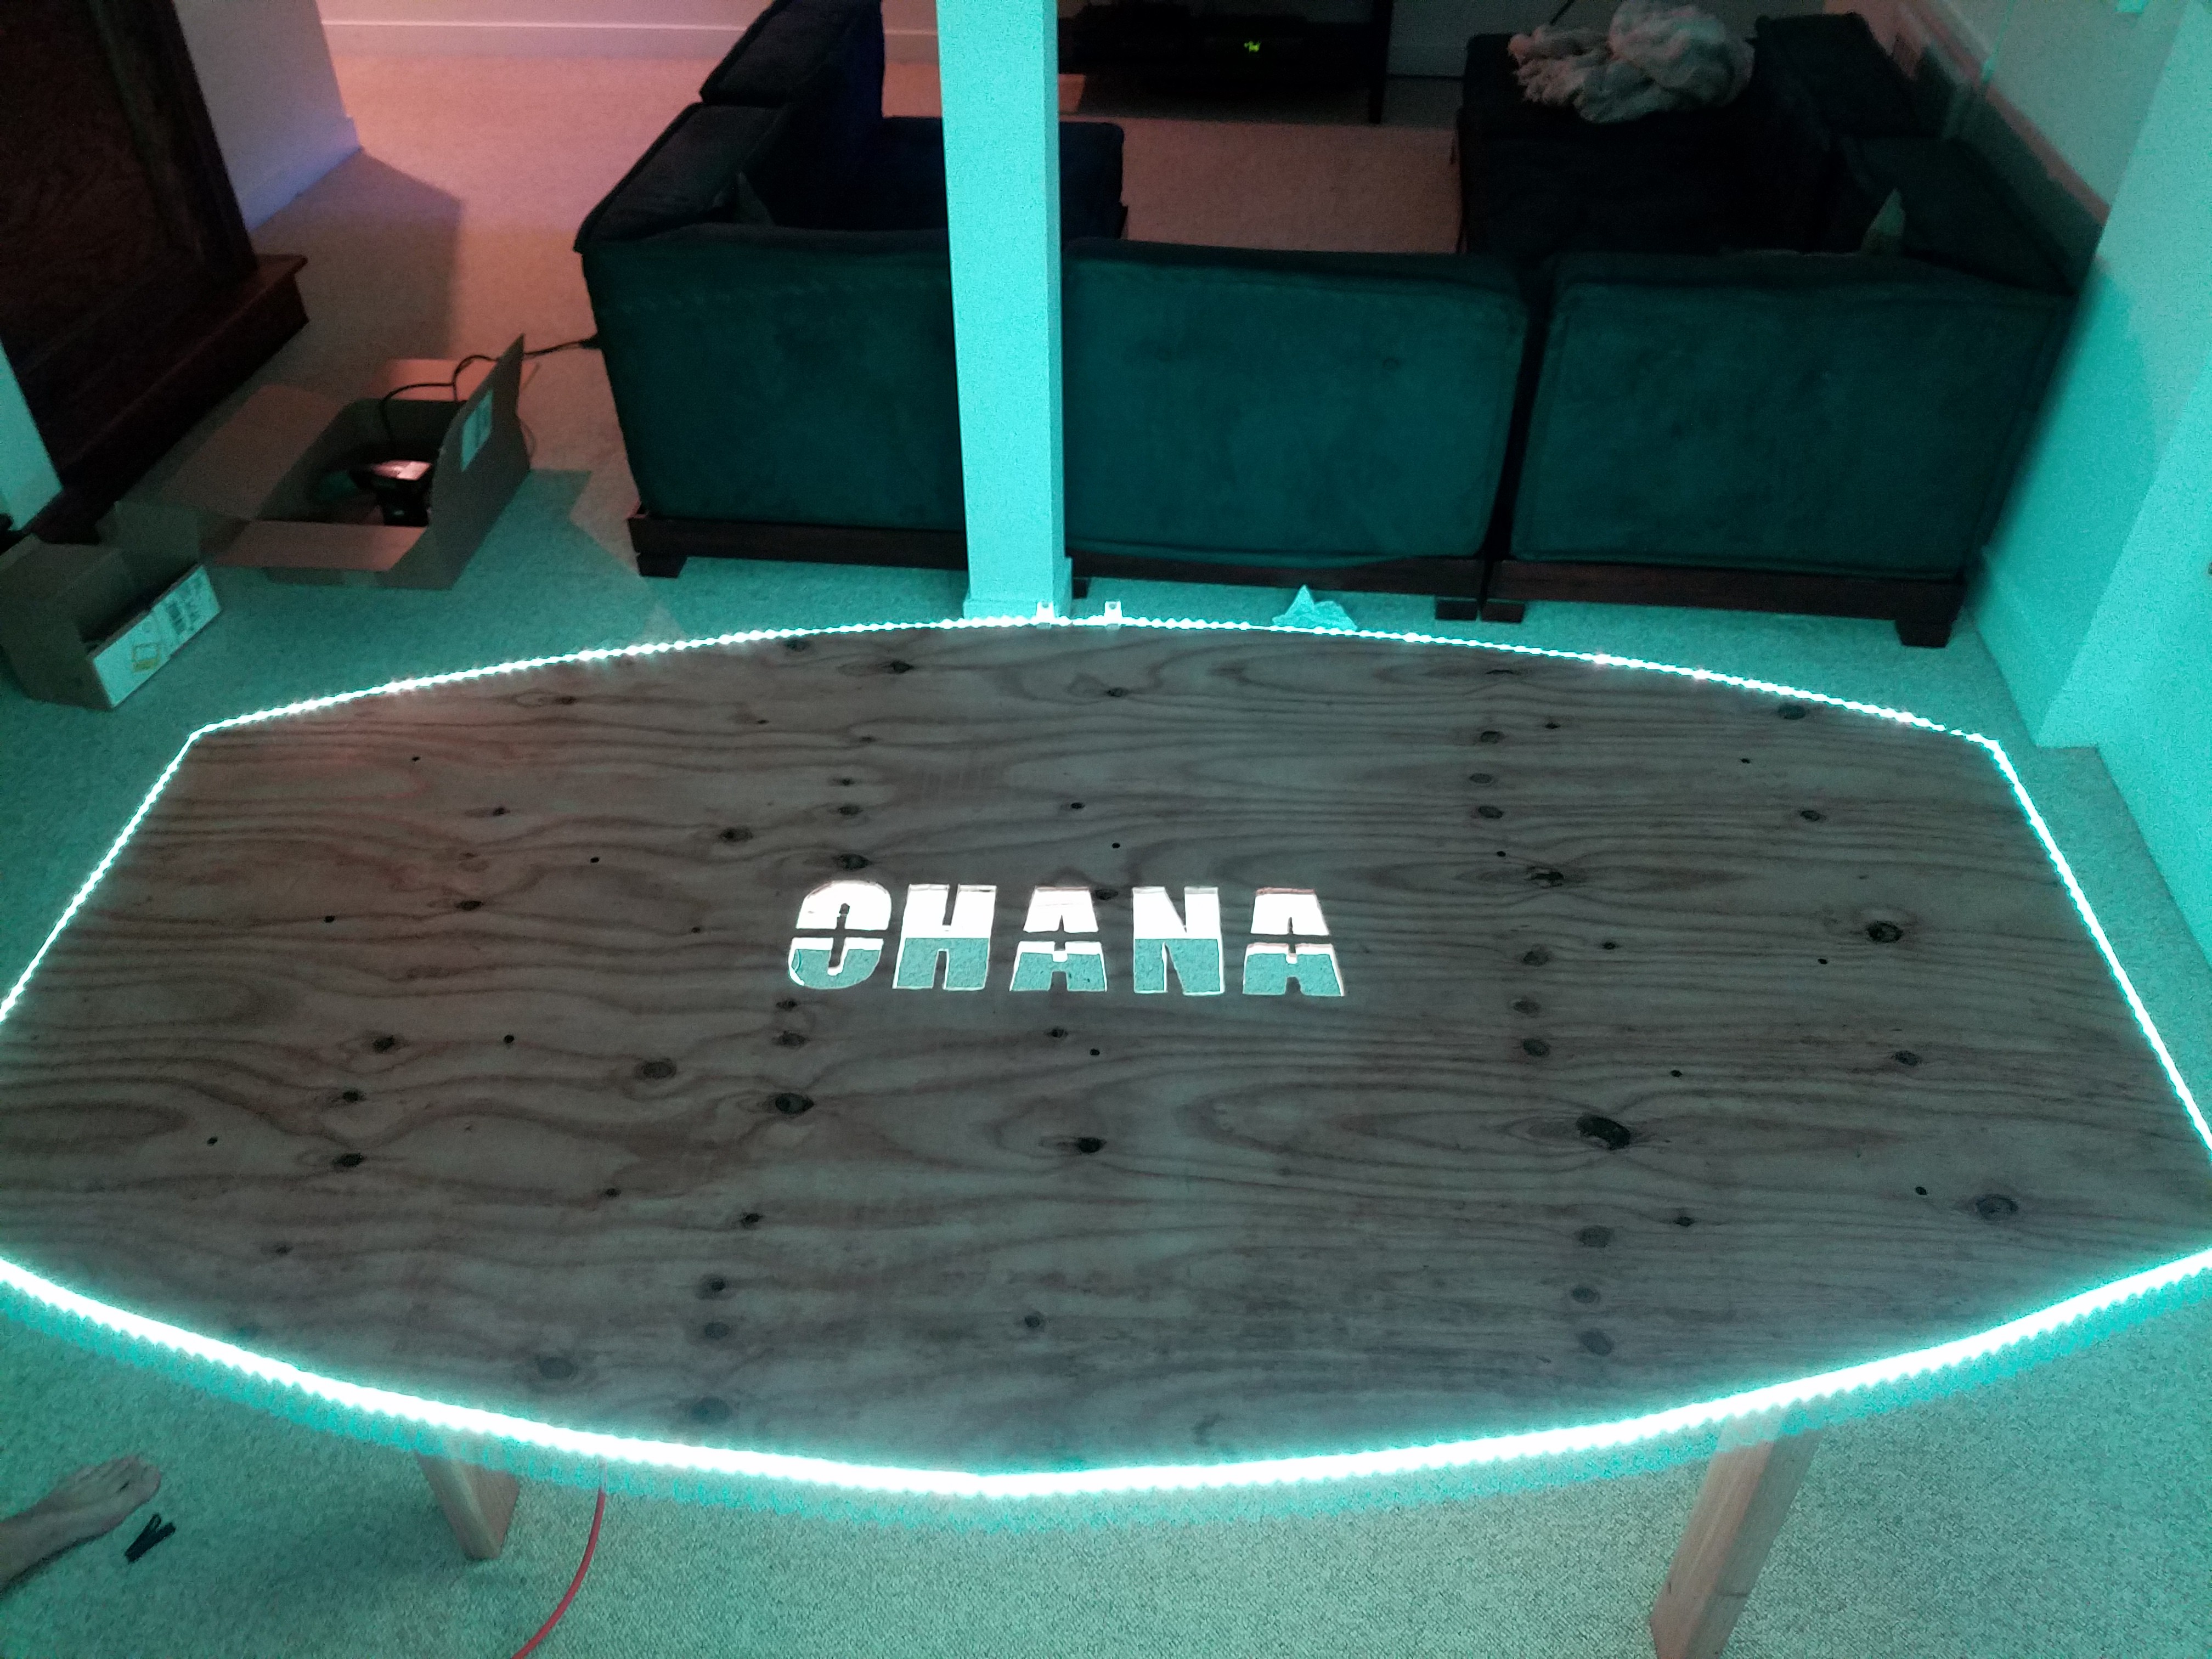
Attach the waterproof LED strip to the outside of the table using the adhesive backing it comes with. Make sure to position the end where you want the control module to attach, or you can just make an extension from the connector to wherever the control module is. Sealing the two seams on either side of the strip with hot glue or other sealant will help keep the strip on the side of the table and prevent liquids from spilling in between the seam and potentially shorting the connections on the back of the strip.
-
12Step 12
Optional: Attach the regular LED strip to the inside of the frame on the underside using the included adhesive backing so they point in towards the cutout logo.
-
13Step 13
Wire the strips to their control modules and attach the driver modules to the underside of the table with screws. You could splice the IR receiver wire from one control module to the other so the two strips are always synced, but for simplicity in wiring this table has two separate driver modules with separate receivers and thus can be independently controlled.
-
14Step 14
Attach the two power supplies to the underside of the table using some kind of strap and plug them into the splitter.
-
15Step 15
Plug an extension cord into the splitter and turn it on!
![]()
Discussions
Become a Hackaday.io Member
Create an account to leave a comment. Already have an account? Log In.