Rules
- No strings. We really don't like the string systems.
- 5 volts only. It lasts longer and unify everything to one battery.
- 4 fingers. It just works better and makes a statement, form follows function.
Schematic
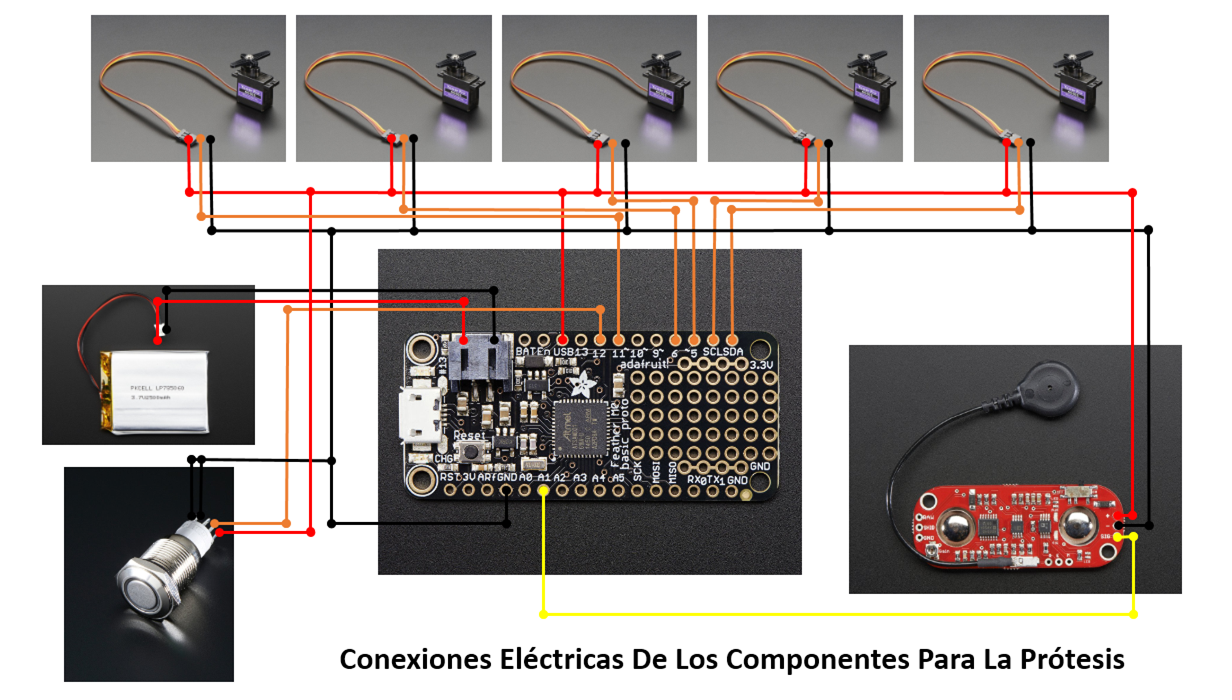
The idea is to create an accesible prosthetic hand that is commercially available in Colombia and doesn't use the classic string system.
To make the experience fit your profile, pick a username and tell us what interests you.
We found and based on your interests.
Rules
Schematic

9.4 M T2 v4.0.15-3.stlStandard Tesselated Geometry - 637.78 kB - 10/01/2016 at 14:31 |
|
|
9.4 M T2 v4.0.15-1.stlStandard Tesselated Geometry - 632.89 kB - 10/01/2016 at 14:31 |
|
|
9.4 M T2 v4.0.15-2.stlStandard Tesselated Geometry - 459.16 kB - 10/01/2016 at 14:31 |
|
|
9.4 M T2 v4.0.15-6.stlStandard Tesselated Geometry - 48.13 kB - 10/01/2016 at 14:31 |
|
|
9.4 M T2 v4.0.15-5.stlStandard Tesselated Geometry - 252.33 kB - 10/01/2016 at 14:31 |
|
Hi! its been a while since we update and we would like to show you tha lastest hand and open the space to continue the conversation and listen to your questions and ideas. Hope to hear from you.
The latest version of our work is the B1i Small. With the new actuators we wanted to see how much smaller we could go and this is what came out.
A lot....
So since the last post we haven't stop working.
We got interviewed with the local newspaper and so on. http://www.laopinion.com.co/tecnologia/jovenes-cucutenos-crearon-una-mano-robotica-122052
Also, we changed it all up. So no more linear actuators. Yeah we know. For now on we are working with an endless screw moving a gear connected to each finger. Why did we change one of our premises do you ask? well the length of the linear actuator was a big problem for us and the travel or angle of the finger was limited by the length of the actuator.
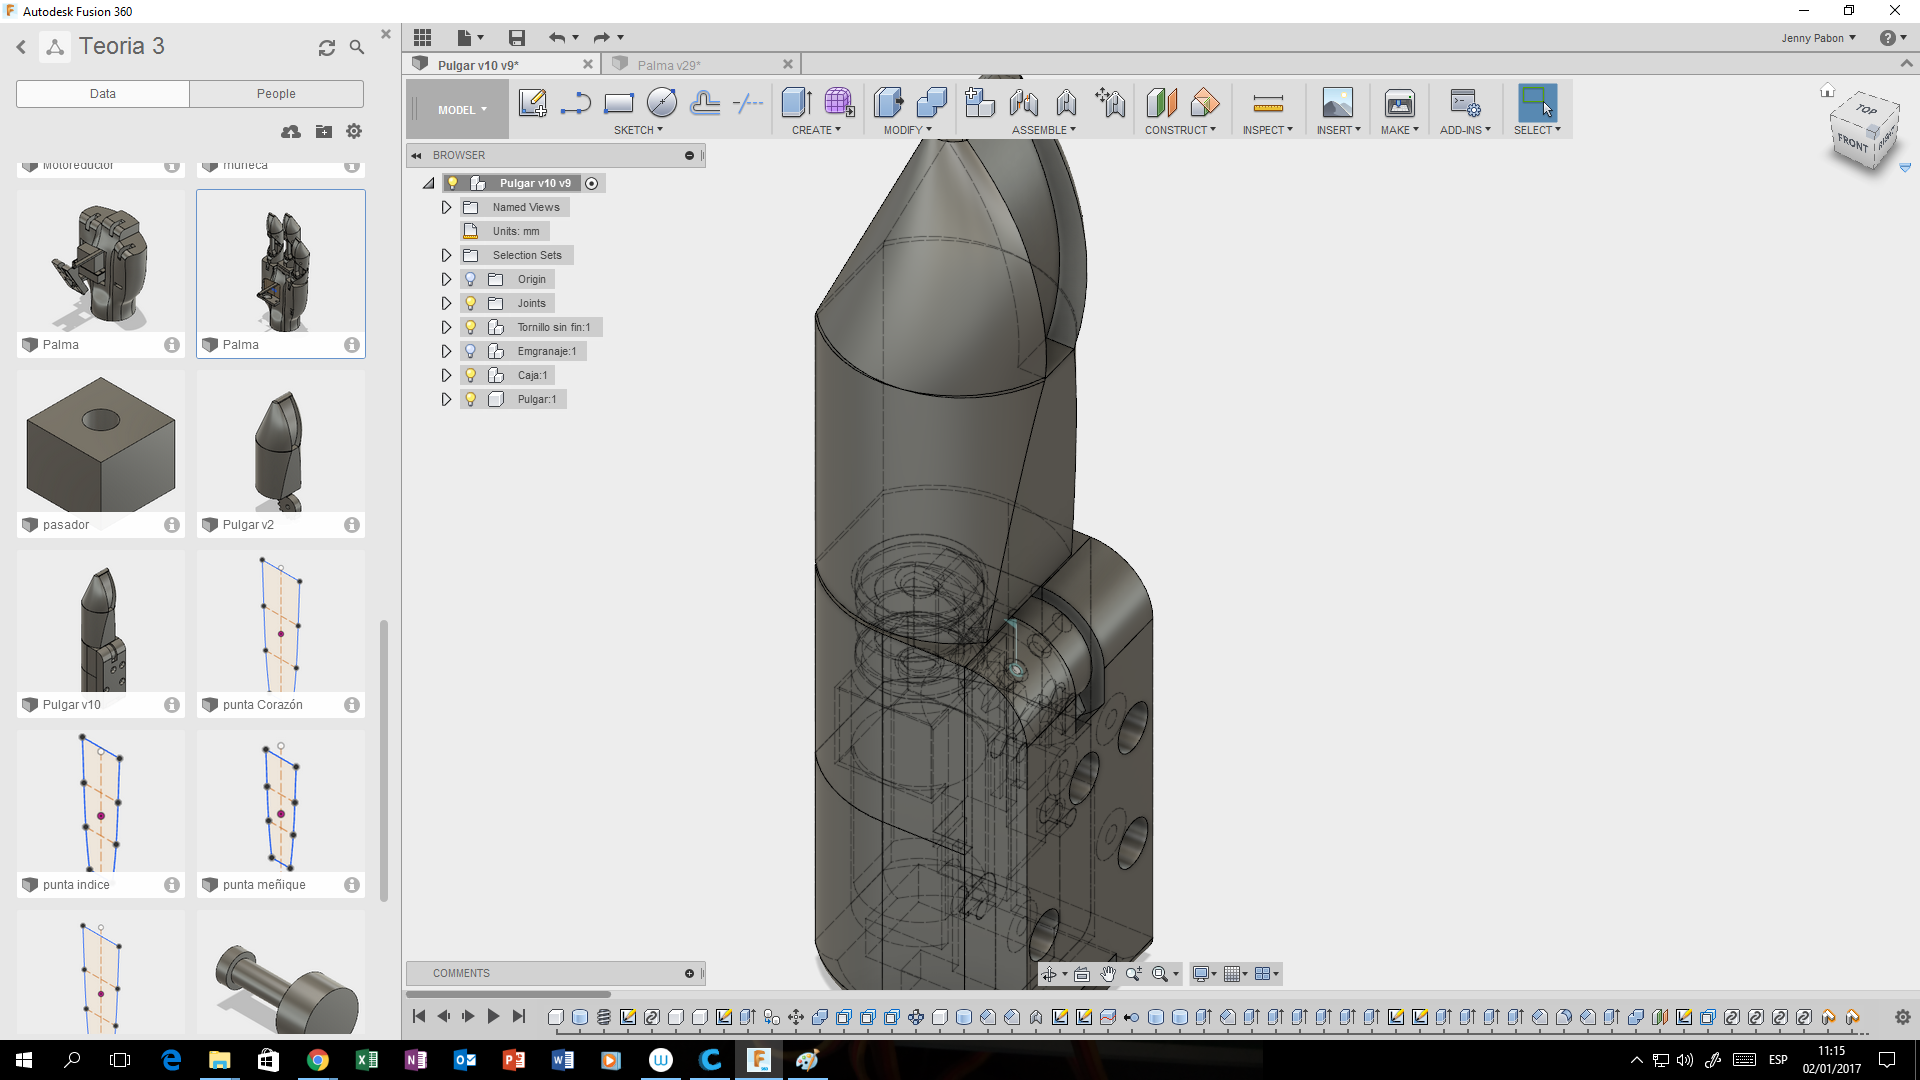
We changed the software that we used! We used AutoCAD and it was not optimal and expensive. So we opted for Fusion 360 and wao.... what a change. First of all it's just quicker, nicer and easier to use. Normally for a mechanical design we had to print something 5 to 8 times to get it right, now... simulate on the software, modify it, print it and in one go we have it perfect. Highly recommend it.
We are running test with someone. His name is Dario and he happens to have an upper limb amputation. He has been nice enough to try out our hand and so far so good! Now he is the principal motivation to finish it soon. Also he has given us some feed back. like now the fingers have rubber strips integrated to them because the grip wasn't enough for him.
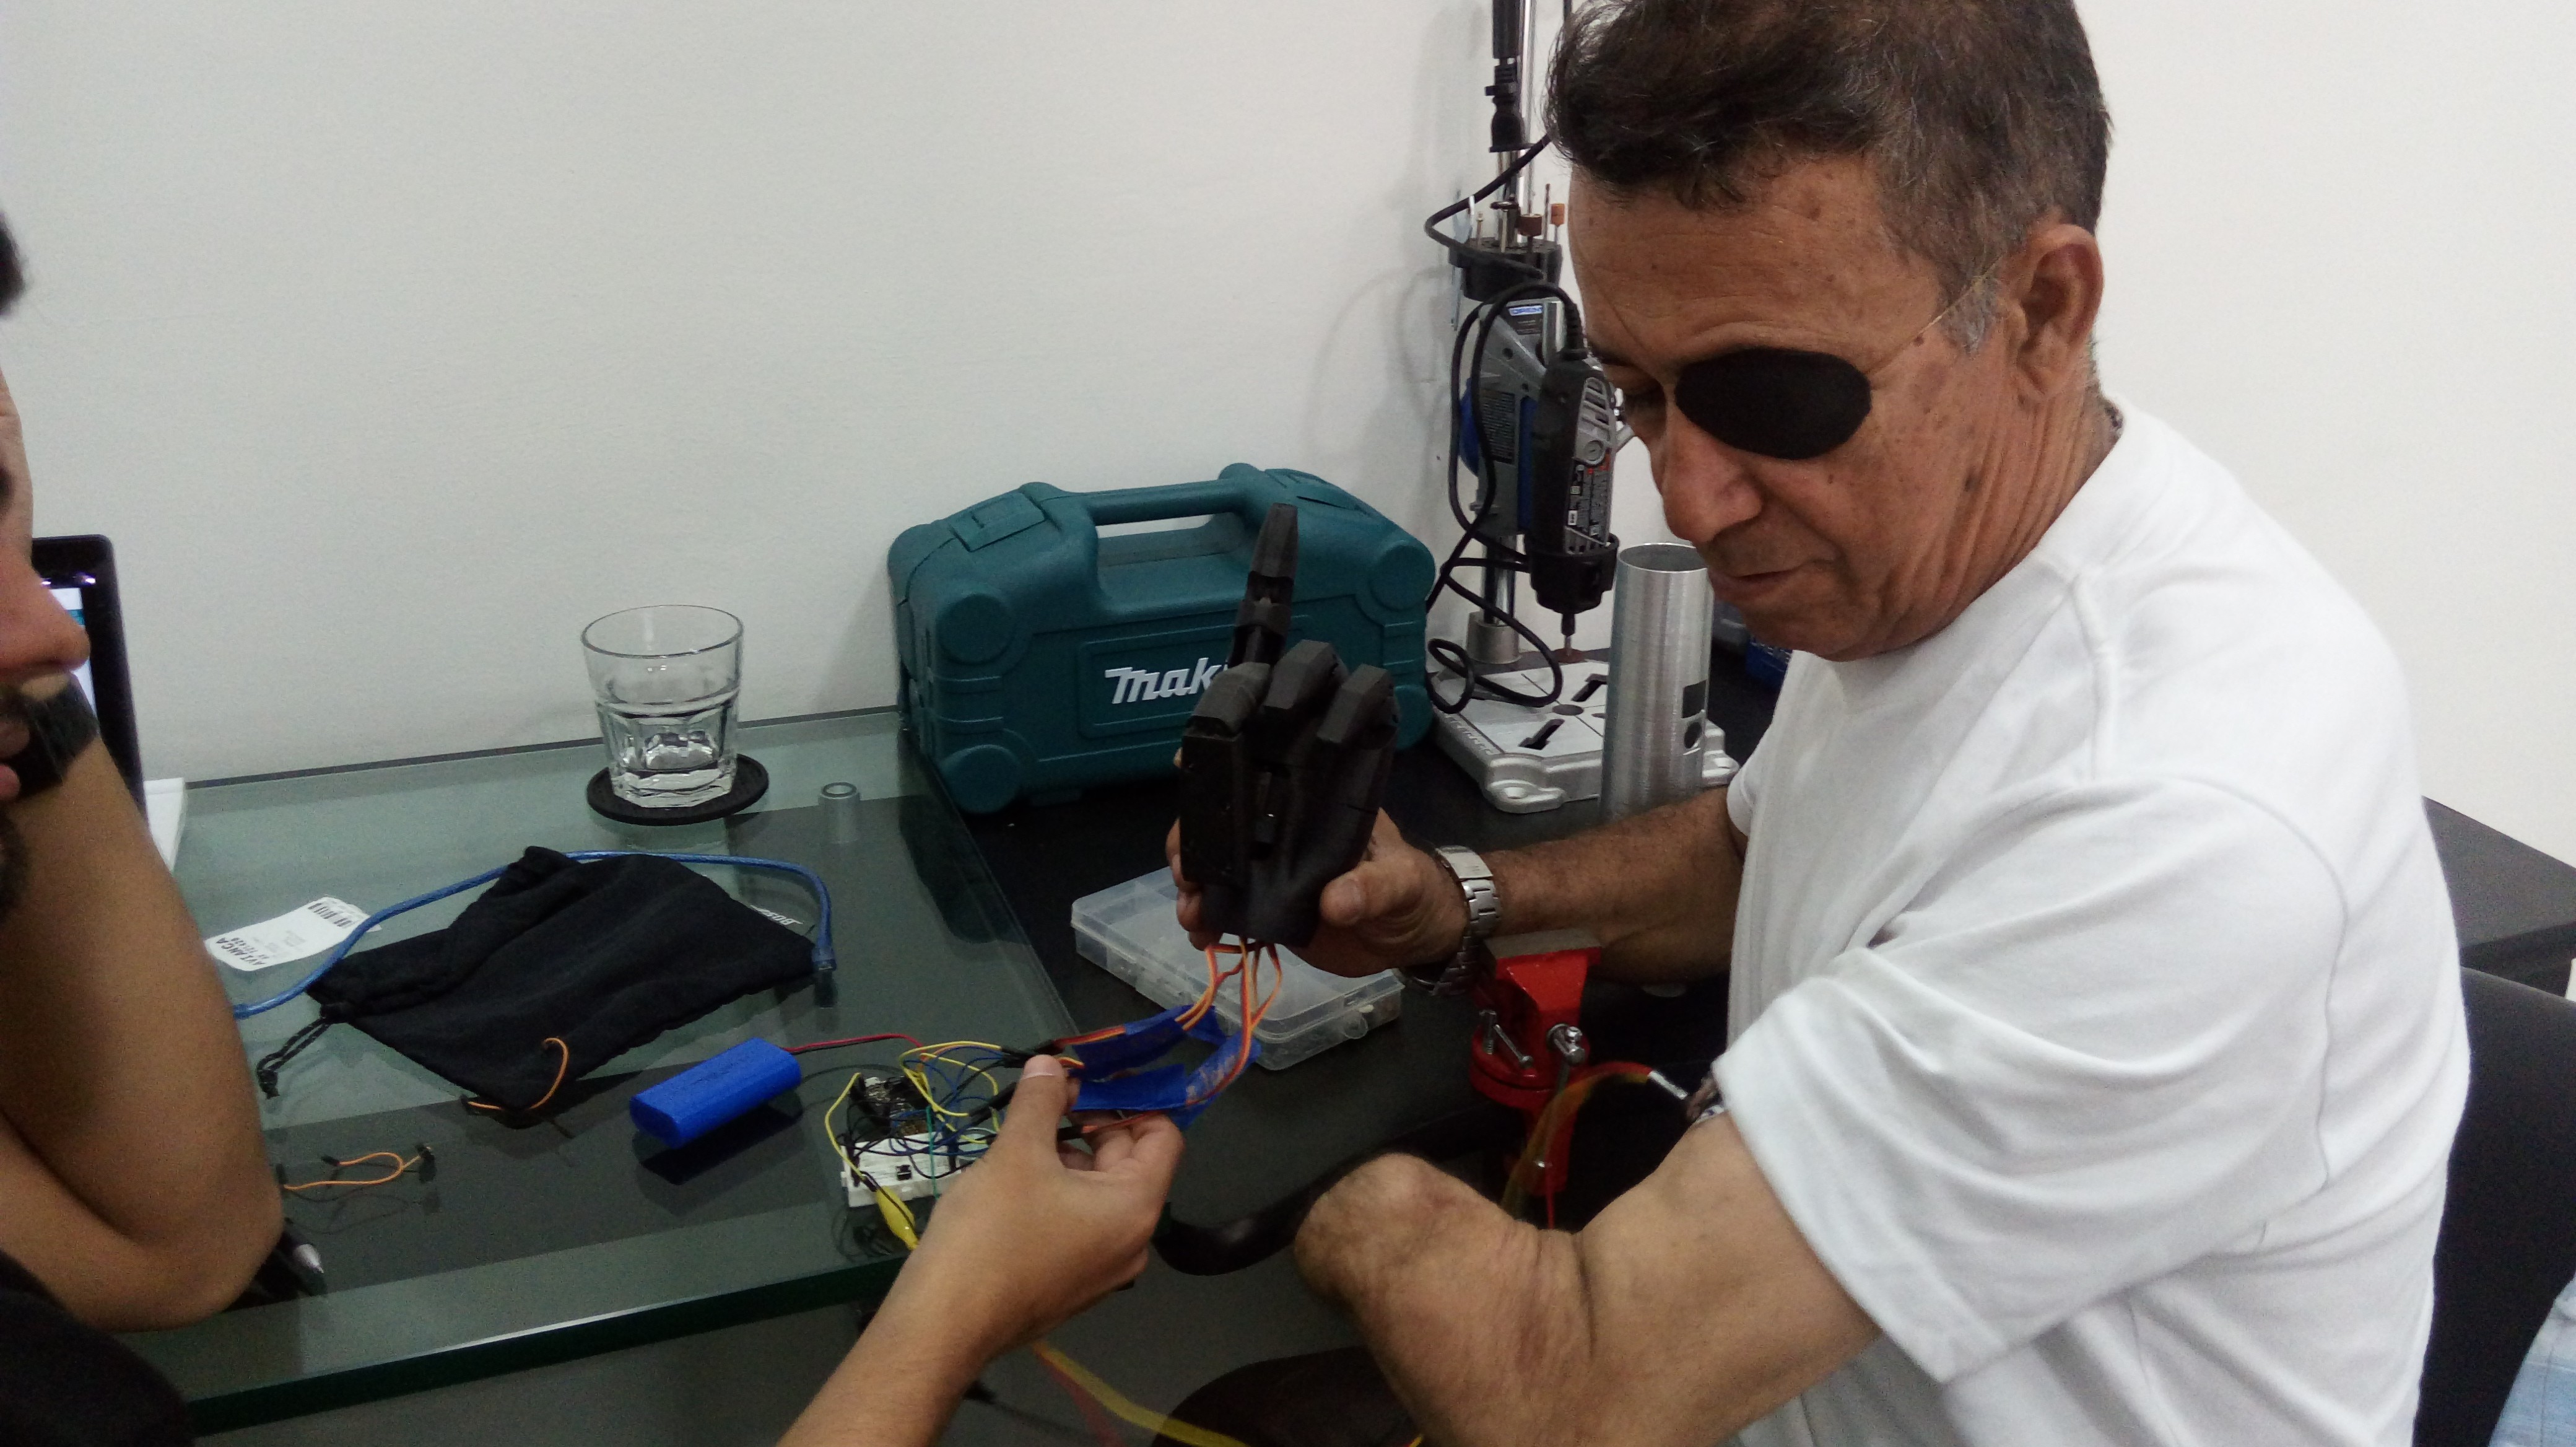
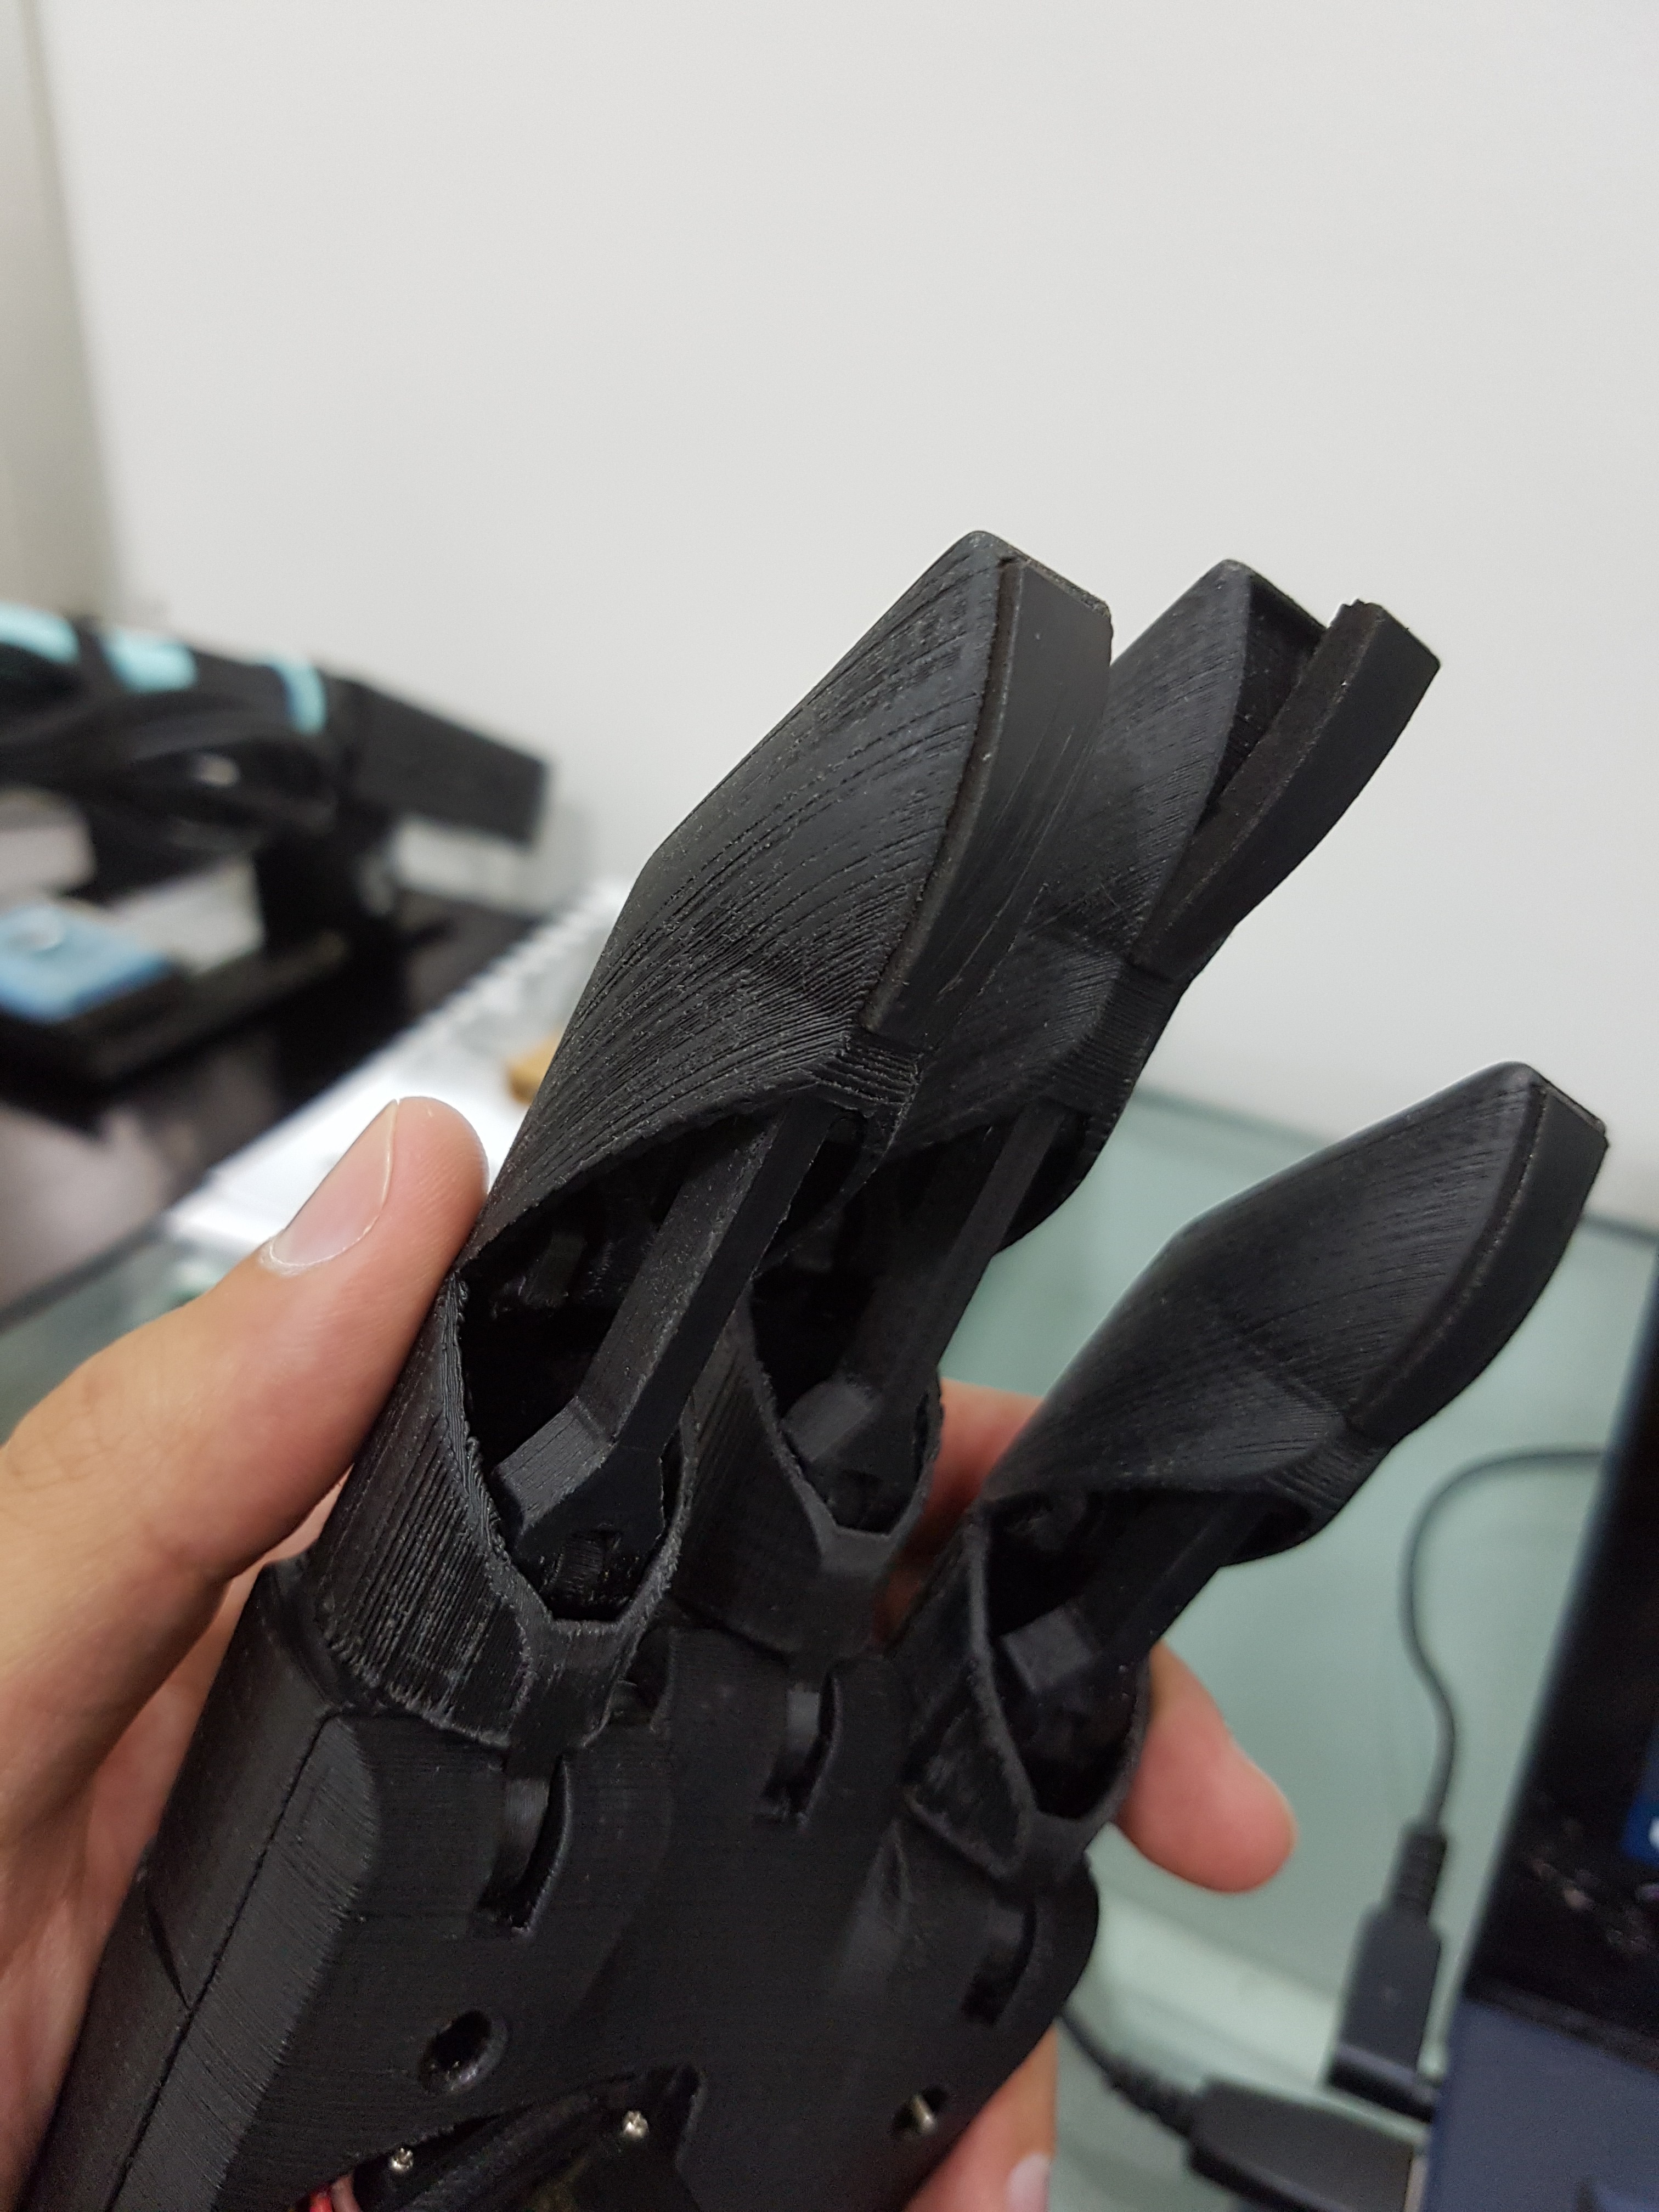
But most important of all, we know you are out there. So tell us what you want to see, what sparked your curiosity to follow this project. If you want us to make a new video or post.... about what it would be?
Happy holidays everyone!
So, whats going on.... Right now we think we are out of the race for the hackaday prize but everybody has been asking about the project. So things are great about the product... you will see.... its lighter, smaller and more dependable, we implemented gestures and we are working with organizations to begin trials with someone, so.... great!!!
First of all we want to thank this community for showing interest on our little project and make us advance to the semifinals!
Now back to work. One of the most common comment when someone sees our hand is.... why is the thumb so huuuge? it's true and the reason is that there is the whole mechanism inside there.... but we can make it smaller, 25% smaller.
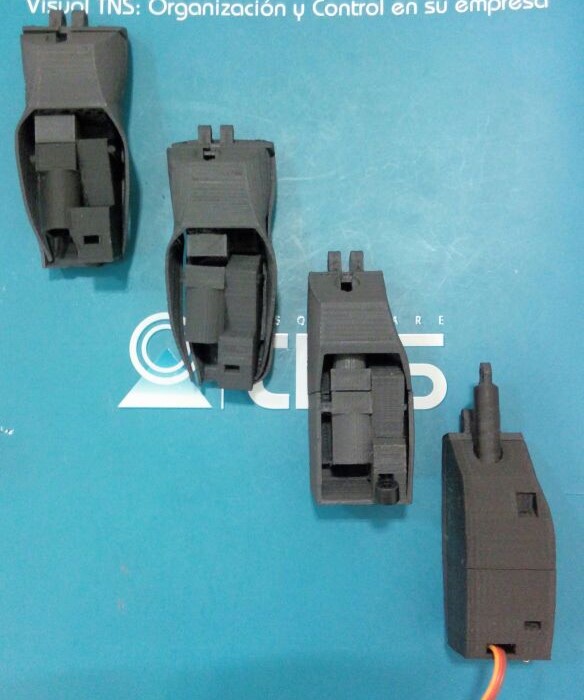
So these are the iterations that leaded to a smaller thumb. We had to change the potencio meter position and so one. Also we took the opportunity to enclose that part so the three holes that you see are for the cables and attaching to the palm.
You can see it working on the next video.
Right now we are working on the palm. It has been tricky with the new filament that we wanted so much now it's a problem, so that will be our next post.
And we will try to have the hand fully working by the next week, 10 posts and the video because we don't know maybe we could make it to the final stretch!
Assembling the hand we thought about how do we keep track which is which. Normally on our products we put an ID as a code bar or something alike but no one would like to have a code bar on herself or himself. So how do we keep track on what hand did we make and added to our inventory. We had a library as a client that used NFC tags to identify theirs books and think about it, the user can also use all the other good things about NFC tags.
We search about it and we weren't the first that thought about it but it always is an after market modification (love it) but we could put it on the hand and let the user decide whats good for.
Turns out that on the contrary of normal carbon fiber that acts like a Faraday cage, when your see an iPhone case made from CF trust me is a terrible idea. The product from ProtoPasta lets the waves go trough so its an added benefit from the material.
We are using the Adafruit PN532 NFC/RFID Controller Shield for Arduino to read
the tags and it works great, it's pretty straight forward to use. https://www.adafruit.com/products/789
We are using this tags. https://www.adafruit.com/products/361
aaaand they work... however we tried to use it on our cellphones and it didn't. We didn't read the fine print on the product page where they clearly said that if we wanted one that does we should use these, that we will. https://www.adafruit.com/products/2800
They look easier to implement and we have to change the design because of the housing of the tag will be different, as you see on the next picture.
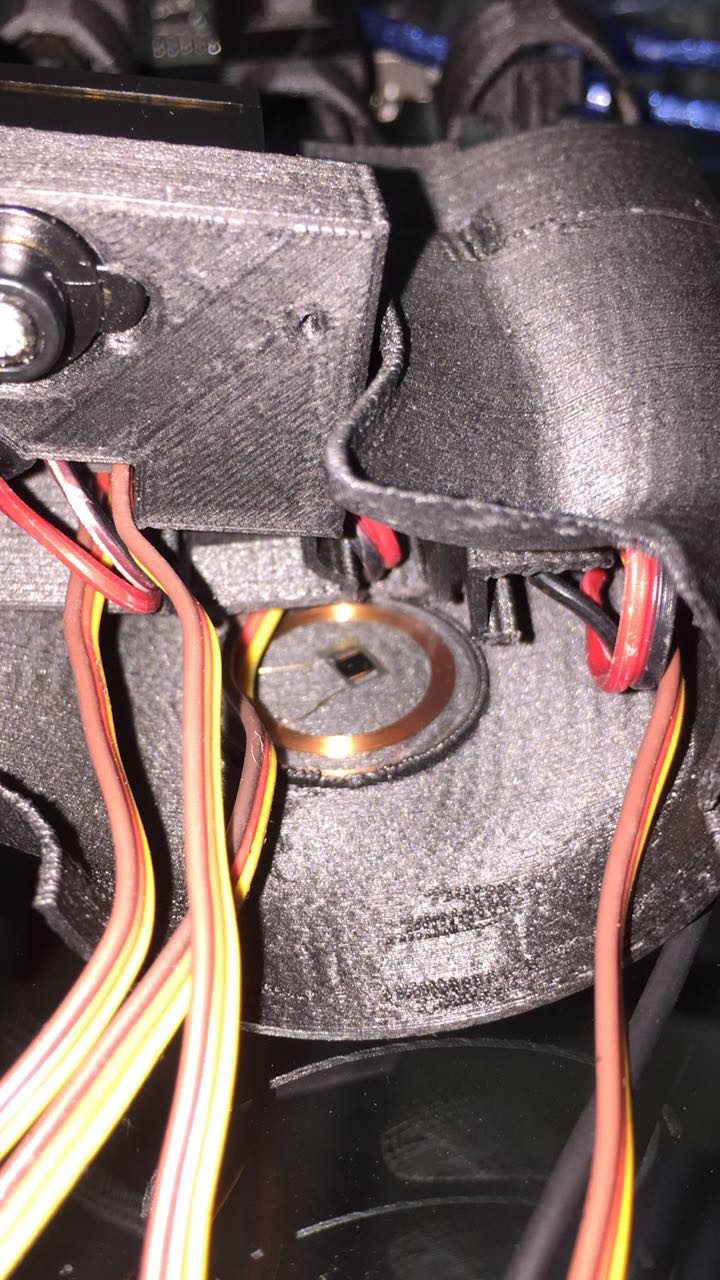
At the moment our 3D printer is in the shop under some maintenance, so things have been a lite bit slow. However this gave us time to perfect the CAD's, verify the premises of the build and even try some finishing touches.
So about the finishing of the hand, remember that has to be really nice and boost someone's self estime, so we can't just give her or him whats off the printer. We saw on Tested the following video and thought that it would be great to implement it on our prints.
So the closest thing that we found to that product was the following. It's called french resin.
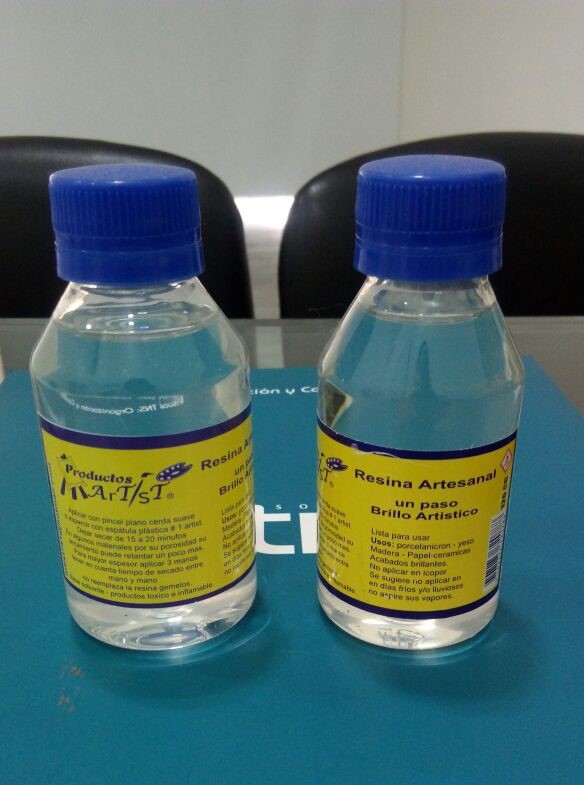
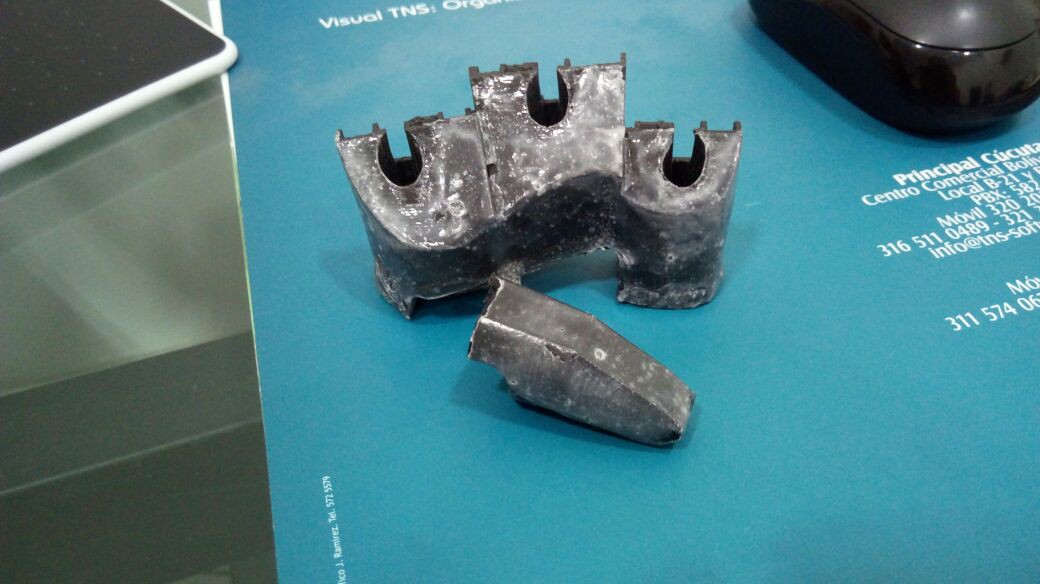
At the beginning it was promising so we tried it out and let it dry but after two days the pieces became lumpy and cloudy.
Everybody has told us that we could use acetone vapor for the smoothing of the prints but remember that it is a very dangerous process that only applies to ABS and we are pretty much set to CF PLA. In the mean time we are sanding by hand or with a Dremel and applying a matte lacquer afterwards. Has been wonderful.
About the weight. For the person to benefit from the prosthetic has to be able to use it everyday, so one of the factors is that has to be light.... like really light. One of the benchmarks of the market weights 650 grams and it is made from real carbon fiber!!!
We have the advantage that the board, batteries and sensors will rest at the forearm and wont make that much torque. Because you know 500 grams at the hand is a lot.... lever.... torque... Arquimedes... you get it.
Soooo how much does it all the hand weights?
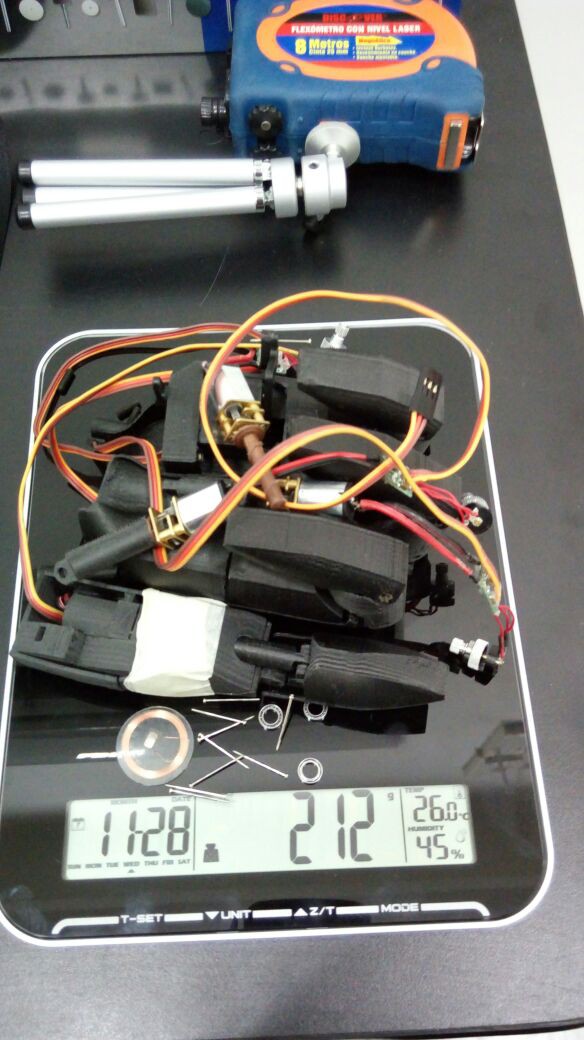
That much.... So we are really really happy about that... And believe us it's all there.
The other components weight that much neither.
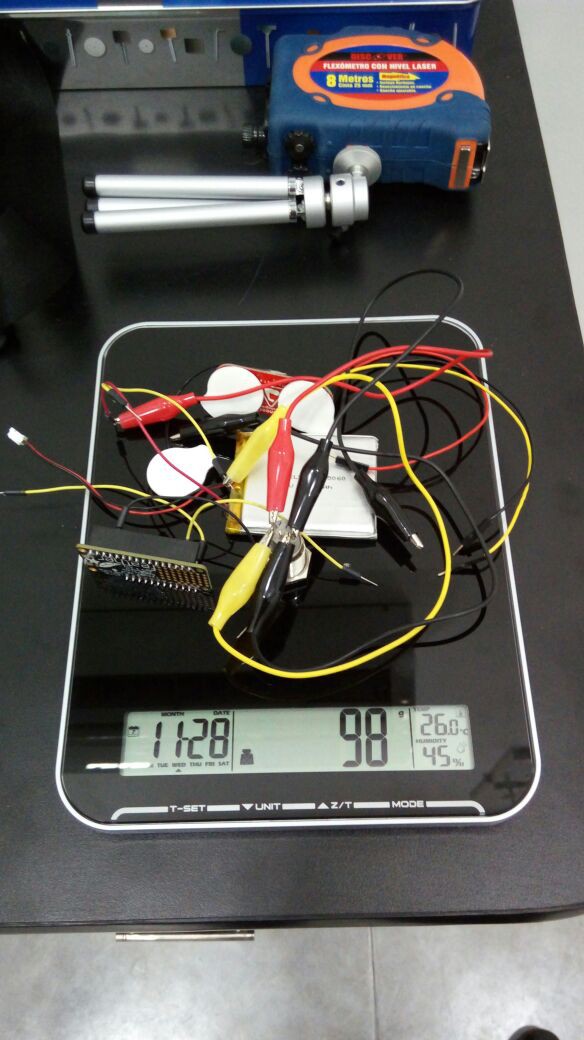
So we are in the right track to bring something that will really make a diference to someone and that feels really good.
Browsing Hackday we found out a pretty cool project about a 3D-printed joint from Tim Wilkinson. You should check out his project looks really elaborated and with a million of applications. https://hackaday.io/project/13398-custom-articulated-joint
He asked us if we could make it clearer how ours works so we made this video.
First of all, we want to make it clear, we love this material. We really do but 3D-printing isn't easy and learning a new experimental material is an exciting and great trip and every great trip has his challenges.
Everyone that has seen something about Carbon Fiber PLA (Ours is from Proto-Pasta, best provider of all) knows that the main problem will be the nozzle and we knew it but we ordered a steel nozzle from China so in the mean time..... lets destroy the current brass nozzle.
This is the end result of two brass nozzles after half a kilo with Carbon Fiber PLA.
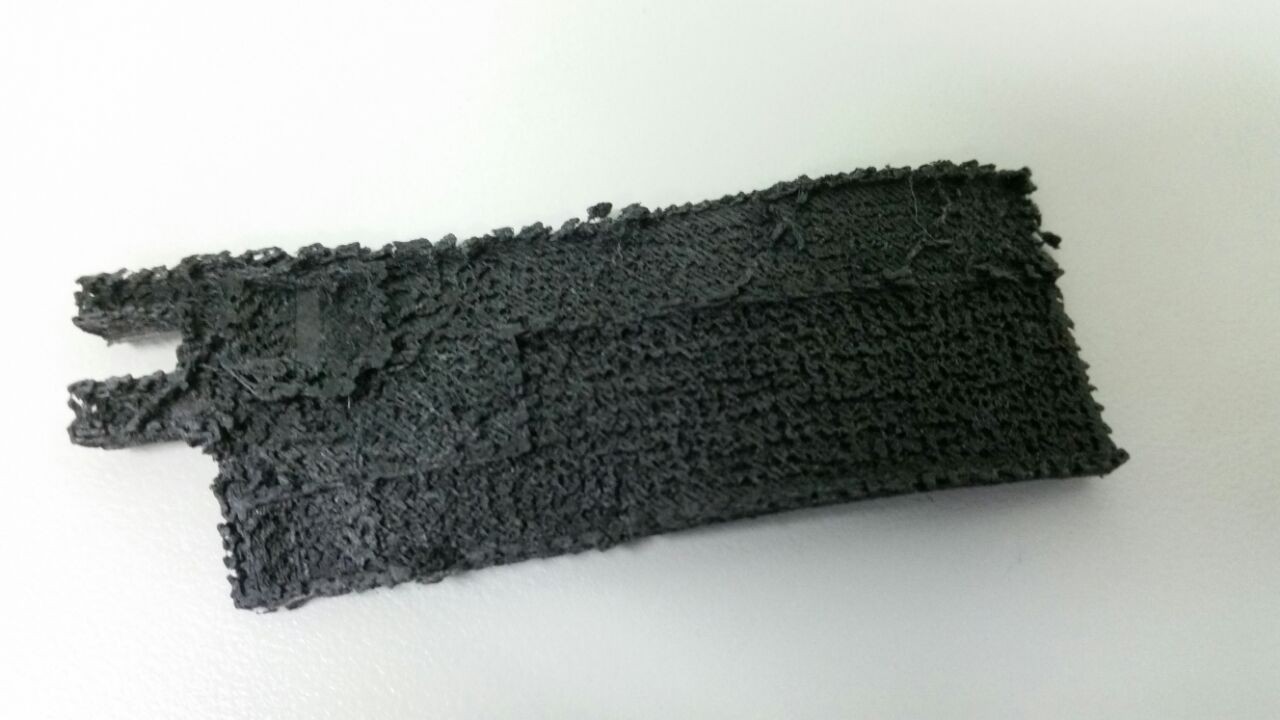
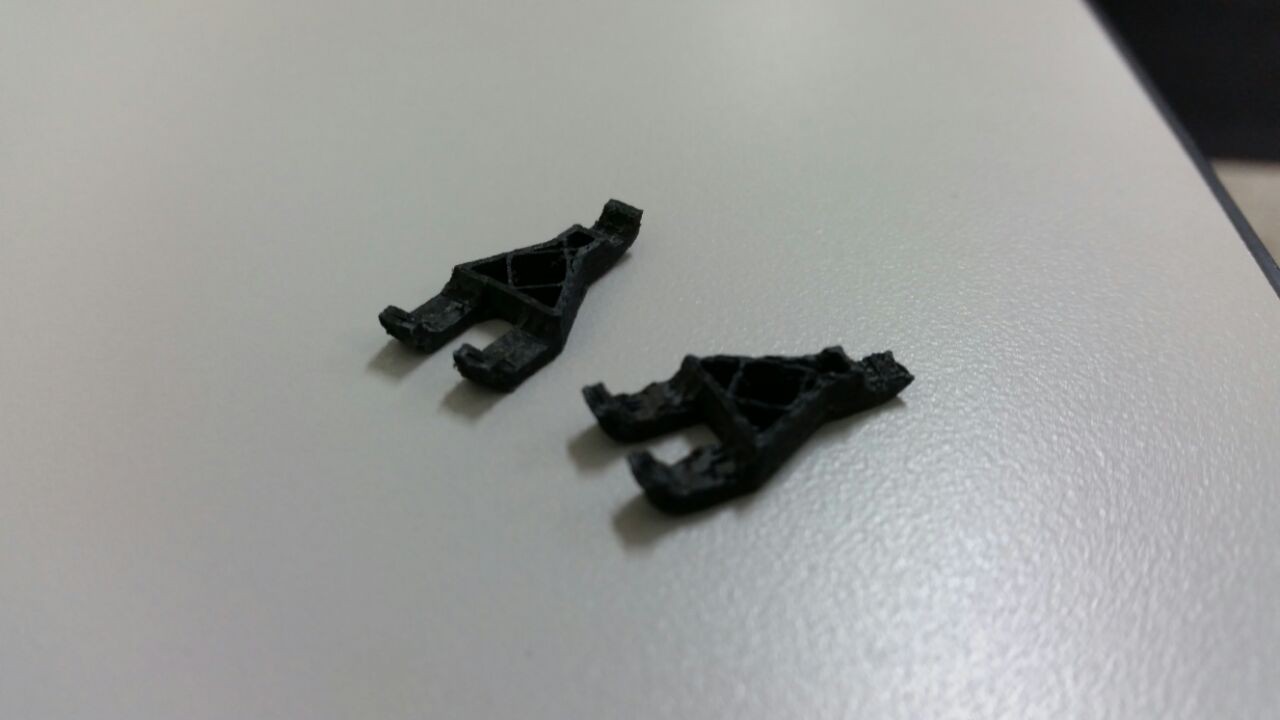
But..... there is one better (https://www.proto-pasta.com/products/high-temp-carbon-fiber-pla-composite)and we are really looking forward to that one. The new Carbon Fiber PLA that can be baked, we tried to do it with the one we have and ended up with Carbon Fiber cookies. But really strong cookies!!
So when the new one arrives, we will tell you about it.
Create an account to leave a comment. Already have an account? Log In.
Excellent question, we had that problem and burnt our fare share of servos. Also we hated the noise that the hand continuously made from whats called "jittering".
The solution it's right there on the code, we only attach the servos when we are going to use them during 500 miliseconds and then we use servo.detach() so they turn off in that position. From the nature of our linear actuator it stays in that position where you left it.
The best of all this..... we only use one 2500 mA battery and it goes for 3 days straigth without a charge. So imagine what would do with a 4400 mA battery.
you clever, clever people! So simple yet so clever...
Brilliant project guys! Your microlinear actuator is superb, and the idea of chopping up a servo for the board and potentiometer is simply genius! Crafty indeed.
I particularly like the idea of dropping a finger. I just wish i'd found your project earlier in the development of my own - https://hackaday.io/project/10046-raimis-arm-bionic-arm-for-kids
I shall redesign my hand anyway - who needs four fingers? Three makes much more sense!
I shall watch your progress with interest.
Hello Patrick!
We can't express how much your comment means to us. Raimi's arm is one of the pillars of Hackaday and the electronics are a perfect example, we hope to introduce a screen in our arm on the future!
Right now we are working on assembling a full hand to make a video. However we made so many improvements that we are testing that's not easy but its going great.
We hope that we can collaborate with schematics and ideas, making a great product for the people that need it. Again thank you for your comment it's refreshing and better when it's from an expert.
Expert i'm not! I'm just an amateur who recently discovered the joy of
3d printing, combined with arduino. I'm enthusiastic about helping
others, while earning money for my family at the same time.
I do
have one question for you. Your actuator operates like a servo. When you
tell your hand to close, and it grips a large object, the hand
physicaly cannot close. Won't the motor burn out?
Become a member to follow this project and never miss any updates
By using our website and services, you expressly agree to the placement of our performance, functionality, and advertising cookies. Learn More
 Douglas Miller
 Ovidiu Sandru
 Giovanni Leal
 Greg Stephens
I would like to experiment with this nice design; could you post all parts to build the thumb? Do you have a step assembly file?