-
Scientific test with i1 Pro2 Confirmed
01/08/2016 at 23:00 • 0 commentsHey guy! I have just bring my monitor to testing with Spectrometer x-Rite i1 Pro2. This is not the best for display calibration but better than nothing. Also I tear off Anti-Glare coating on the screen to reveal crystal clear surface of LCD panel but A-TW still remain on it.
![]()
![]()
Prove it!!!! used Canon Camera with Magic Lantern and Vectorscope function can measure white point for the display (maybe it's RGB sensor too!)
![]()
IT'S NEARLY BANG ON X:0.313 Y:0.329 but however I fine-tuned it with i1 to make sure it's accurate.
![]()
Unfortunately I have some work to do later this.
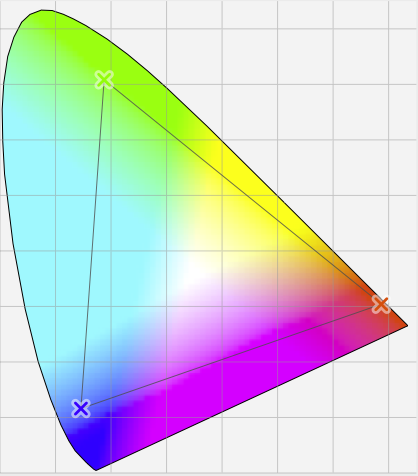
The RGB-LED Chip which I use are 5050 PLCC RGB-LED and It's off-scale on blue wavelength a bit. Red and Green is excellent. Maybe I have to find one to match my criteria because CIE D65 blue primary have to be at least 470nm to accurately render BLUE primary matched with most W-LED and other display standards. As shown here in CIE 1931 plot.
![]()
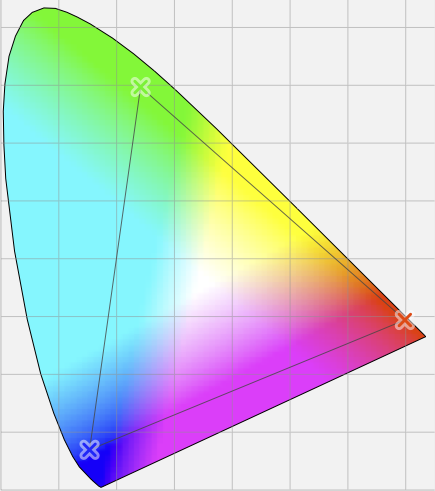
Which when compare in contrast with Samsung XL24 which also used RGB-LED. Fantastic monitor. You can see all primary of my monitor have to be improve to get more accurate spectral distribution.
![]()
Nevertheless, I have to purchase OSRAM Ceramos MultiLED which used on Dolby PRM-4220 Reference monitor. So I can have more pure color primaries. Stay tunes.
![]()
-
Runs smooth and excellent!!!!!!
01/01/2016 at 09:18 • 0 comments![]()
Here is my first job graded on RGB Edge-Lit NEC Multisync 2090UXi on Samsung Wide-gamut XL20 ICC profile and LUT for Davinci Resolve for monitoring.
-
Just modded
12/07/2015 at 18:34 • 0 commentsHi! guys. Some long time before initial modification of my beloved NEC Multisync 2090uxi. As you know this monitor is sRGB monitor in color critical section. The panel is extremely good opposed to the age of it from year 2006.
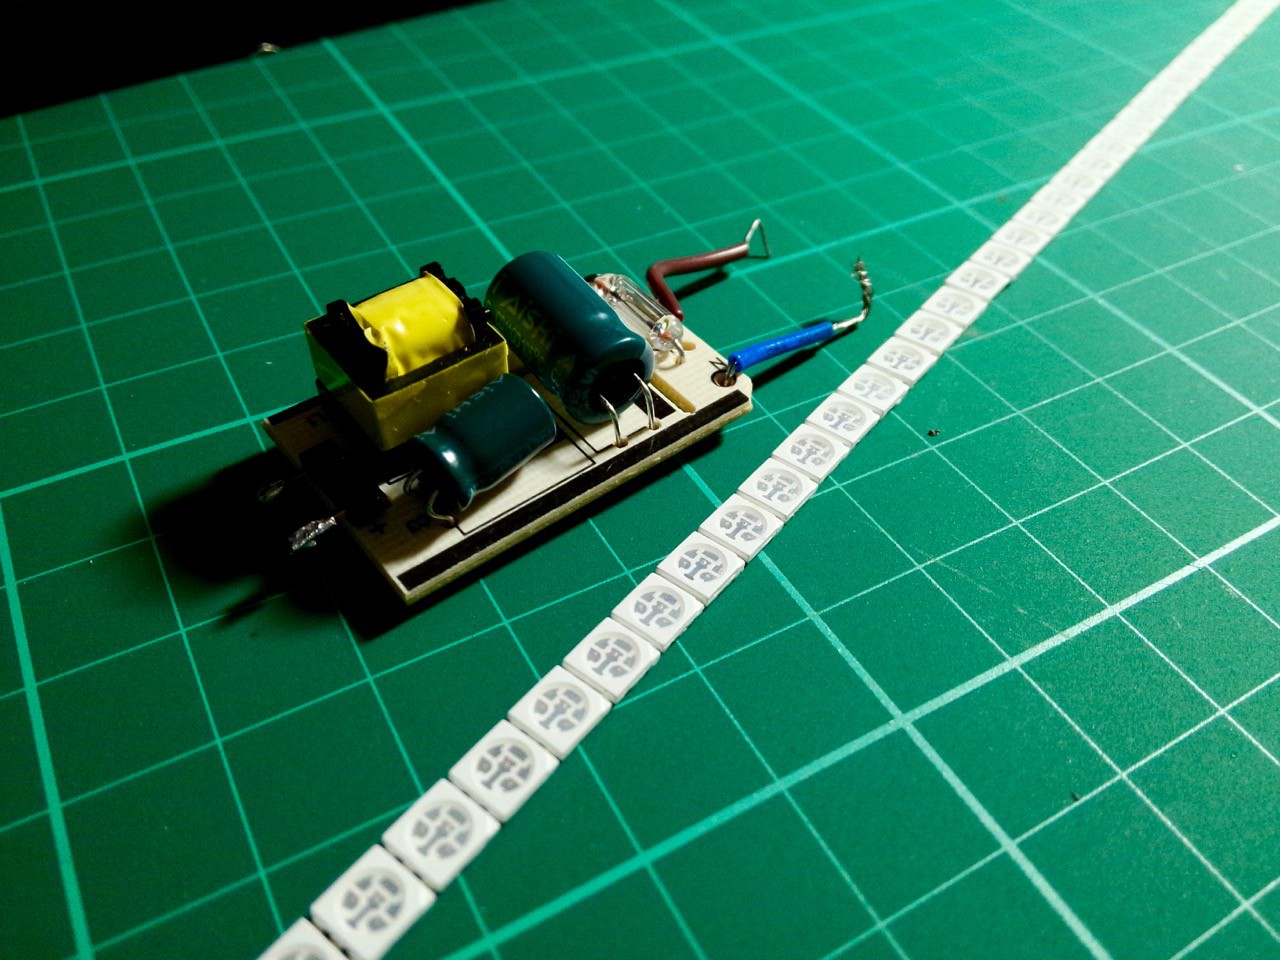
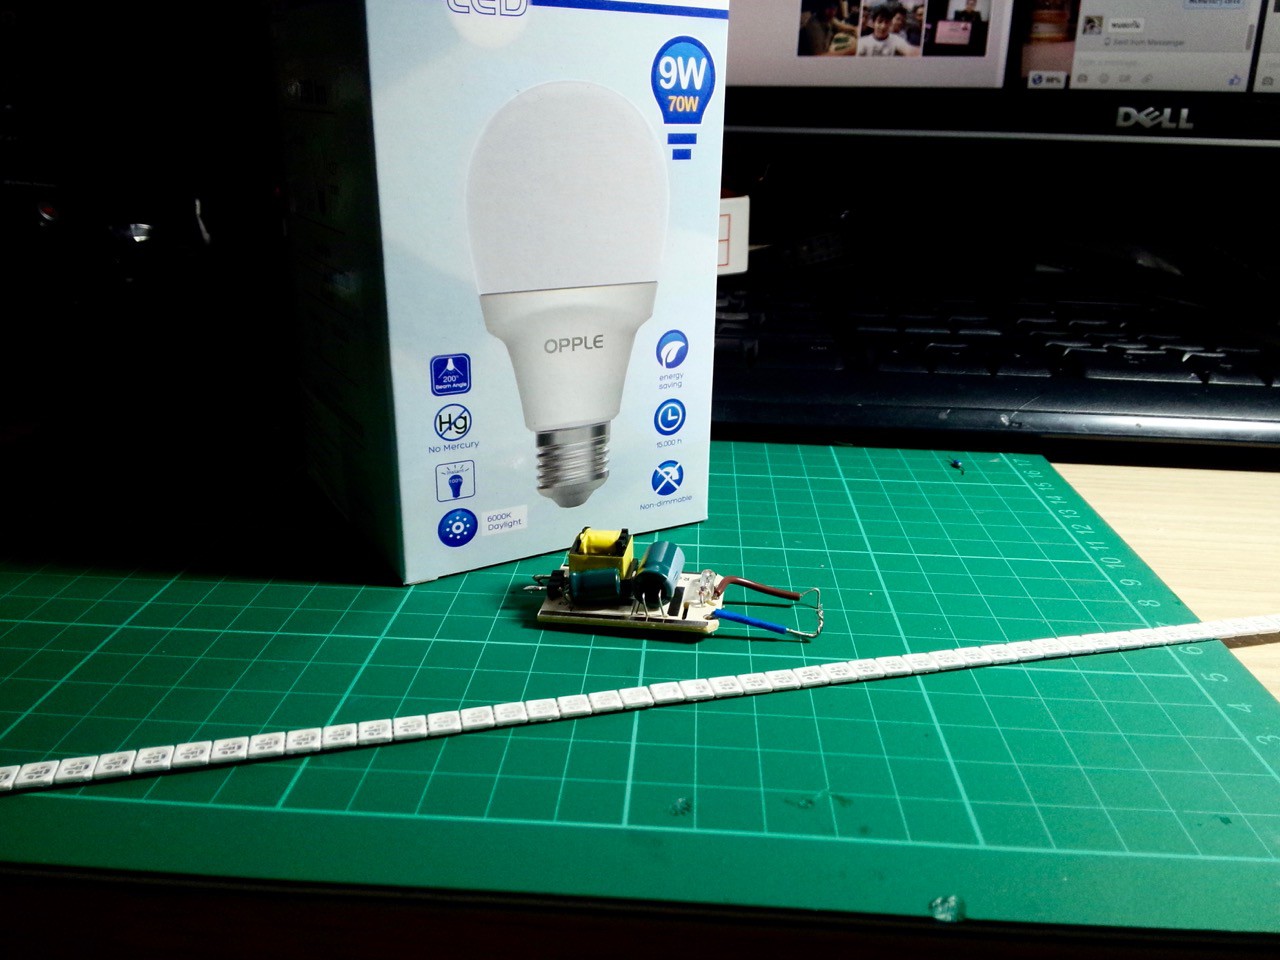
Last time I testing the High-Voltage driven RGB-LED strings which rated nearly 280V so I drive it with Opple 9W LED Driver which drive just that same High-Voltage array of White-LED.
Rated at 9W is enough for all purposed here!!! Runs cool and great.
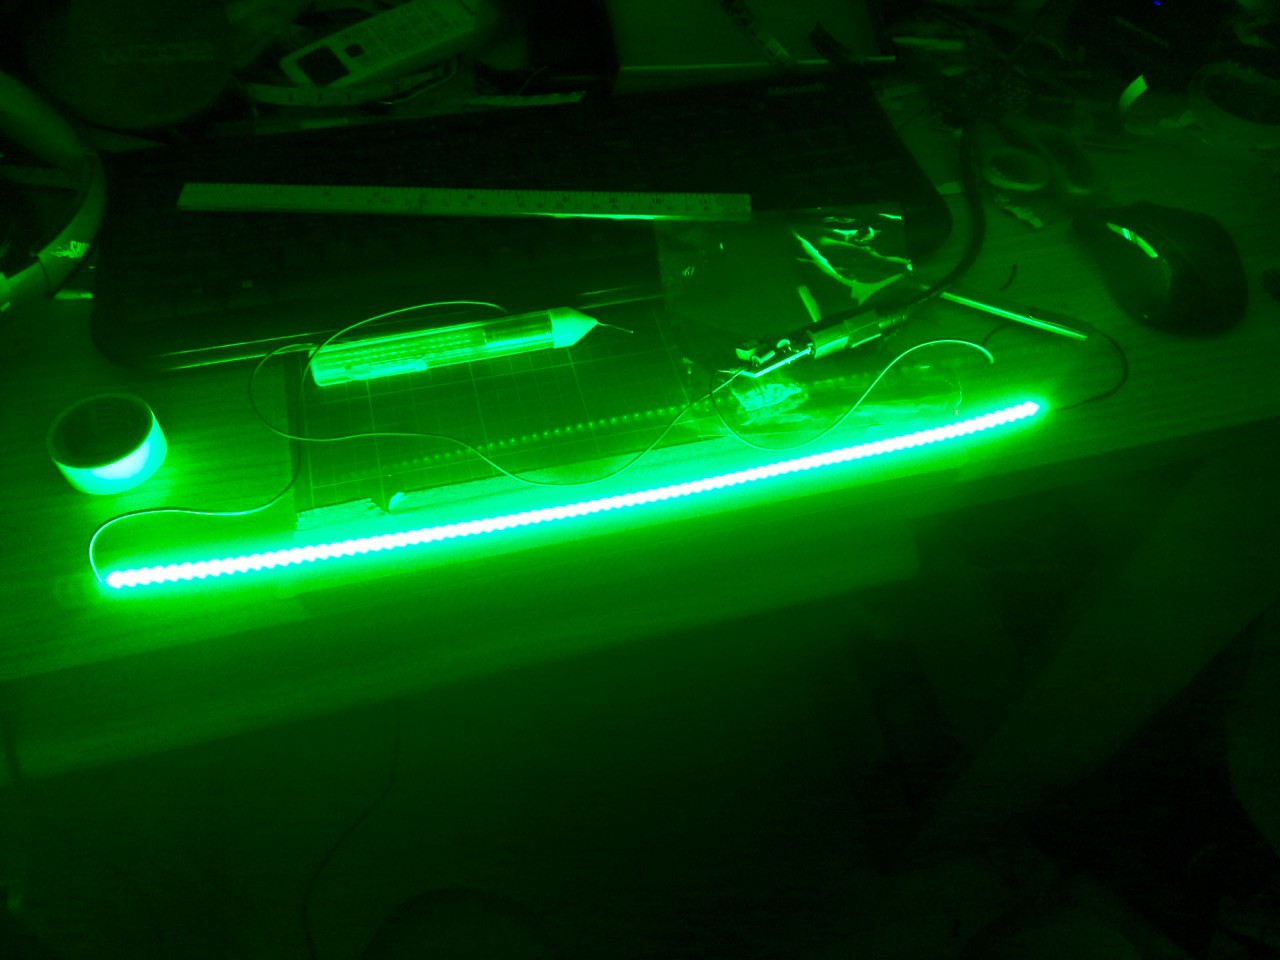
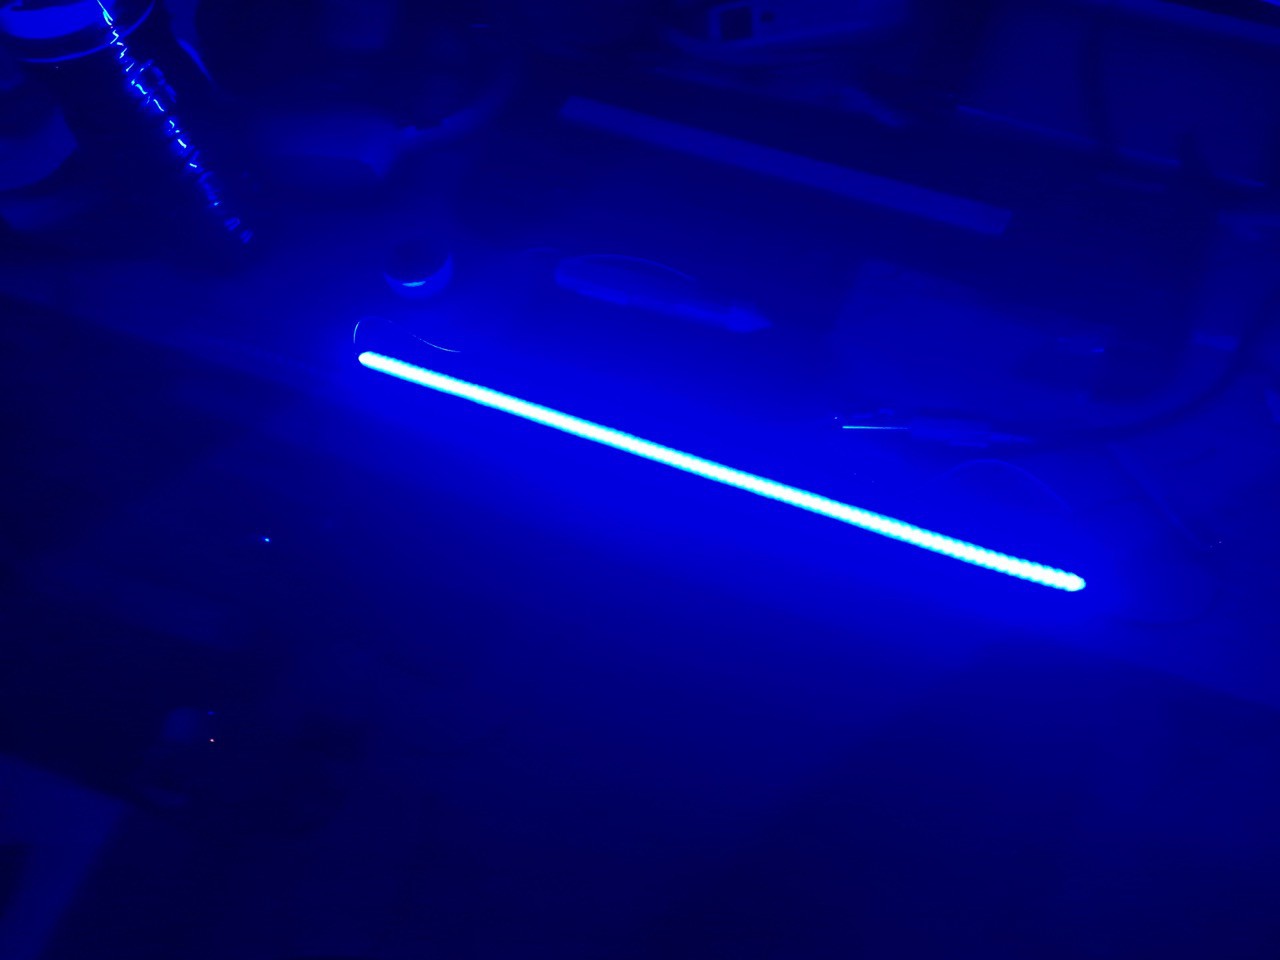
I made some platform for assemble the LEDs chip together by using 2 rulers and some electrical tape as adhesive when in sit on matte cut sheet. After arranging LED in series together I put some flux on it to prevent solder lead being melt stick together. I have to did it 2 times per string. So 8 times of this string made.
![]()
The control circuit is straight forward. If you connecting Red LED to Blue and Green it will draw all current to it because it have lower voltage. So I drive PWM to MOSFET (in this case I chose IRF840) via opto-coupler and signal from Arduino running RGB Control.
![]()
The code is somewhat vary easy.
#define GREEN 9
#define BLUE 10
#define RED 8
void setup() {
pinMode(GREEN, OUTPUT);
pinMode(BLUE, OUTPUT);
pinMode(RED, OUTPUT);
digitalWrite(GREEN, HIGH);
digitalWrite(BLUE, HIGH);
digitalWrite(RED, HIGH);
}
int redVal;
int blueVal;
int greenVal;
void loop() {
int redVal = 0;
int blueVal = 0;
int greenVal = 0;
analogWrite( RED, 255);
analogWrite( GREEN, 58);
analogWrite( BLUE, 86);
}
The values vary from how it will be drive in most case.
The NEC Multisync 2090UXi used 3 CCFLs per side of Light guide. the width of it can be fitted with 2 strings of RGB-LED snuggled.
![]()
![]()
![]()
The result from it is Stunning!!!! I select Native Color profile and adjust RGB value to matched 6500K
![]() Of course when use wide-gamut monitor you have to calibrate it. If you don't but just for fun just loaded Samsung XL20 ICC profile here Samsung SyncMaster XL20 to make it display sRGB content nearly correctly and it's extremely Wide-Gamut even 5K iMac P3 gamut can't be matched.
Of course when use wide-gamut monitor you have to calibrate it. If you don't but just for fun just loaded Samsung XL20 ICC profile here Samsung SyncMaster XL20 to make it display sRGB content nearly correctly and it's extremely Wide-Gamut even 5K iMac P3 gamut can't be matched. -
Renew NEC Multisync 2090uxi to RGB-LED
11/02/2015 at 14:09 • 0 commentsAfter long used of EIZO L365 which very old one but worth to mod it.
I have another display which specification is great for colour critical work. NEC Multisync 2090uxi.
![]()
Despite it has deep chassis body but it's actually Edge-Lit LCD display. Using 3 linear CCFL for each side, 6 total. This gives me some more space compare to other LCD panel which usually uses 2 CCFL each side.
![]()
Now, I can fit 2 strings of 5050 RGB-LED (about 80LEDs per string) for each side, 320 LEDs in total which harmonised with Edge-Lit that provided more efficient diffusion than direct backlit that I have modified Dell Ultrasharp 2408WFP in other project.
![]()
The power supply for LED string which is operate at High-Voltage about 272V across the string per colour. I used LED Driver from OPPLE 9W LED lamp which use small LED array instead of big chip one. It can supply ~300v regard from the output capacitor stage that stated at 315V. Easily drive 80 LEDs that consumed 0.05W per colour, 4W per colour per string. RGB will use about 12W at full brightness. But when change portion of it to 6500K it should draw less wattage. So, 2 or 4 drivers will be utilised.
Control will done with Arduino driven at 5000Hz for flicker-free dimming. Coupled with opto-coupler and PWM via High-Voltage Mosfet between LED strings and driver.
![]()
![]()
This is just a brief test. I will be update soon for assembly.
 Thomas Chanon Wangtrirat




 Of course when use wide-gamut monitor you have to calibrate it. If you don't but just for fun just loaded Samsung XL20 ICC profile here
