 Jon
Jon-
1Step 1
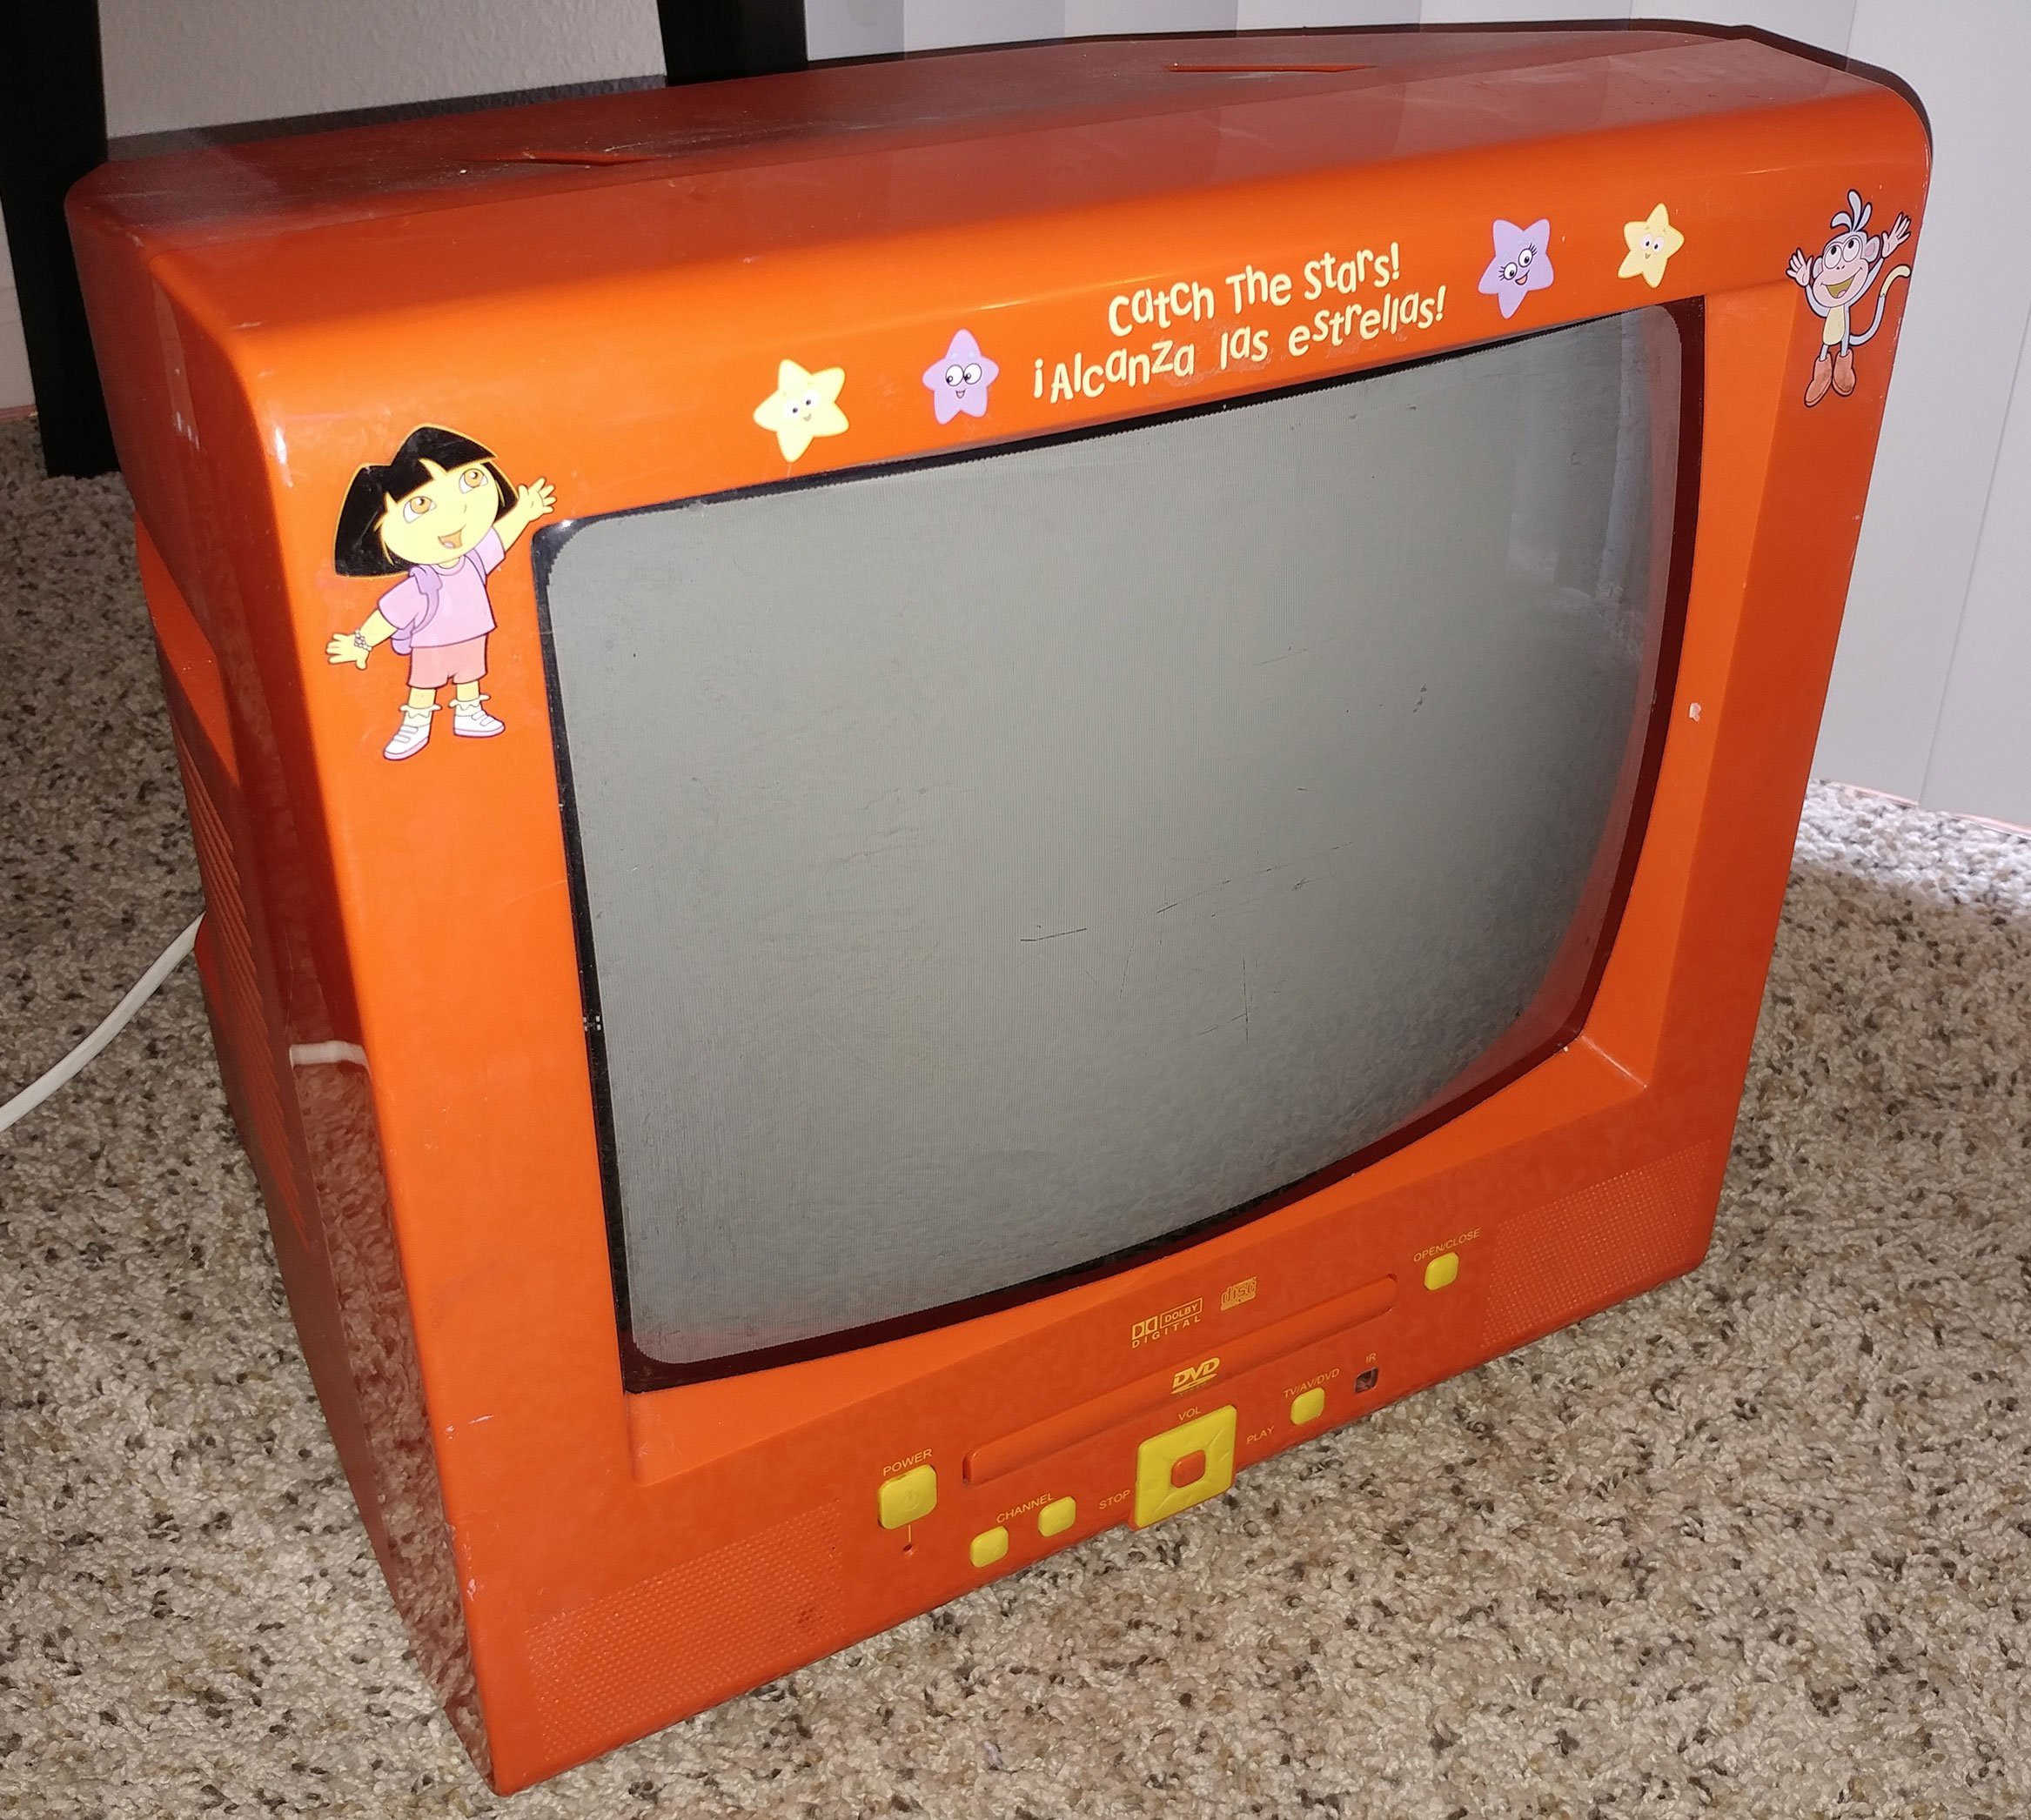
Acquire a suitable TV. I was looking for one that had a relatively large bezel on the front to make sure I could accommodate the USB ports. Initially I looked for portable TVs on eBay, but they were expensive and often shipping was more than the cost of the TV. I checked craigslist and found this TV/DVD combo unit. I wasn't originally looking for one with a DVD player, but I figured it guaranteed me space inside and gave me a place to mount the USB ports on the front.
![]()
-
2Step 2
WARNING! CRTs can hold dangerous and potentially lethal electrical charges even after being unplugged for years. Always safely discharge TVs with the appropriate tools before touching them.
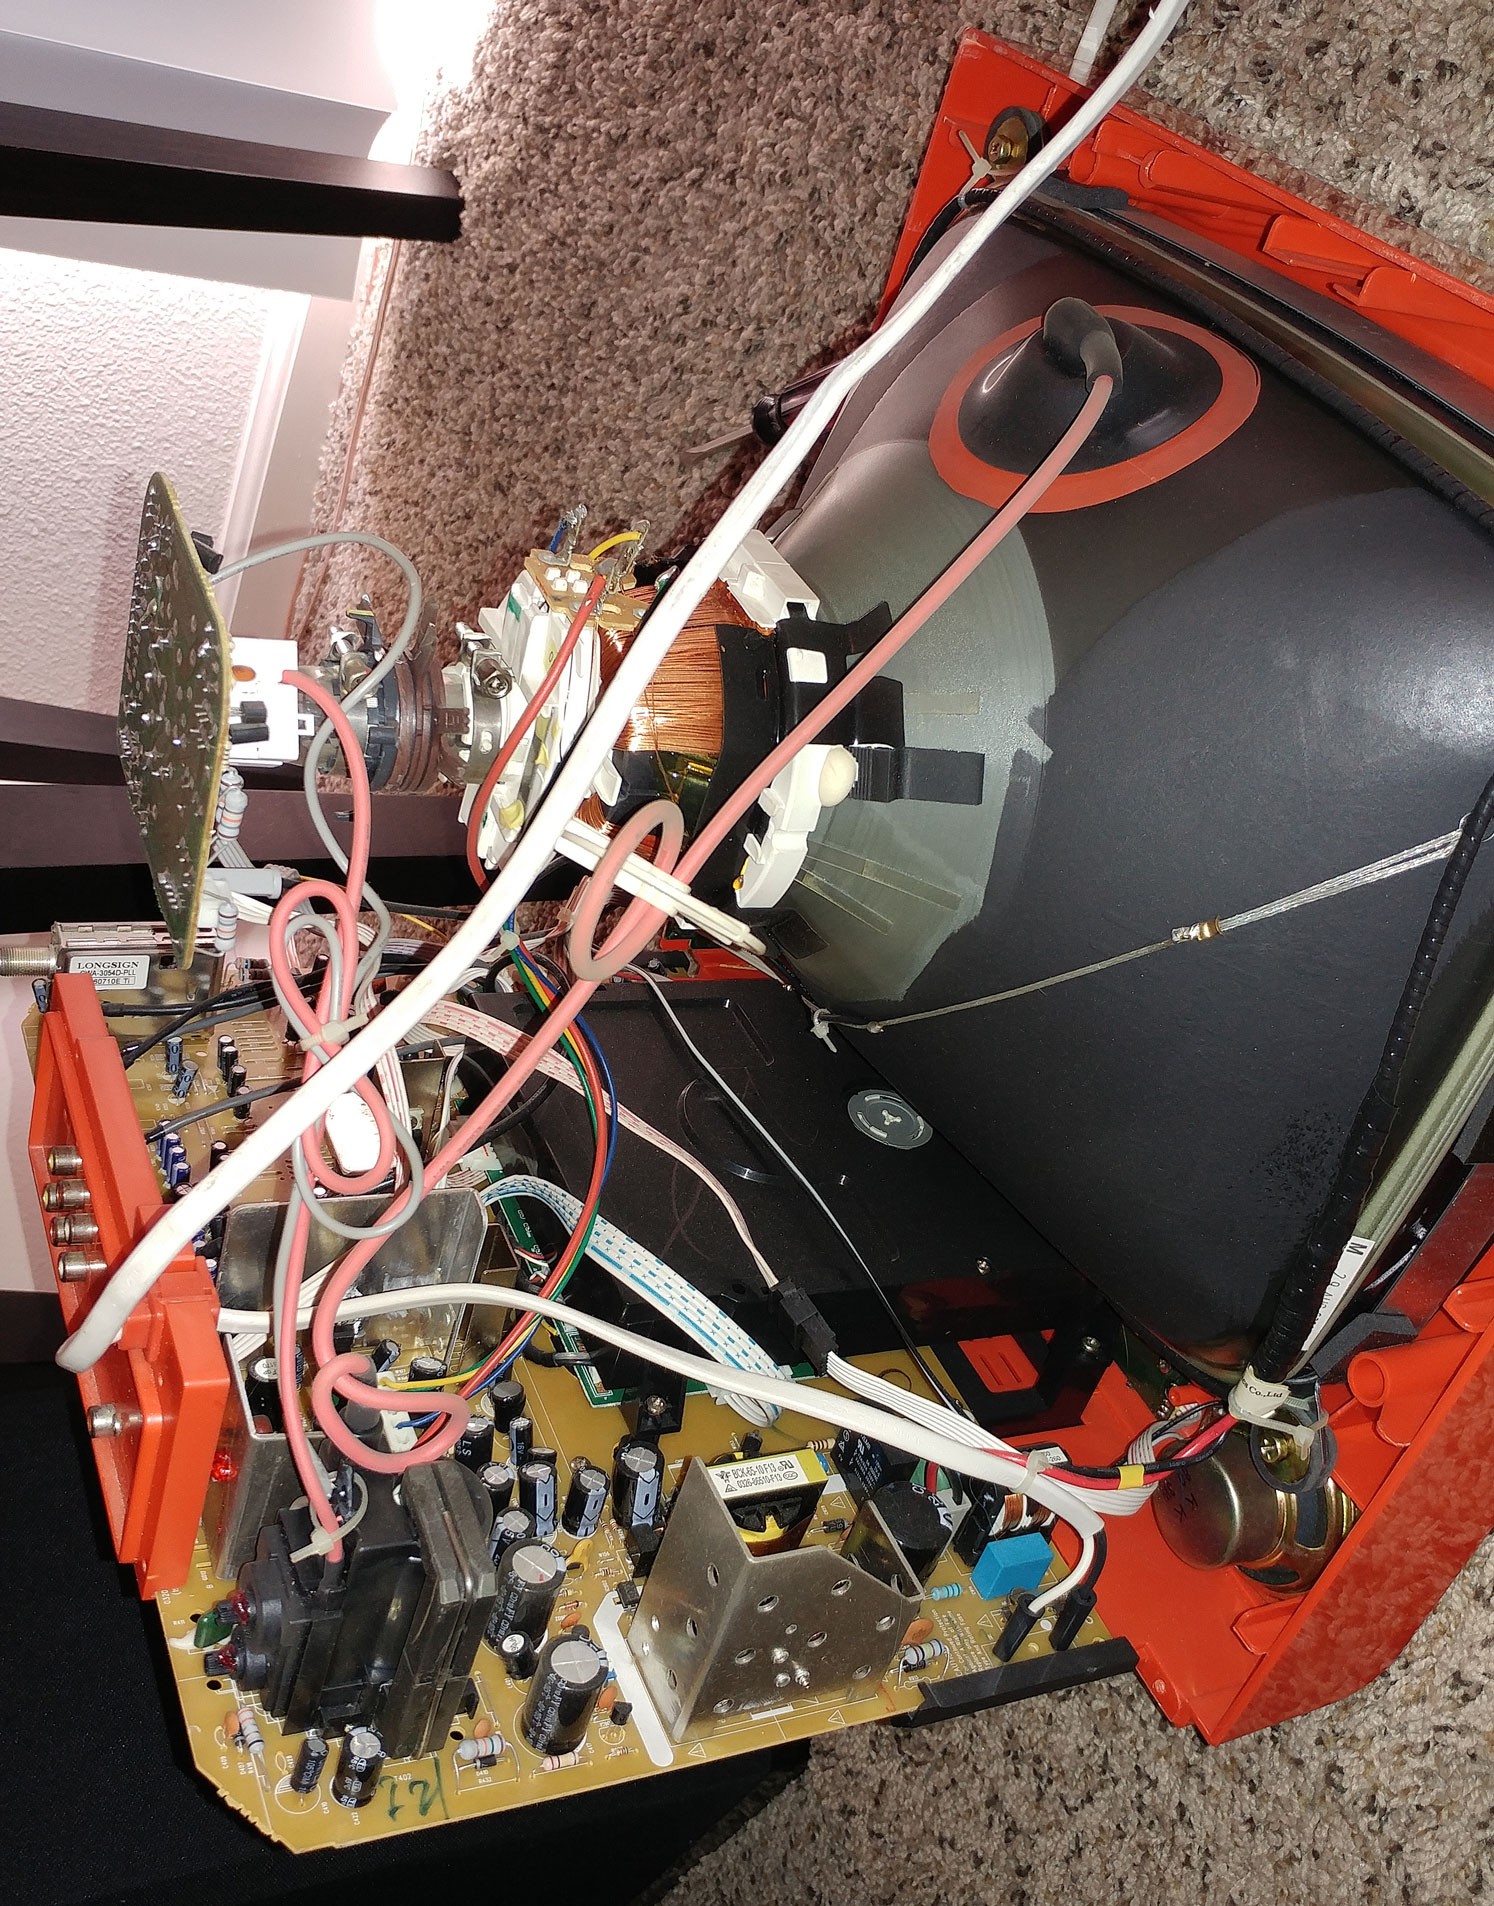
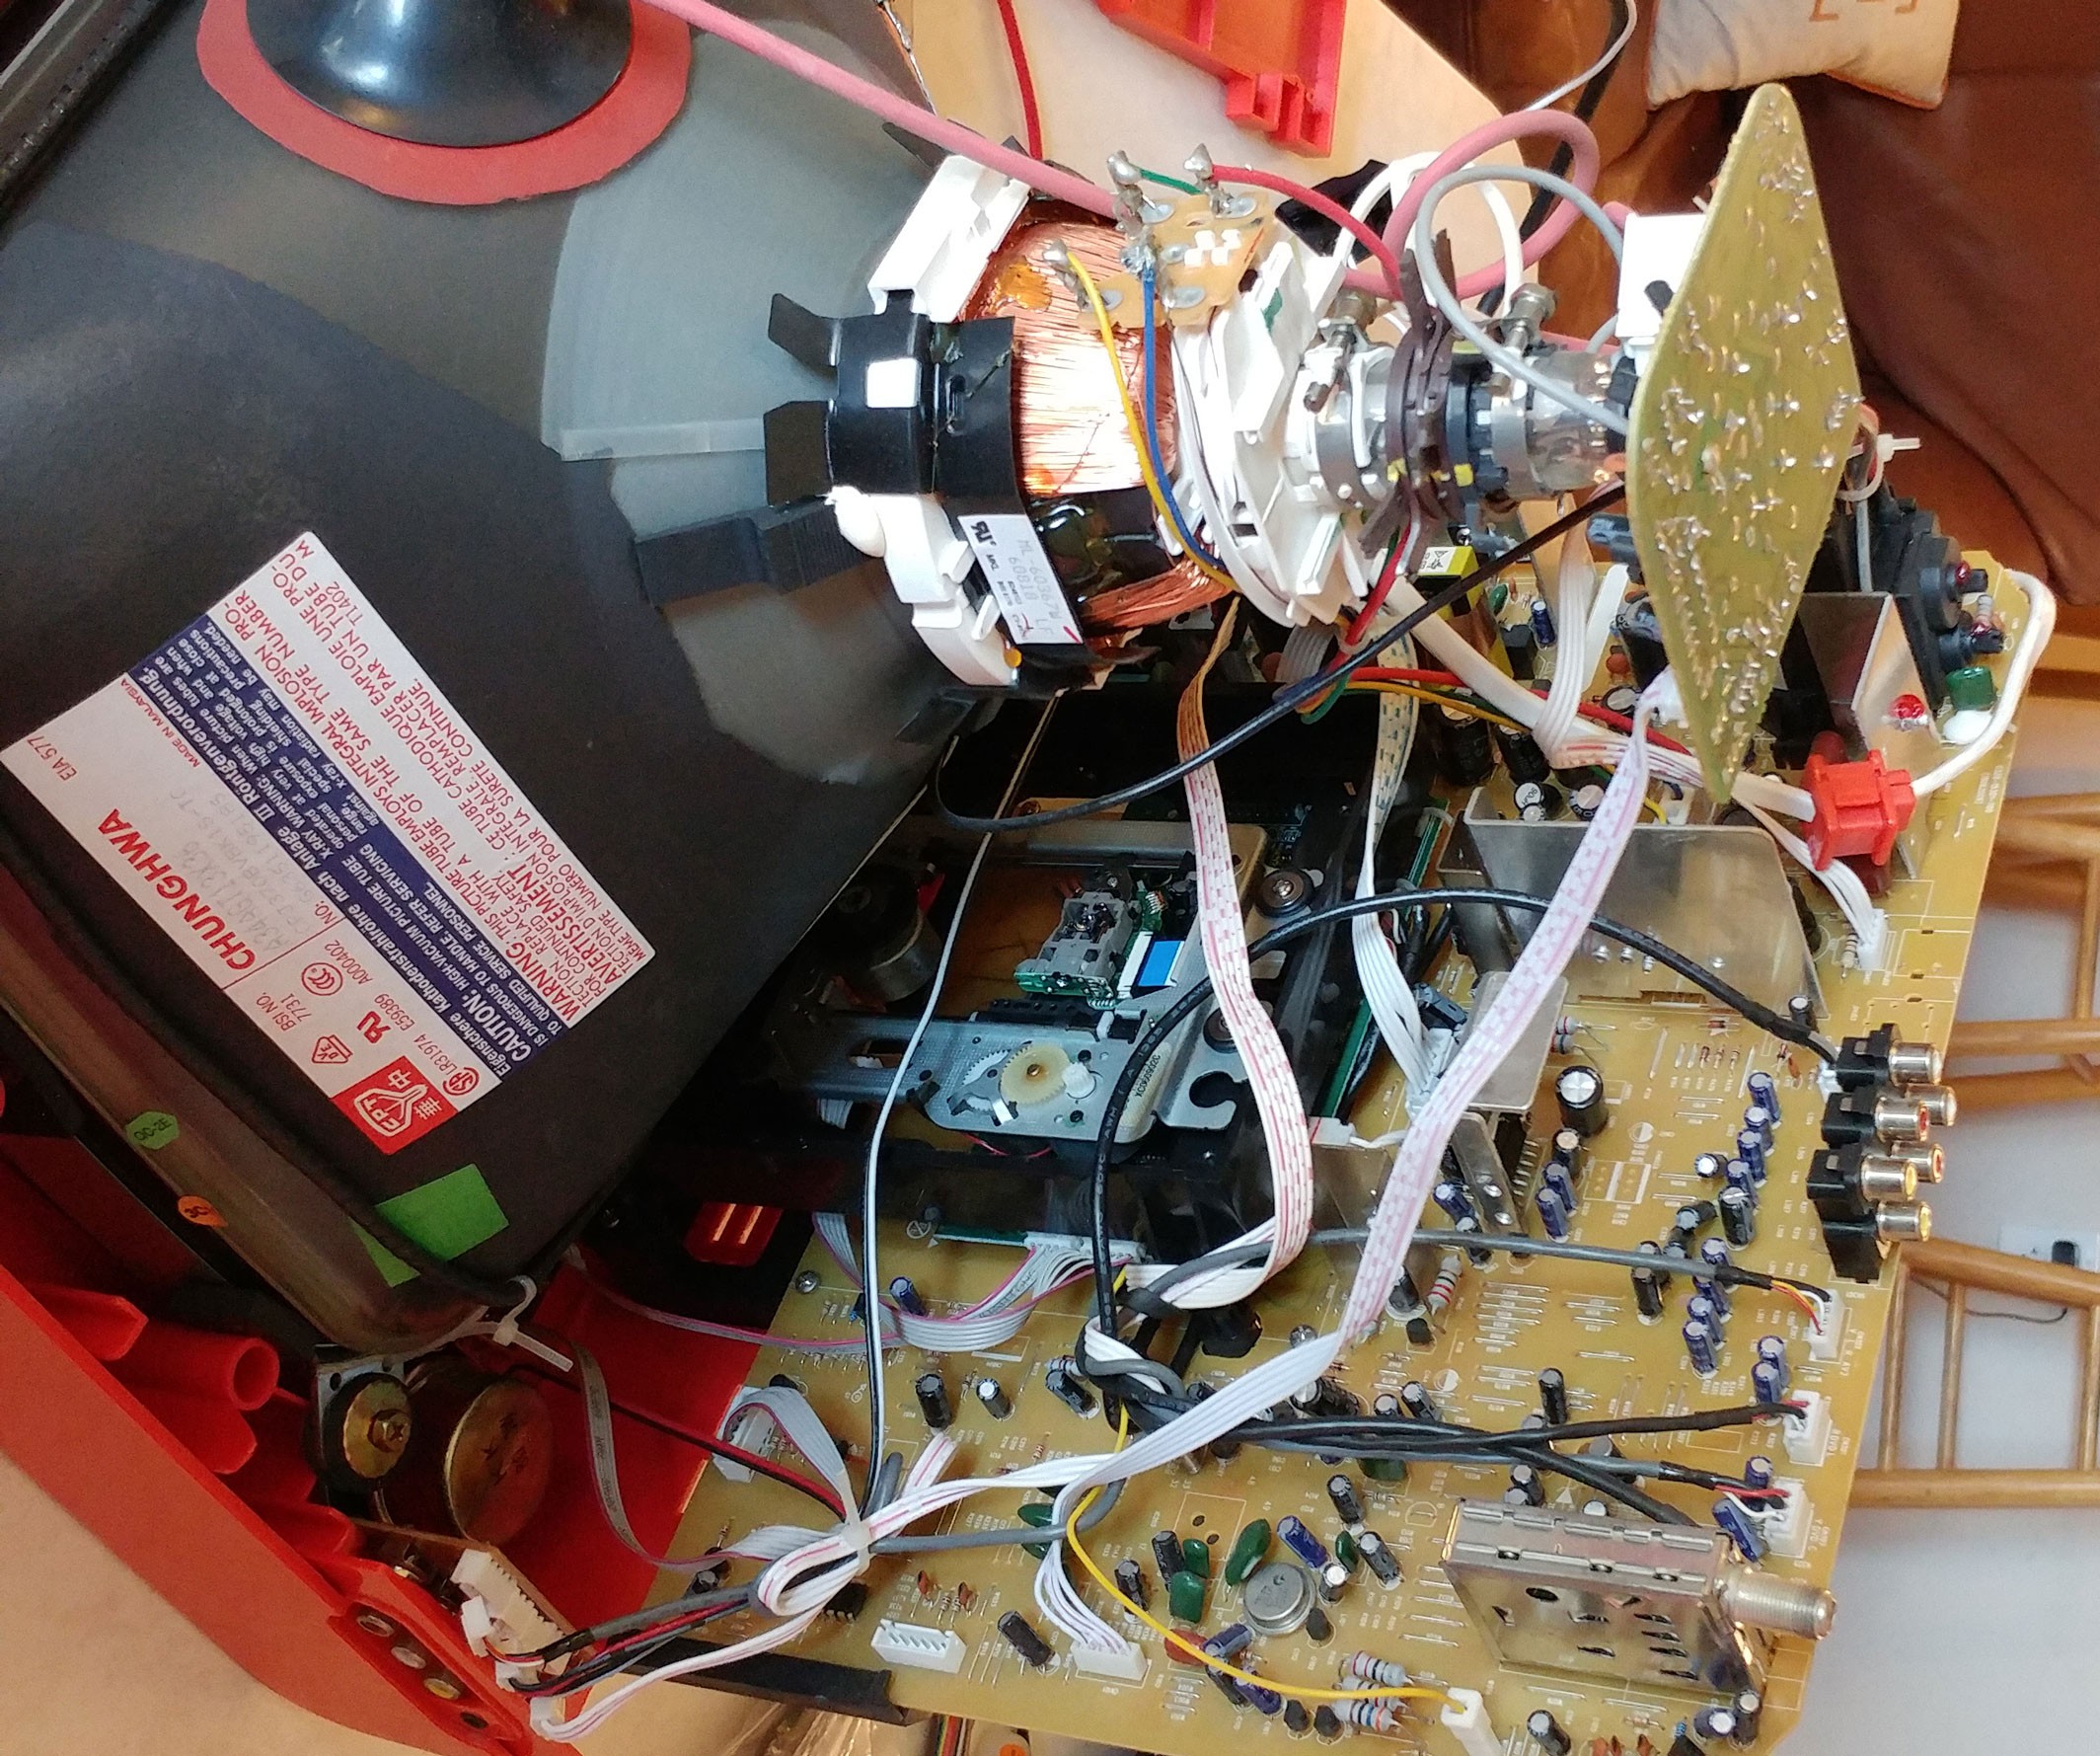
After getting the TV/DVD combo I was thinking I could just rip the DVD drive out and put the Raspberry Pi in its place, but unfortunately the DVD drive was part of the circuit board of the TV. I was able to remove most of the plastic components and ended up wedging the Pi in there, but it wasn’t as easy as I had hoped.
![]()
This picture shows most of the DVD drive removed, albeit from the other side.
![]()
-
3Step 3
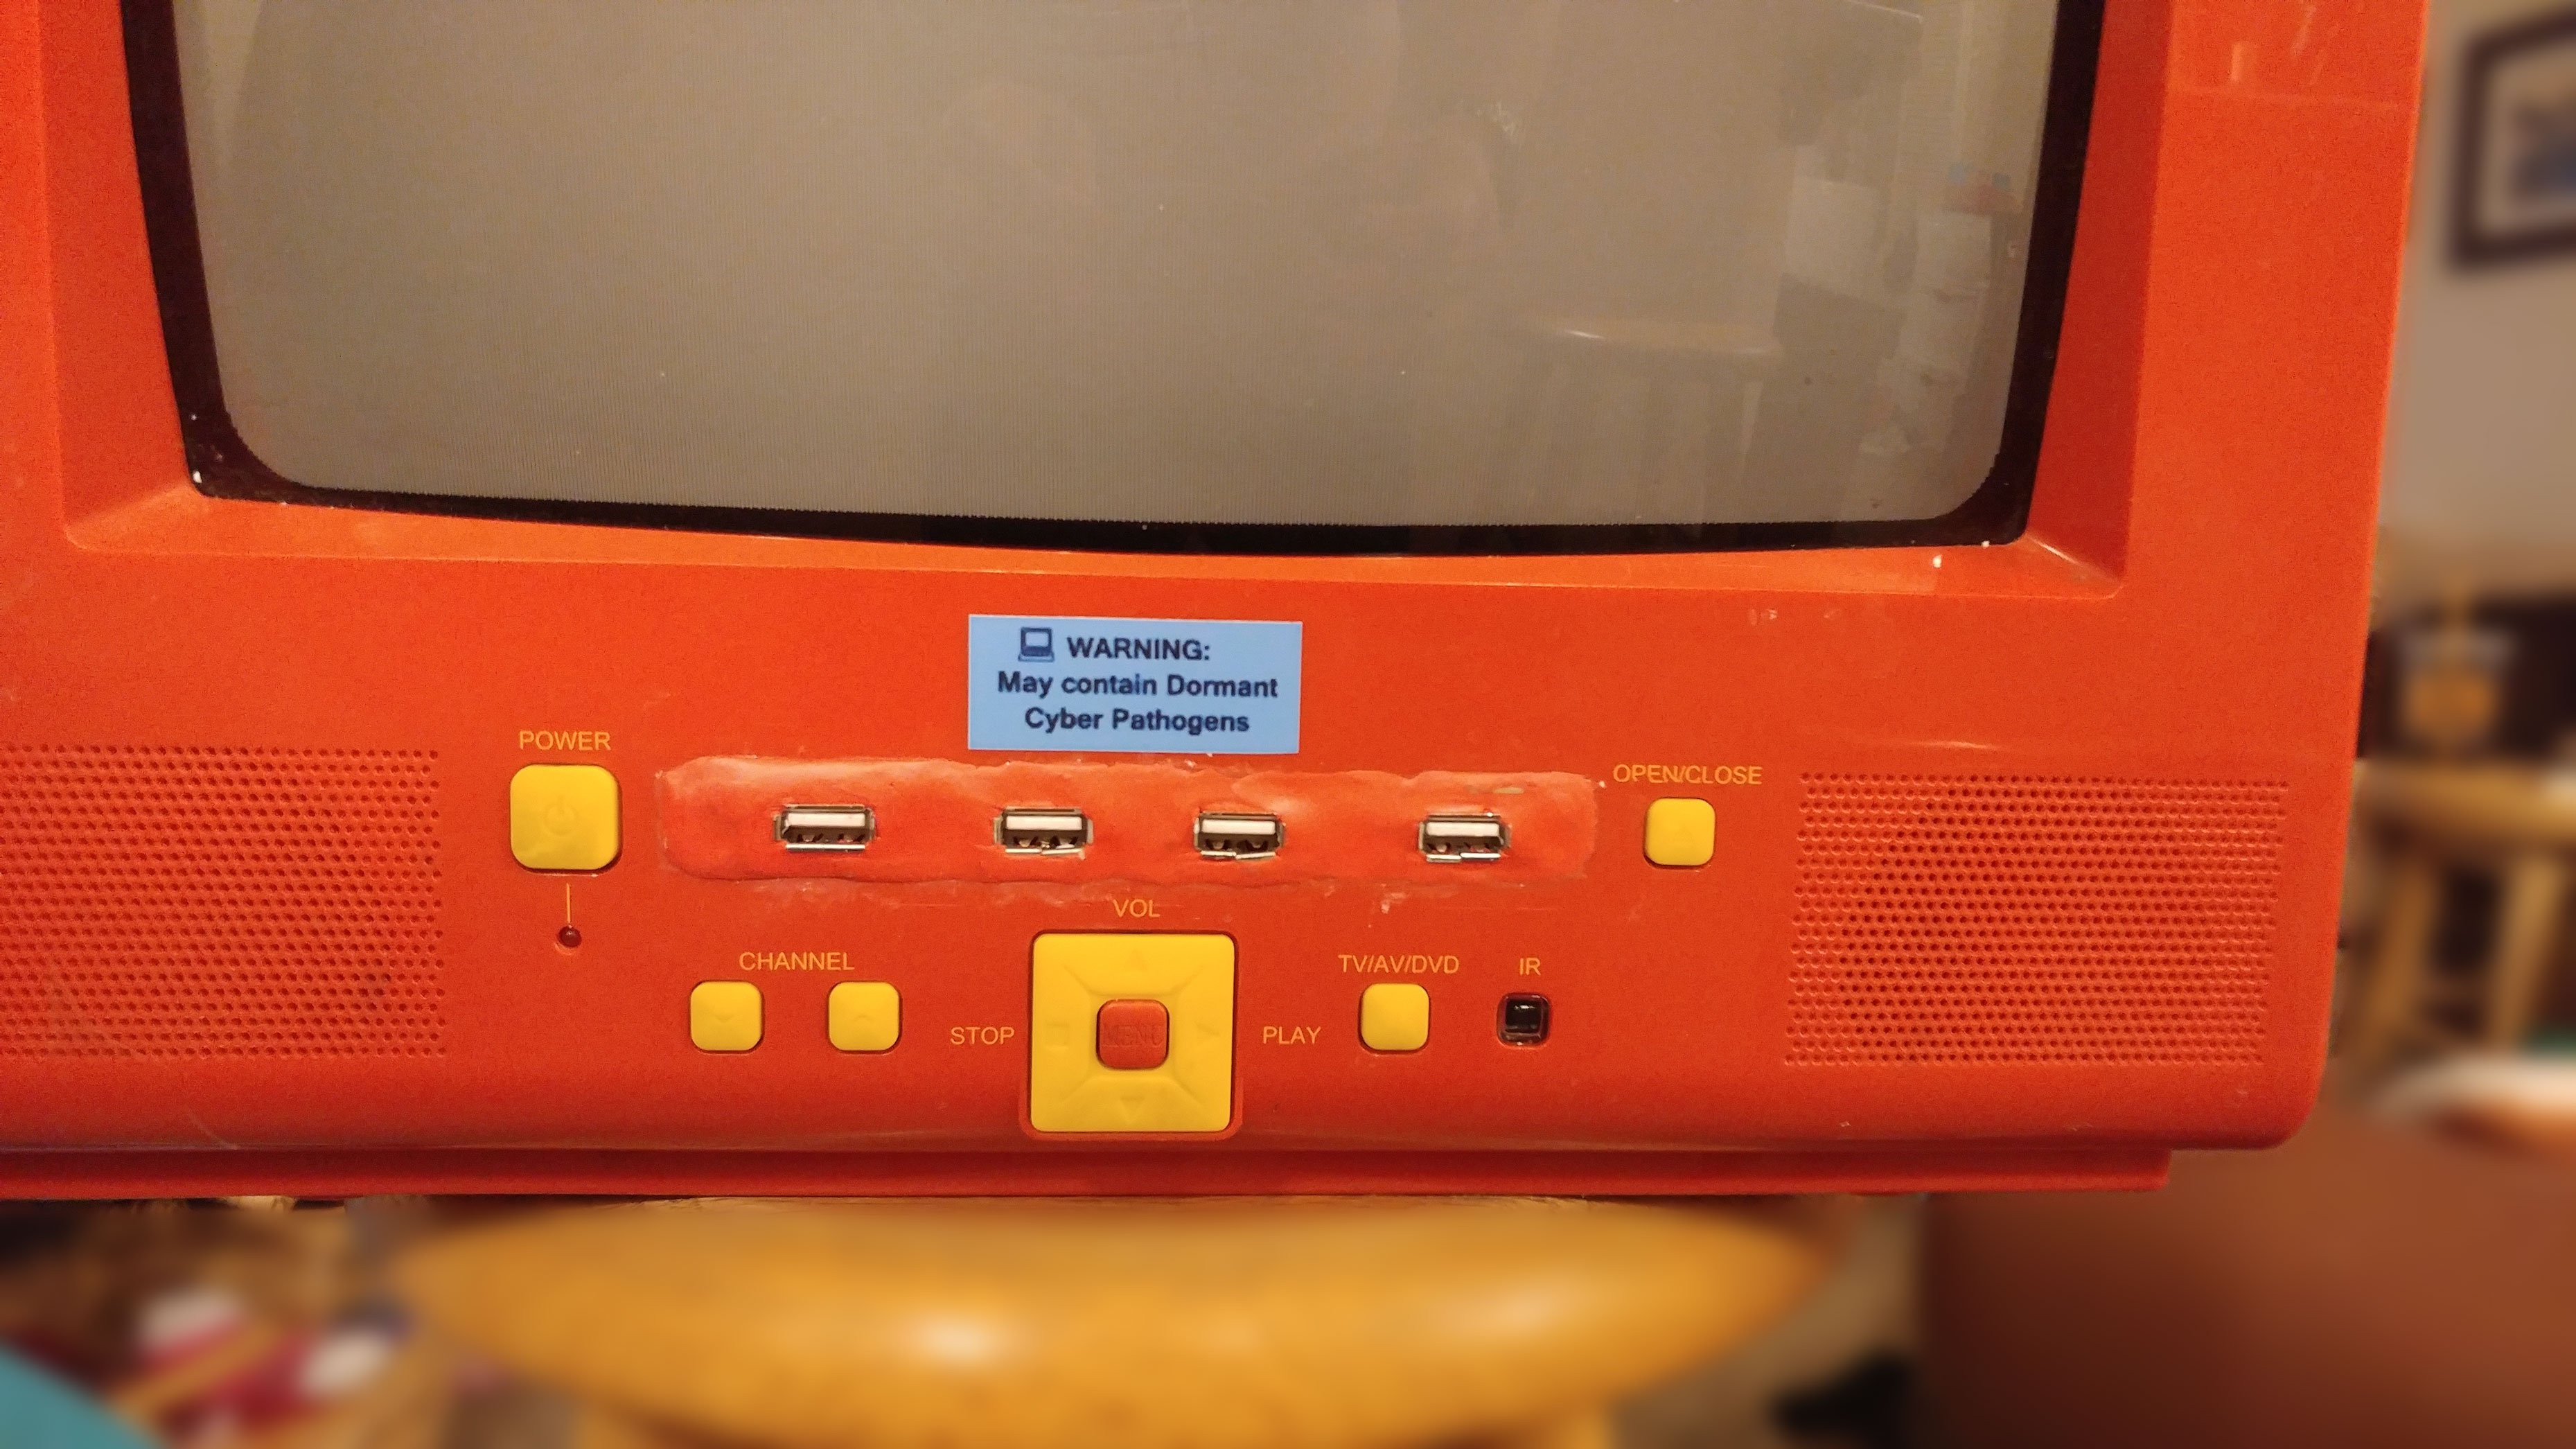
I removed the decorative plate of the DVD drive from the tray and then cut the front off with a saw, and used it as a bracket to hold the USB extensions. I got 4x 4in extensions so that all of the Pi’s ports were available on the front. They were wedged into the bracket and then epoxied in place using putty epoxy. The extensions were just long enough that I was able to fit the Pi without having to completely remove the DVD drive. Depending on what TV I ended up with I was also considering putting 2 USBs on the front and 2 on the back, depending on the available space on the front of the TV, so the space from the DVD drive worked perfectly.
![]()
Once the bracket was back in place in the drive slot, I used construction adhesive to permanently keep it there. Then I used Sugru, a type of silicone modeling clay that hardens into rubber to fill in the spaces between the USB ports and try to make it look nice. I smoothed the Sugru out with wet fingers to prevent leaving fingerprints.
![]()
-
4Step 4
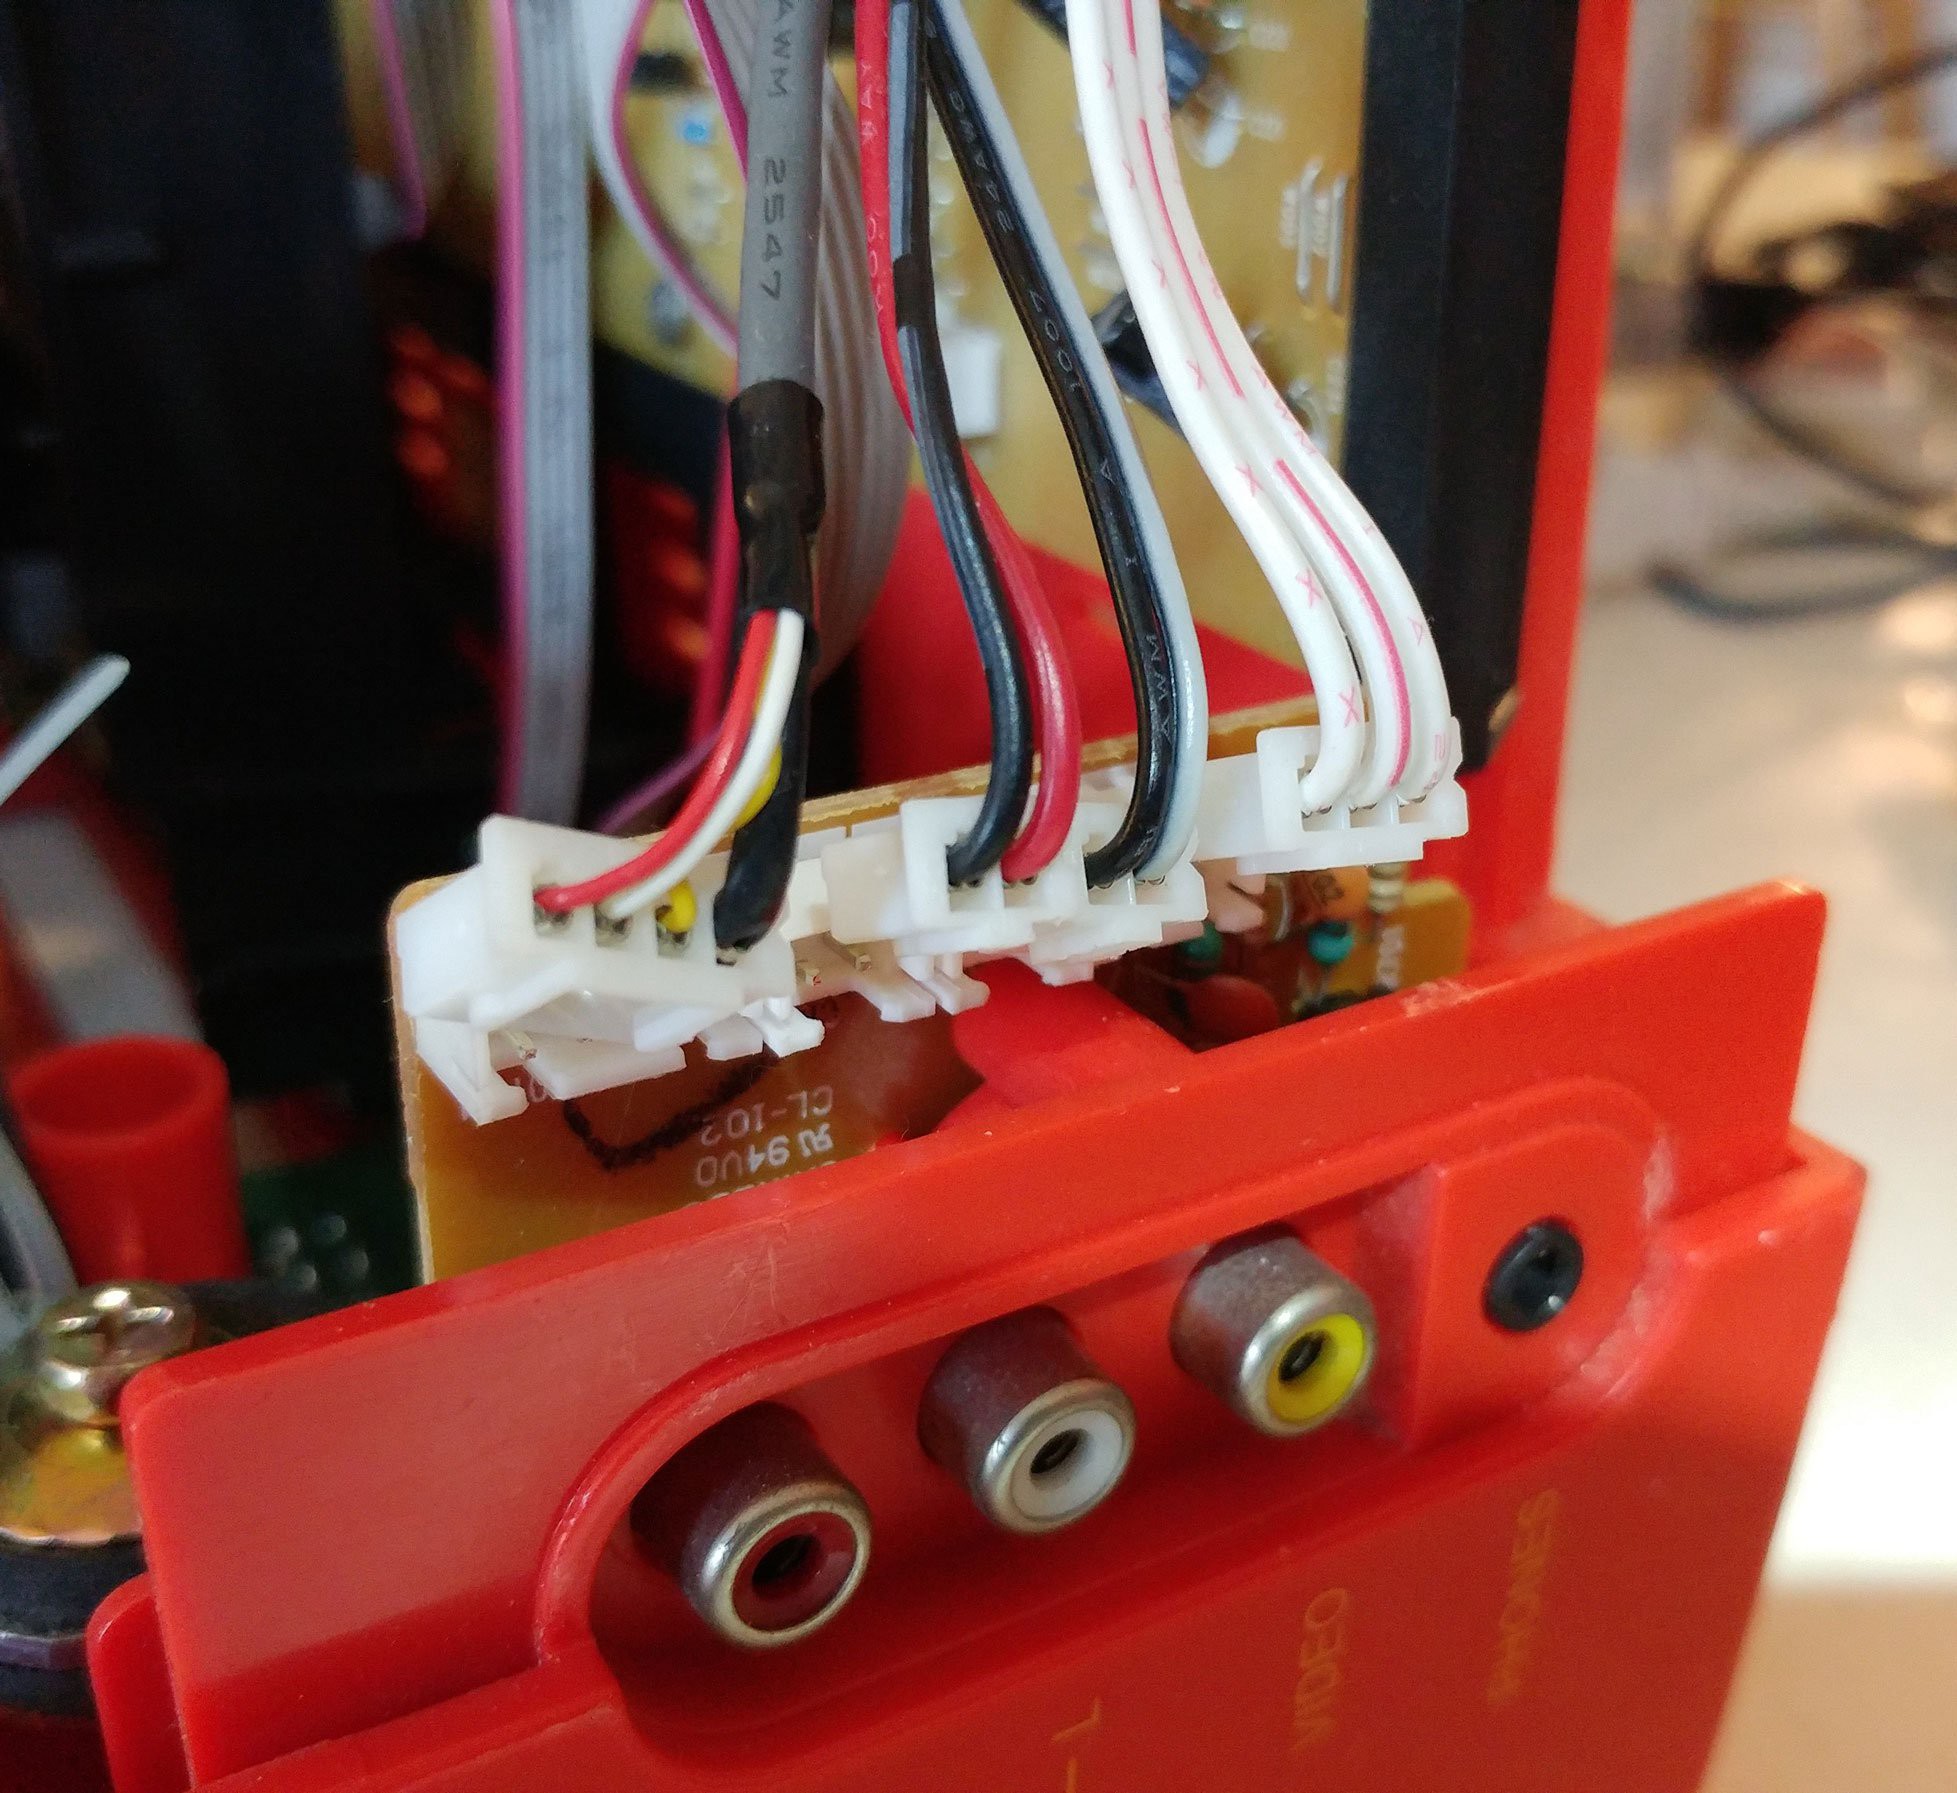
After getting the Pi inside the TV and the ports accessible from the front, I had to figure out how to get the video from the Pi to the TV. The RCA jacks on the back of the TV were directly mounted the the circuit board, and the solder points were on the bottom of the board and hard to access without removing the circuit board from the TV case. Conveniently, there was also an RCA input on the side of the TV that was easily accessible, connected to the main board by a series of cables. I initially thought of soldering directly to the cables and bypassing the jacks, but ended up soldering directly to the jacks themselves.
![]()
![]()
![]() I added an adhesive square to the speaker and ziptied the wires to it to prevent any stress from breaking the connection
I added an adhesive square to the speaker and ziptied the wires to it to prevent any stress from breaking the connection -
5Step 5
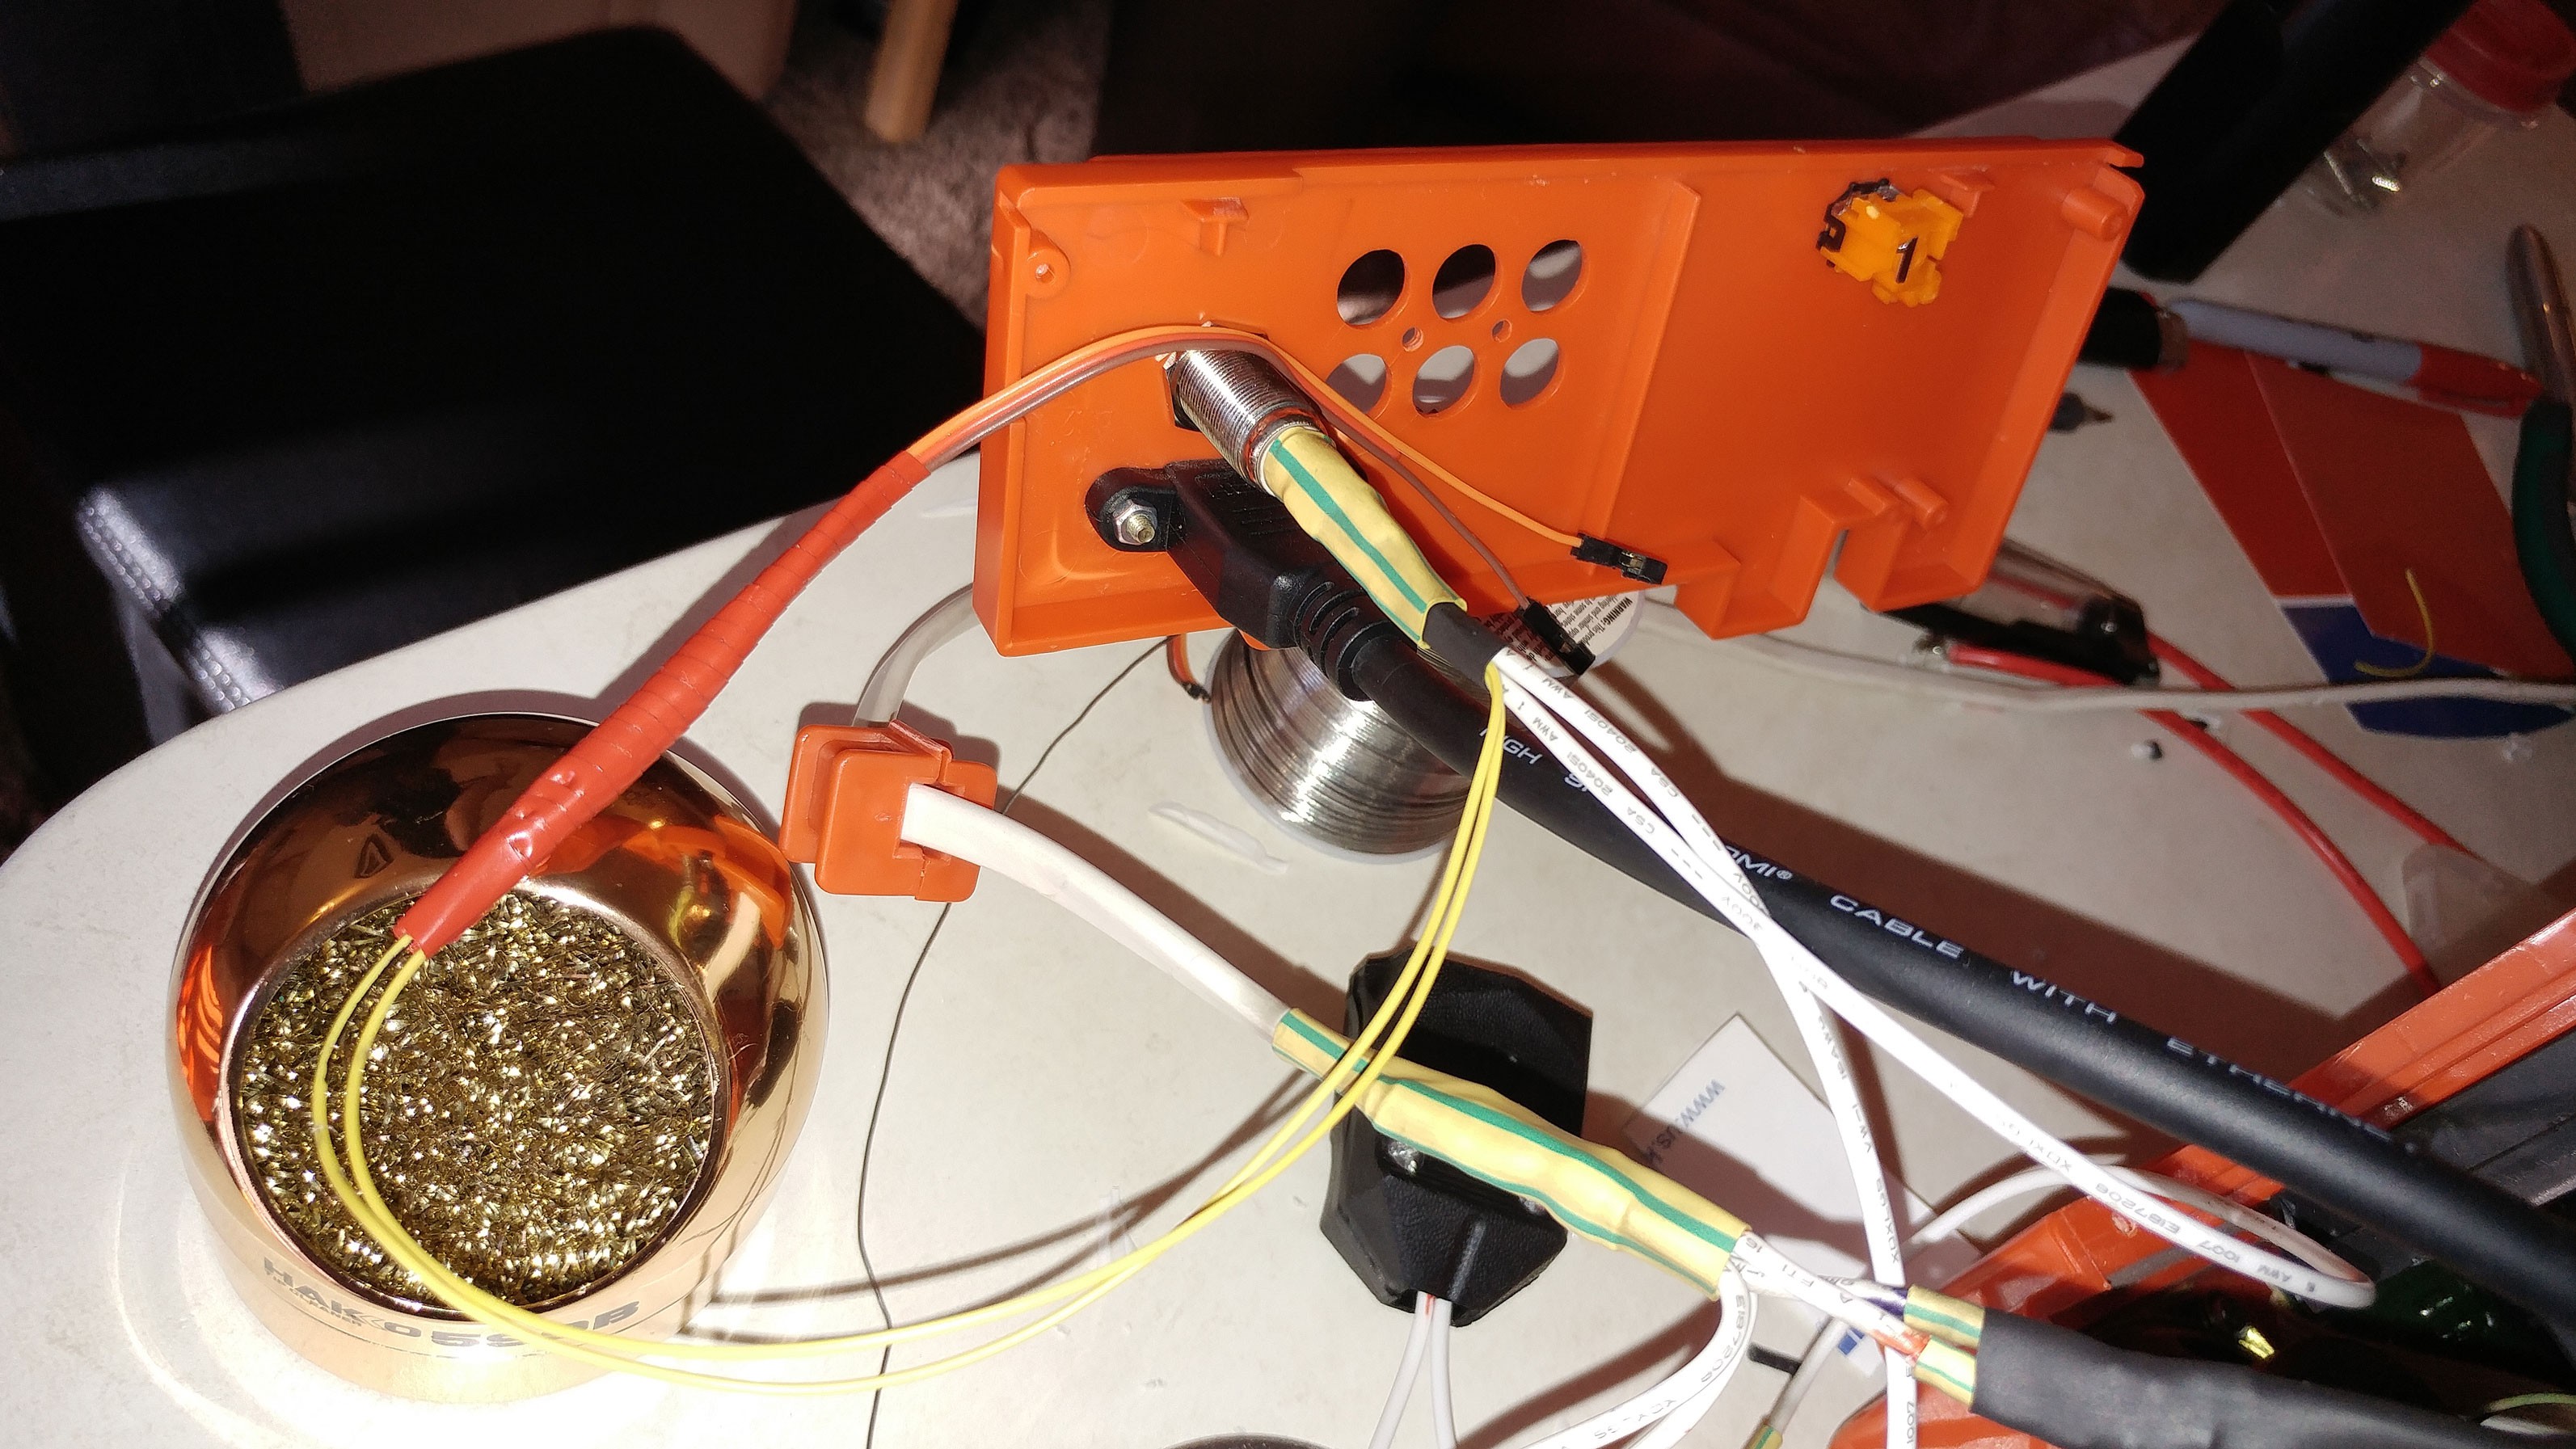
After getting video into the TV, now it's time to get it out of the TV. Wiring the RCA jacks as above actually allows them to be used as composite video output when the TV is off, but only in standard definition. I wanted to be able to use the Pi on an external monitor or TV in 1080P, so I added a panel mount HDMI port/extension to the back of the TV.
![]()
It was super easy to remove the small rectangular plate from the back of the TV, making it super easy to add the holes for the HDMI port and the power button.
![]()
The power button has an integrated LED that indicates power using the 3V on the Pi
This terrible photo shows the switch wired for power and the LED on the switch wired to a PWM cable that has had its connector broken in half so each wire can go to 3v and gnd.
![]()
-
6Step 6
Power was supplied to the Pi by adding a standard AC receptacle inside the TV, and then plugging a normal AC USB adapter into it. This makes it easy to change the USB adapter to a more powerful one if required.
![]()
-
7Step 7
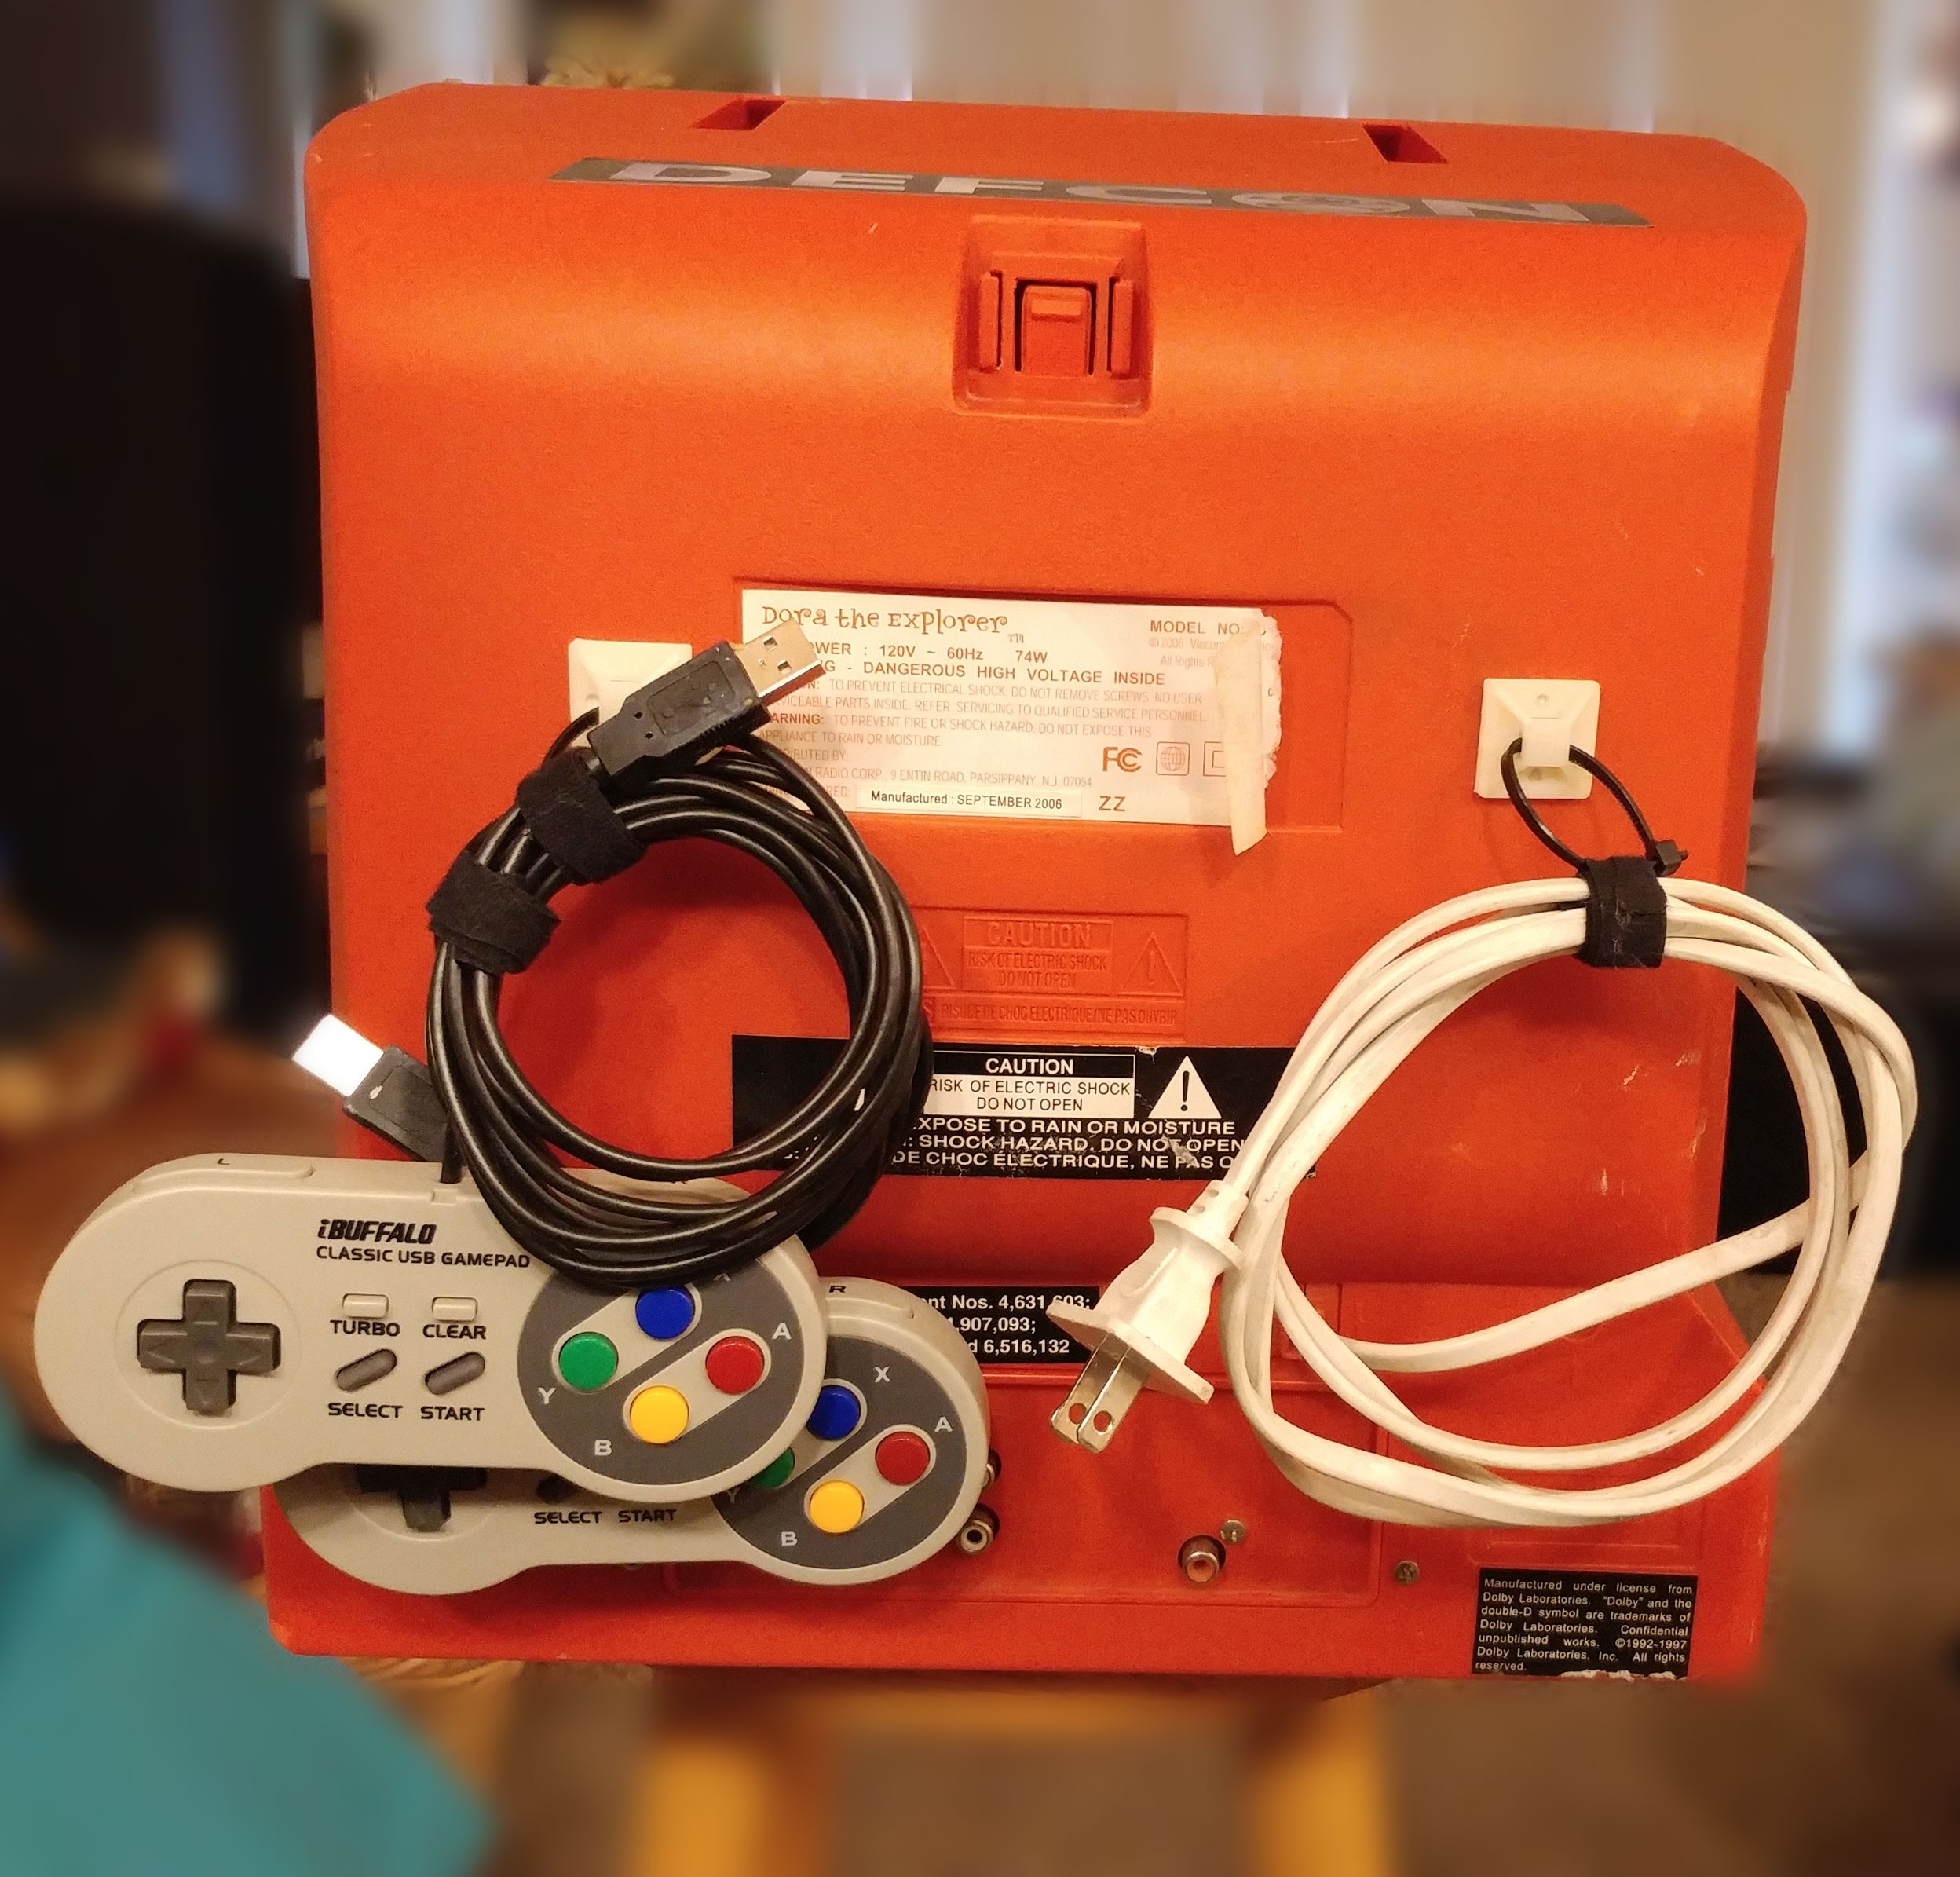
Put it all together. I installed the Pi and added an adhesive square to the Pi's case, and loosely ziptied it to an internal part of the TV to keep it from moving around too much. Plug a USB adapter into the outlet you added and use a micro USB cable to connect it to the Pi. Plug in the 3.5mm cable for video to the CRT, and plug in the HDMI extension. Plug the positive wire for your LED into 3v on the Pi, and the negative wire to gnd. Then plug in however many USB ports you added on the front/elsewhere, and that's it! Put the TV's case back on and plug it in to make sure everything works. If it doesn't, make sure to safely discharge the CRT before touching anything again.
I added more adhesive squares to the back to hold the controllers and power cord. Keeping them on the back like this makes it easy to carry everything all together. I'm also considering adding a handle to the top, but haven't gotten around to it yet.
![]()
-
8Step 8
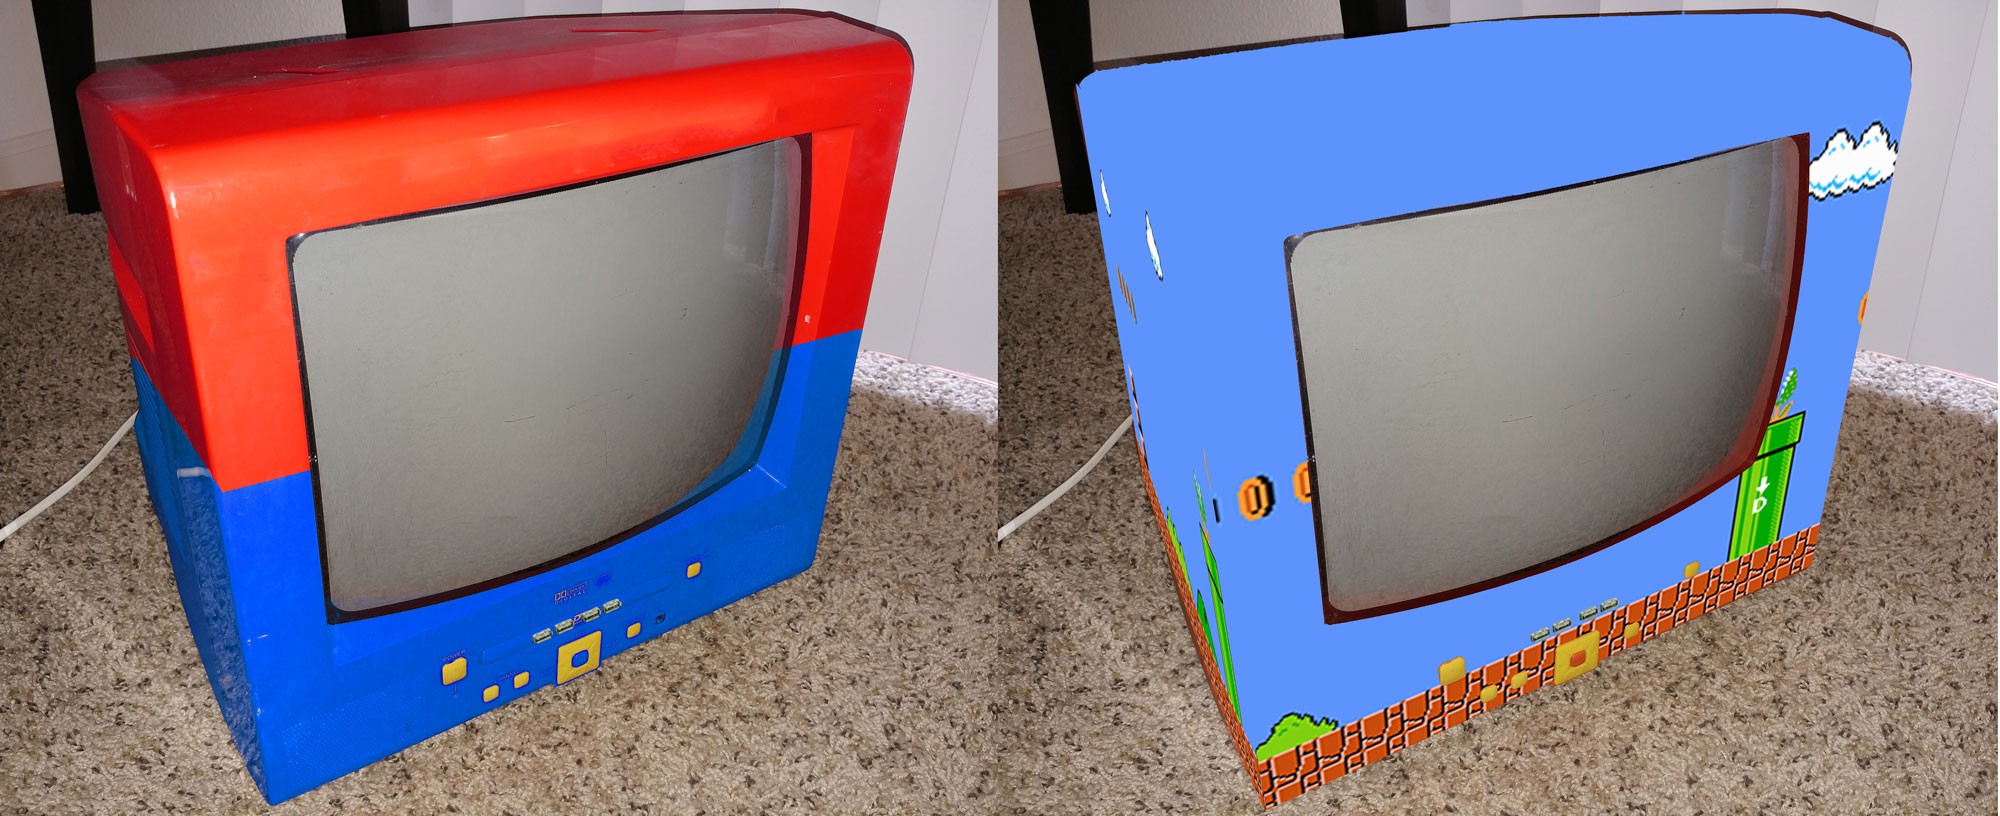
Add paint, stickers, vinyl, etc. I had a few ideas for what I wanted to do with the exterior of the TV, and was leaning strongly towards a Mario theme.
![]()
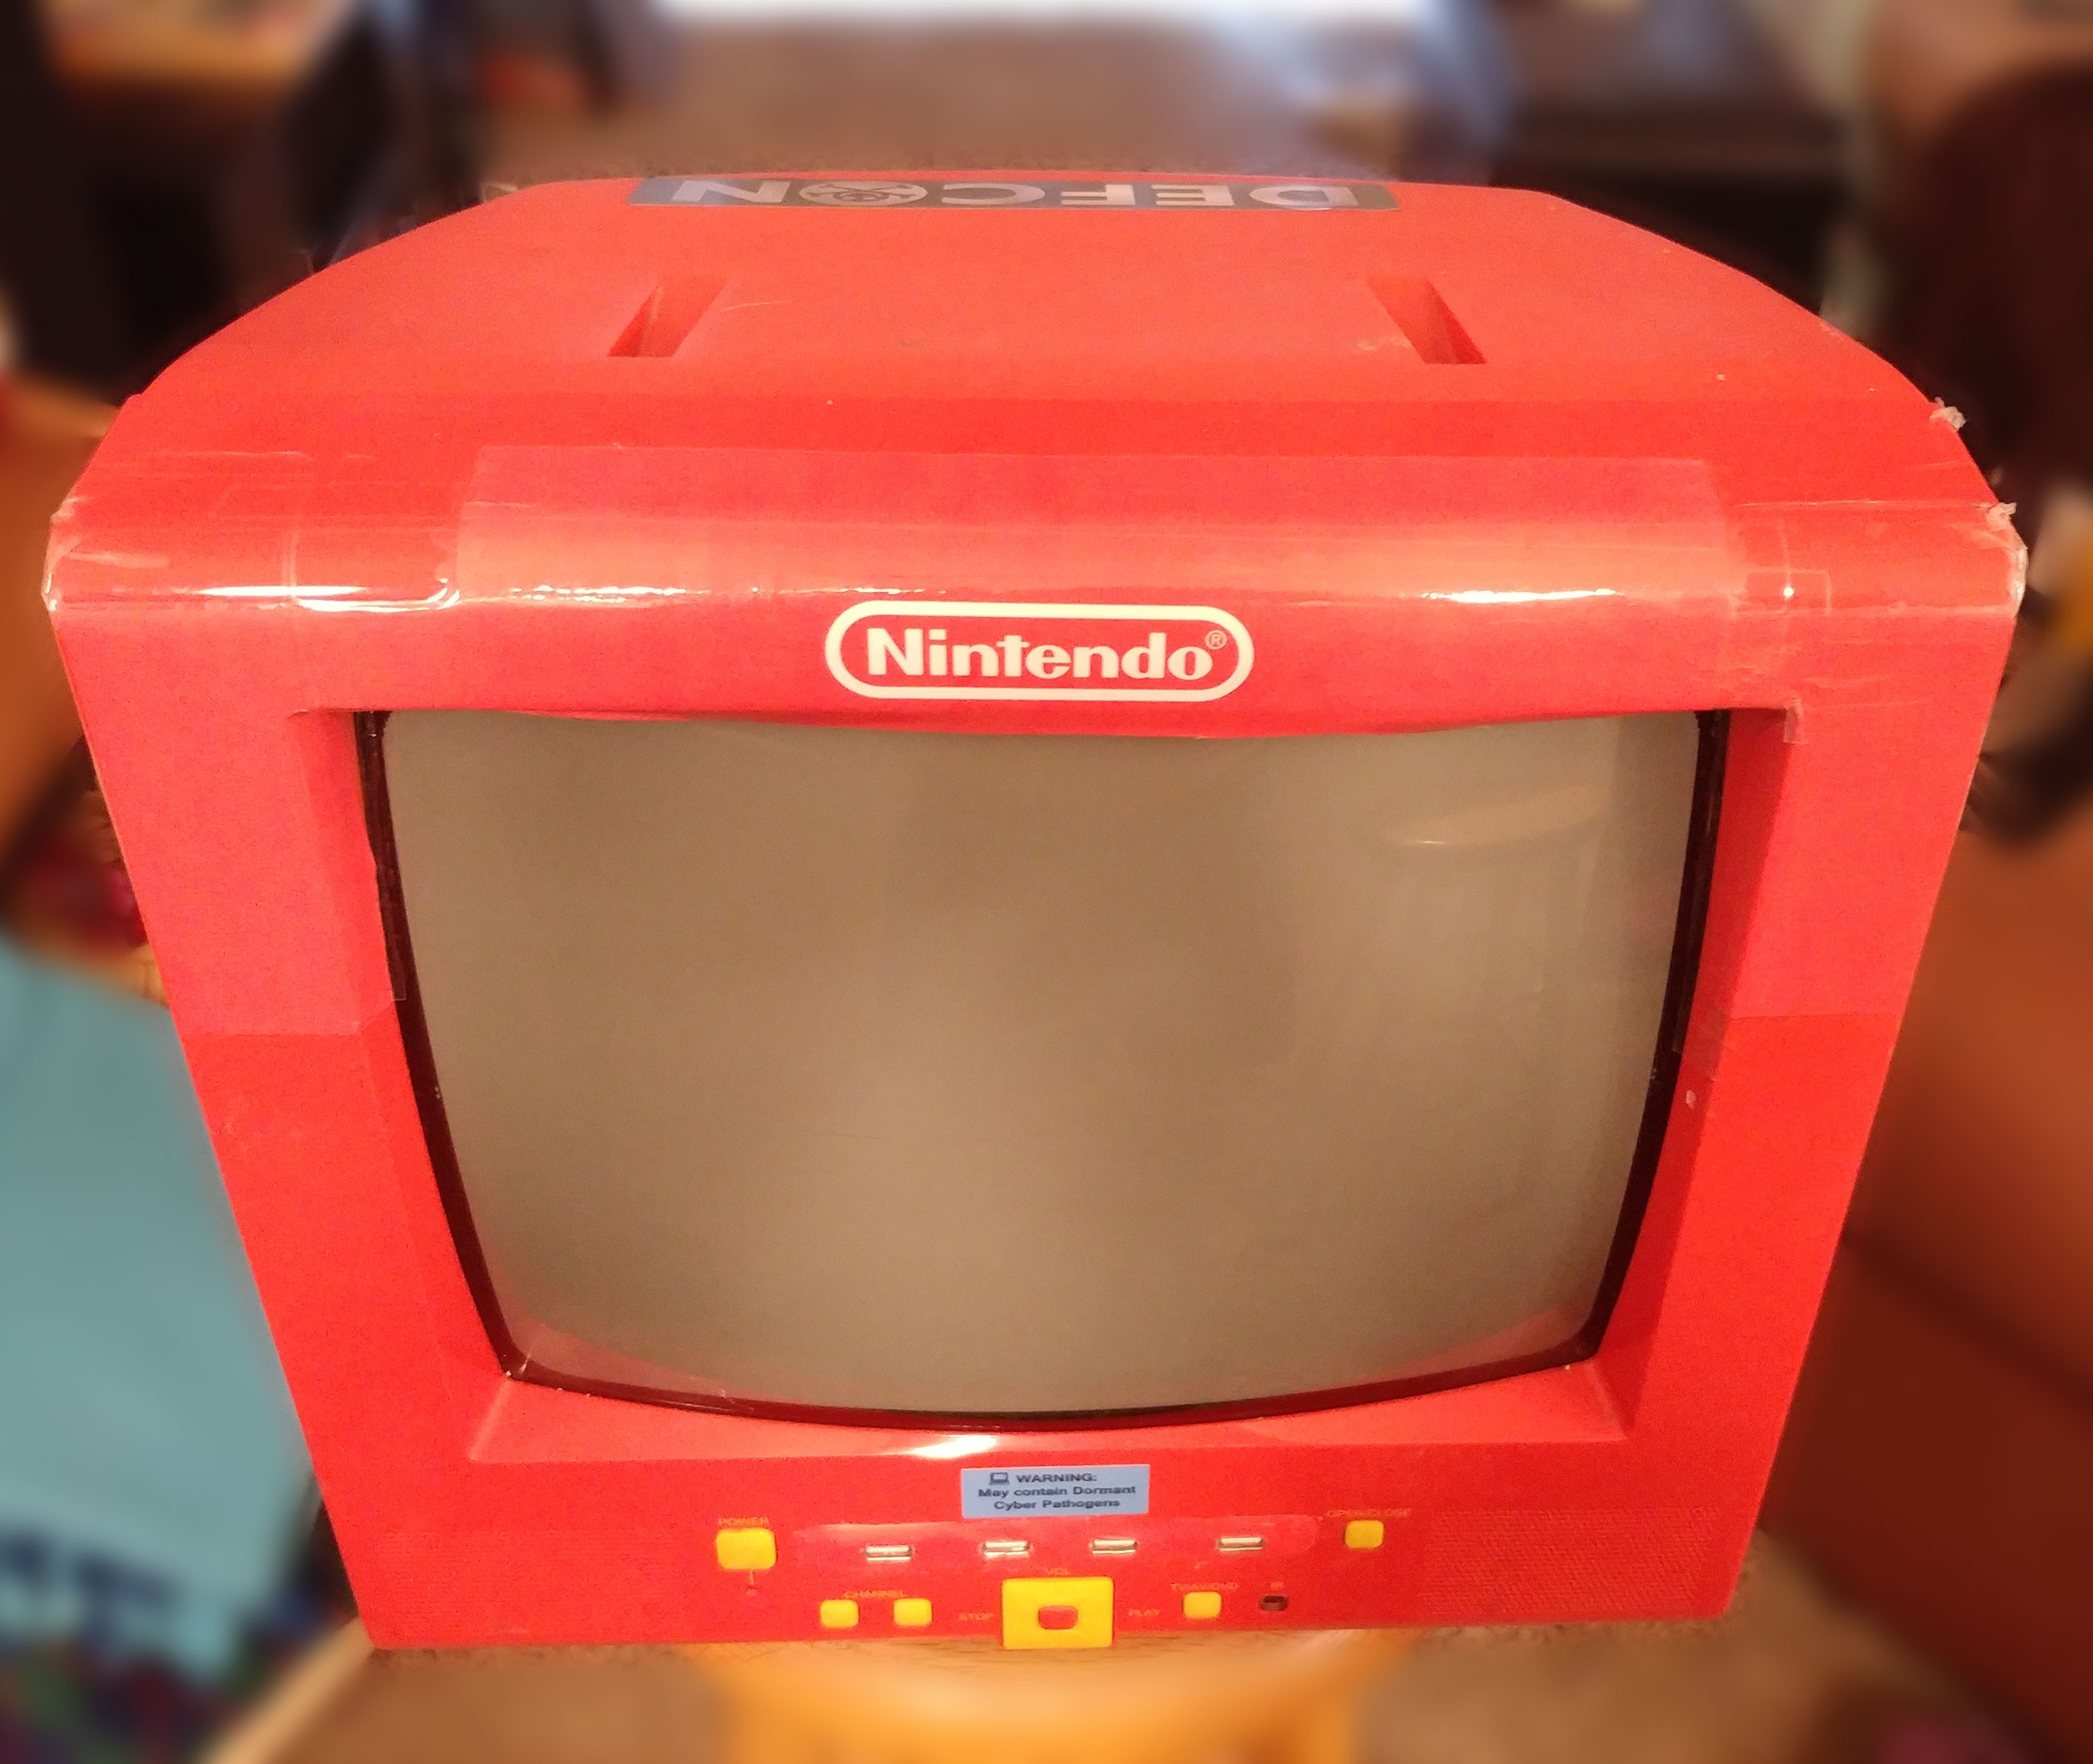
In the end I decided that I liked Nintendo better as a theme, as the TV was already entirely bright red, and I was planning to put mainly Nintendo emulators on it. I was short on time initially so I didn't have time to get stickers or painting done, so I color matched as closely as I could using my printer, and just taped the paper on.
![]()
I would like to get some custom vinyl printed, but it is apparently difficult to find somewhere that will color match and also use the Nintendo logo.
-
9Step 9
Using It
The Nintendo TV can be used as an all in one console, or act just as a console plugged into a larger TV.
All In One Console - Press the toggle button to supply power to the Pi and it should boot automatically. Turn on the CRT and switch to whatever input you connected the cable to. Note: HDMI MUST BE UNPLUGGED! (Because of the way the Pi works, it will prefer an HDMI connection over a composite one. If there is an HDMI cable plugged in, the Pi may detect it and switch to it, disabling the composite output.)
Console for TV - Plug an HDMI cable into the back of the Nintendo TV and a larger TV. Press the toggle button to supply power to the Pi and it should boot automatically. Switch to the correct input on display device.
Note: Because of the way the Pi detects video output devices, you unfortunately must reboot to switch between composite out to the CRT and HDMI out to a bigger TV.
Nintendo TV
A Raspberry Pi embedded in an old CRT to make an all-in-one retro console


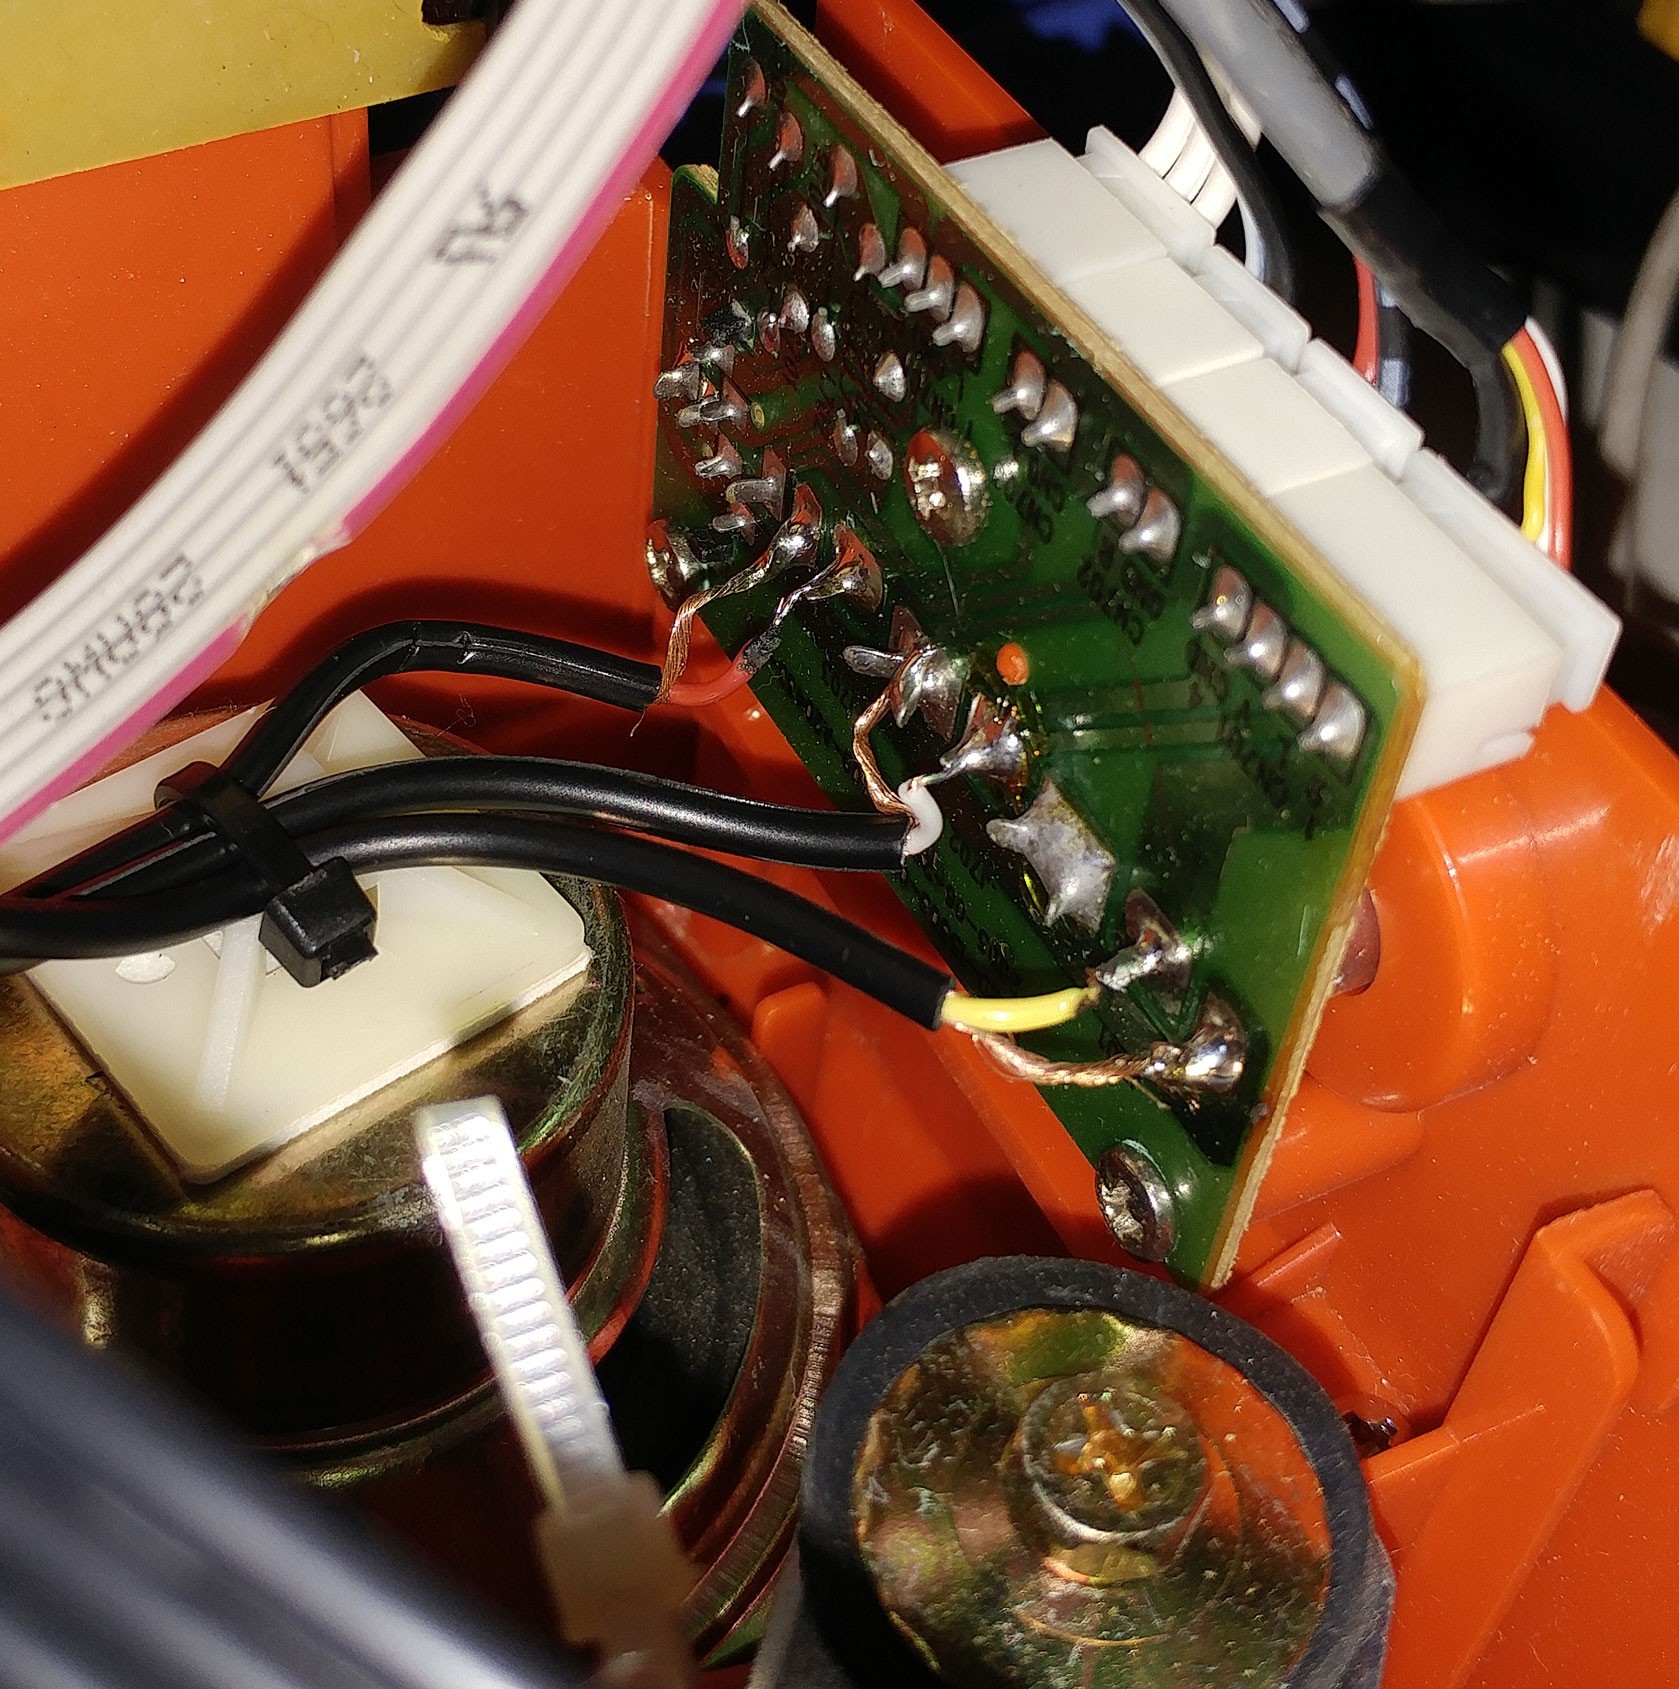 I added an adhesive square to the speaker and ziptied the wires to it to prevent any stress from breaking the connection
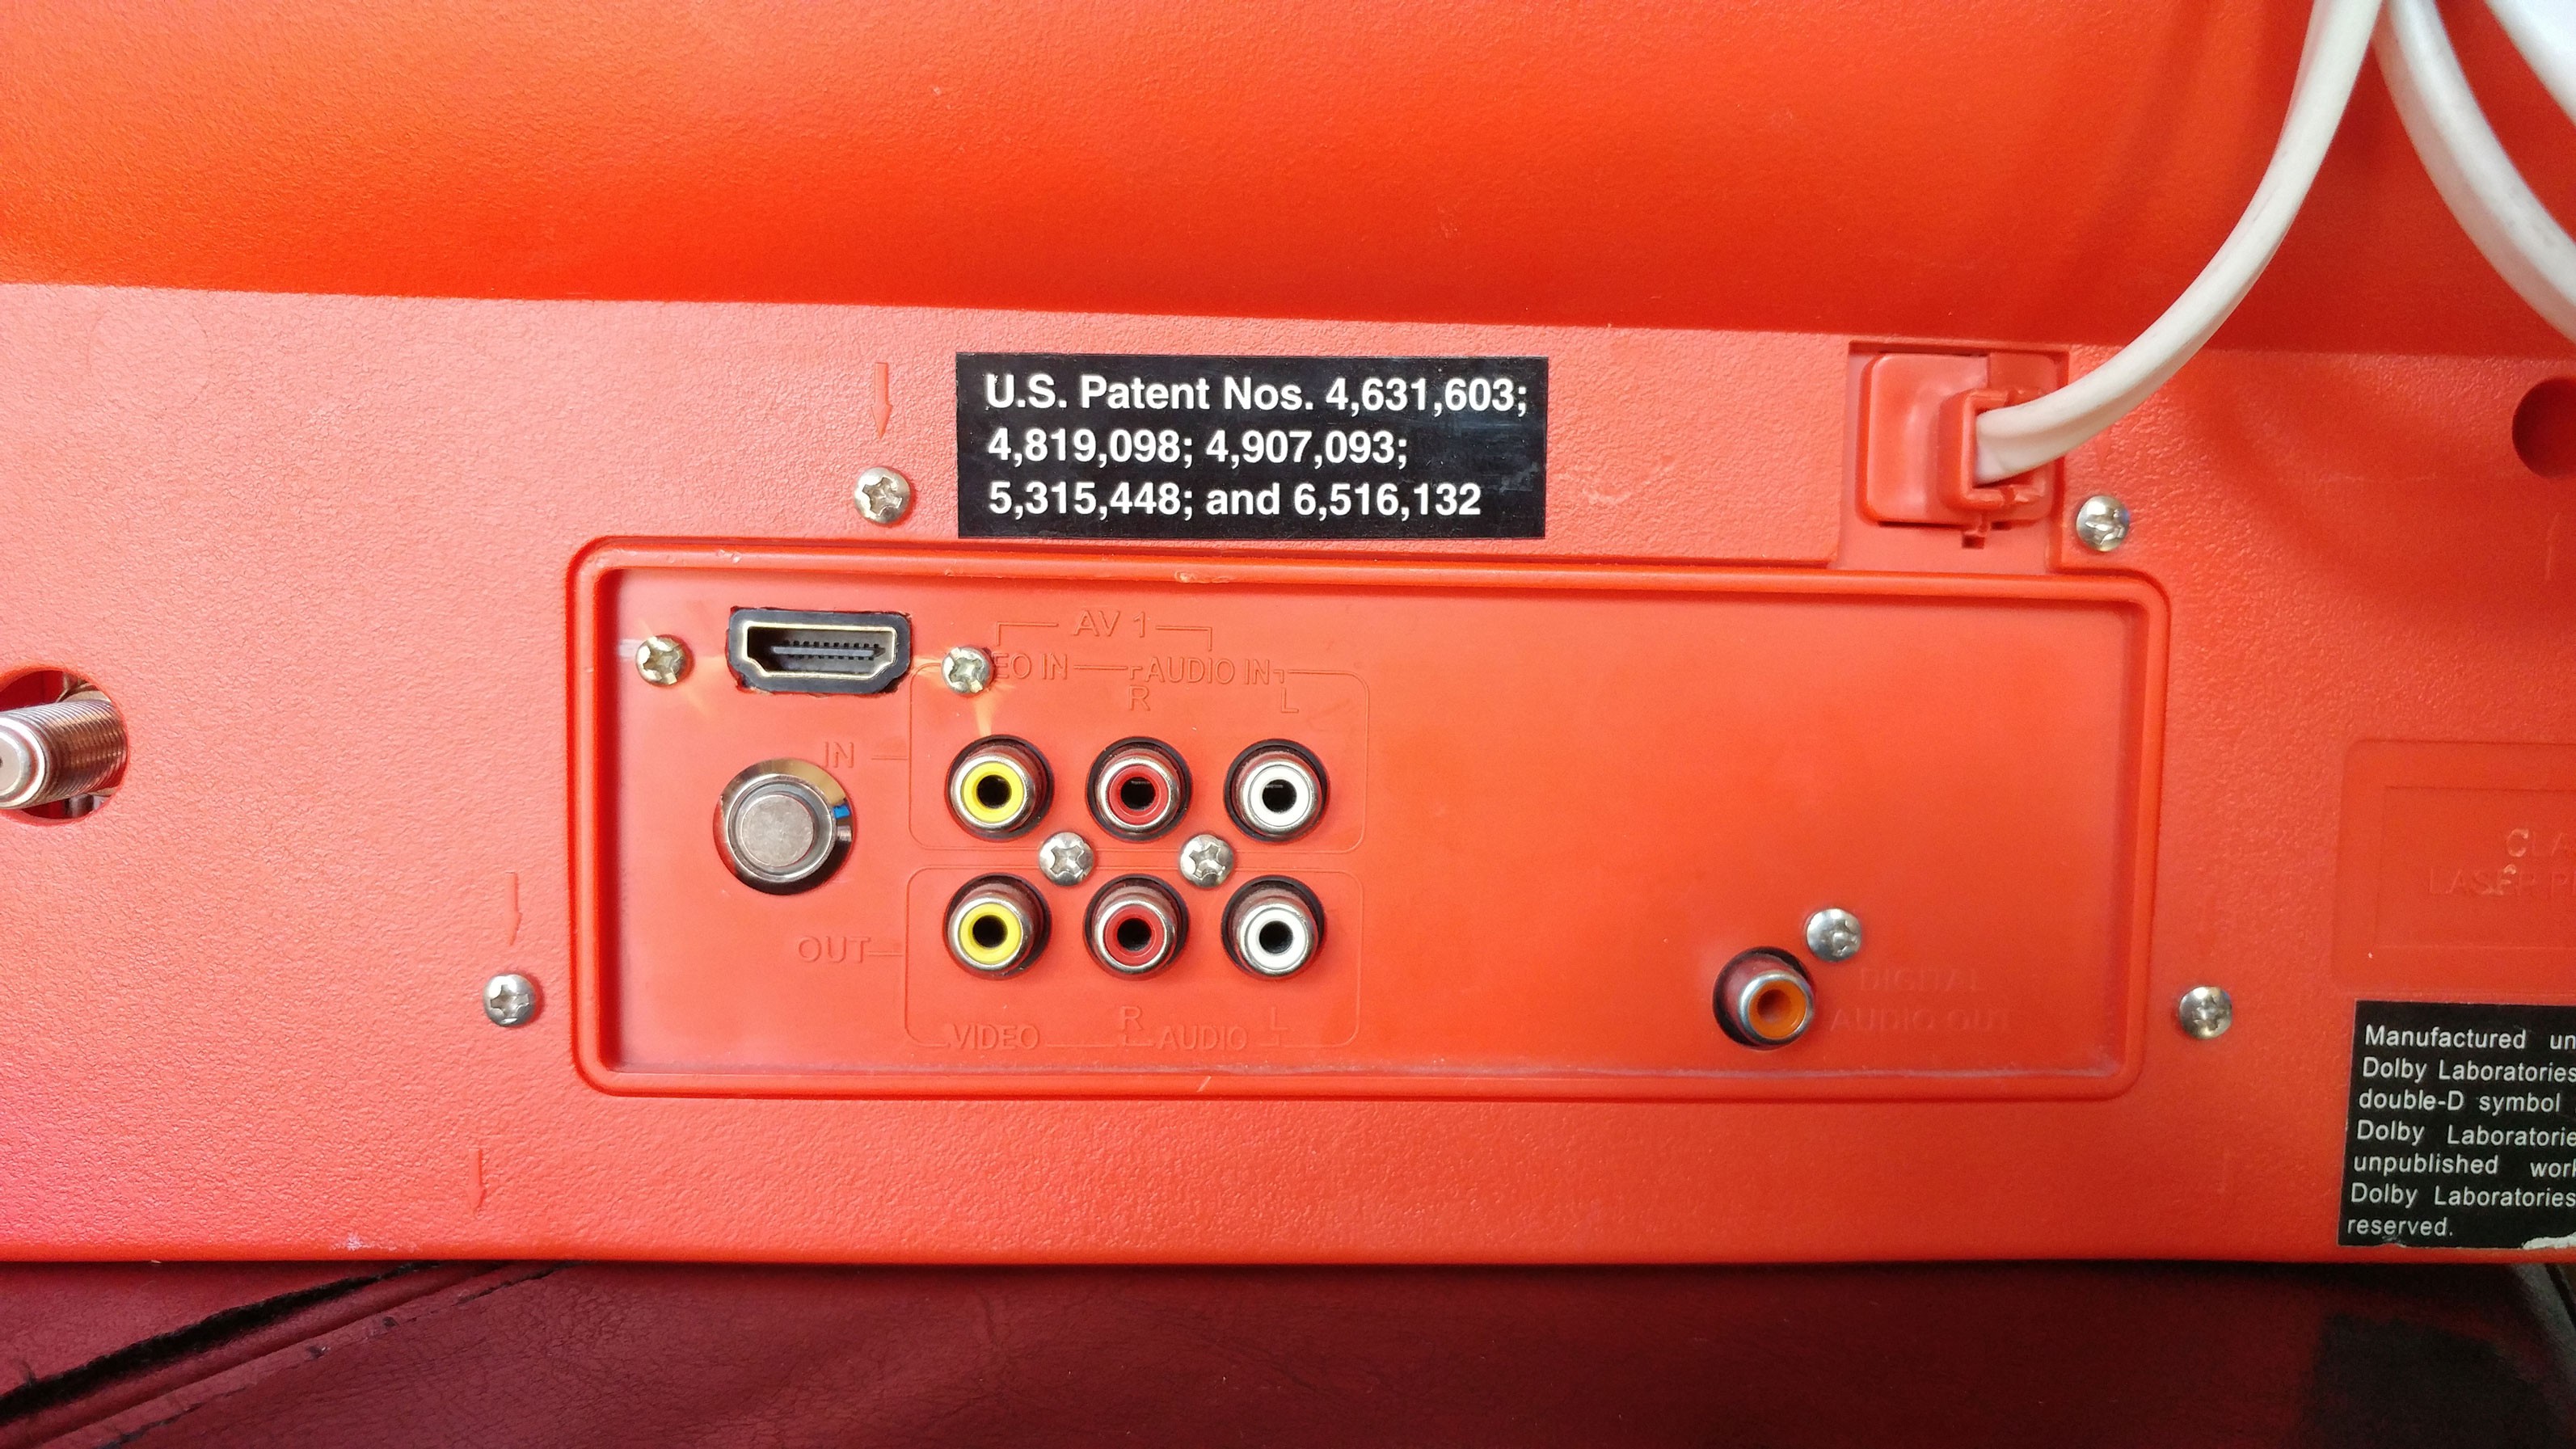


Discussions
Become a Hackaday.io Member
Create an account to leave a comment. Already have an account? Log In.