Josh Starnes
-
Paper ink drop comparing inks
07/08/2018 at 02:22 • 0 comments![]()
ok so the UV inks I ordered made for a inner cartridge came in. I am slightly disappointed because the red is practically non existent. Anywho I compared them to noodlers ghost bullet proof inks and the white and green inkjet inks were much brighter. As I mentioned before I am considering using both IR and UV for maximum contrast in any lighting conditions or lack there of.
All are normally invisible without special lighting , filters or camera.
Top - not visible is magenta
2nd- white UV
3rd- blue UV
4th -green UV
5th- Noodlers Ghost UV
Tests against white paper is neeto,but the goal is to make invisible markers so I will print onto Matt or clear plastic. I put some on my finger of the green as well as the noodlers ghost white, the green is a tiny bit brighter. It is so close!!
Next is to start filling ink cartridges
-
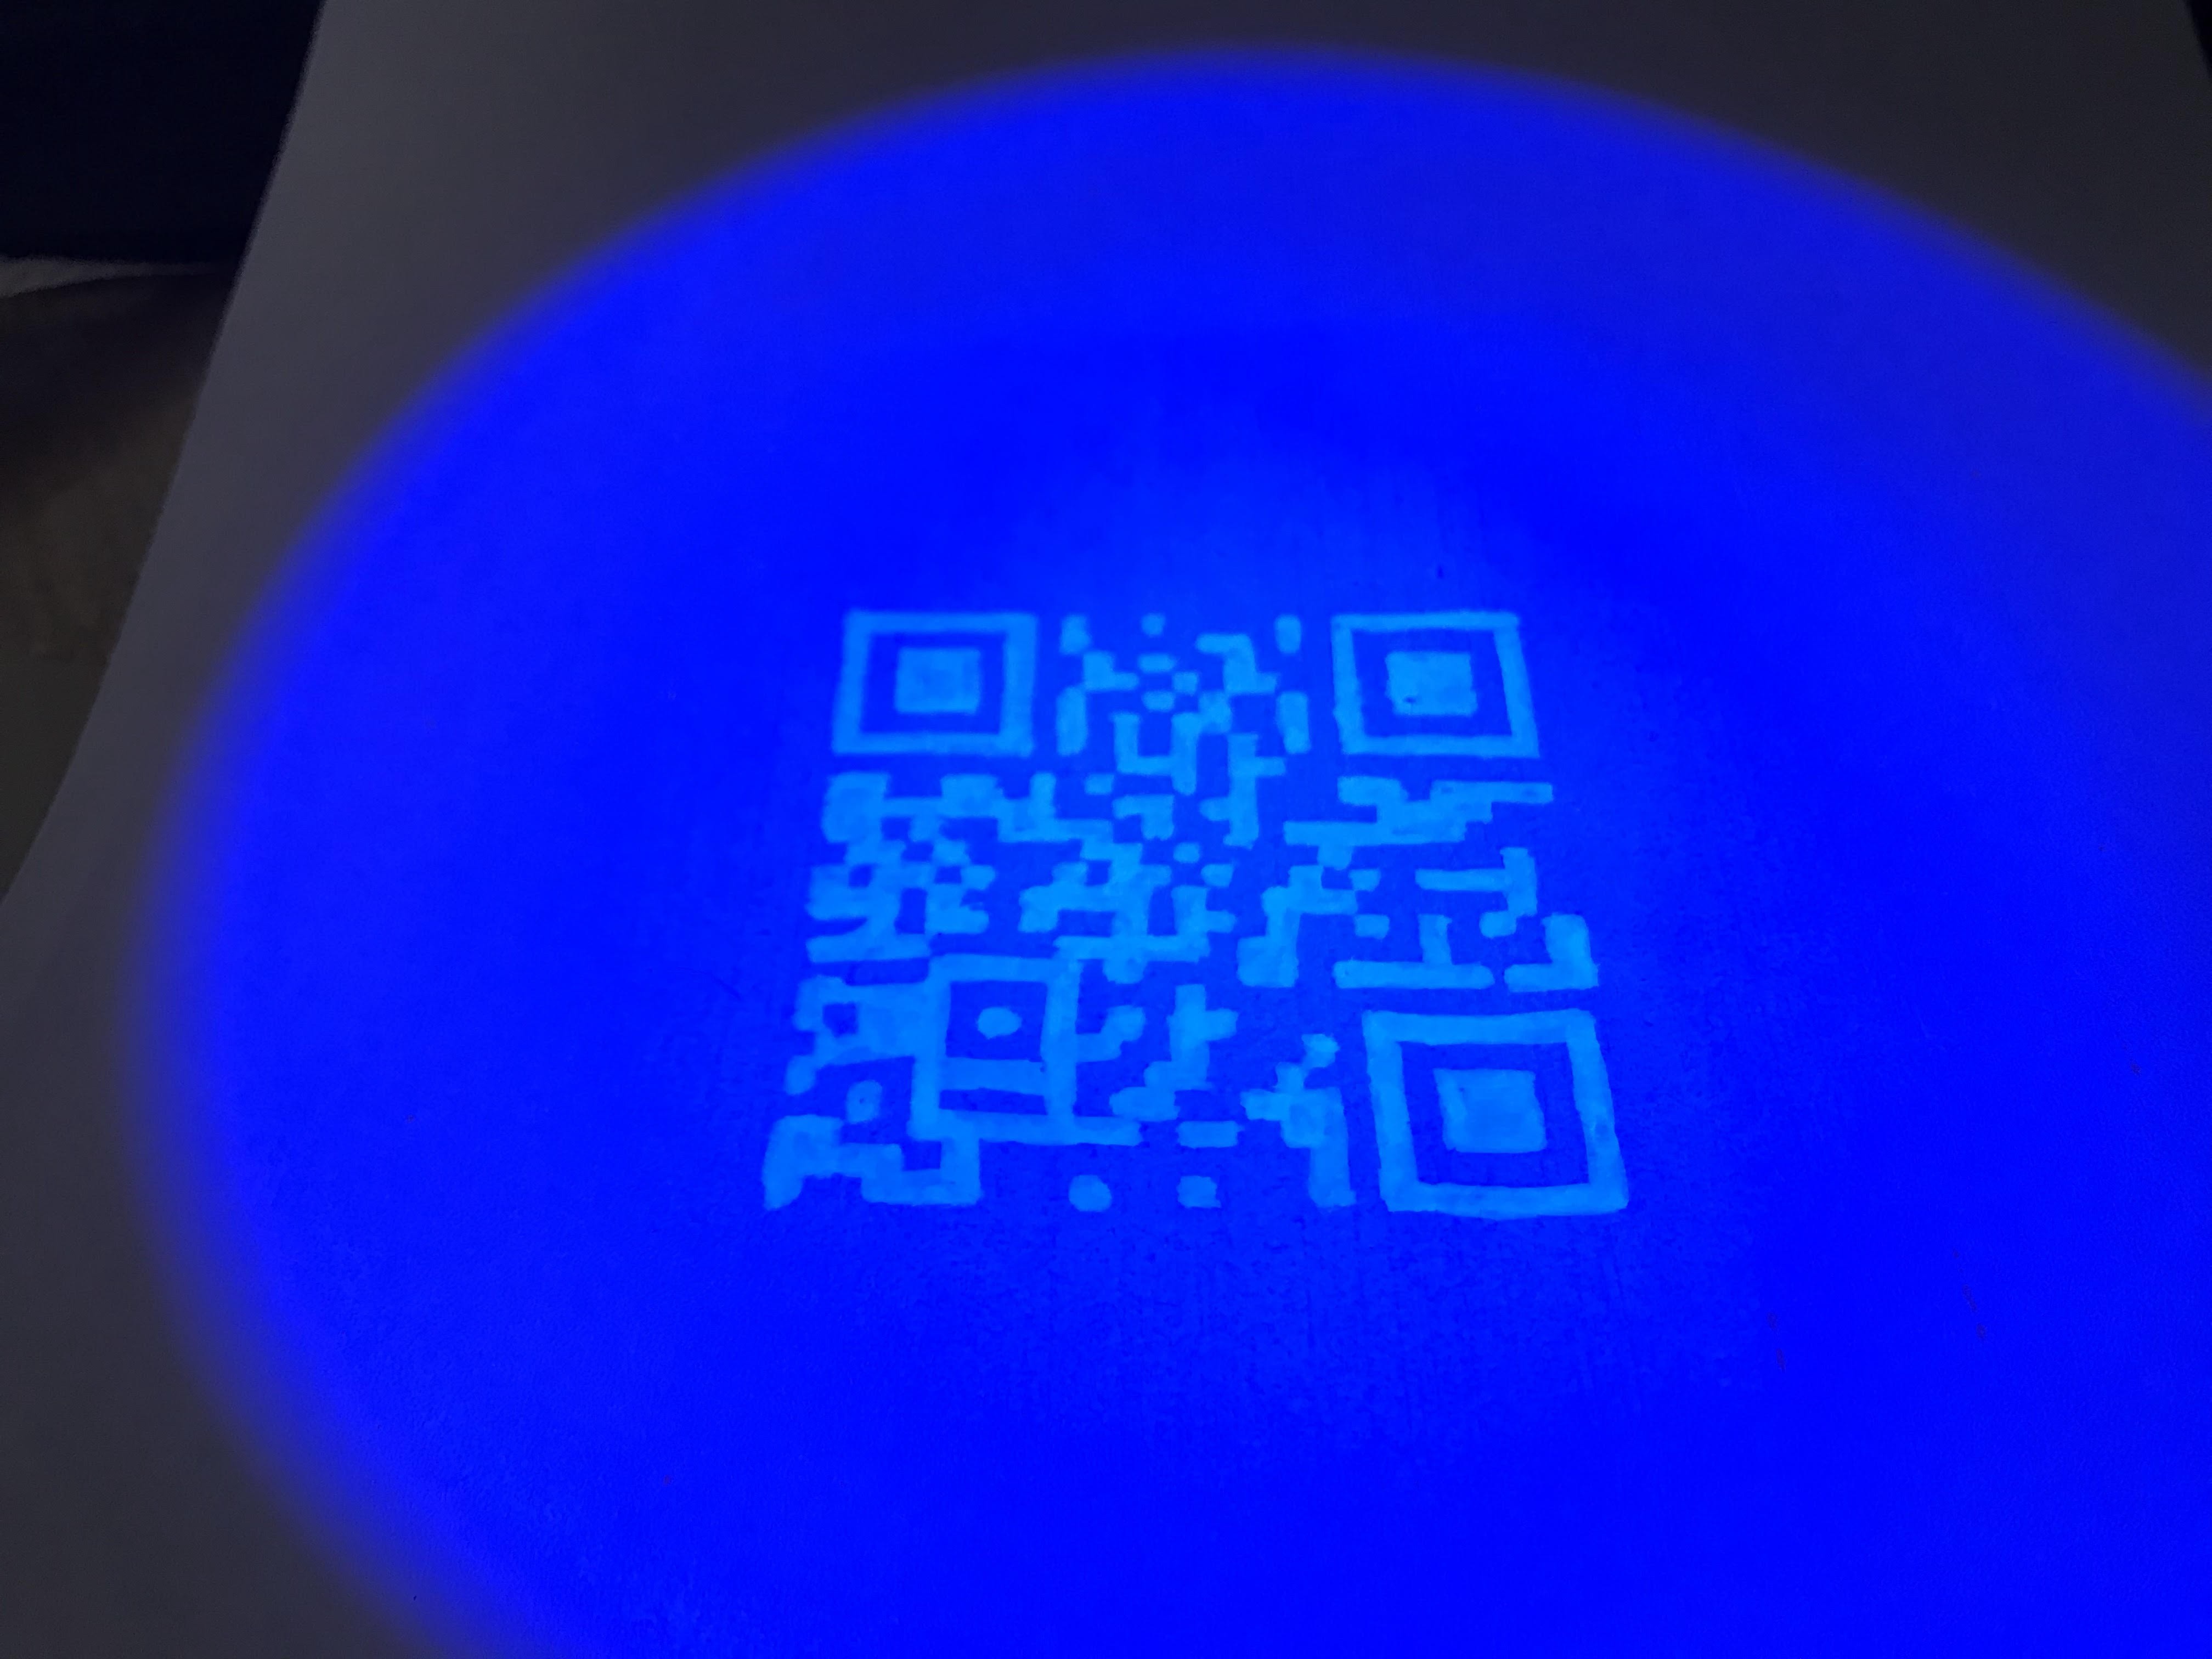
UV invisible QR code hand drawn
06/30/2018 at 14:17 • 0 comments![]()
This is UV ink on normal white paper, with a drawn white, of course the marker pen is 2mm tip . You can use your phone with a QR code to read by looking at this picture. It is my email address as a sample. The edges are not sharp, but my cell phone still reads after a couple seconds. I think this is good enough to proceed to the next step which is printing UV ink through an inkjet printer so the code is sharp and readable from afar.
-
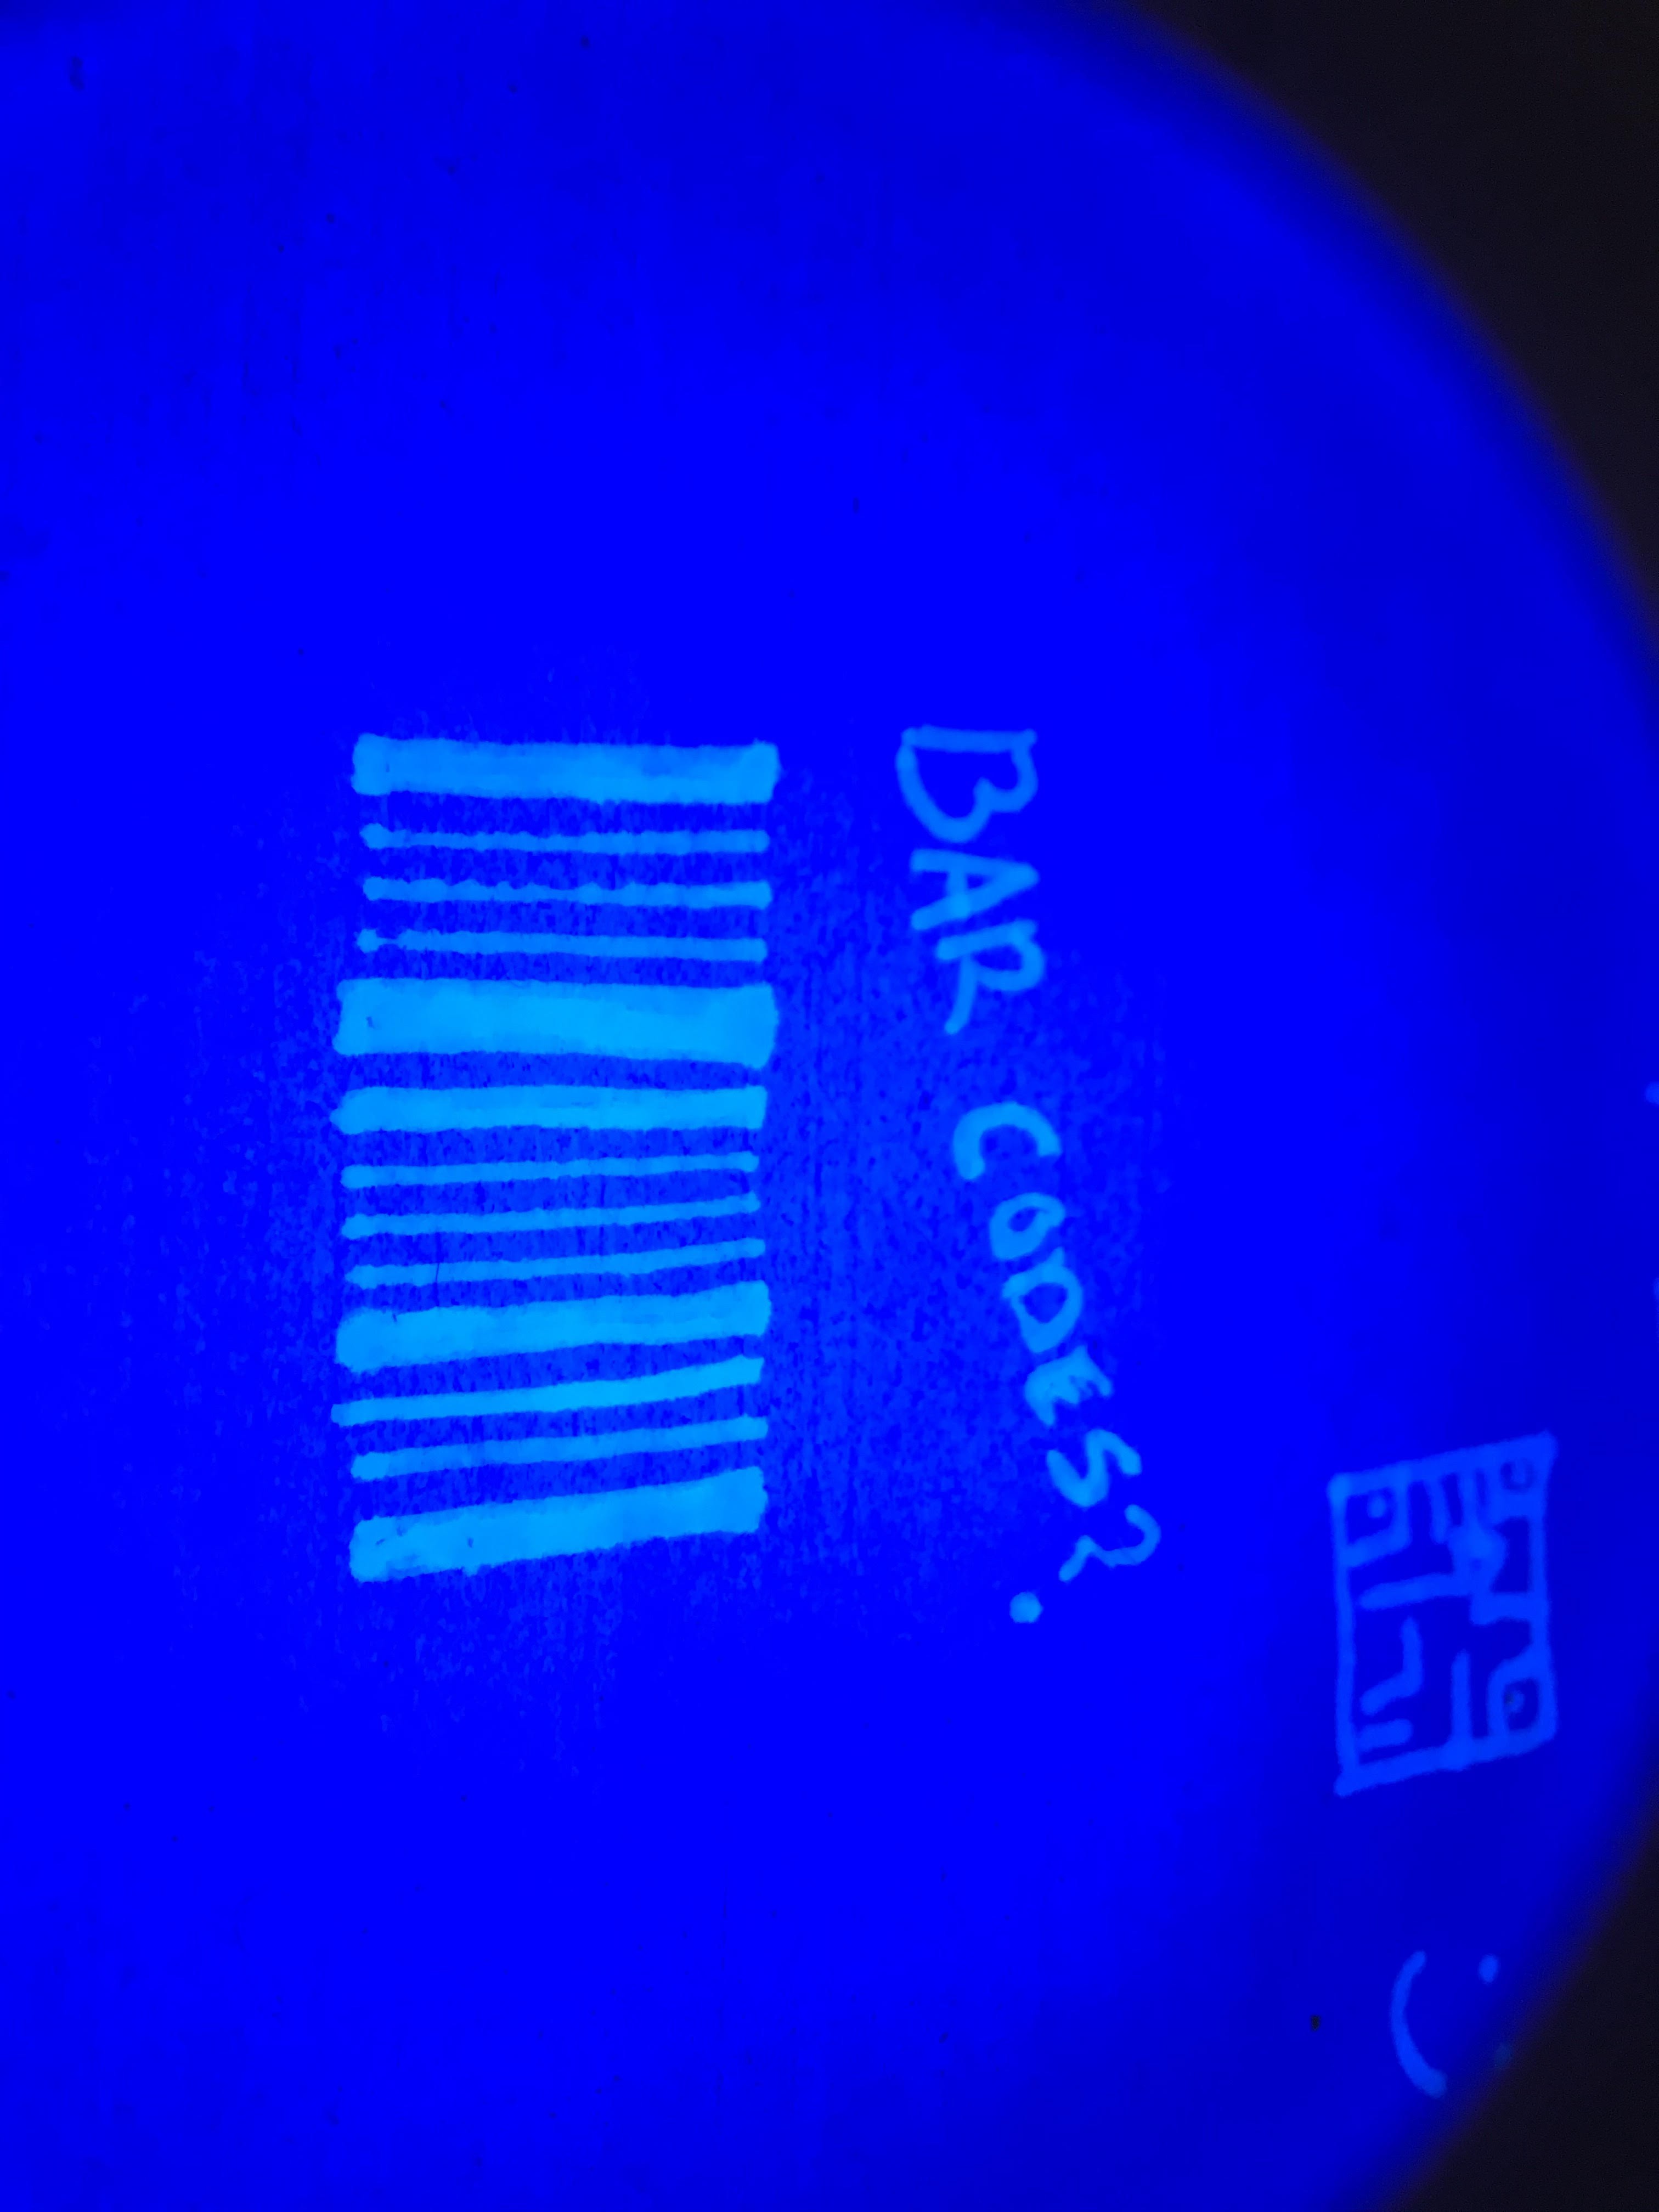
Creating custom UV INK markers
06/30/2018 at 13:56 • 0 commentsHere is a UV reactive ink from Noodlers, a UV ink manufacturer for pens. One thing I noticed it is very thin , so it wets the paper more, I think I need a substance that has more UV pigments inside. This is the first UV tests. I want to have at least two inks in QR codes. The reason has to do with a variety of lighting conditions, different inks work better. Low light for example UV is king, but daytime IR absorbing looks grey even in daylight. QR codes can be any color, they operate on principles of contrast. As long as one is brighter than the other is should work.
![]()
![]()
![]()
![]()
![]()
-
Testing Nav at faster movement speeds
04/14/2018 at 13:05 • 0 commentshttps://www.youtube.com/watch?v=oC9GdkKKoBs&feature=youtube_gdata_player
So the video was uploaded sideways because that's apparently what my phone wanted. Good news is I'm switching to a galaxy Note 3 in a day or two. Looks like this will work fine and now I can get back to building beer bot. The next step is figuring out how many codes I want to use. I will need to buy a compass I believe next.
-
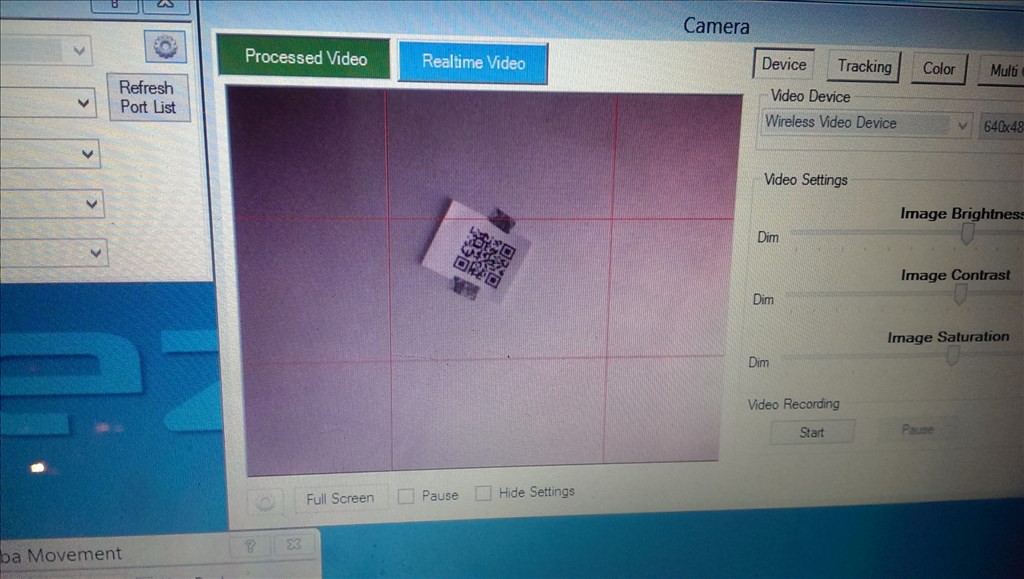
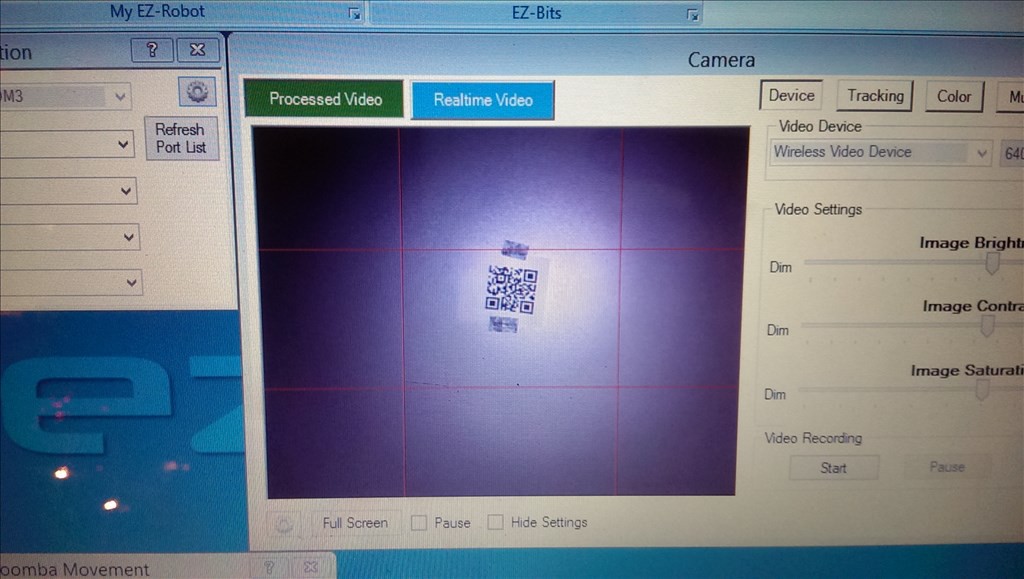
Testing QR code grabbing while moving
04/14/2018 at 13:04 • 0 commentshttps://www.youtube.com/watch?v=a14UF9nbSsU&feature=youtube_gdata_player
it's a very short video just showing that the code cam be moving some as long as it's slow enough to grab a frame. I also tried reading the code without the IR light and it would not read at all without direct illumination at 7 ft away using a 400 x 400 line Qr code.
![]()
![]()
-
Videos showing how the IR cam works
04/14/2018 at 13:02 • 0 commentshttps://www.youtube.com/watch?v=tCAIFuTOQI8&feature=youtube_gdata_player
Here is the setup I threw together with 850nm leds I already had and how it works.
https://www.youtube.com/watch?v=c7CzLF8z7uY&feature=youtube_gdata_player
Here you see the IR first test on a ceiling QR code at 7ft 4 inches away and the code way crooked , wrinkled and my dog tore a edge off and it consistently read it. The IR light us invisible to the naked eye and mostly invisible to modern cameras due to IR filters. After popping my EZ cam filter out the QR code is now read even better than when I illuminated it with a 1 watt led. It was even able to read the smaller Qr code at that distance so I see that IR illumination is much more effective than white light. I was pretty "geeked out" when I saw it literally worked better that using visible lighting. The camera also did not need to constantly adjust to the white balance like when I was using the super bright white led. Now I just need to figure out how to read the orientation of the QR code when read and that will always tell the robot which direction it is facing.
-
fire up the leds, using voltage regulator
04/14/2018 at 13:00 • 0 comments![]()
![]()
-
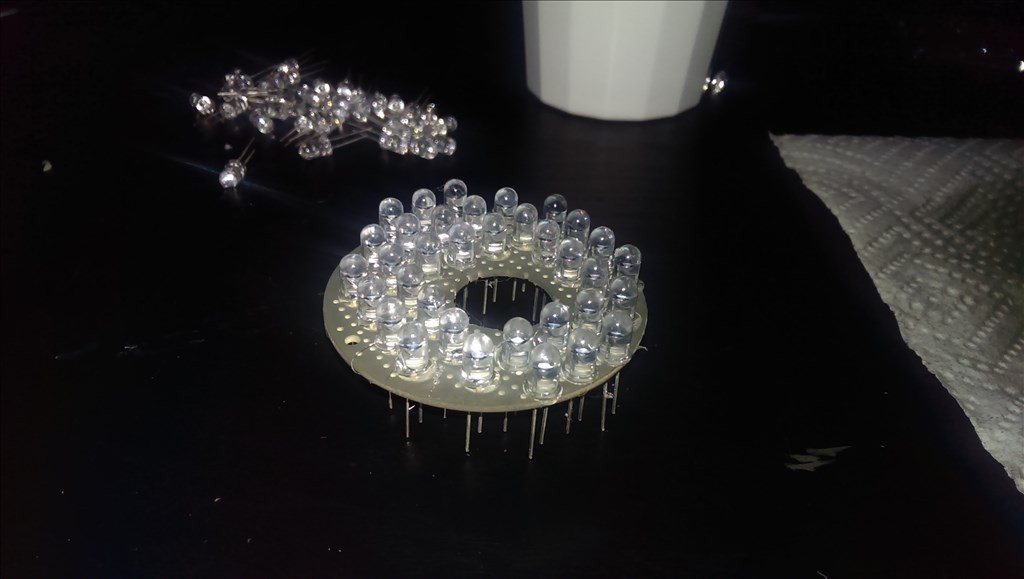
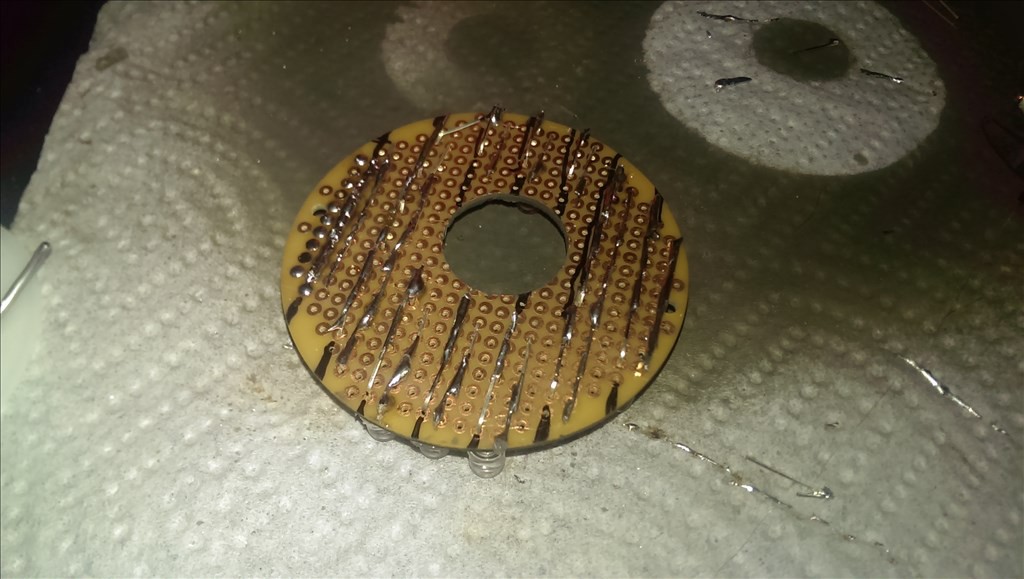
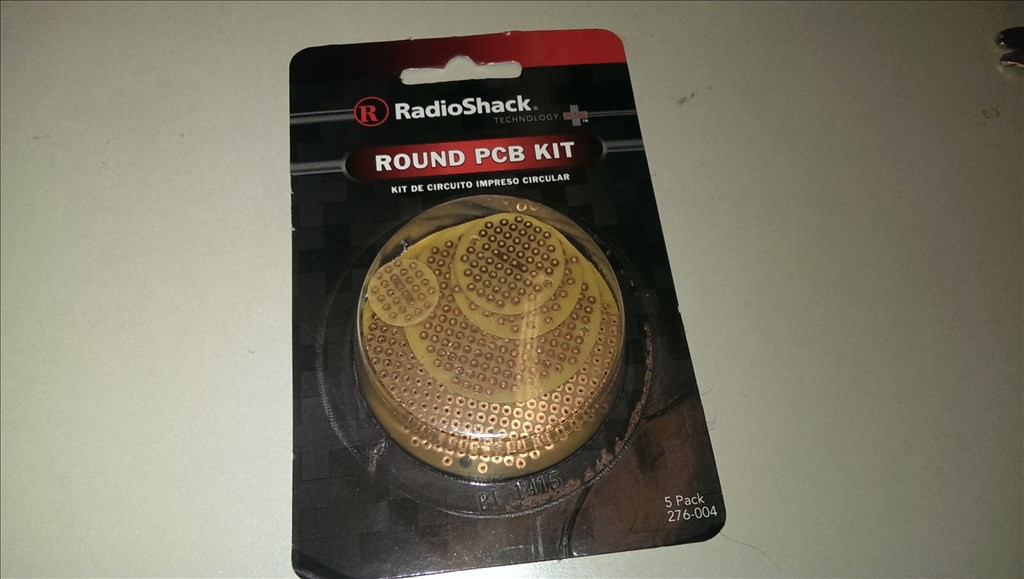
Building the custom led illumination 850nm
04/14/2018 at 13:00 • 0 commentsThis last pic shows the inside of the lens where I popped the filter out. Honestly the camera is much more sensitive in low light without the filter and doesn't significantly effect the picture quality as far as color. But clarity in low light , wow! I popped it out with the tip of a xacto knife and if you kept it could easily be popped back in at any time.
![]()
![]()
![]()
![]()
![]()
![]()
-
Testing Ir Illumination #1
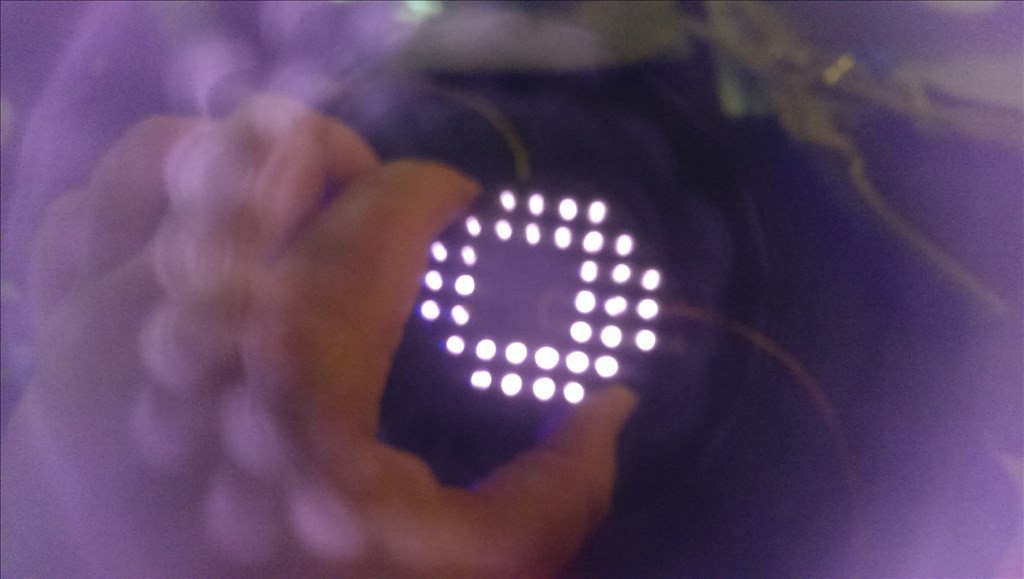
04/14/2018 at 12:57 • 0 commentsAlright I'm totally stoked! The IR illuminator (or technically radiator) worked great. I used 38 1.5 volt 850nm less and surrounded the camera lens with them. I had to unscrew the lense and pop out the red colored filter using an exacto knife blade then screwed the filter back on. I used a step down converter from ezb 5 volt supply and dropped it to 1.5 volts. So when ezb is on so is the illuminator. I made two videos I will post.
-
mapping the room
04/14/2018 at 12:56 • 0 commentsAfter work today I will measure the upstairs for a basic map and then the fixtures that are semi permanent downstairs. My goals here are to make a complex environment more simple so the robot does not completely rely on sensors to determine position and environment. Some things are static in the environment and by making those "hard boundaries" I can simplify a space. I did see an idea to outline permenant objects with magnetic tape but that requires a custom sensors to see so I will stick that in my back pocket behind the northstar beacon methods.
As for the camera I believe I may need to wait until the EZB v4 cam is available because I'm very fond of the built in connection. Otherwise I can use the dongle until then for testing and development. I will need to solder up a IR illuminator and hopefully I have enough leds to make a prototype.![]()
Invisible QR Code Navigation for Robots 2020
Cheap UV invisible QR codes for indoor navigation of robotics. Print labels from Inkjet Printer and read with a normal camera.