Simply7
-
Vacuum Forming
07/07/2014 at 01:48 • 0 commentsThis part of the project was designing a good master to perform all the vacuum forming. This was the first time I had ever done any vacuum forming so I did a lot of reading but still made a lot of mistakes. When I had actually made my first acceptable piece, I had a pile of about 7 failures.
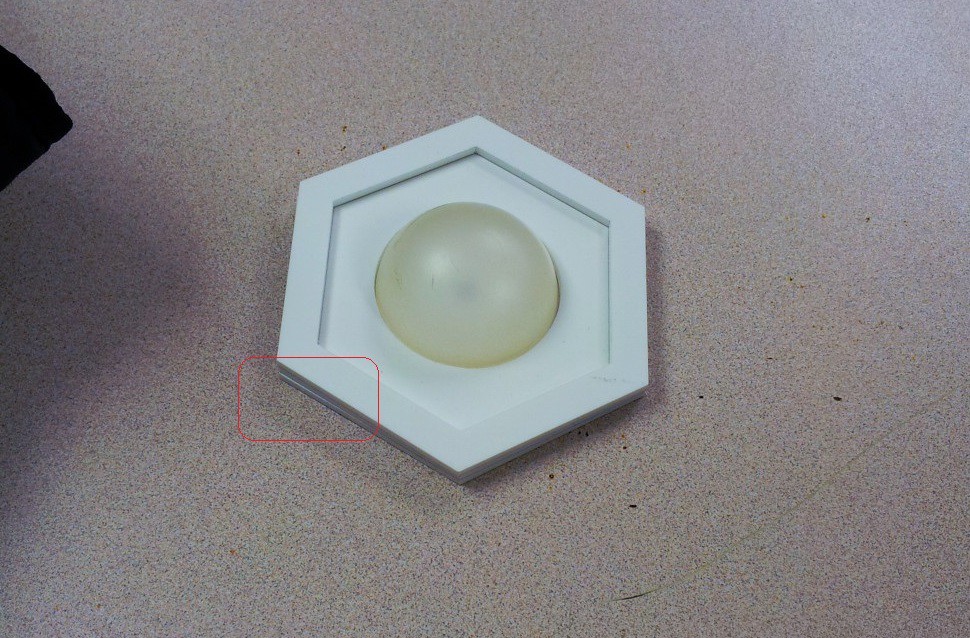
The initial acrylic piece I designed worked okay when I did the vacuform but getting to release was difficult. When cutting with a laser you get kerf, this is a small angle to the cut cause by several different factors. So each piece had a slight angle and stacking them together made the equivalent of a saw blade. In this picture you can see it as a little offset.
![]()
This was solved by using a disc sander and setting it to 87 degrees. With this slight angle the piece came out easily. The second issue is the 90 degree angle at the top. When the soft styrene is pulled over the 90 degree angle it thins to the point where it cracks easily. A little more sanding and that issue was resolved as well.![]()
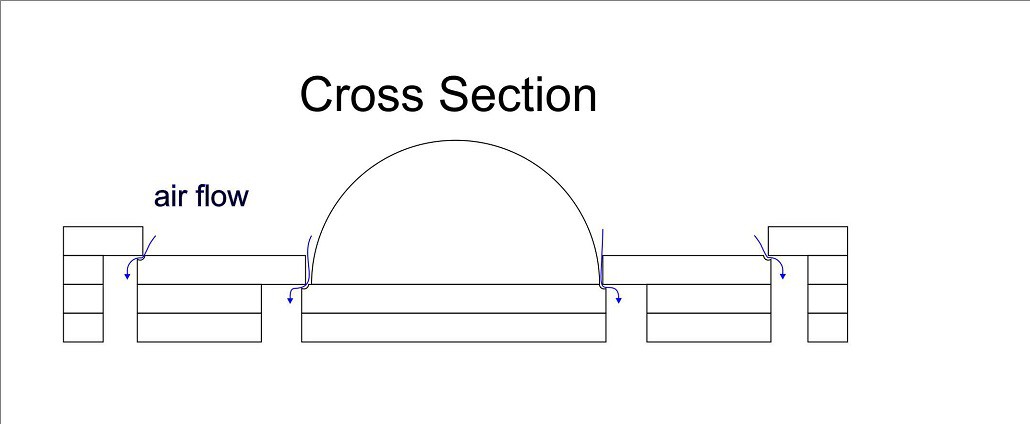
I designed the new model with air vents to allow evacuation of air where it could possibly form pockets. This drawing shows the multiple layers of acrylic and the venting areas.![]()
For a more detailed view, I'm including the Corel Draw File.
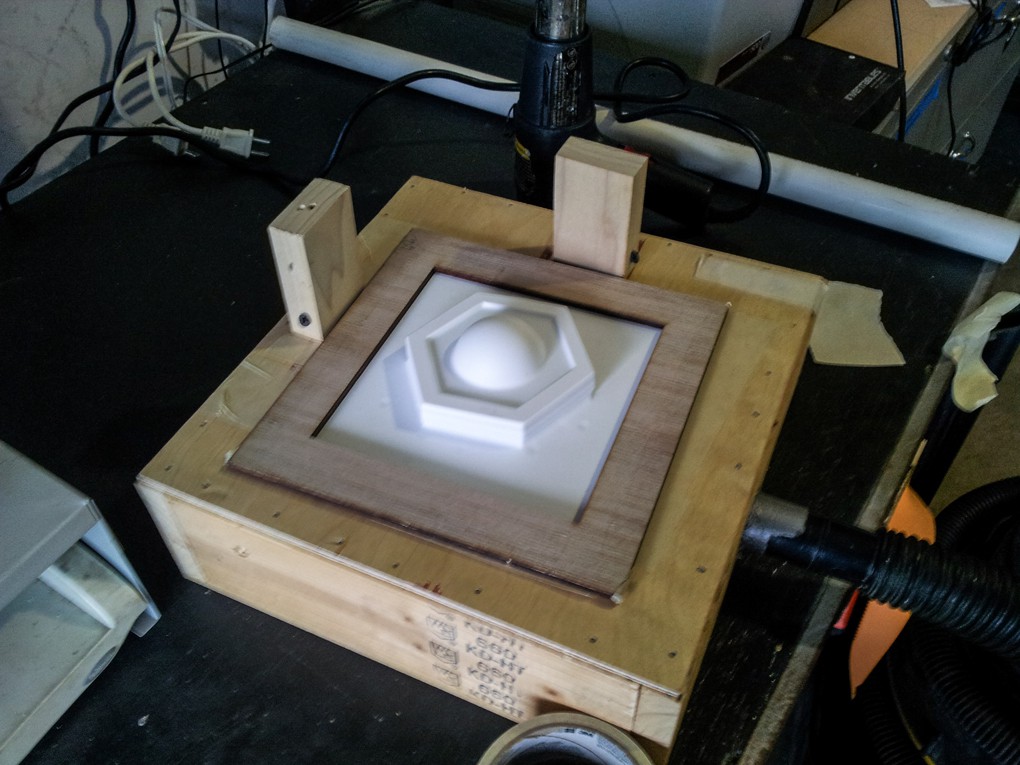
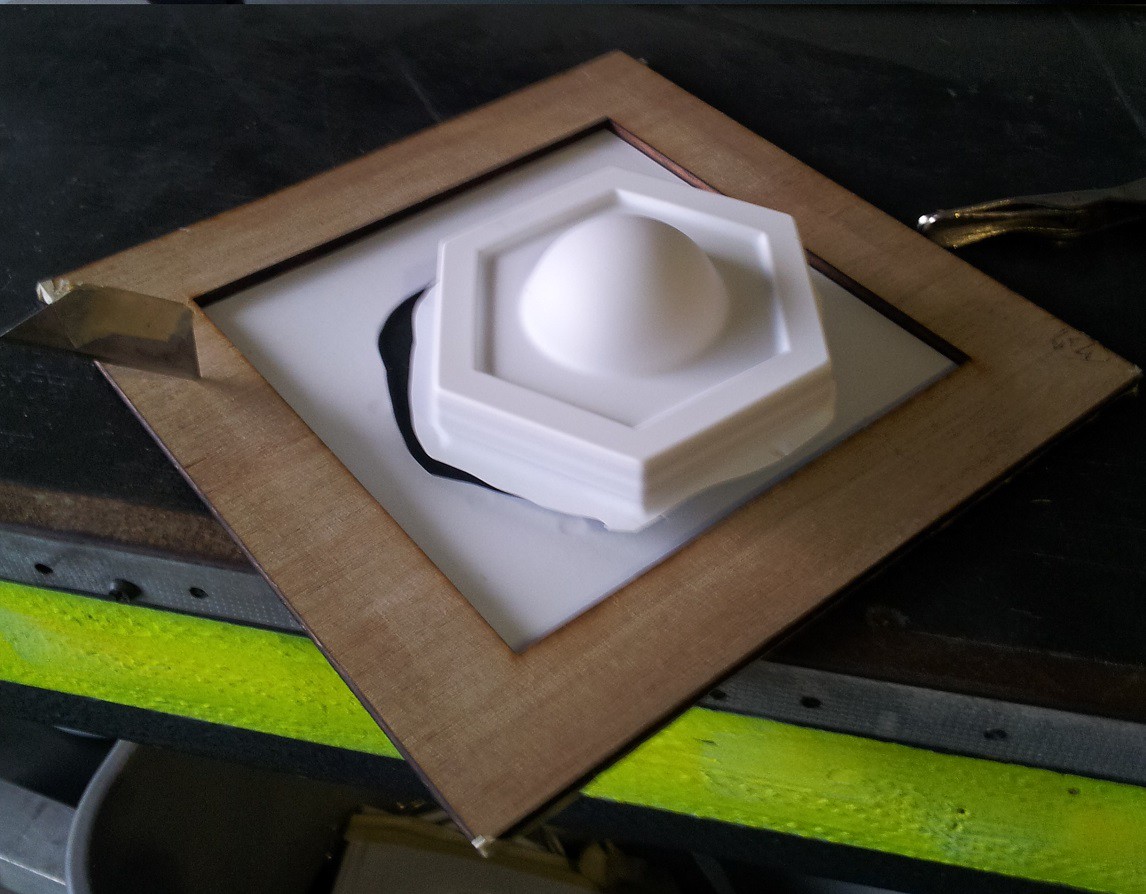
I even changed the design of the vacuform top to get the maximum use of the vacuum. I also added a bolt to the bottom of the model and a locking mechanism to hold the model down to aid in removing the styrene from the model.![]()
So step one, toss some styrene in the toaster... (I'm bad at forgetting to take pictures as I go, that's why you see some already completed hexadomes in the corner ;)
![]()
Then turn on the shop vac and place the styrene on the model. The styrene I'm using is thin and cools quickly, so I sometimes use a heat gun to heat it back up while the shop vac is running. This often helps 'save' a piece that wouldn't normally make it. This would go much smoother if I had a proper vacuform table, but that's another project.![]()
Tun everything off and pull the styrene from the frame and make the first rough cuts. I had received good advice on how to cut these with scissors, but glued a base to my model and not the table. So I ended up cutting with a razor![]()
Then very carefully make the finishing cuts and the finished piece.
![]()
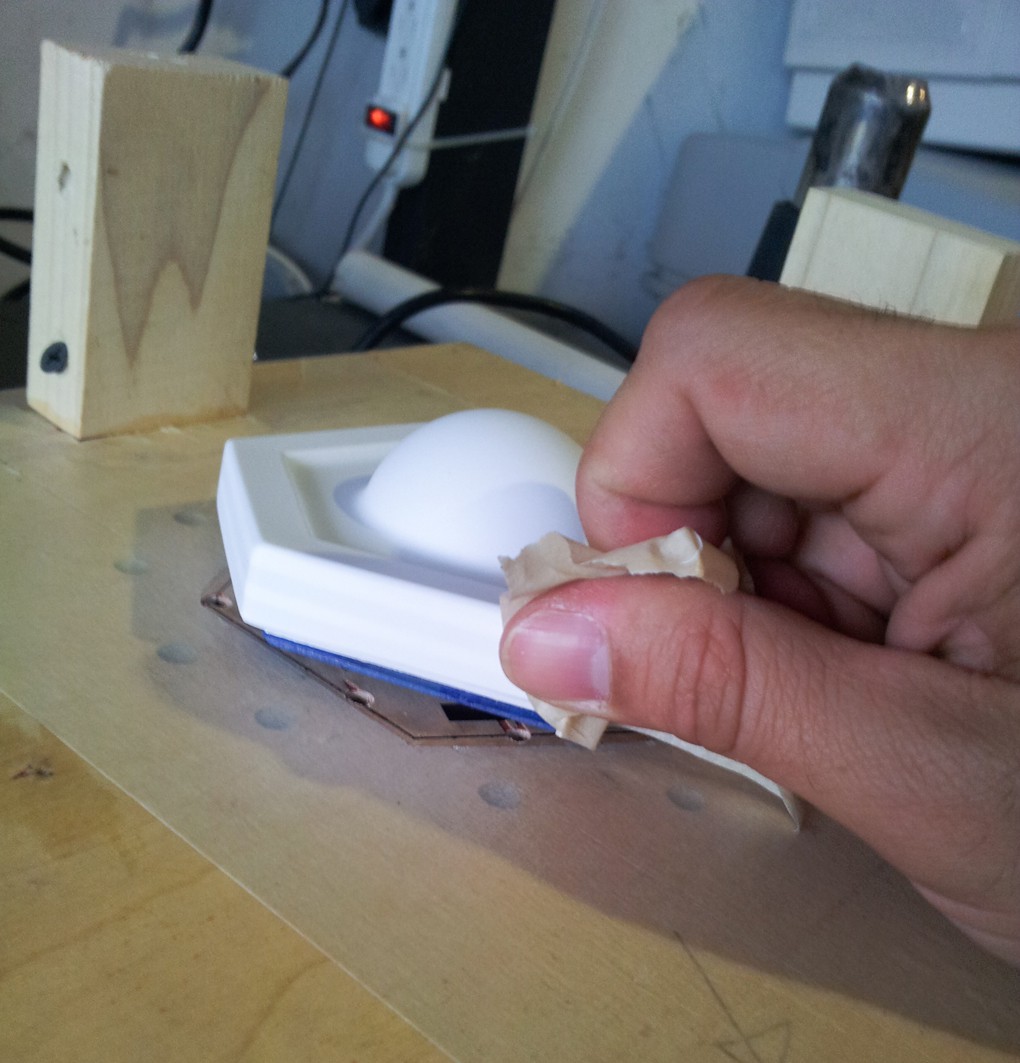
Once the cut was complete, I placed it back on the vacuum platform and used a piece of tape to lift the finished hexadome off the model.
![]()
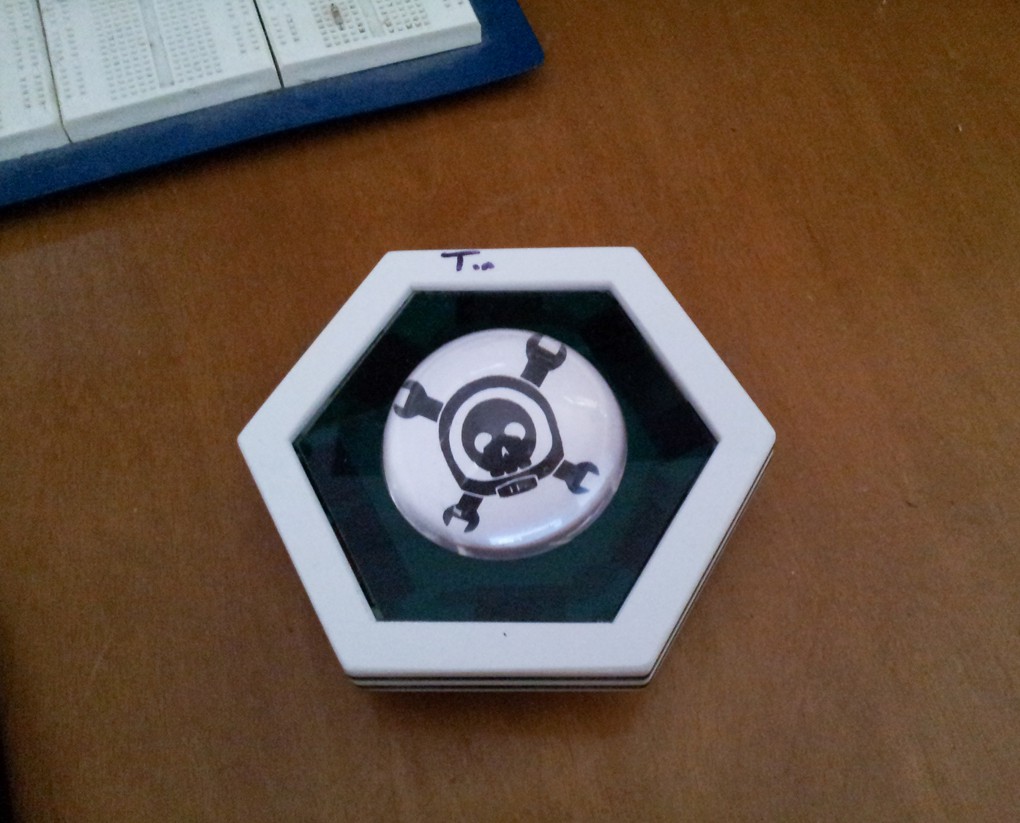
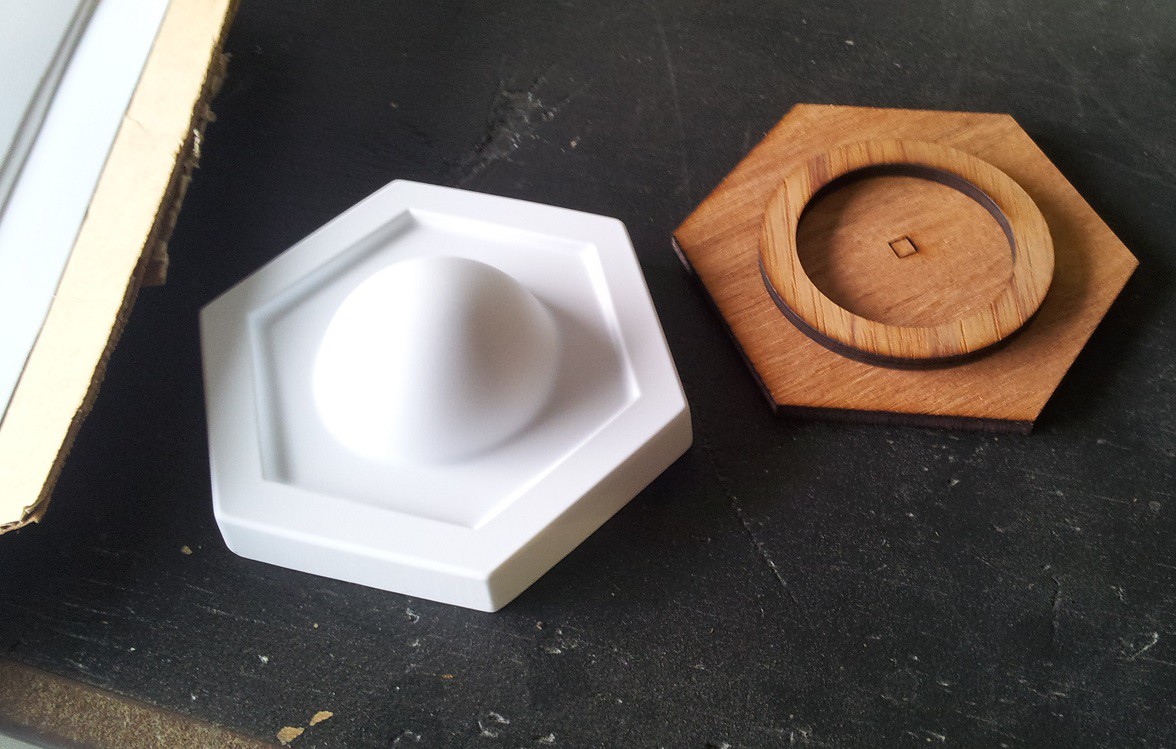
Here is the finished piece next to an early prototype of the base.
![]()
So after making the first one, JD gave me a few neopixels and I ran a very simple arduino sketch to see how it would look.
So these round things were originally going to be part of a indoor art piece weather station, informing me of what was going on outside. While sitting right next to a sliding glass door... But with most of my projects they tend to grow and change as I have new ideas. So, I'm going to hit ebay for some Nitendo guns (think Duck Hunt) and rename this the 'Paint Ball Wall of Lights'. Hopefully I'll come up with a better name, but you get the point.
-
Prototyping
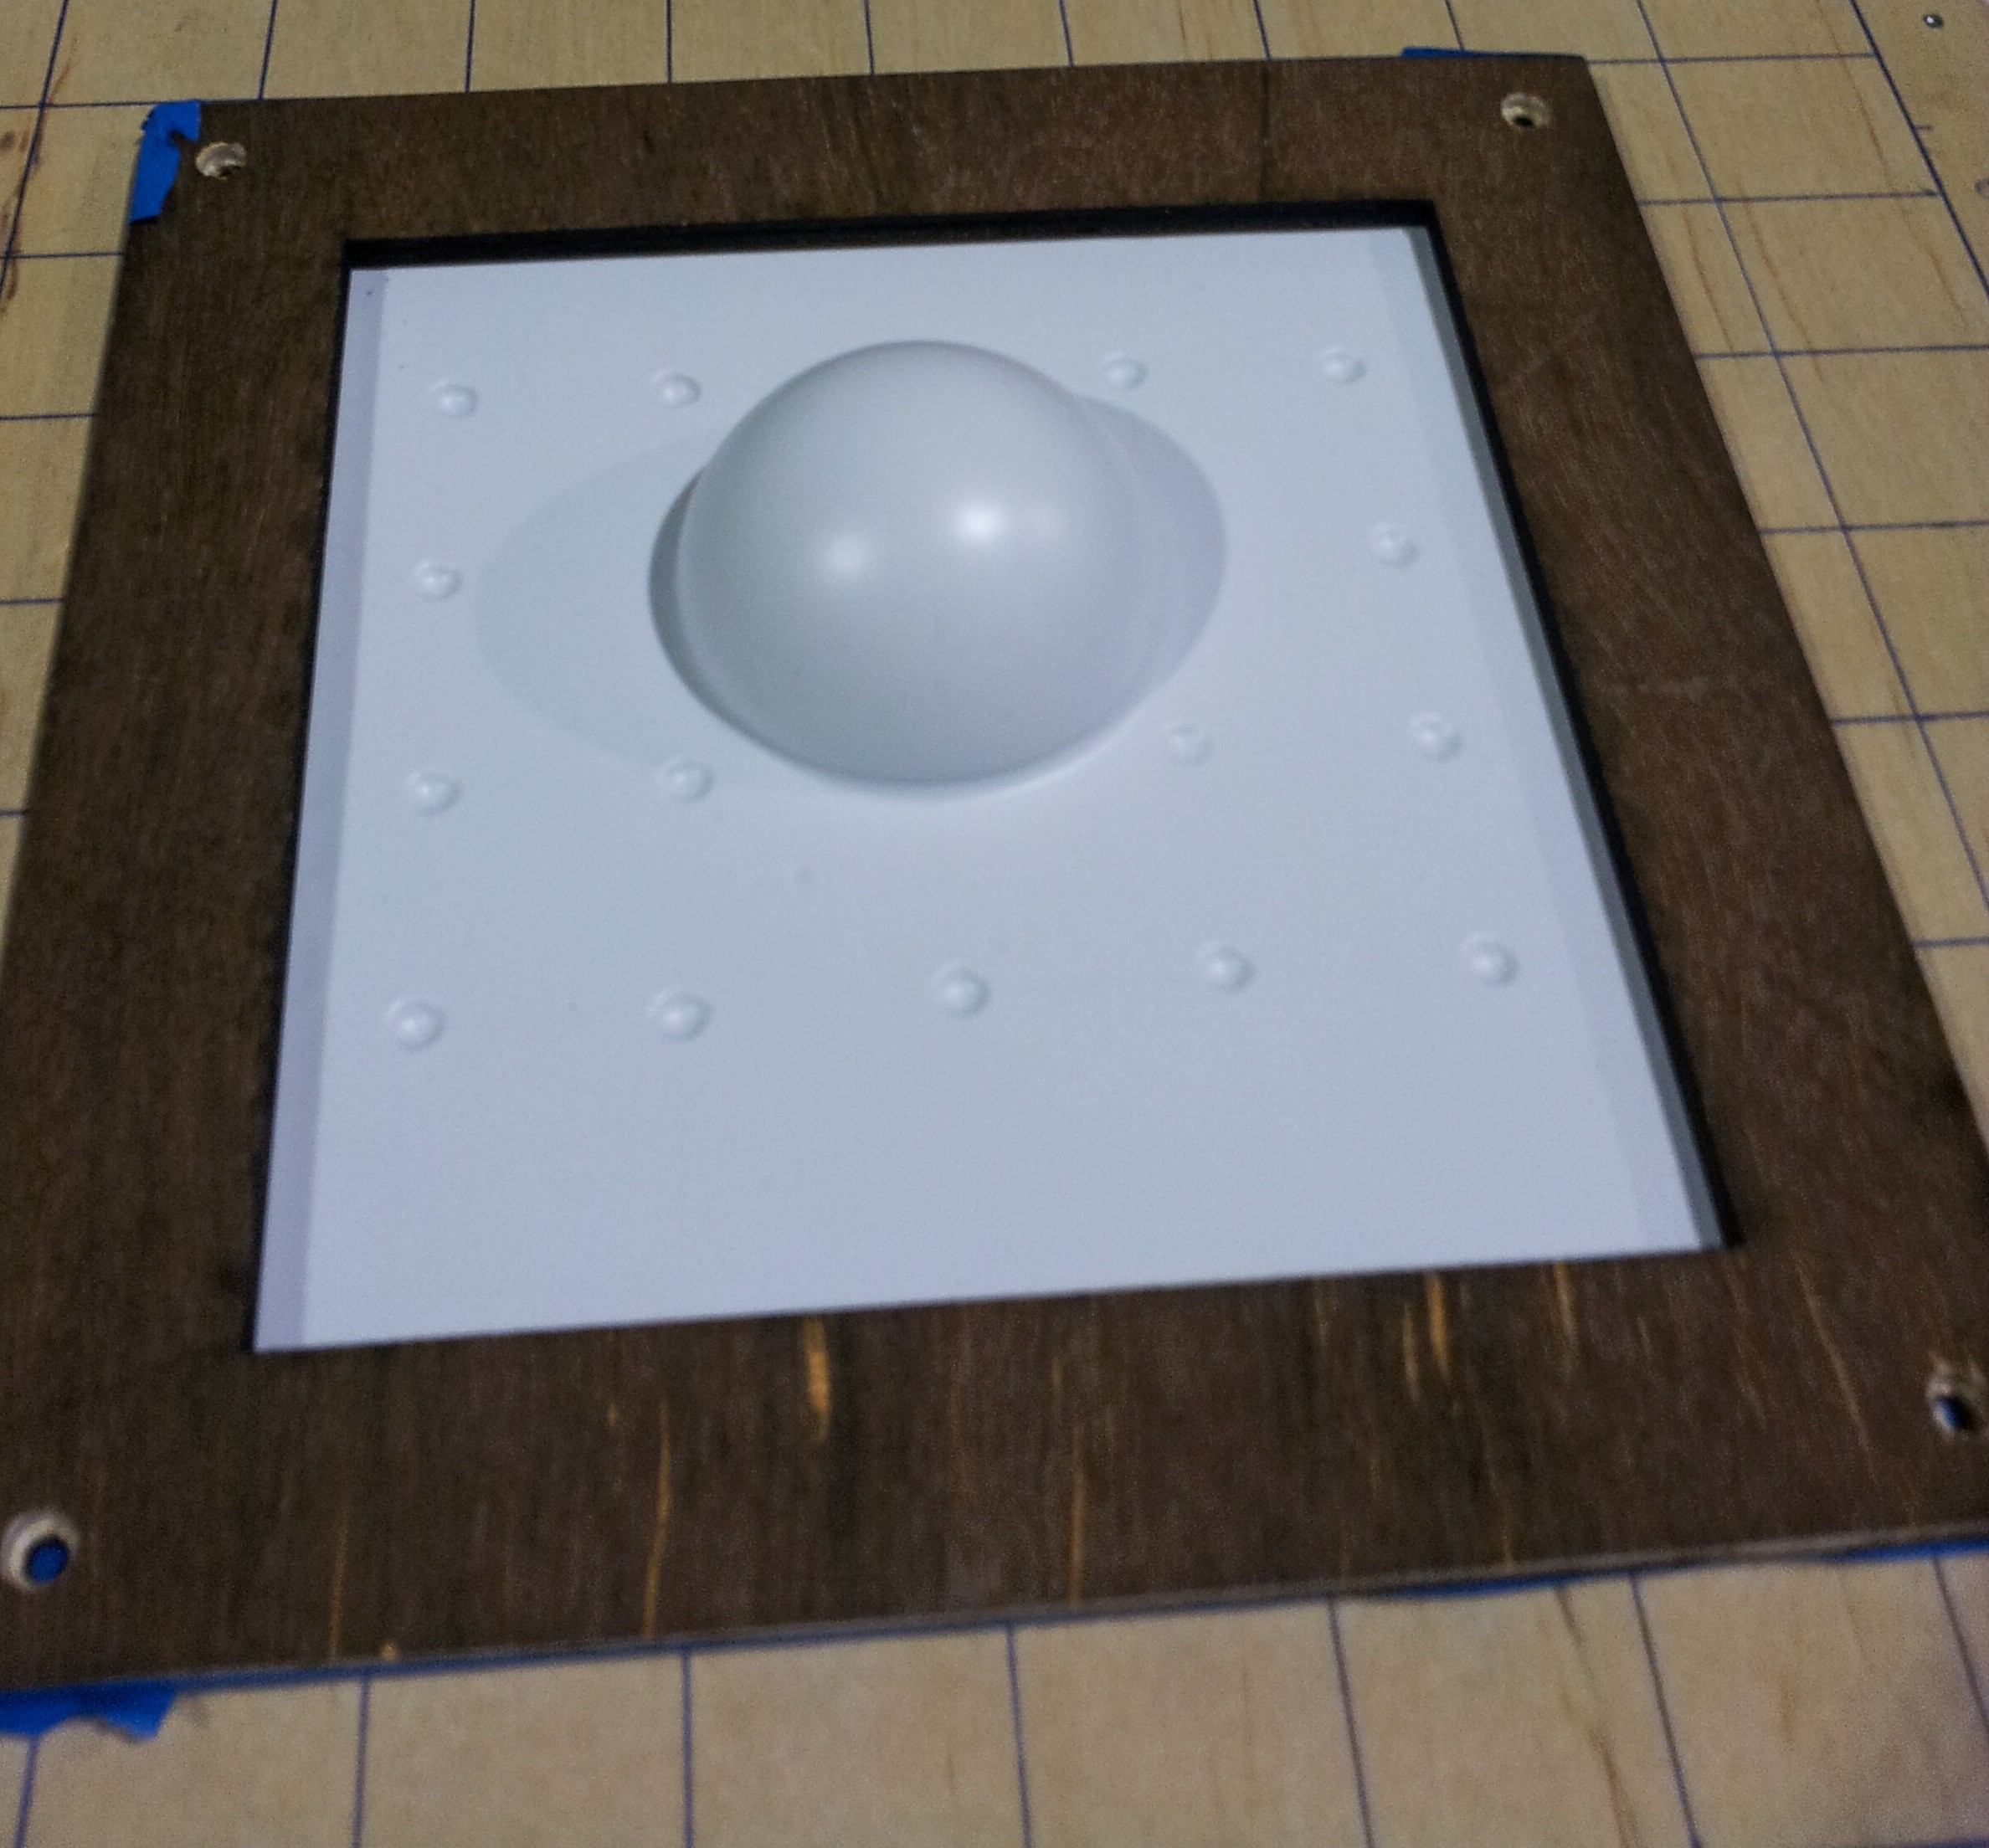
06/05/2014 at 02:11 • 0 commentsThe original project was going to be all acrylic. There would be multiple layers. The backing would have small 5mm square holes for the neopixel to shine through an illuminate the dome. I had planned for the bottom layer to be one large piece that would support all other pieces. The second layer would be a single hexagon with a two inch hole cut out of the center. The dome would then be inserted into this piece. The top most piece of acrylic was a border piece.
![]()
So the dome I was using was just a plastic ball cut in half, and not really what I intended to use, so I thought I would vacuform the domes. This did not go well. I had read a few blogs, but there were nuances I wasn't aware of. That and I melted the ball. So I ordered a acrylic half sphere.
![]()
I'm a member of the FamiLAB hackerspace, I guess we have experts on everything because Mike and Pat helped me get setup and running. Pat was working on eyeballs for Starbots so this was very similar to what he was doing.
![]()
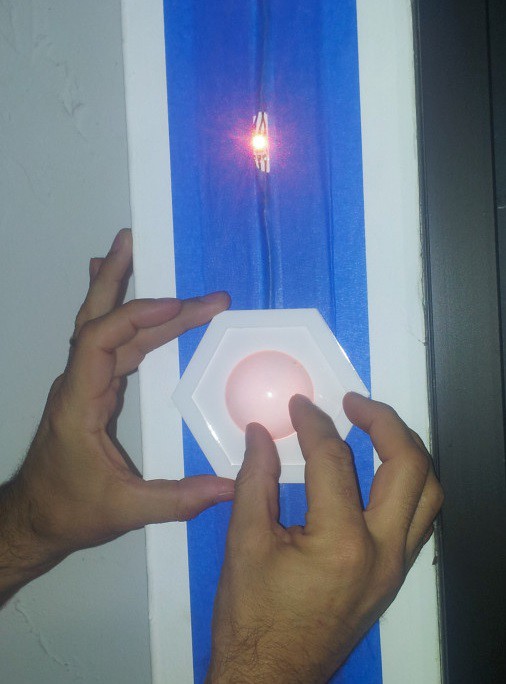
I cut it out and held the dome in place over a neopixel and was impressed with how the light glows (picture doesn't do it justice)
![]()
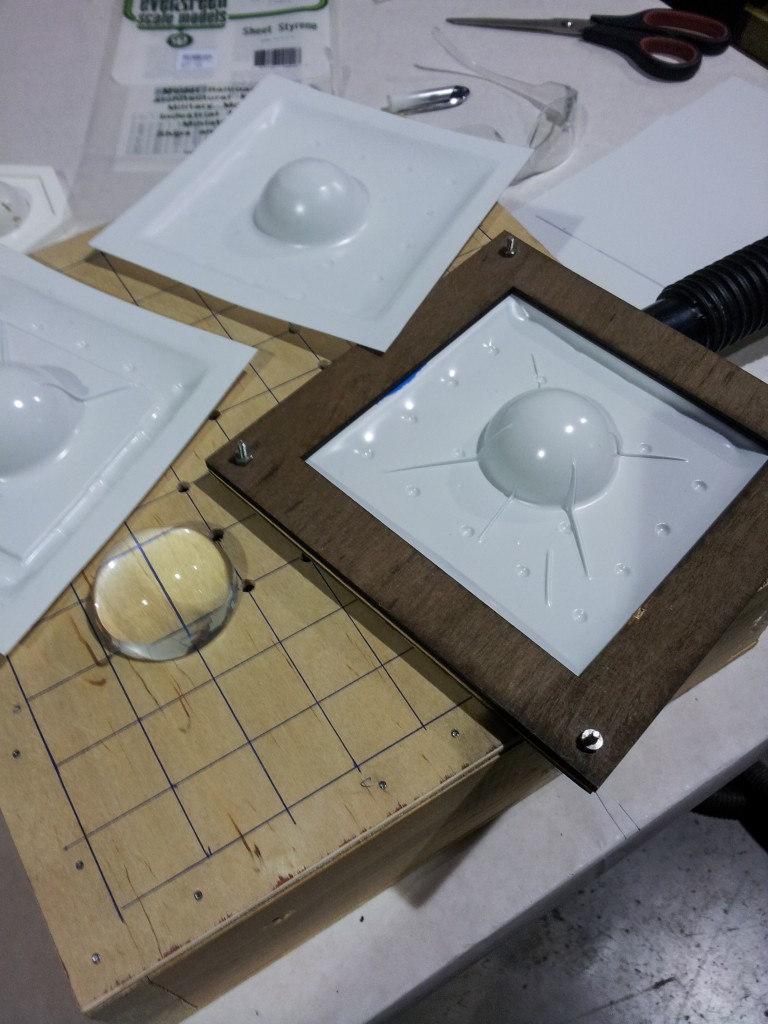
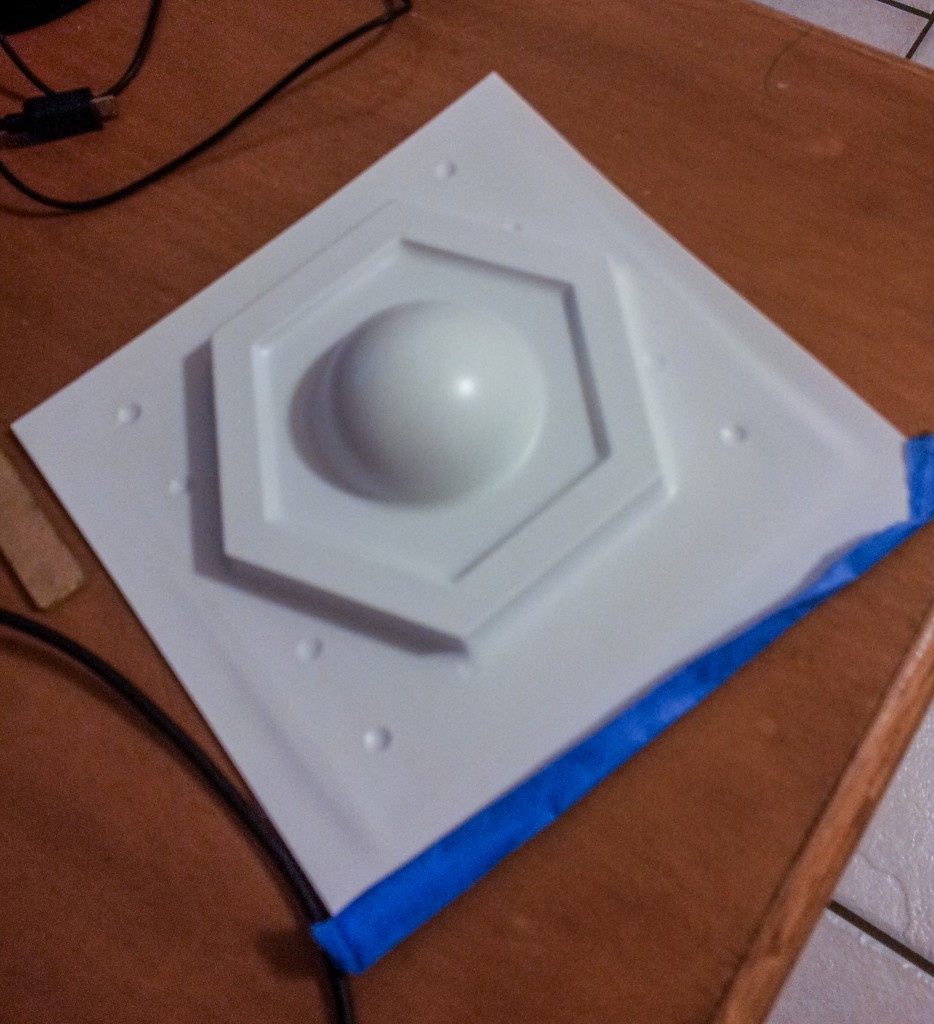
At this point I was happy with the project, but I didn't have enough styrene to make all the domes, so I experimented with my last piece and... it looked good. I tossed the original design at this point. One point that always bugged me was the acrylic being shiny and the dome wasn't. If the lights were not on it wouldn't look uniform. This changed everything. The experiment had a better look and feel than the original.
![]()
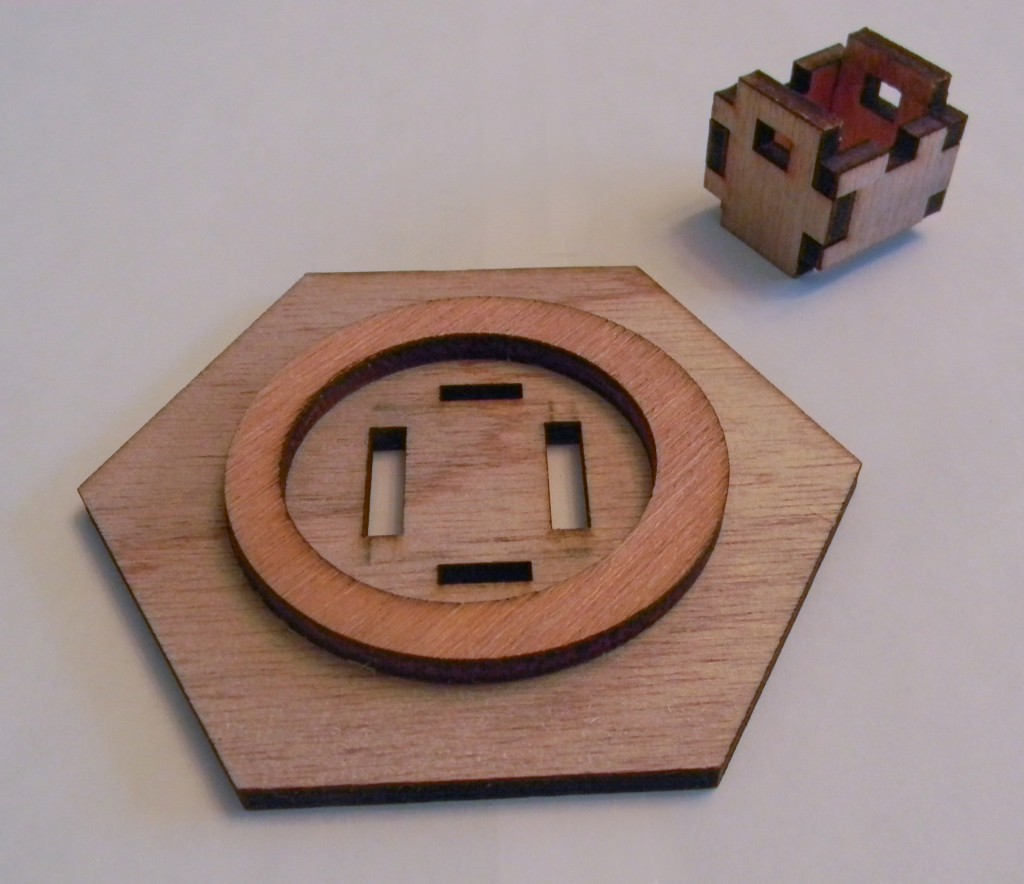
So I made a few measurements and cut out a back plate (hex), standoff, and a ring to prevent the light from shining beyond the dome. The ring also supports the styrene just around the dome.
![]()