Beer Butler Robot, Refrigerator on a Roomba
Mobile refrigerator! An insulated tube built on a hacked Roomba controlled by serial connection. Indoor Nav by QR code ceiling tiles
Mobile refrigerator! An insulated tube built on a hacked Roomba controlled by serial connection. Indoor Nav by QR code ceiling tiles
To make the experience fit your profile, pick a username and tell us what interests you.
We found and based on your interests.
Basically the Beer Butlers home place will be the charge base, so it is important it still flawlessly docks. After some tinkering when I started sending commands to the roomba through the serial port, I was able to get it to dock at anytime. The body and compressor of the Beer Butler sit on top of this base. It really is that simple!
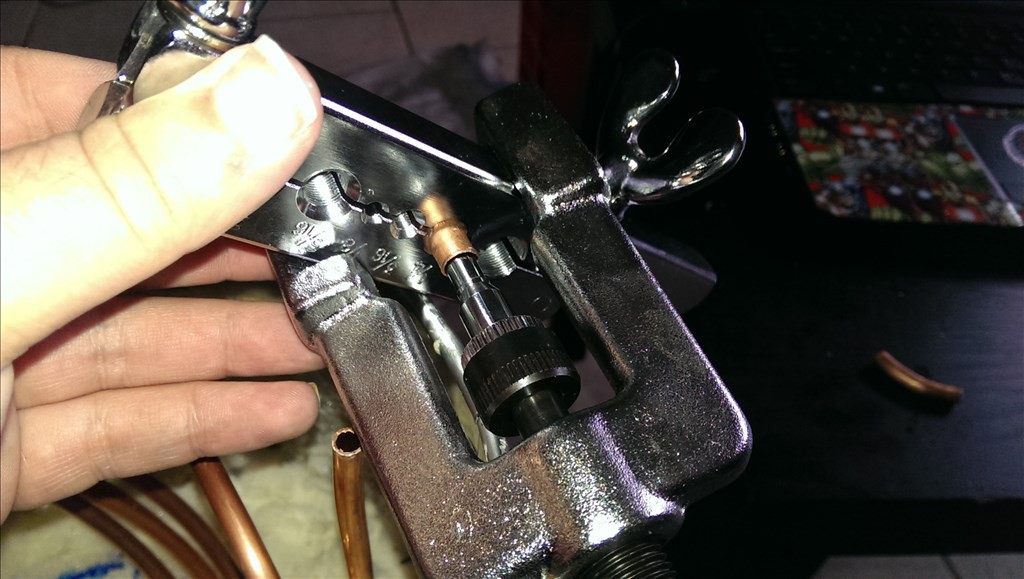
If you do this project be sure to buy a swage tool kit, it allows you to flare copper tubing to slide over another piece making them easy to solder.
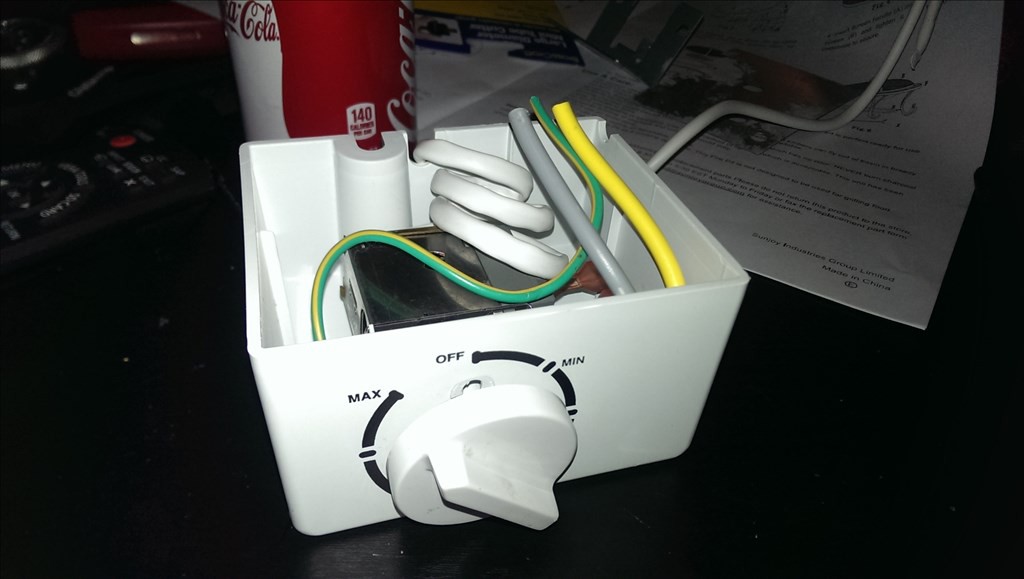
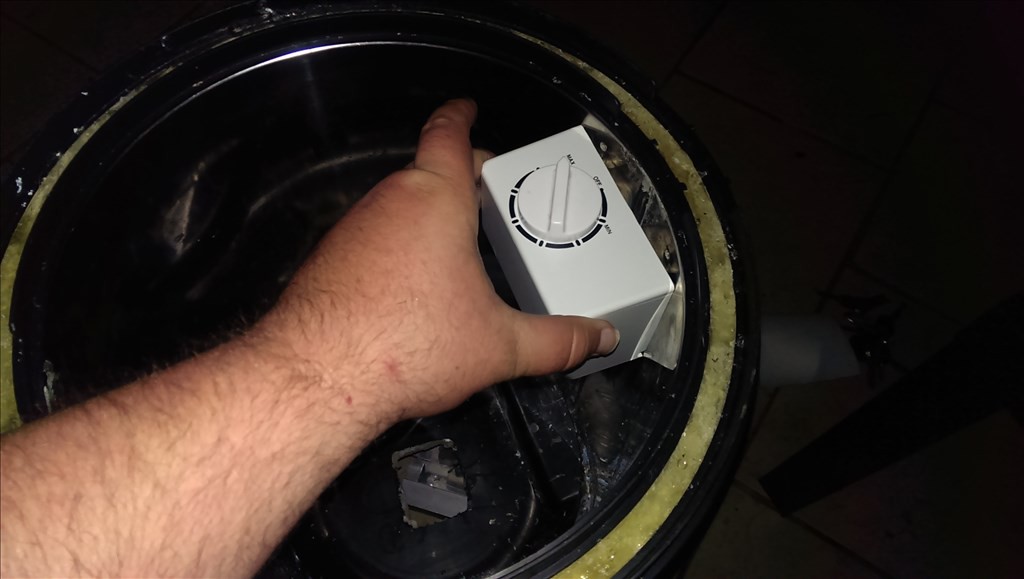
Excellent position I can adjust temp from the top by just lifting the lid !
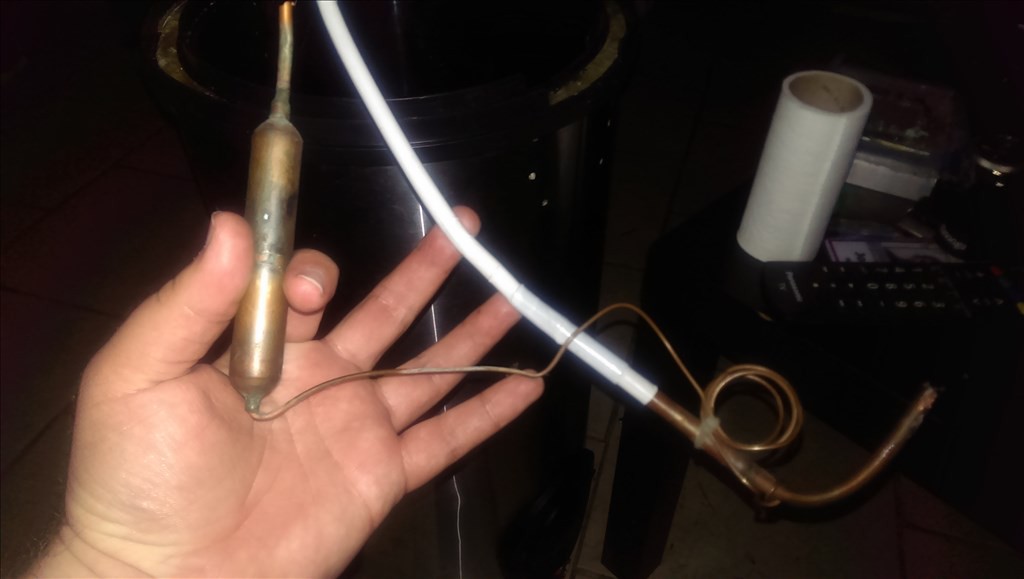
Ok I salvaged the last piece which no doubt is very important.
the required stages are as follows
1. Compress the refrigerant
2. Leaves the compressor from the discharge tube and raises the temperature to over 100 degrees
3. Discharge goes to radiator
This cools the hot high pressure refrigerant
4.the refrigerant moves from the radiator to the drier or expansion tube.
5. The refrigerant is pushed through the small tube as a liquid.
6. The small tube opens up to the evaporator
7. The liquid expands into a gaseous state rapidly as it passes into the larger space of the evaporator.
8. After the evaporator the compressor vacuums the refrigerants into the compressor.
So we need to make sure we give the compressor the same load as when it was in the fridge. I pulled out the evaporator ( the cold part) and carefully traced the path and measured to find how long the evaporate coil needs to be.
The small end on the evaporator is a restriction to keep pressure up, once it pushed through this capillary it passes through the dryer and then the condenser again to repeat the process.
I simple make the copper tubing the same length as the factory made their path to maintain the level of efficiency that the factory intended. Hmm I think I voided the warranty.
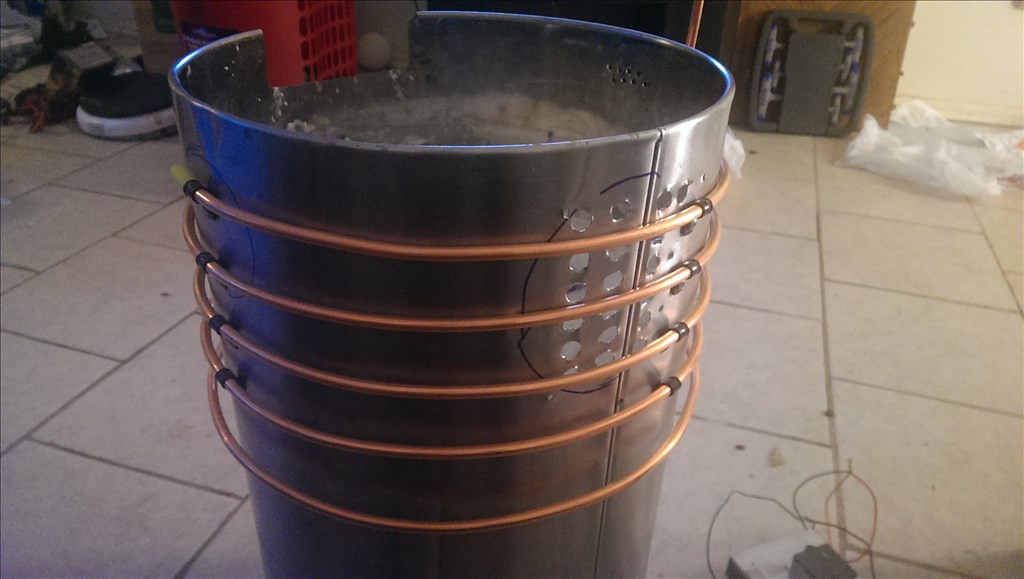
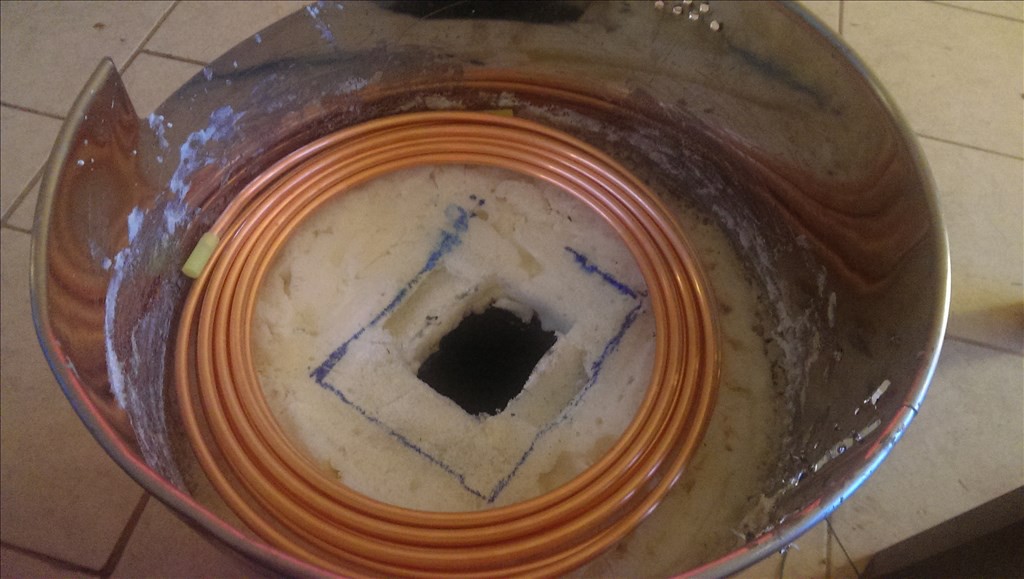
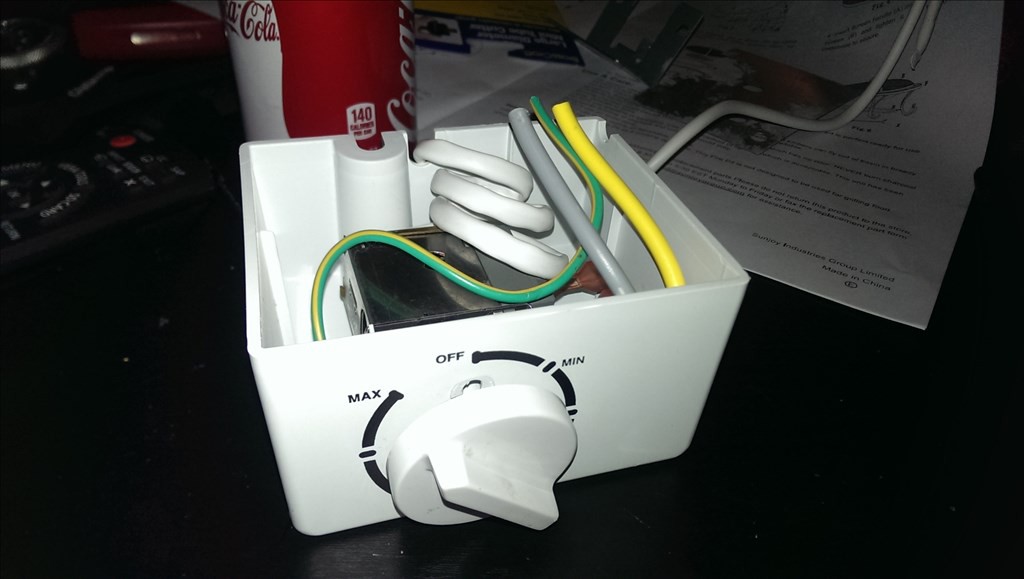
Tada
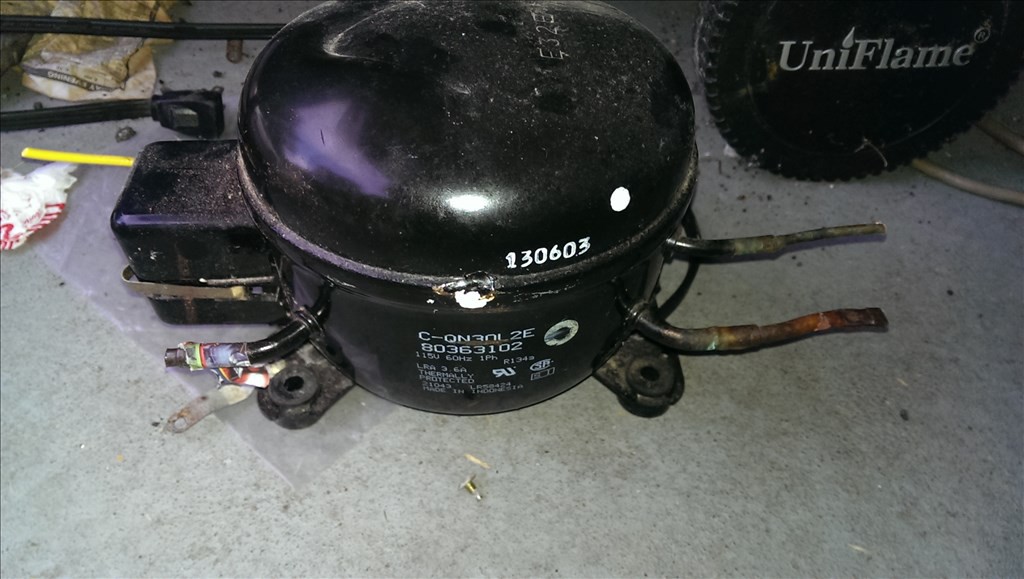
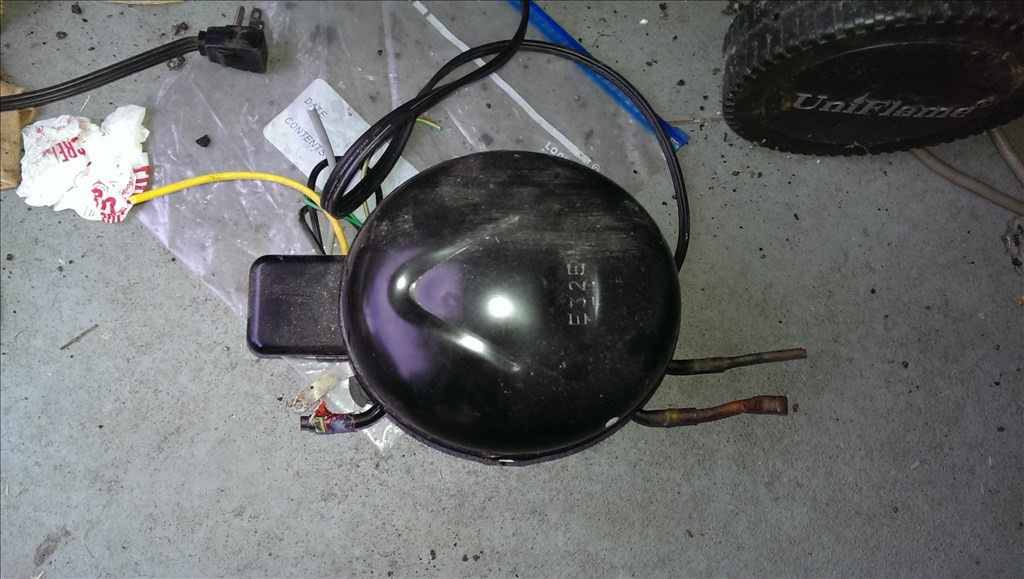
aaaaand done
Alright time to test! I need to make sure the fridge works well or using the parts for the robot are pointless. First thing I noticed from visual inspection is there is no external radiator... Hmm maybe it's inside? Maybe it's small enough it doesn't need one. Anyways I'm running it for 20 minutes and one hour marks to measure temperature.
Before applying power to the compressor
At 20 minute check in, the realistic time people want to have their beverages! We are down to 41 degrees.
1 hour mark, Boom! Super cold beer! 26 degrees. Of course, I will adjust the thermostat but it is analog so there is no markings for what temp it shuts the compressor off. I will likely stop it at 36 degrees.
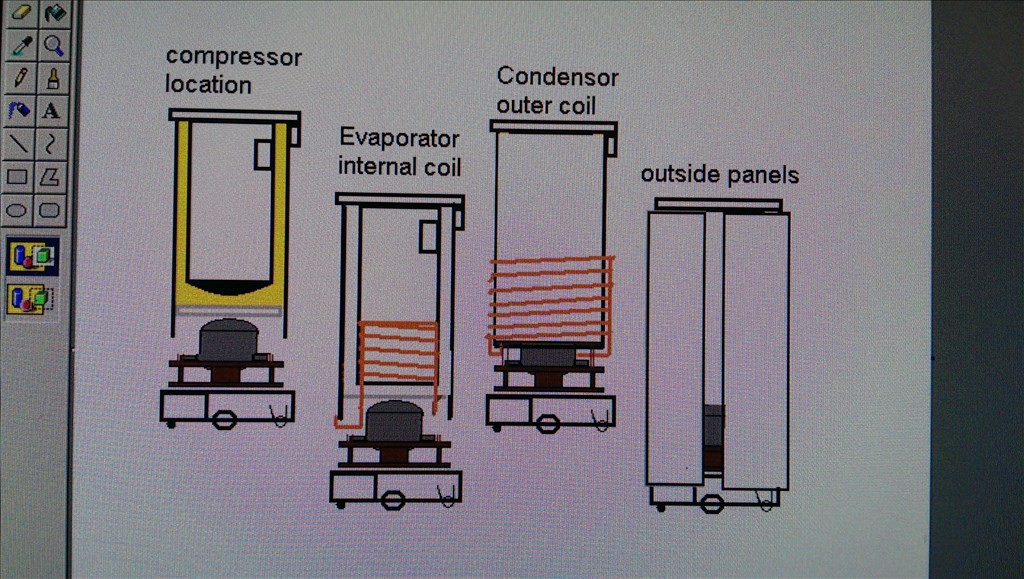
Create an account to leave a comment. Already have an account? Log In.
Become a member to follow this project and never miss any updates
Very cool idea.... The process of joining the metal pieces is called swaging, not swagging.