-
21STEP 6: Create your AWS Stack
Back to top
Any data within brackets indicate values you need to determine.
# From pr-holonet/iridium-to-twilio

region= '[ Your AWS account region here ]'
stack_name='[ Your stack name here ]'
bucket_name='[ Your AWS bucket name here ]'
rockblock_username='[Your RockBLOCK username]'
rockblock_password='[Your RockBLOCK password]'
twilio_account='[Your Twilio account ID]'
twilio_auth_token='[Your Twilio auth token]'
twilio_phone_no='+15556667777' [phone number registered with Twilio]

# Delete the existing stack if necessary.  Usually you don't need to do this.
# aws cloudformation delete-stack --stack-name "$stack_name"

# Package the template and the code.  This copies the code to an S3 bucket.
aws cloudformation package \
    --template-file holonet-handler.yaml \
    --output-template-file holonet-handler.packaged.yaml \
    --s3-bucket "$bucket_name"

# Deploy the package.
aws cloudformation deploy \
    --capabilities CAPABILITY_NAMED_IAM \
    --template-file holonet-handler.packaged.yaml \
    --stack-name "$stack_name" \
    --parameter-overrides RockBlockUsername="$rockblock_username" \
                          RockBlockPassword="$rockblock_password" \
                          TwilioAuthToken="$twilio_auth_token" \
                          TwilioAccountSid="$twilio_account" \
                          TwilioPhoneNumber="$twilio_phone_no"
Next, you'll want to get the REST API ID for your AWS Lambda function. We will use this to create the URL that you will give Rock7 Core and Twilio to send any data they receive.
- Get the REST API ID
# Get REST API URL.
aws apigateway get-rest-apis
- You will get a JSON formated output. Look for the item whose name matches your stack name. Within that item, note the id parameter and write the value down.
- Assign that value to the variable "rest_api_id"
- Now put all the info together and print the URL to your function
handler_url="https://$rest_api_id.execute-api.$region.amazonaws.com/Prod/holonet-handler"
echo "Endpoint is $handler_url"
- Done!
Your Lambda function should now be active and running.
Note the URL of the ENDPOINT. You'll need it for the Rock7 Core service and for Twilio.
- Get the REST API ID
-
22PART B: Rock7 Core Services
Back to top
Here you will register and activate your Rockblock MK II. You will also set the connection to the AWS servers.
Remember, for the system to work the following assumptions are made:
- You have a Rockblock MK II on hand
- You will purchase data credits for the account after registration of the Rockblock
- You will activate the account after registration of the Rockblock
-
23STEP 1: Register your Rockblock MK II
Back to top
Go to your Rock7 Core services account:
- Click on "My Rockblock" on the menu at the left
- Enter your Rockblock MK II registration code
- Click "Add"
- Done!
Rock7 Core device registration -
24STEP 2: Activate your account
Back to top
- Click on "Credits and Line Rental
- Select the number of months to keep the unit active for
- Select the number of credits to purchase
Your Rockblock should be active and operational within the hour.
-
25STEP 3: Setup your Delivery Group
Back to top
- Create a new "Delivery Group" with a name of your choice
Add Delivery Group Field - Paste the ENDPOINT value you got at the end of STEP 6 when setting up your AWS stack into the "Delivery Addresses" field.
Setting the Delivery Address -
26Done!
-
27PART C: Setting up TWILIO
Back to top
Twilio will take care of message routing across the telephone network. It also assigns your PR-Holonet unit its telephone number.
Again, you'll need your credit card to:
- Purchase a phone number that supports sms messages
- Purchase enough credits to send and receive messages
Friendly reminder:
Again, any costs incurred in efforts to build and own PR-Holonet are your own.
Final stretch! -
28STEP 1: Create your Twilio account
Back to top
Here's a quick tutorial on creating a Twilio account and getting your Twilio phone number.
MAKE SURE IT SUPPORTS SMS
-
29STEP 2: Setting up your Twilio hook
Back to top
Once you have:
- Your Twilio account
- Your SMS supported phone number
You need to setup the handler URL in Twilio.
To do this:
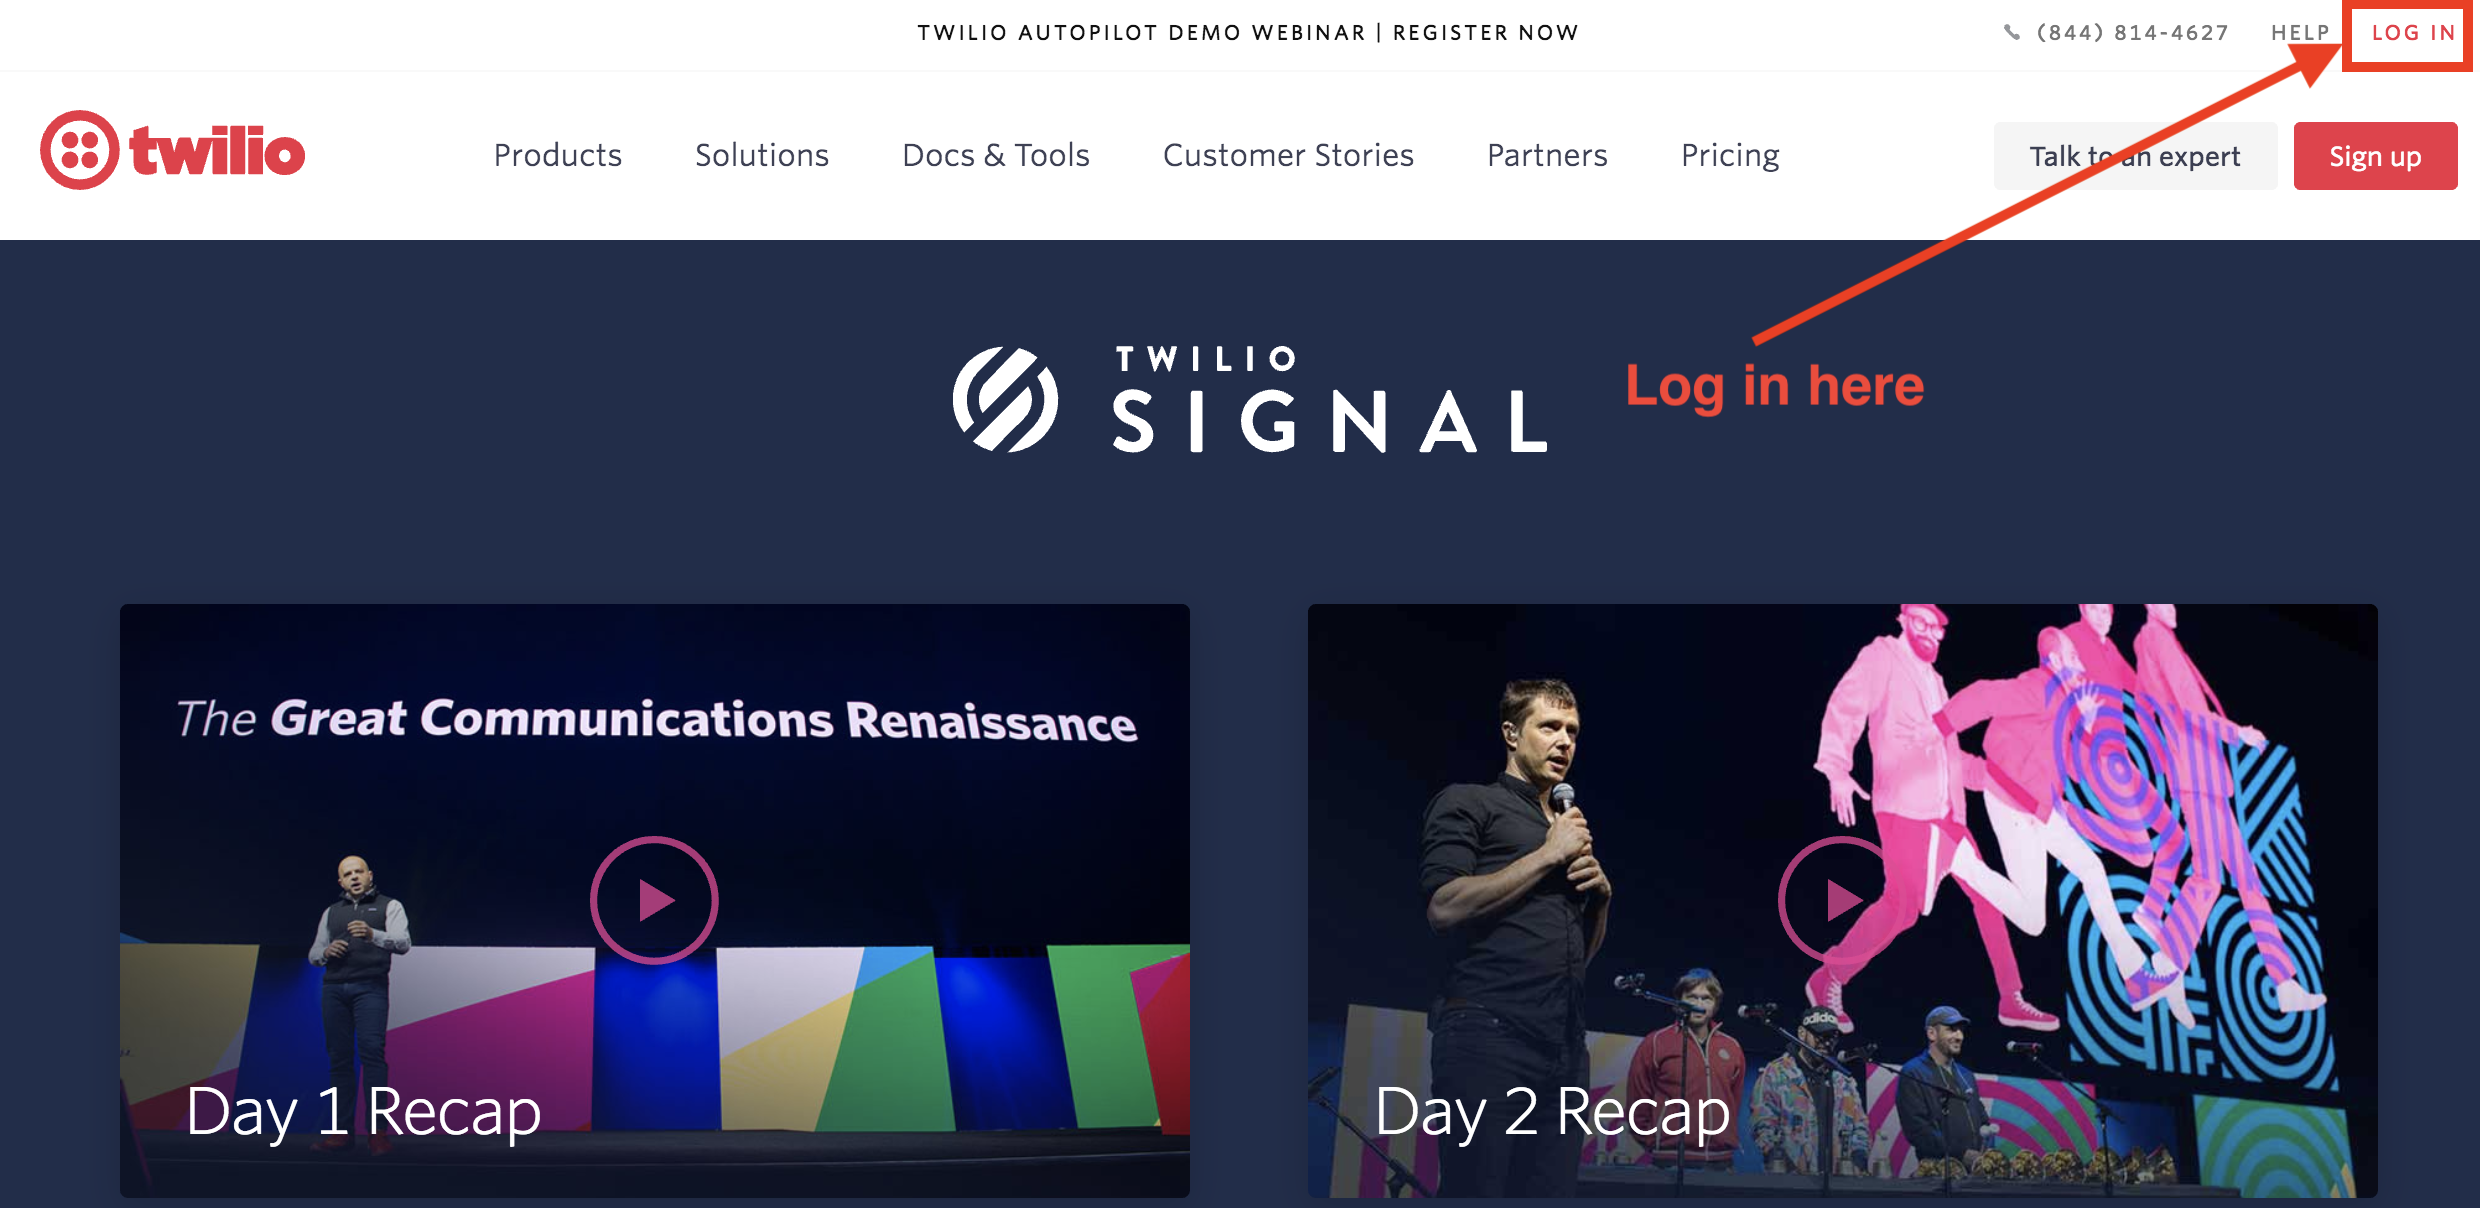
- Login to Twilio
- Click on "Console" on the top bar to the right
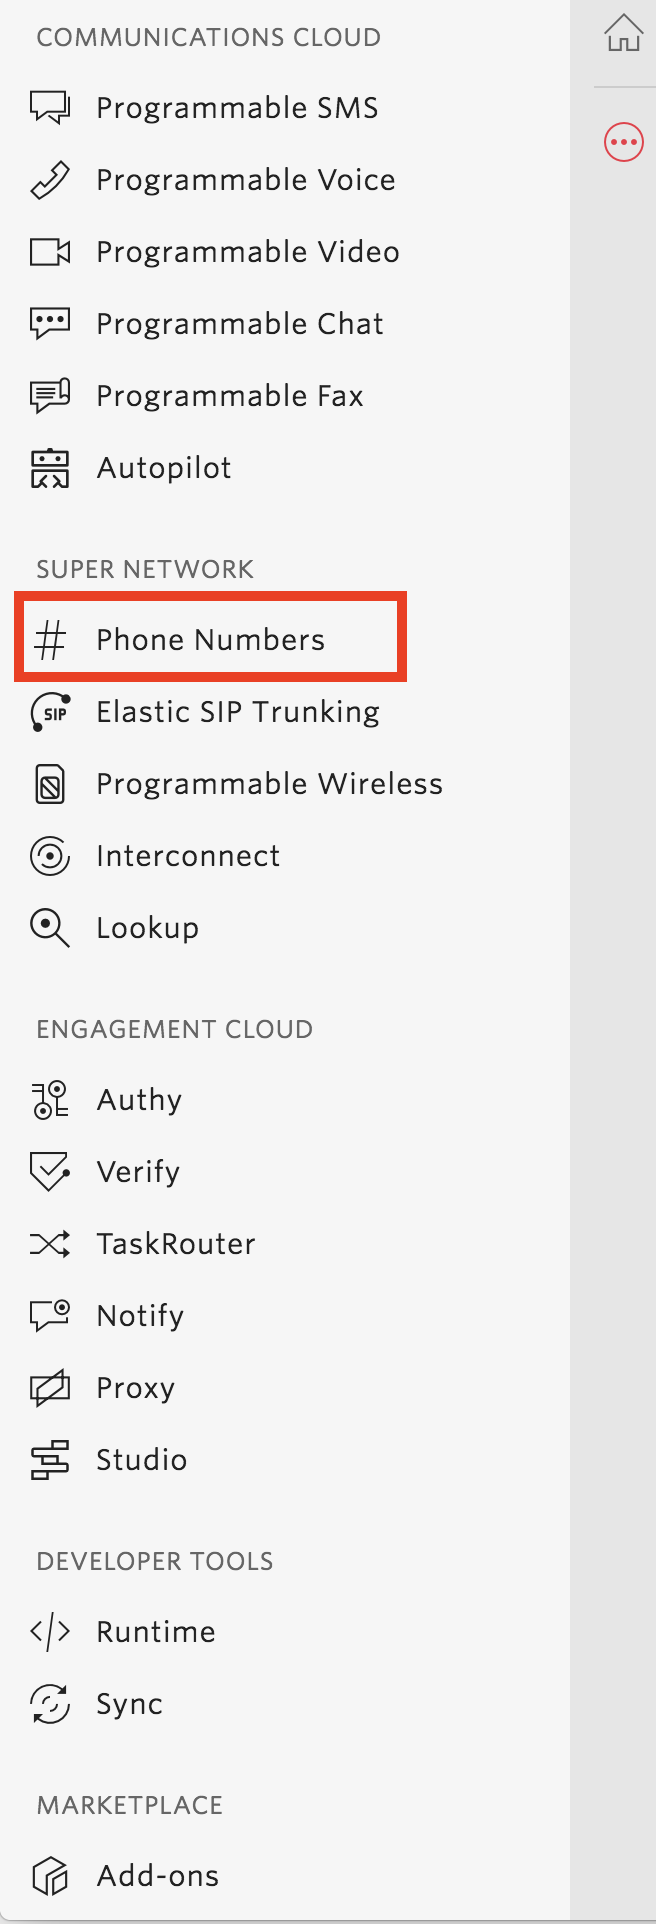
- Click on "Phone Numbers" on the menu bar at the far left
![]()
- Click on your Twilio Phone number
- Scroll all the way down to the "Messaging" section
- Select "Webhooks" for the "Configure with" field
- Paste your AWS ENDPOINT URL in that field
- SAVE
-
30FINAL STEP
Back to top
If you did not know your Rockblock IMEI and Twilio phone number when you installed, configured, and launched the AWS stack, now is the time to put those in.
Redo steps 5 and 6 again, this time with the correct values.
After this, your cloud is ready to go!
PR-Holonet: Disaster Area Emergency Comms
An easy to build, setup, and use emergency communicator for disaster-struck zones with no working power or comms infrastructure.


Discussions
Become a Hackaday.io Member
Create an account to leave a comment. Already have an account? Log In.