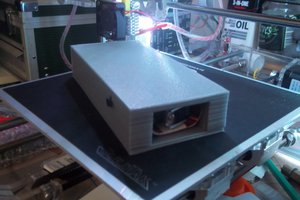
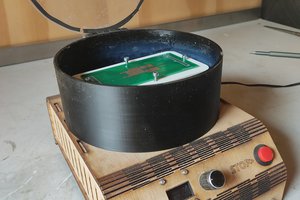
This is not an step by step instructional build because I assume that most people dont have a metal cutting laser to make one of these - but I bet this information will be useful to people with a 3d printer and interest in hack their own. These were the parts that were cut on the laser in case your interested.
So first thing that you may want to know is based on a previous hack shown here :

The problem with this was it was a 5ml syringe, and what happened with that sucker is even if I used super-tiny turns on the stepper, way to much solder paste was squeezed out. The [i-extruder also uses a 5ml syringe. The other thing is the plunger on these syringes are a big bulky piece of plastic, even micro-pushes from the plunger are not really exact. So you want small lil bits of solder paste per pulse on the stepper, these criteria are important:
- use a small number for threads per inch on the worm gear
- use a circuit with a microstepper for a super small step
- use a small syringe so less paste is ejected per step, and
- use a nice quality plunger on the syringe.
When I searched on "Glass Syringe Gas Tight Luer Lock" at ebay I got lots of hits. Eventually I found this which is made by Sigma-Aldrich part number 2.5MDF-ll-GT. The important thing is the "gas tight" syringes are nice quality, the plunger is a nice rigid piece of aluminum and has a good nylon gasket. The other thing you'll need are some dispensing tips - these come in different size orifices and are easy to find on ebay with keyword search "luer lock tapered tips".
You'll also need a motor, in my case I used a stepper actuator. To find these search on google using the term "nema 8 stepper non-captive". I used part number 8LS11-0244AC-150N. The idea with how these work is you need to restrict the rotation of the wormgear, which I did with this arrangement:

the actuator will travel when the stepper rotates, and it pushes the plunger down the syringe.
My circuit is is based on DRV8825 microstepping driver chip. I got a lot of information from the Polulu site that has a module with this chip, and they're nice enough to supply a circuit diagram. This is my circuit and board layout. The display can be obtained from amazon with a search for "128x64 Oled", and I also use the super awesome teensy 3.2. I used a foot pedal - search on "industrial foot switch" on amazon.
I put mounted the PCB to the side of the motor, and the board has a single button to select "forward", "reverse", "prog1", "prog2", and "prog3". The code is here, it uses this microstepping library.
Forward/reverse sets the motor on continuous mode to rapidly pull the plunger in and out, prog1-3 are settings for different short pulses on the motor for different sized microliter amounts of solder paste. So be advised - this still does not quite pump out the exact little dollup of solder paste that you might imagine. It's more like it starts a flow going, creates a little pressure in the barrel of the syringe, and you kind of are using timing to catch just the right drop of solder paste on to the board. But the good news is, it still works incredibly well. It's certainly better that the i-extruder, and also better than other hand application method I've used.
-enjoy
 owhite


 Breno Juliano "Dot"
 Xylitol
 OpenERV
 Jeroen Delcour
Nice job with the dispencer Maybe a few steps backwards to help depressurize the syringe tube after .05 to 1/4 sec. Also make sure there are no micro bubbles in your paste, it dose not take many to cause issues you are describing. Tapered threads are also prone to loading Another reason for backing off after dispencing. As for ultrasonic's you could use a chopped Dc that will shake things up, an annoying sound right next to your ear hole