Close
0%
0%

Grabloop Instrument

Musical instrument to provide a fluid interface for programmatically combining audio samples on-the-fly.

Similar projects worth following
This is a physical instrument, a synthesis engine, and a programming environment. The instrument combines a chorded keyboard (see my other chorded keyboard project) with a multichannel audio source (mic, audio jack, and audio files) and a few knobs. The synthesis engine is a simple mixer of audio samples driven by code written on the fly by the musician. The code is a simplistic Forth-inspired language based on graphs where nodes are parallel audio processors, and edges are sample queues.

The Instrument

The interface is designed to reduce the time between having an idea and hearing the result. The chorded keyboard allows one hand to write code while the other adjusts values with the knobs, for example.

The Synthesizer

Designed to play, mix, and modify audio samples on the fly.

The Language

Construct a graph of nodes that modify sound as it flows through them. Inspired by existing environments i've had experience with, such as Max/MSP and Sunvox. The language itself is an extremely minimal variant of Forth designed to efficiently operate on queues. Steep learning curve, but very fast to write once understood.

  • Dead

    Owen Trueblood05/10/2015 at 16:31 0 comments

    Project is probably dead for the foreseeable future. It was fun to push out the first prototype, but newer projects are attracting my interest more.

    It never made any nice music, but the prototype board does serve as a pretty nice little AVR prototyping development platform. The DAC & USB make it a nice little signal generator for quick hacks.

  • First Body

    Owen Trueblood01/12/2015 at 19:26 0 comments

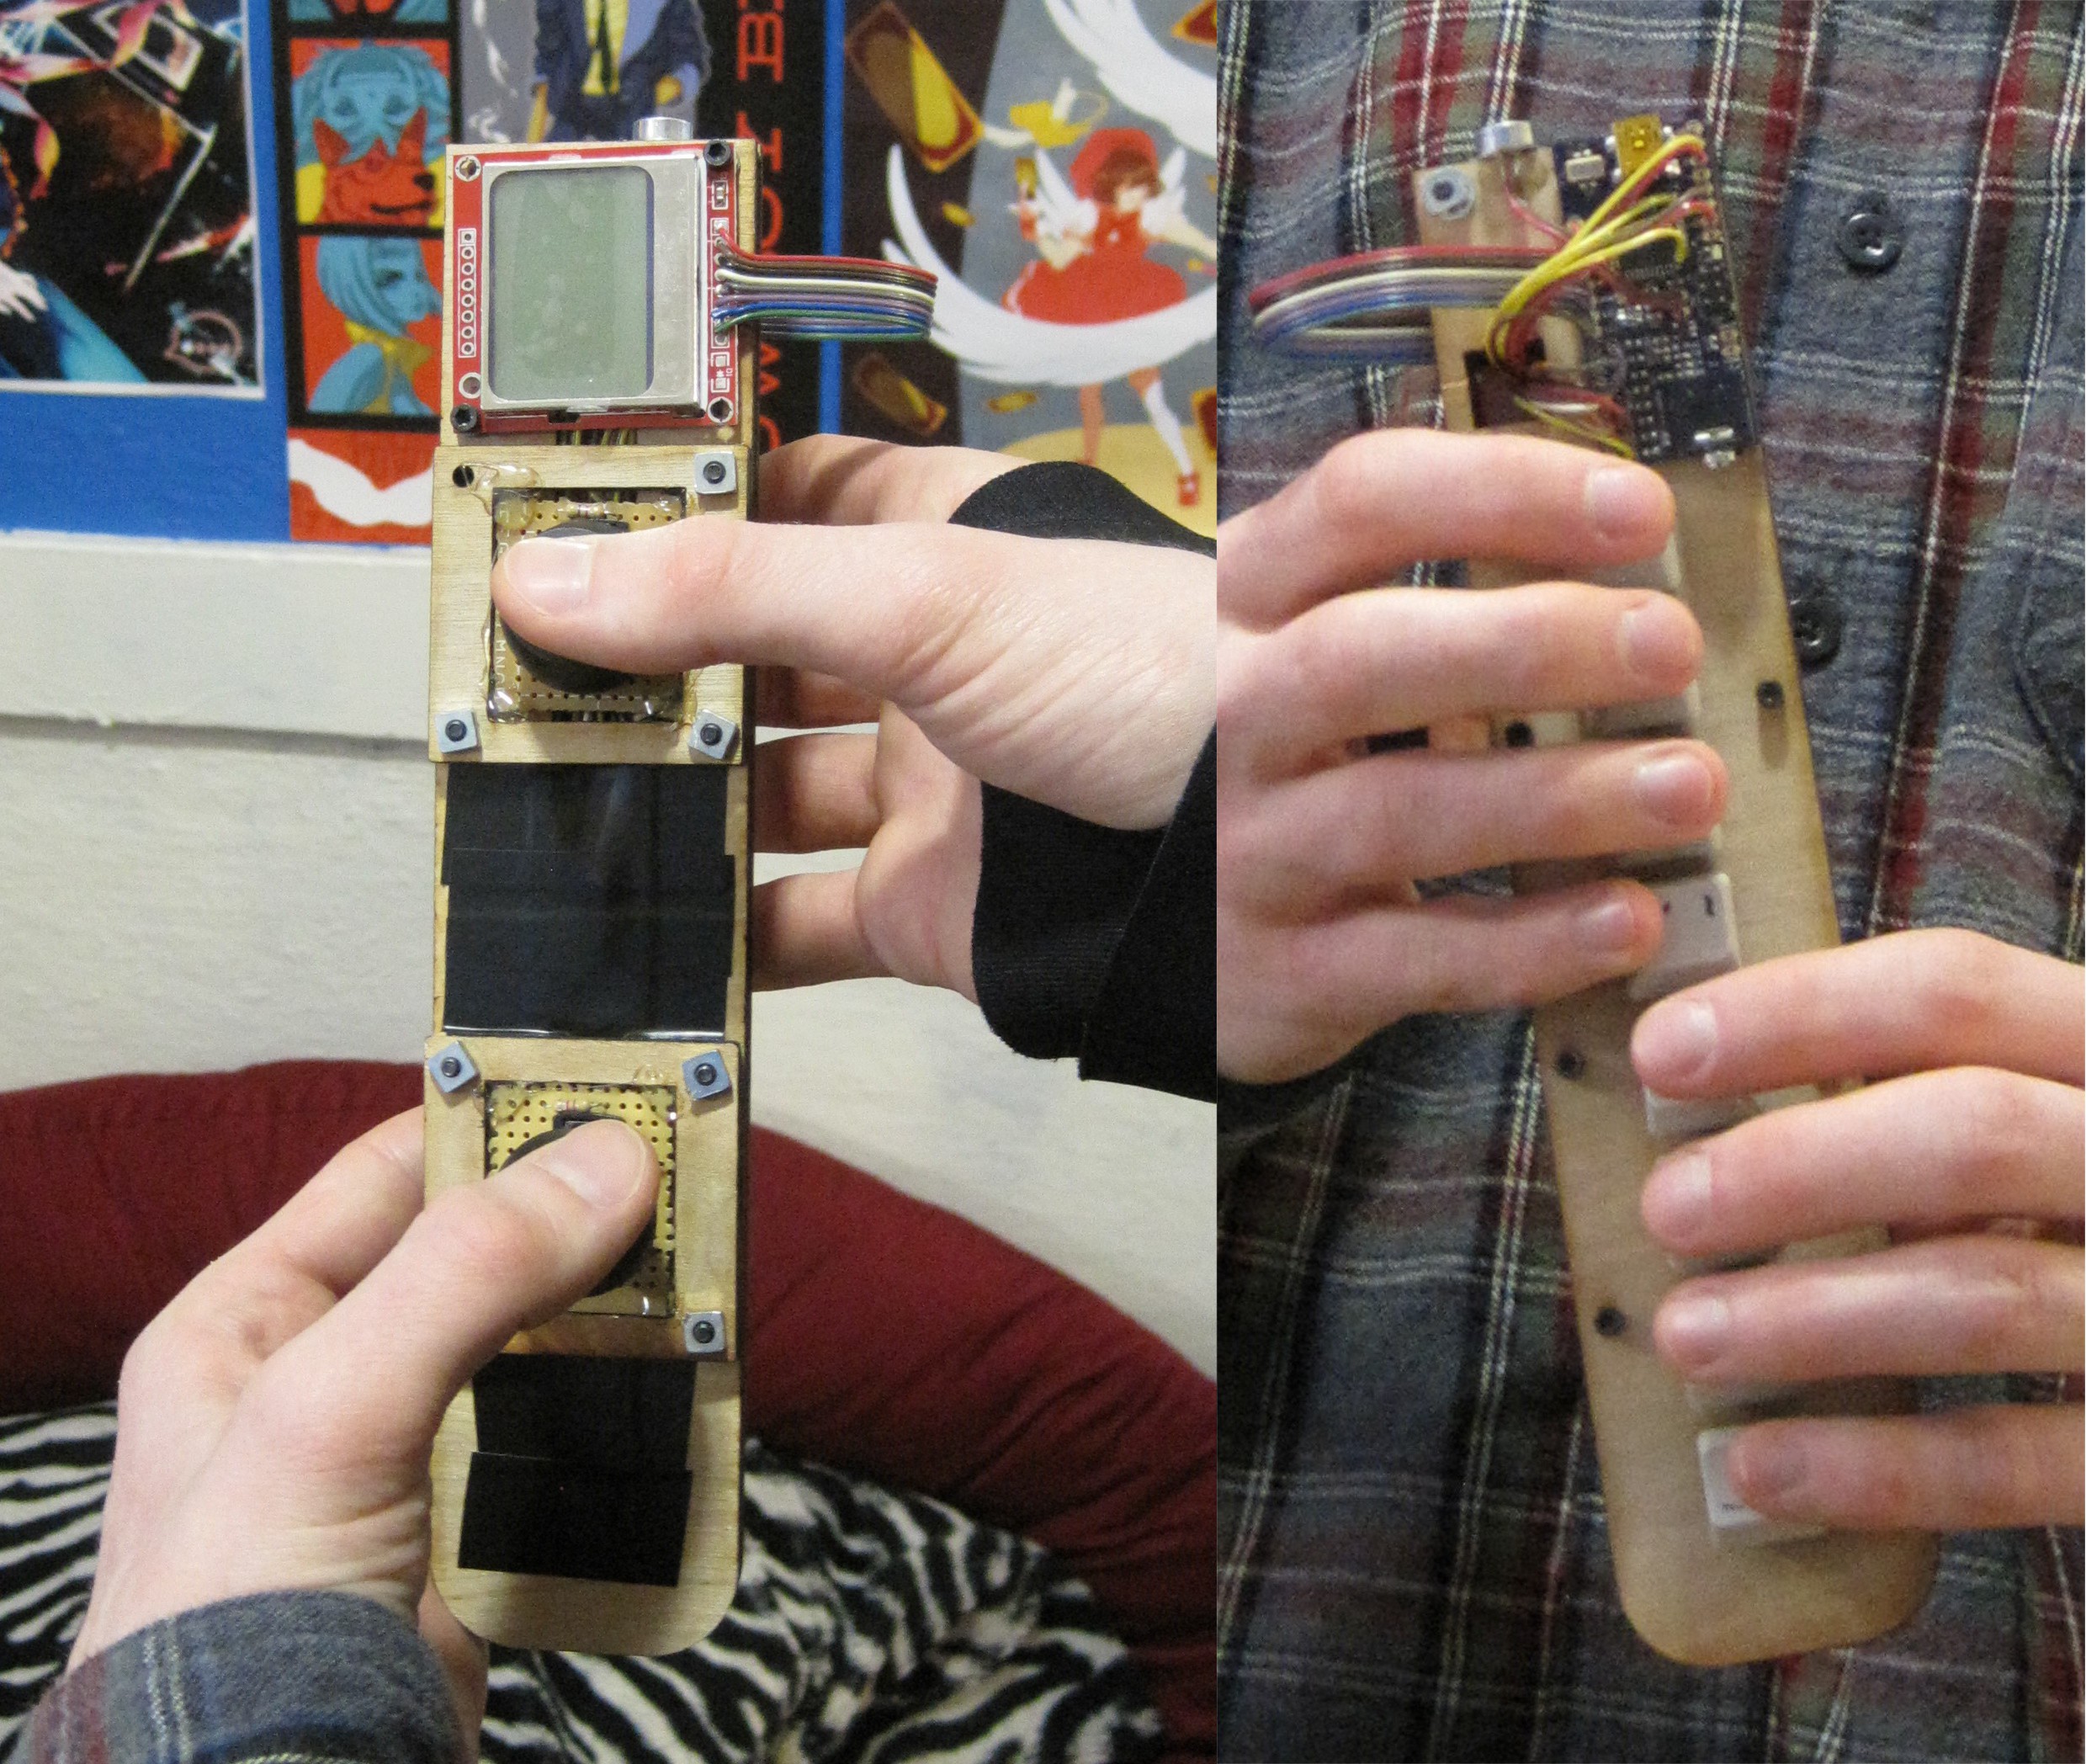
    The day before yesterday I finished assembling the electronics and putting them into a laser-cut case.

    Mockup

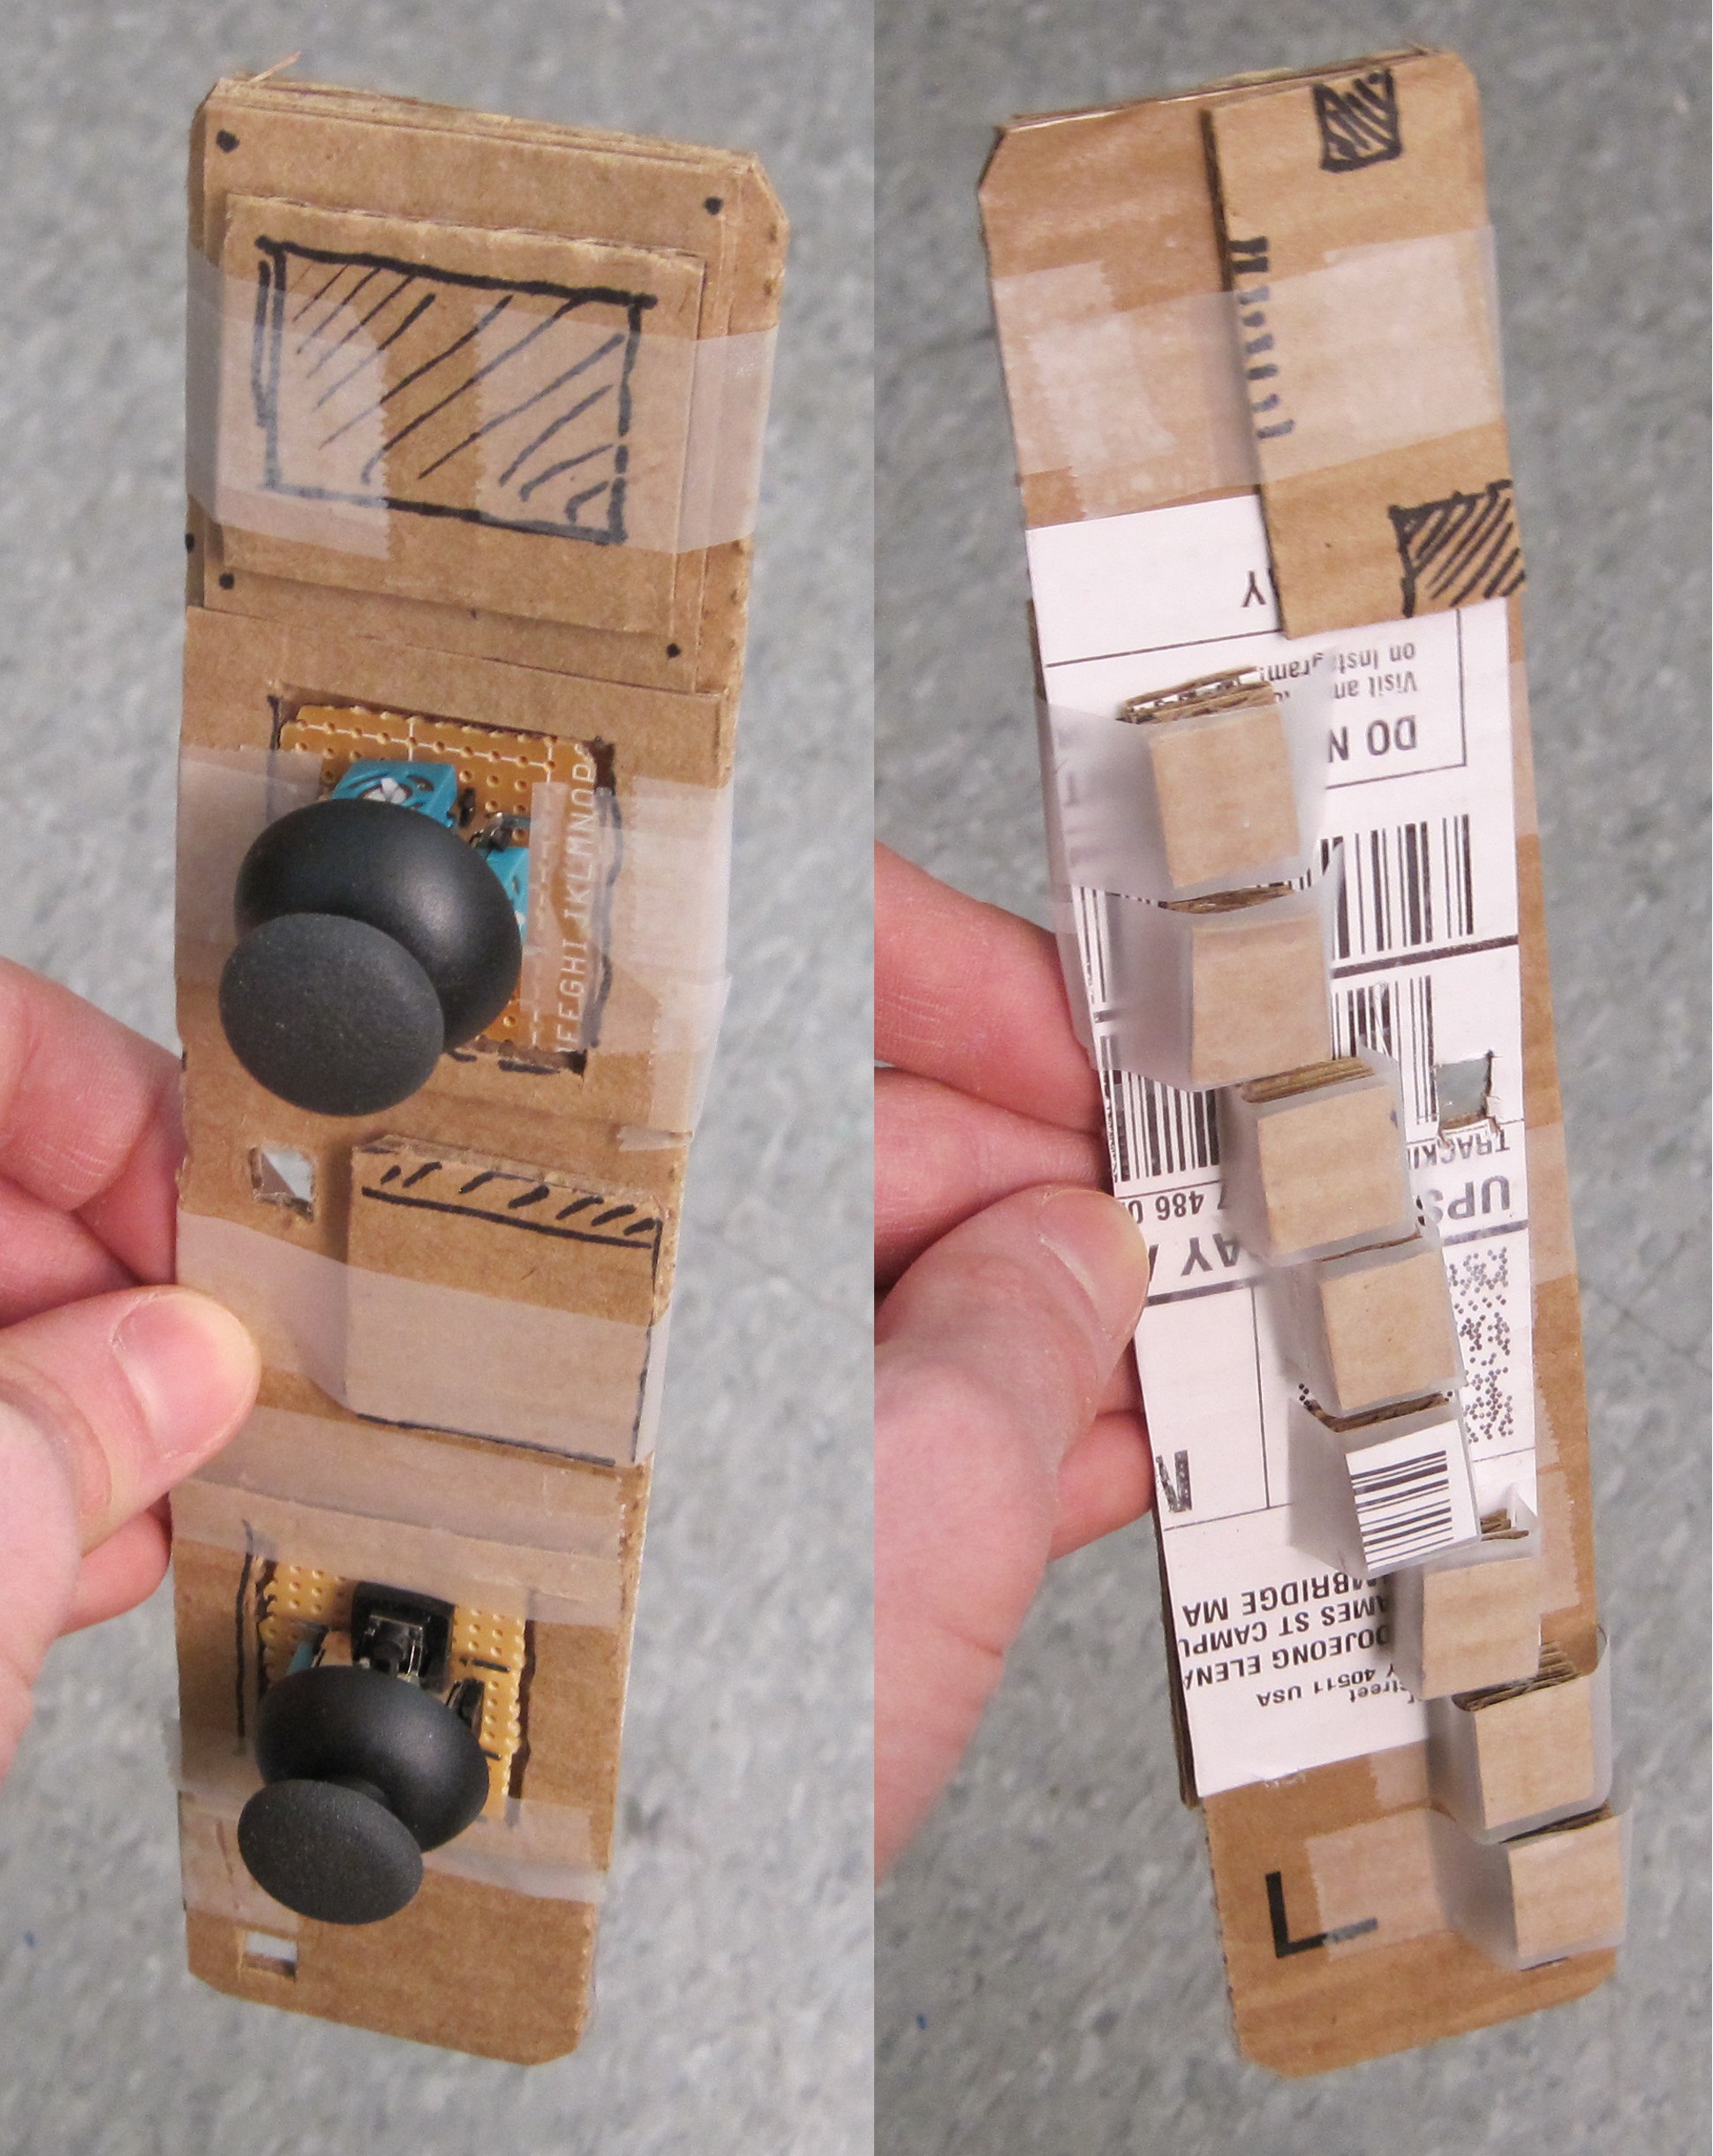
    For the first prototype of Grabloop I do not really care about awesome design. I just want it to be comfortable enough to be usable in testing the basic functionality. Later on I will put in the effort to make it look really cool, be really pleasant to hold, and last a long time. So to get started I threw together a cardboard mockup in half an hour or so by tracing the outlines of the various parts and using hot melt glue. I put a little extra effort into making the 8 buttons out of cardboard so that I could position them with tape and find the best layout to match my fingers. I also made the LCD, PCB, and a battery out of cardboard so that I could be sure the real version would have space for those parts.

    Having a cardboard mockup that can be held is really useful because it makes obvious the little details that matter, like bolt clearance, wire routing, and overall scaling. Any small problem that cropped up could be solved in two minutes with scissors, tape, and glue. When I was CADing the design I constantly referred back to the mockup for measurements, but would round numbers off and shift things around for better symmetry.

    Design & Fabrication

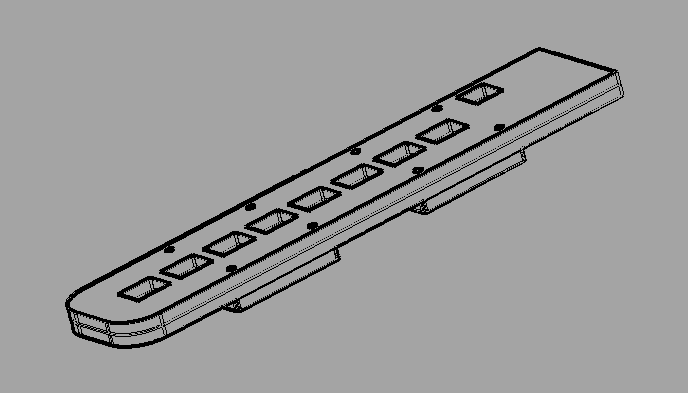
    I love making prototypes with pieces of laser cut plywood because it is fast, cheap, and easy. But it restricts the possible design in several important ways. For example, I had to add an extra layer to do the wire routing. And I could not add an extra layer below that one to hide the wiring completely, because it would have made the design too thick. So for this first prototype there are two main layers with a third around the joysticks.

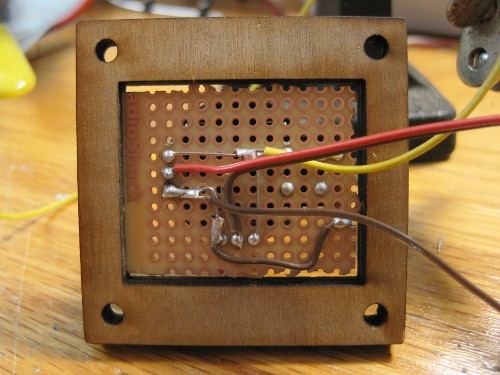
    The joysticks were a compromise. I wanted to use PSP-style joysticks to make the grip less wobbly and more compact, but they were out of stock when I was ordering parts. So I used regular stick-y joysticks. The particular ones I got have a button that is pressed when the stick is pushed down, so I soldered a pull-down resistor on the perfboard I used to mount them and routed the two signals to unused pins that I had broken out to test pads on the PCB.

    Programming Challenges

    Thankfully the AVR showed up the first time I connected my usbtinyISP to the "Audio Rot" board I designed. I used the Arduino software to burn the Leonardo bootloader to the Atmega32U4 for convenience. I am not going to use the Arduino environment to develop the software but their USB bootloader is much faster and more convenient than using the ISP interface. To make USB work properly I had to add a bit of thin lacquered wire on the board to connect UVCC and VCC (I had mistakenly thought they were connected in the AVR) so that the board would get power over USB.

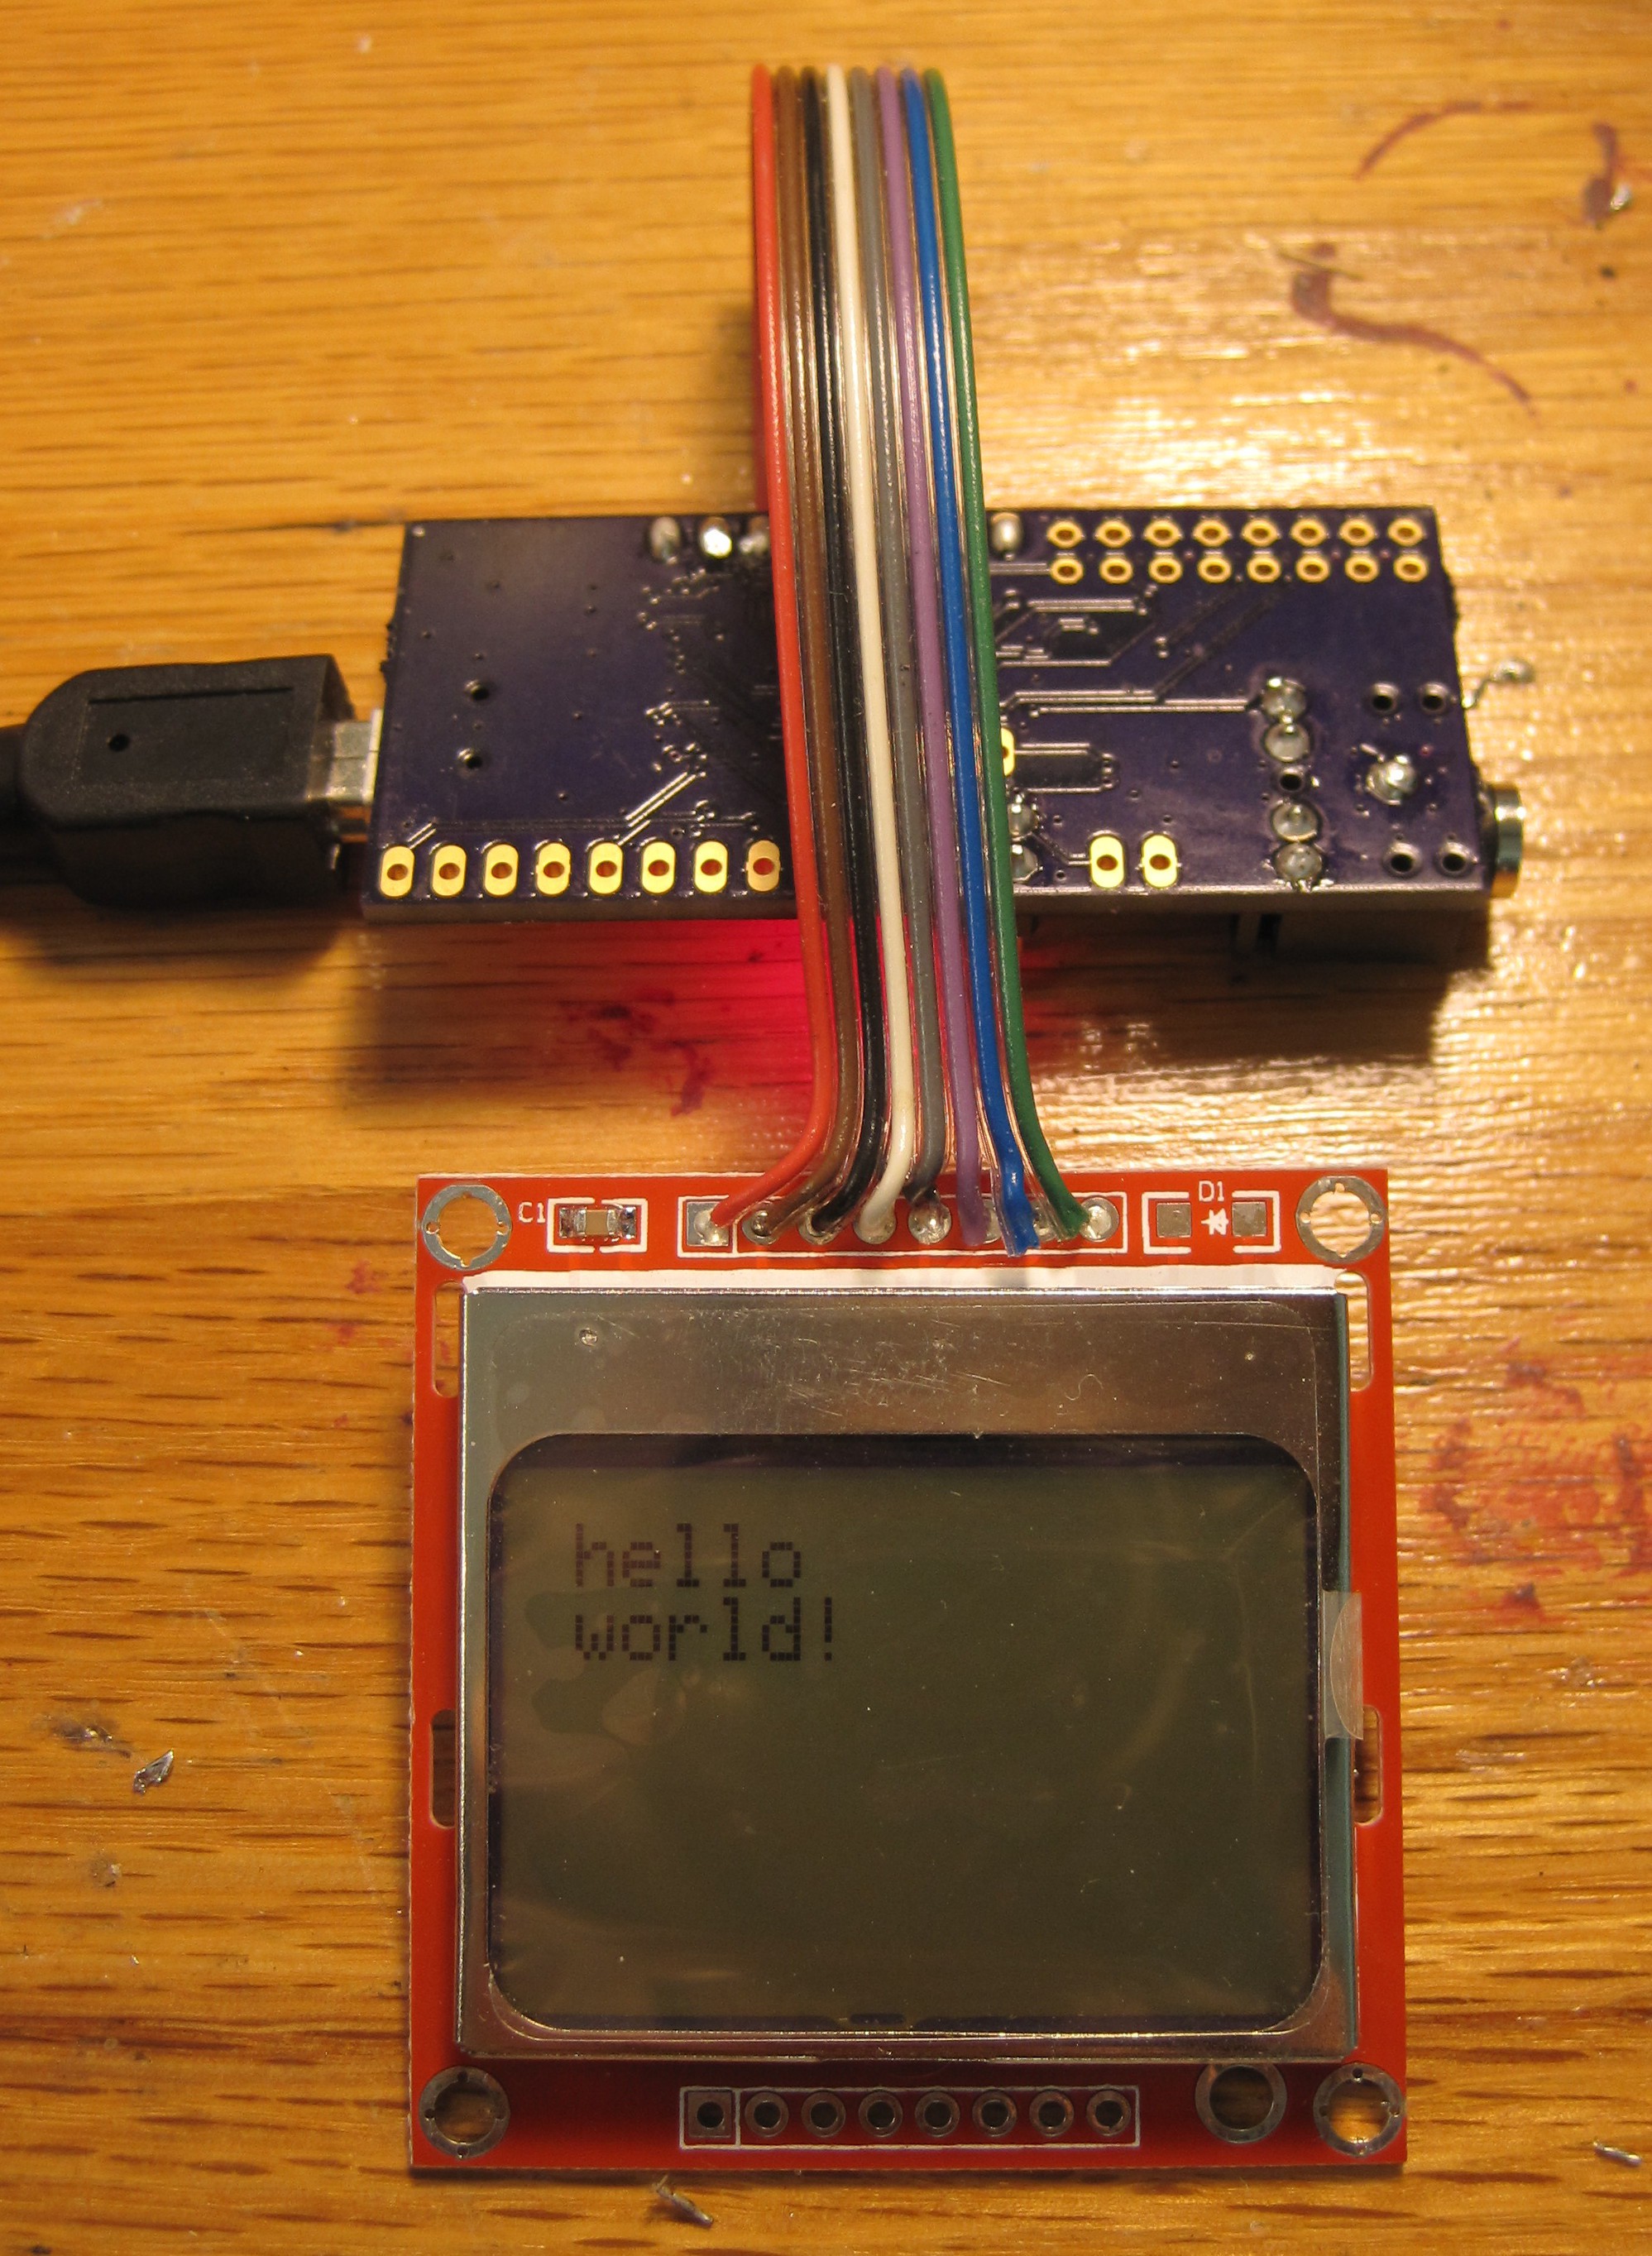
    The first thing I tried was driving the Nokia 3310 LCD. A couple of years ago I wrote a nice driver for it in C, so I just copied that and tweaked it for this board. It worked first time, but the contrast was a little off. After a quick dive into the LCD driver's datasheet that was fixed too.

    The next thing I tried was generating audio. The board has (had) an MCP4725 DAC connecting via I2C to the AVR. It took a couple of hours of debugging to make it work because I could not figure out what the static customer address bits were, and more importantly I neglected to put pullup resistors on the I2C lines. I think my reasoning was that with one master and one slave it would just be a matter of the master serving the same purpose as the pullups and keeping the lines high during idle times. Maybe that would have worked if I wrote my own I2C driver, but I did not want to bother with that so the pullups were necessary.

    But once I had the DAC generating a signal I ran into a much worse problem. The chip summary had stated >3MHz data rates, so I had thought to myself, "well, I only need 48KHz for audio so that should work fine." But in practice I could only generate a tone as high as 3.5 KHz. Why? Because it takes a lot of bits to push...

    Read more »

  • Electronics v1: Audio Rot

    Owen Trueblood01/08/2015 at 22:14 0 comments

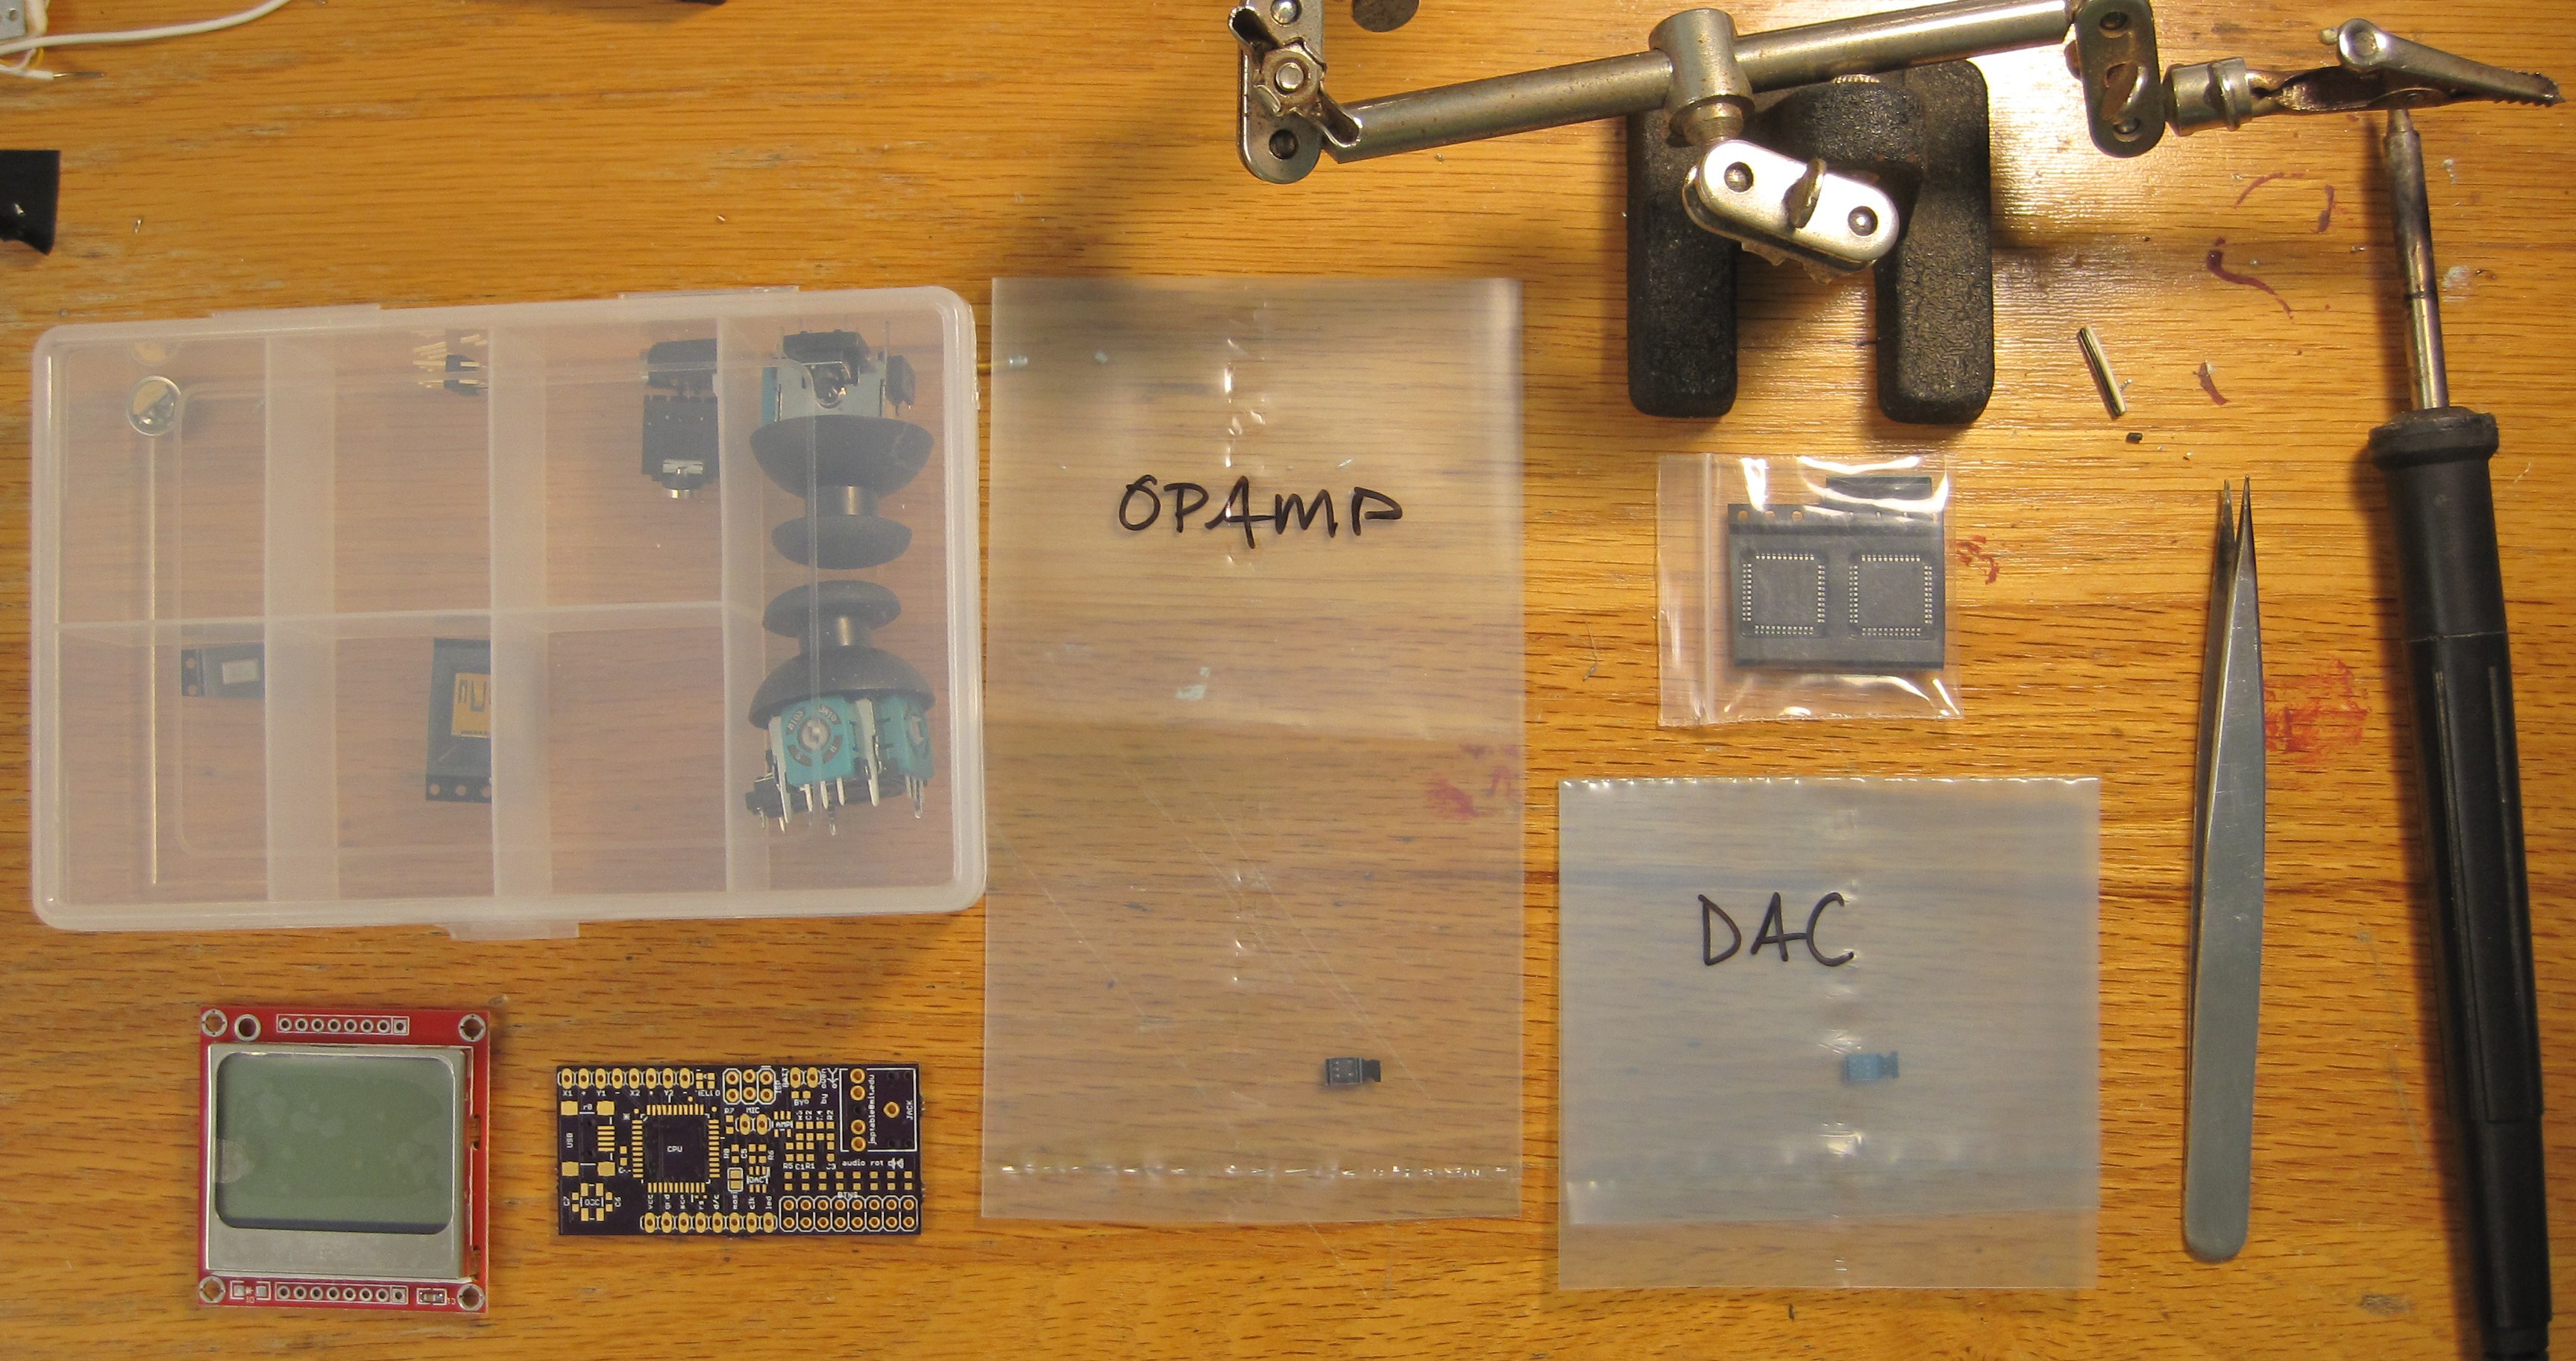
    Parts Ready for Assembly

    A month ago I designed a PCB for the first version of this project. I ignored the design that I had sketched out before and decided to make things up as I went along. So an Android phone is no longer involved and all of the audio processing happens on an AVR (for challenge). I did use an Atmega32U4 (found in a donated parts bin), so there is a little extra headroom in memory and I/O compared to the parts I usually use. A cheap Nokia 3310 screen is included to show the user interface. Two joysticks and eight buttons are provided for input (future updates will make the reasoning clear). A USB connection allows new firmware to be flashed via the Arduino Leonardo bootloader. Eventually it will also allow songs, samples, programs, and other tidbits to be saved or loaded to/from a PC.

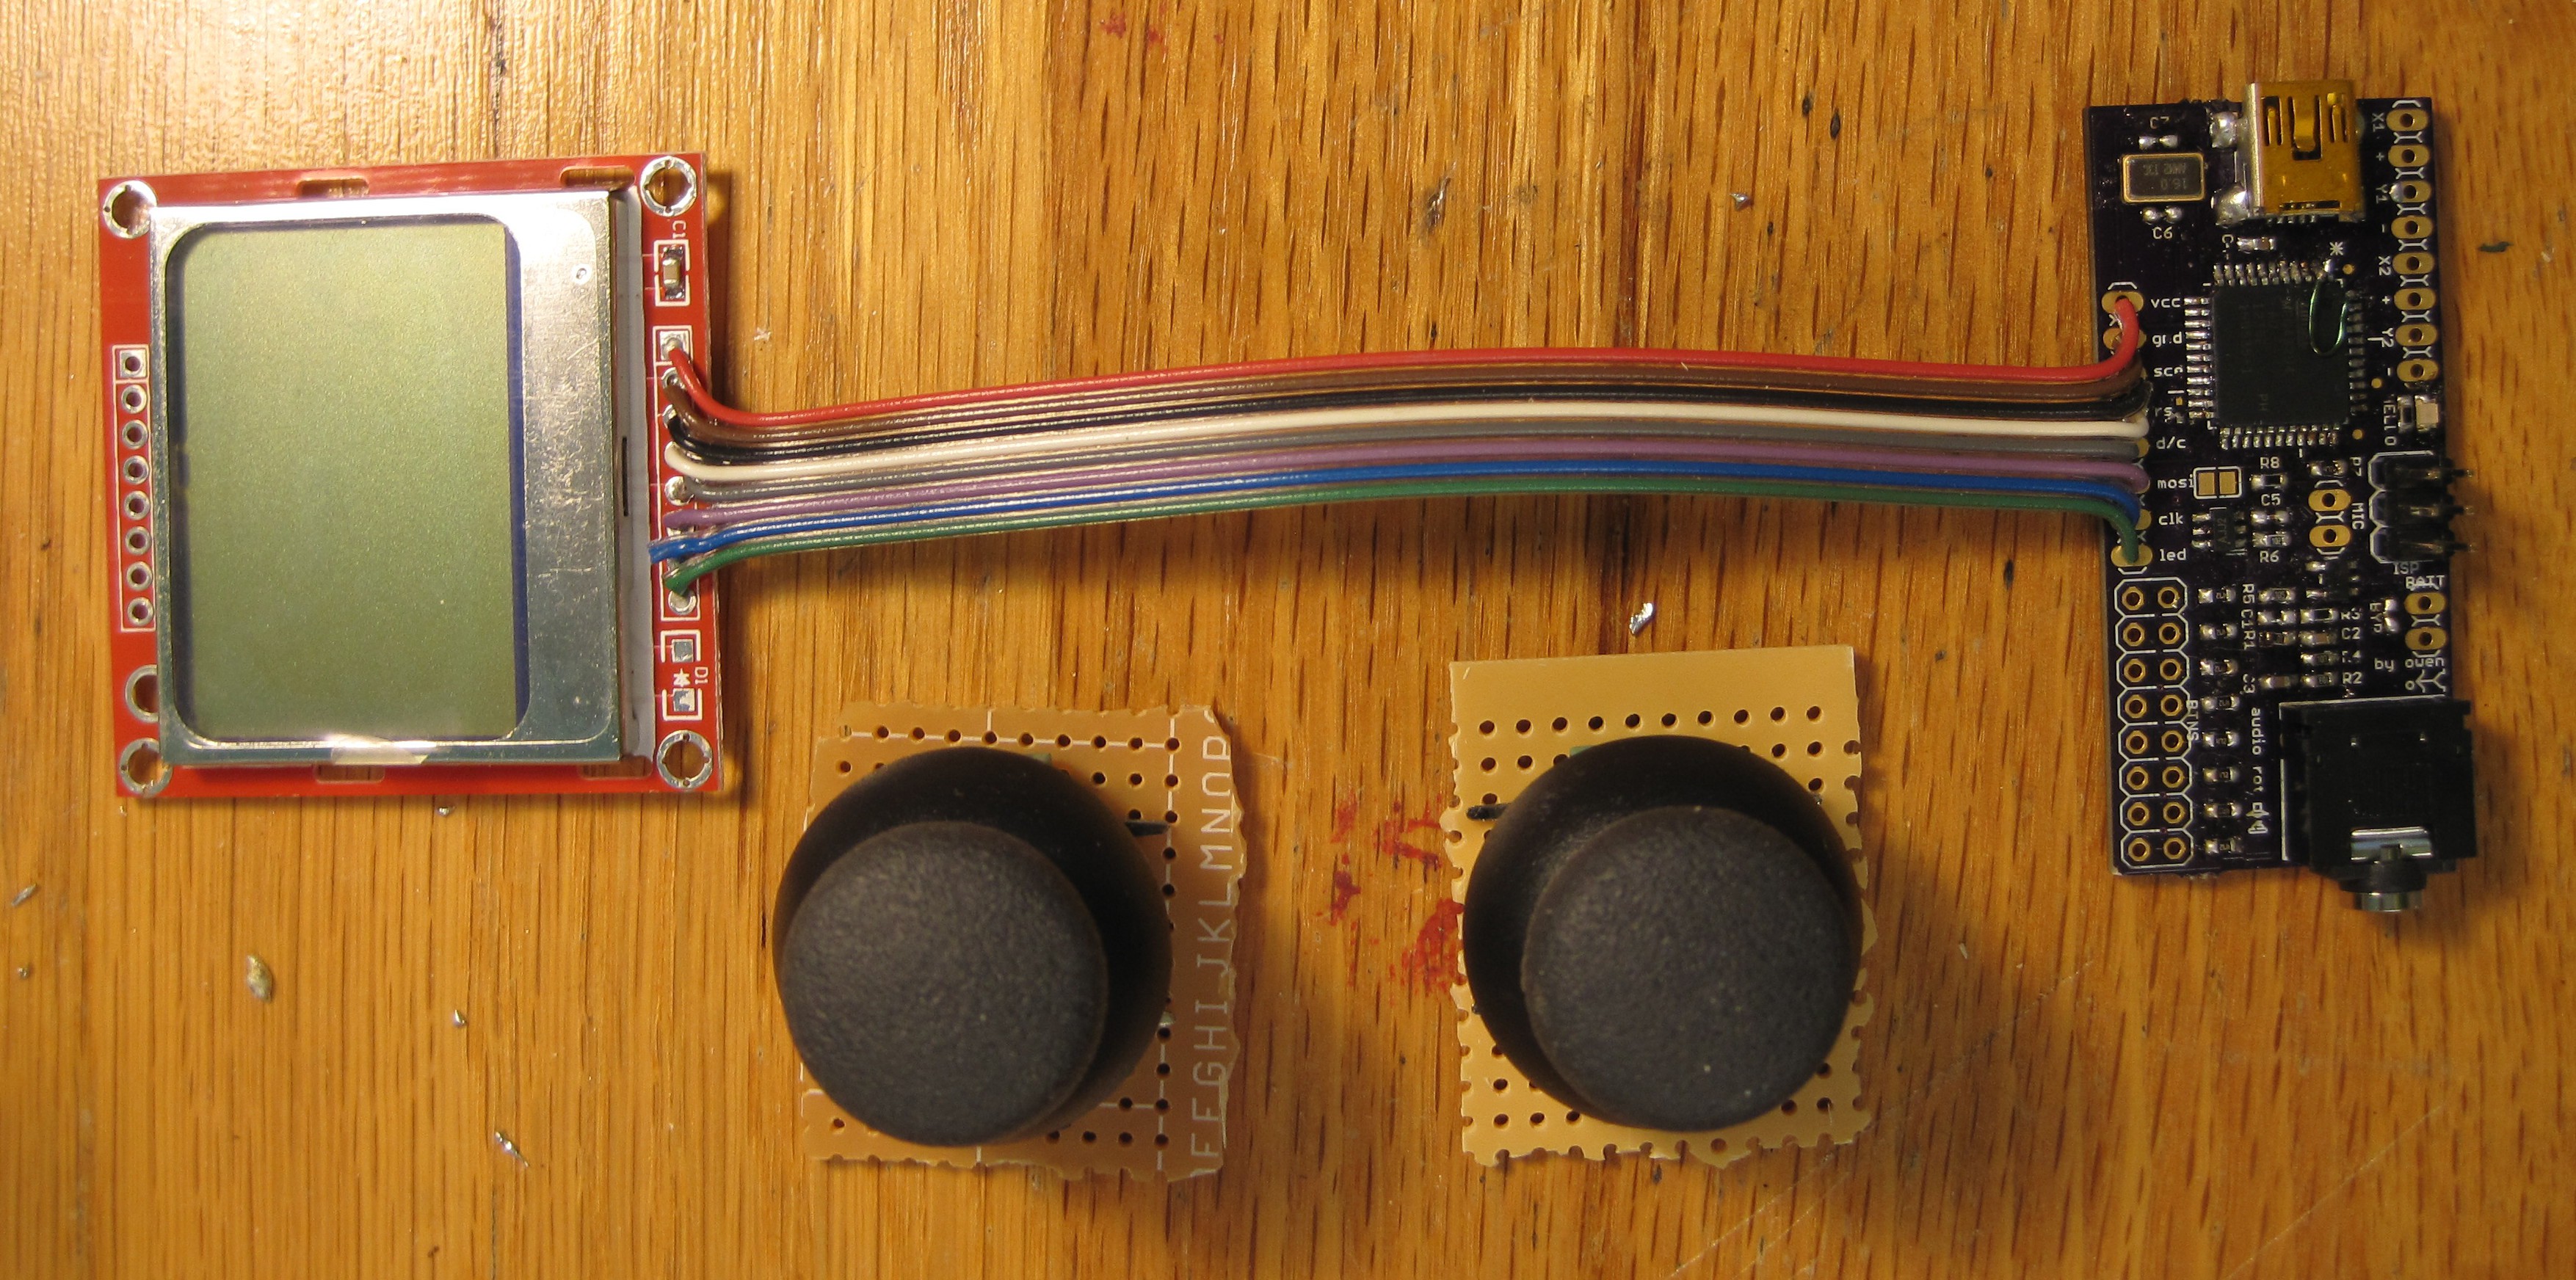
    Assembled

    The board is assembled and I successfully flashed the Leonardo bootloader to the Atmega32U4. Unfortunately it was much more difficult to assemble the board than it should have been, because I mistakenly ordered most of my capacitors in the microscopic 0201 package instead of 0603 like I intended. The cause was my unfamiliarity with octopart.com. I filtered parts by 0603 and then did not double check that the results were actually 0603.

    So I had to deal with parts so small that electostatic forces made them stick to my tweezers and iron. They were much smaller than even one 0603 pad. I got them all soldered successfully without too much fuss or frustration by nudging them into the right place and then holding them down from above with a needle while soldering. Another mistake that I made was overlooking that the USB connector and oscillator I chose have hidden pins on their bottoms. The USB pins were accessible from the side so it just took special care to get them soldered. But for the oscillator I had to do something extreme. I put a thin layer of solder on its connections and PCB pads, and then I balanced it on top of where it was to go and held a Bic lighter under that corner of the PCB for about a minute. Miraculously the solder reflowed and the oscillator was sucked into precisely the right position without any damage to the PCB. I will stow that technique for future use.

    The joysticks were soldered to some roughly cut protoboard and the LCD was attached by a long ribbon cable. The joysticks are unsightly now but will look much better in the fully assembled instrument.

  • Concept

    Owen Trueblood06/12/2014 at 19:52 0 comments

    First bit of sketching out of the design done. Currently leaning towards a laser-cut frame borrowing some of the shape of a trumpet. I like the trumpet as a base for the shape and layout of this instrument because the buttons for the chord keyboard sensibly replace the valves, and the microphone / audio jack logically go where the mouthpiece would normally be. When playing it, the musician can comfortable sing / beatbox / etc. into the mouthpiece, or hold it out to collect some ambient noise while retaining on-going control of the sound.

    Making the body of the instrument laser-cut also helps make the project reproducible. And it makes me happy because I'm currently obsessed with exploring the possibilities of the laser cutter a literal 15 second sprint away from me.

View all 4 project logs

Enjoy this project?

Share

Discussions

Starhawk wrote 01/23/2022 at 10:28 point

So, as I see it, this lets you 'collect' samples and loop or one-shot play them, sequencing and re-recording as desired, is that correct...?

I wonder how hard it would be to extract 'notable' ambient sounds from a microphone that was essentially free-running whenever the device was on, and automate that sequencing process -- say, during a walk through a city, sounds like the 'chirps' of a crosswalk sounder, or various construction equipment would be sensed as staccato noises and used effectively as percussive instruments; cars and trucks buzzing by would become the bass line; emergency sirens and car horns would turn into a saxophone- or trumpet-like section, maybe... you get the point. I'm picturing something using eg a Pi Zero in a headless config, just pure audio processing -- microphone in, 'music' out.

But I'm neither programmer nor musician, so IDK.

Your thoughts?

  Are you sure? yes | no

Owen Trueblood wrote 01/25/2022 at 20:04 point

You are right about what this project was meant to do. Though it never got very far along in development.

Your idea for ambient sound collection -> sequenced music is a fun one. There are several different approaches that I think might be feasible. You could do simple anomaly detection on the audio feed to identify sounds of interest. Or use a machine-learning based approach that has been trained on a corpus of "common" sounds. It would be continuously trying to label the audio coming in, and if it finds a label with high confidence then you could use that in your software to decide to incorporate it into the music. That type of approach has the additional benefit of letting you use the labels to decide how to use the sounds.

It can be tough to make machine learning based projects small and power efficient (so they can run on a light battery for as long as possible). Rather than using a Raspberry Pi I would recommend something more like https://coral.ai/ which is optimized on the hardware level for running ML models.

A trick for making this kind of thing relatively easy is to turn whatever data you have (audio in this case) into images/video and then feed it into one of the many ready-made computer vision object recognition frameworks to obtain the labels. For audio this can be easily done by transforming to frequency space to get an image of the audio spectrum that can be fed into a vision-based classifier.

Applying ML techniques might yield good results but they come with complexity and that might be off-putting. It might be fun to instead use simple signal processing techniques to decide when and how to use sounds. Transform the audio into the frequency domain and then use simple statistical measures to decide whether it is "staccato" or evolving slowly. Maybe do pitch-shifting / autotuning to "cheat" and make your life easier.

Fun to think about! Thanks for commenting.

  Are you sure? yes | no

Starhawk wrote 01/25/2022 at 20:11 point

As stated before, I'm absolutely no programmer. I can get the abstract principles of the stuff but my ability to generate code results in some seriously criminal grade output... like a text adventure without a parser. (You don't want to know.) Also, to the extent that I *can* program, my knowledge is limited to common retrocomputing languages such as Commodore BASIC. I seem to be quite talented in finding out how to produce all sorts of strange errors in the Arduino IDE, however... :-/

That said, hardware's my jam in sooo many different ways. I can 'program' in 74xx/4xxx glue logic like most people can in Arduino.

If you want to tackle that one as a group project, I'm in, hit me up in the Chat feature -- but as a solo project I simply don't have the skillset, or the mind to acquire it, to accomplish that.

  Are you sure? yes | no

Starhawk wrote 02/04/2022 at 06:50 point

No further response...? I've not had any contact from you, chat-side, either. I'm happy to collab as I can -- I'm plenty capable on the hardware side, although I tend to work with low-power, odd hardware, as I have to scavenge and eBay a lot of stuff. I'm on an unusually tight budget -- I'm actually on Disability; I may be halfway decent at computer and electronics hardware (although my soldering 'skills' are frightful at best!) but I'm borderline incoherent at adult life -- but creative reuse is as good a cause as it is a need. I value the skill I've had to learn, even if I don't value the circumstances.

At any rate, I'm happy to help prototype on the hardware side, if you can help with the coding. Please, do reach out!

  Are you sure? yes | no

Owen Trueblood wrote 02/05/2022 at 21:41 point

Sorry, I am too busy at the moment to collaborate on the project. But I wish you well in your other endeavors. You have some really interesting ideas up on your Hackaday profile. Best of luck in them and life.

  Are you sure? yes | no

Adam Fabio wrote 06/13/2014 at 05:12 point
This is great! Do you think the programming language will lend itself to on-the-fly changes during live performances? The best part of some of the instrument hacks I've seen is getting them out of the lab and in front of a live audience.

  Are you sure? yes | no

Owen Trueblood wrote 06/13/2014 at 12:33 point
Thanks. I aim for the language to lend itself to on-the-fly changes. I'm putting emphasis on the code being navigable and extremely concise. IBNIZ (http://countercomplex.blogspot.com/2011/12/ibniz-hardcore-audiovisual-virtual.html) is a big inspiration.

I agree that performing live with it would really bring it to life, but I'm personally not inclined towards performing myself. It would be nice if the project developed well enough that other people wanted to take that on. It's important to me at least that the design be centered around the constraints of live performance. There shouldn't be any frills between the musician and their concept of the sound they want made.

  Are you sure? yes | no

Similar Projects

Does this project spark your interest?

Become a member to follow this project and never miss any updates