 Marius Taciuc
-
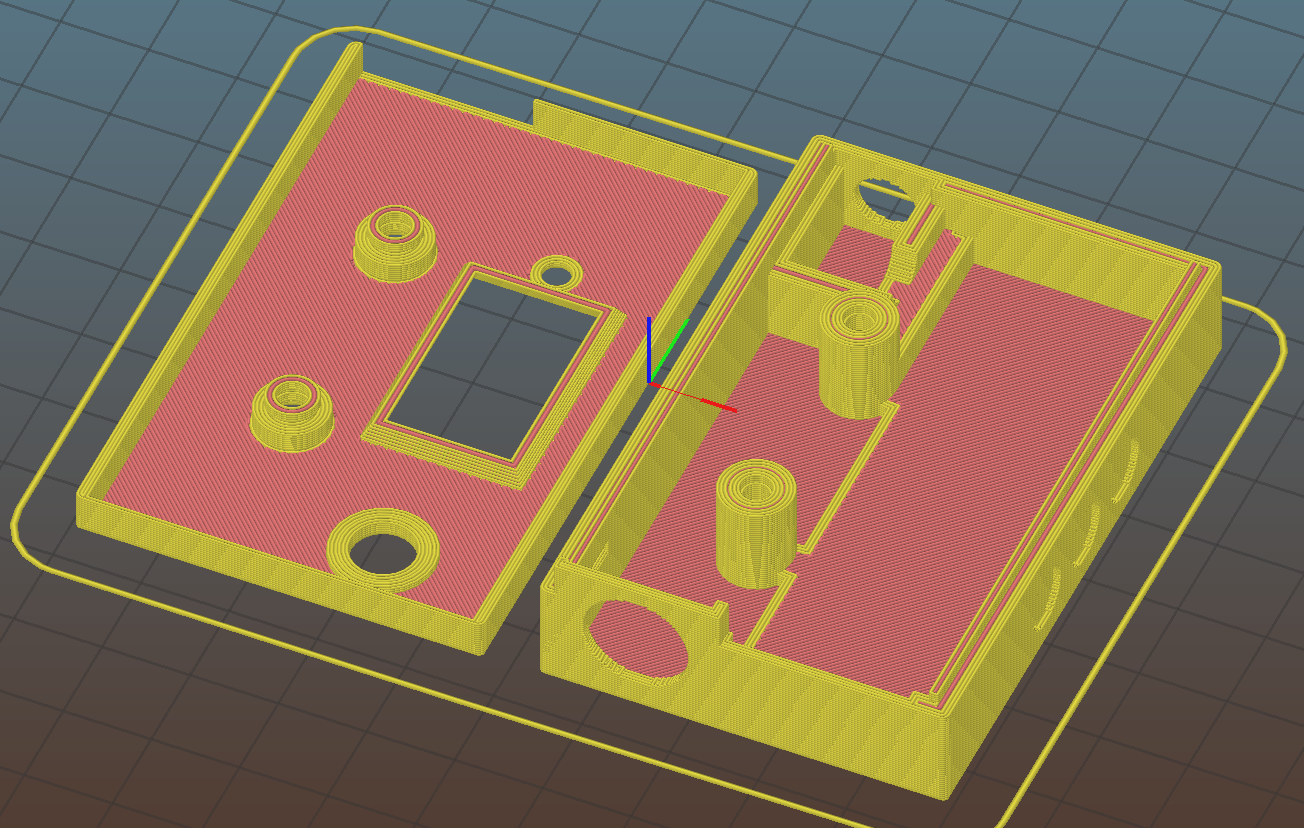
13D print the case
Use between 10% and 20% infill and a layer height of 0.3mm. Having 2 or 3 shells gives it the right amount of strength.
-
2Use a 5mm DC female jack connector for the input
insert the connector into the designated space and solder the wires with the white connector that you received in the kit.
leave the earth green wire unconnected
-
3Insert the aviator plug connector
Insert the connector through the hole and fasten in the nut into position
-
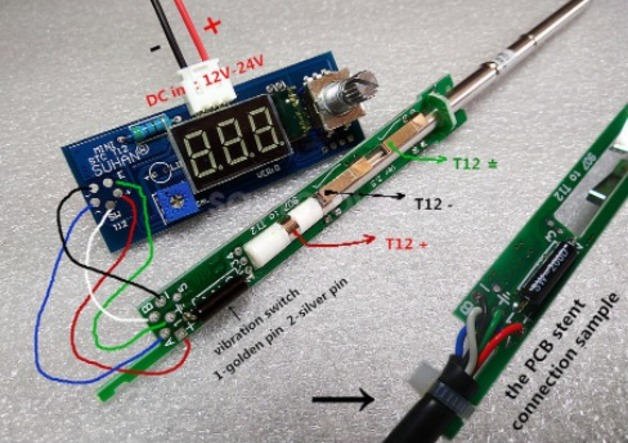
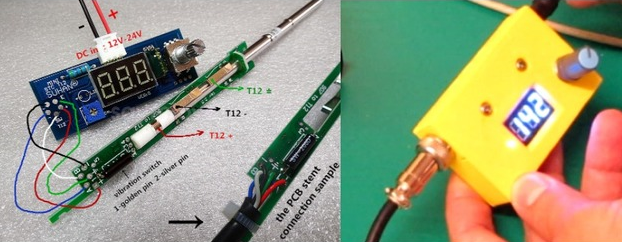
4Solder the wires
For this step you will need another soldering station. Sorry for this. I think this is also specified on the seller's page when you buy the kit. Solder the wires as you see in the diagram:
-
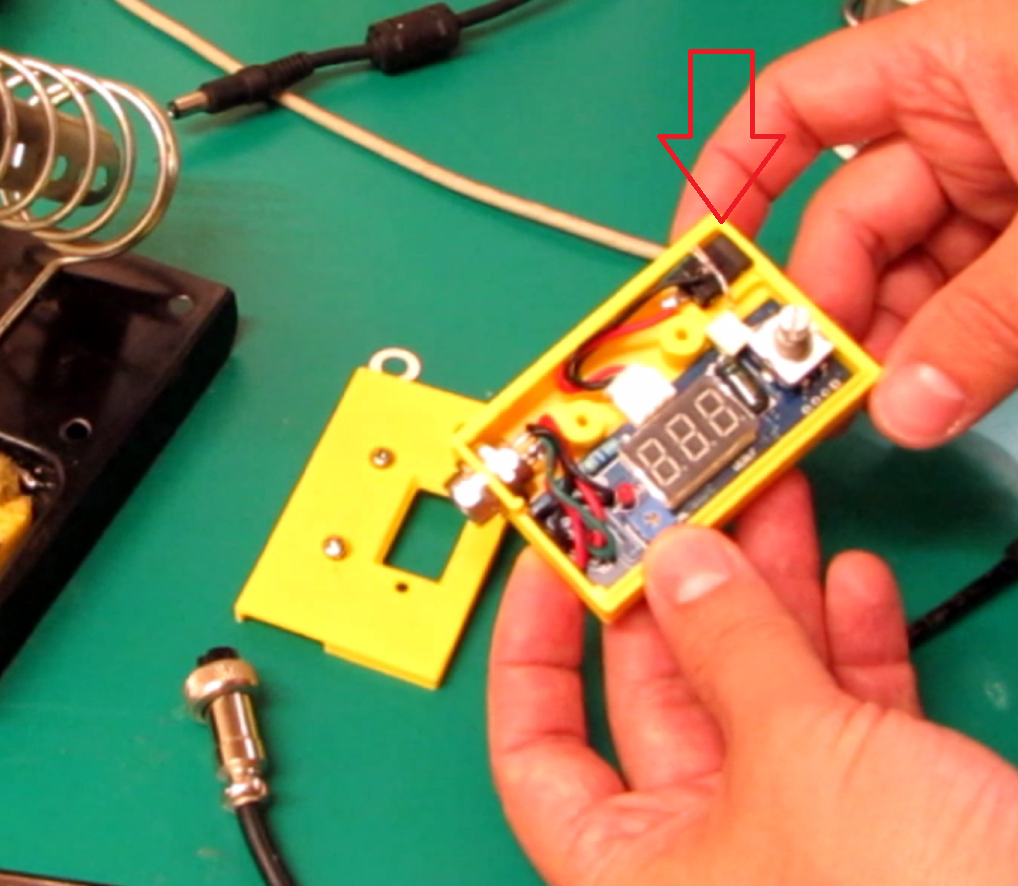
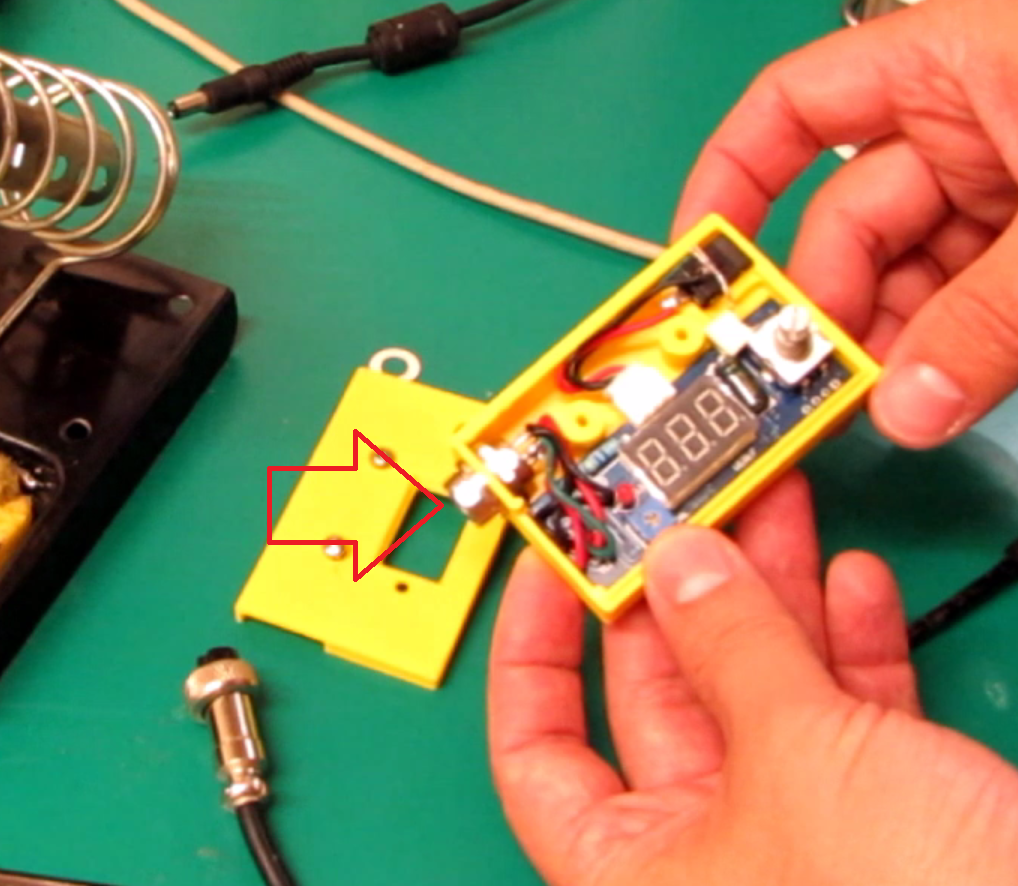
5Place the cover
Place the cover into position securing it with some 6x2.5mm screws as in the image. Place the washer and the nut of the rotary encoder and finally, place the knob.
3D printed case for Hakko soldering kit
Made a 3D printed case for the t12 soldering kit you can buy online
Discussions
Become a Hackaday.io Member
Create an account to leave a comment. Already have an account? Log In.