-
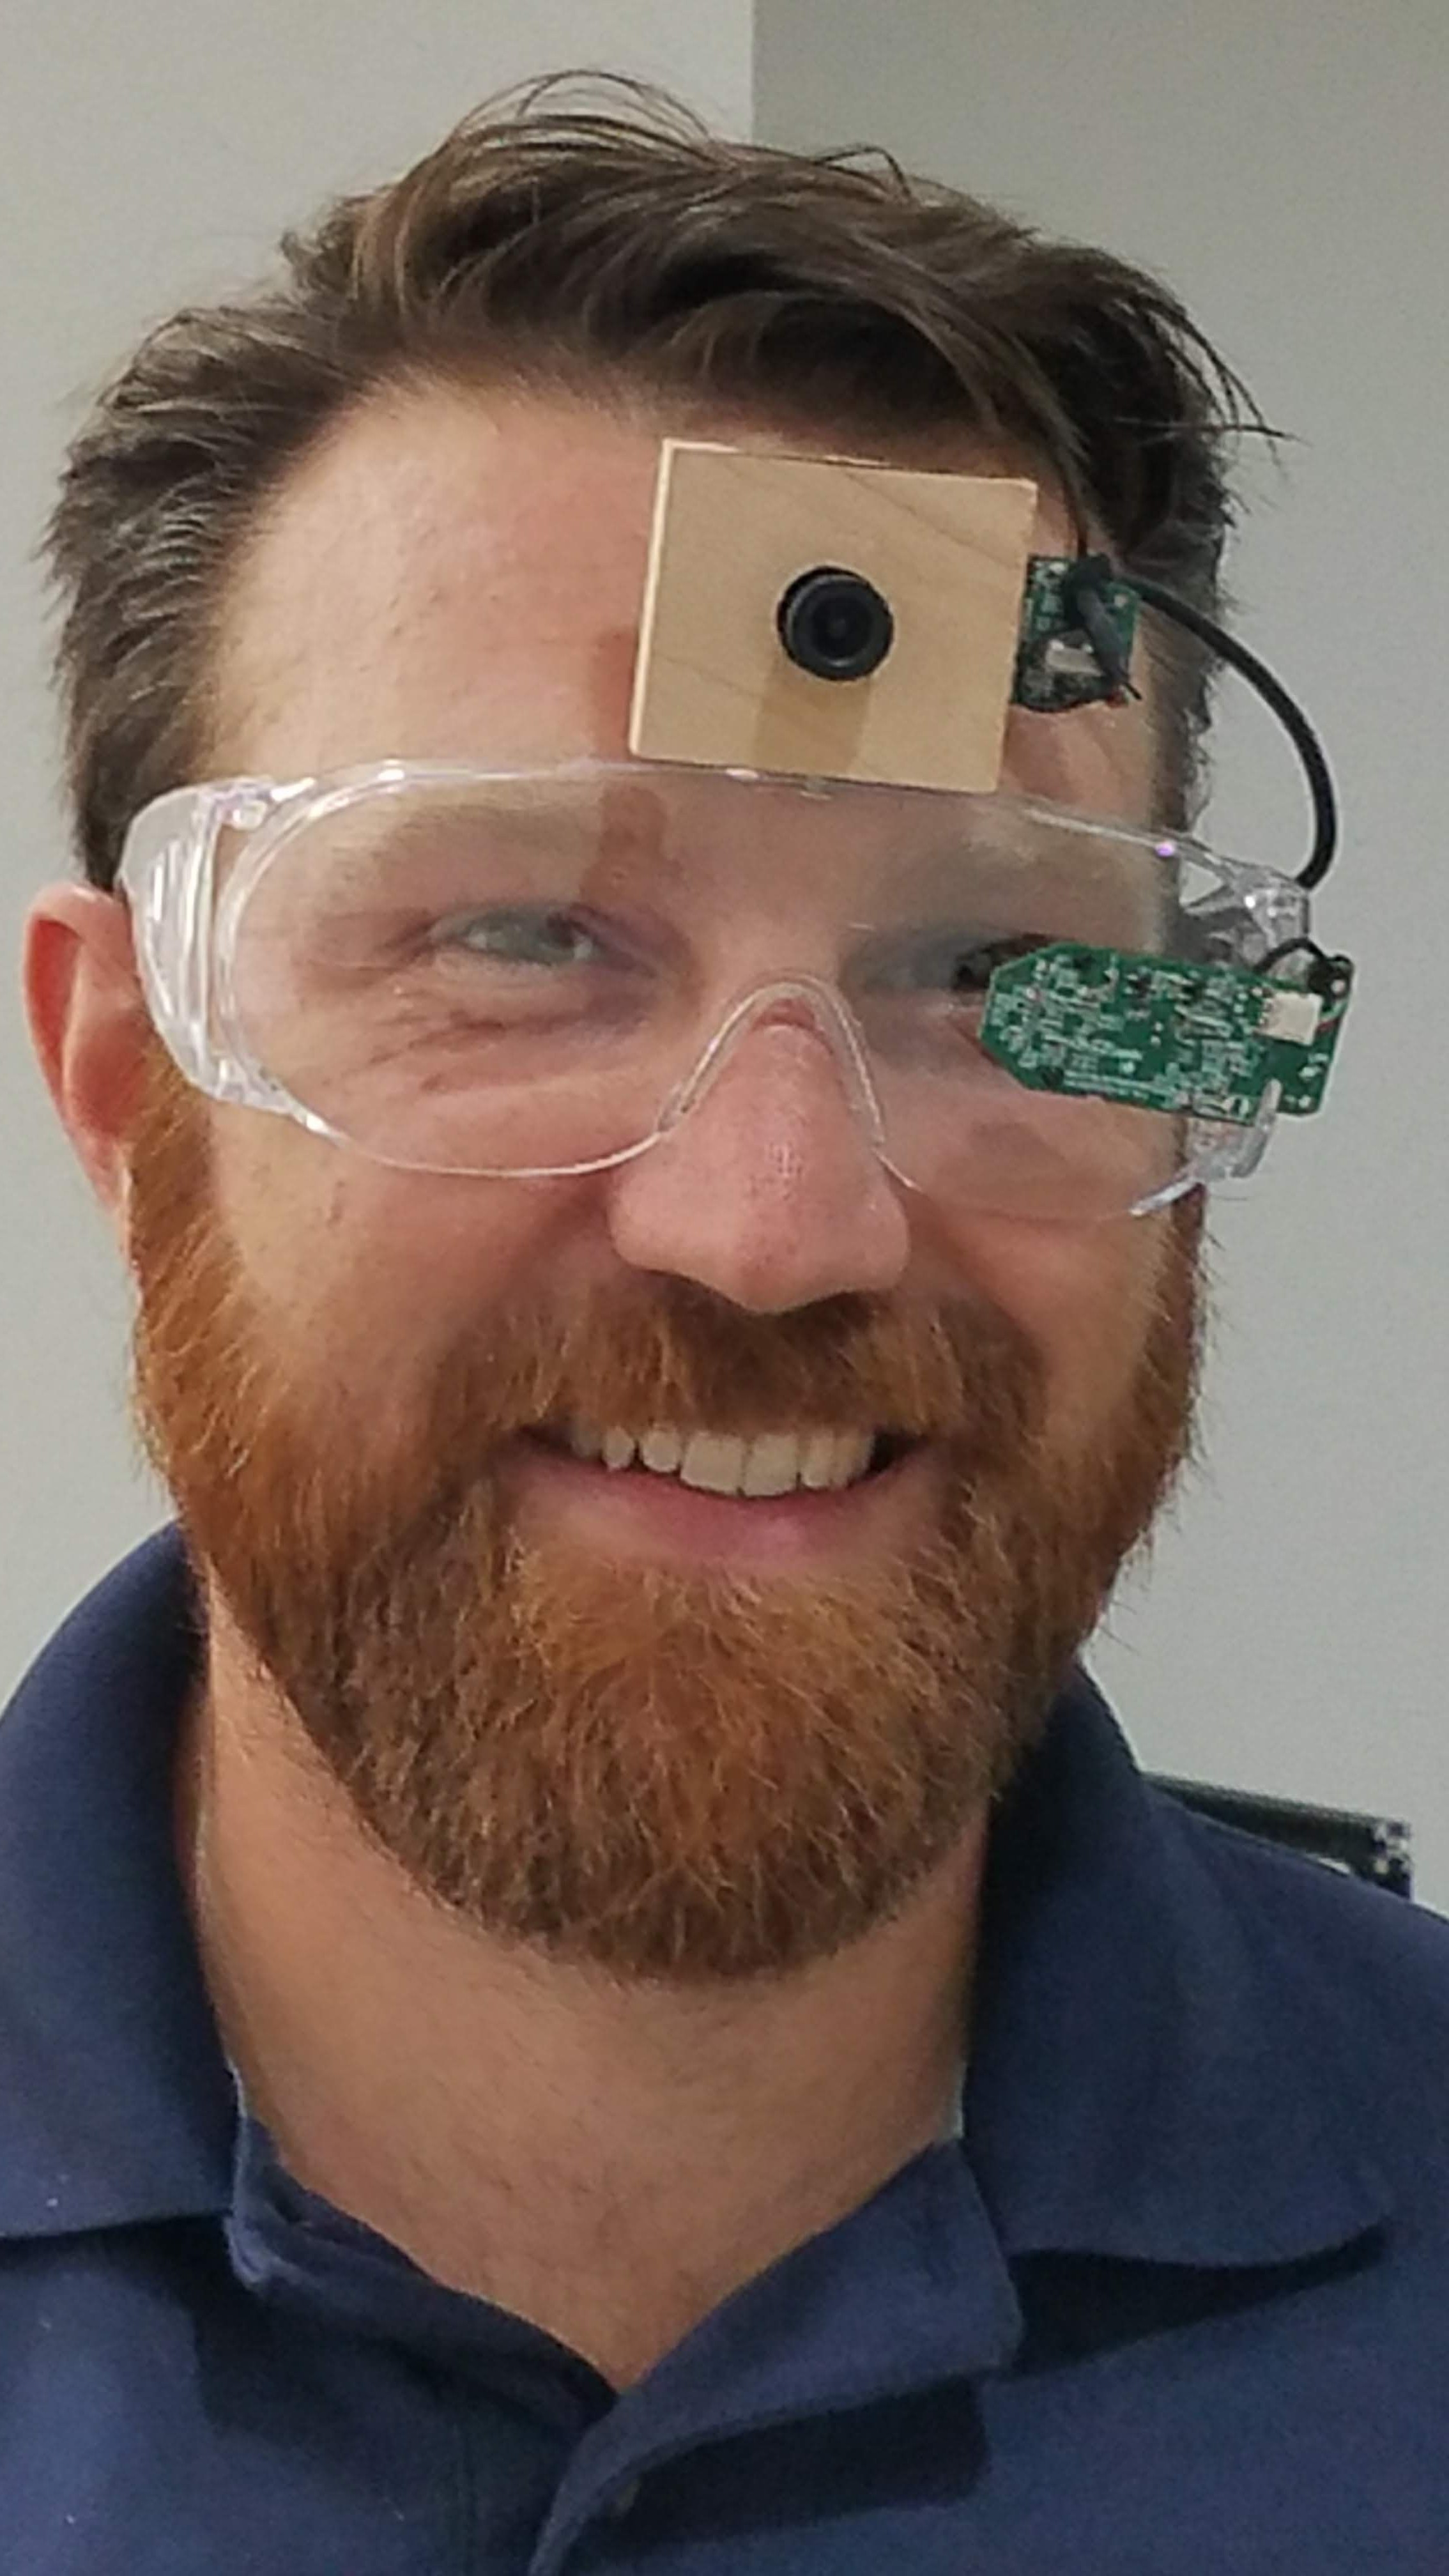
1Building the Eye Tracker Glasses
![]()
-
2Exposing PCB from camera housing
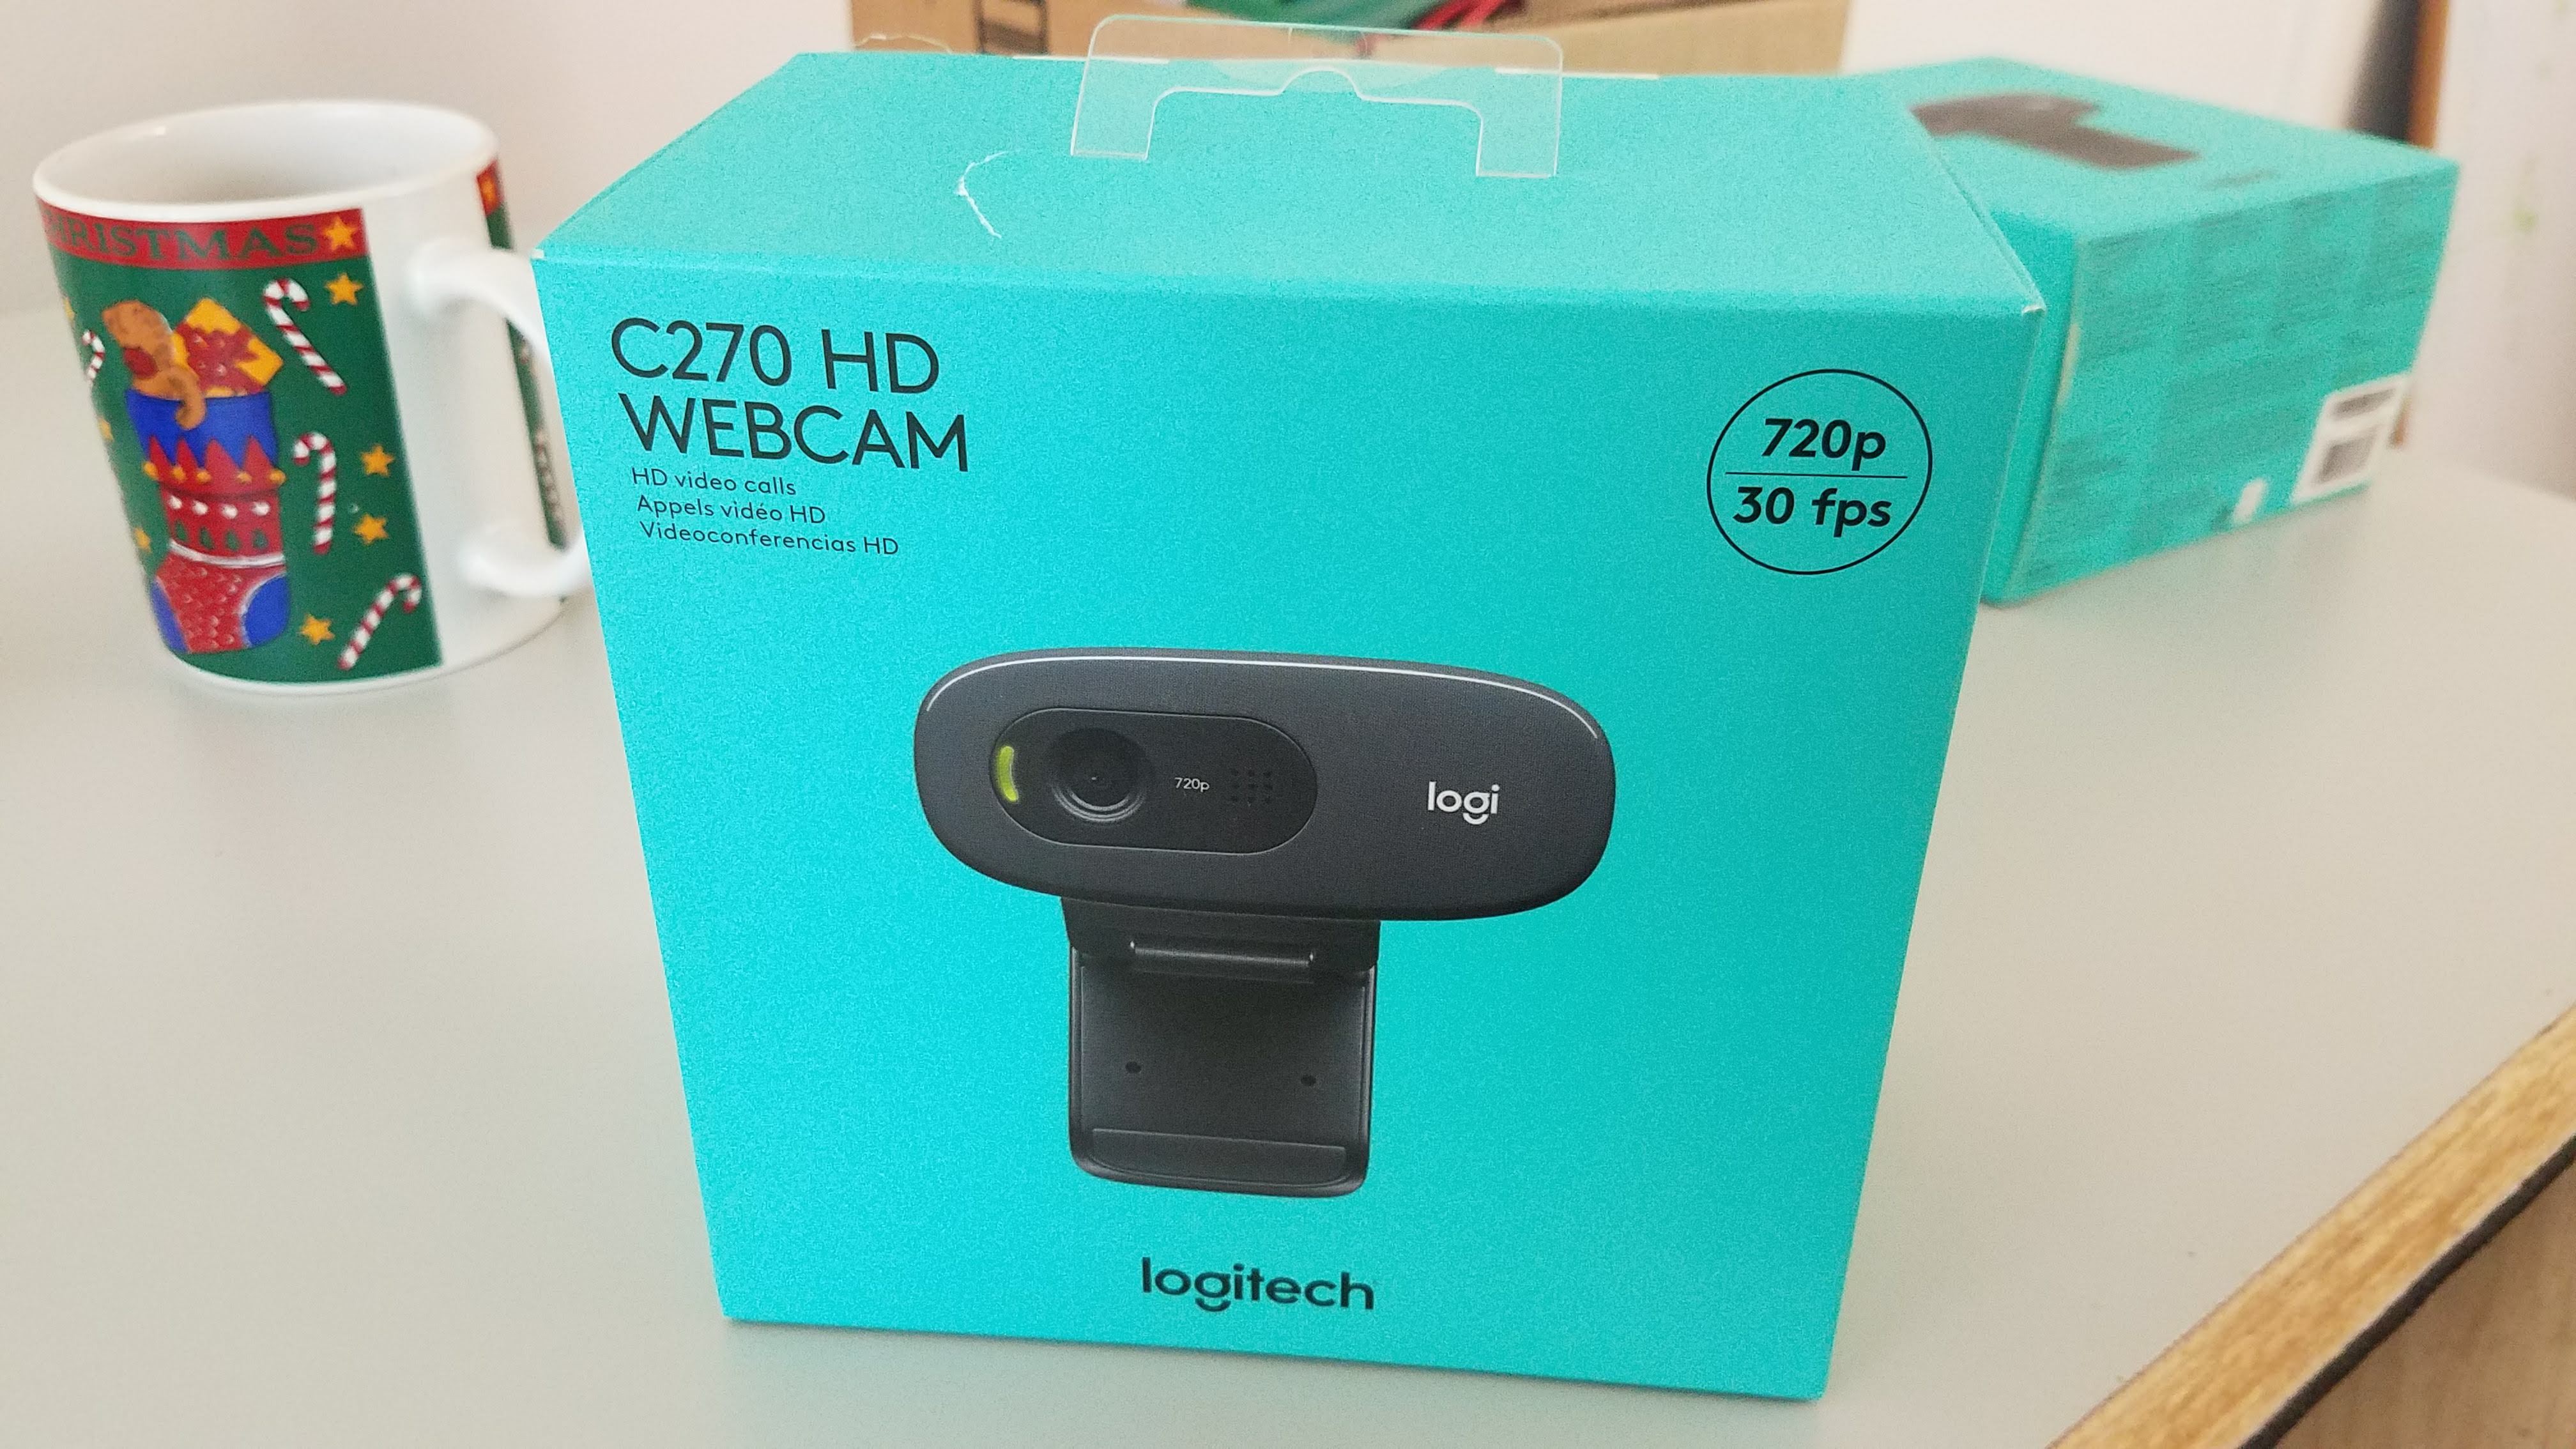
You'll need two cameras. Unbox them.
![]()
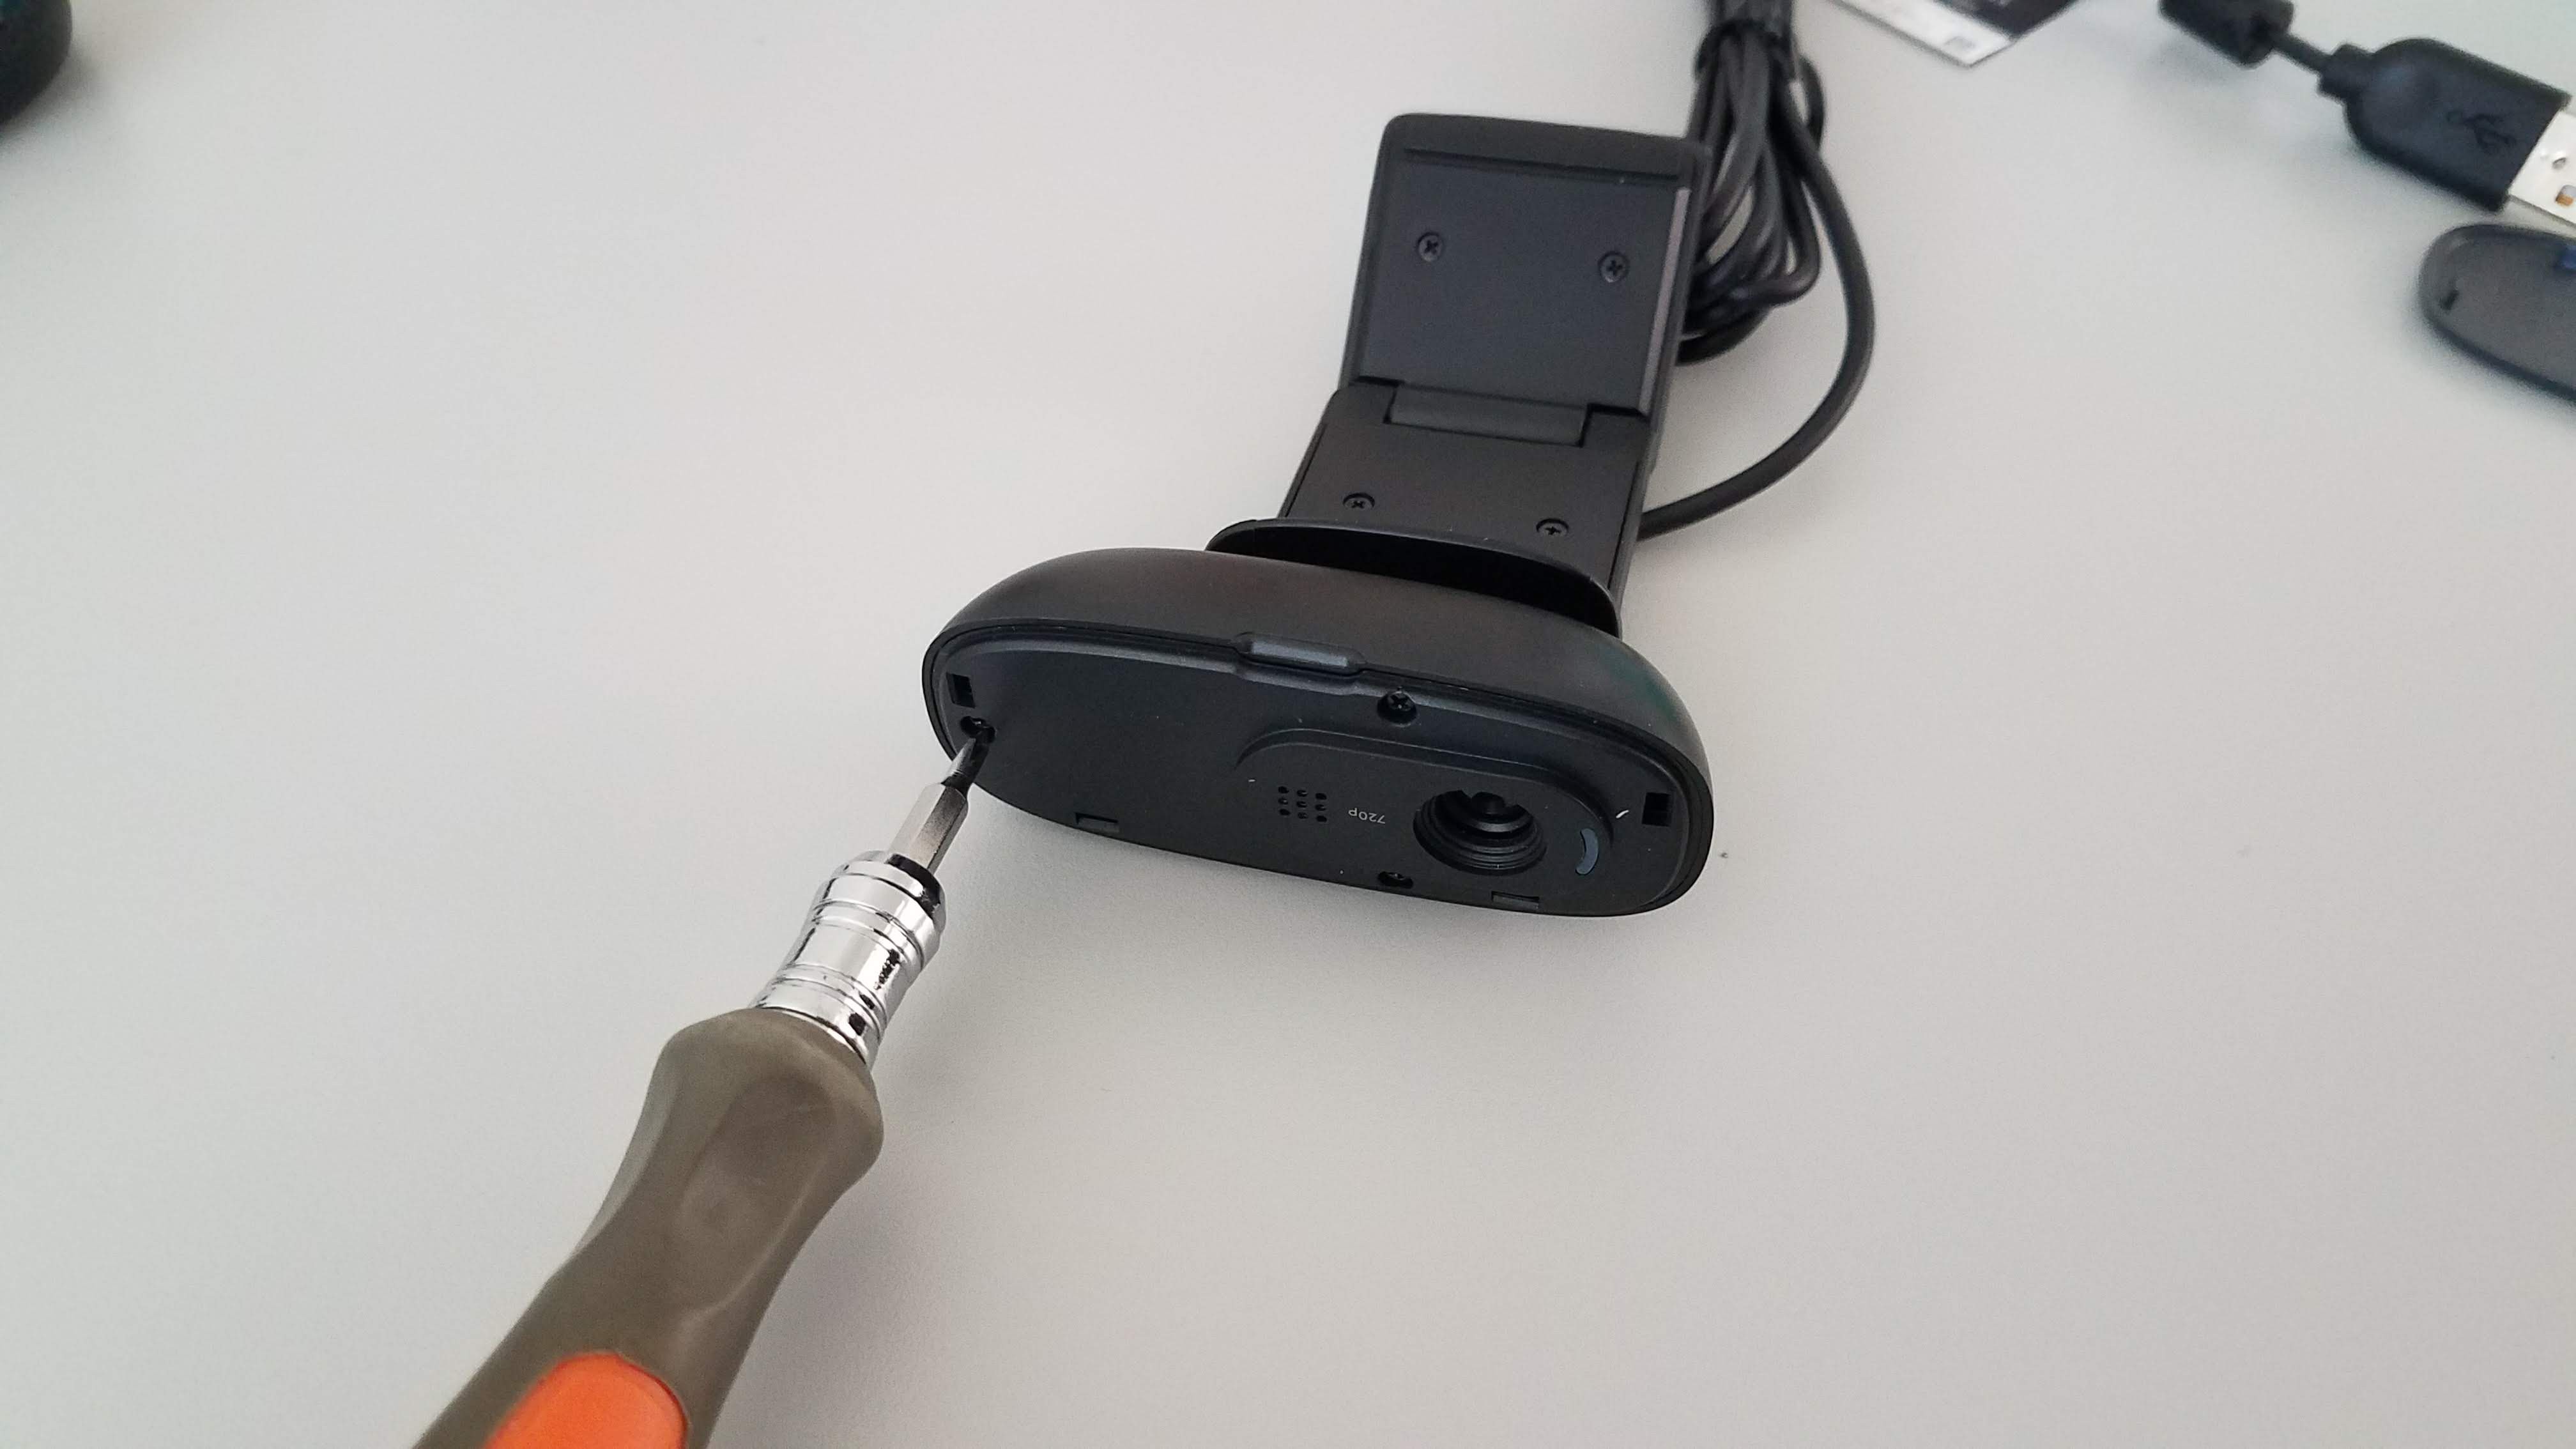
Remove the front bezel and unscrew the three retaining screws holding on the front face of the camera housing.
![]()
There are also two screws holding the PCB to the back housing.
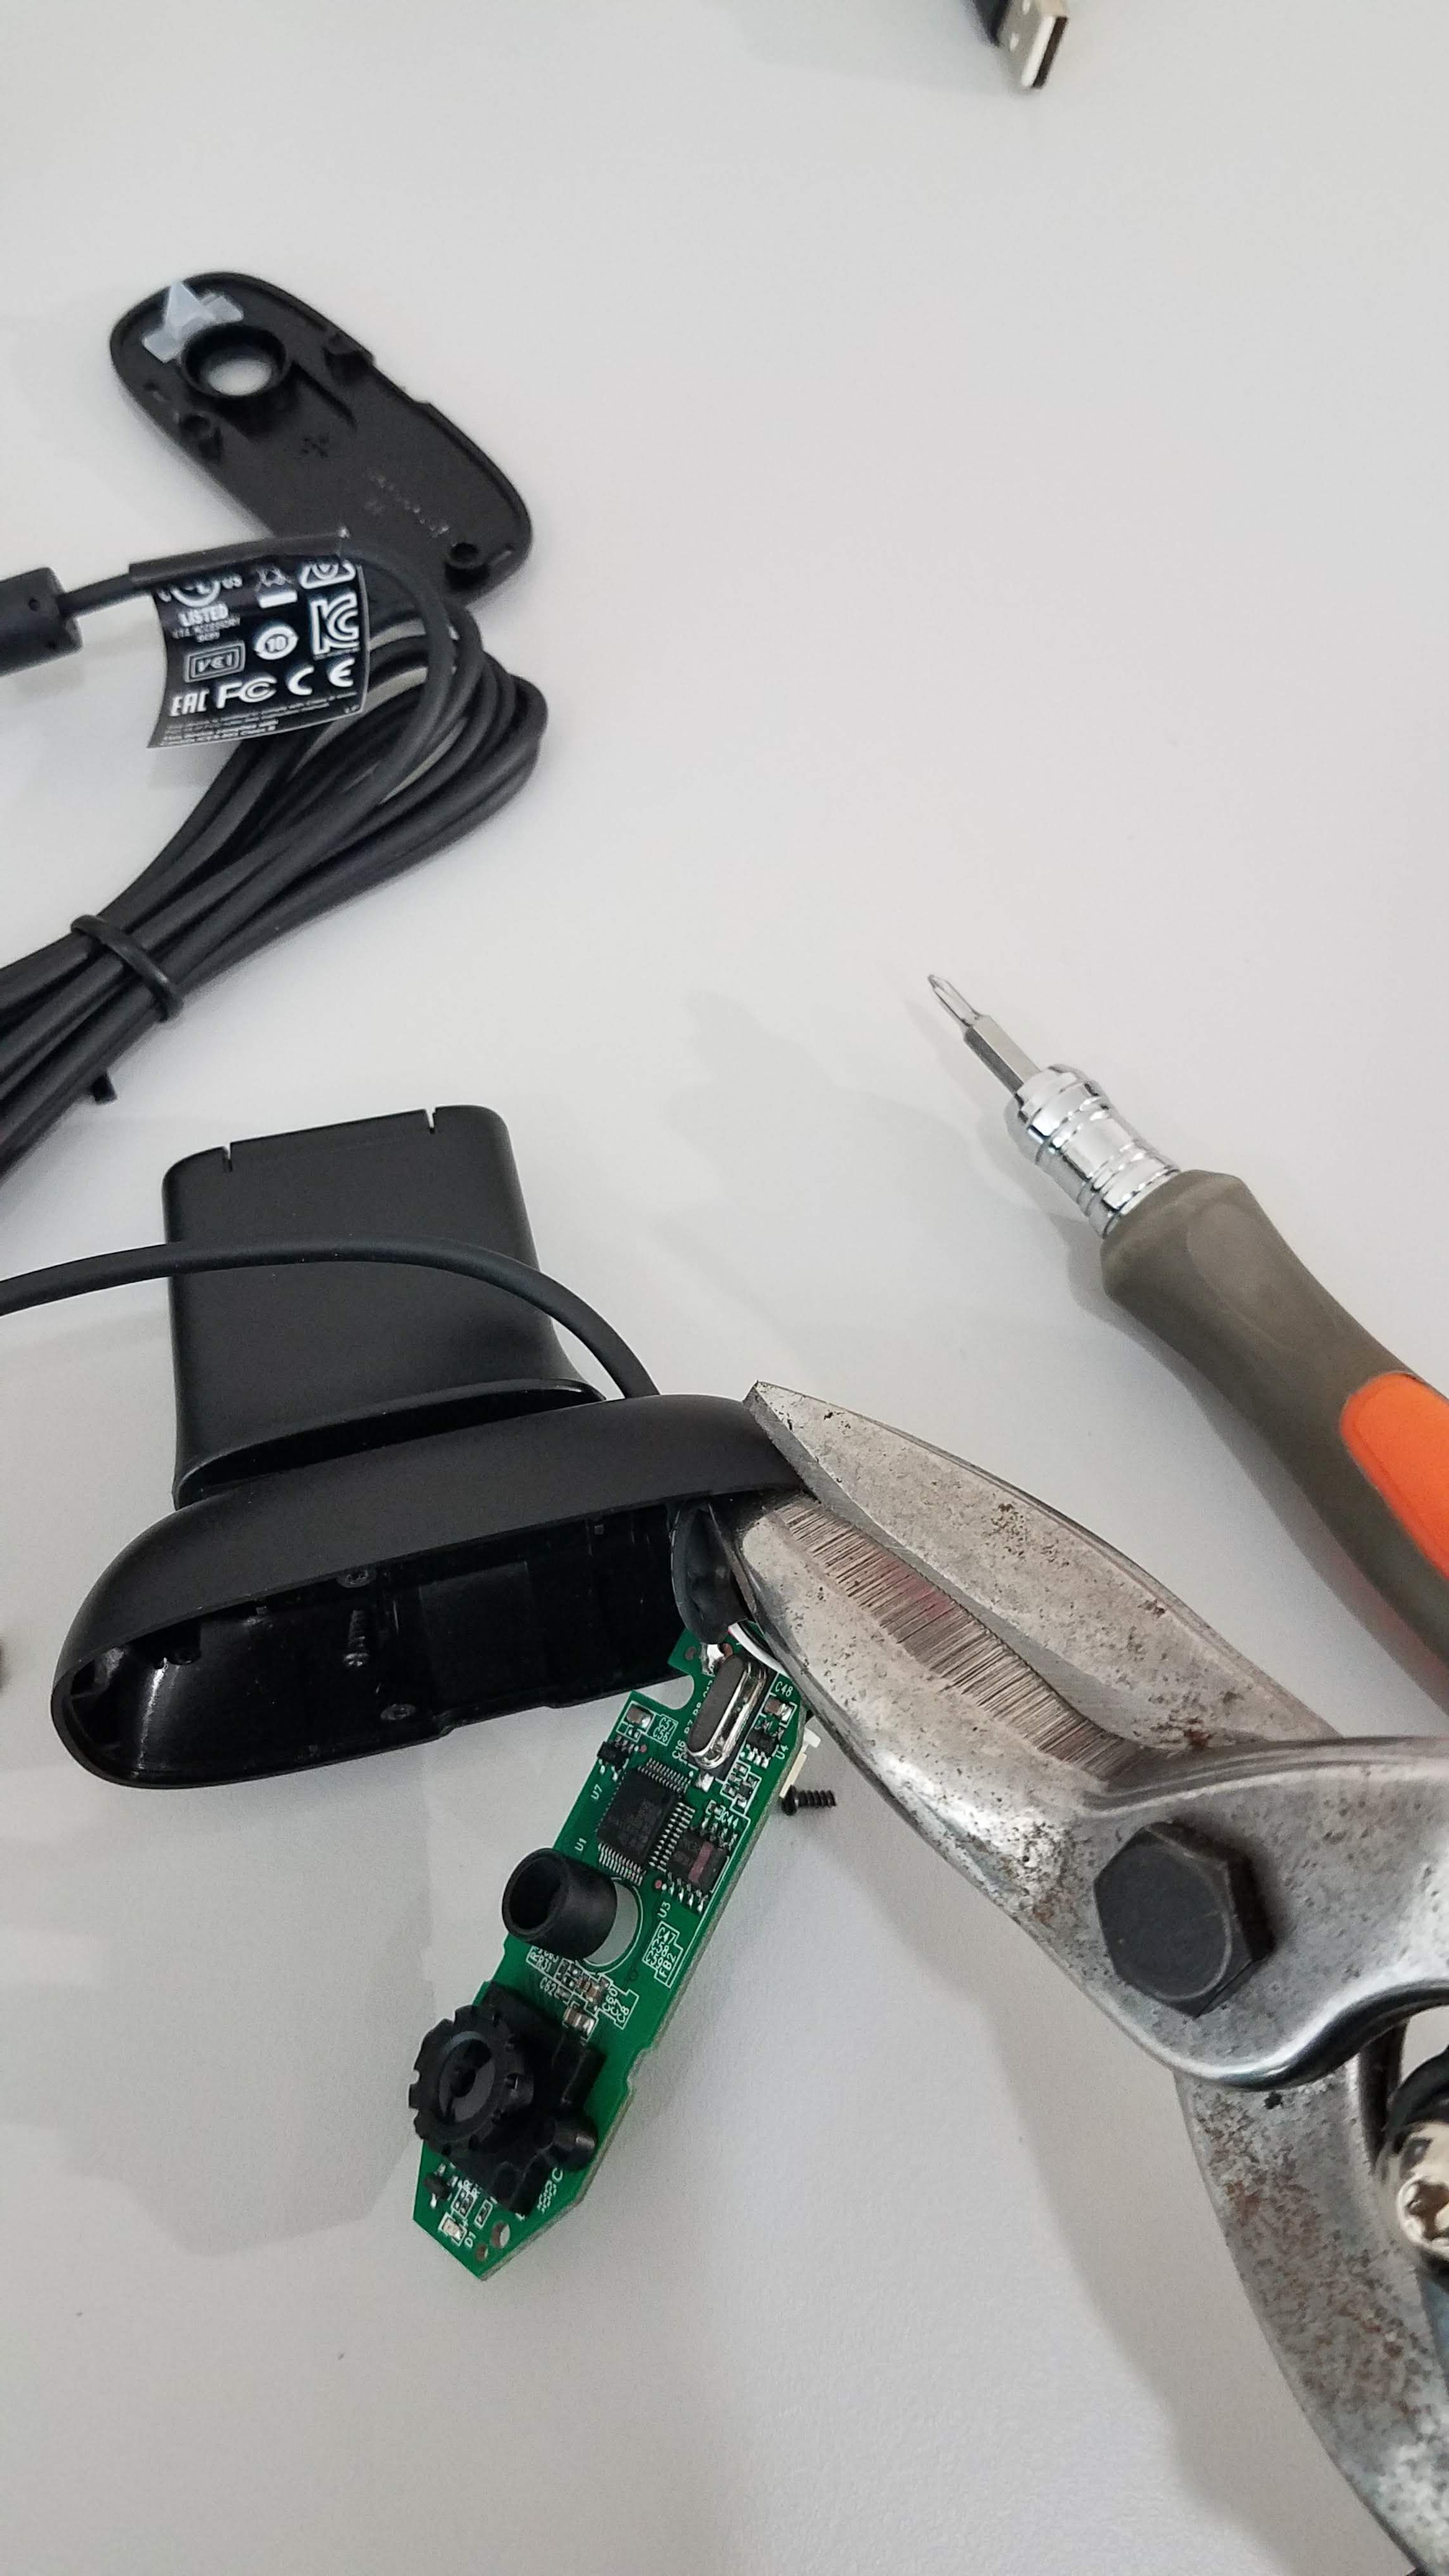
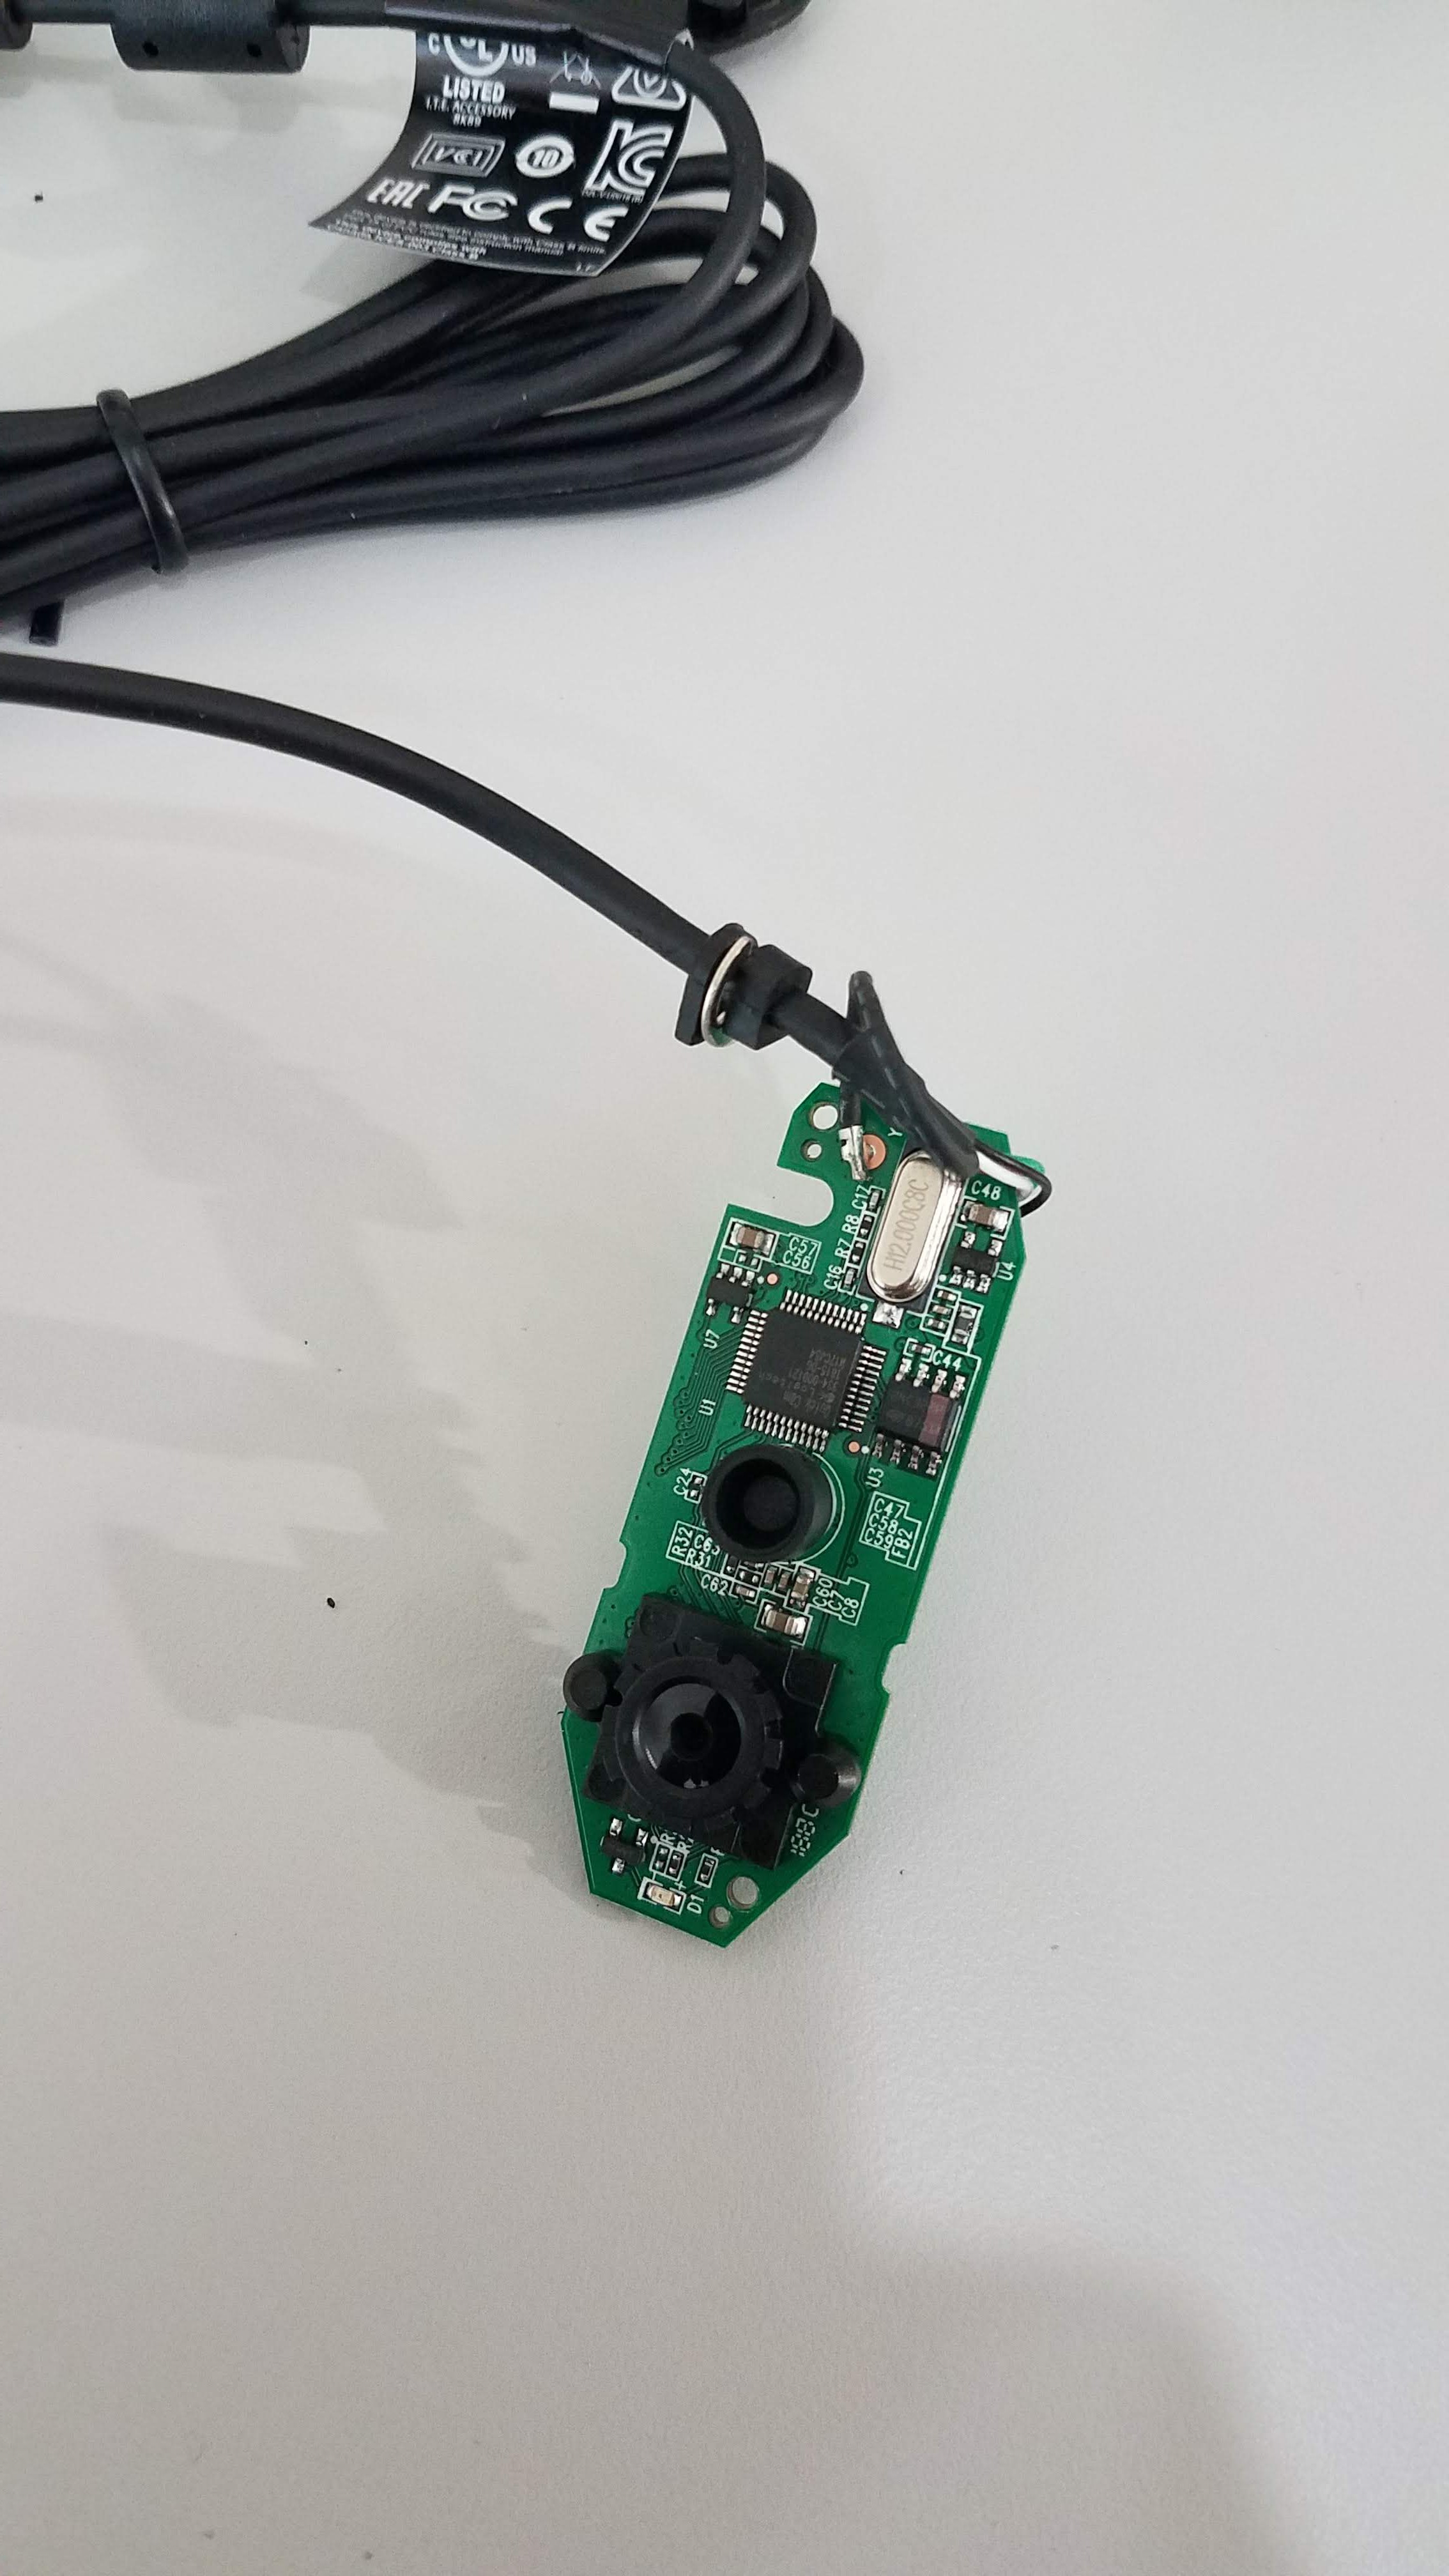
Once the PCB is free from the housing use a pair of tin snips or wire clippers to cut the housing away from the USB cord. Be careful not to damage the USB cord.
![]()
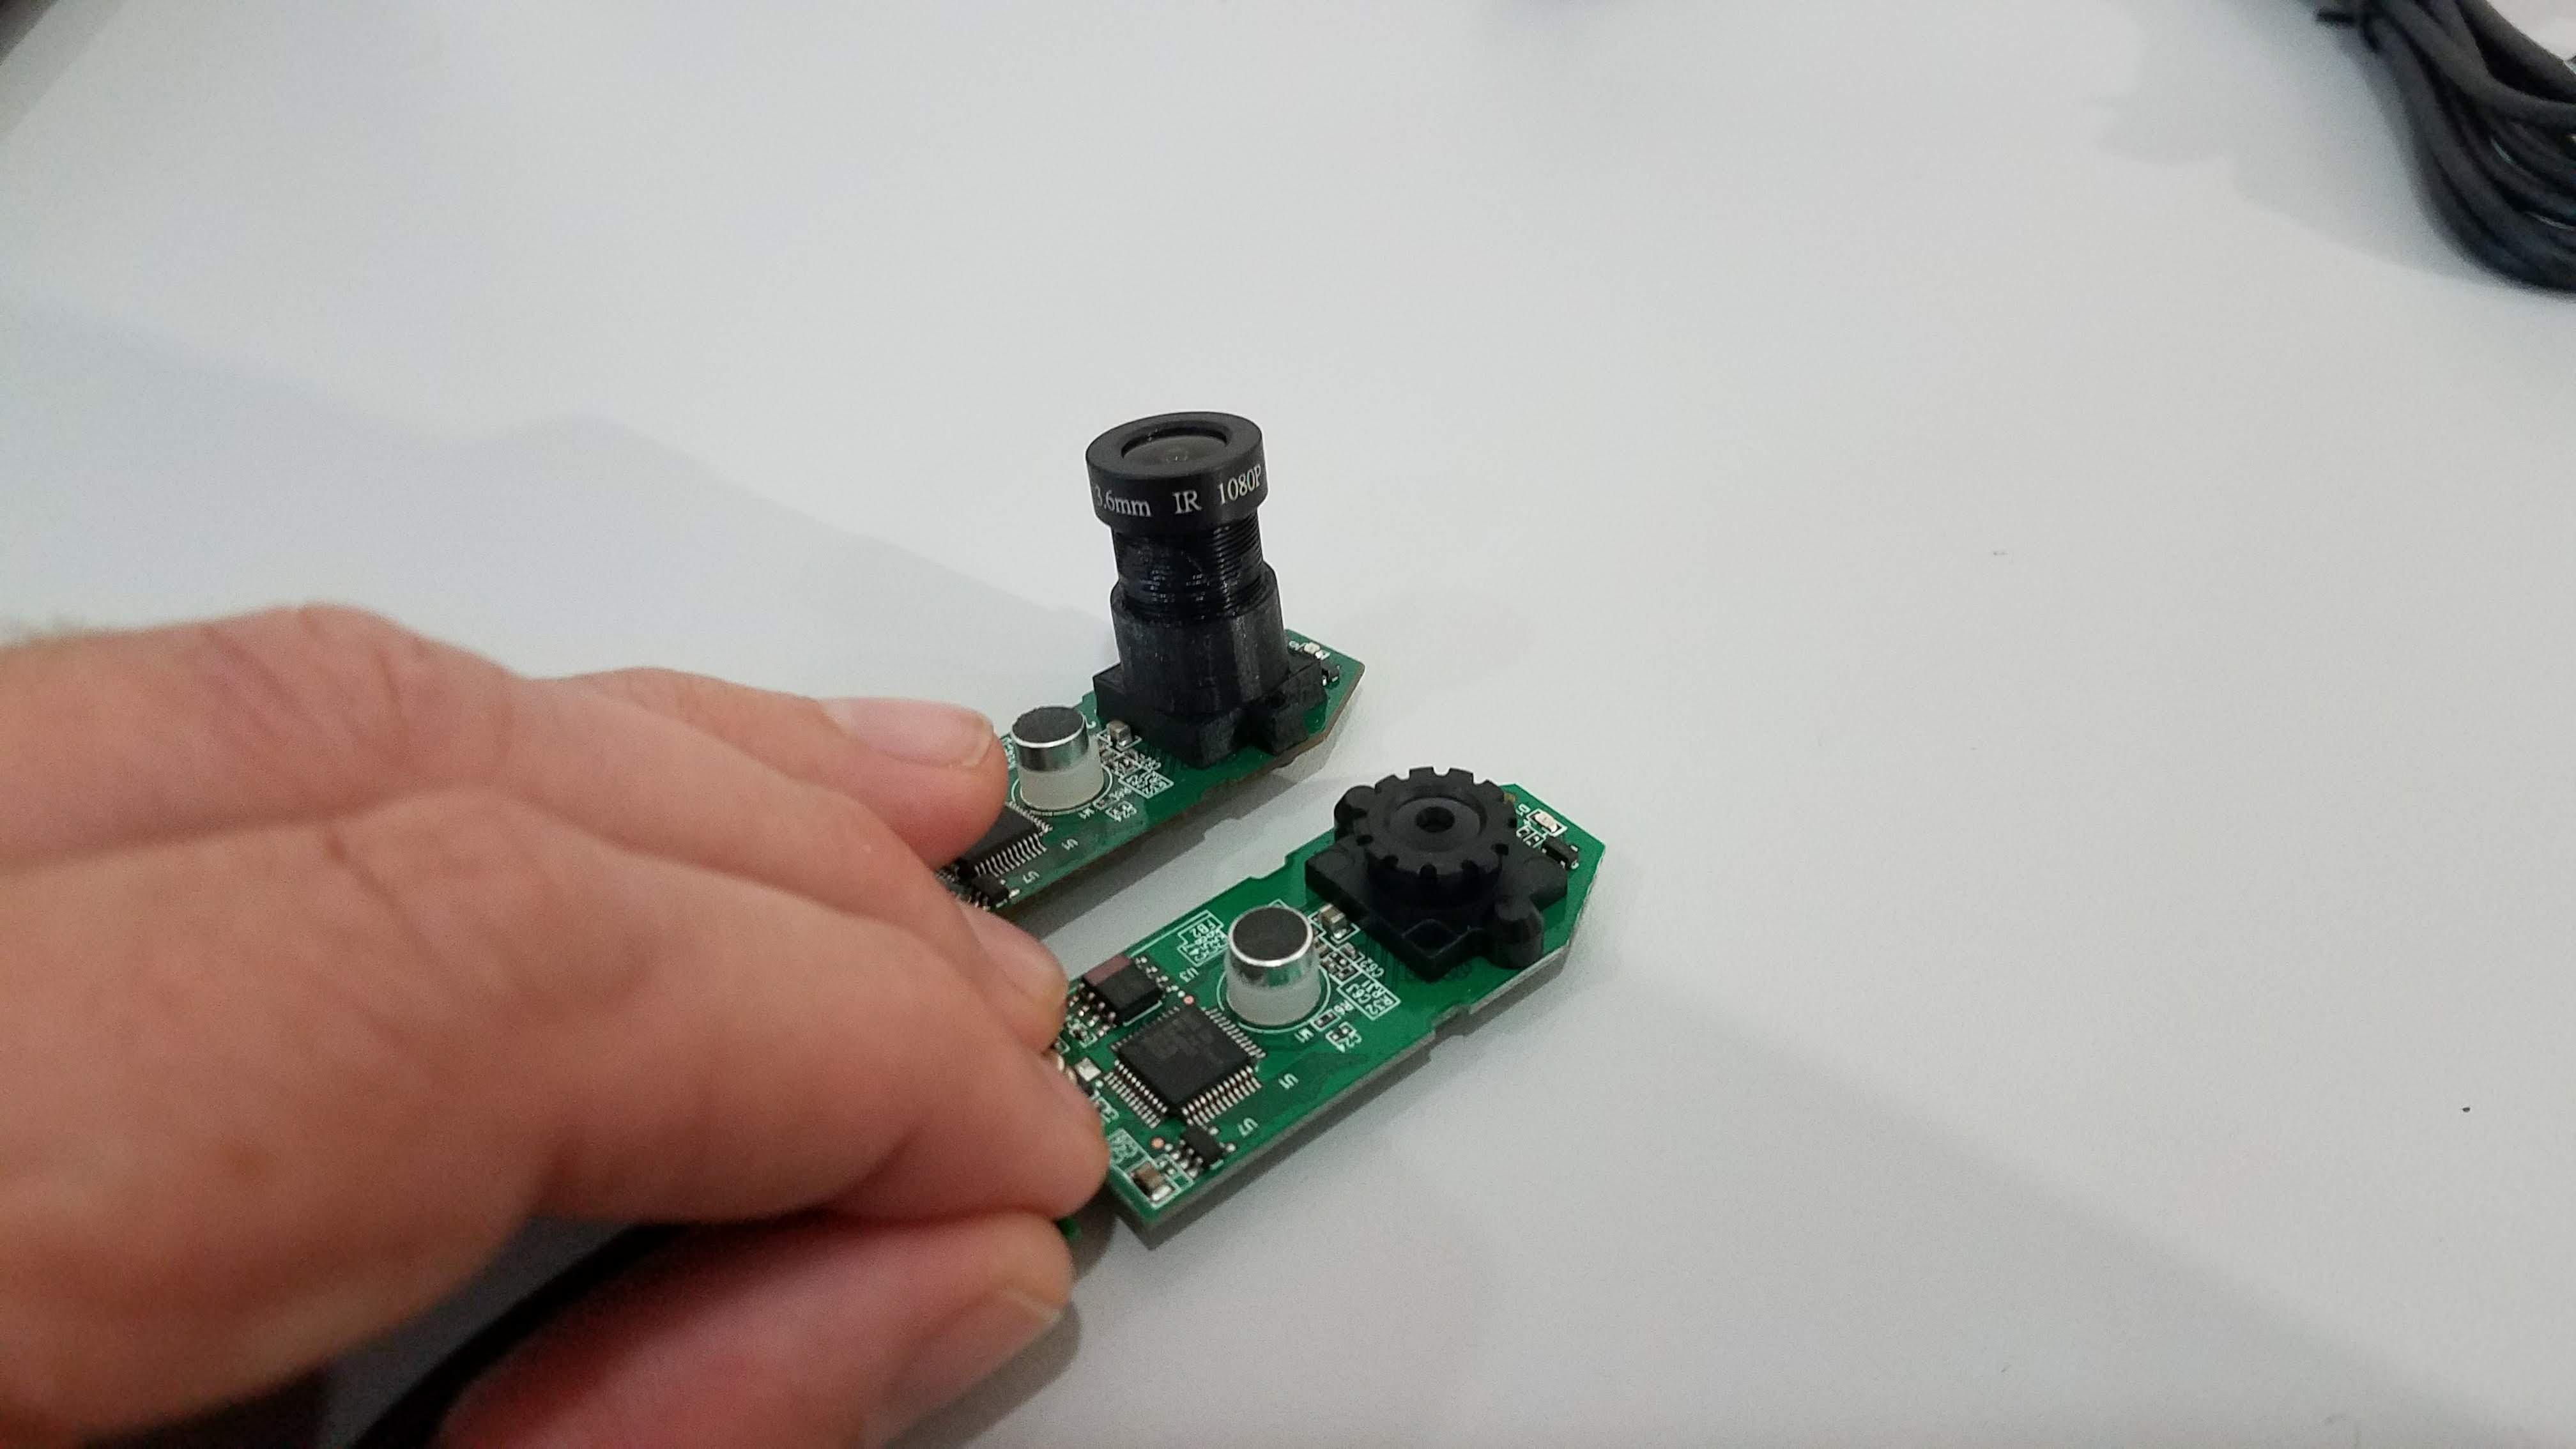
Once both PCB's are removed from the housings each camera will need some modifications before mounting onto the glasses.
![]()
-
3Front Facing Camera Modifications
Before the front camera can be used it'll need to be modified with a different lens and lens mount.
You can 3d print the lens mount. The STL file can be found here: https://goo.gl/PNbTHv
The lens can be purchased here: https://goo.gl/cxPK4H
Two screws hold the mount onto the PCB and are located on the back of the PCB.
![]()
-
4Eye Facing Camera Modifications
Before the eye facing camera can be used it requires several modifications.
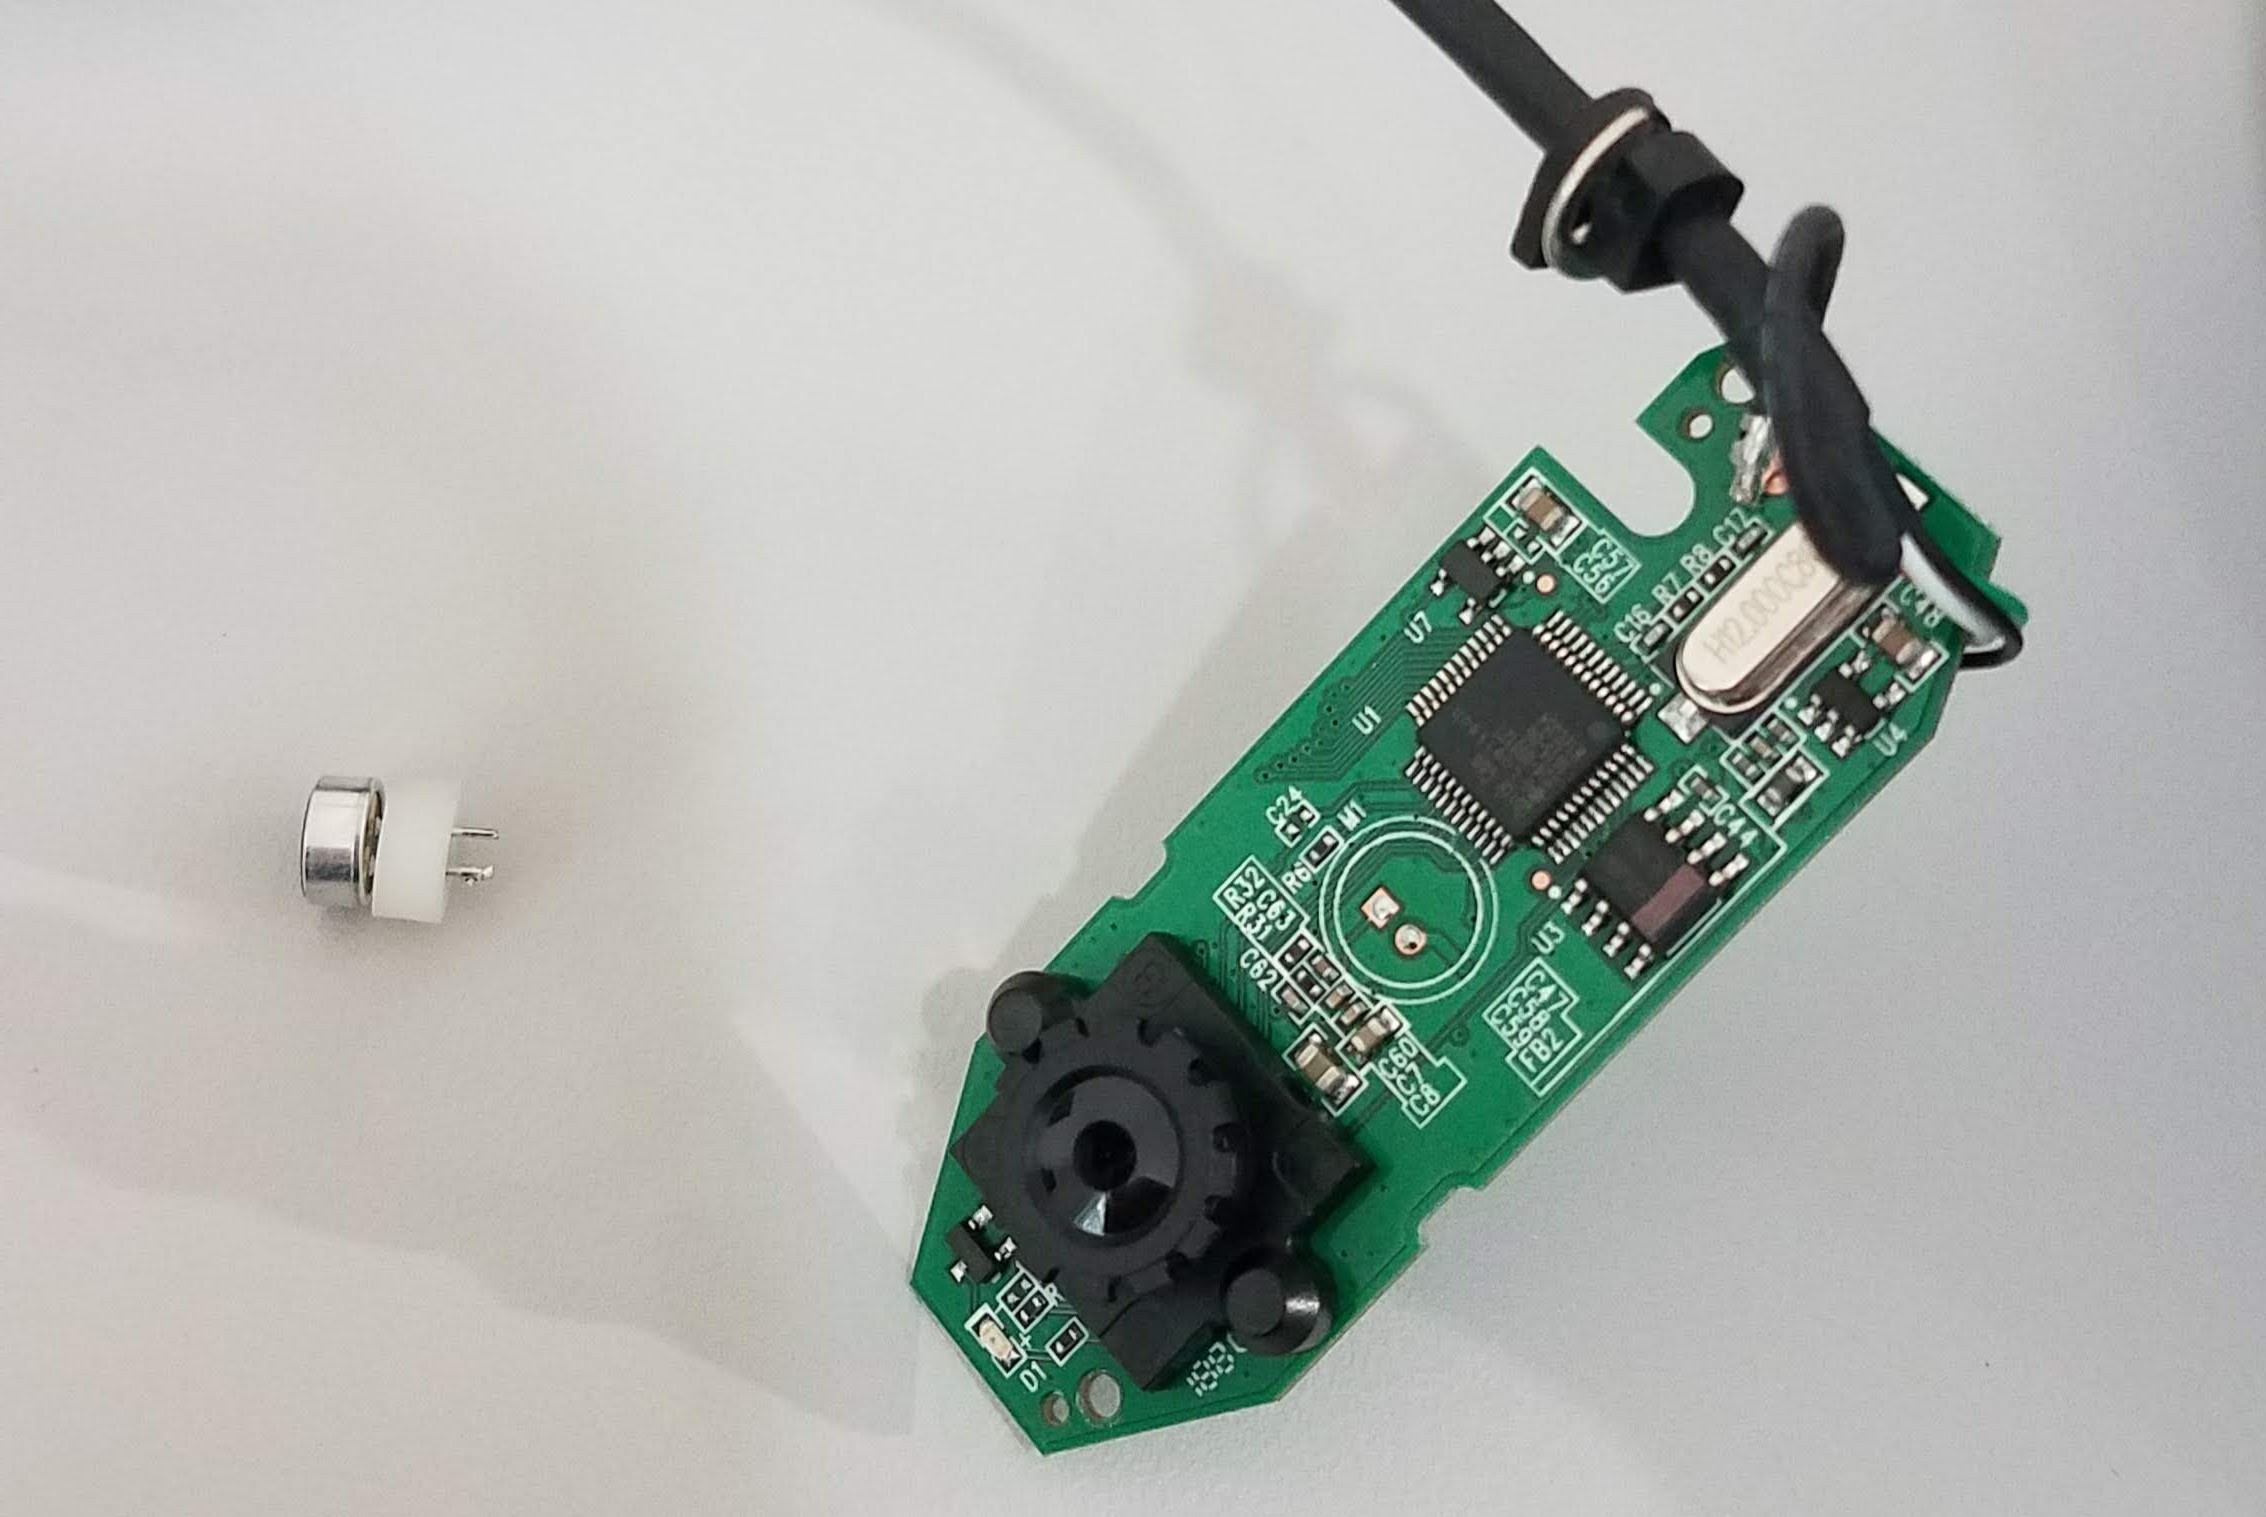
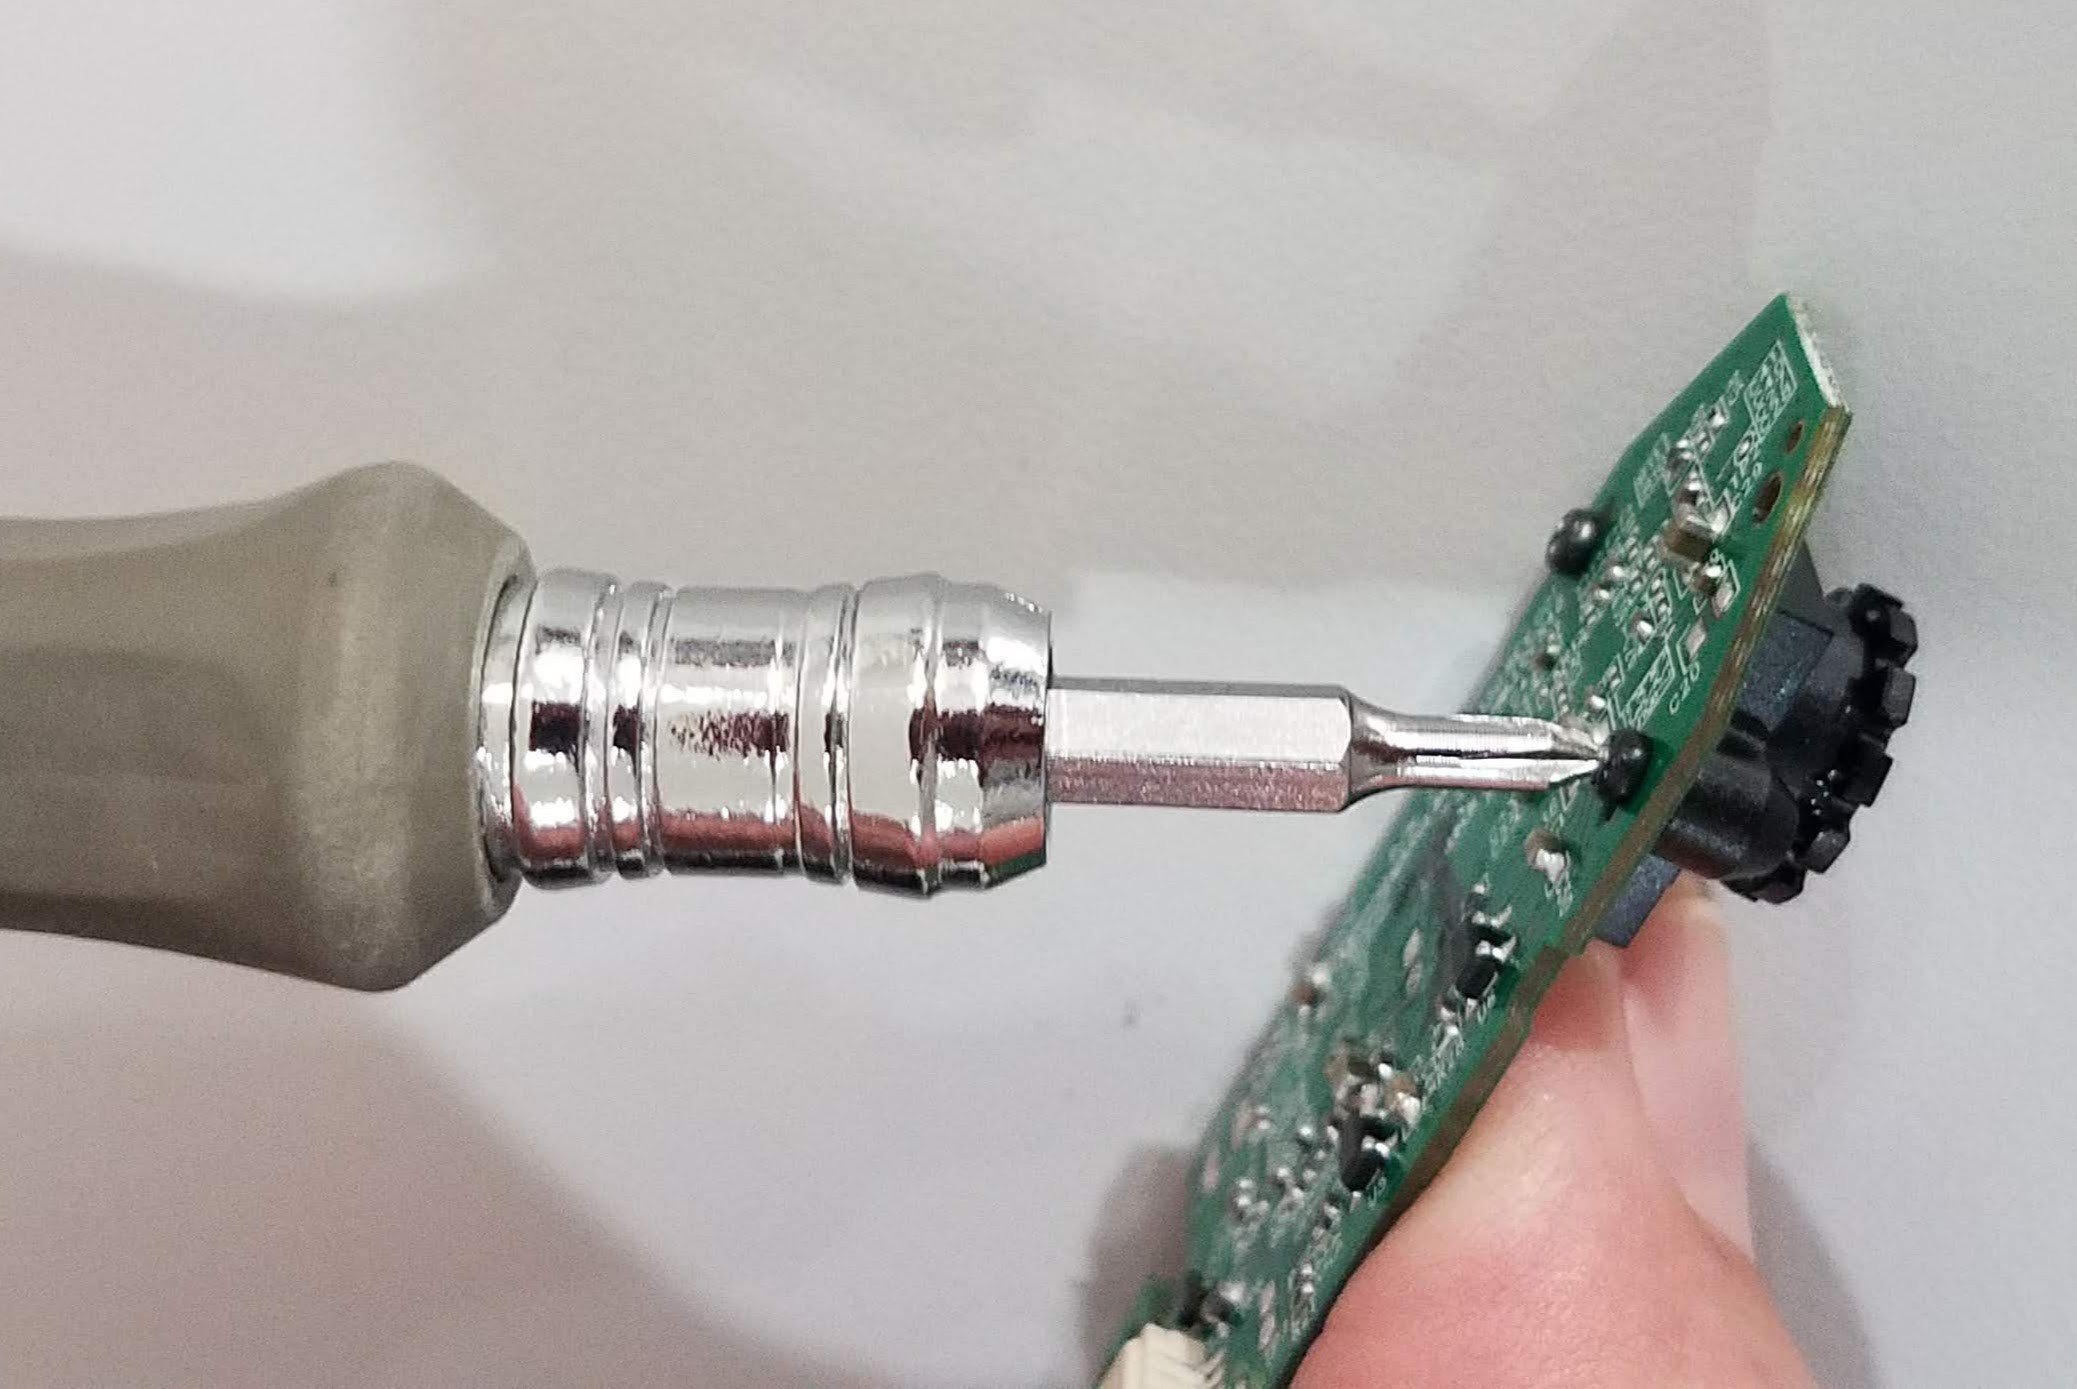
First, desolder the microphone and remove it from the PCB or it will interfere with the glasses because it stands so high off the PCB.
![]()
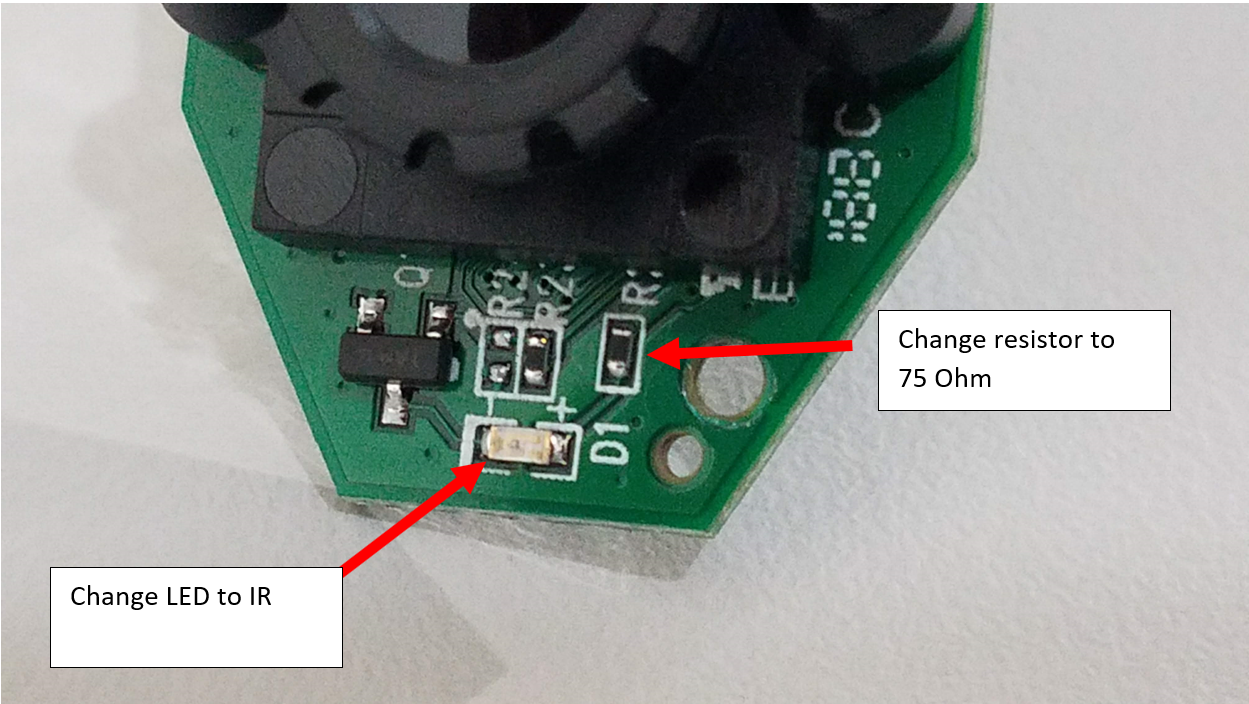
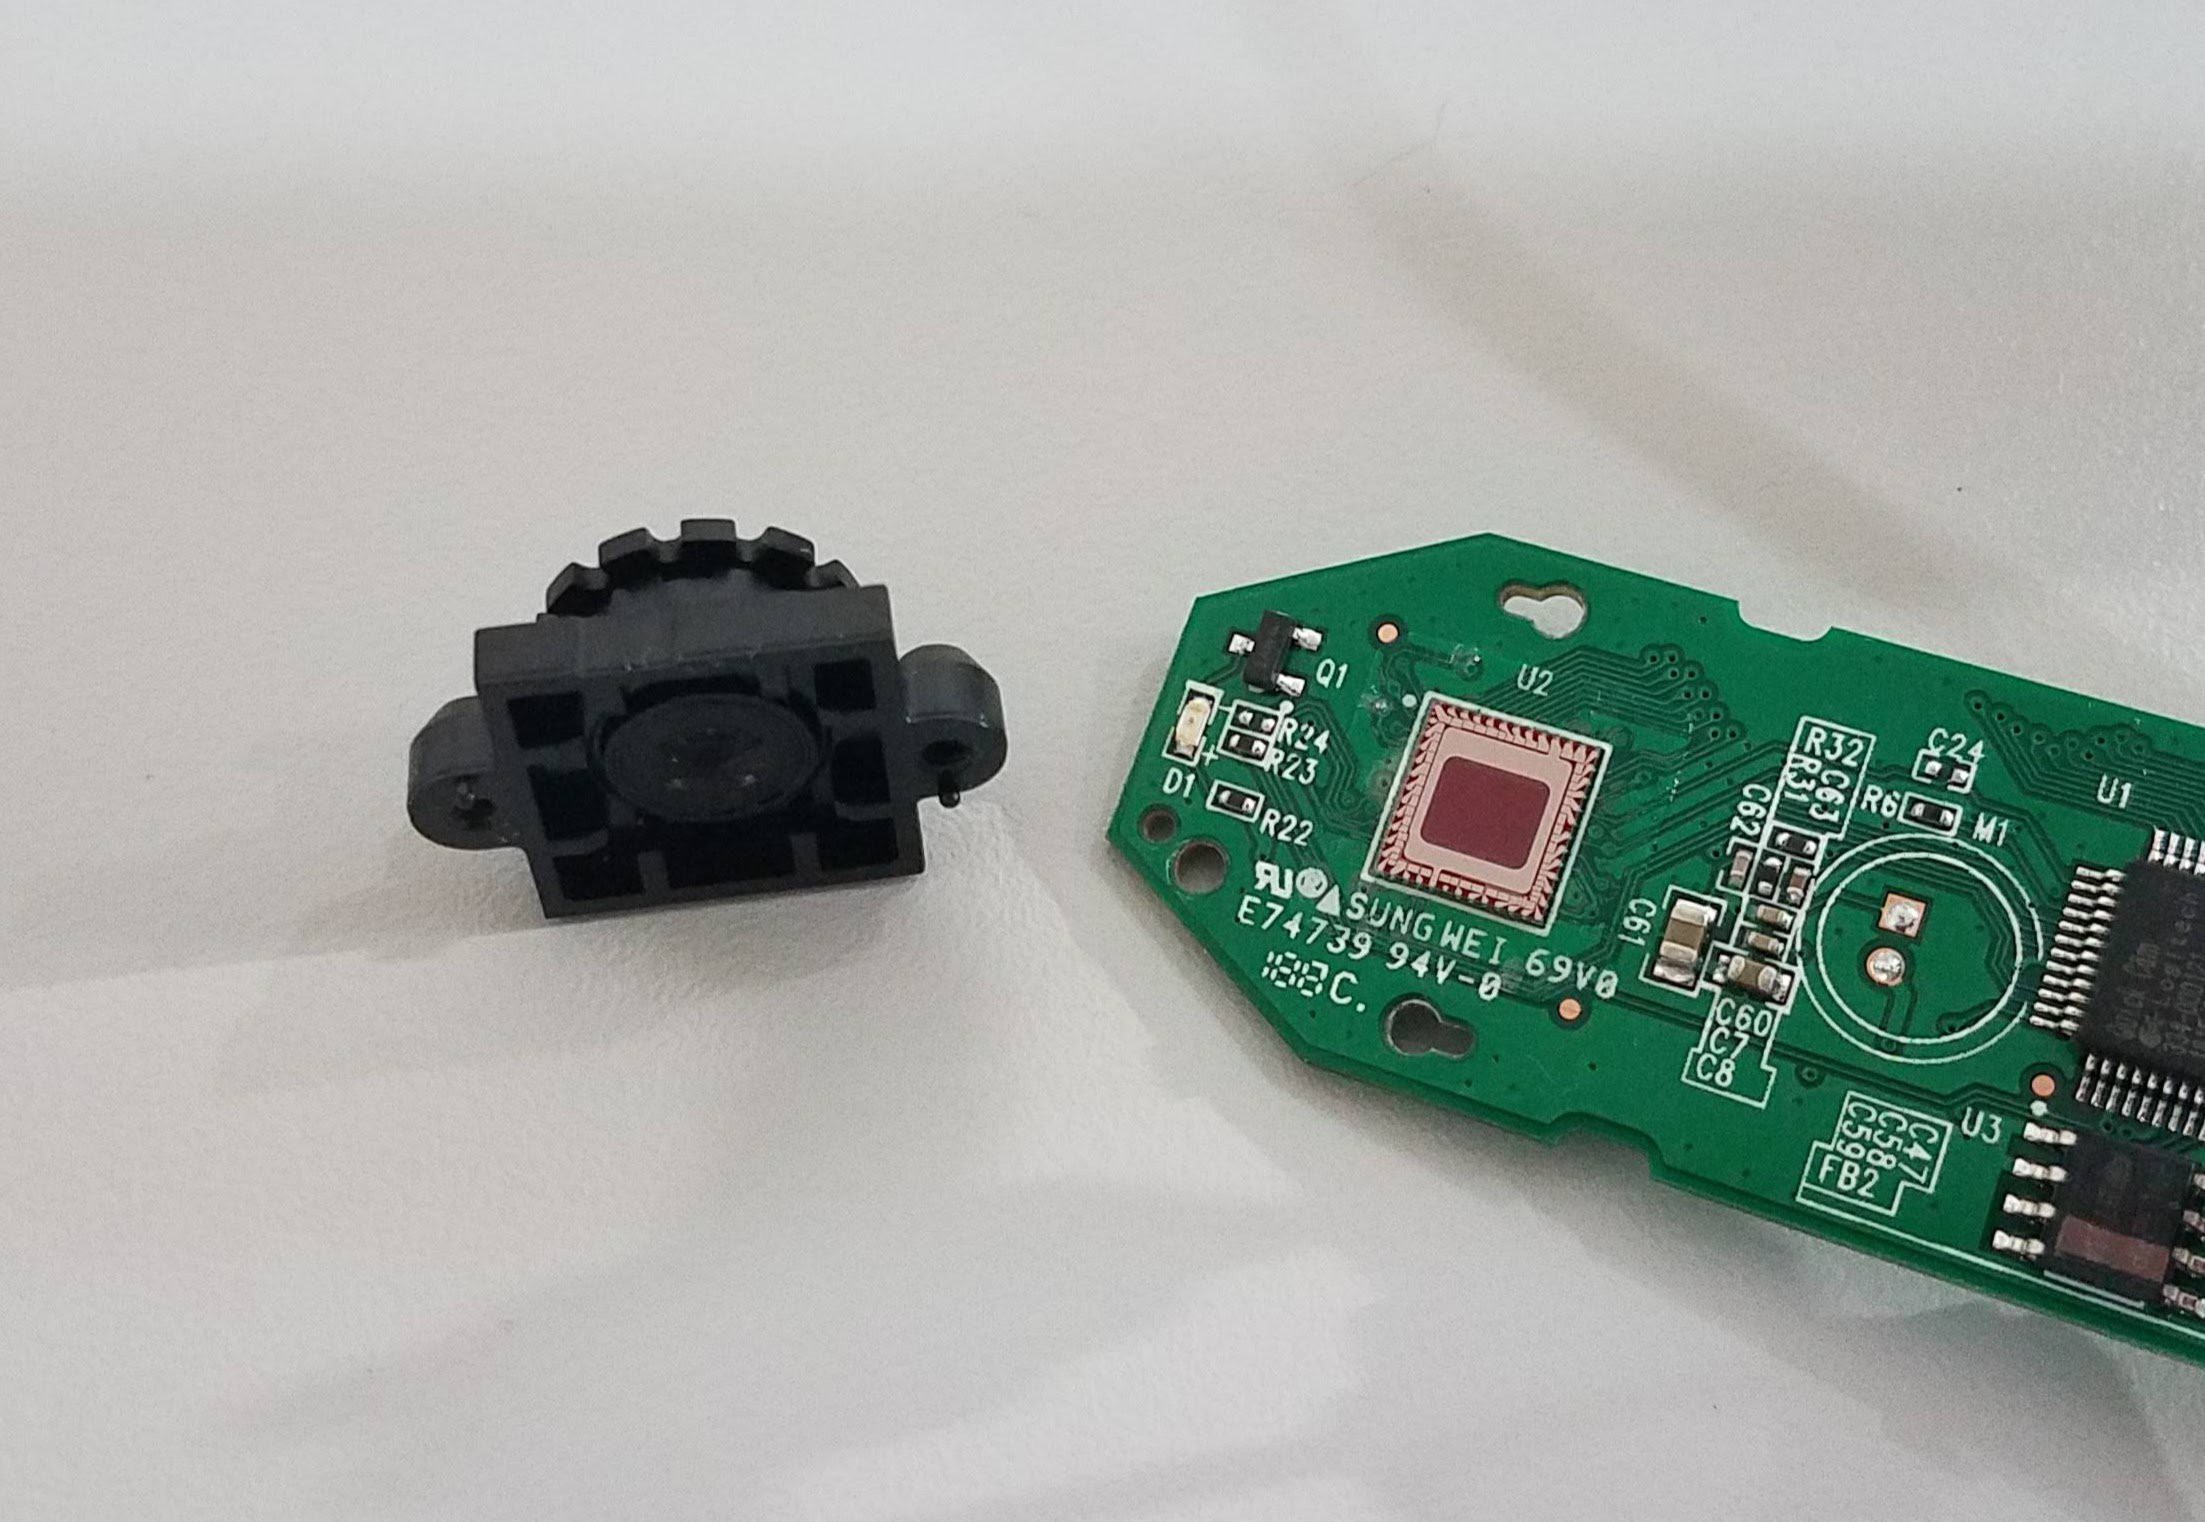
Next, replace the green LED (D1 on the PCB) with a IR LED. The IR LED can be purchased here: https://www.digikey.com/short/jf1q47
And replace the resistor (R22 on the PCB) with a 75 Ohm resistor. The resistor can be purchased here: https://www.digikey.com/short/jf18pt
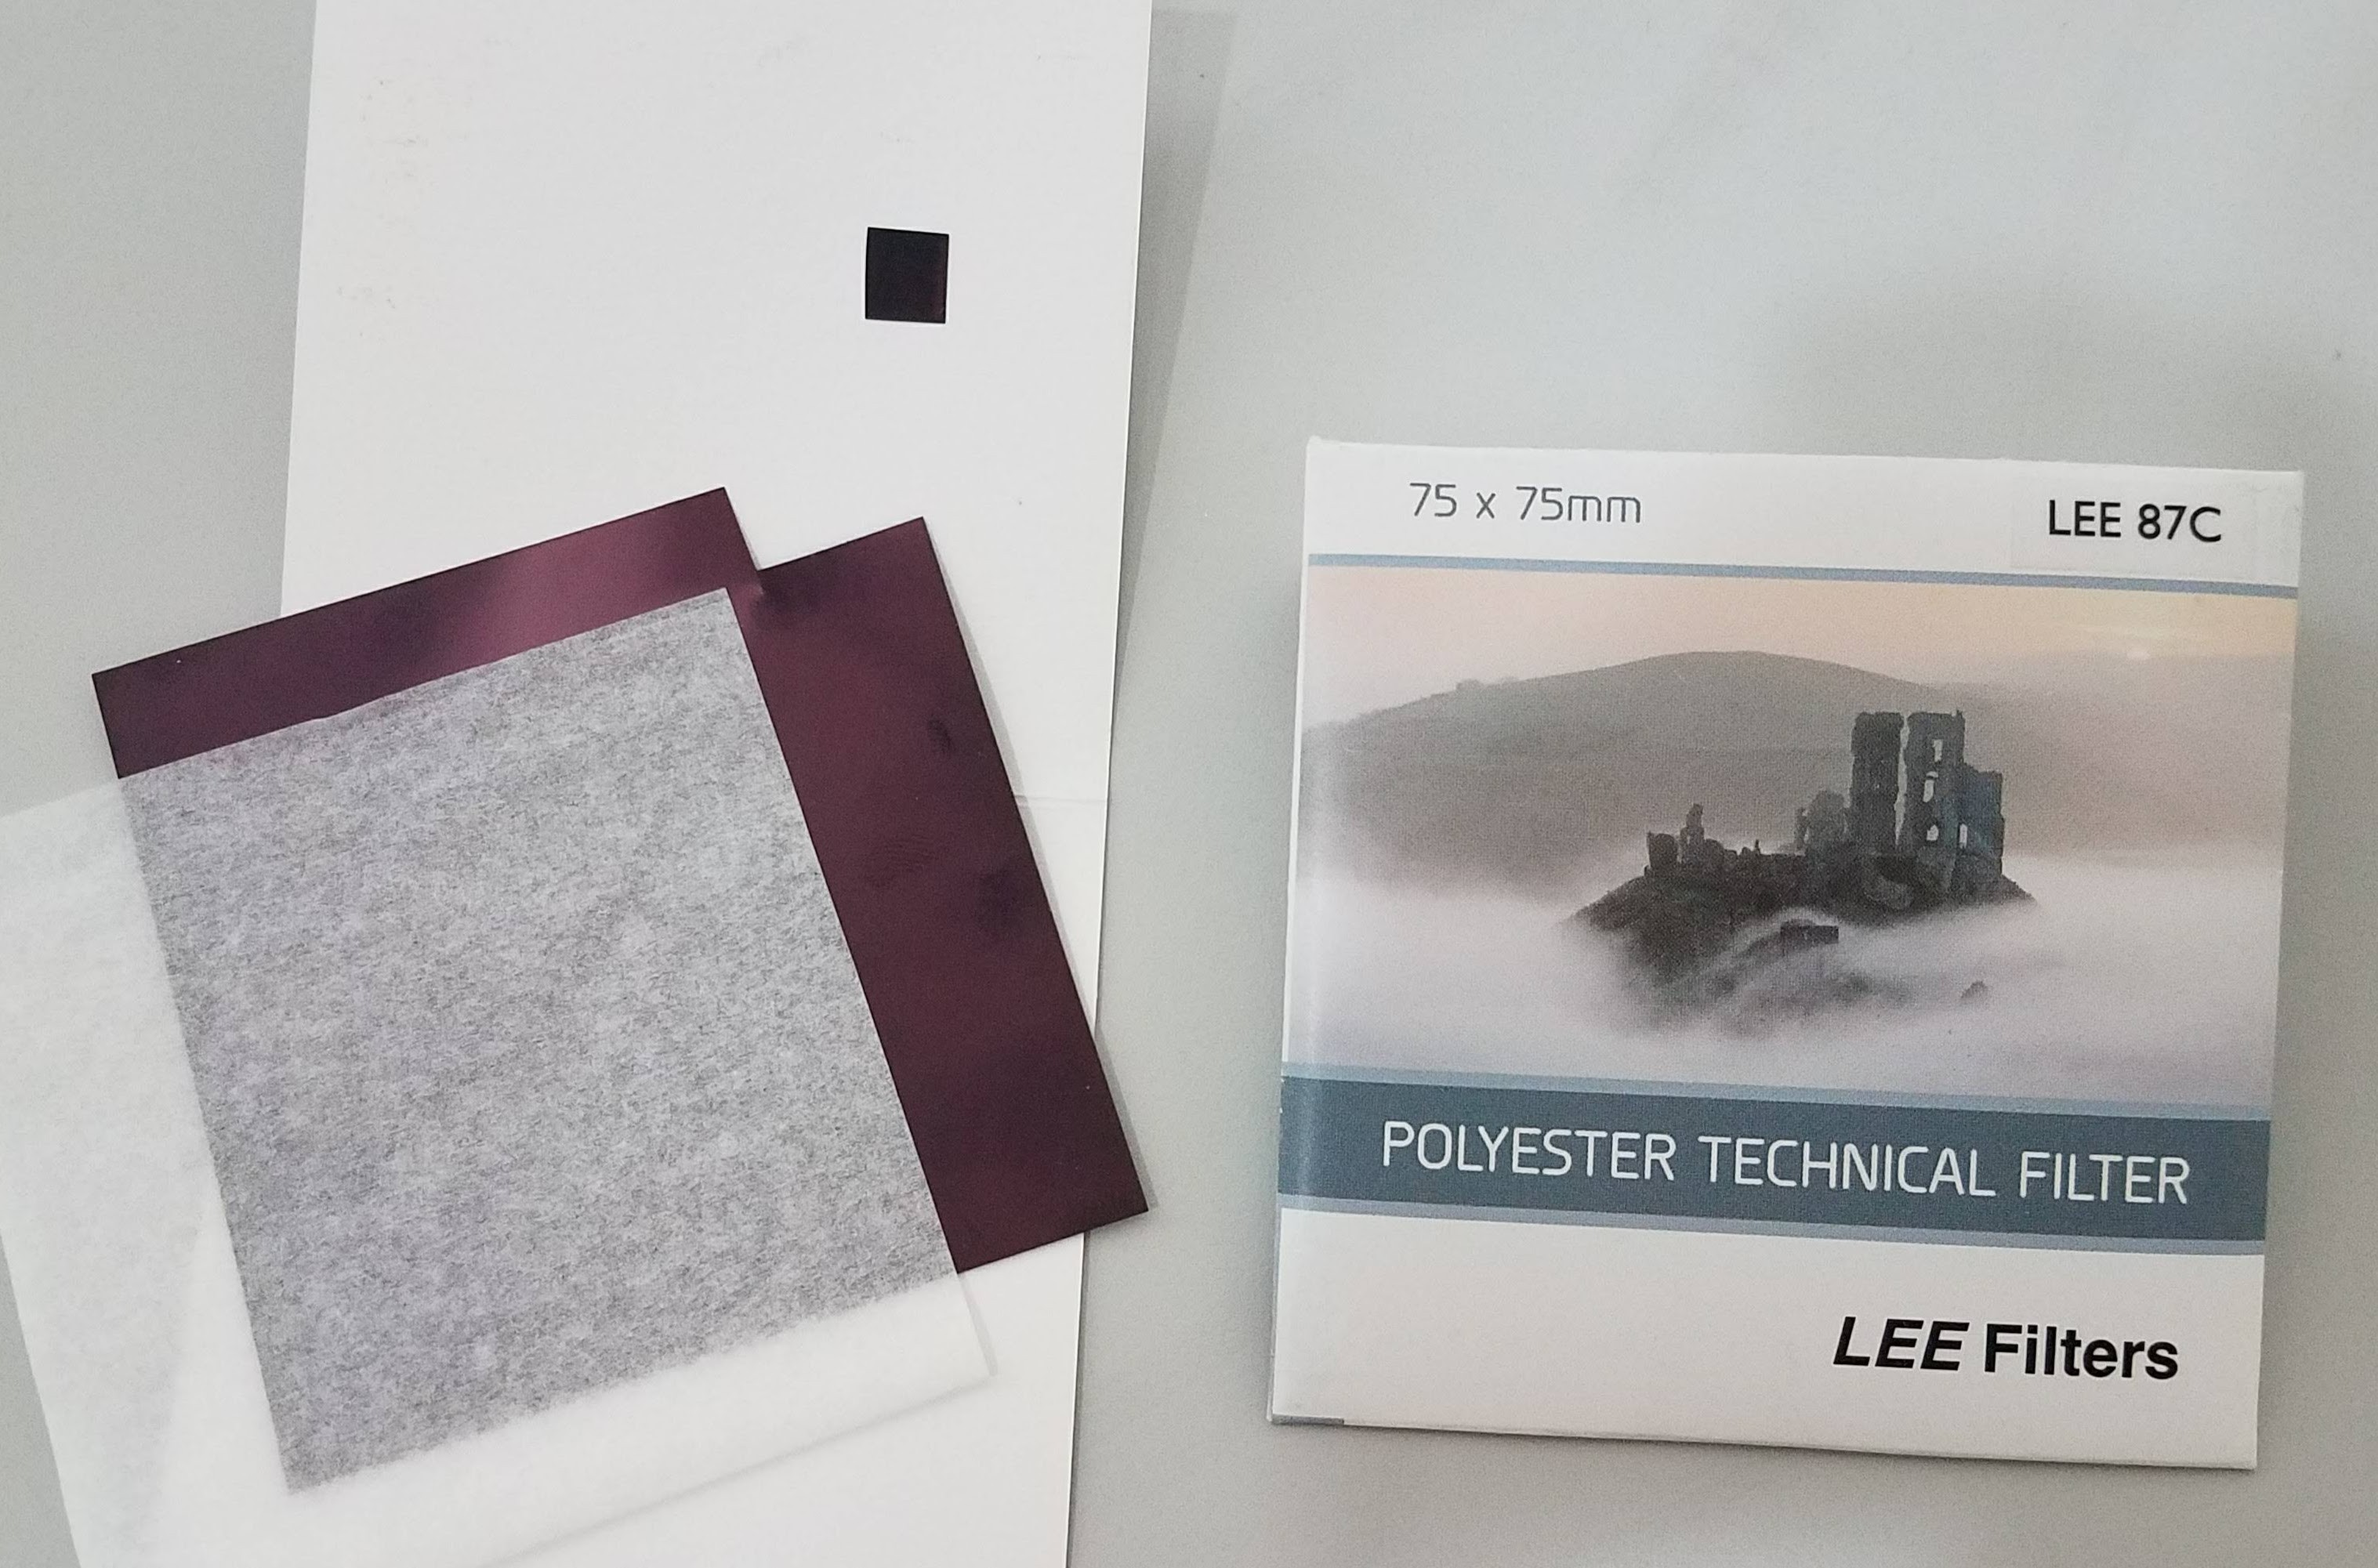
Next a filter needs to be installed behind the lens. This filter blocks visible light and will only allow the IR light from the LED to be detected by the image sensor. Cut a piece of filter material from the sheet 5/16" square. Filter material can be purchased here: https://www.amazon.com/Lee-Filters-87C-P3-Infrared-Polyester/dp/B00EPXQ8OA
![]()
Remove the lens mount from the PCB.
![]()
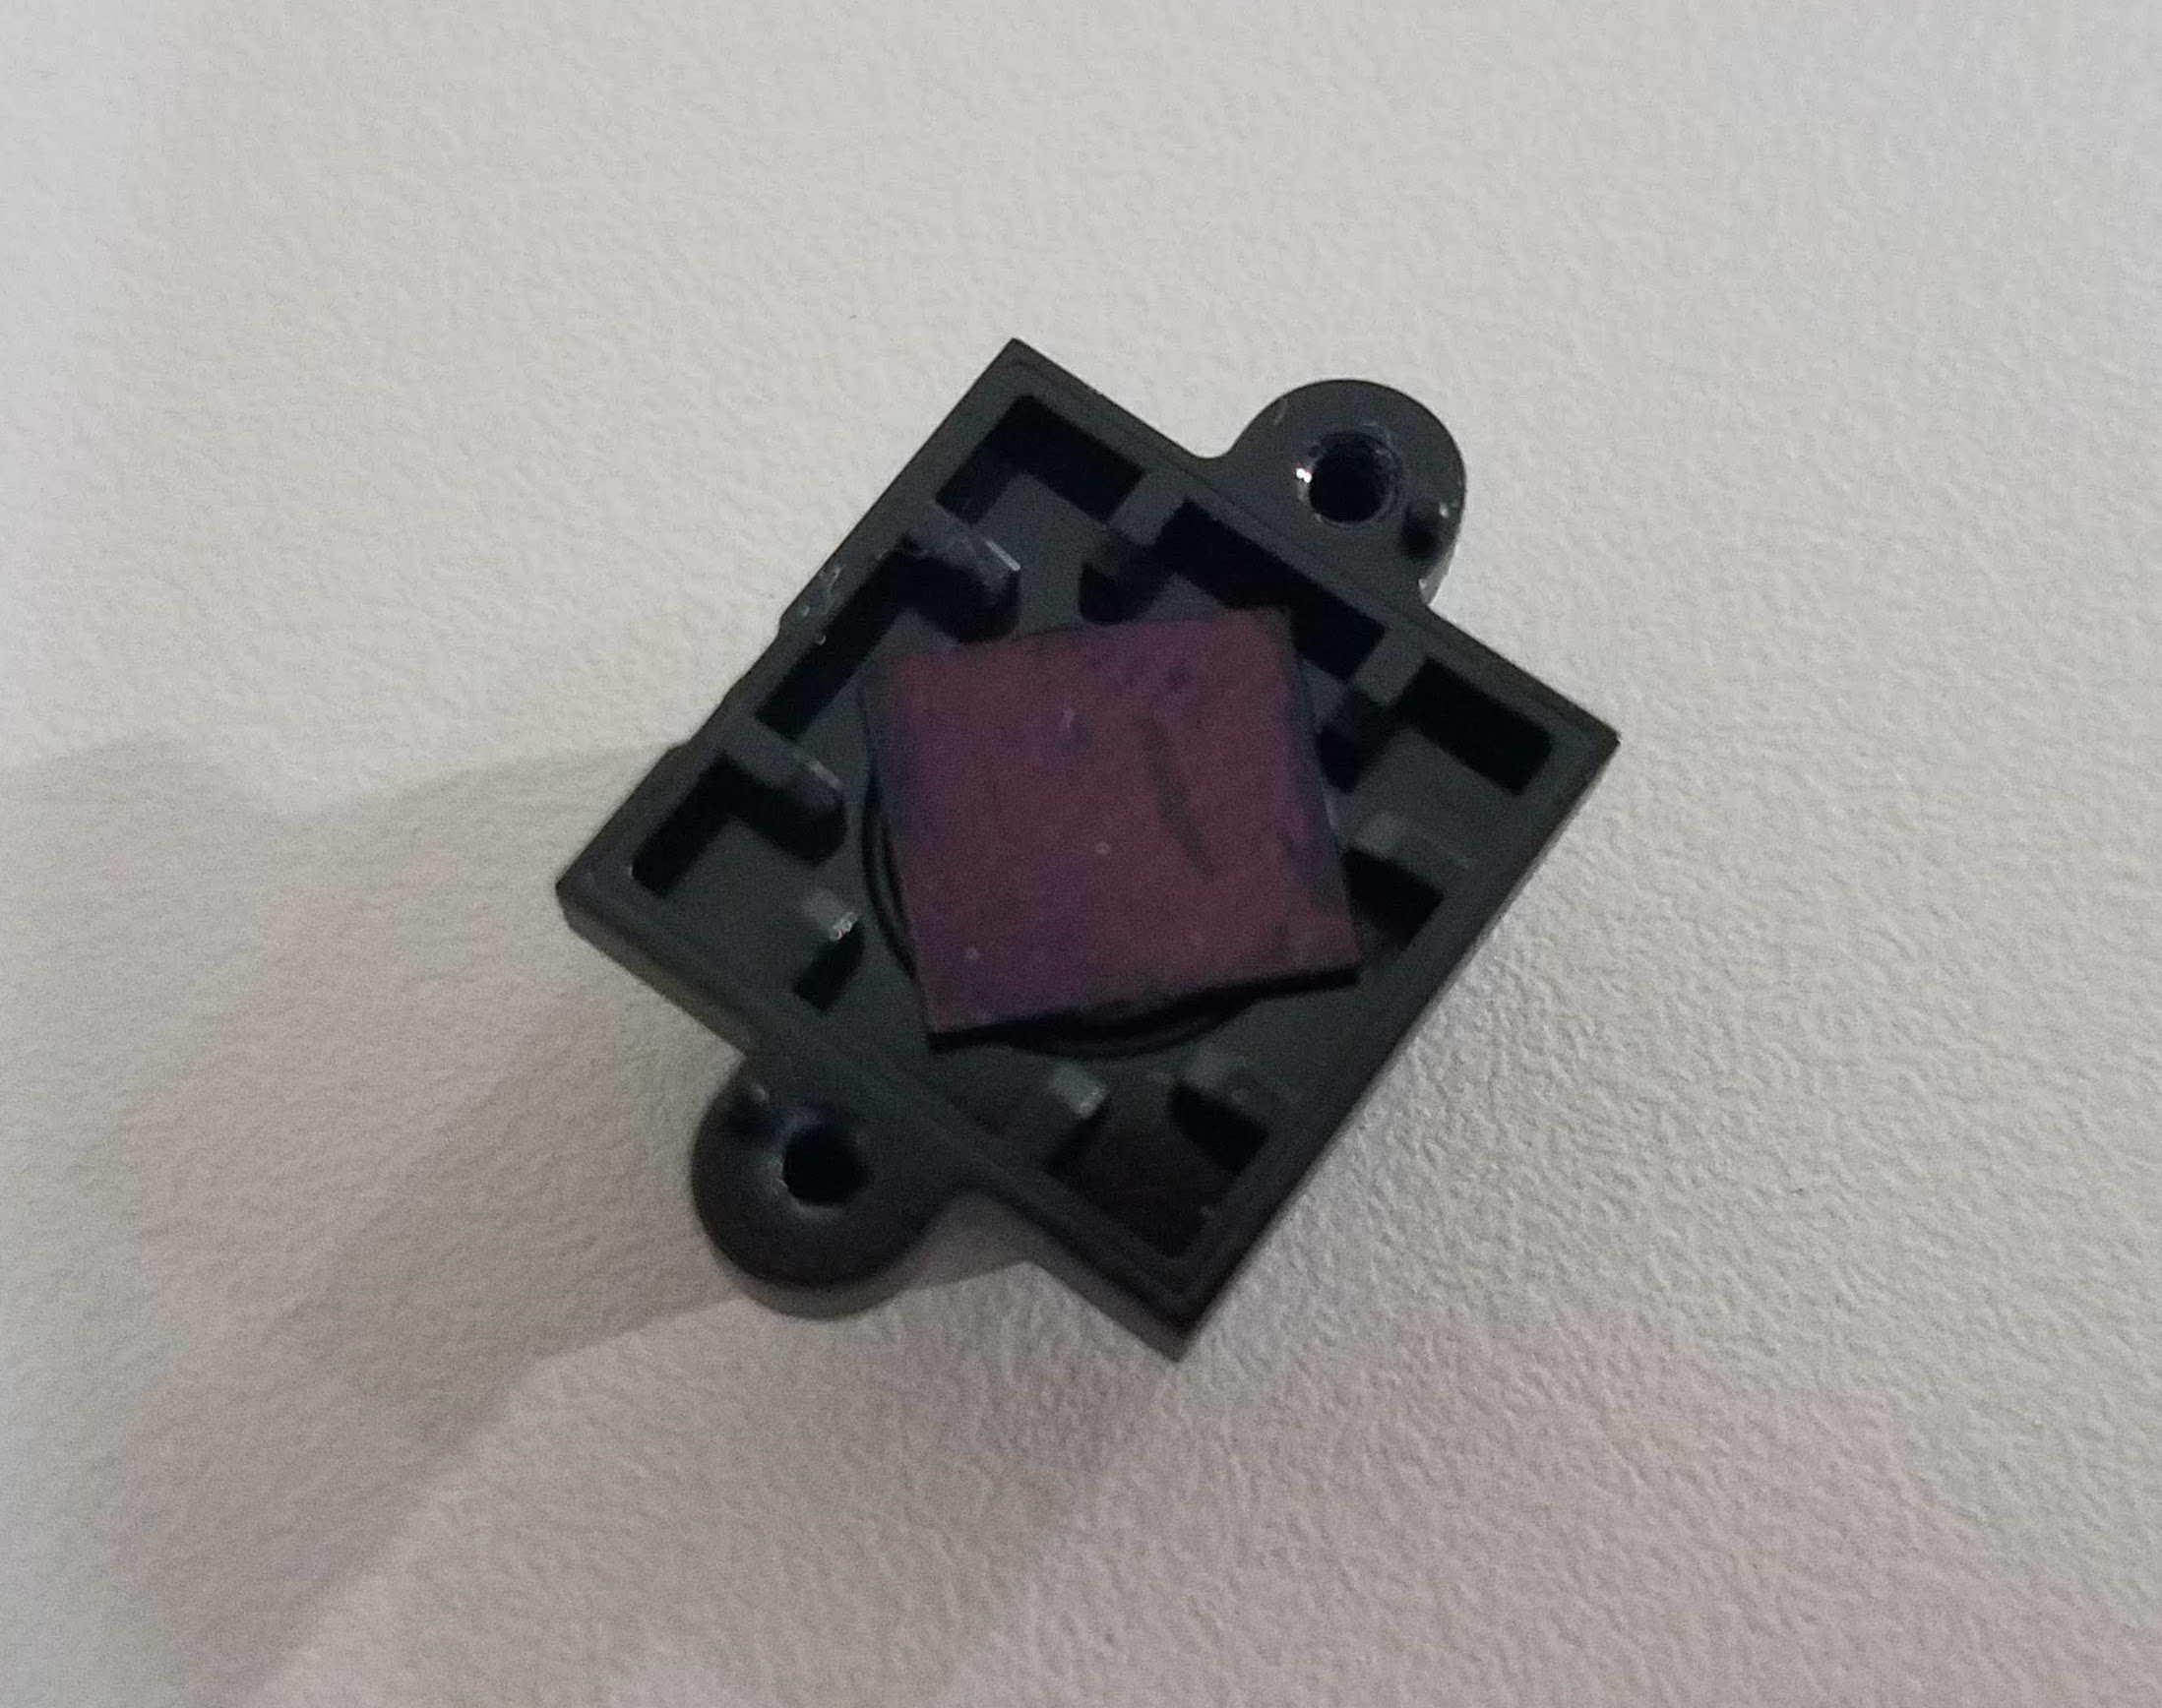
Install the filter square behind the lens.
![]()
Reattach the lens mount onto the PCB.
![]()
-
5Mounting the Front Camera to the Glasses
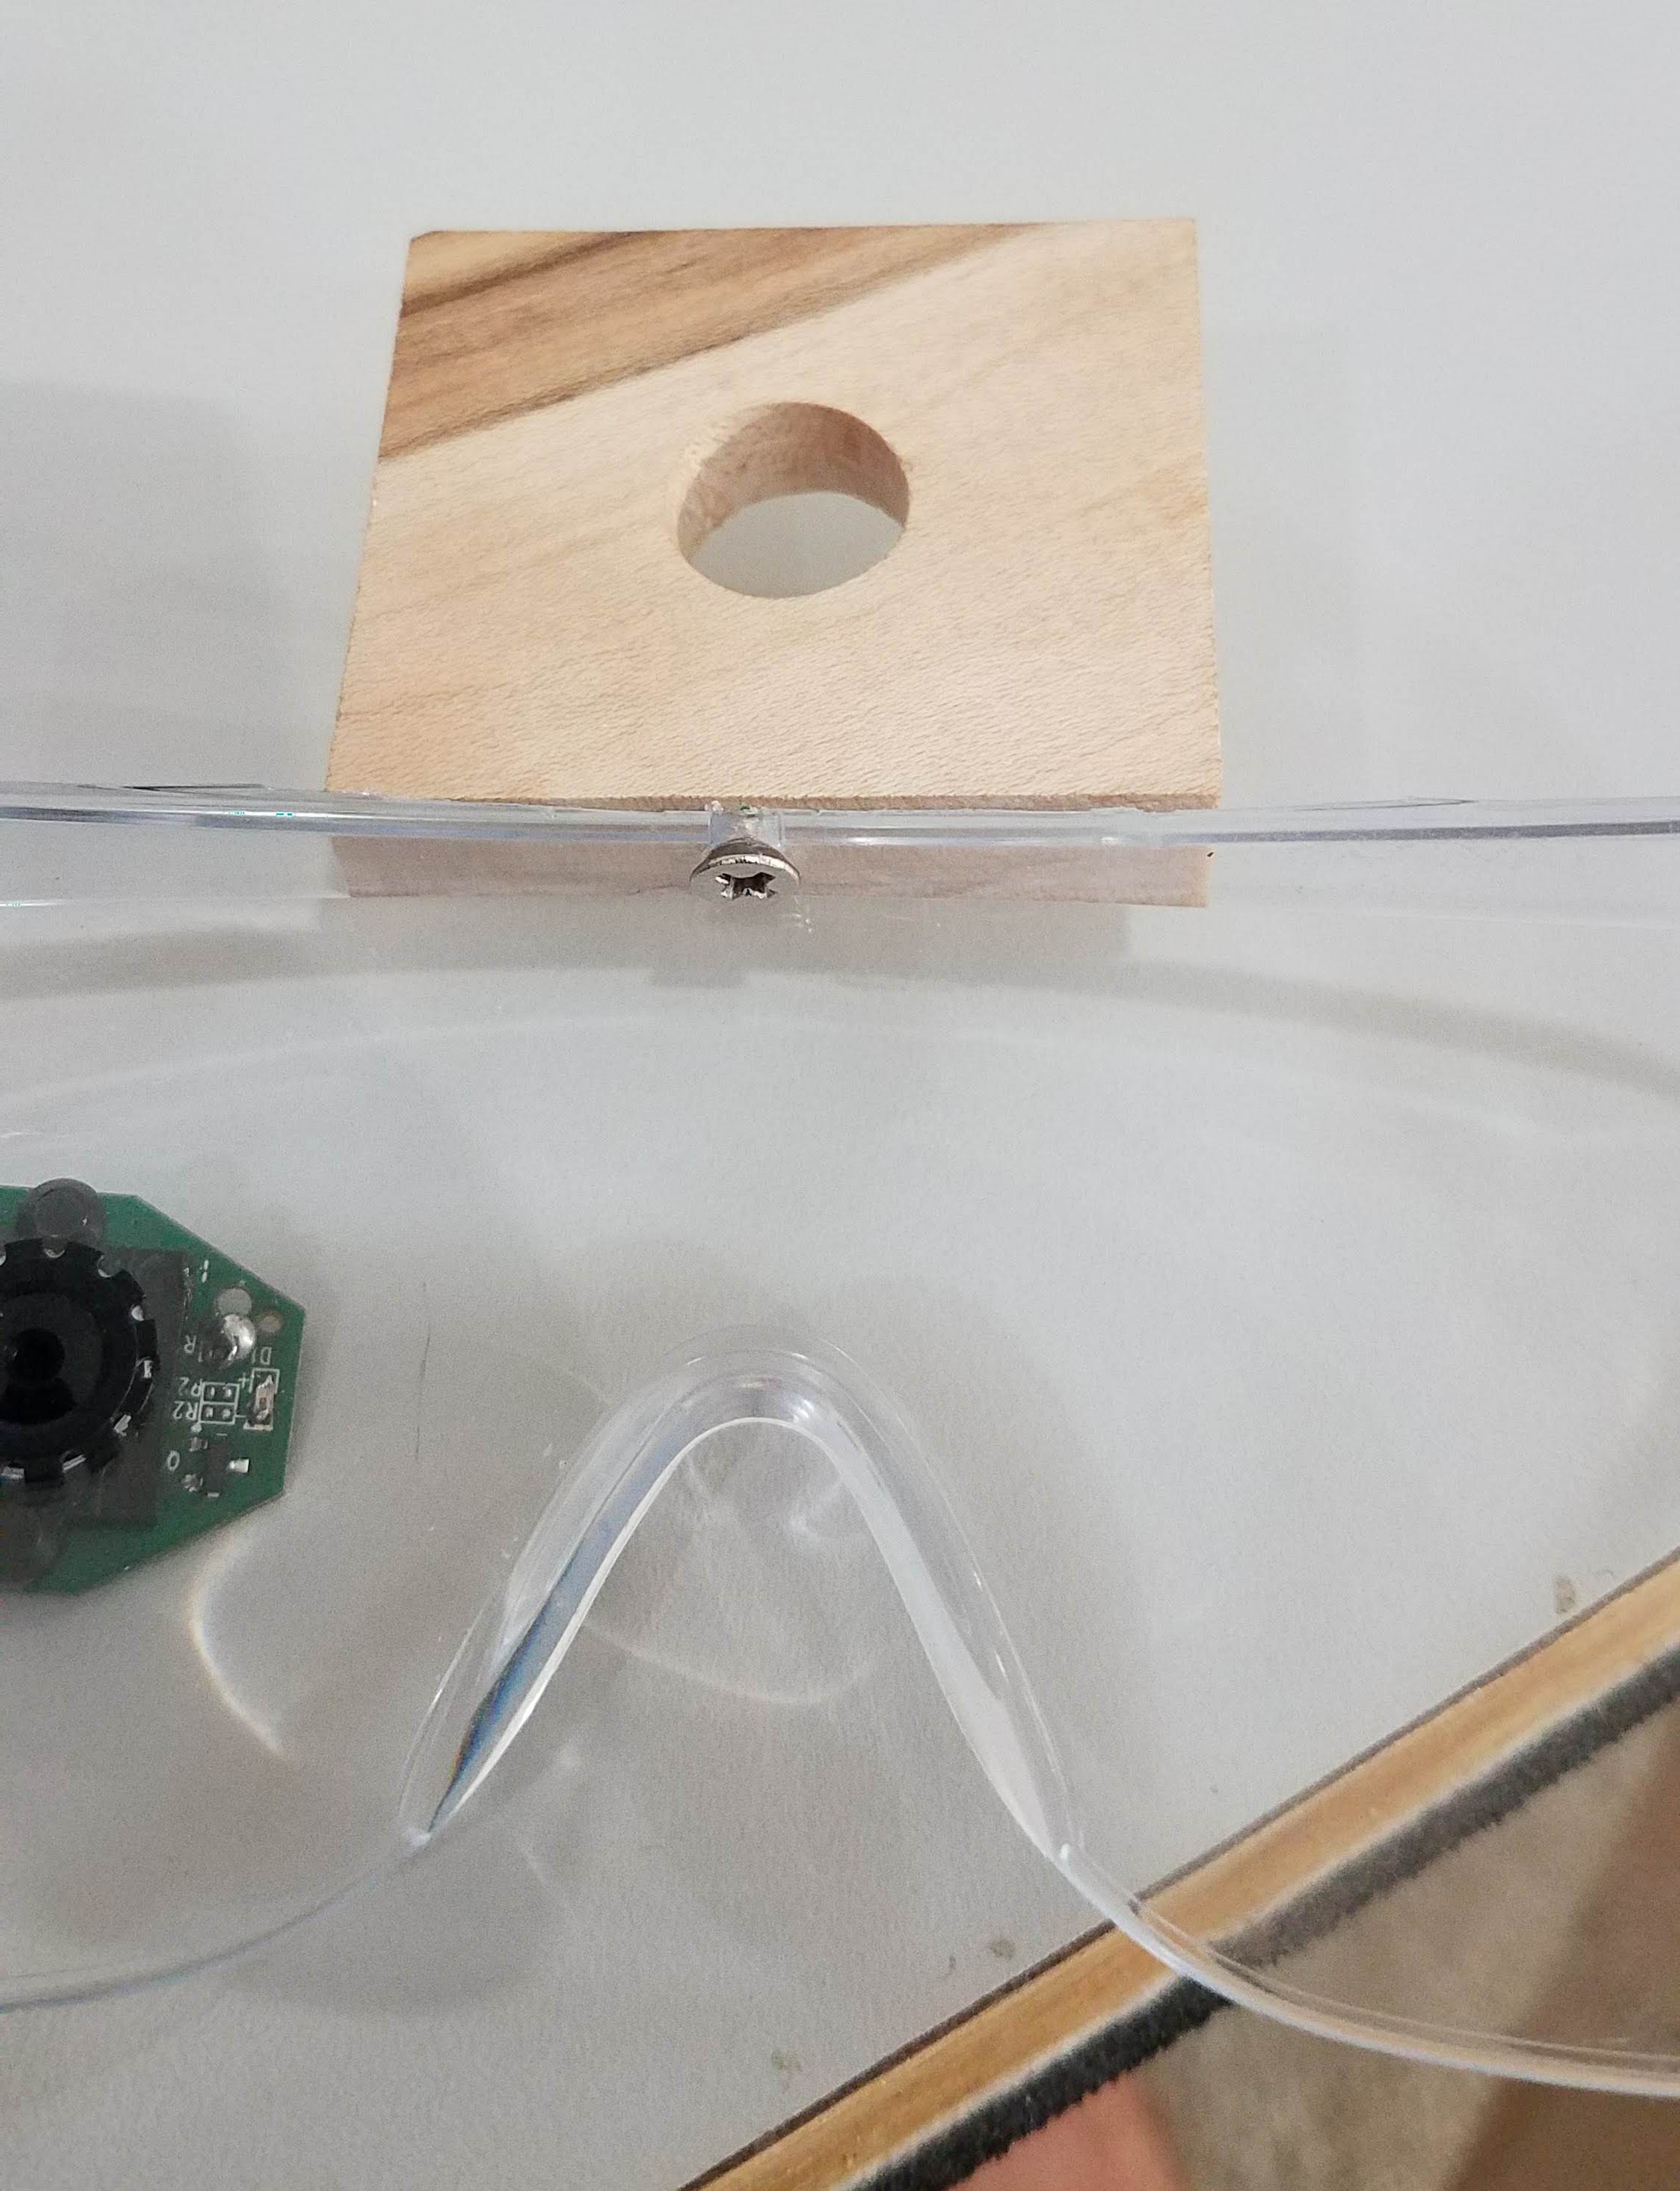
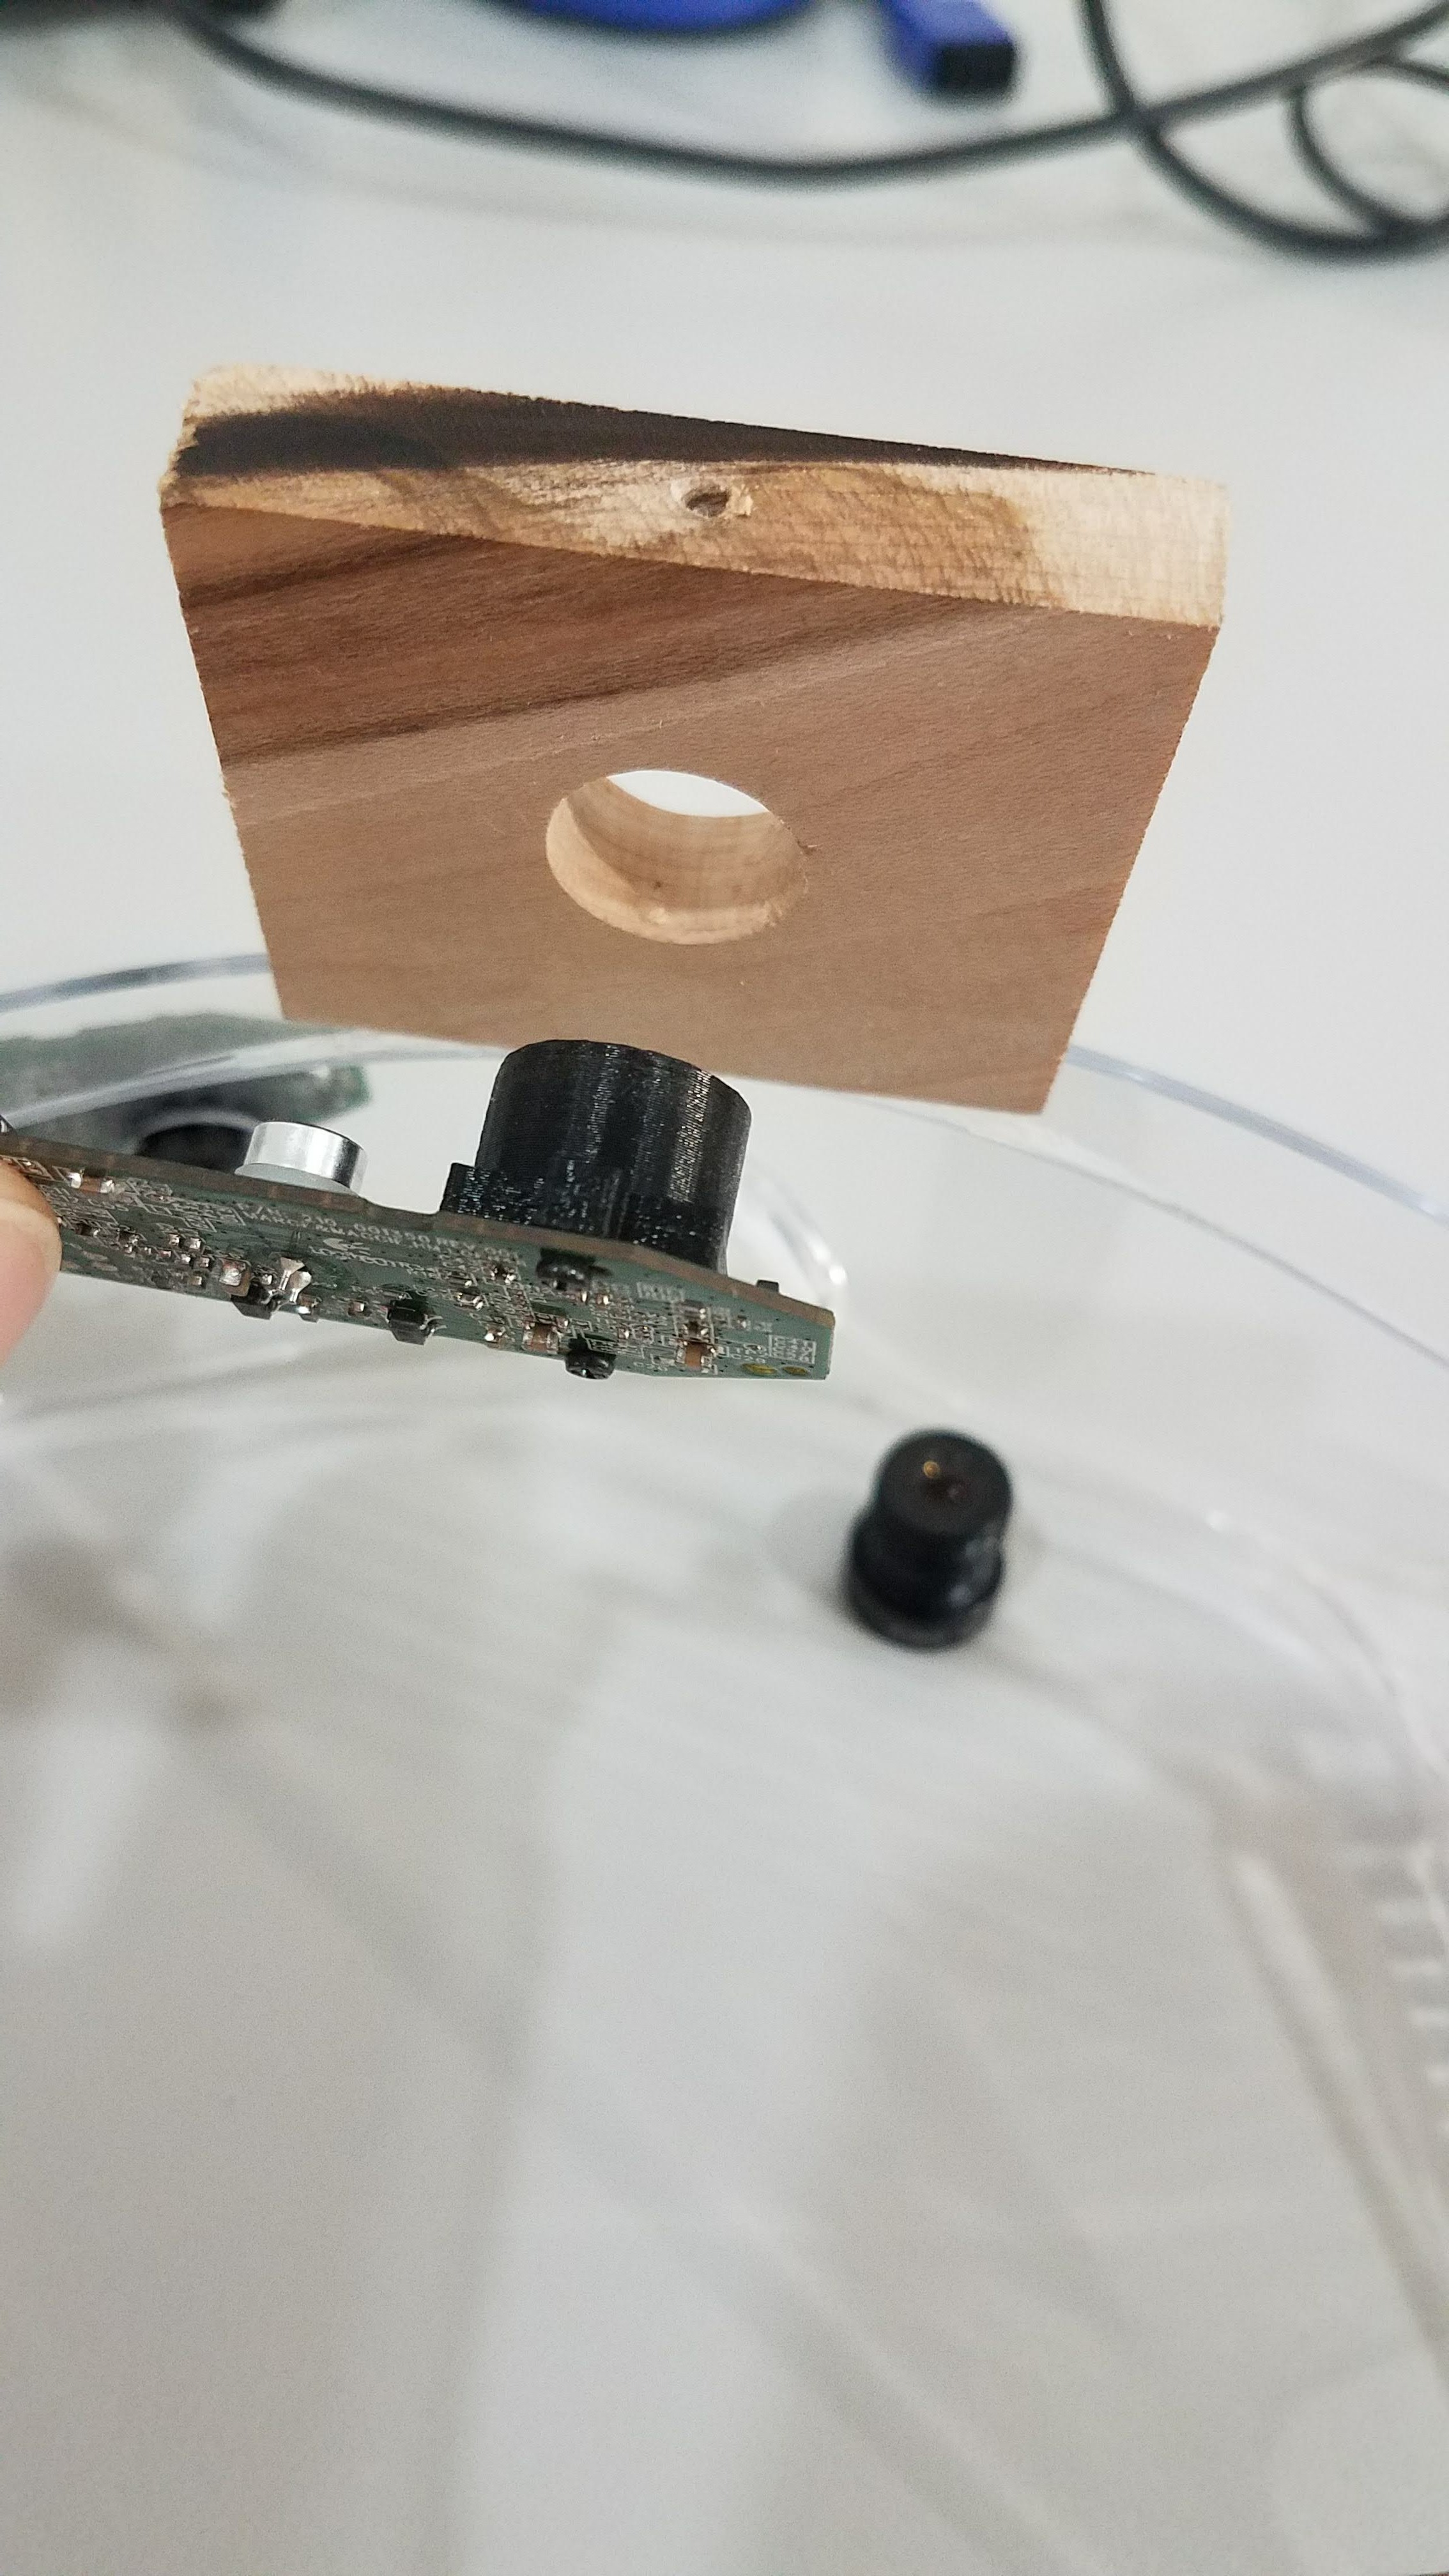
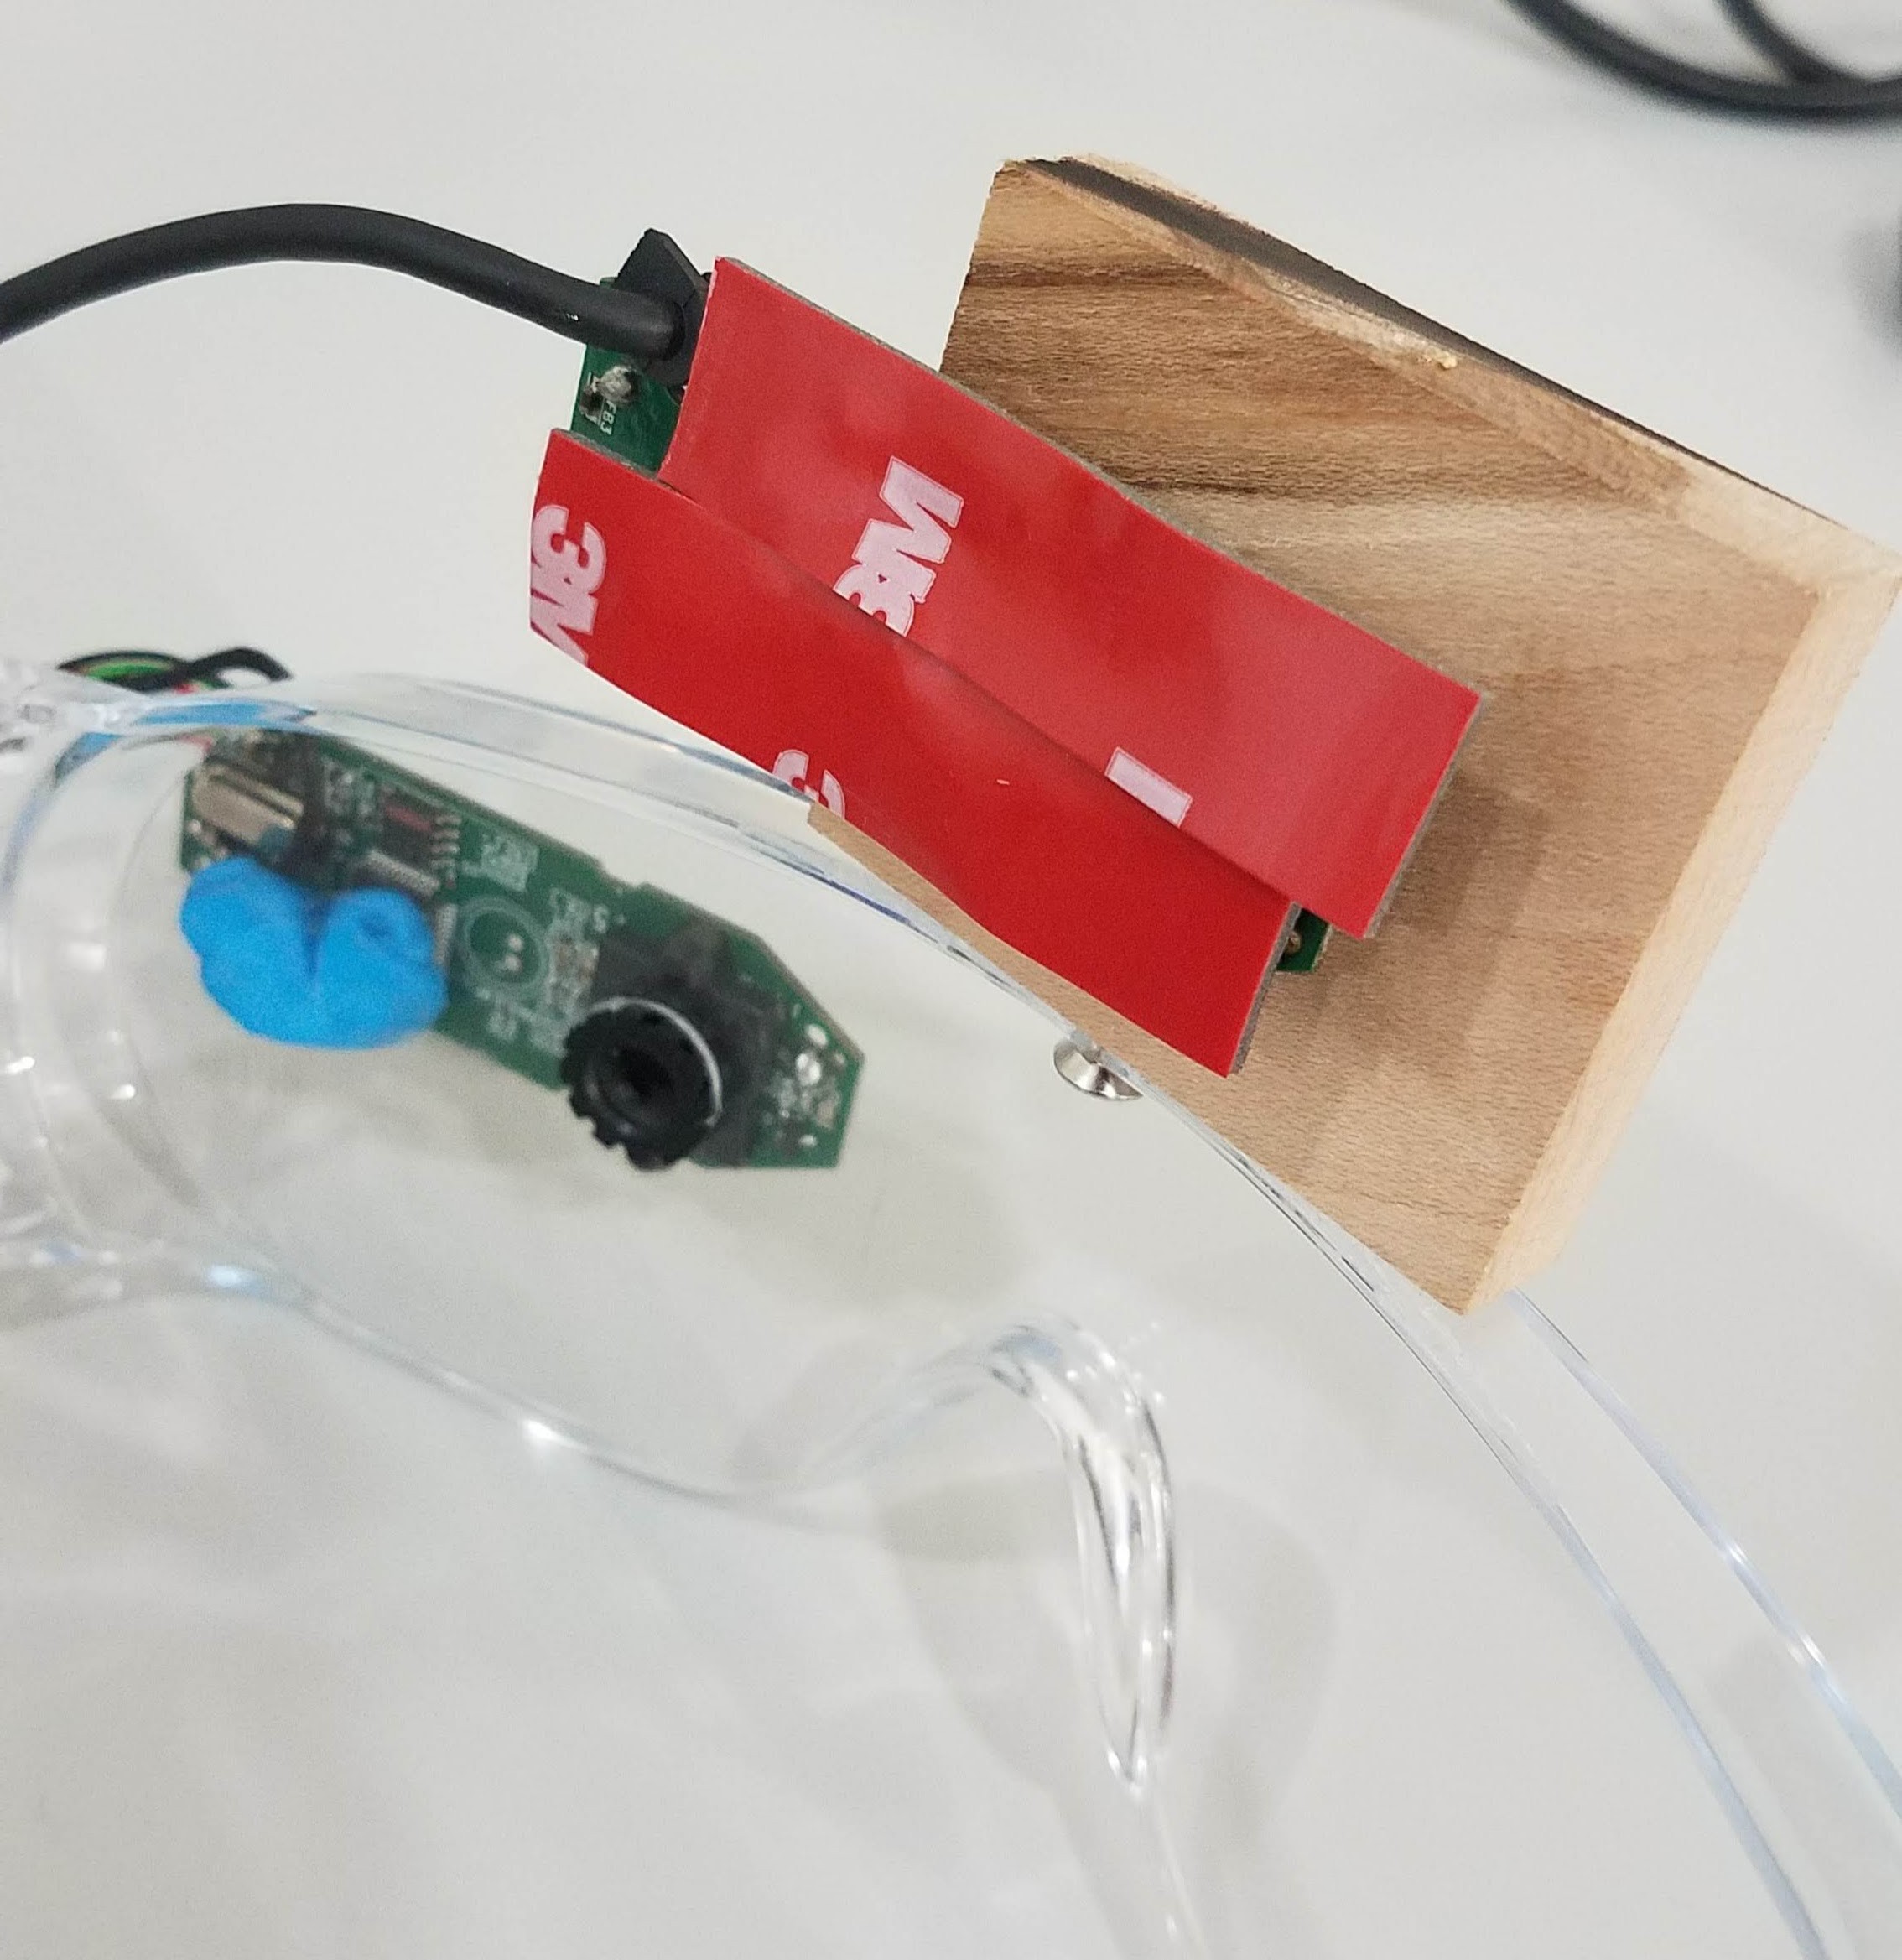
Cut a 3/8" thick piece of wood 1.6" x 2.0" and drill a 0.54" hole into the center. Adjust the hole size if needed so that the 3D printed lens mount will press fit nicely into the hole. Attached the wooden mount to the glasses with a small wood screw. Pre-drill the glasses and the wood so that they do not crack.
![]()
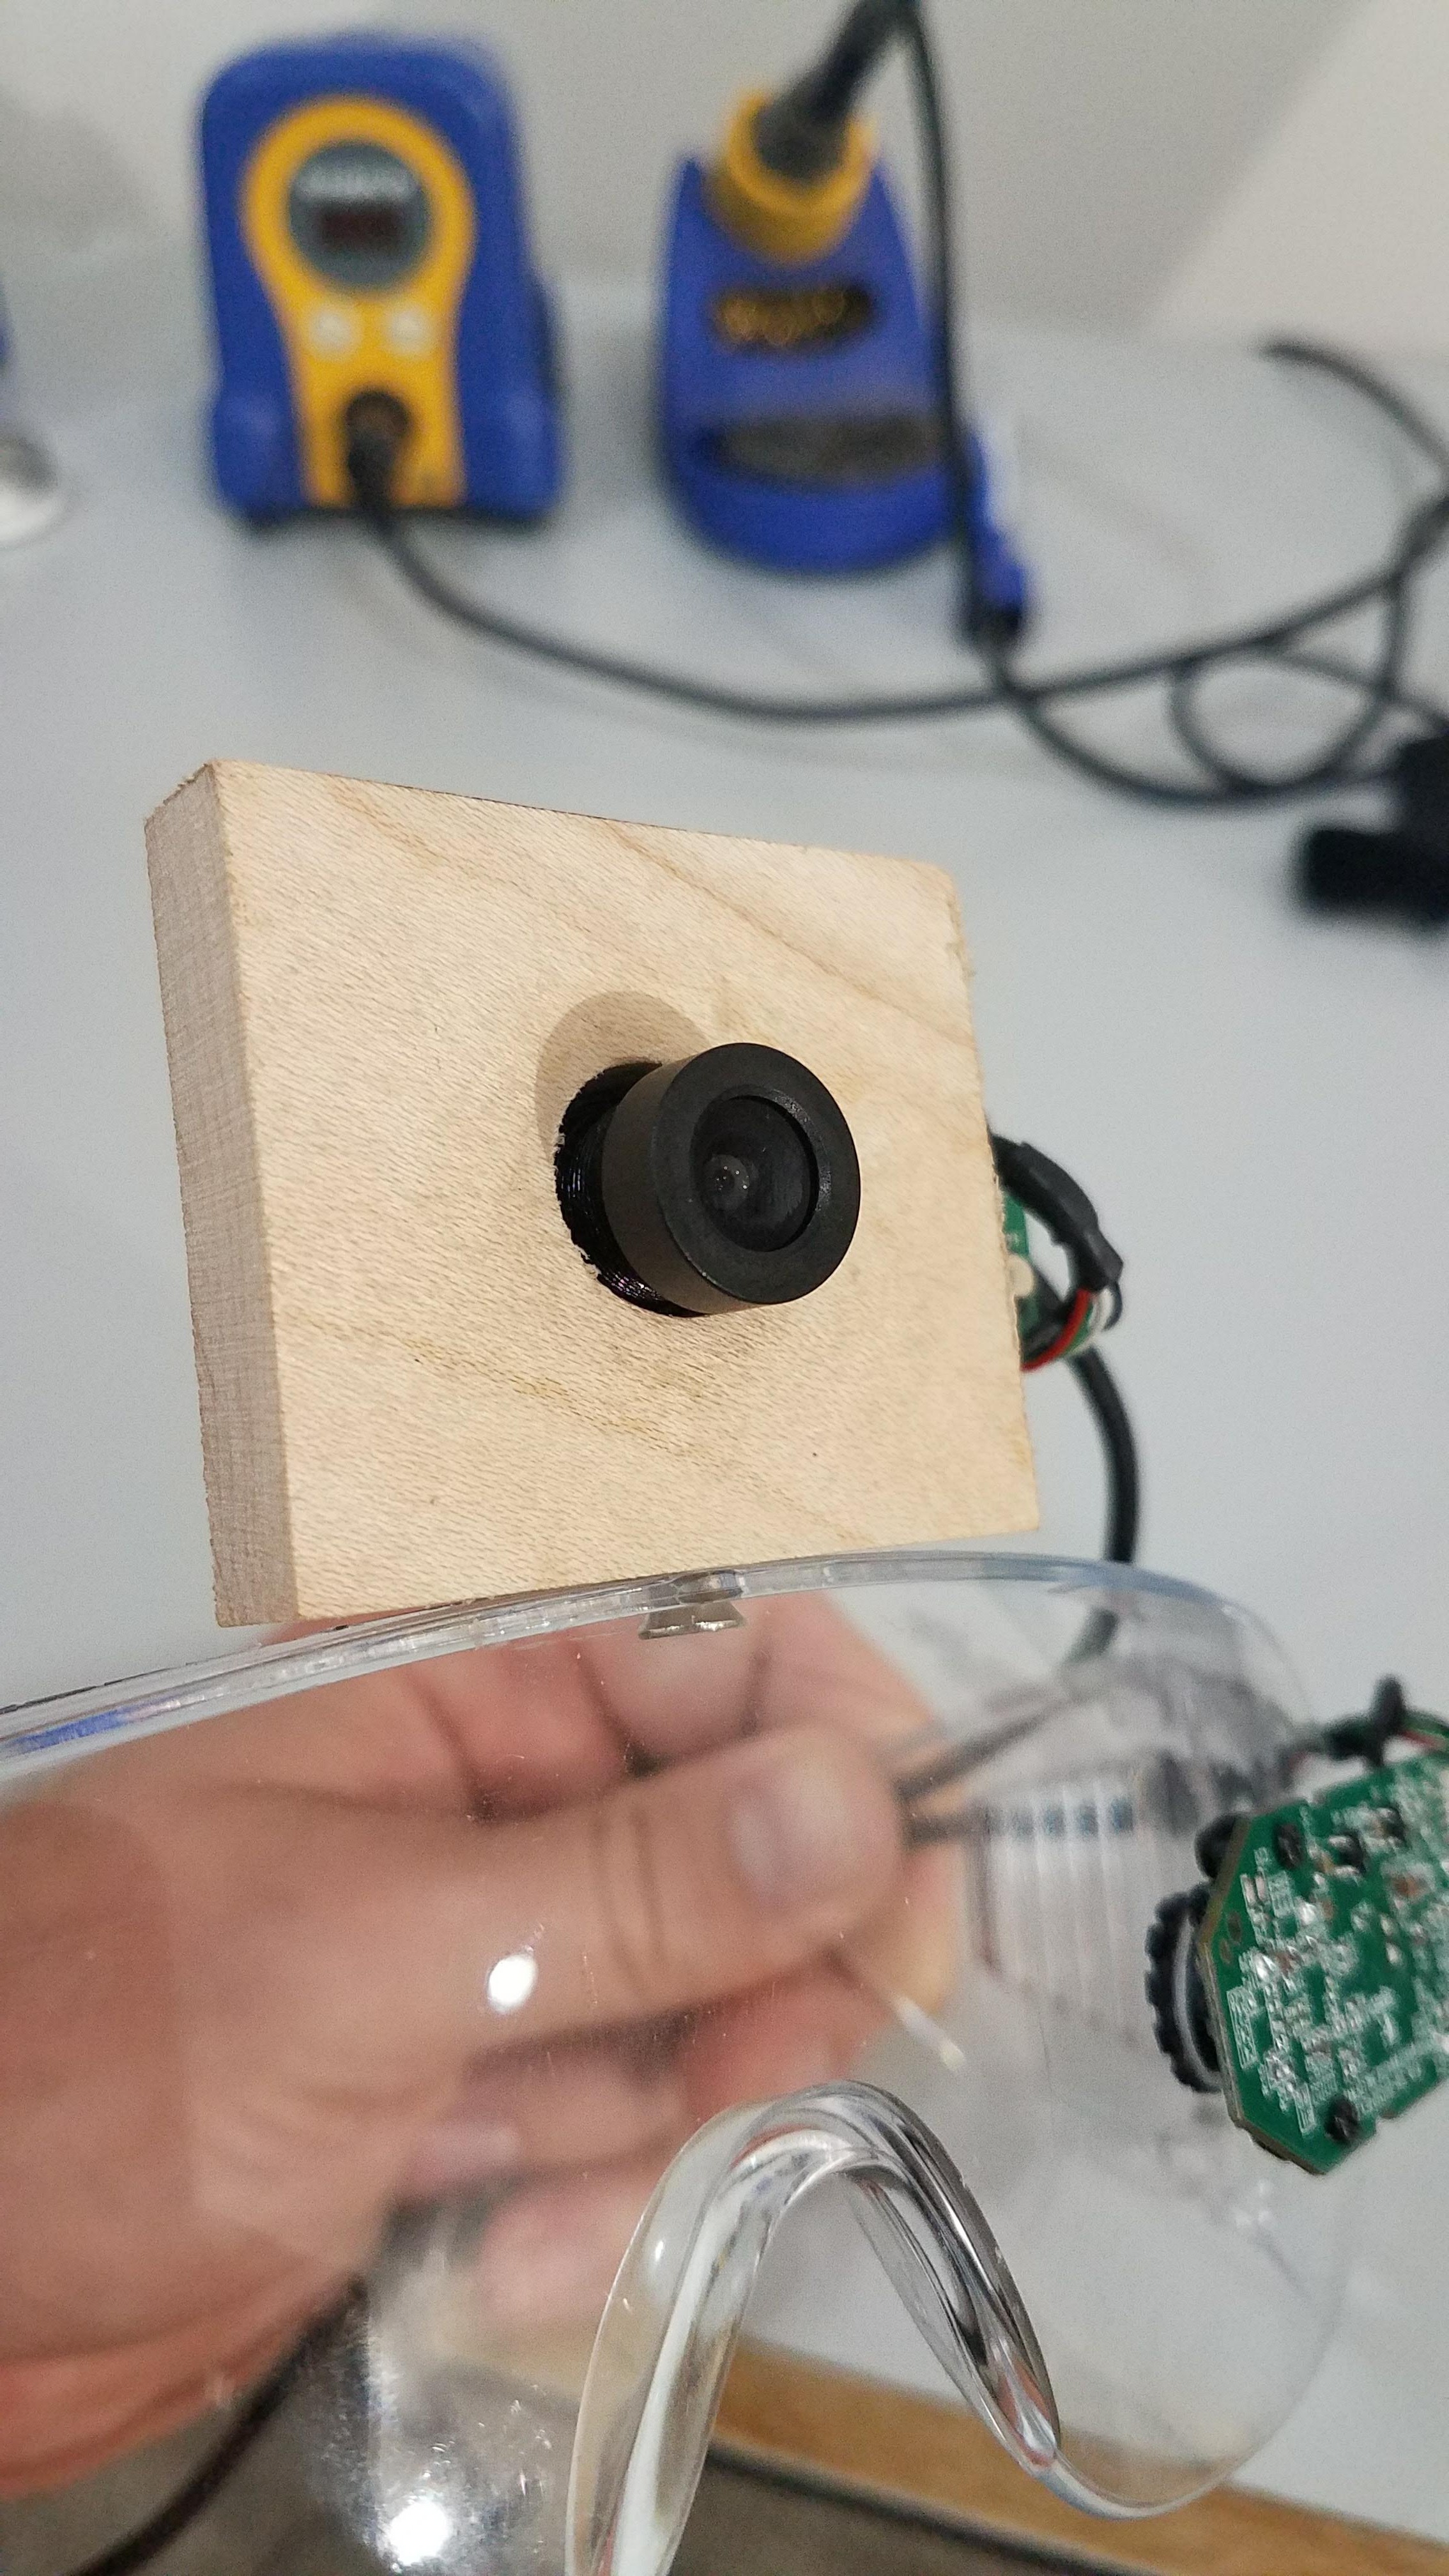
Unscrew the lens from the lens mount on the camera, align the lens mount with the hole, and press gently to seat the camera into the wooden block.
![]()
Replace the lens and check the focus on your monitor. Turn the lens in or out to adjust focus.
![]()
![]()
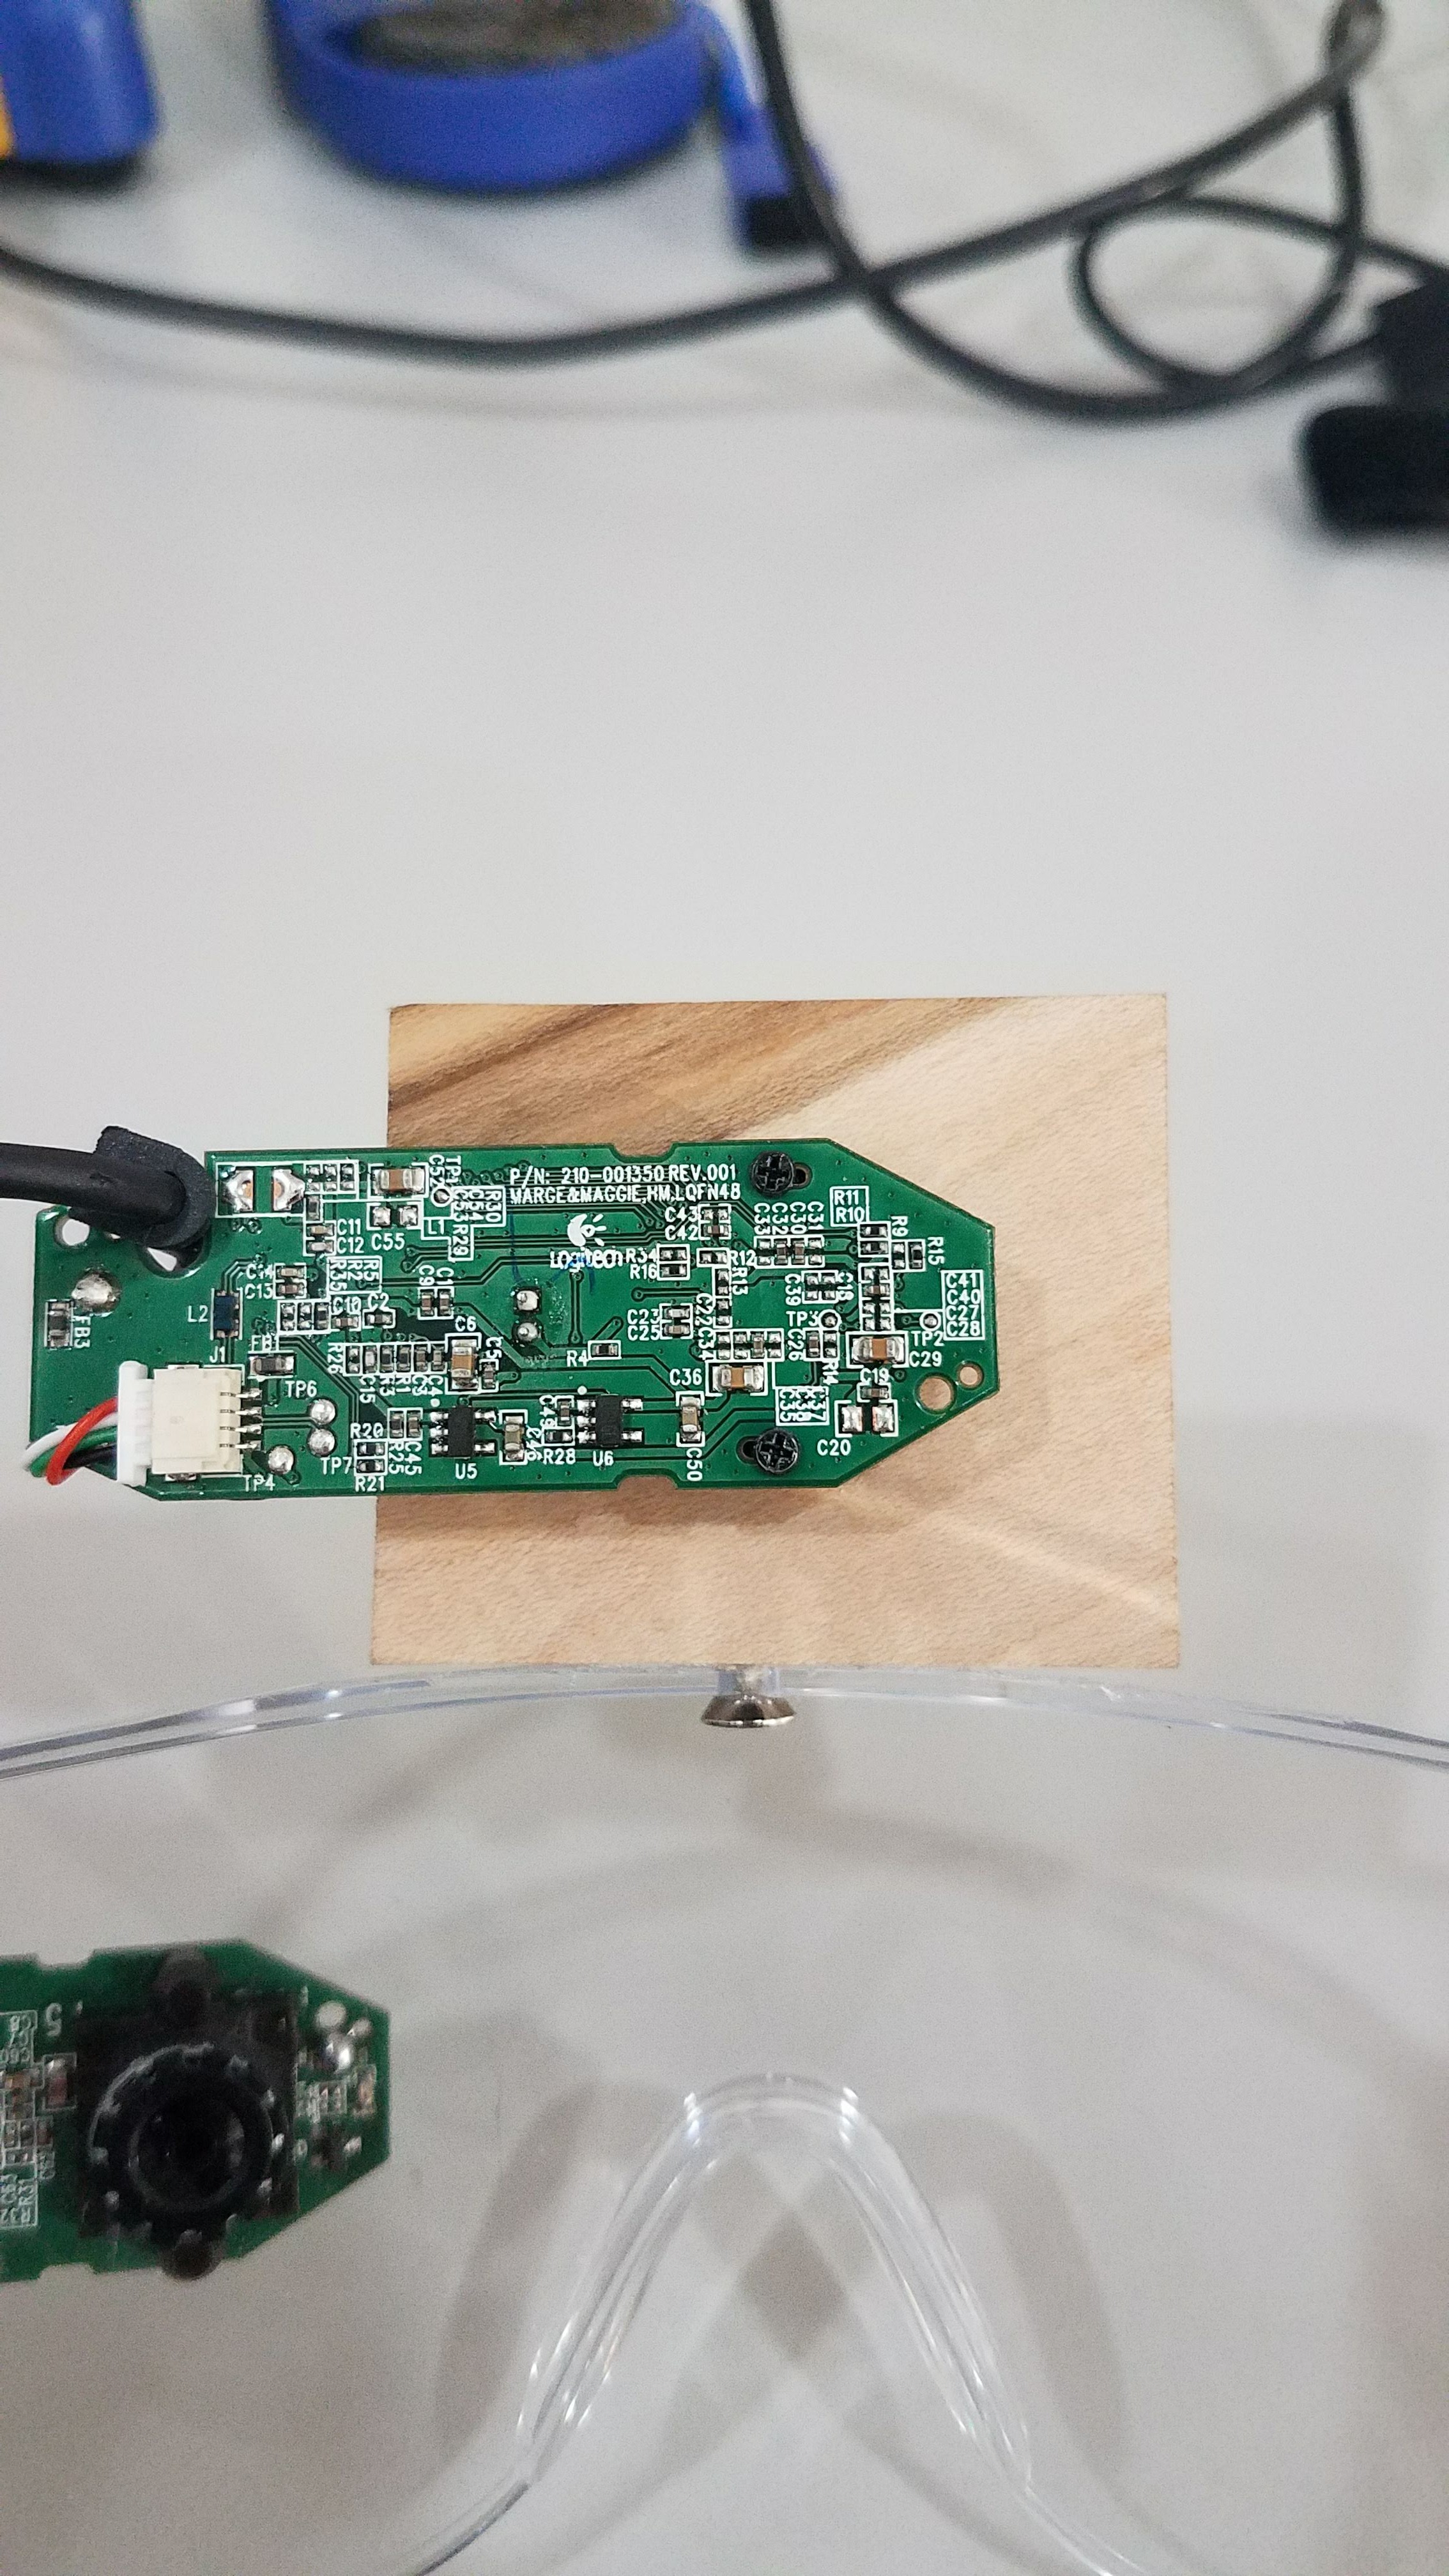
Additionally, some type of foam tape should be placed over the back of the front camera PCB to protect the user from the heat generated by the camera.
![]()
-
6Mounting the Eye Tracking Camera to the Glasses
This next step requires a bit of testing before starting. In order to mount the eye tracking camera in the correct place you will have to put the glasses on your face, turn the camera on, and look at the video feed of this camera on your monitor. Aim the camera into your eye from the outside of the glasses. What you want to see is the IR reflection off of your eye and ideally, you want to see the reflected "dot" appear in the middle of the video frame when looking straight ahead. If the dot appears off to the edge of the frame, move the camera until the dot position is close to centered.
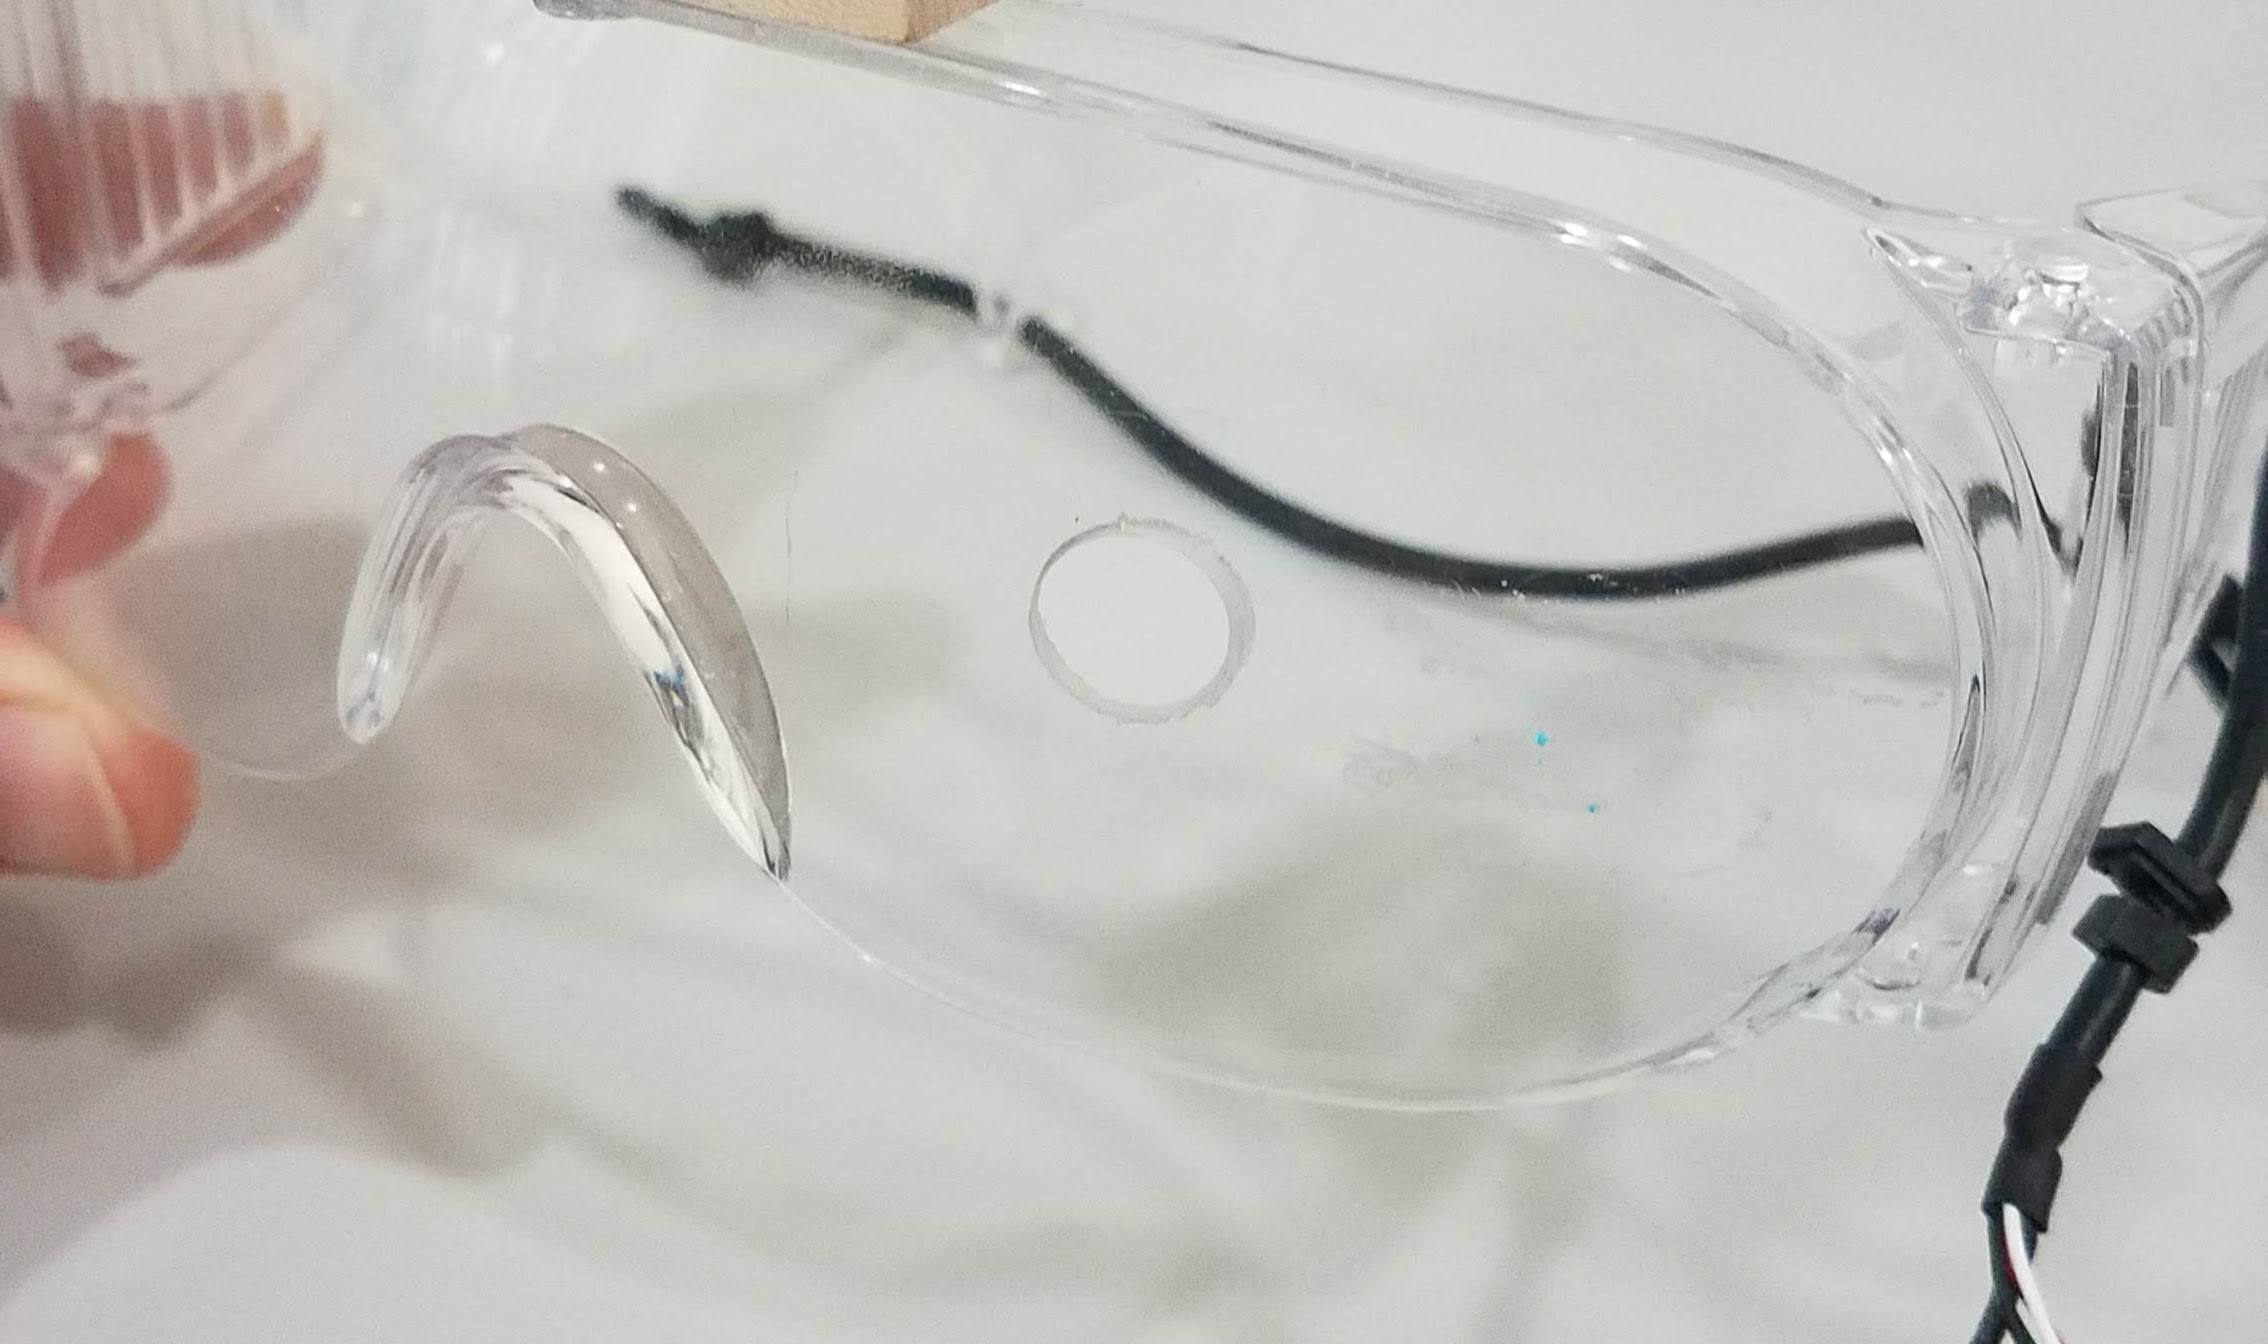
Without moving the camera, remove the glasses and mark where the lens sits on the outside of the glasses. Drill a 0.40" hole into the glasses at this spot. NOTE: This project assumes the camera will be over the left eye.
![]()
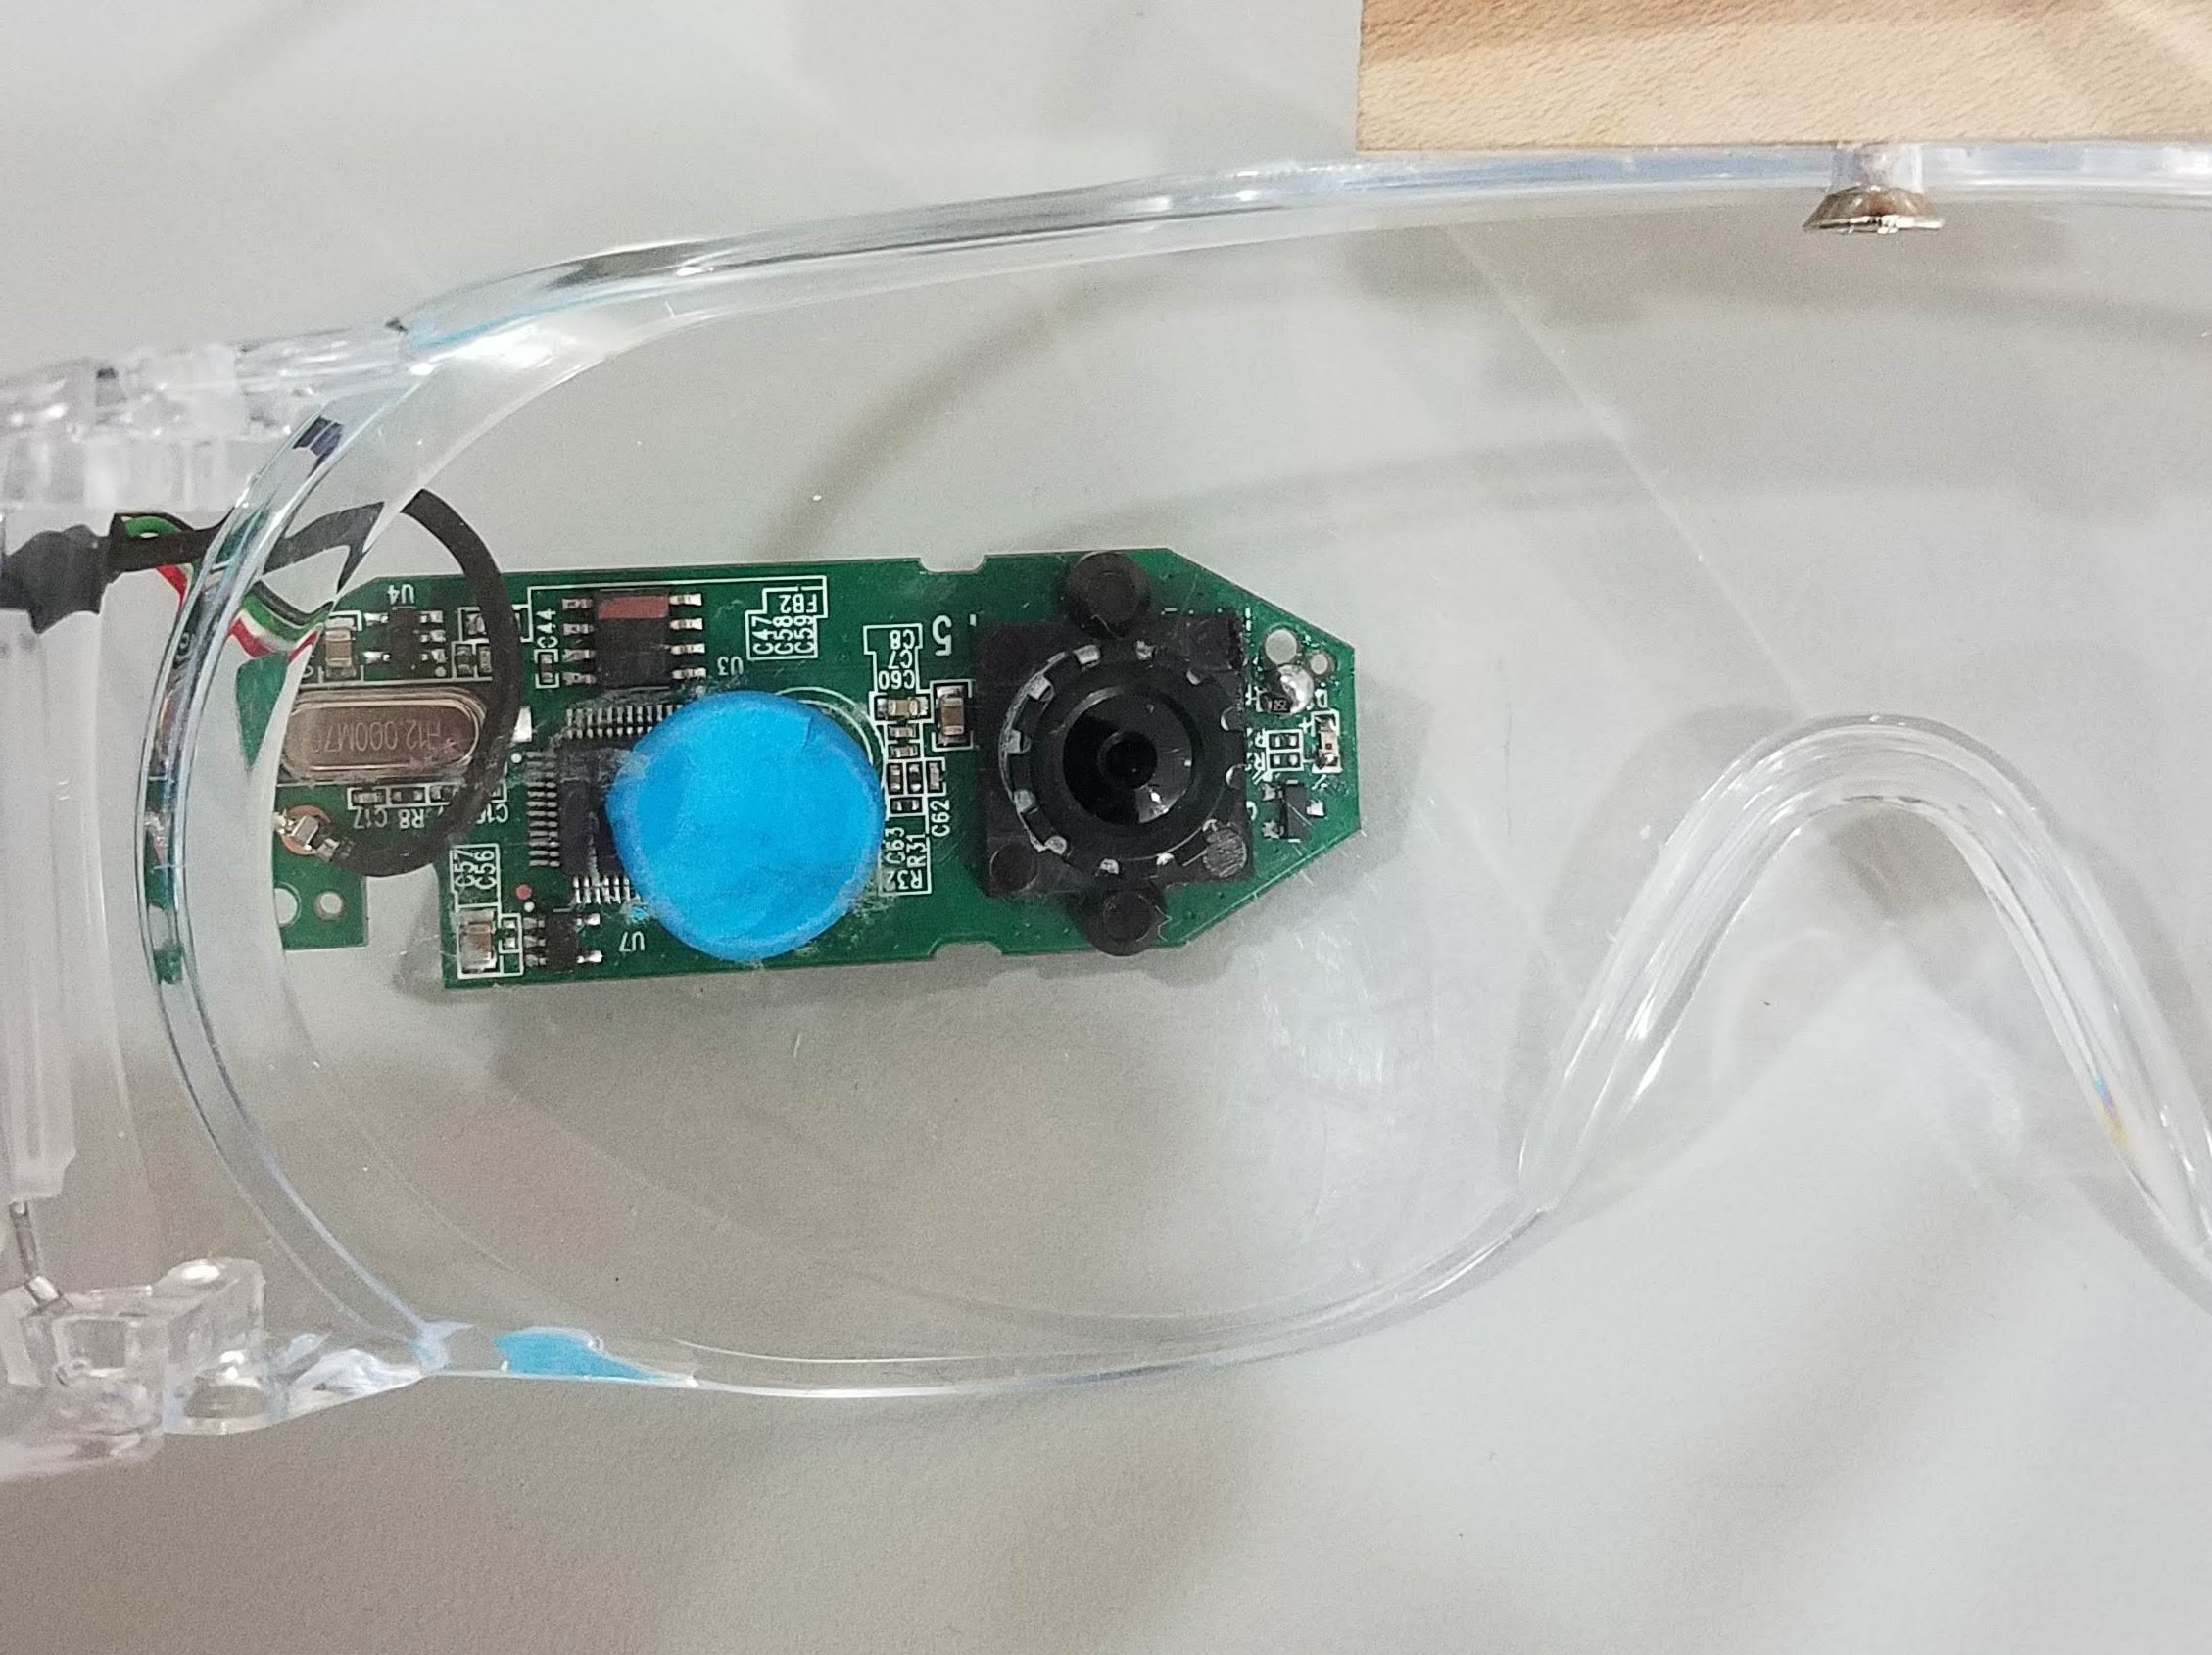
Next, place a small bit of Loctite Fun-Tak mounting putty next to the hole, unscrew the lens from the camera, and press the lens mount into the hole and the camera PCB into the putty. Replace the lens.
![]()
-
7Final Steps
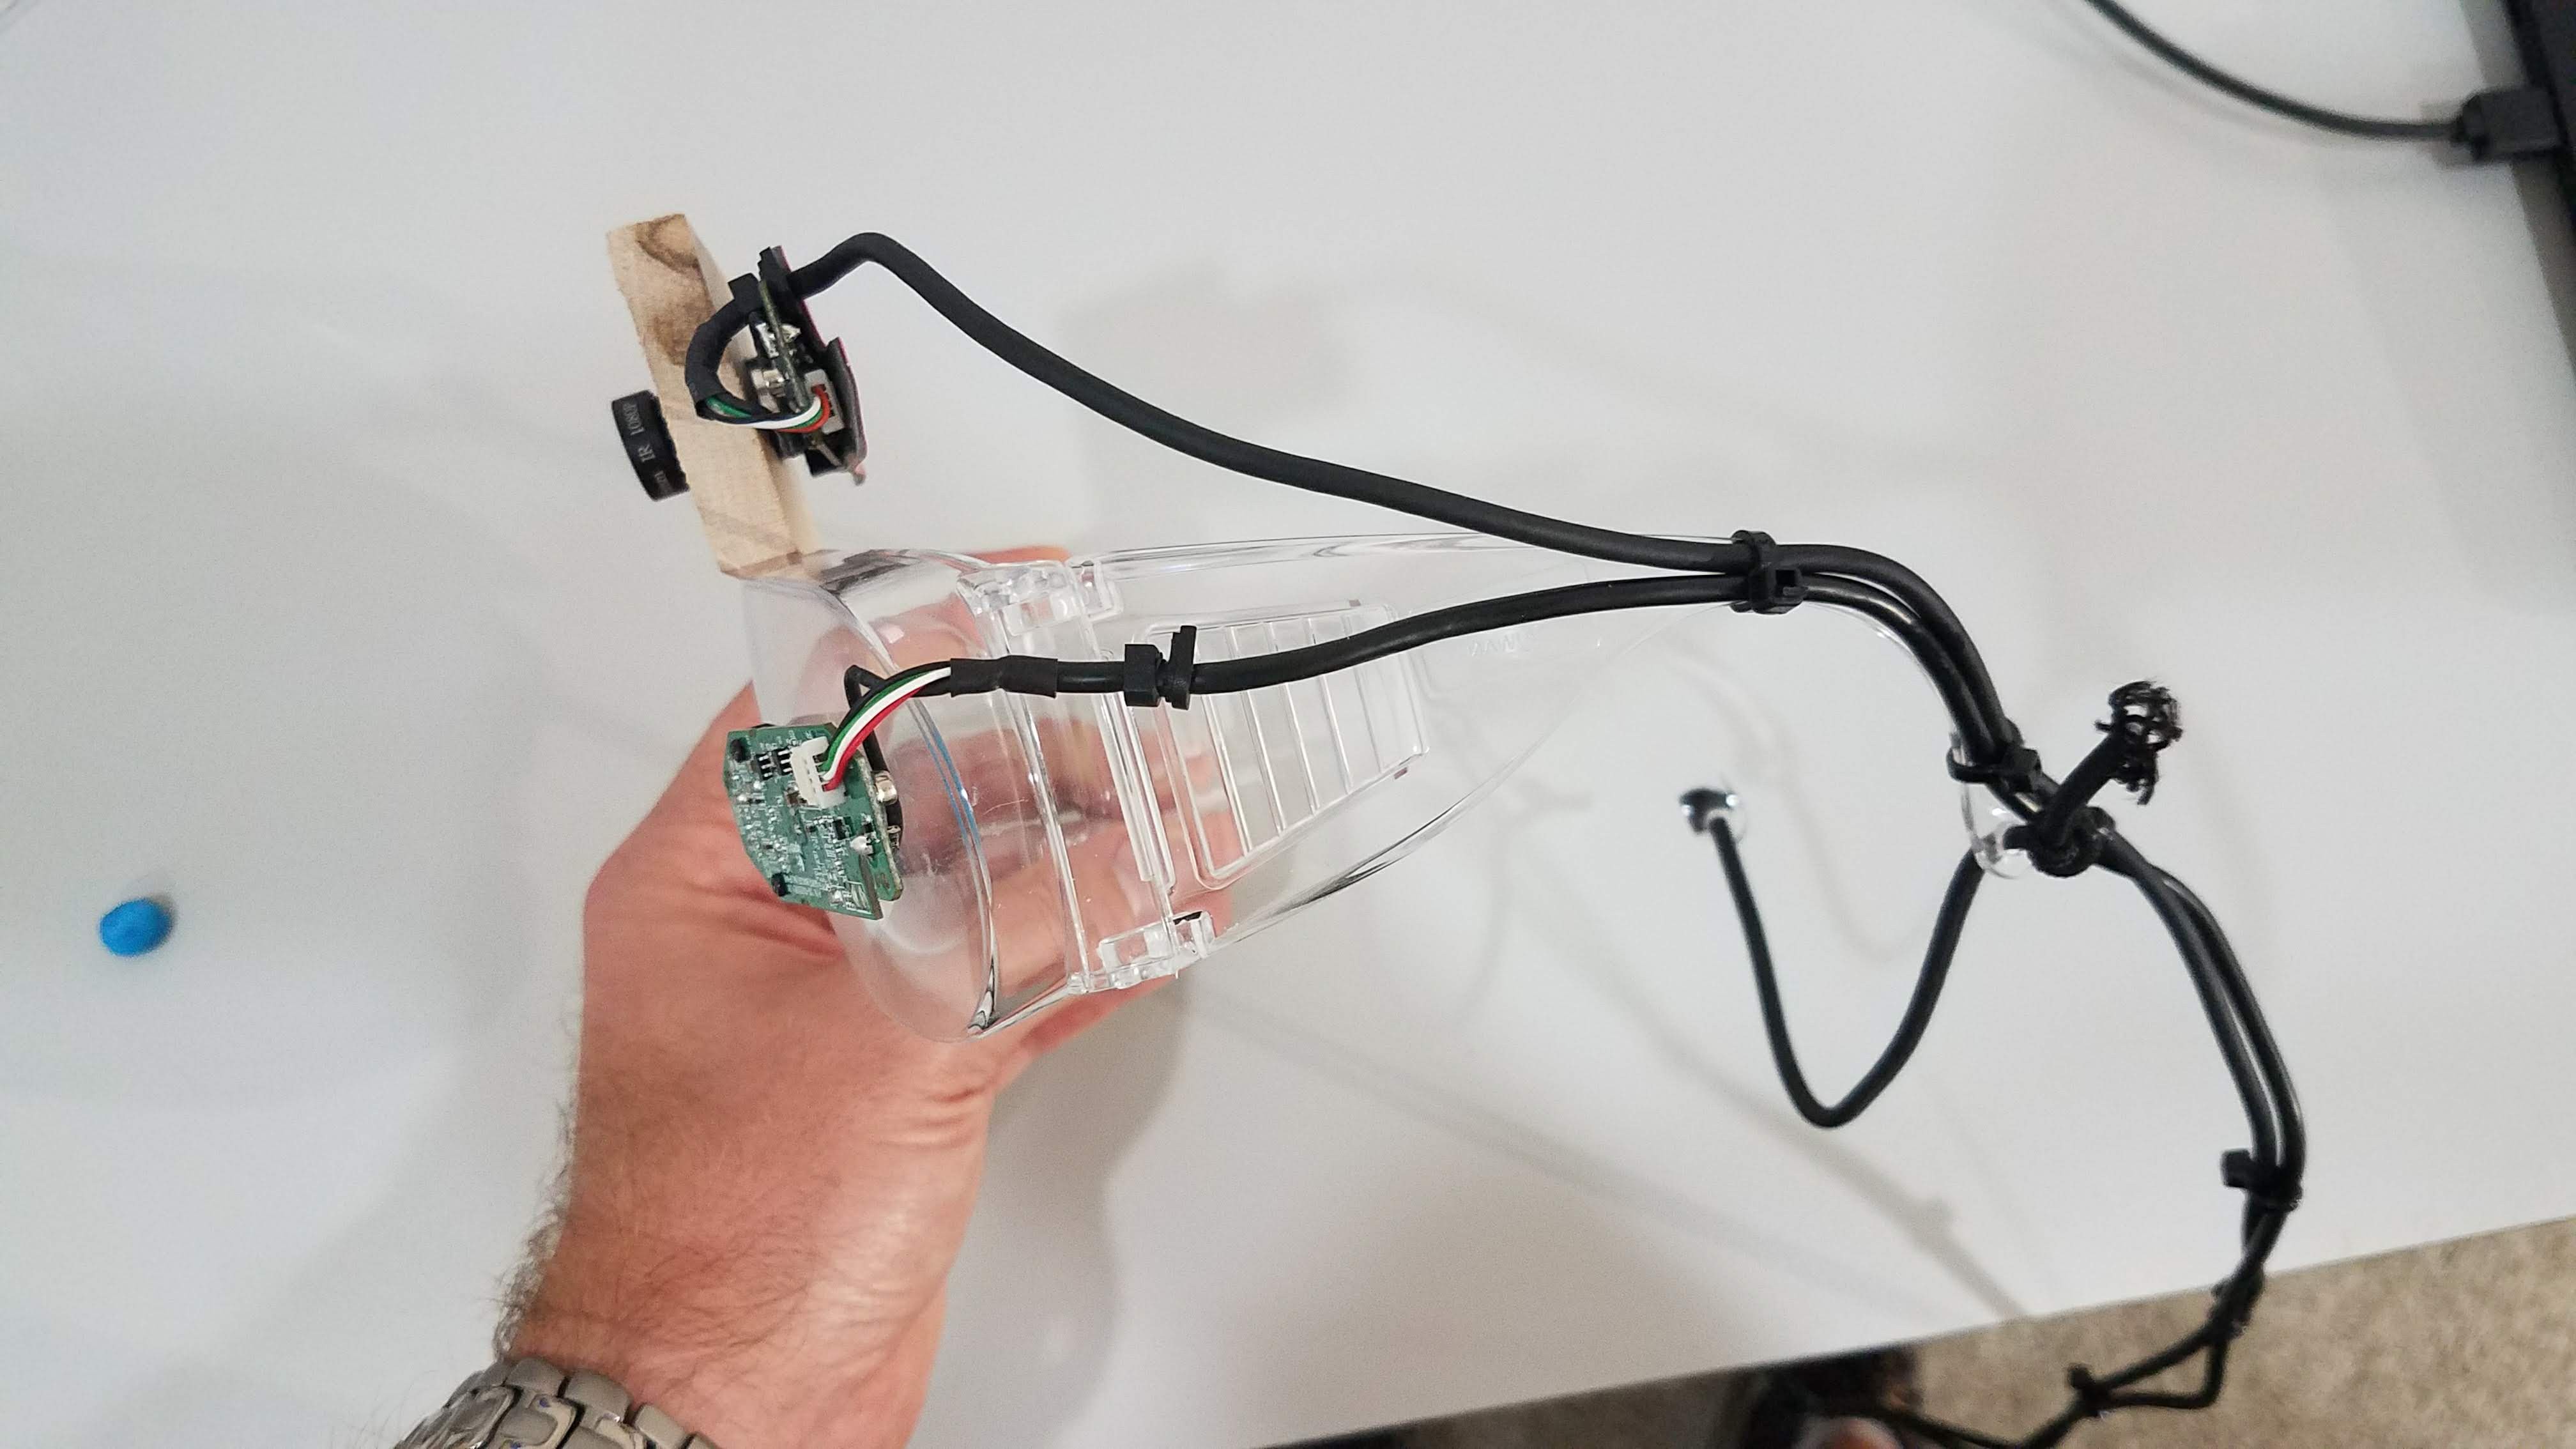
Use zip ties to manage the cords from the cameras.
![]()
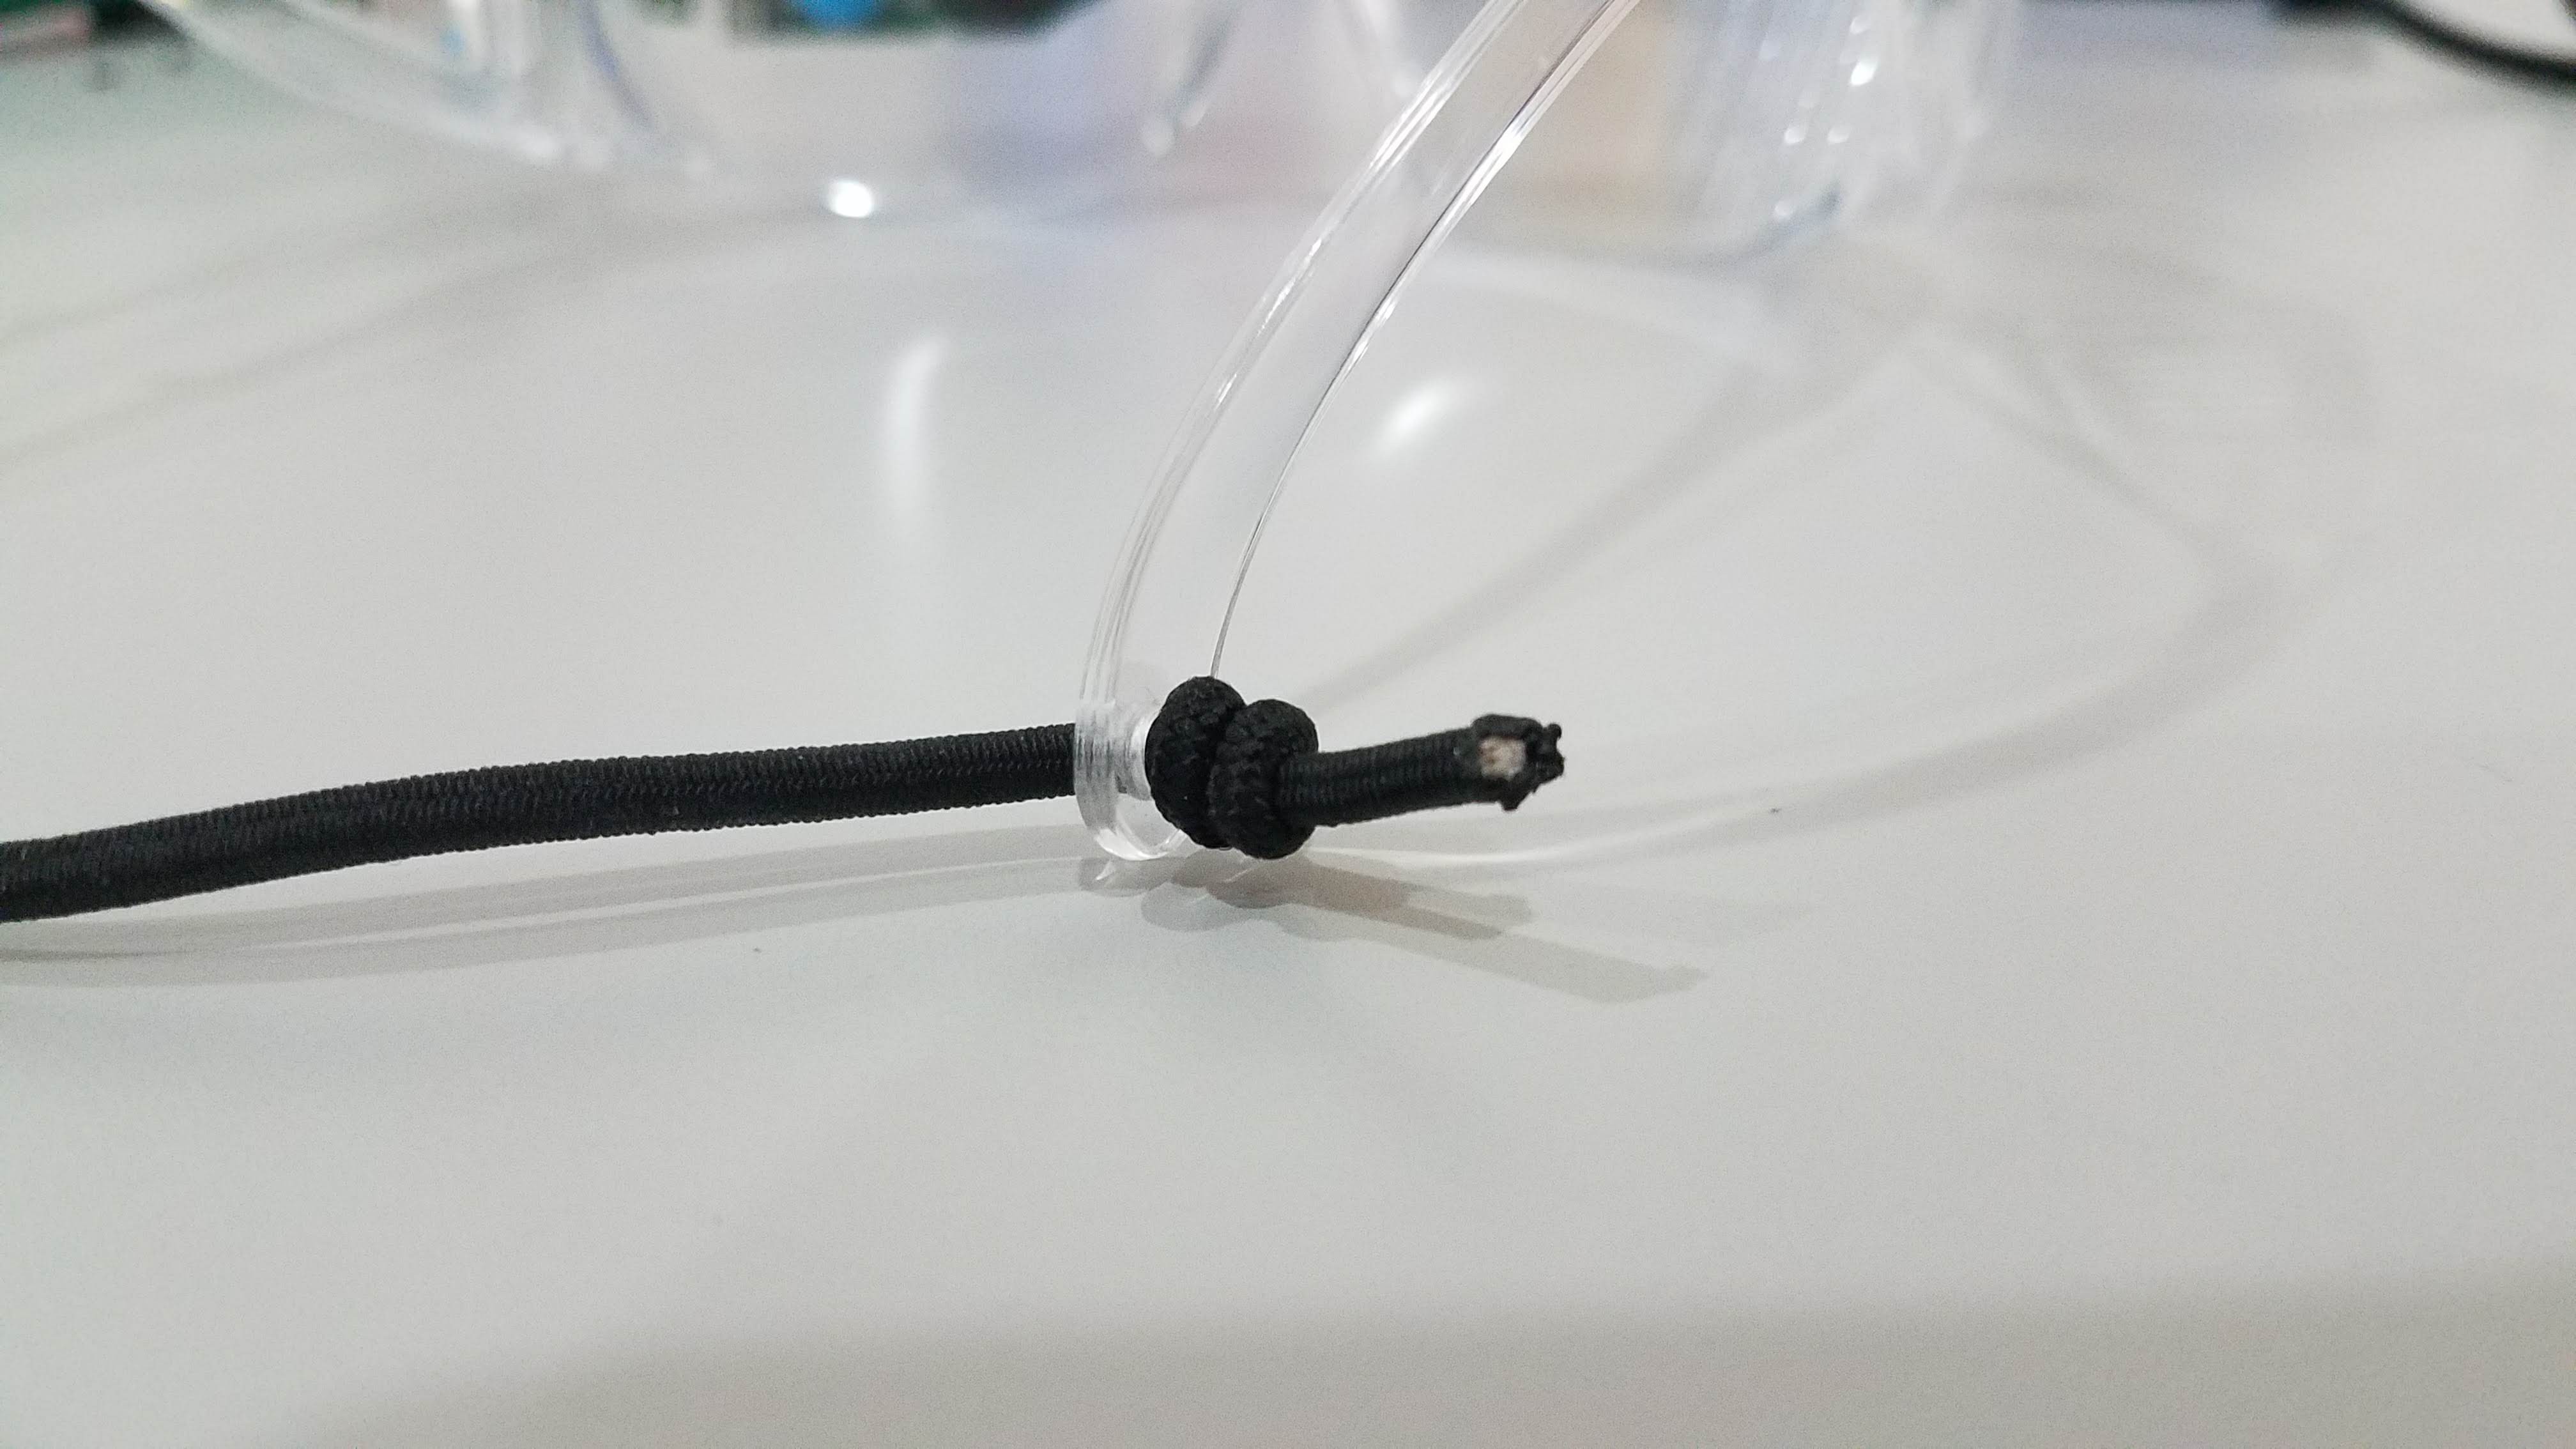
Use shock cord (bungee cord) to achieve a tight fit of the glasses to your face. The glasses should not move while using the eye tracking otherwise calibration will be lost. Depending on what brand glasses you use you may have to drill holes for the cord.
![]()
Low Cost Open Source Eye Tracking
A system designed to be easy to build and setup. Uses two $20 webcams and open source software to provide accurate eye tracking
 John Evans
Discussions
Become a Hackaday.io Member
Create an account to leave a comment. Already have an account? Log In.