-
Material waste - mmu2
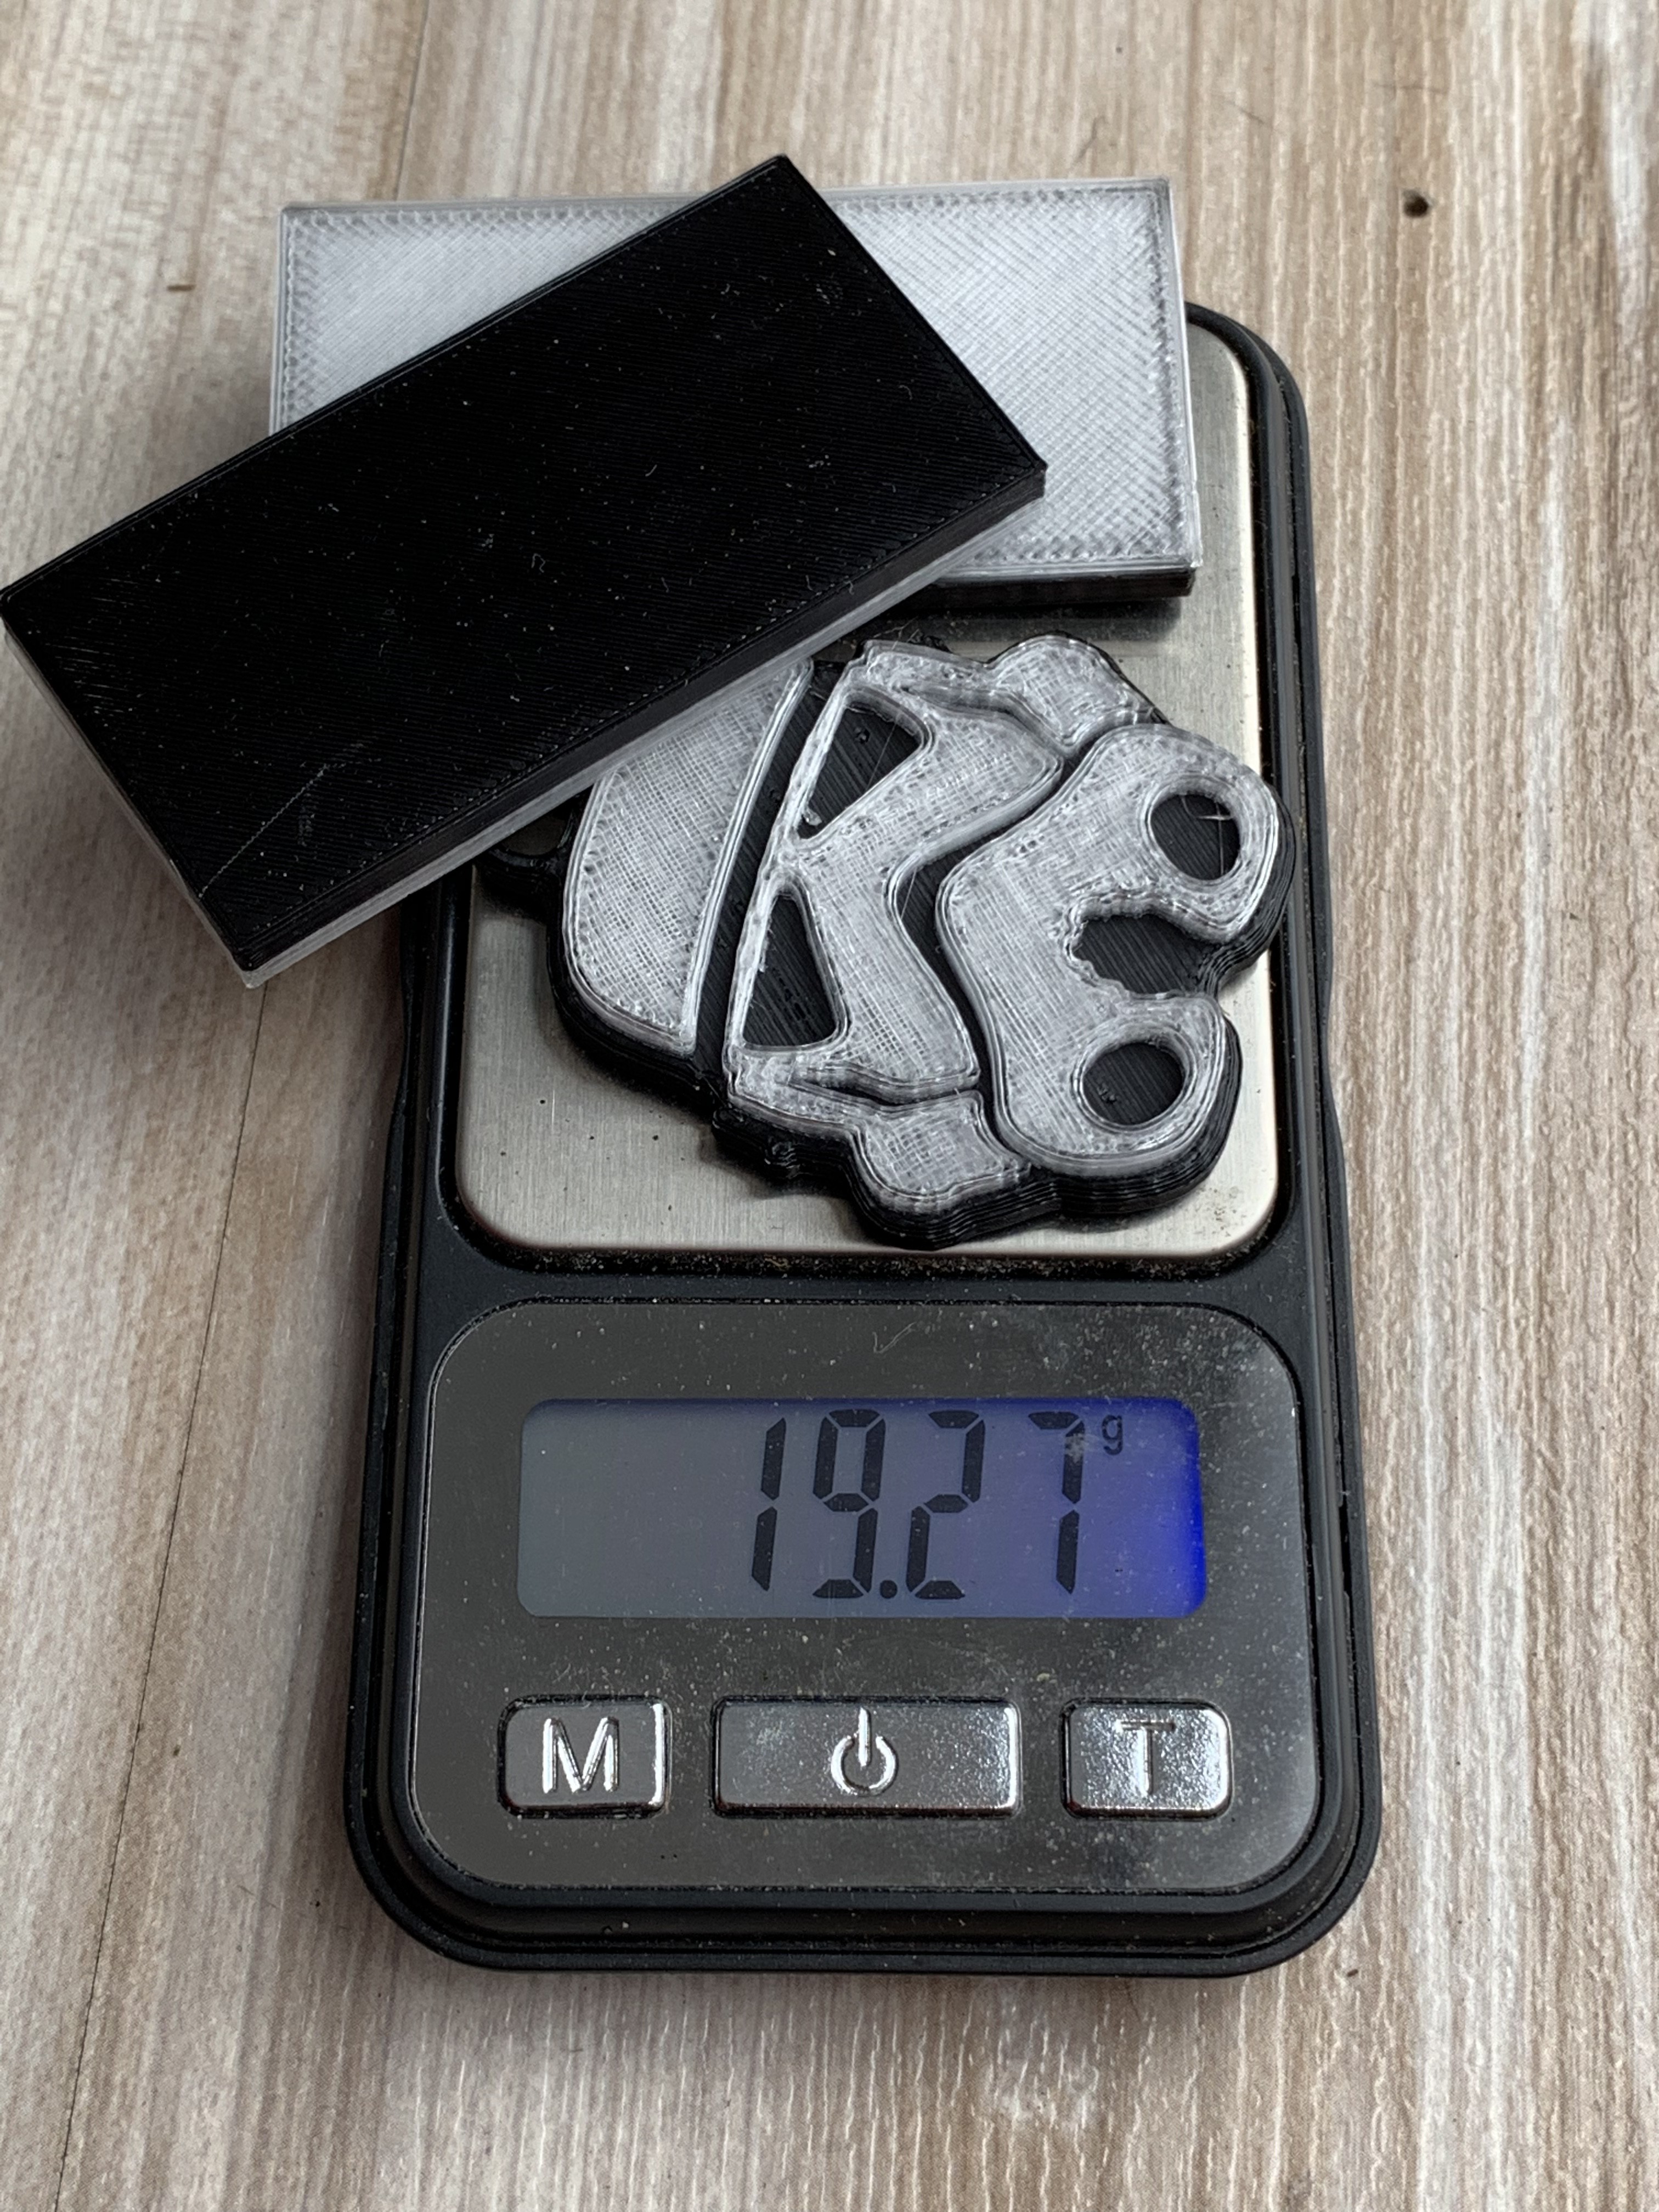
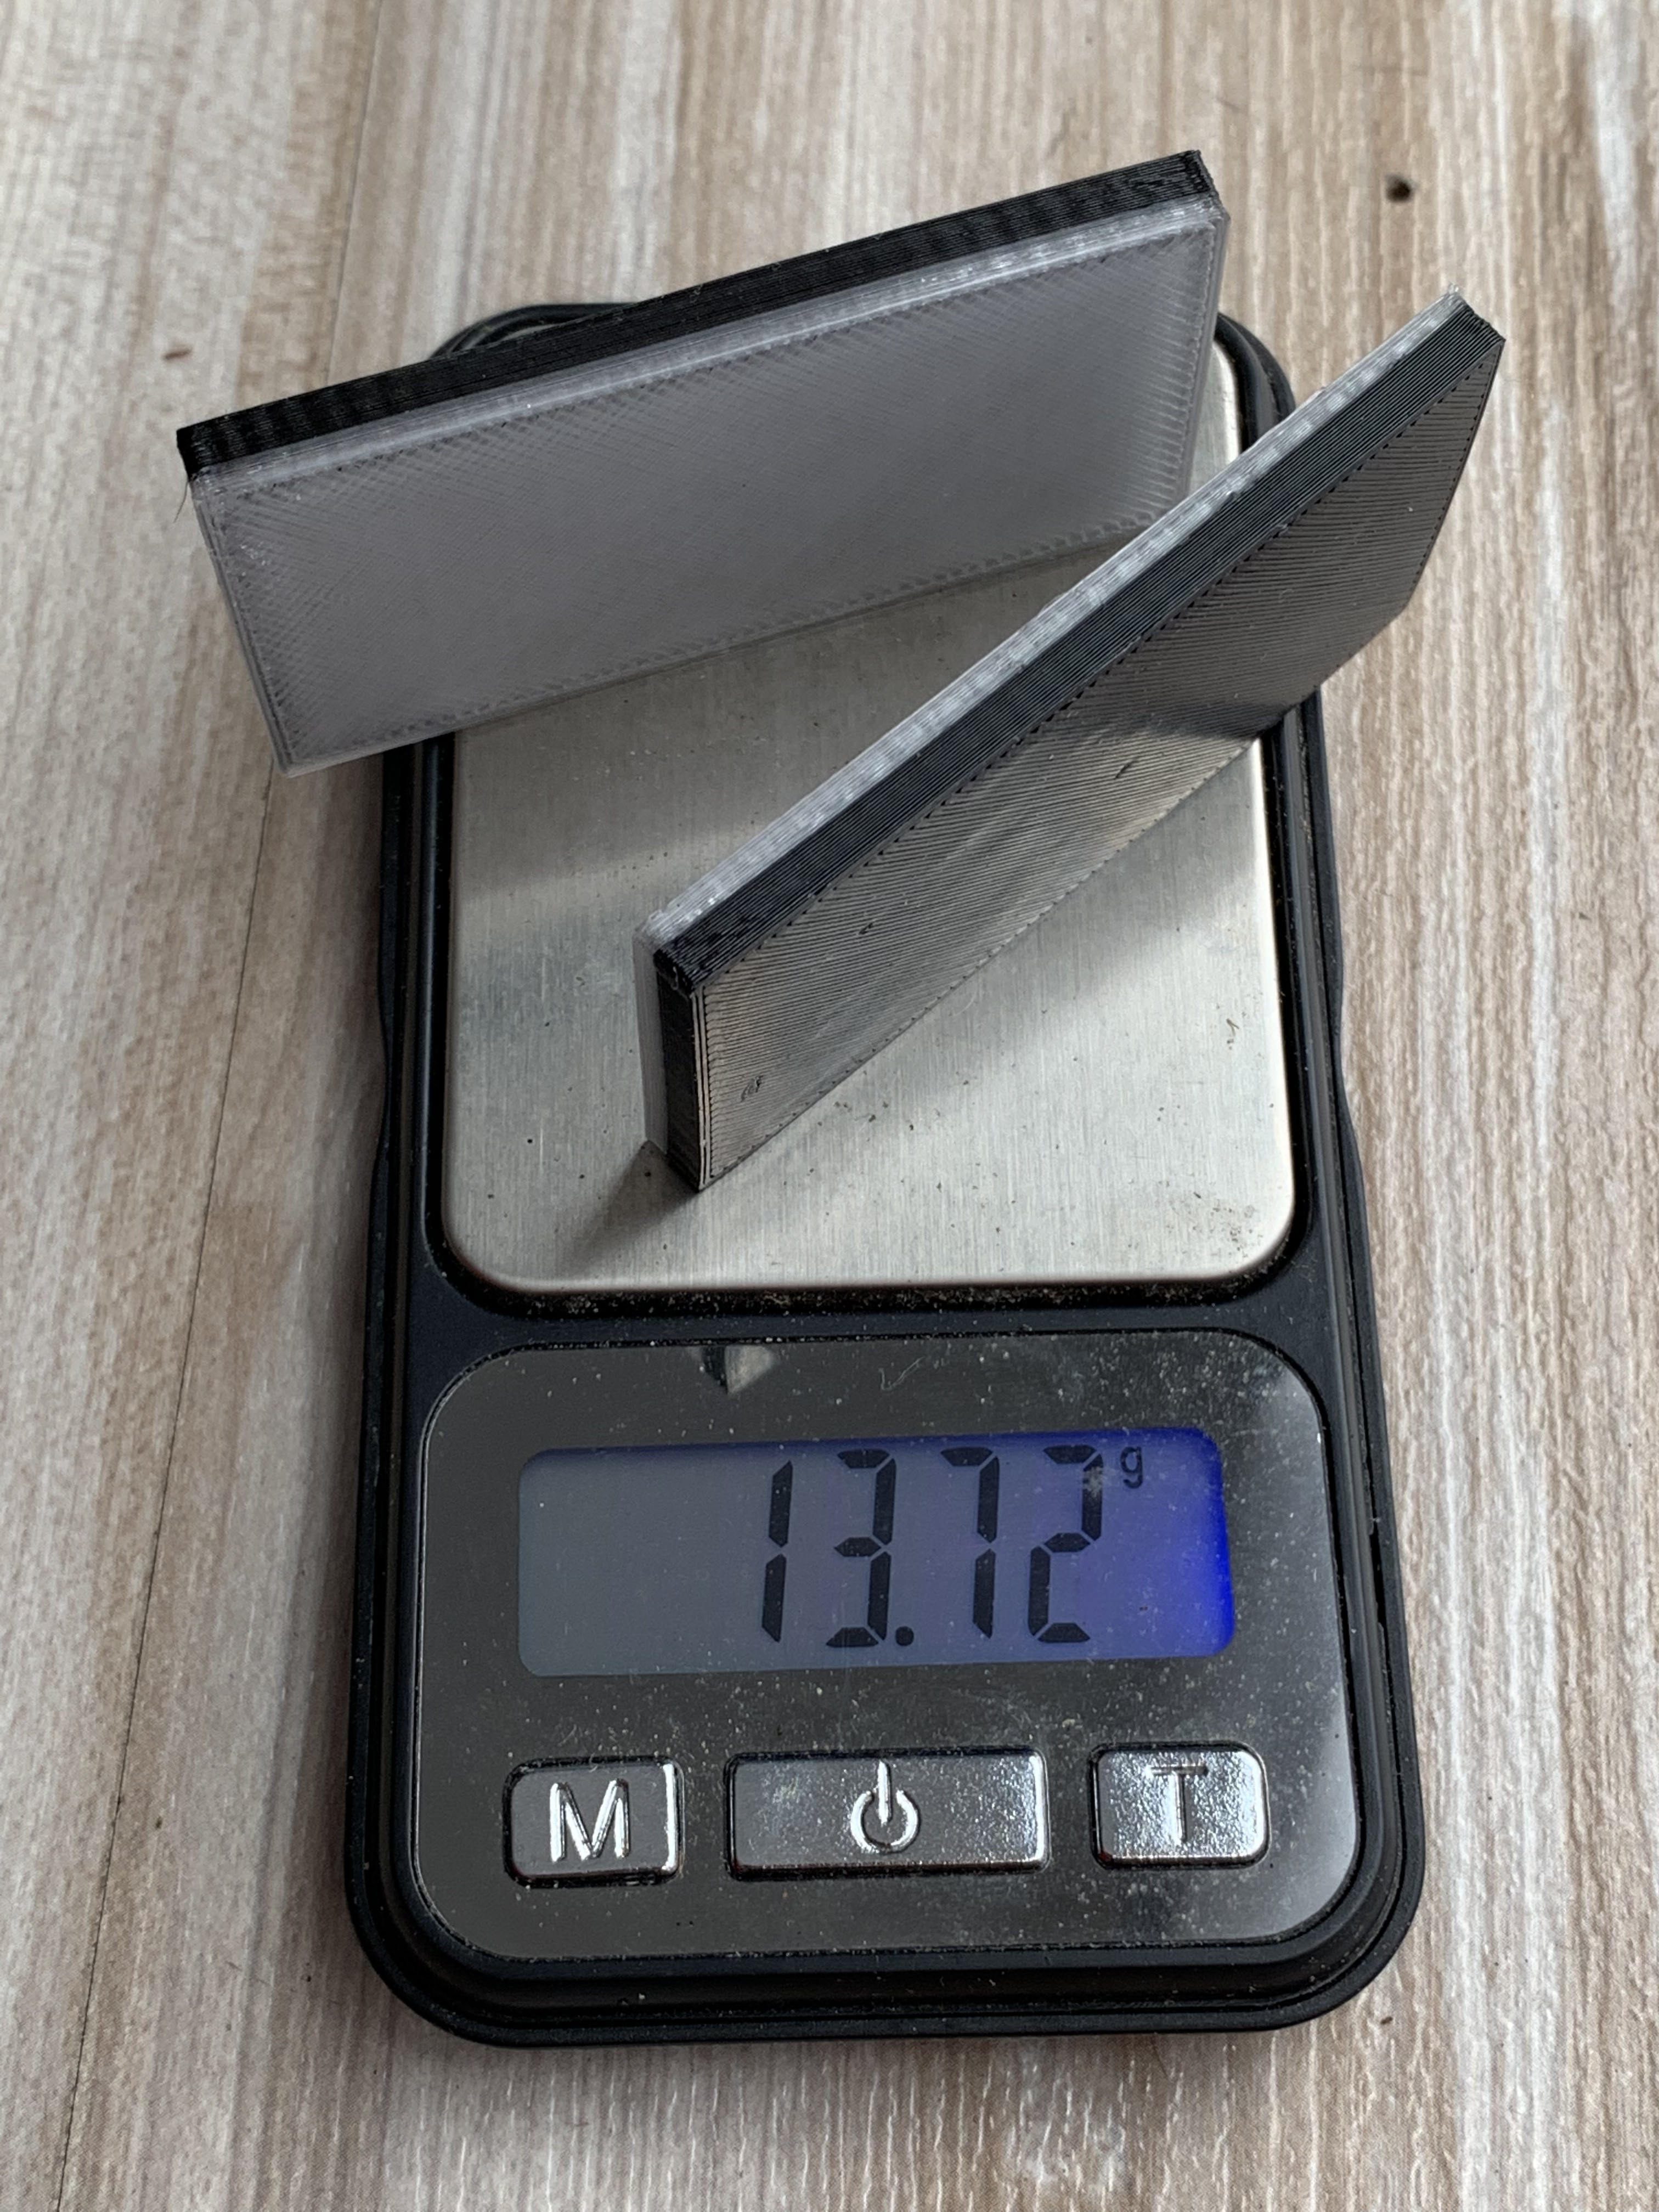
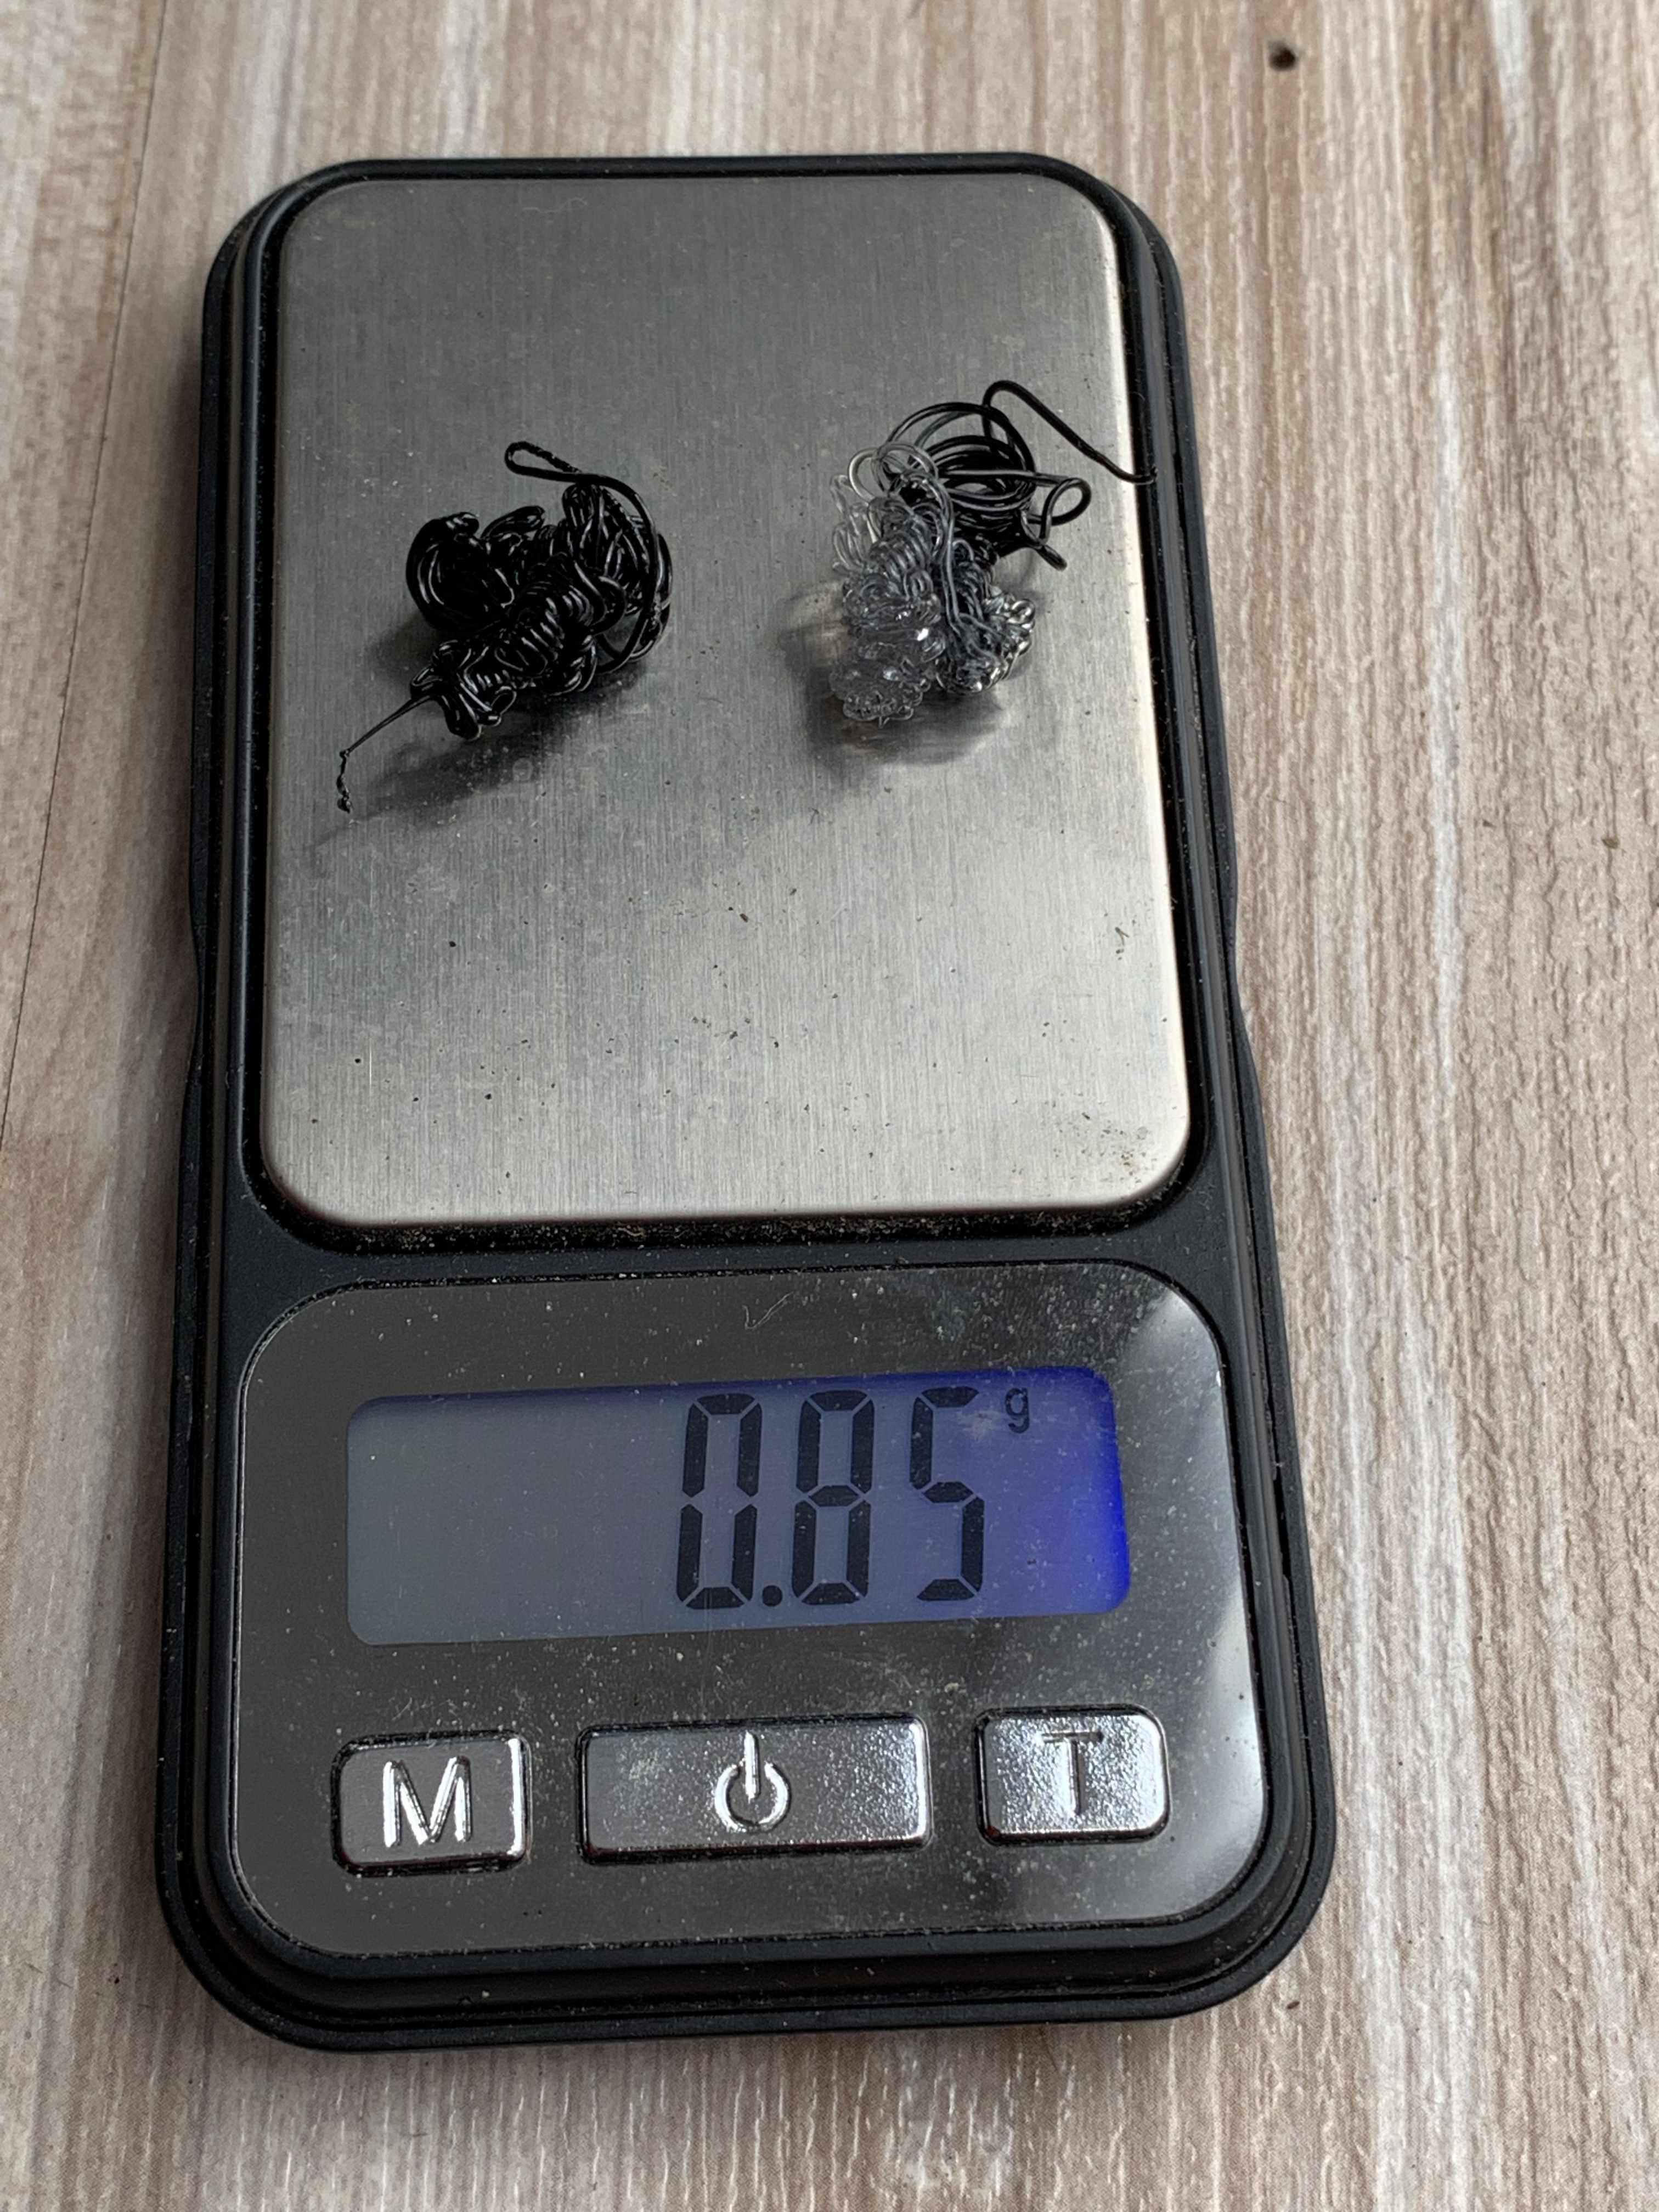
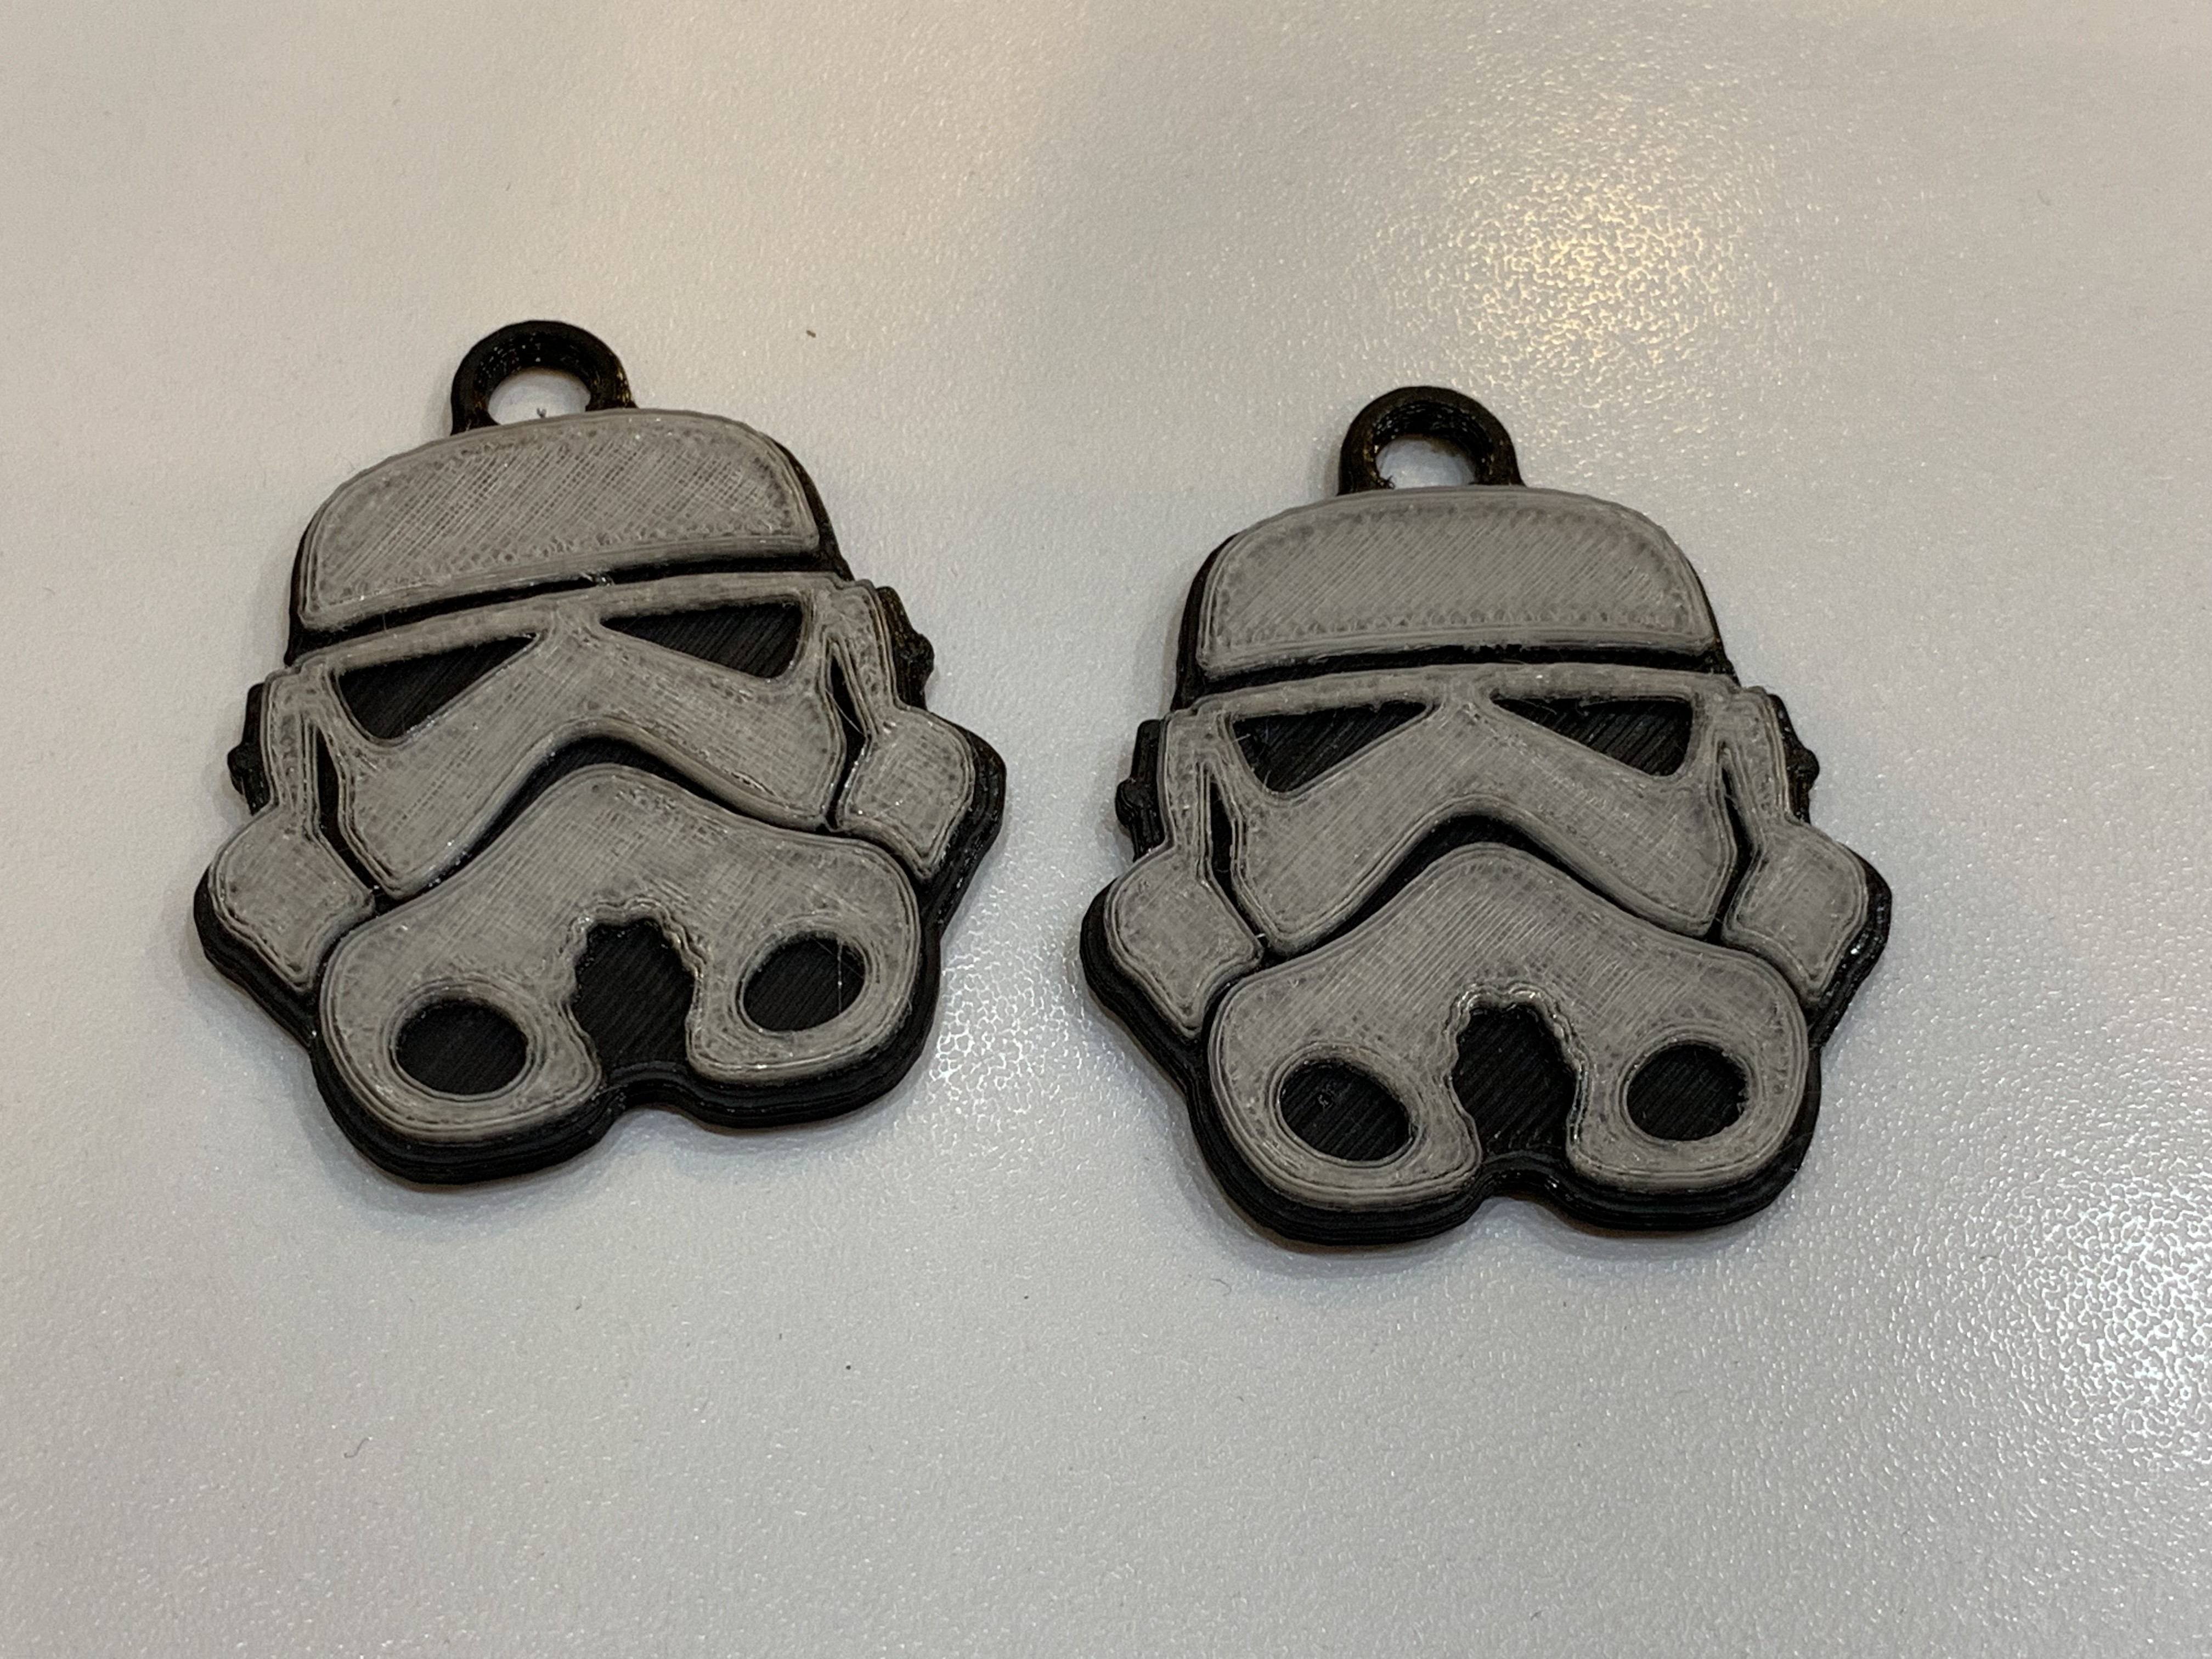
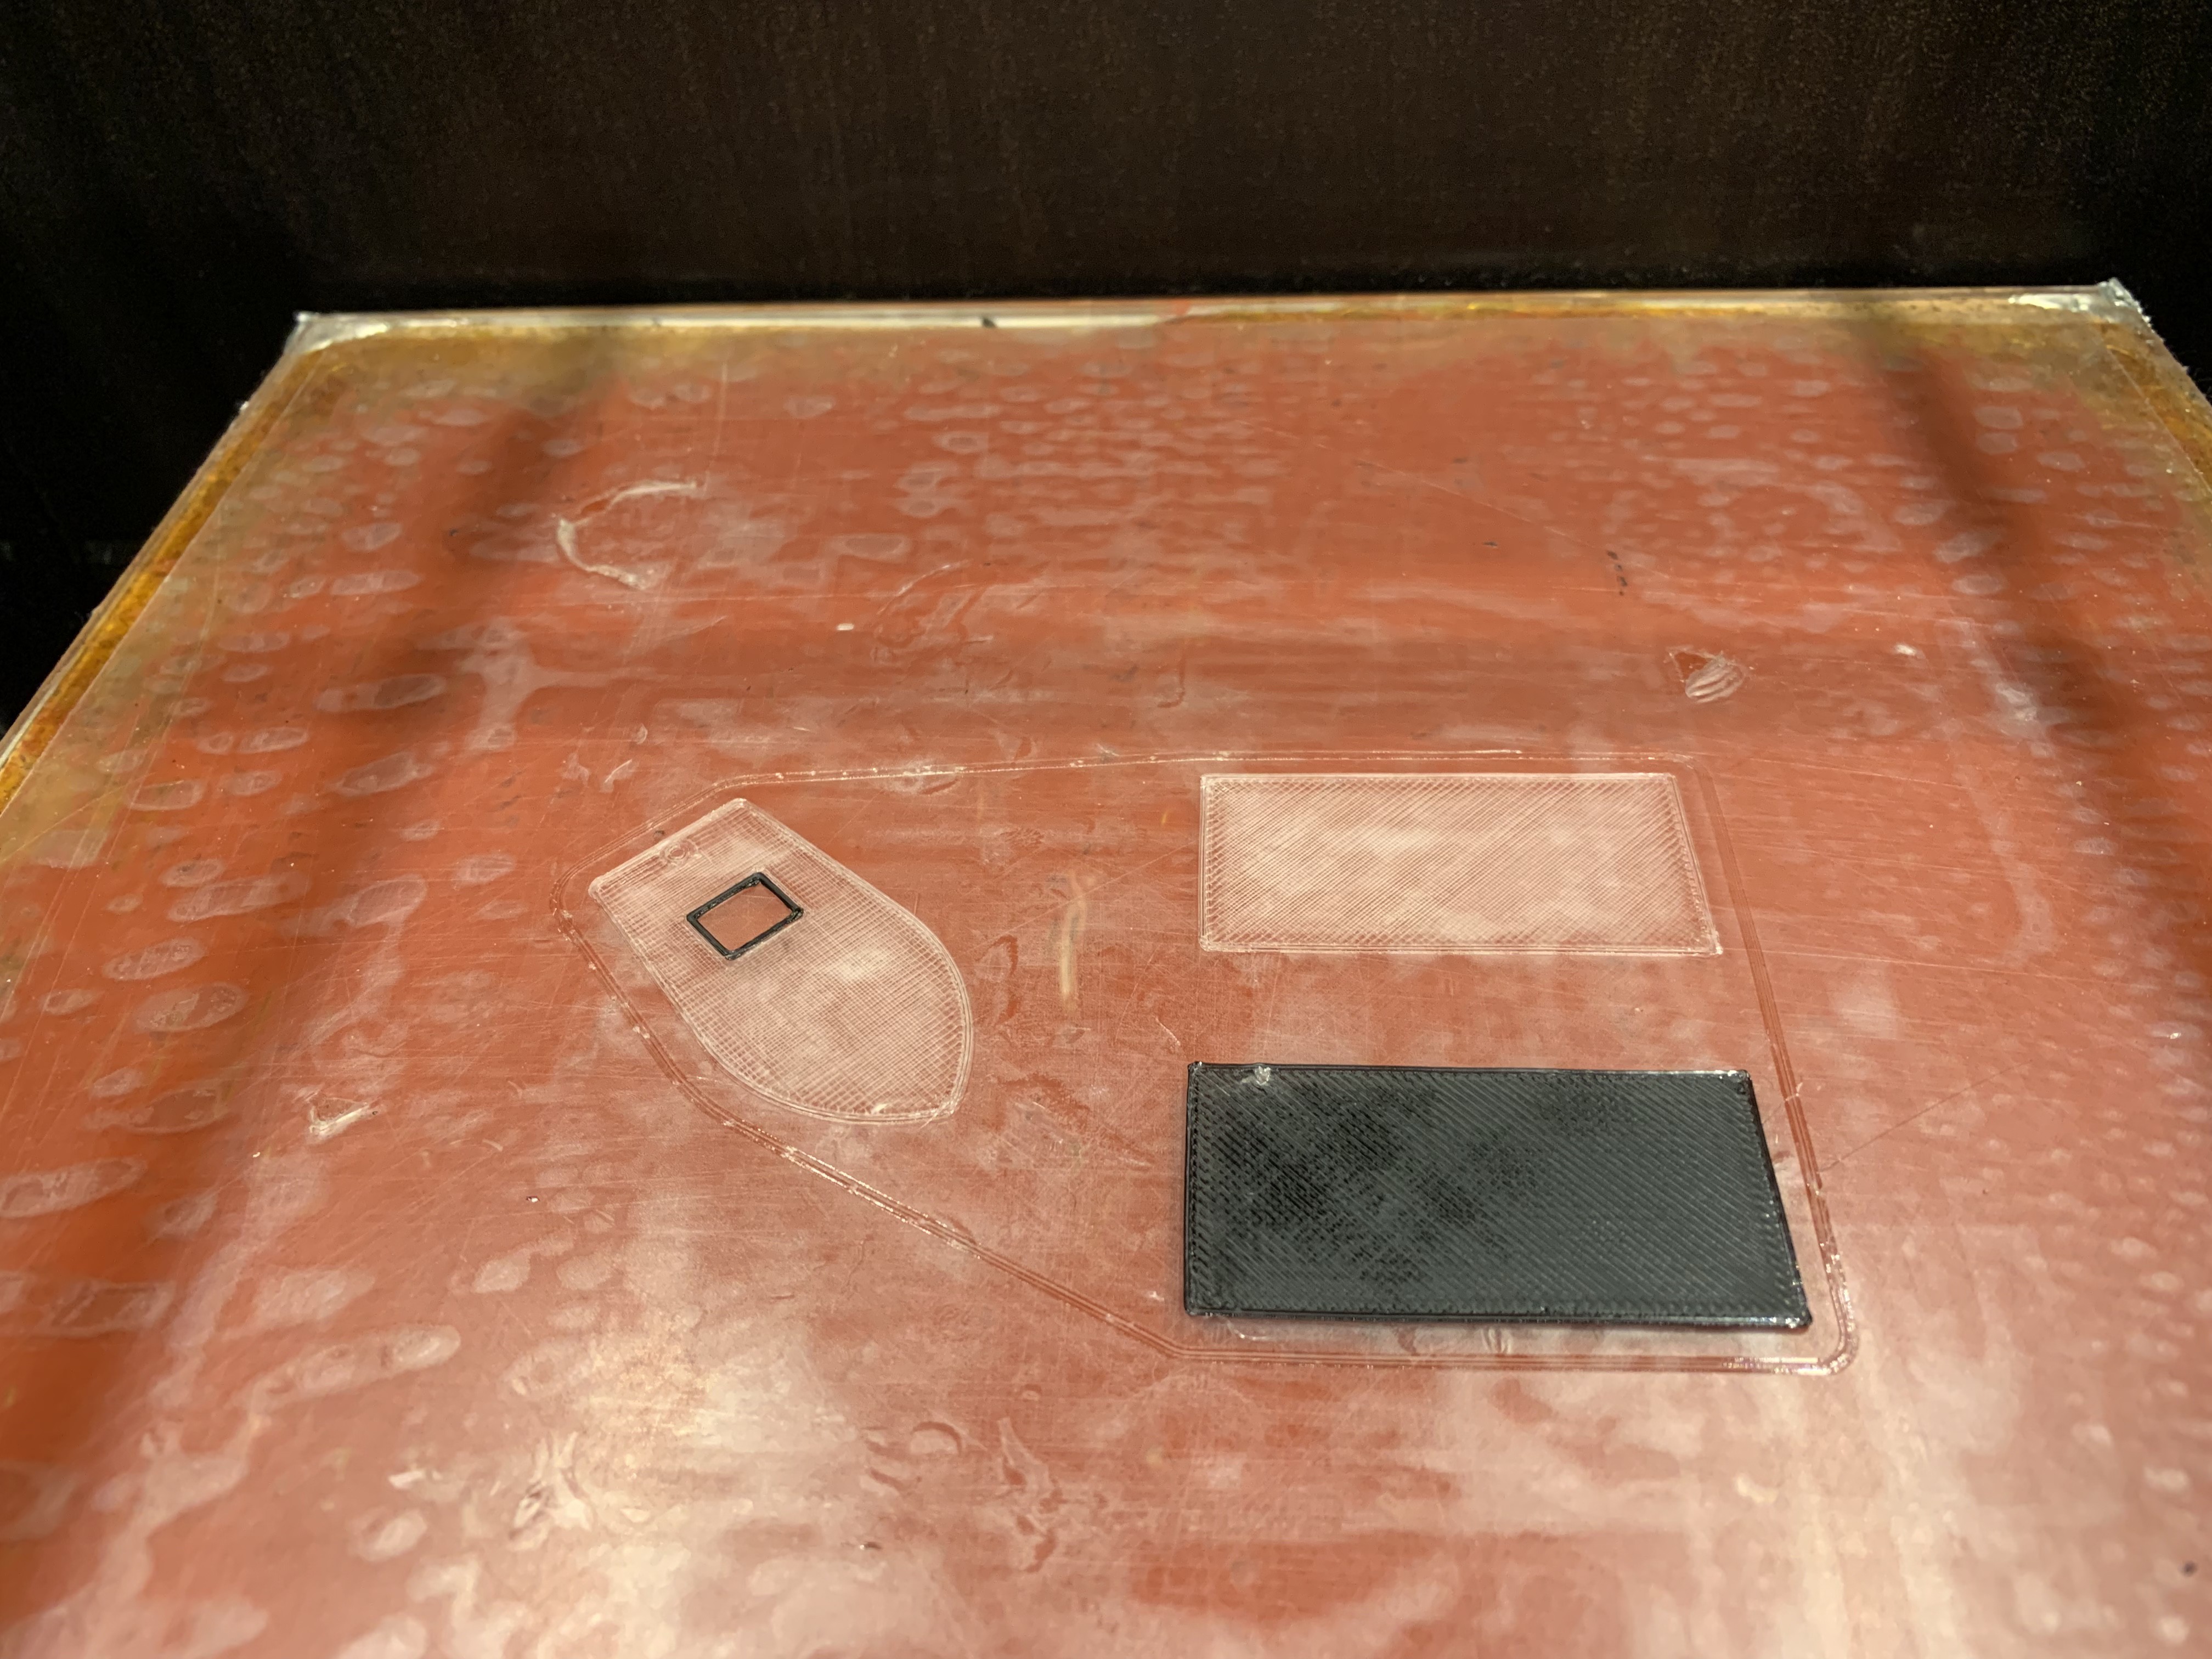
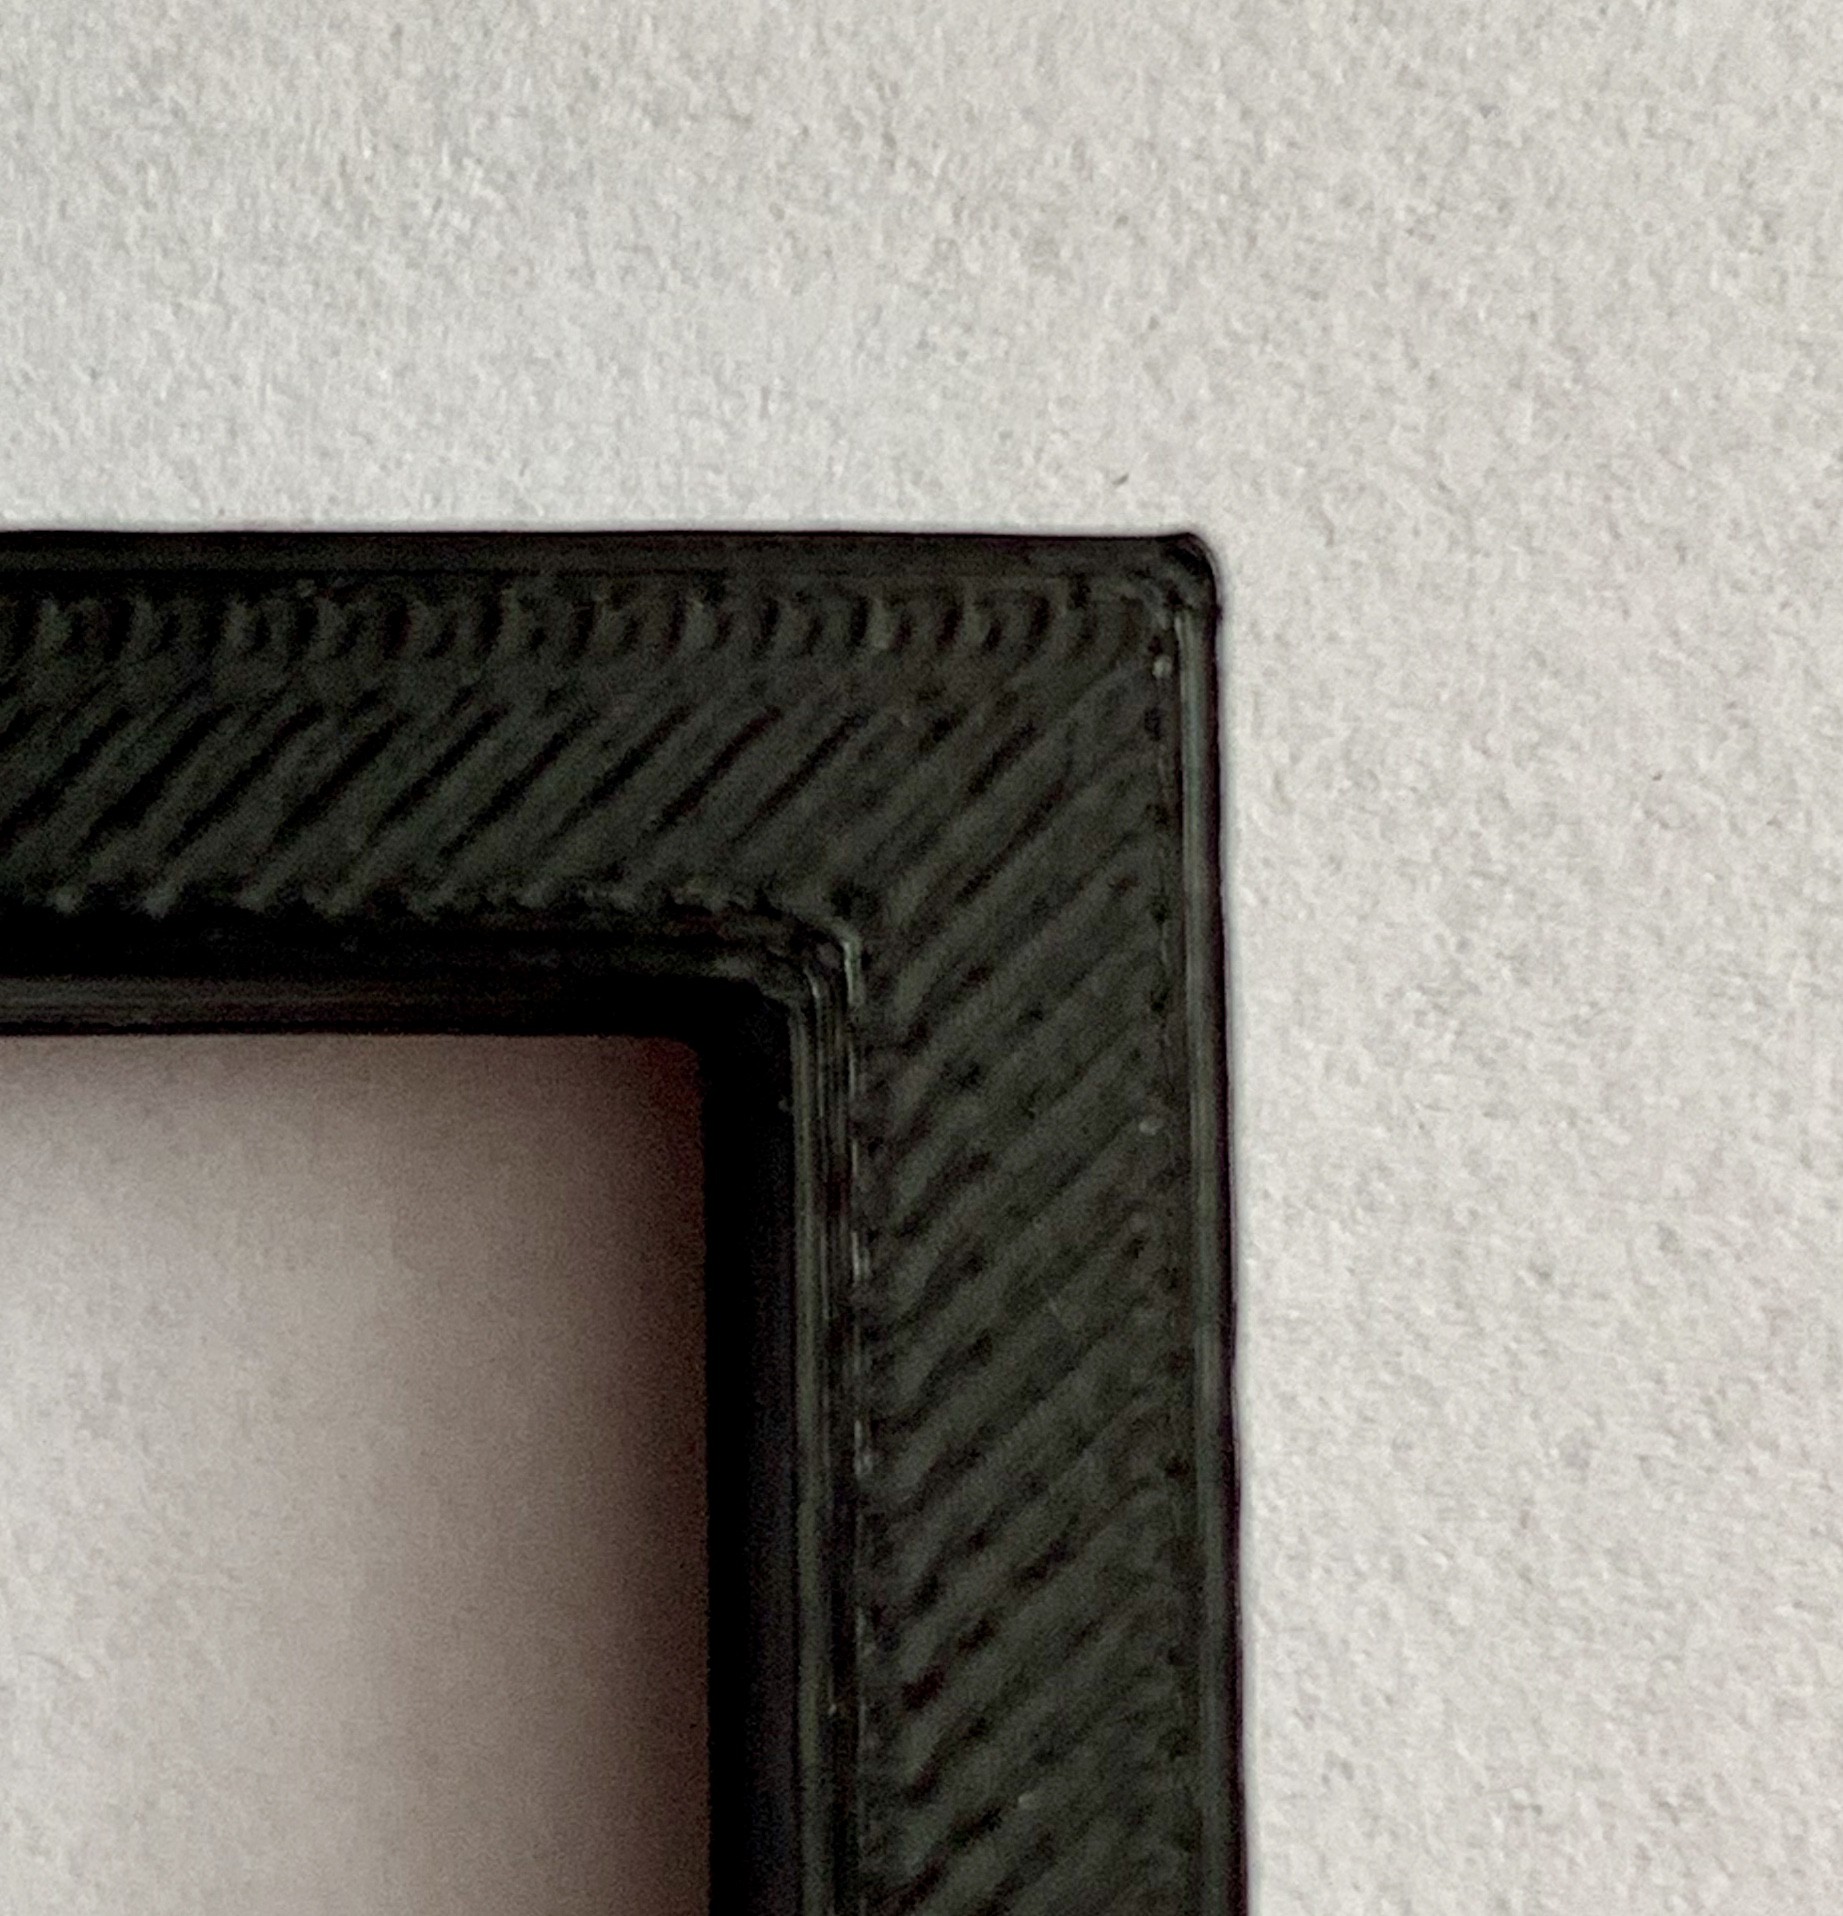
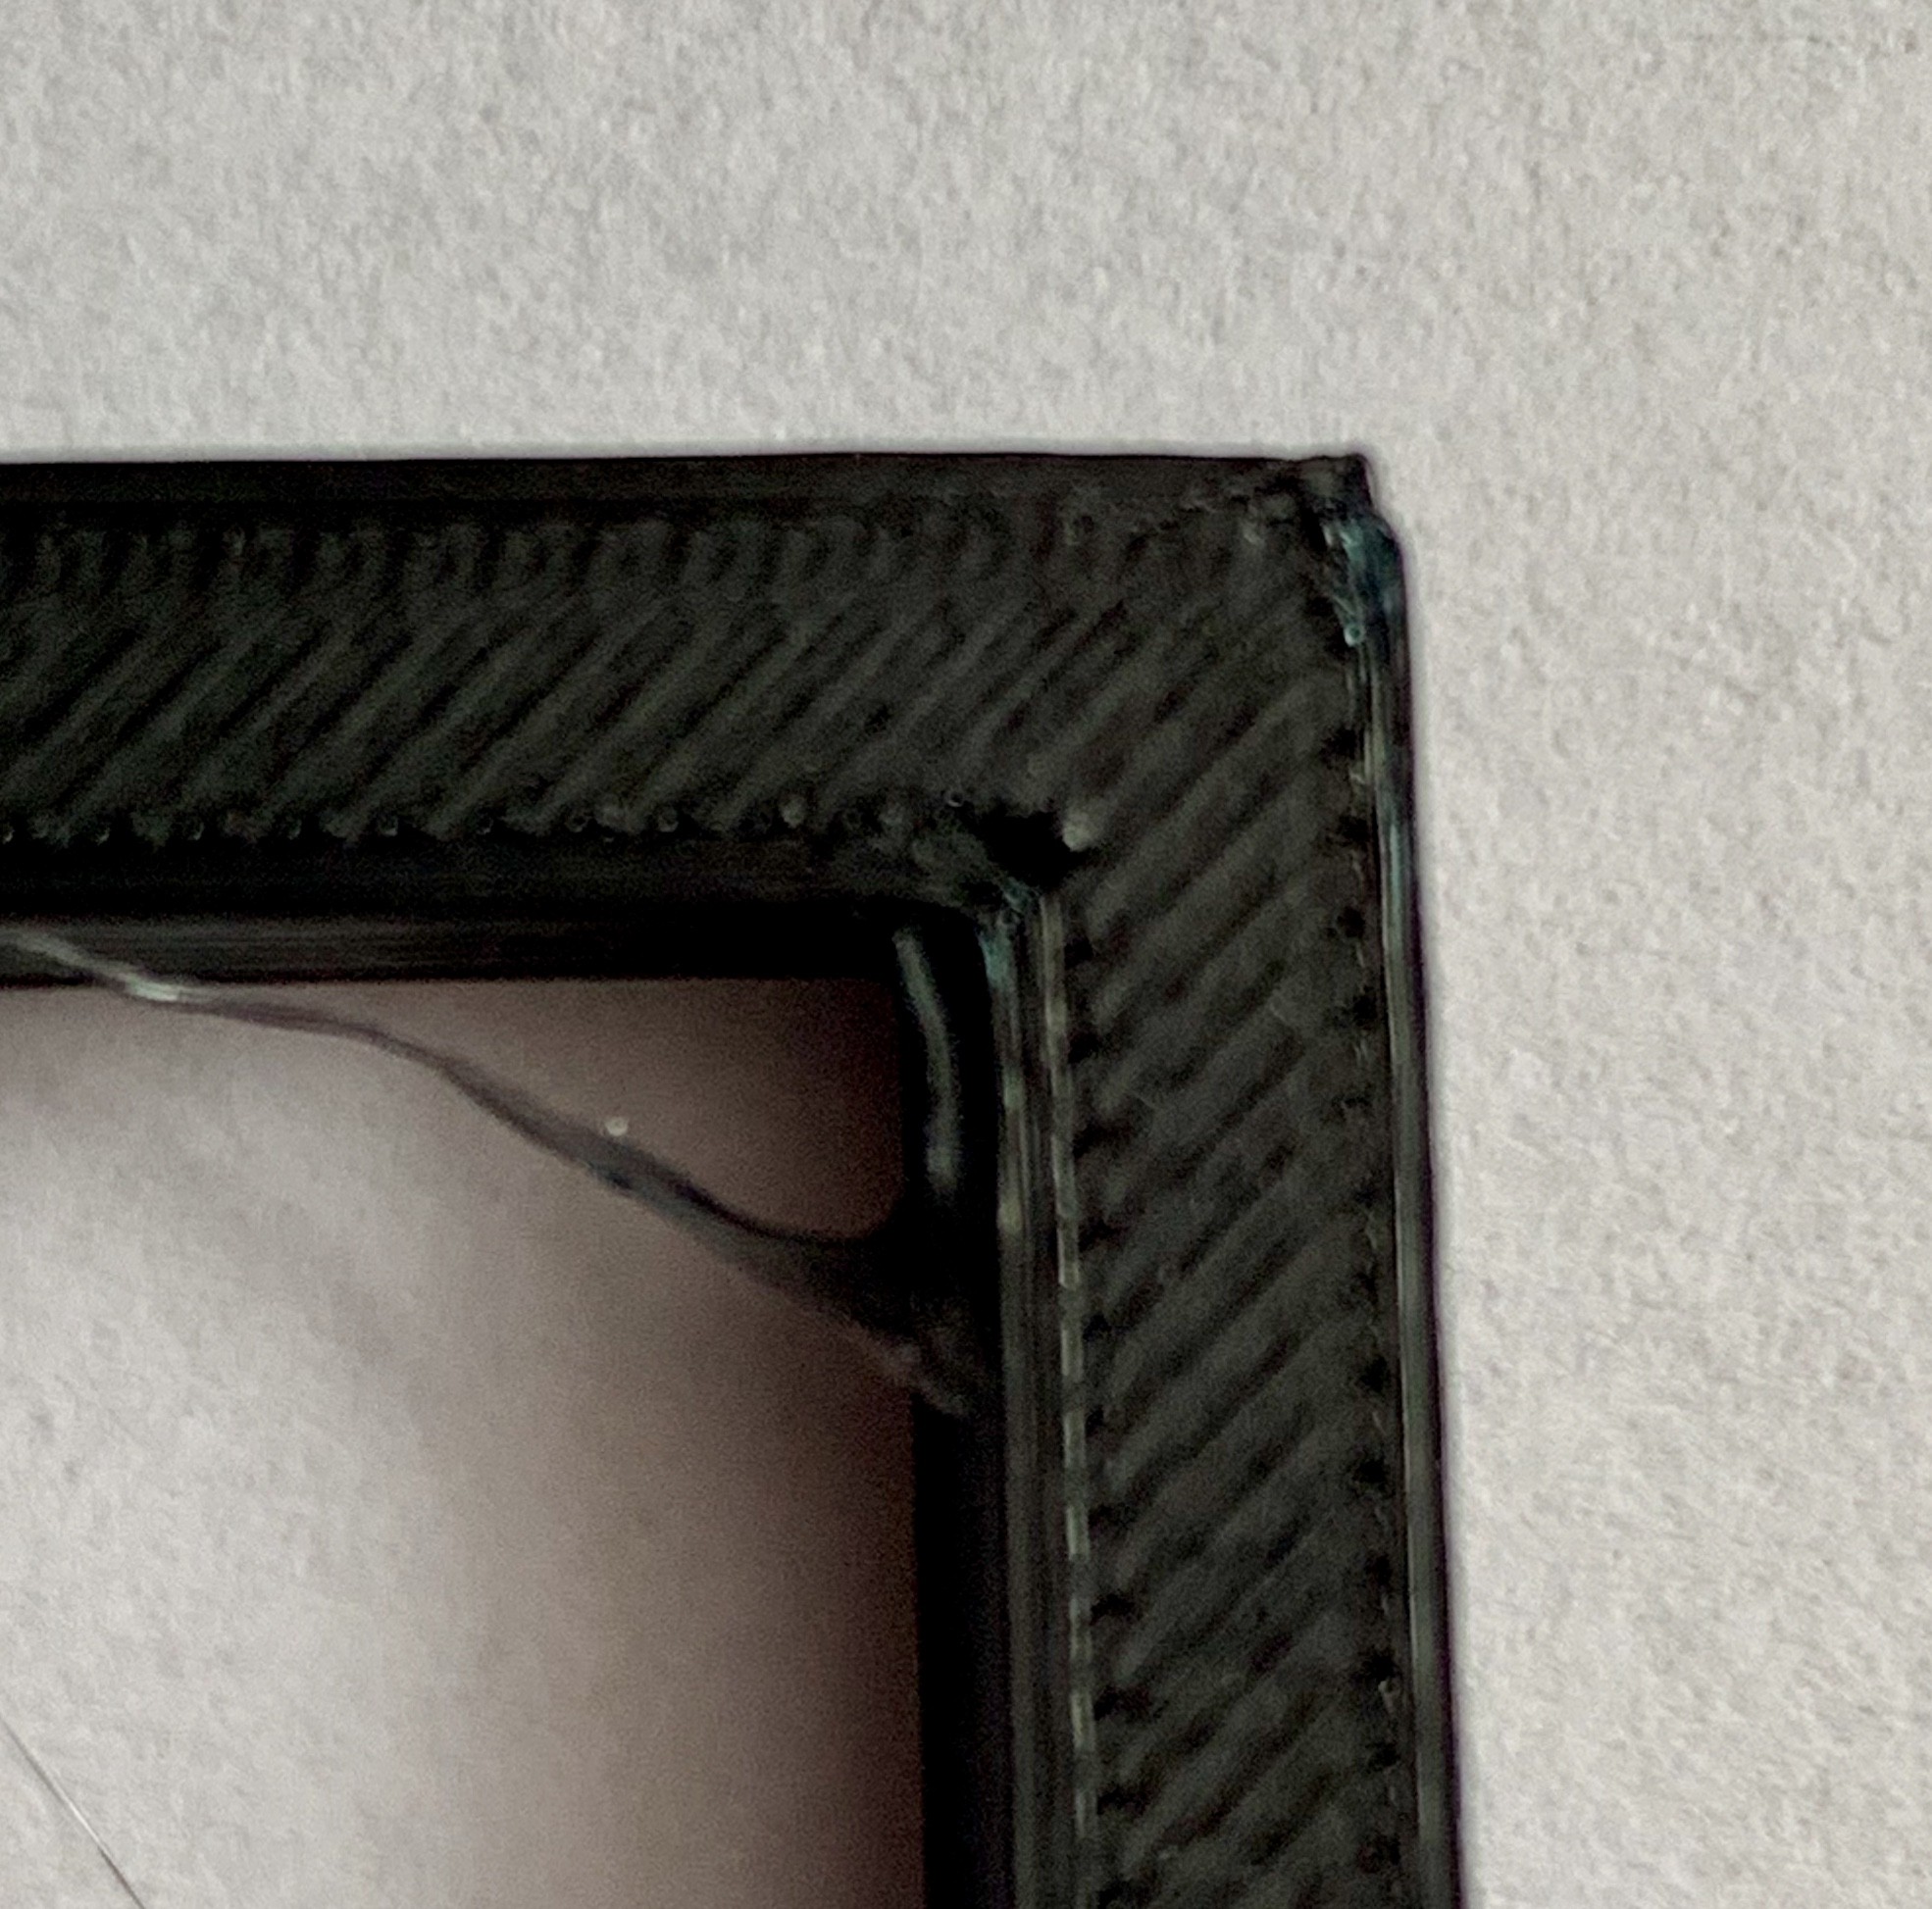
04/30/2019 at 09:28 • 0 commentsWith wipe/purge towers single nozzle multi-material system is wasting a lot of filament to maintain the change of color (switching the material type) feature even if you want to make the change once per printing. For example if You want to print something simple dual-color:
![]()
![]()
For me this is unacceptable waste of filament to get an fancy feature.
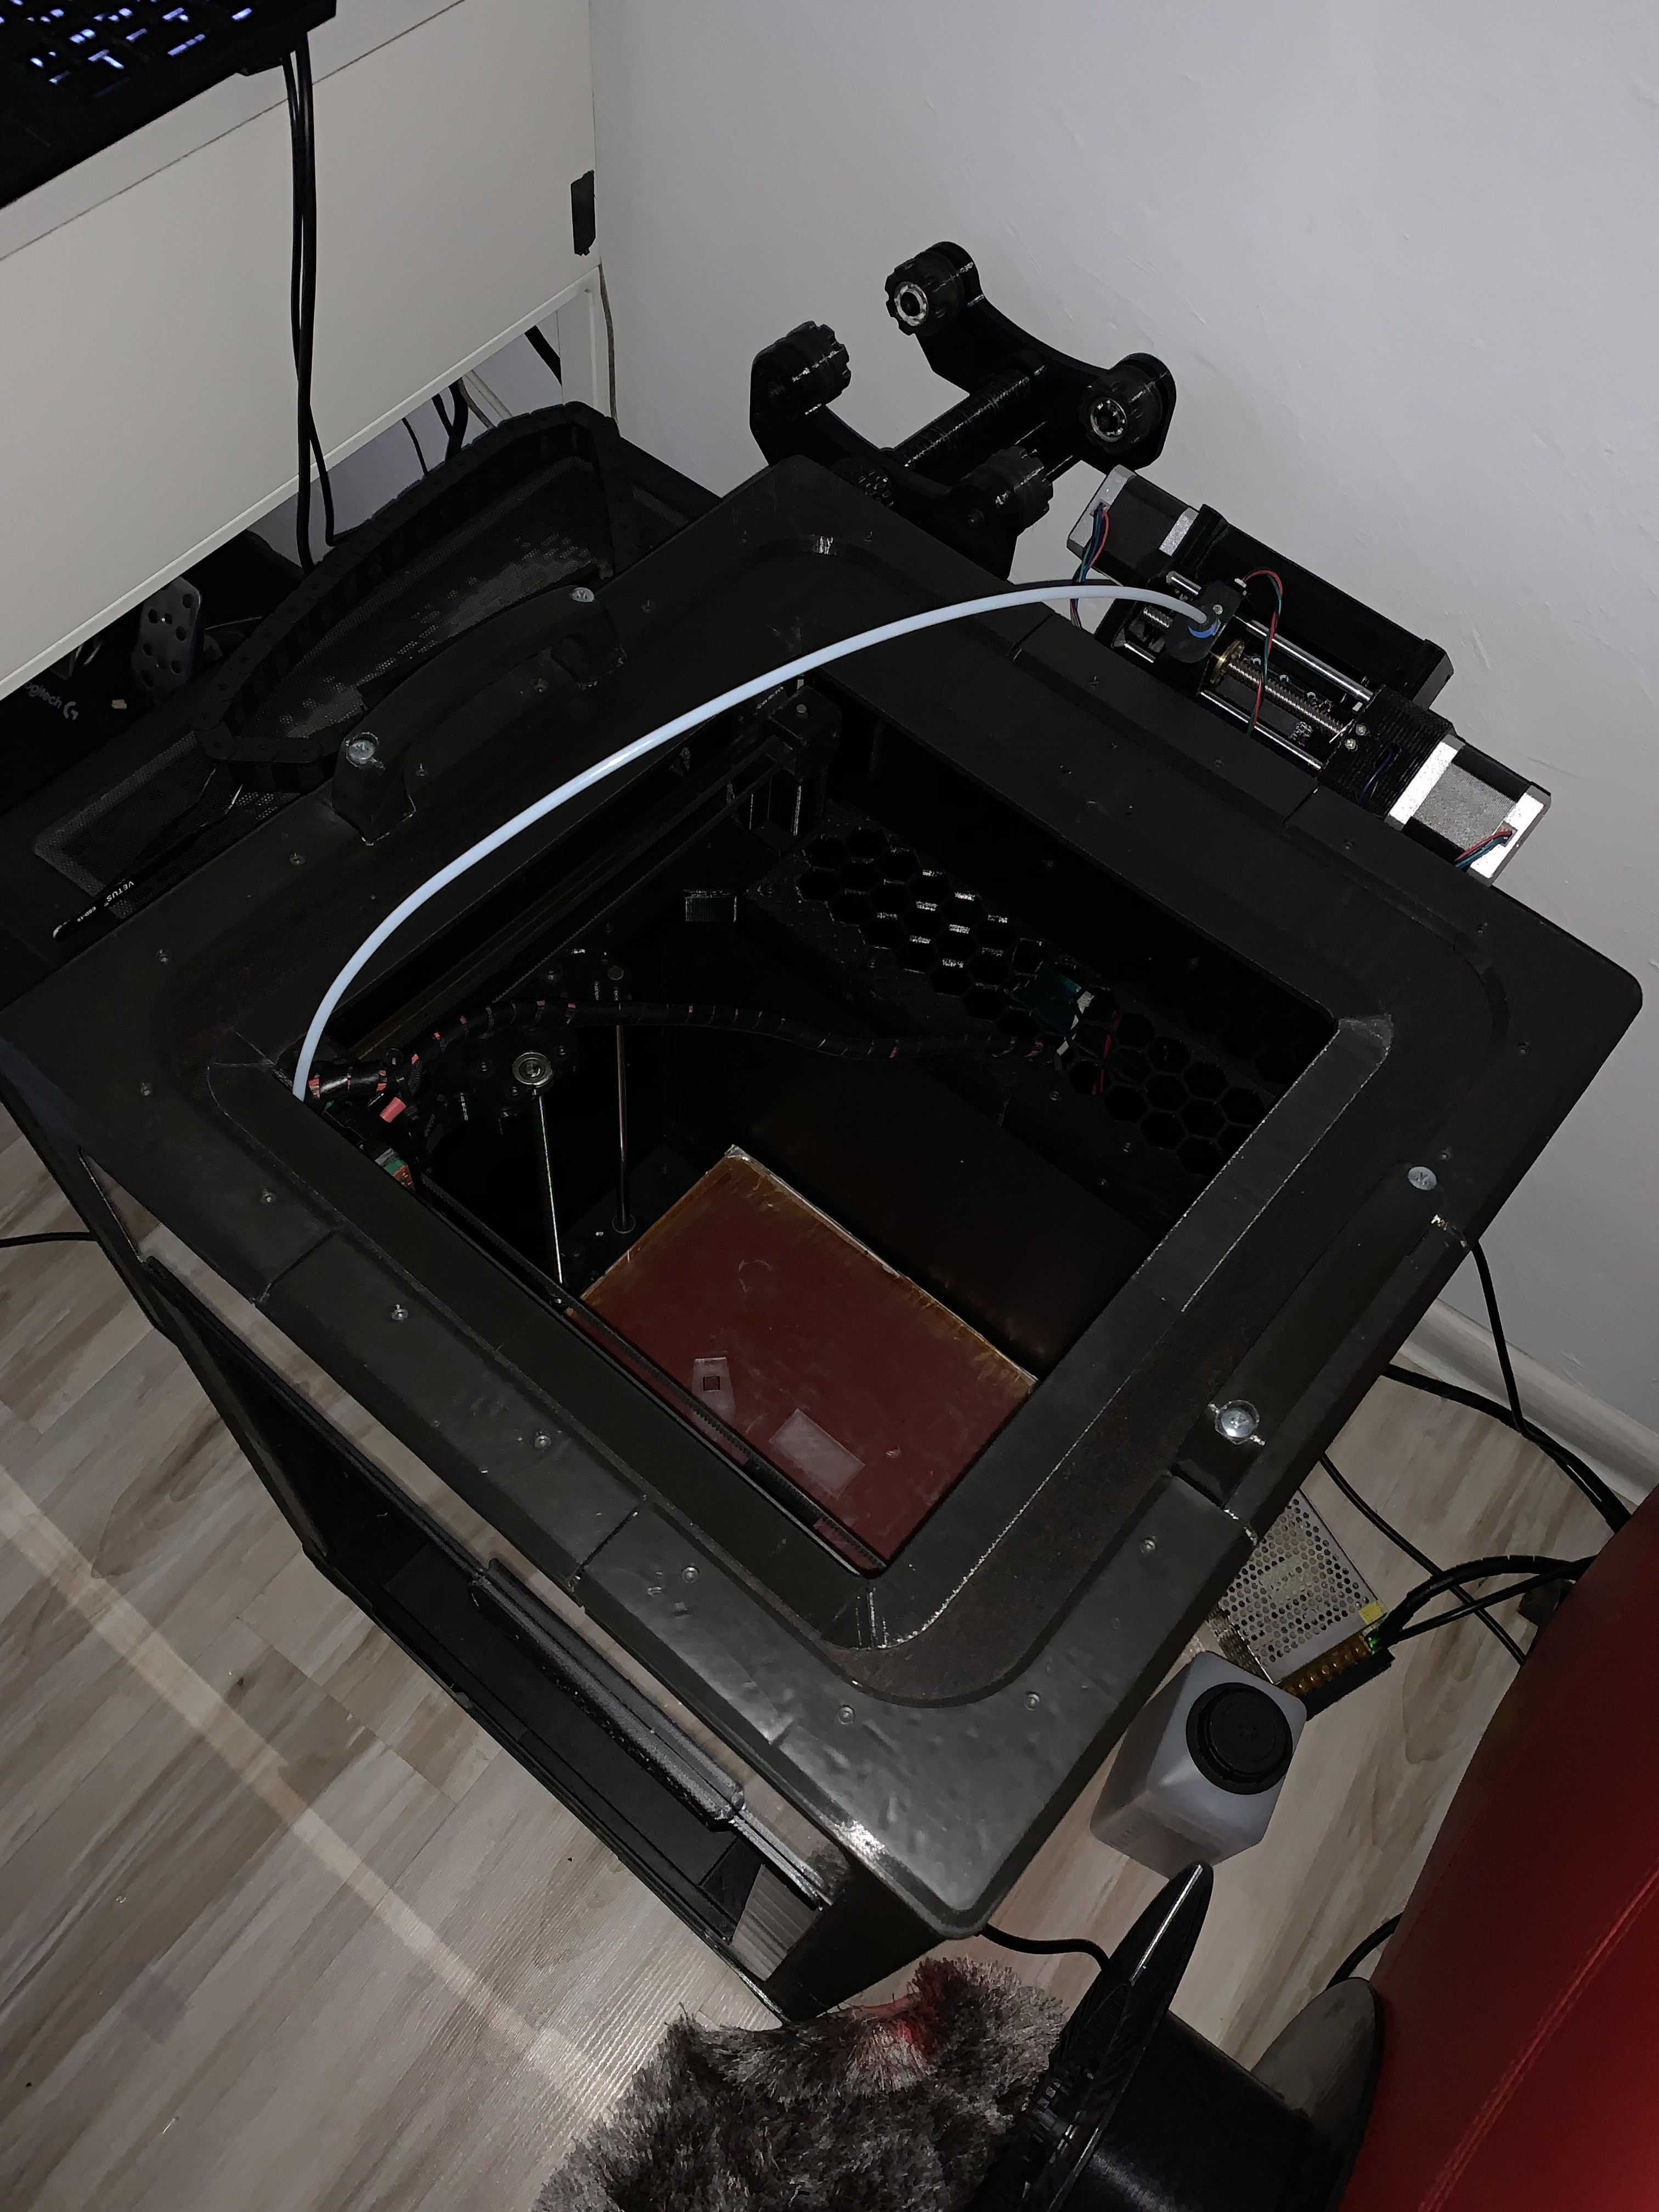
So i tried to overcome this problem with an hobby servo wiper arm that could move the purged filament to a waste bin. 4 prototypes made and all with same major problem... At some point of moving the wasted filament from nozzle to waste bin it occasionally liked to jam in the wiper arm.
From the begining i wanted to use some kind of trap door mechanism. The fifth prototype was operational so i could test how much material needs to be wasted for single change of filament.
![]()
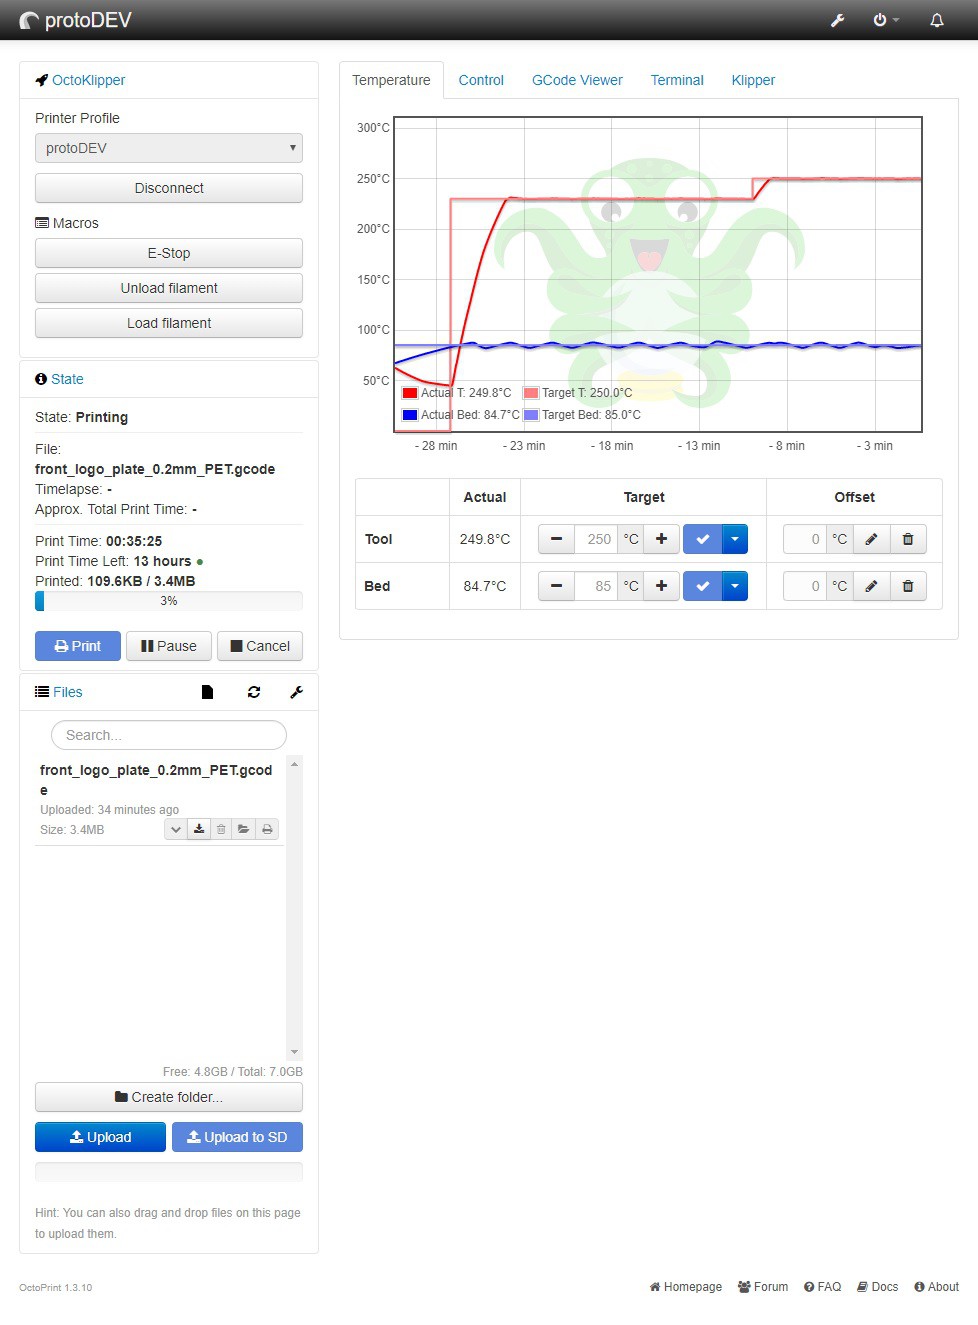
I'm using e3d volcano nozzle so it's quite long so i'm purging 70mm of extruded filament for each color or material change.
With this purge method i can now print simple dual color stuff without wasting much of material
![]()
But if i need to print something more complex (with a lot color/meterial) changes the wasted material weight should be comparable to wipe tower method.
Another problem that may occur is that when the waste bin gets full i would make the print fail.
Need to make more tests to take a deeper look to find a solution for this.
-
MMU2 more progress
04/18/2019 at 19:08 • 0 commentsWhen working with MMU2 the most important thing is that the melted filament tip need to have a proper shape and diameter so it doesn't jam the extruder or the pfte tube. I'm working most of time with PET-G so i had a lot of stringing problems when unloading the filament. At first i've tested few g-code sequences that moves the filament from hot to cold zone trying to shape the tip but that was not enough. At second attempt i've lowered the hotend temperature to 220°C right before unload sequence and back to normal temp right before filament loaded... and now it is working good.
![]()
The last thing i need to do right now is the wipe towers postprocessor script for slic3rPE
-
MMU2 progress
04/13/2019 at 15:40 • 0 comments![]()
Multi material upgrade port is now operational but not perfect. I need to spend more time on config file.
The melted filament tip needs some proper unload gcode so it can be formed with sharp shape and diameter as close to original 1.75mm.
I think i need to add a sequence so the filament can cool down a little in the ptfe tube before it's moved past bondtech drive gear.
Without changes in unload gcode right now the filament can be loaded and unloaded only once without jam. Any additional filament change jams most of times.
![]()
This wasn't the only problem...
Klipper firmware doesn't support single nozzle multi material system like mmu2.
You have a shared heater function but You need to add additional extruder motors for every tool... And no... they can't have the same pinouts as main extruder. So i've added a lot of additional gcode commands for tool changing. The mmu2 unit working on secondary smoothieboard in multi mcu configuration using manual_stepper function.
The next problem was the slic3r. PE.. Integrated wipe towers works only with original mmu2. Workaround for this is to add manually prepaired purge-tower.stl for every tool and use "purging into part" function.
But that's not all... When klipper firmware gets a tool selection command from host other then "T0" and You don't have that tool in config it will not skip this gcode... it stops printing (for safty matters). So every sliced .stl needs to be postprocessed with a script. I've changed all tool names to from T0 to CT0, T1 to CT1 etc. for current tool. Also added PT0, PT1 etc. for previous_tool slic3r placeholder, so the filament selector could know what to do.
-
latest update
04/06/2019 at 11:51 • 0 commentsSome I've made some photos showing the latest progress on the project.
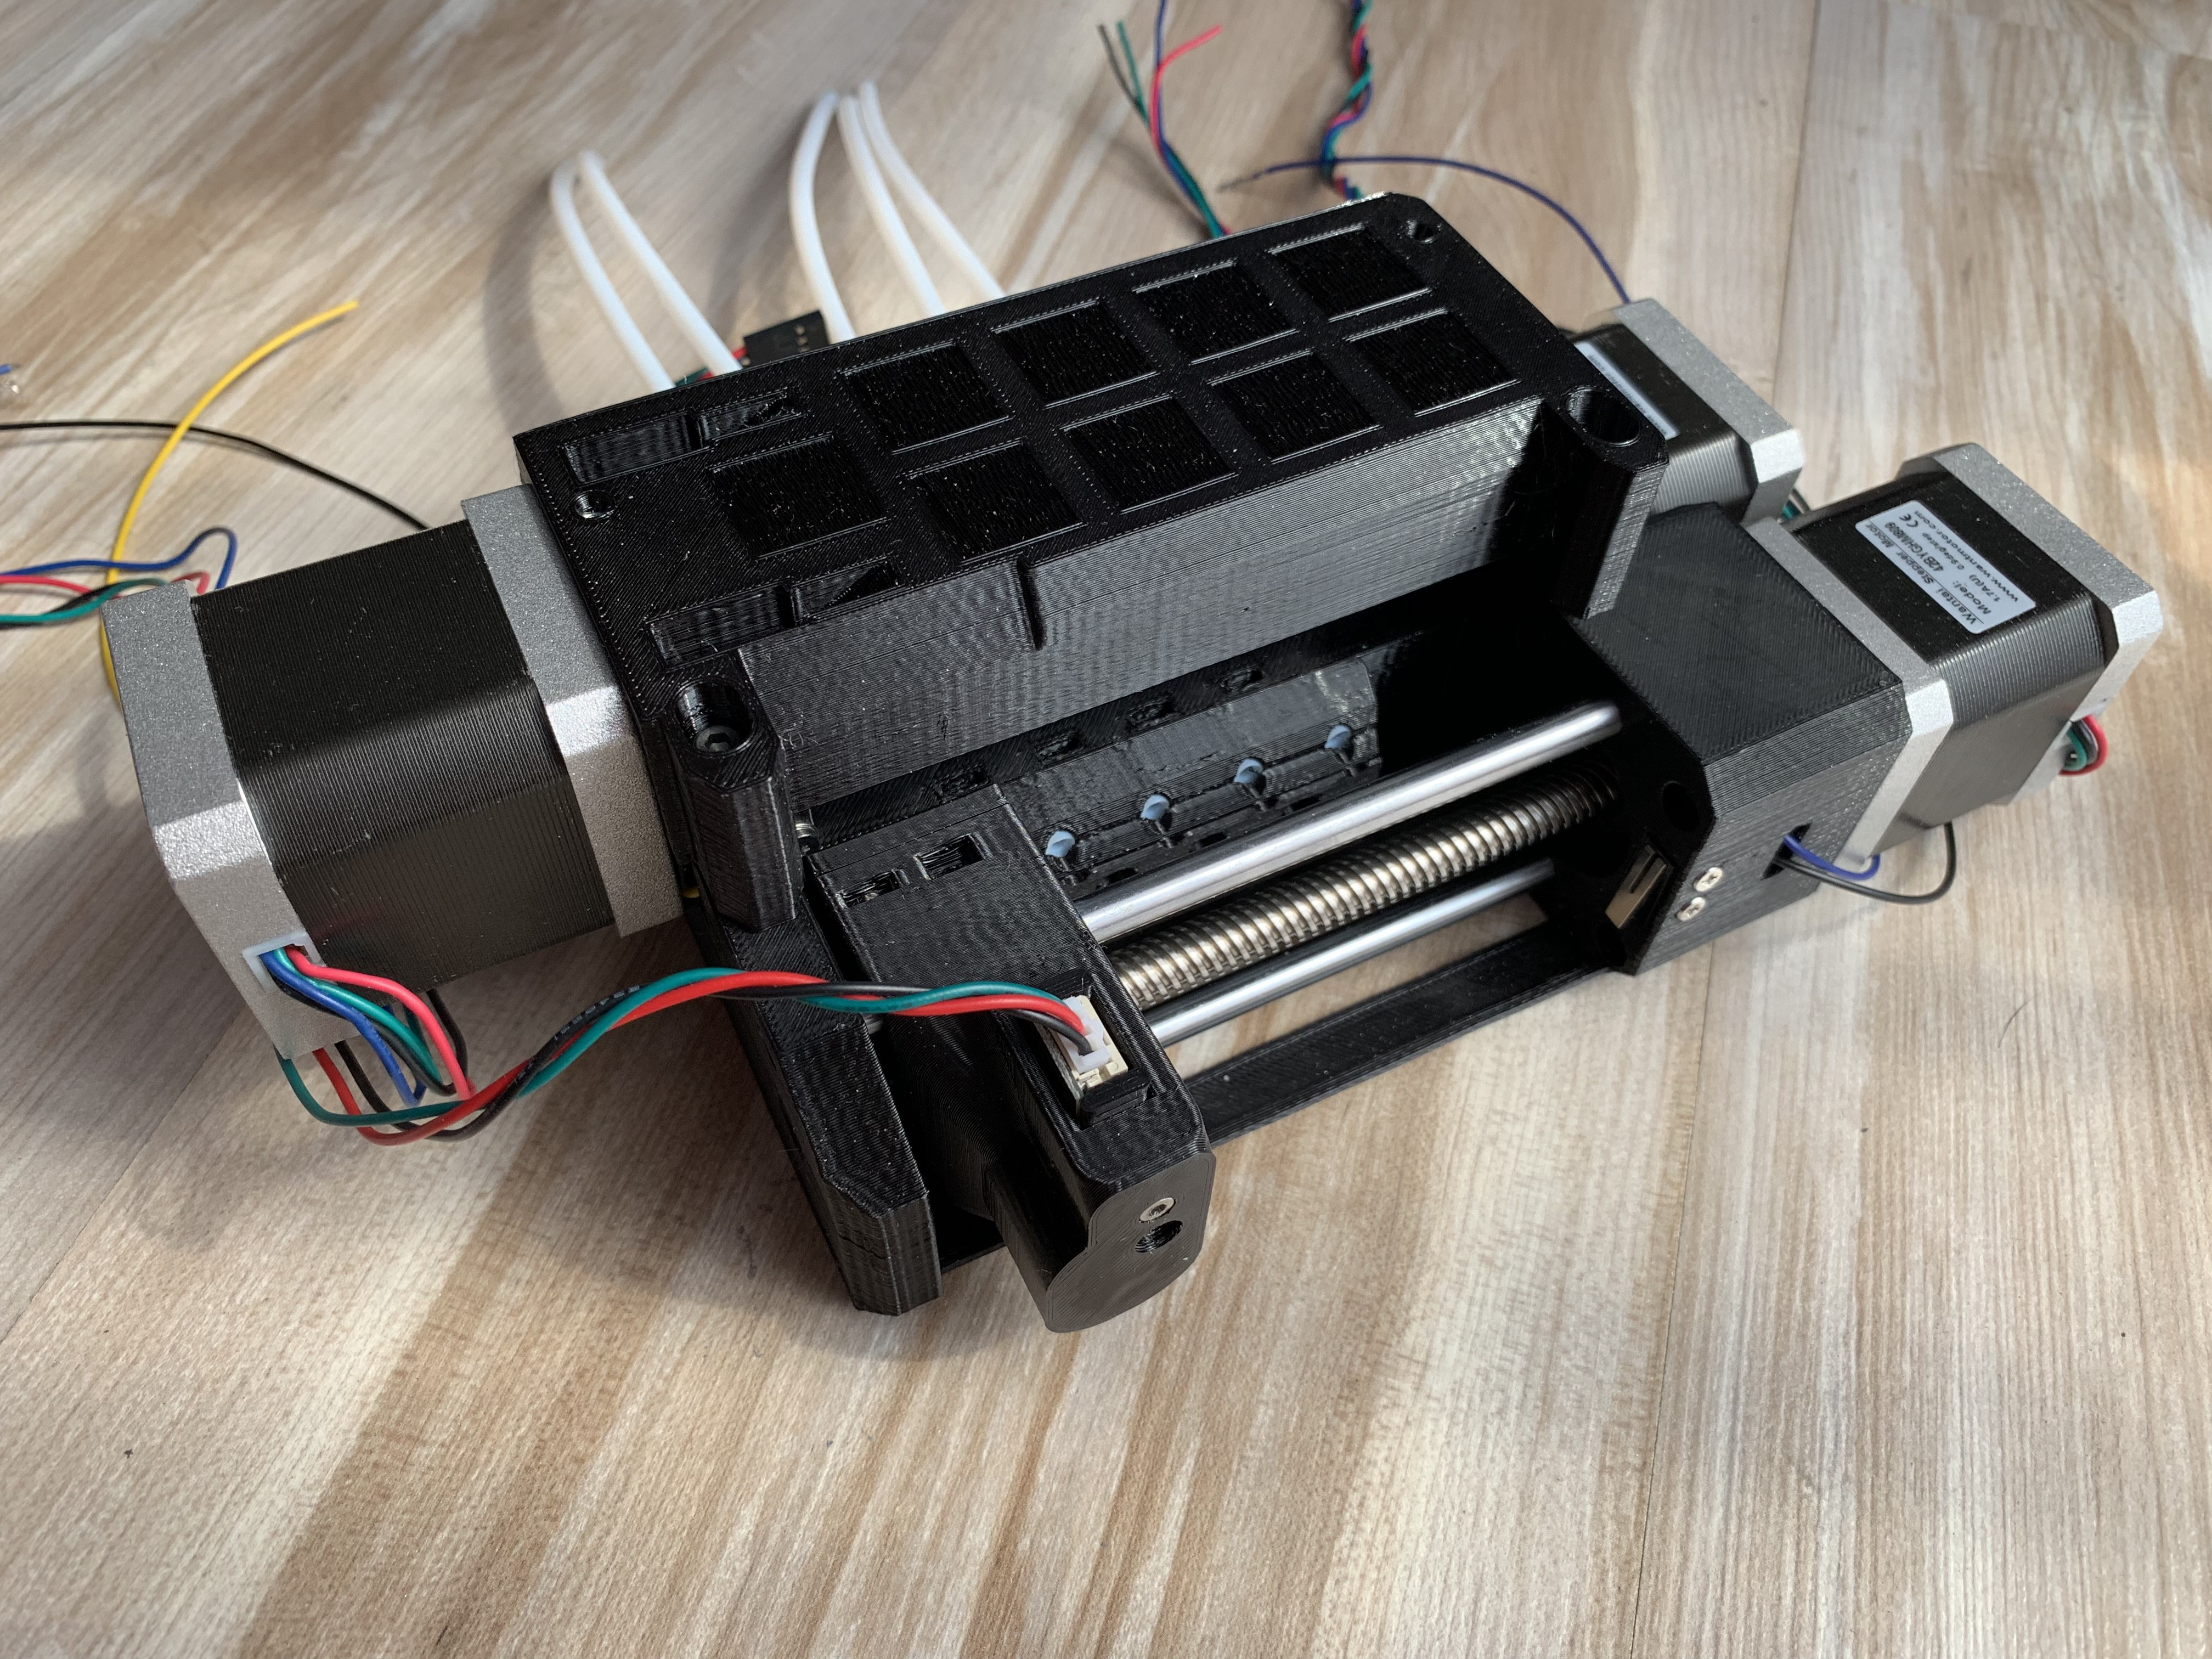
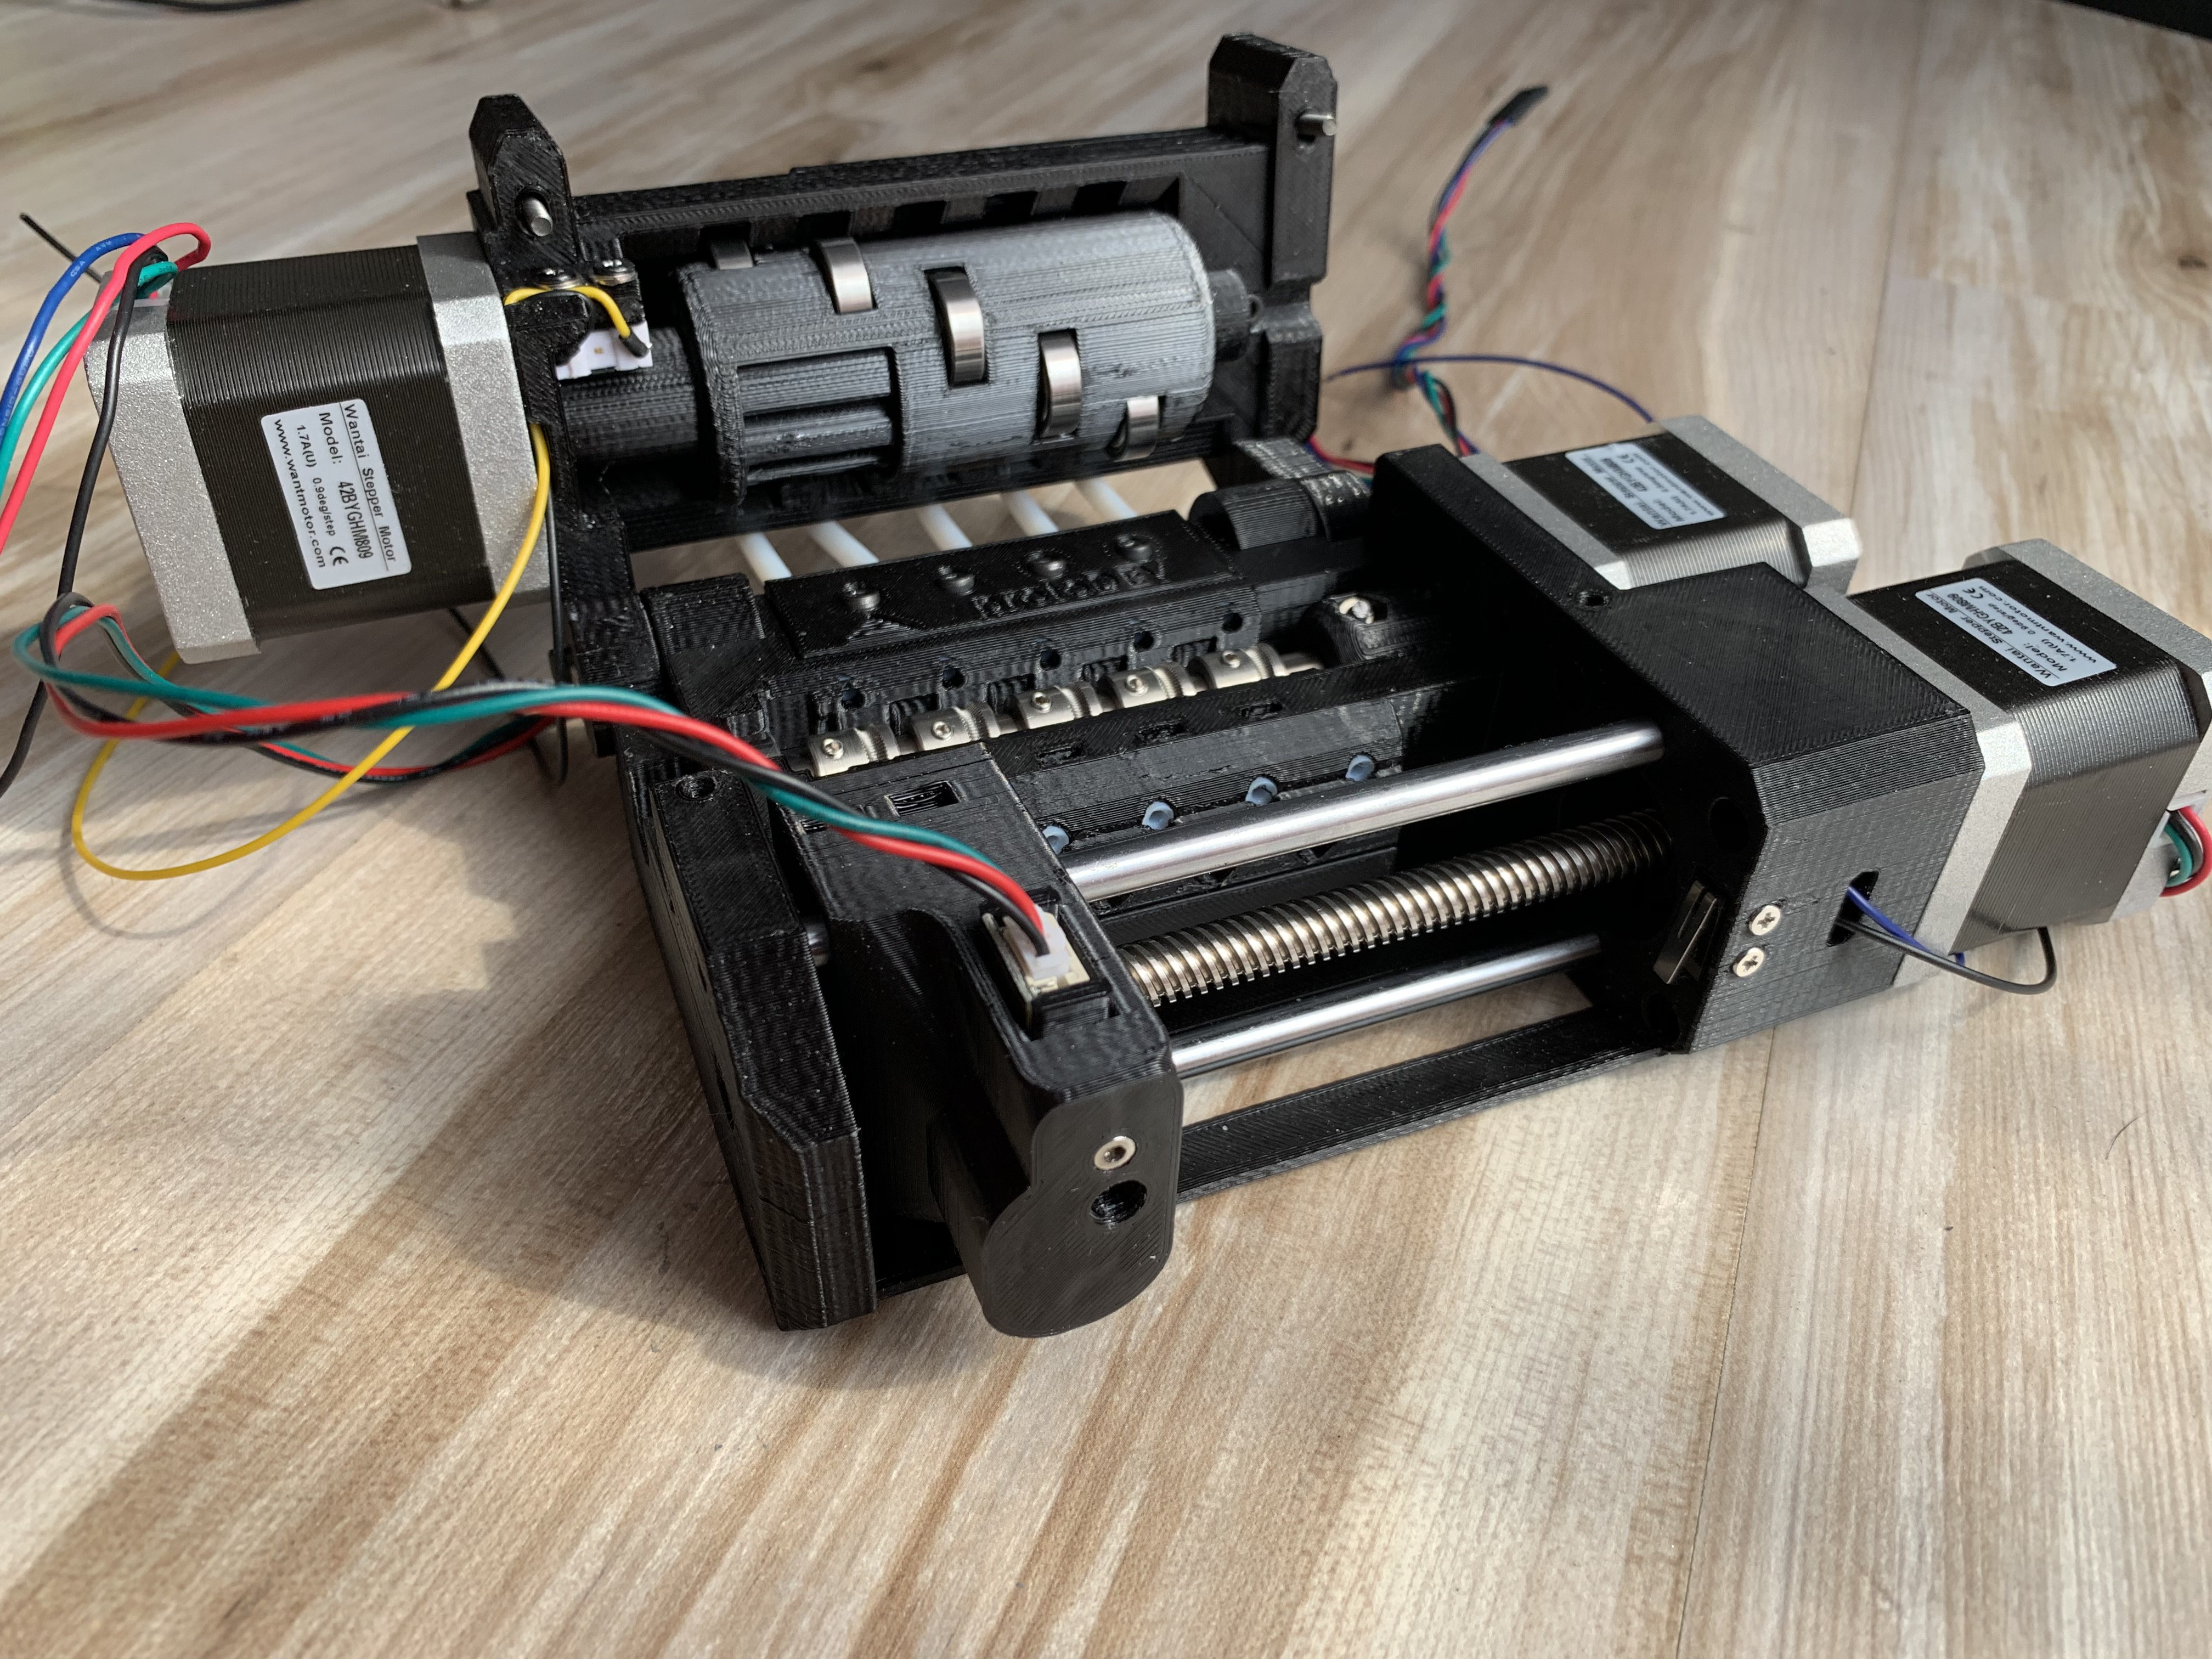
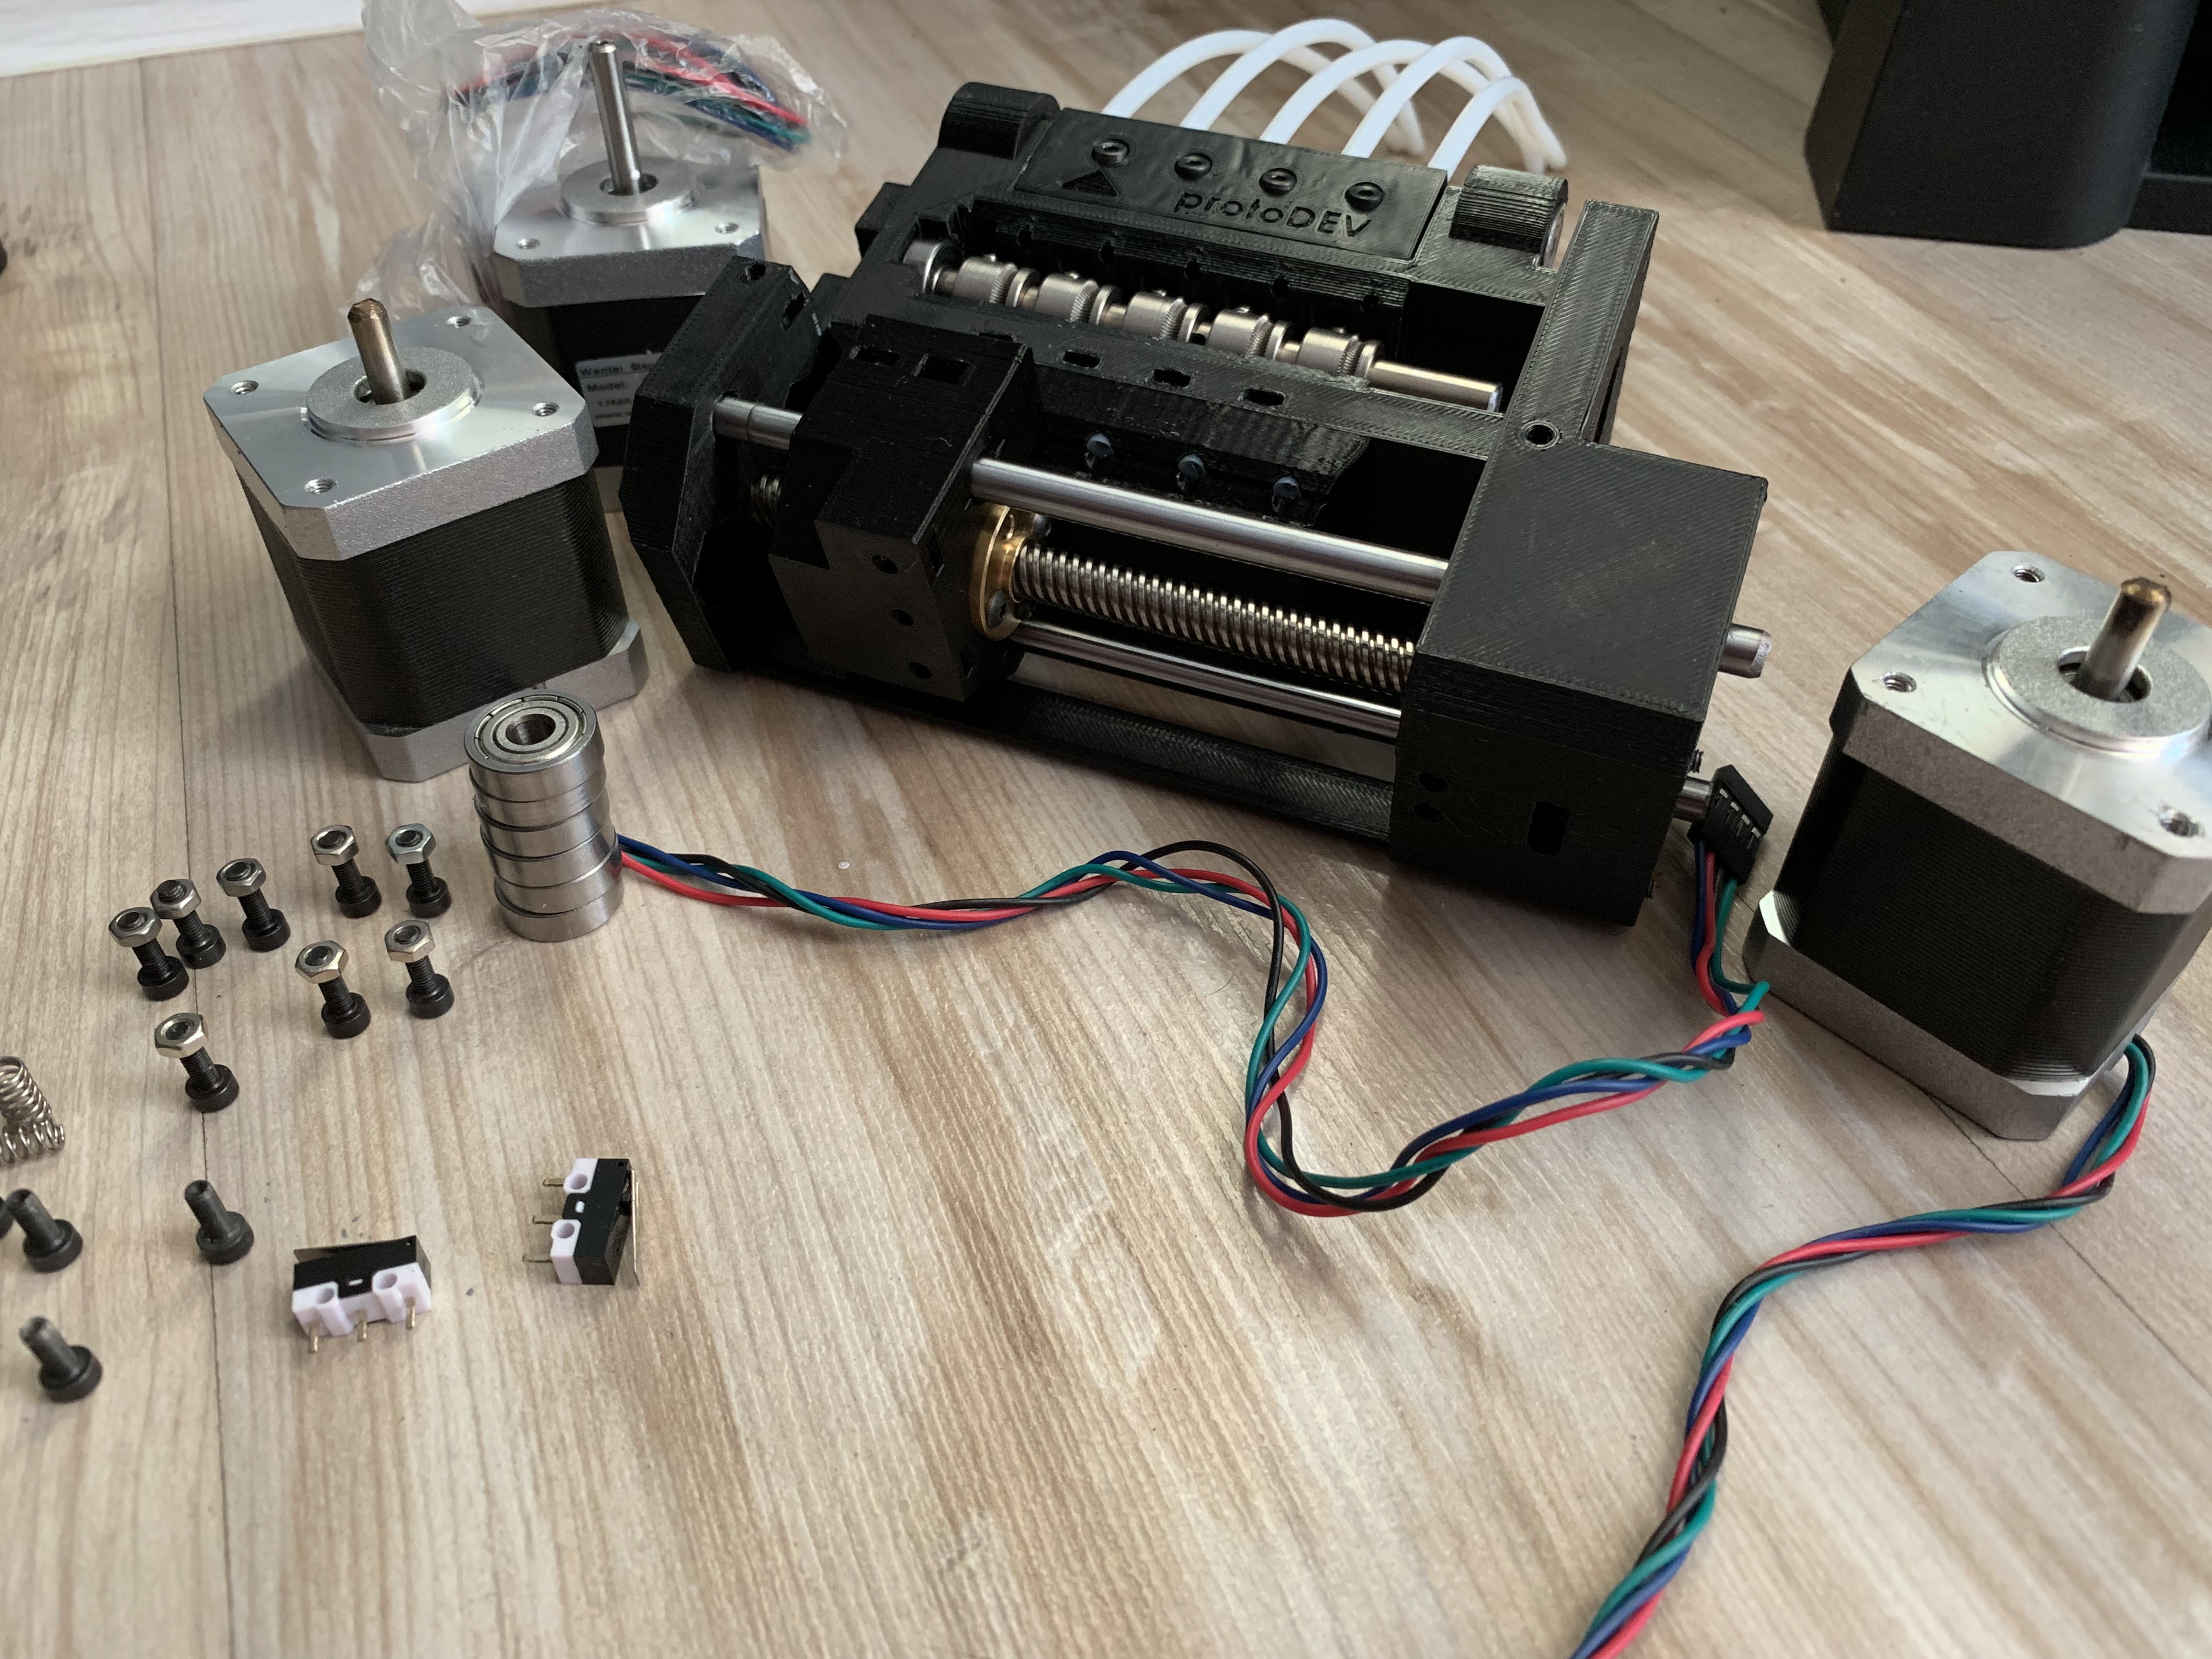
MMU2 from mechanical point is done. All endstops are operational. Only thing left is the board.
![]()
![]()
Made also a cover for the klipper main board that connects to the printer like in a hub
And the printer in overall looks like this now:
![]()
-
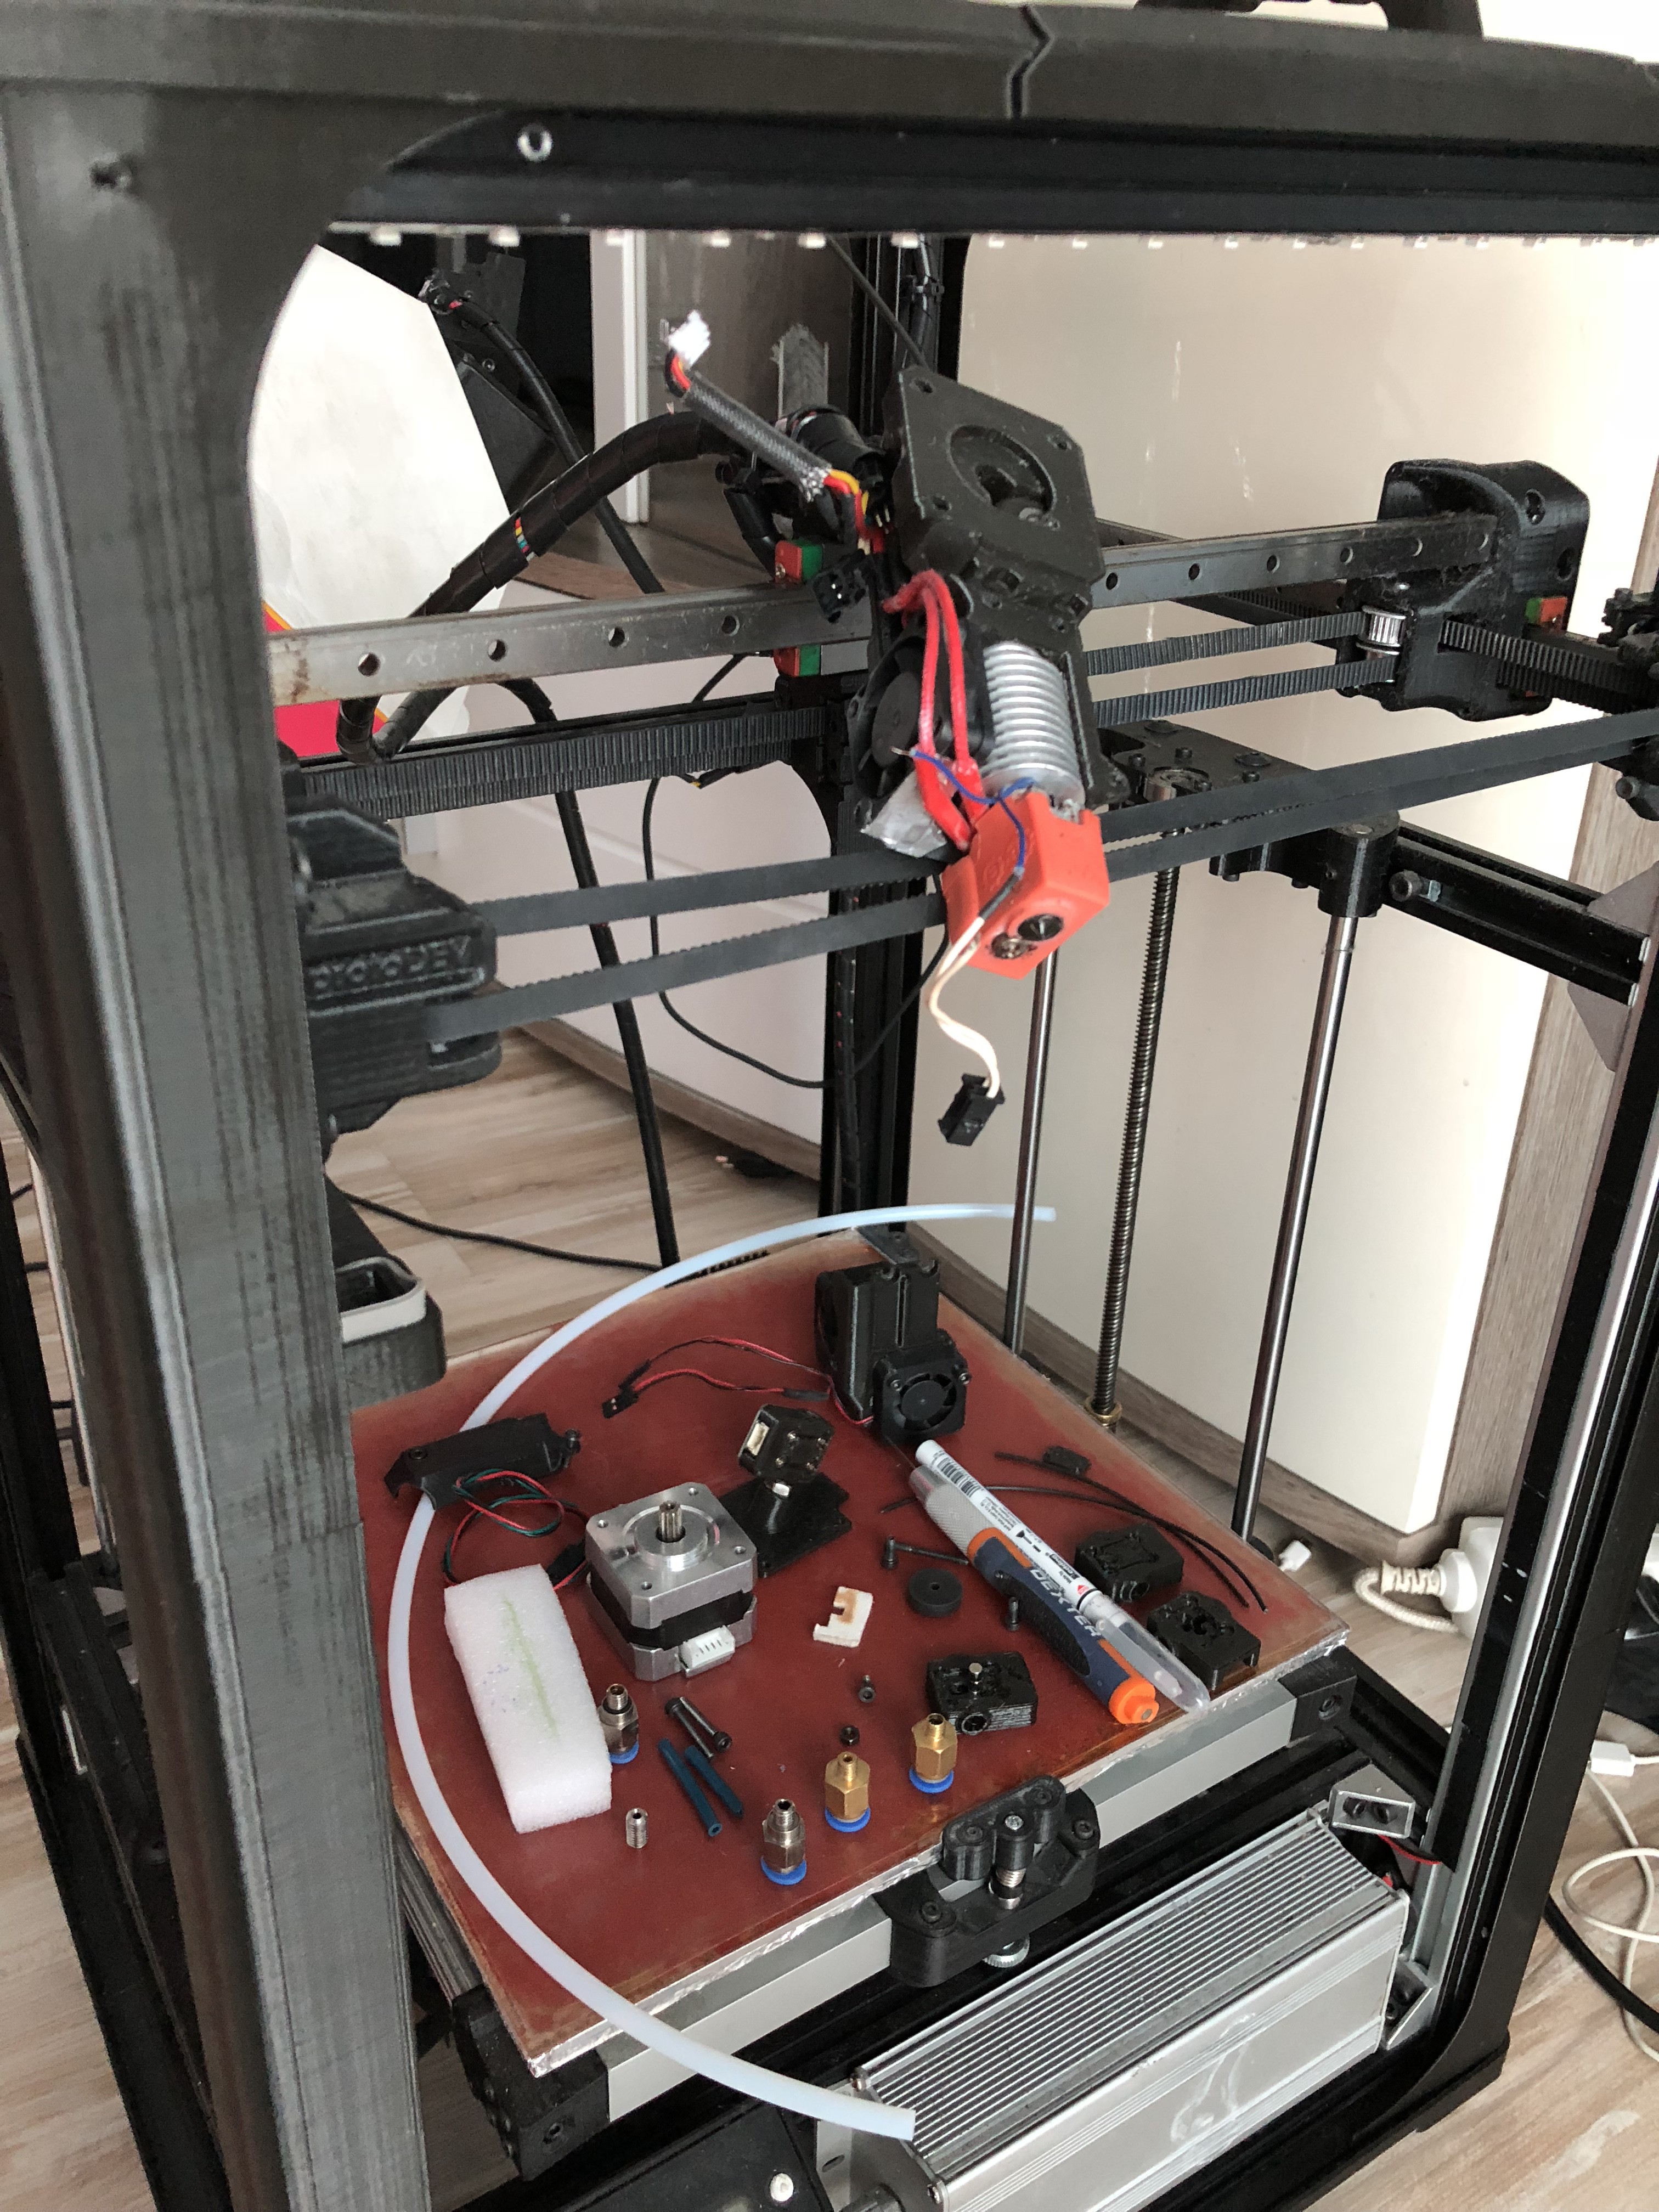
MMU2 adaptation - WIP
04/04/2019 at 16:07 • 1 commentSince the printer is klipper firmware and i have about 9 Sunbeam 2.0 boards laying in boxes waiting and for assingment. I thought that i can try to adapt mmu2 system to work on klipper multi mcu option.
Right now i'm working on the parts in Solid and 3dprinting.
It will be little different from original prusa mmu2 but only there where it's needed. I don't want to buy any parts and try to use what i have (got a lot of parts).
![]()
-
Klipper firmware
03/28/2019 at 10:16 • 0 commentsFor last months was trying hard to make any additional progress in print quality and speed without any success.
When printing with PET i couldn't get any faster than 8mm3/s without artifacts (mostly under extrusion). In addition printing infill couldn't go beyond 110mm/s (and solid infill 130mm/s).
All this was caused by changes of pressure in nozzle (for example: to small when fast accelerating and then high when decelerating).
Most of firmware's available have algorithms for this... but guess what smoothieware... not
When it comes to "features" smothieware developers don't like to follow any trends (speaking nicely) and most of time telling users that if they want something they can write it on theire own. It's opensource so I could understand that in any other situation than this... This is smoothieboard running smoothieware - "high performance 32bit controller". Smoothie was built for speed and performance but without any pressure control for 3d printer's extruder in real life it's faster than "8bit grandma boards" only at travel moves.
I think 32bit "fast" controller needs pressure advance algorithm so it can achieve fast real word speeds - not only step rate matters.
So my only option was to write the pressure advance code for smoothiware (sic) or use any other firmware compatible with my boards.
After some research i thought the best for my machine will be Klipper firmware. After very simple config setup i can tell It works very nice with my smoothieboard's mcu (LPC1769).
![]()
Pressure advanced setup was very easy.
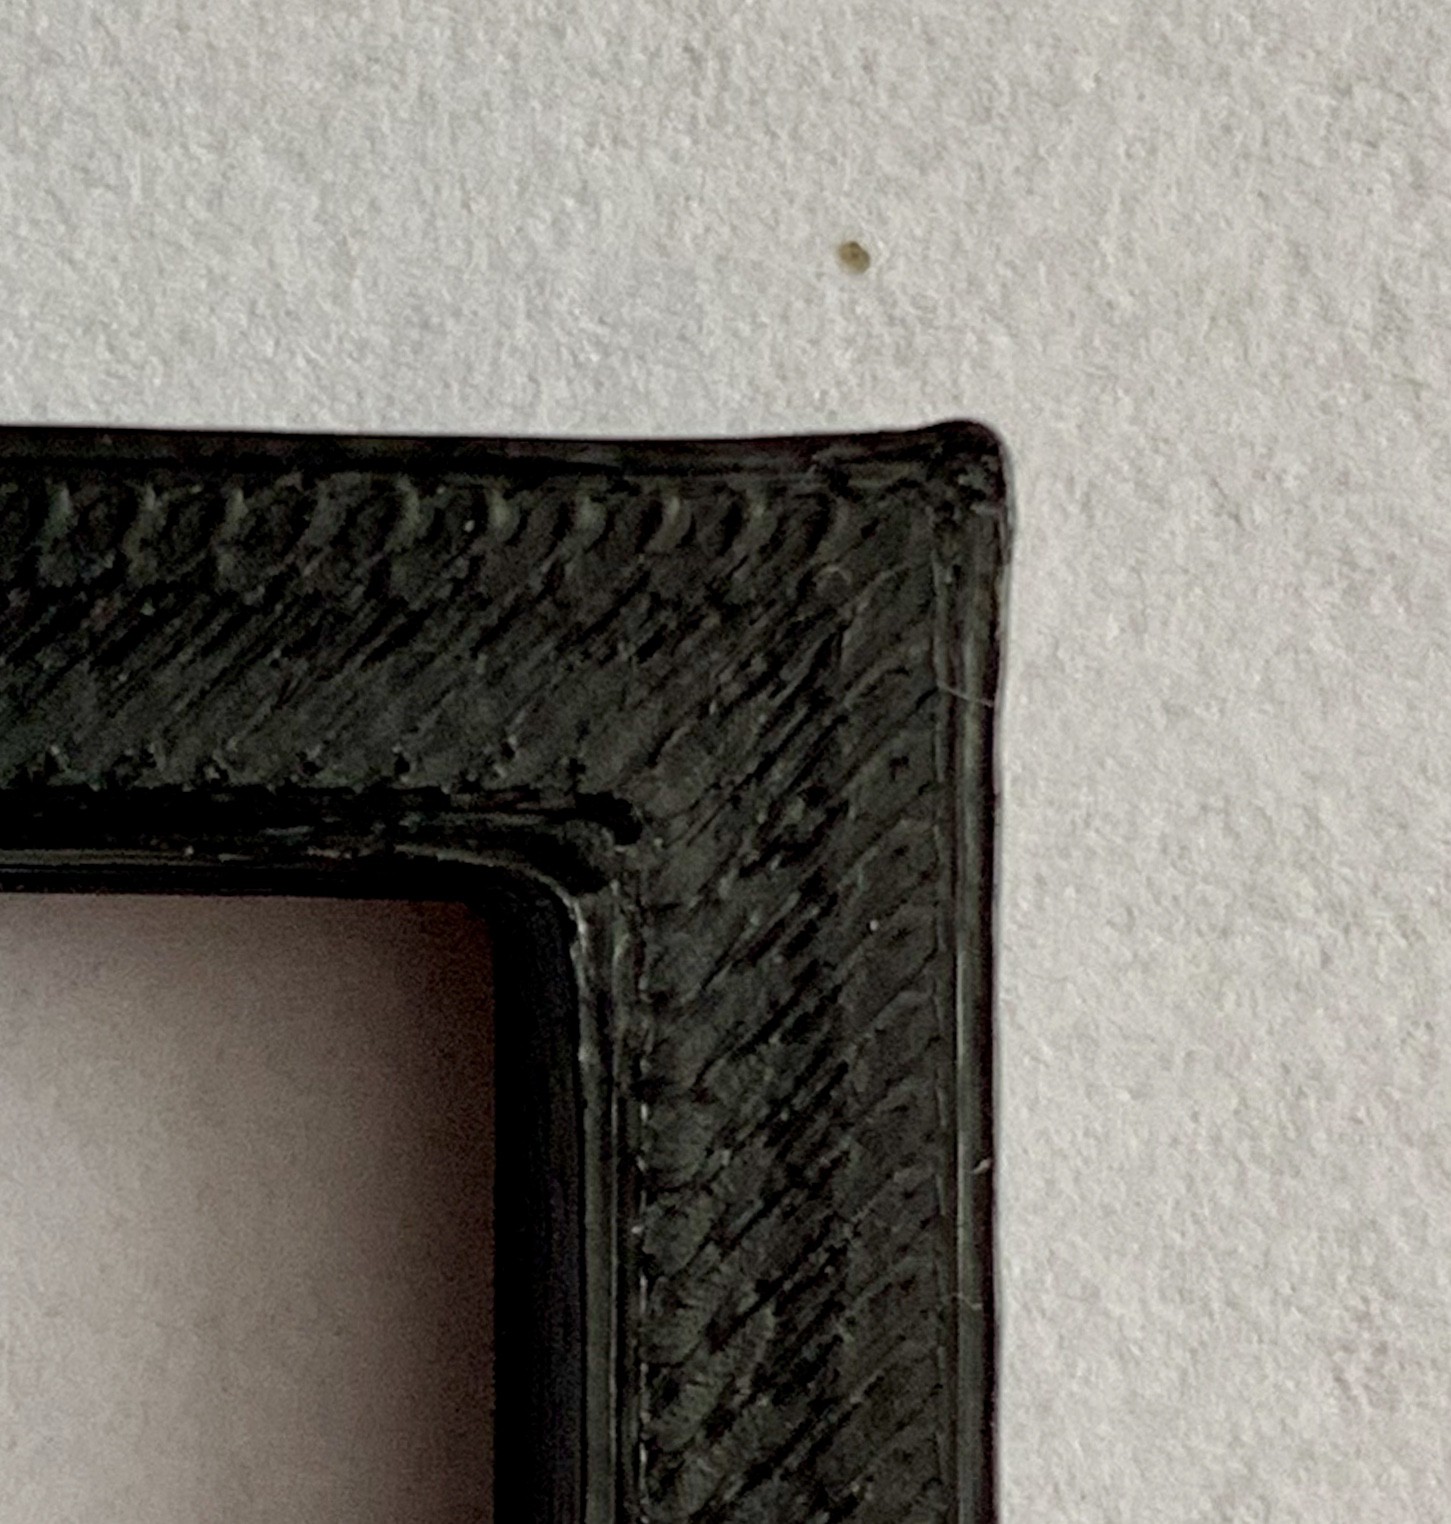
Corner without advanced:
![]()
default test setting
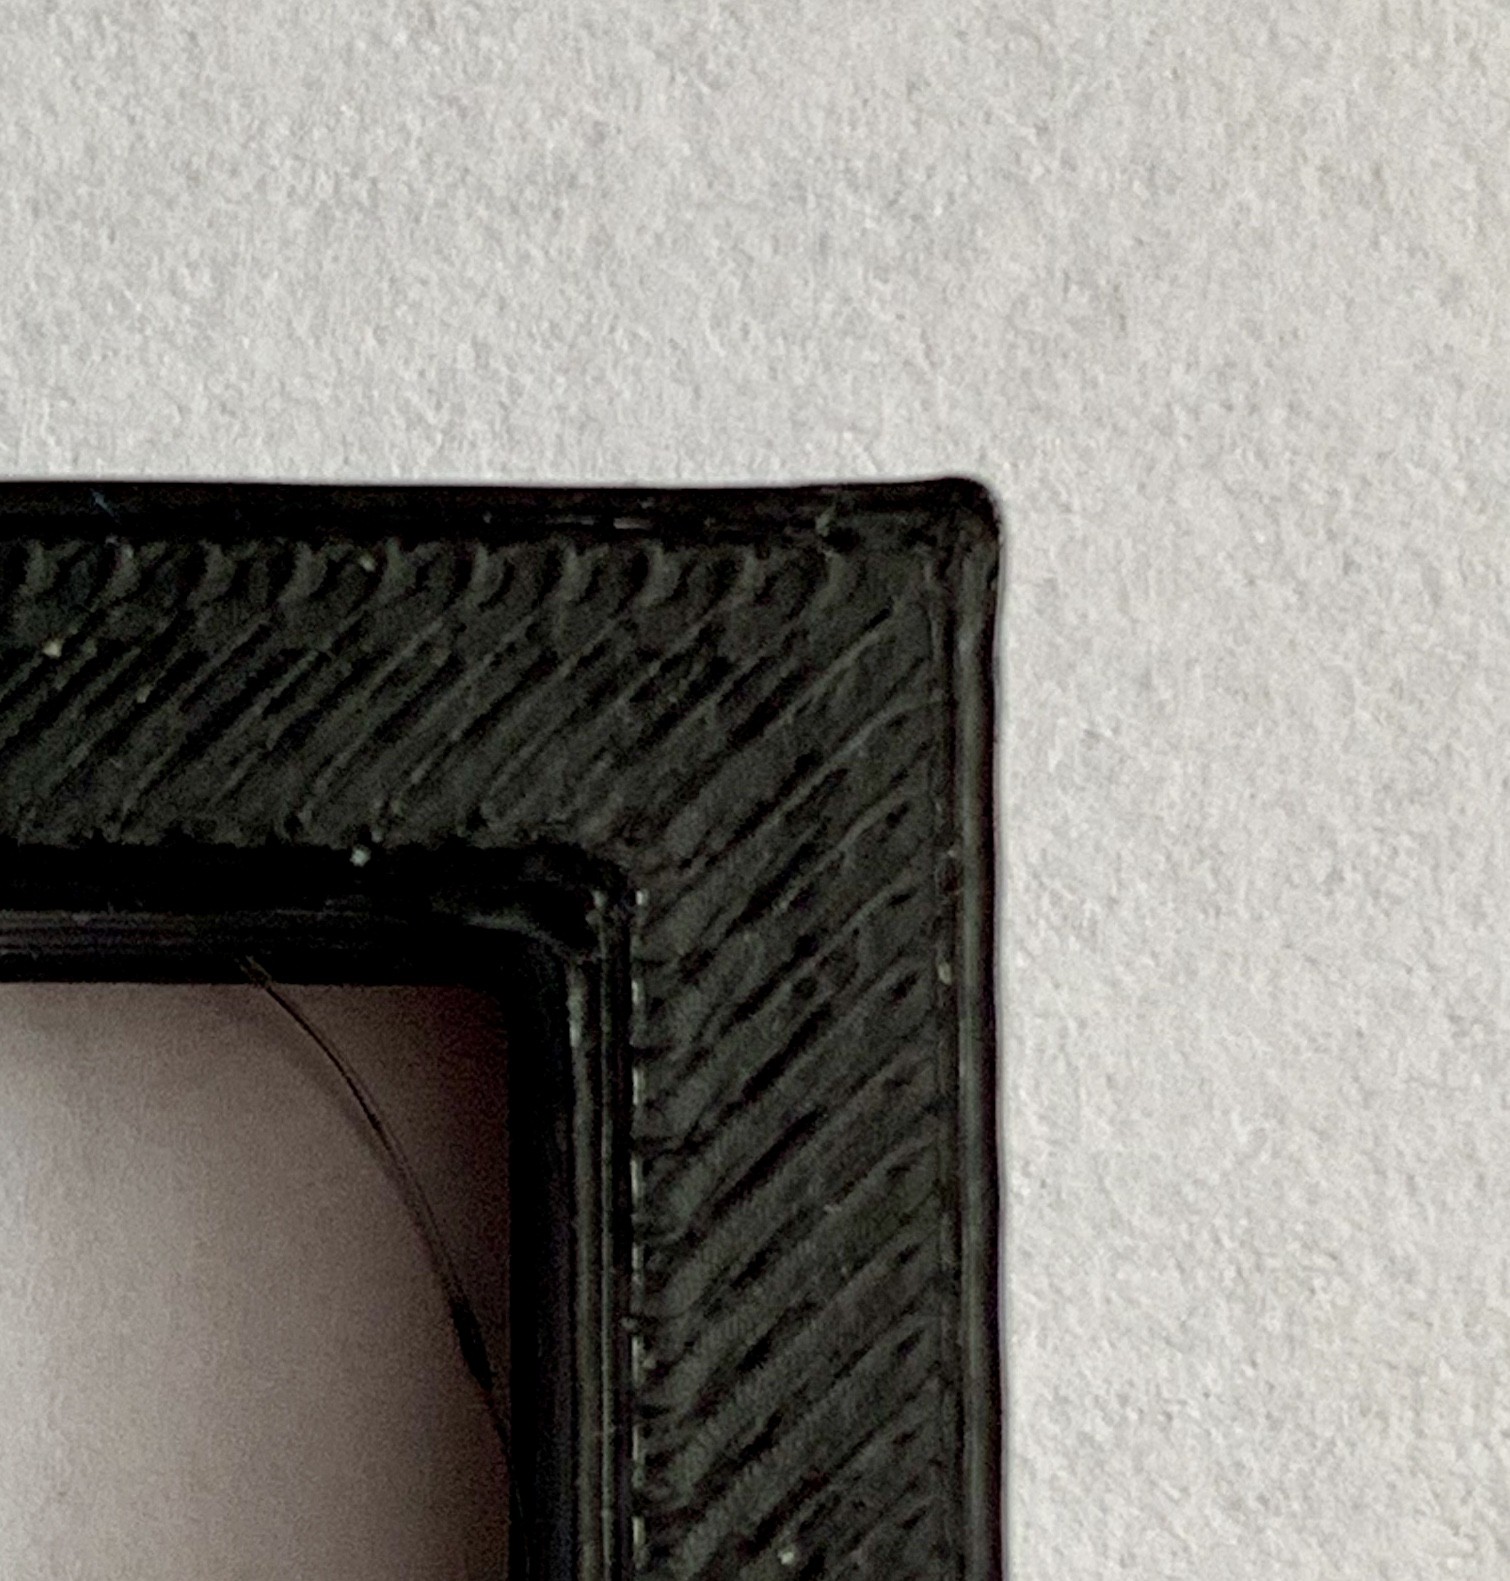
Advanced 0.05:
![]()
advanced 0.1:
![]()
and the last setting that make the corner look bad again
advanced 0.15:
![]()
Next i wanted to test how it works infilling big parts. I've printed 100x100 square at 150mm/s with pressure advanced 0.1 and infill was fine but the corners was little under extruded. So i've changed the pressure advanced to 0.07 and it printer a part like this:
![]()
Then i printed a igus style linear bearing for 6mm shaft:
![]()
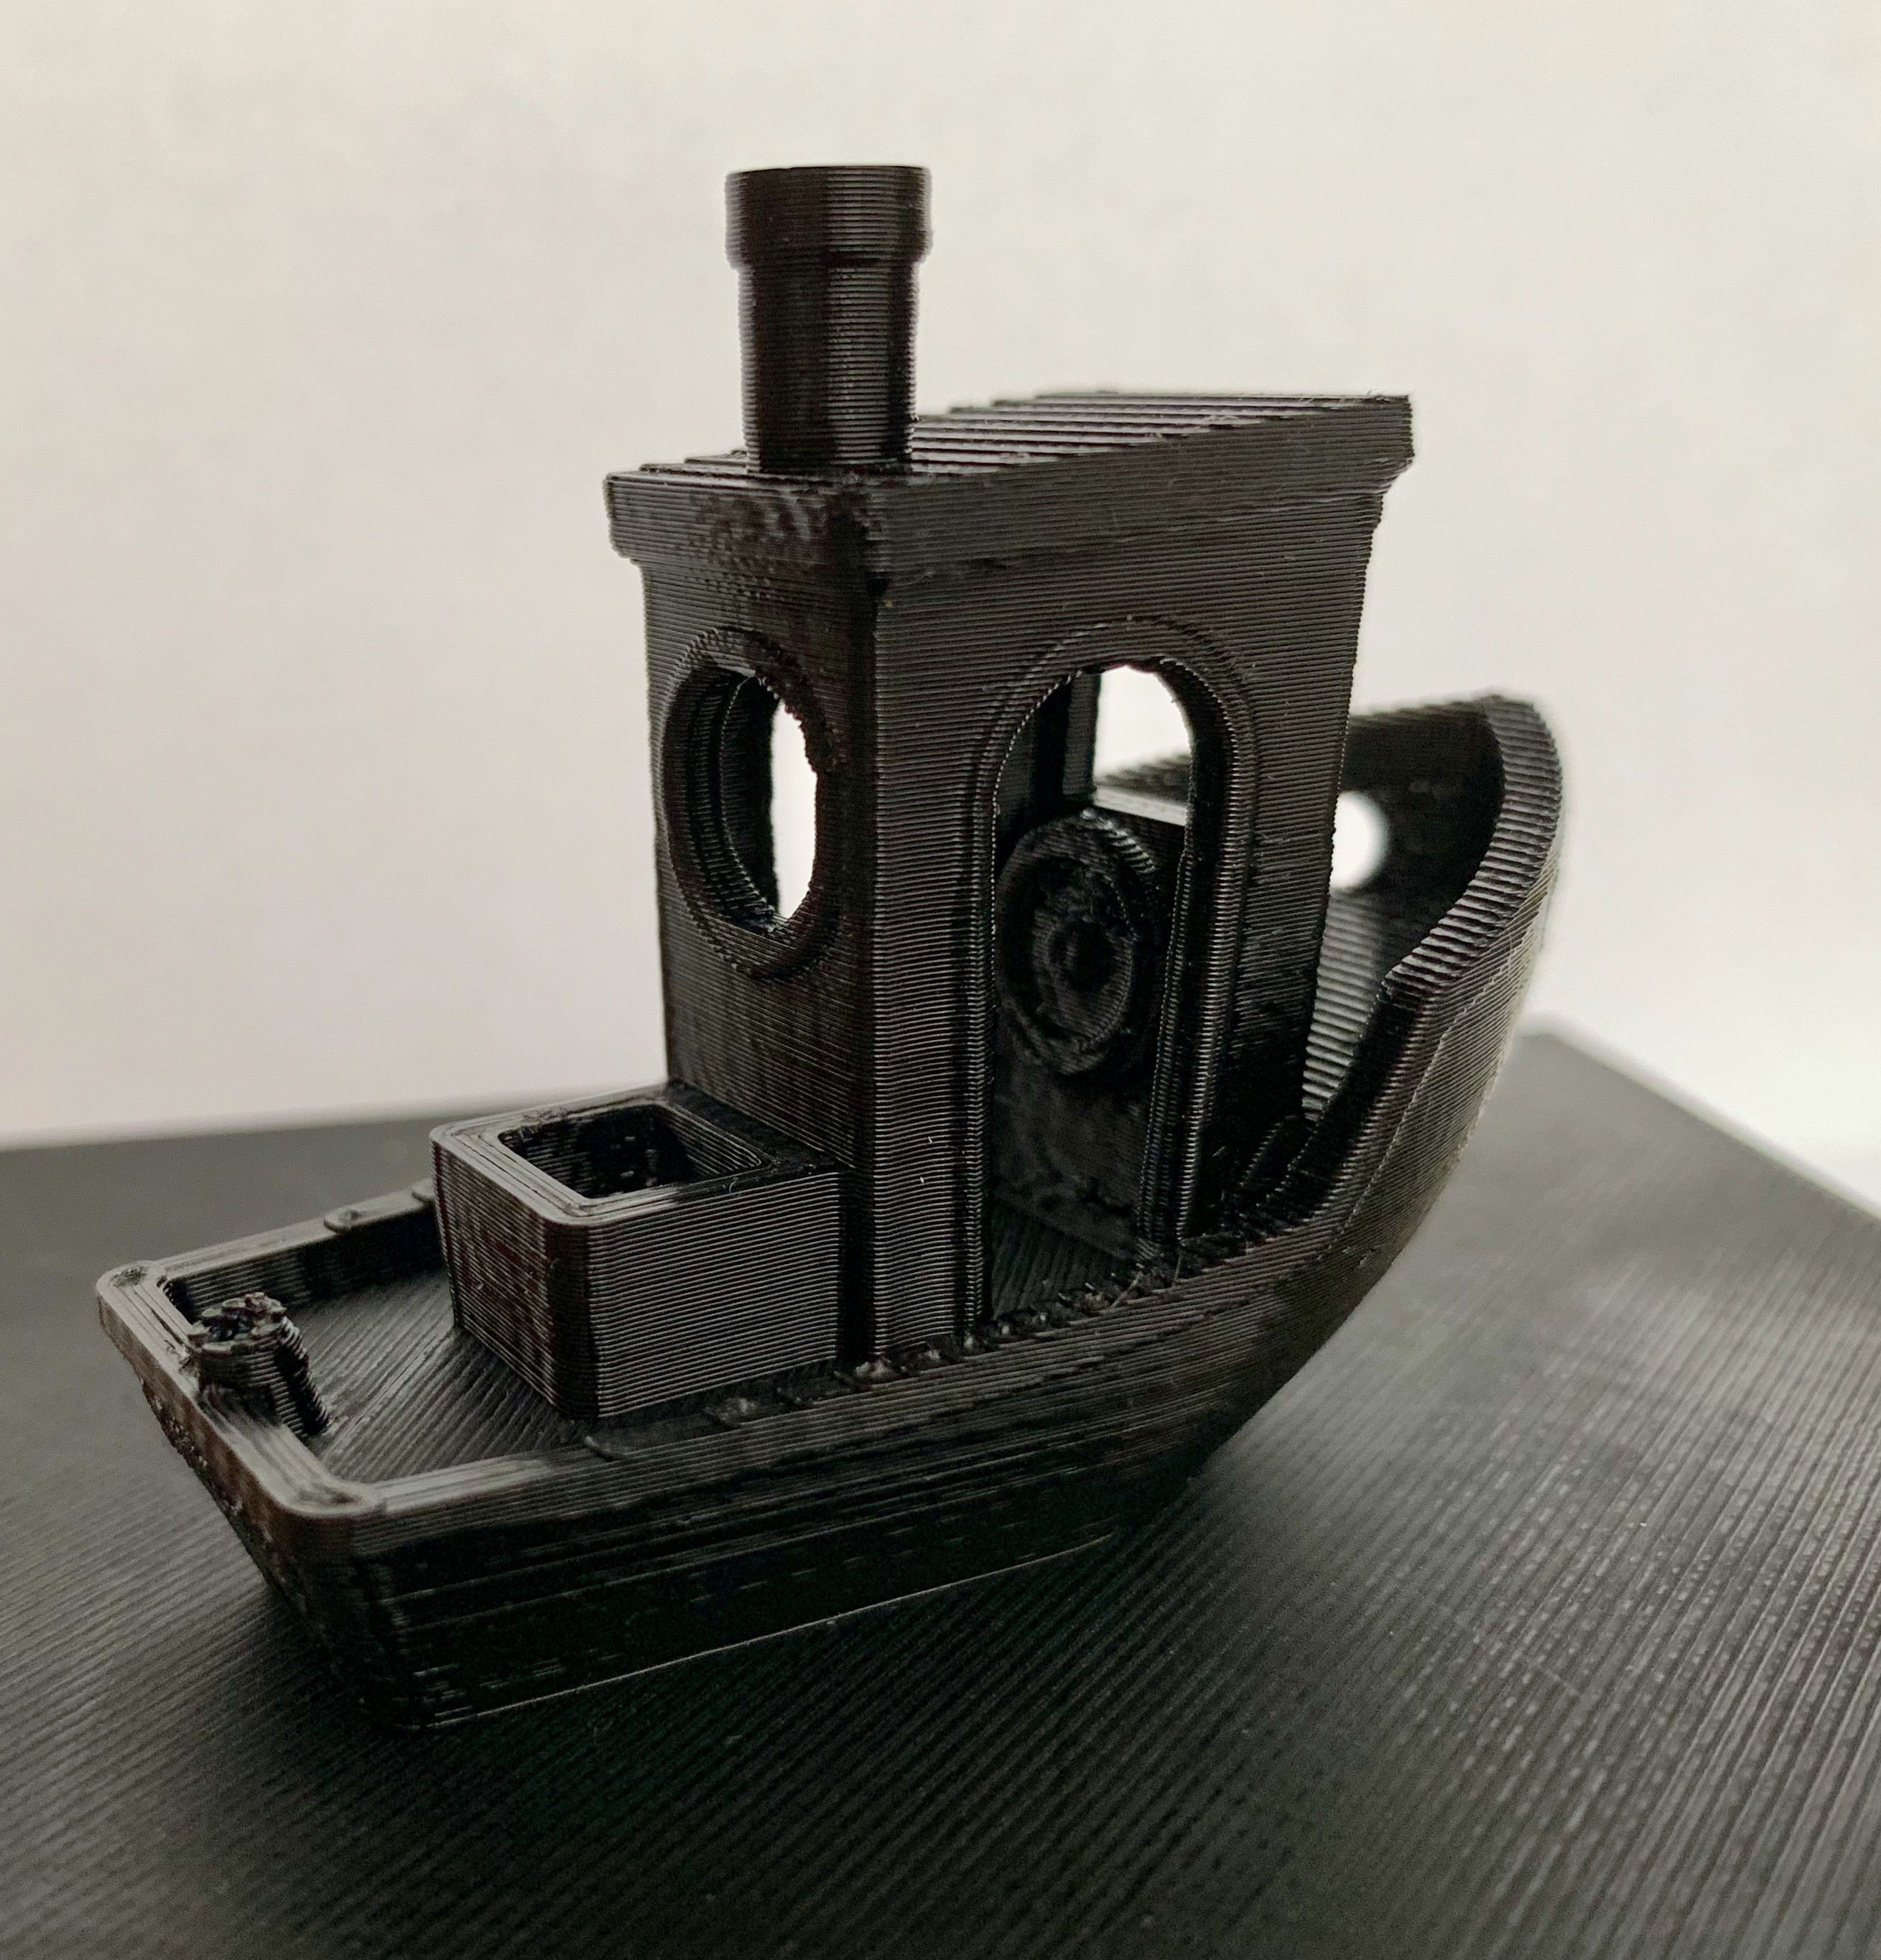
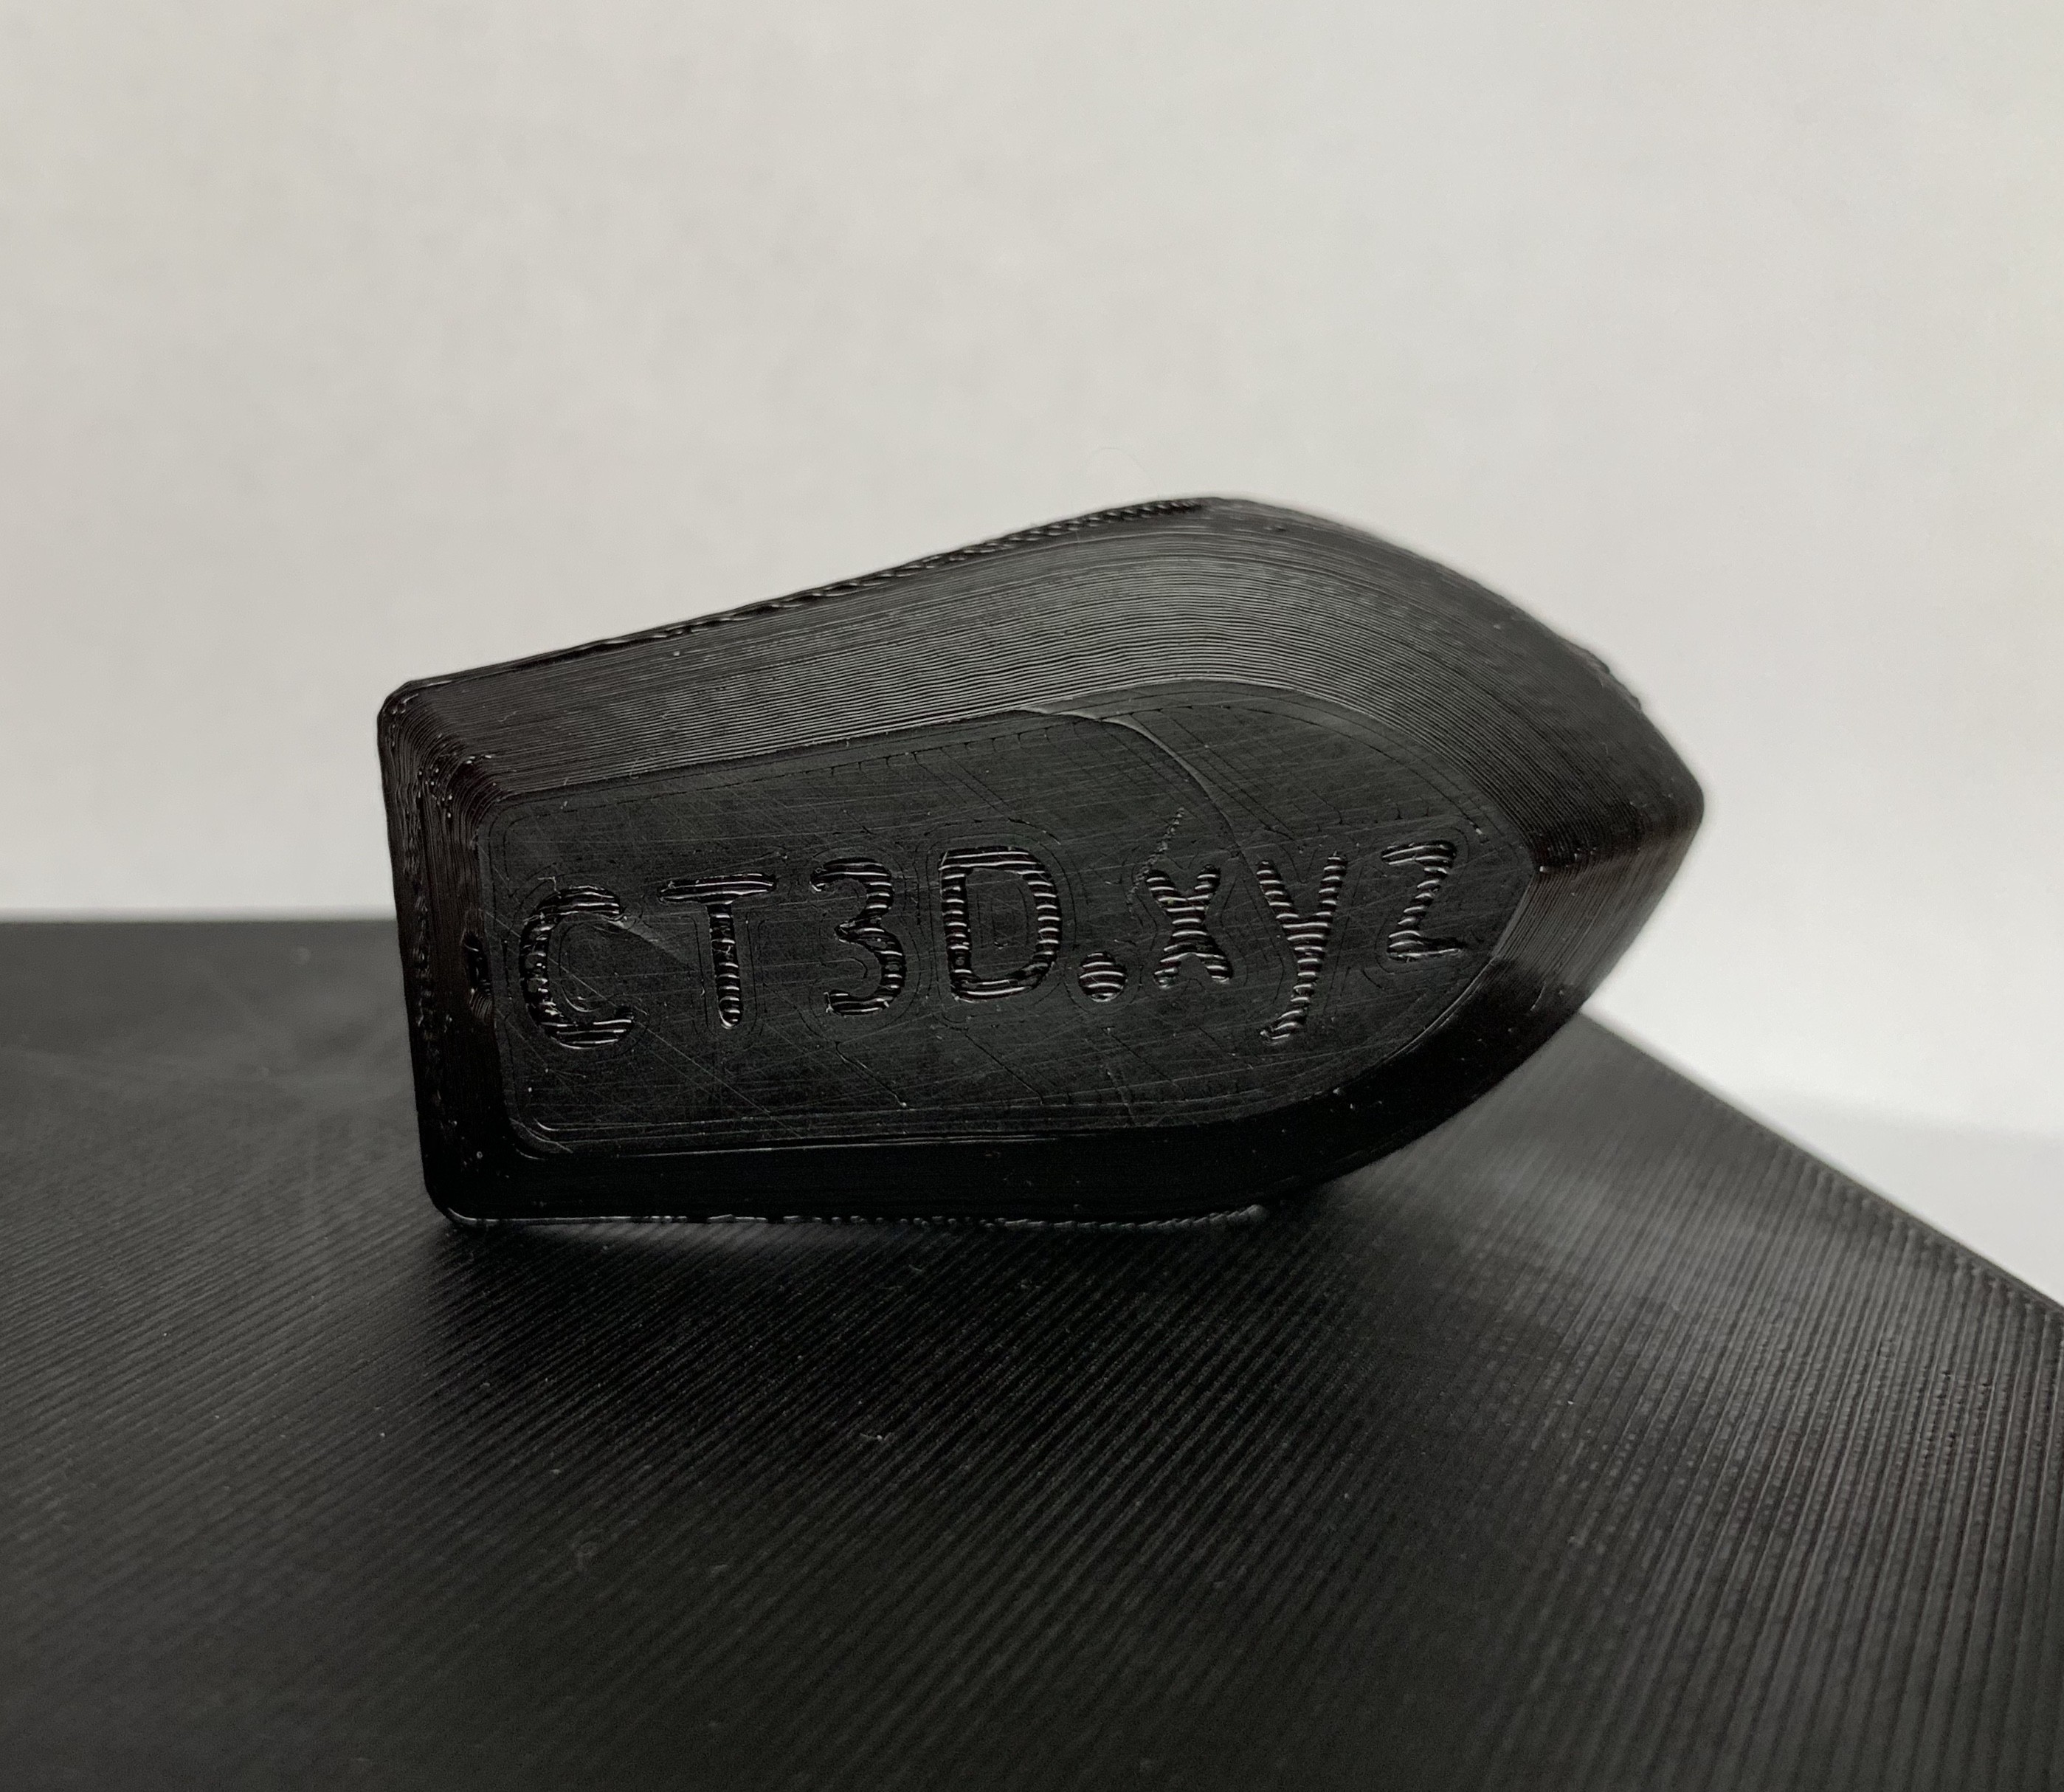
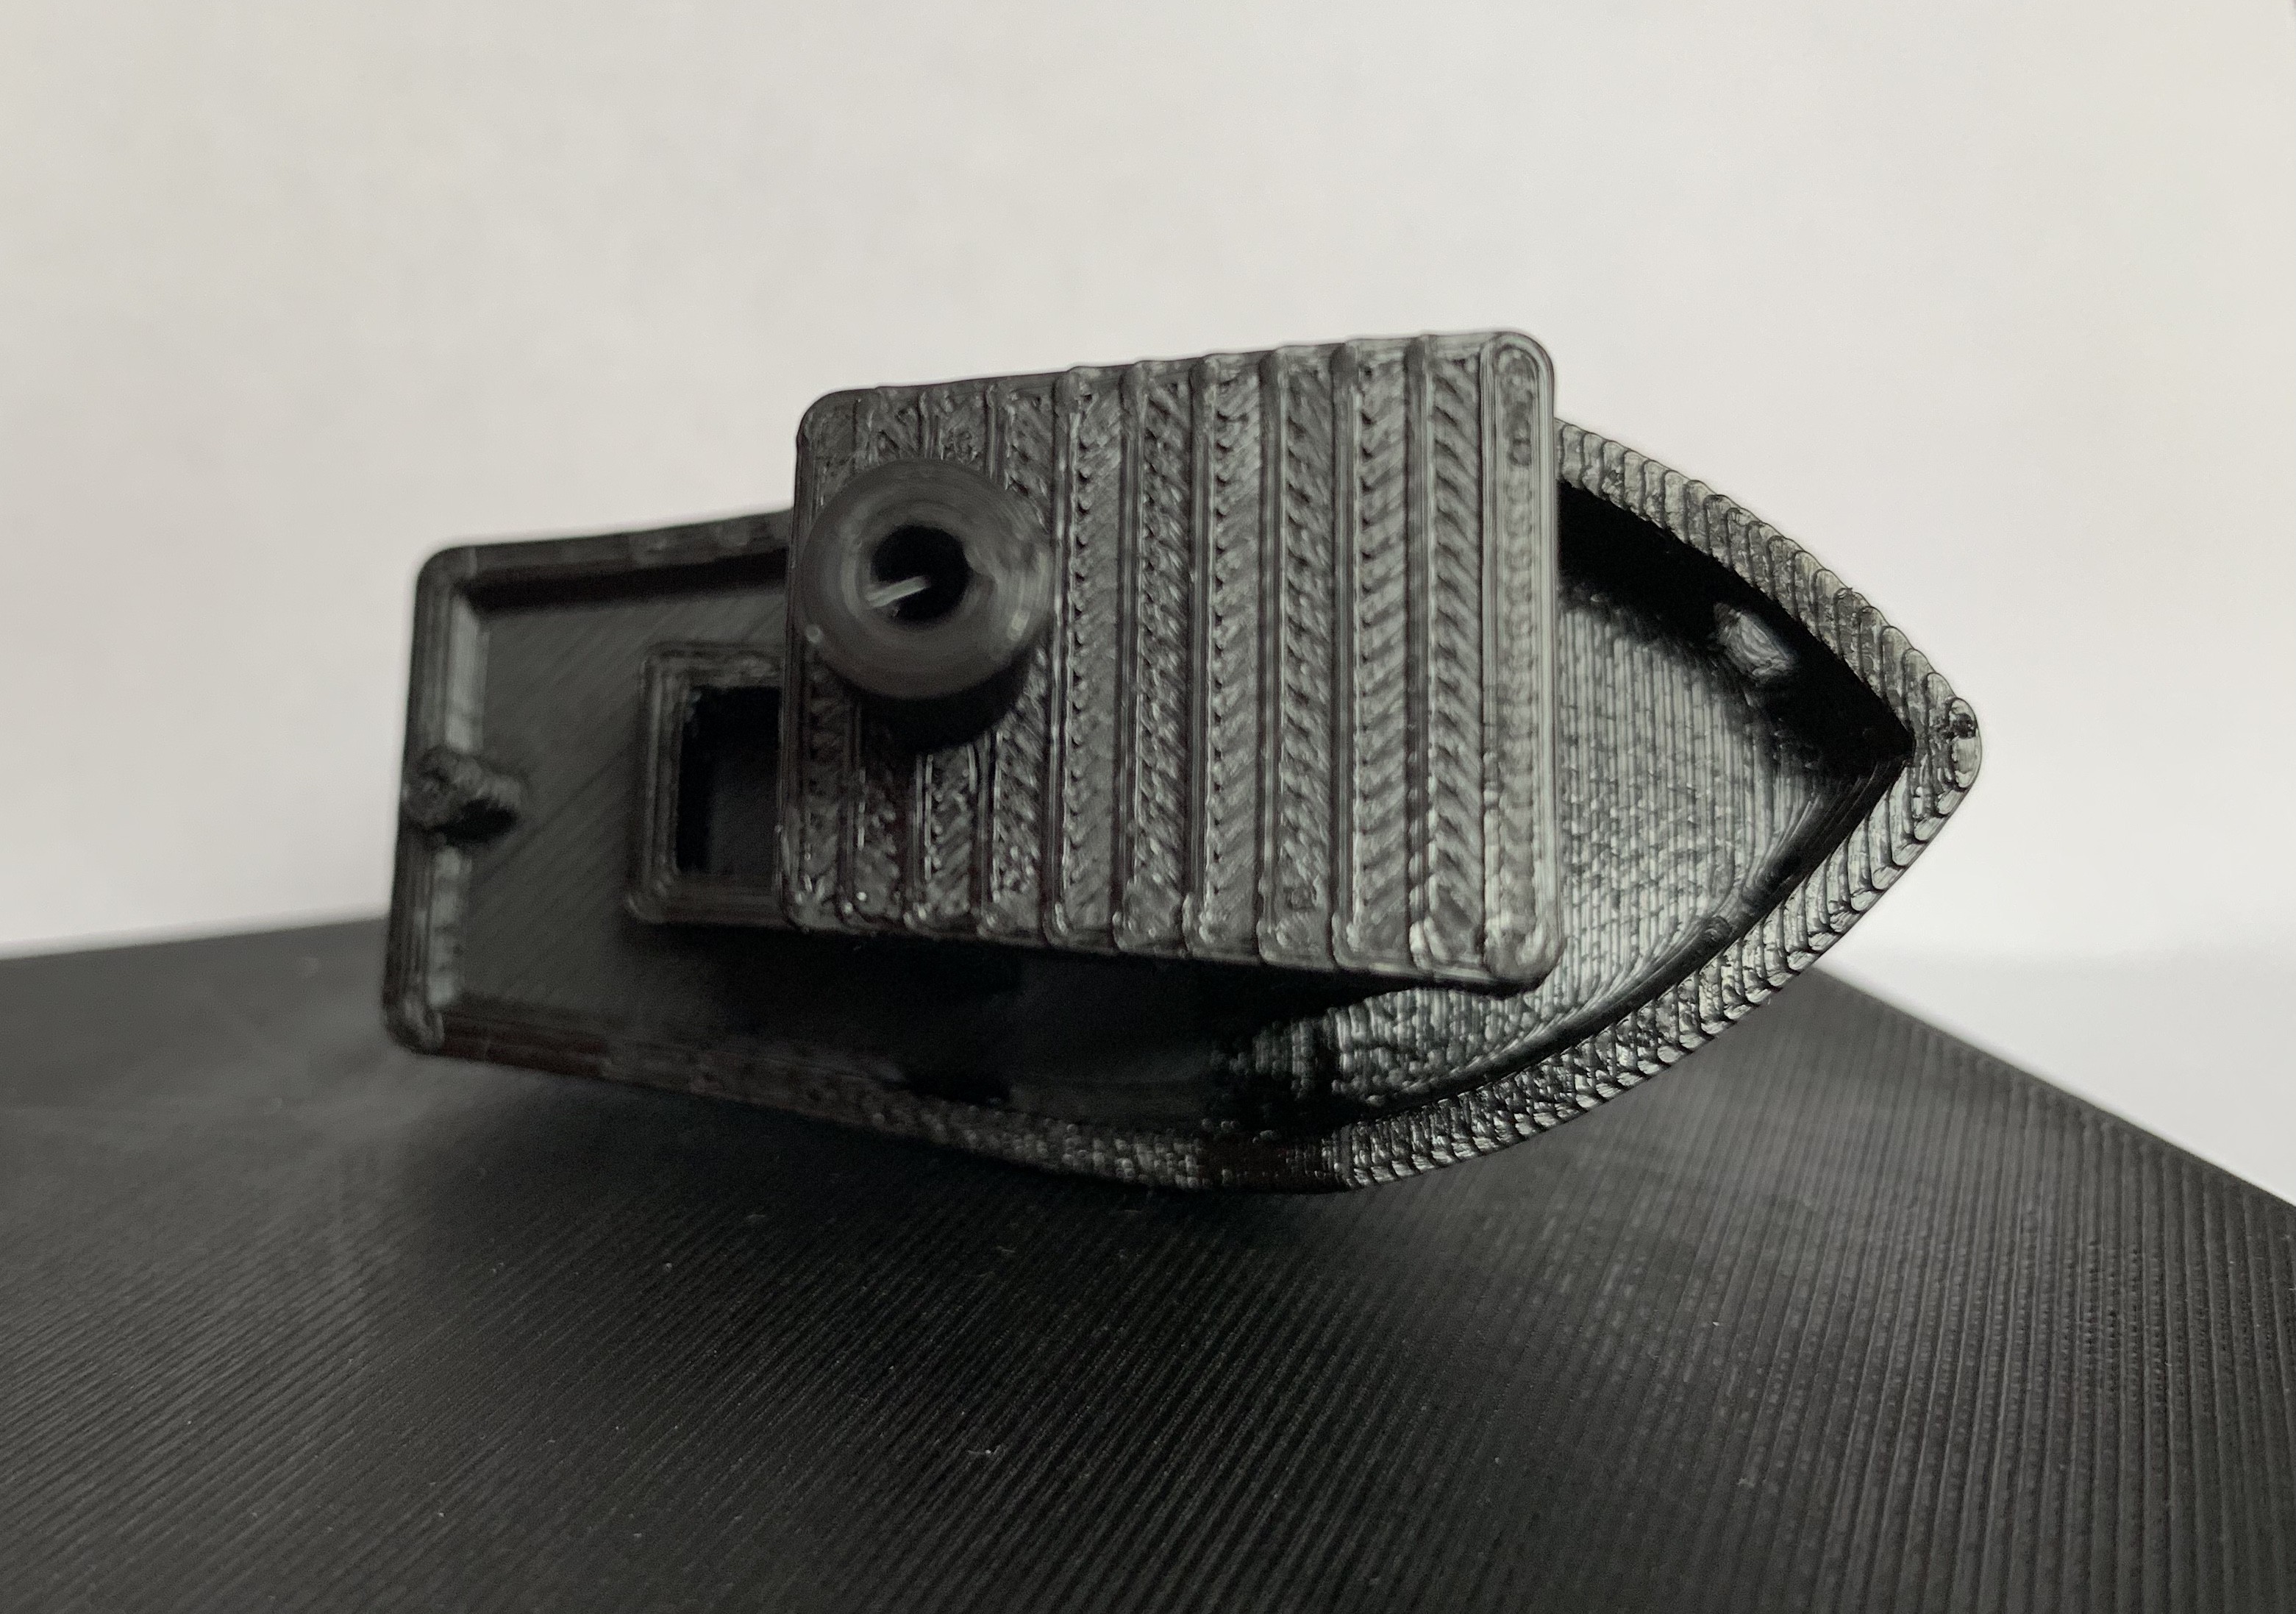
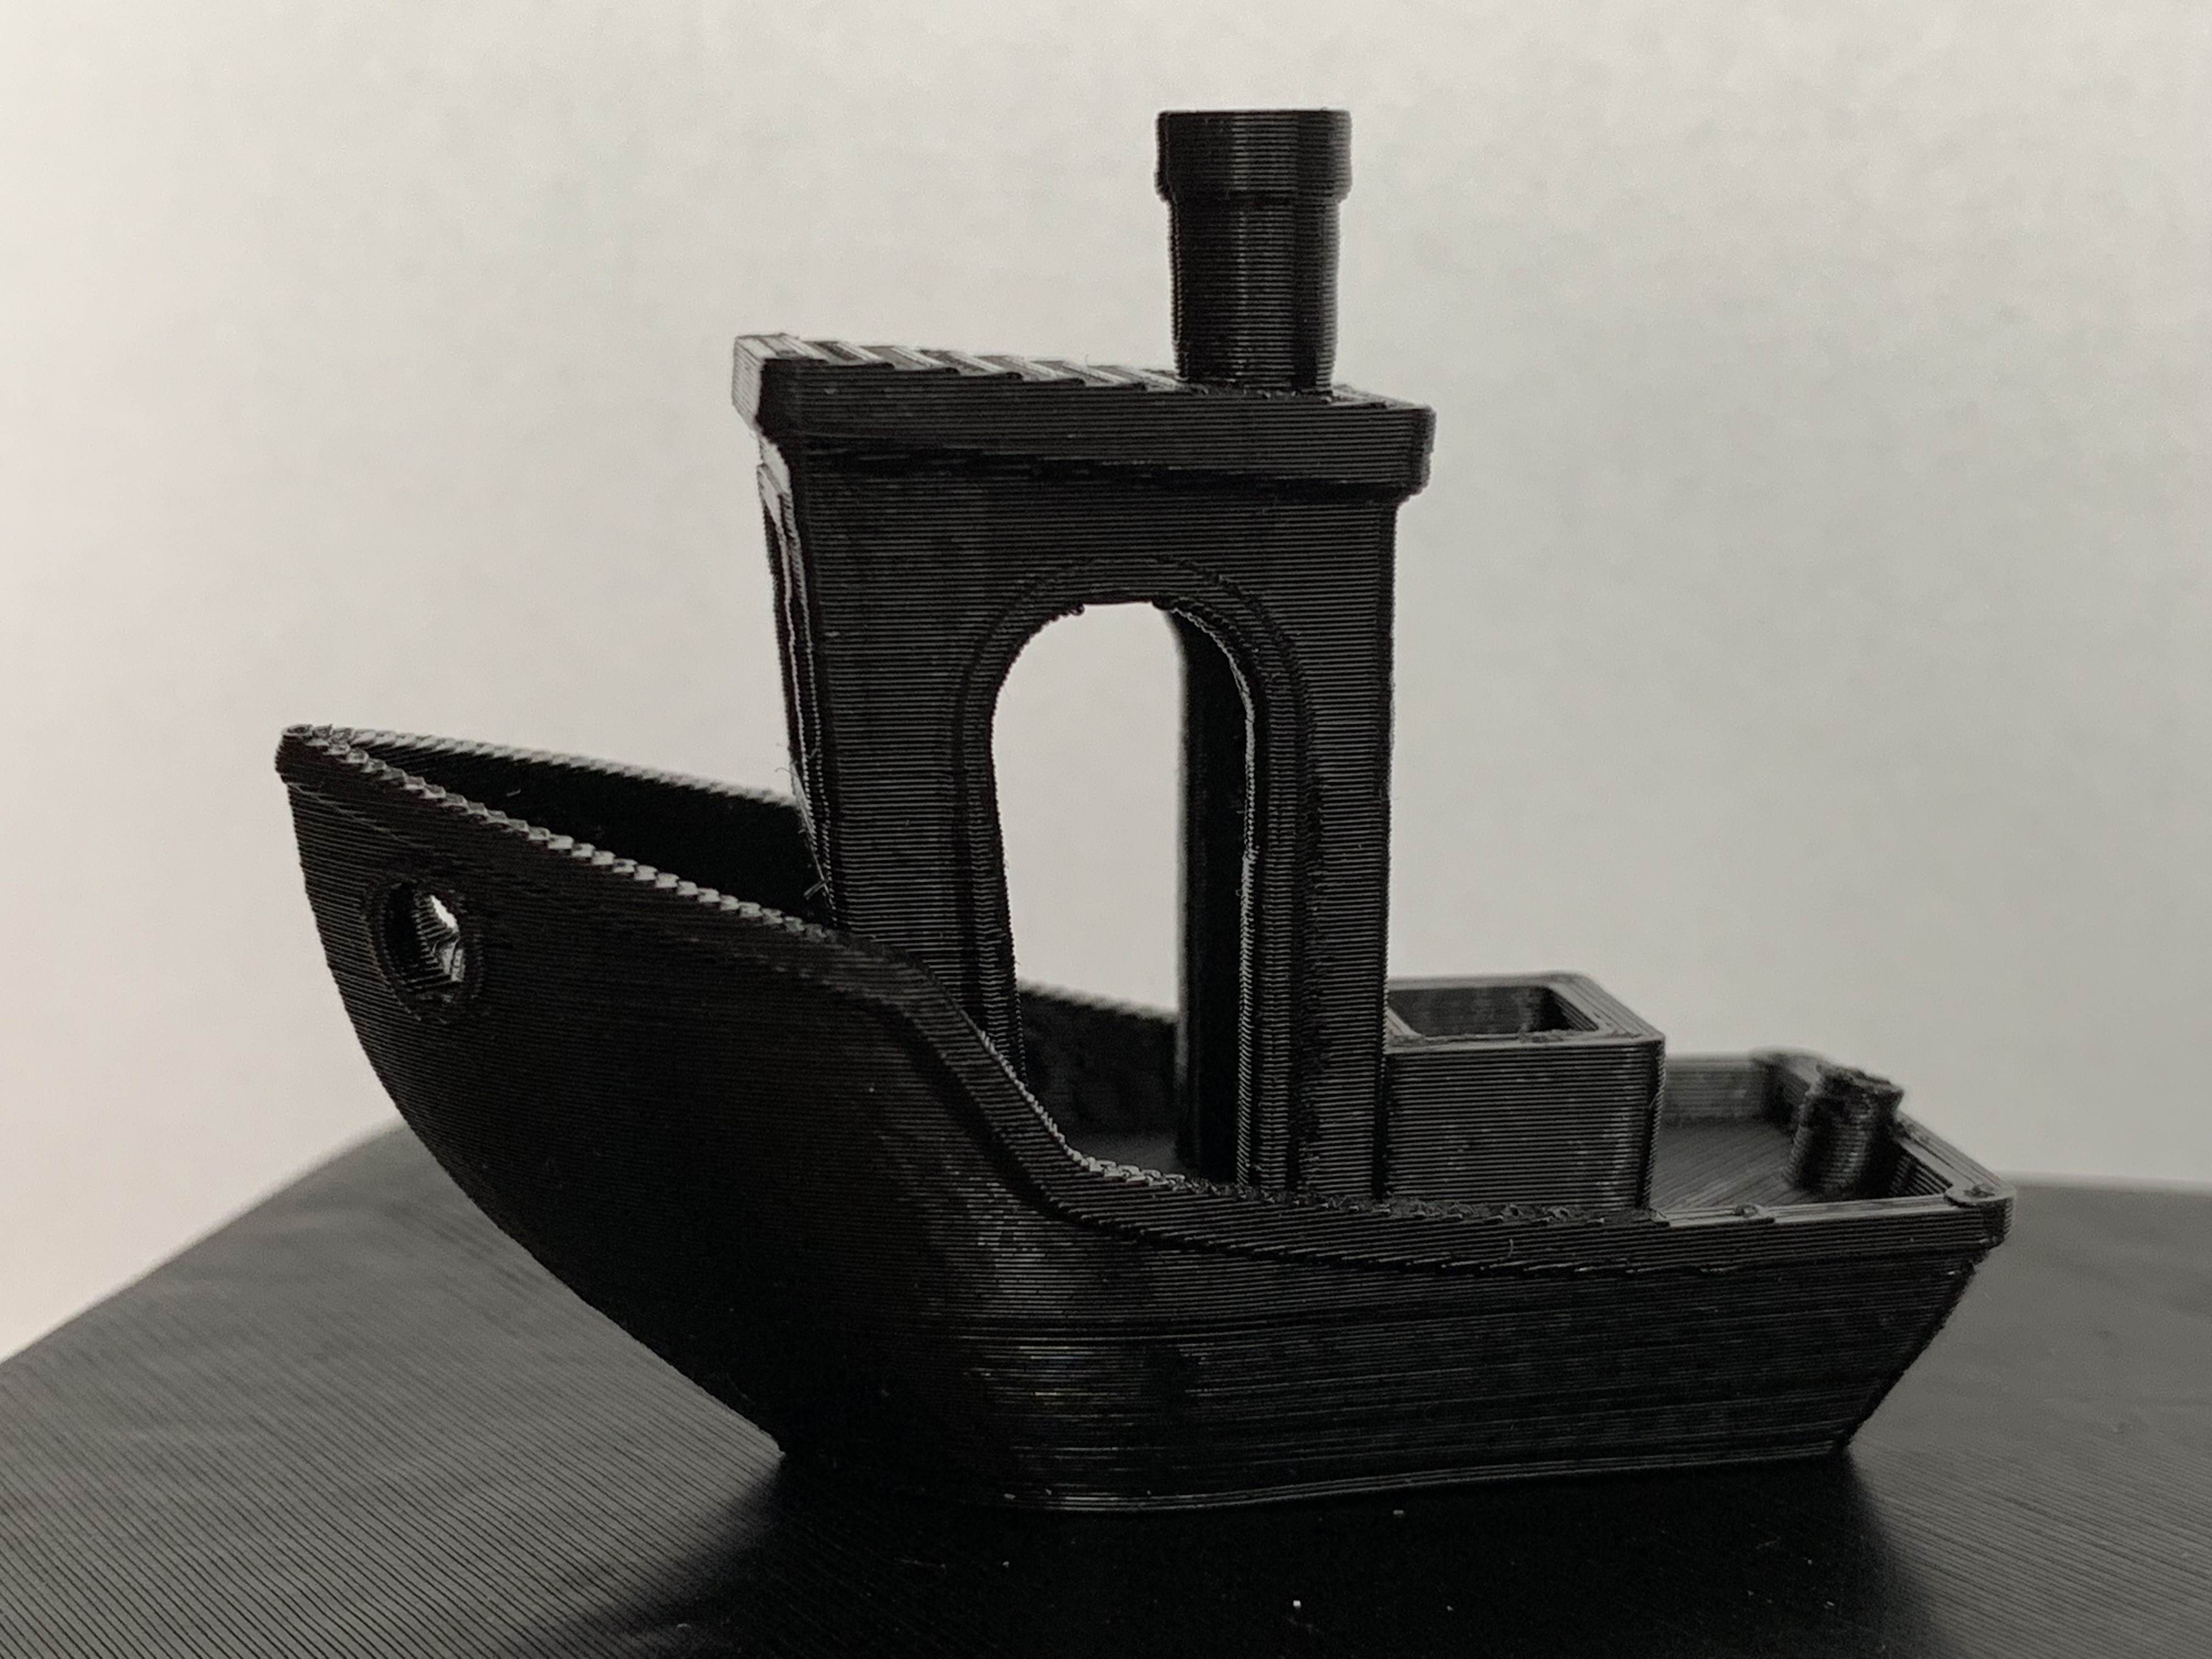
and finally the 3d benchy:
![]()
![]()
![]()
![]()
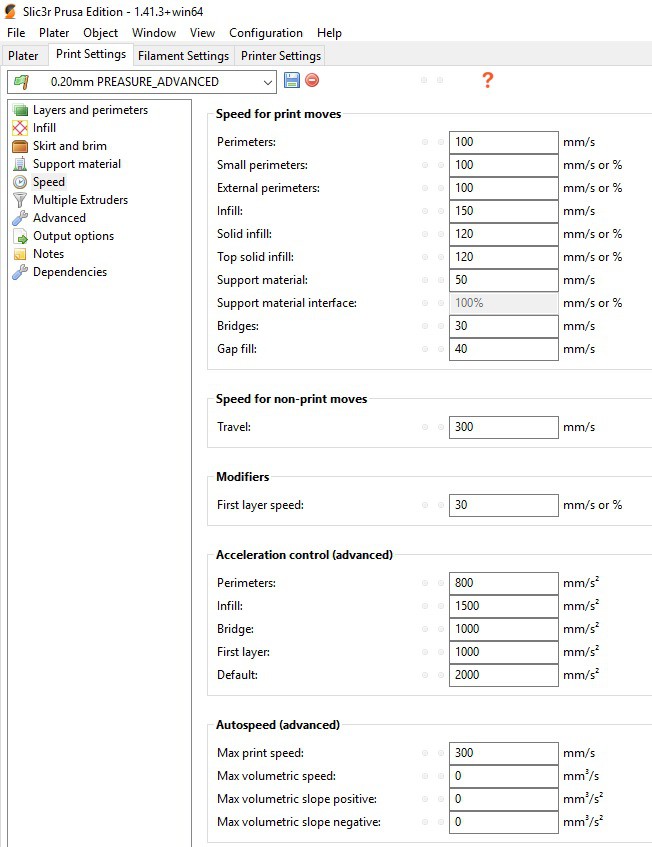
With pressure advanced i got almost no ooze and stringing. All printed with PET-G with slic3rPE and settings like this:
![]()
-
extruder gear update
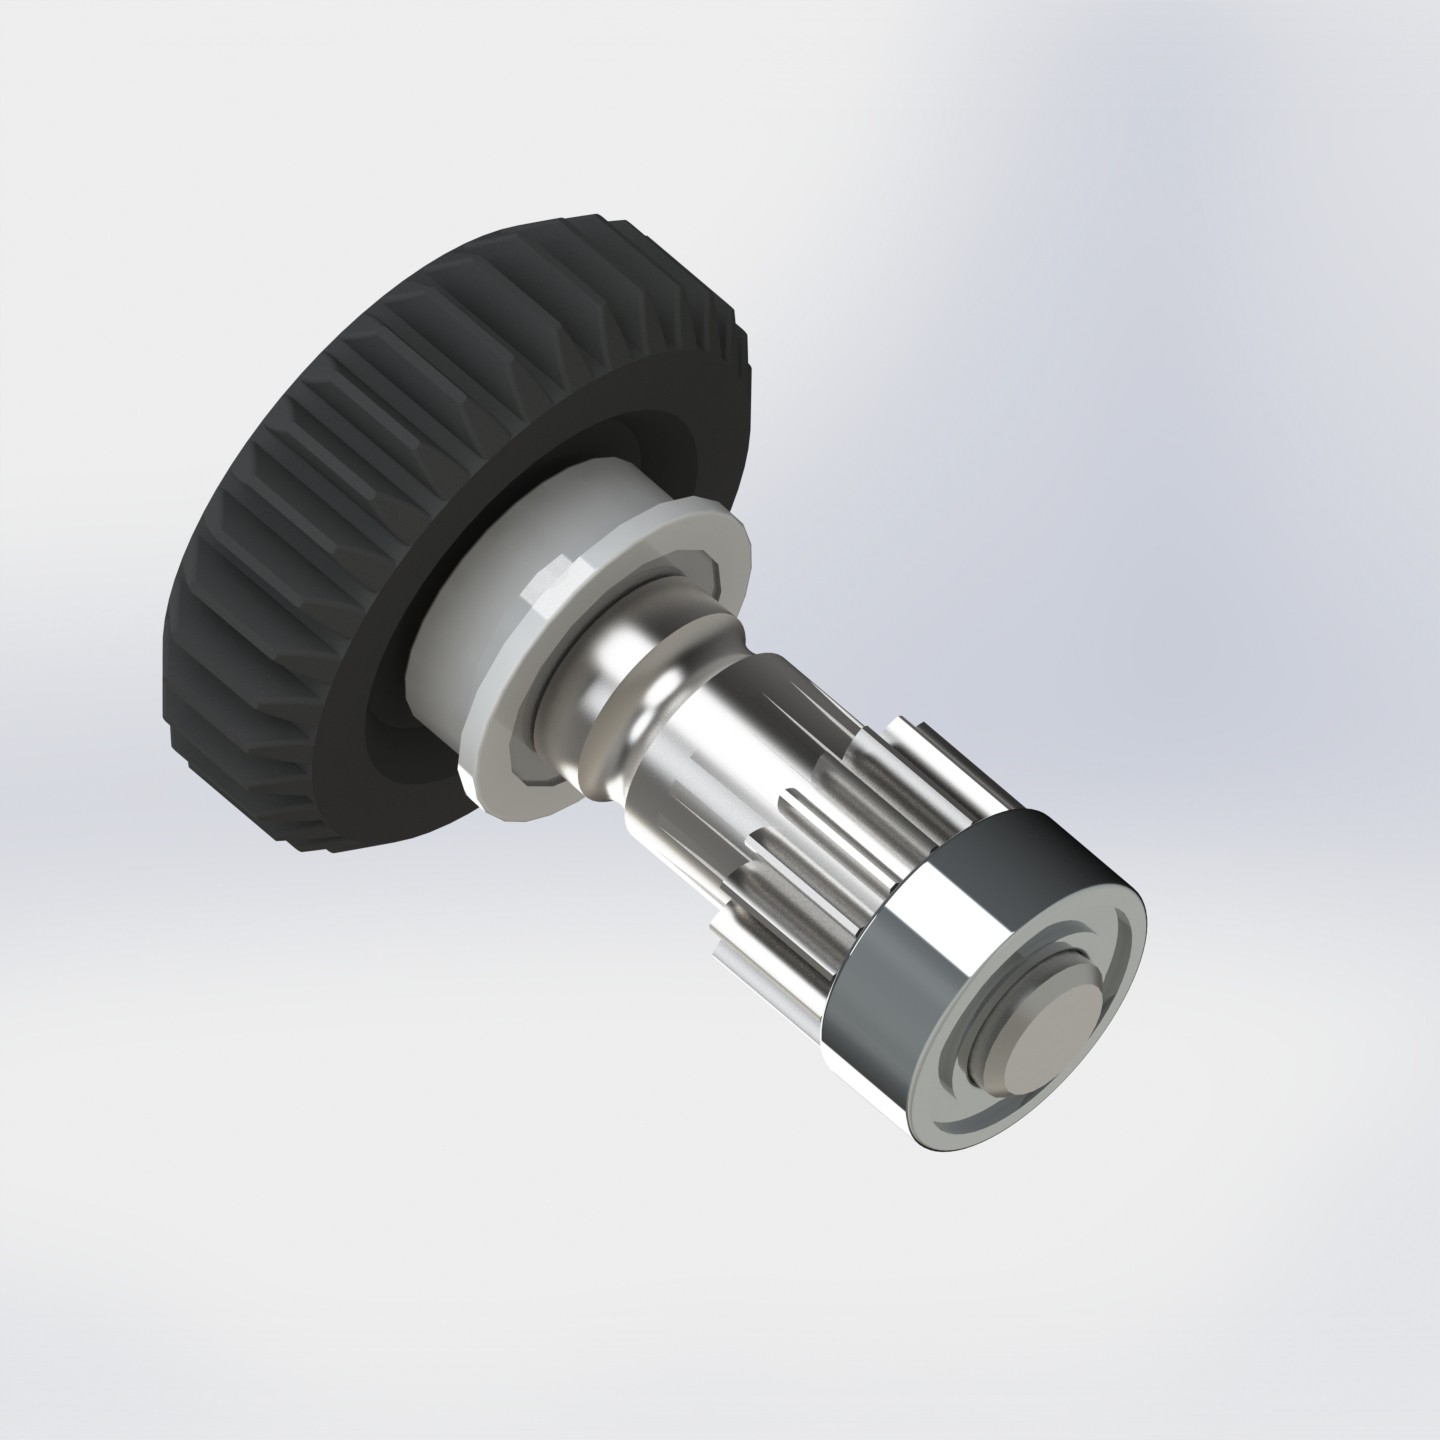
12/14/2018 at 10:58 • 0 commentsWay tougher than previous version. Lots of testing done. This one should be the last design... ;)
part list:
- DIN 931 M5 x 40mm (cut to 24mm)
- MR 105 ZZ
- MF 105 ZZ
- bondtech gear 5mm bore version
- bondtech_gear_v2.stl
-
Example prints
10/10/2018 at 13:44 • 0 commentsWas testing and tweaking settings for the new extruder design. Here is an example of test print made in PET:
![]()
-
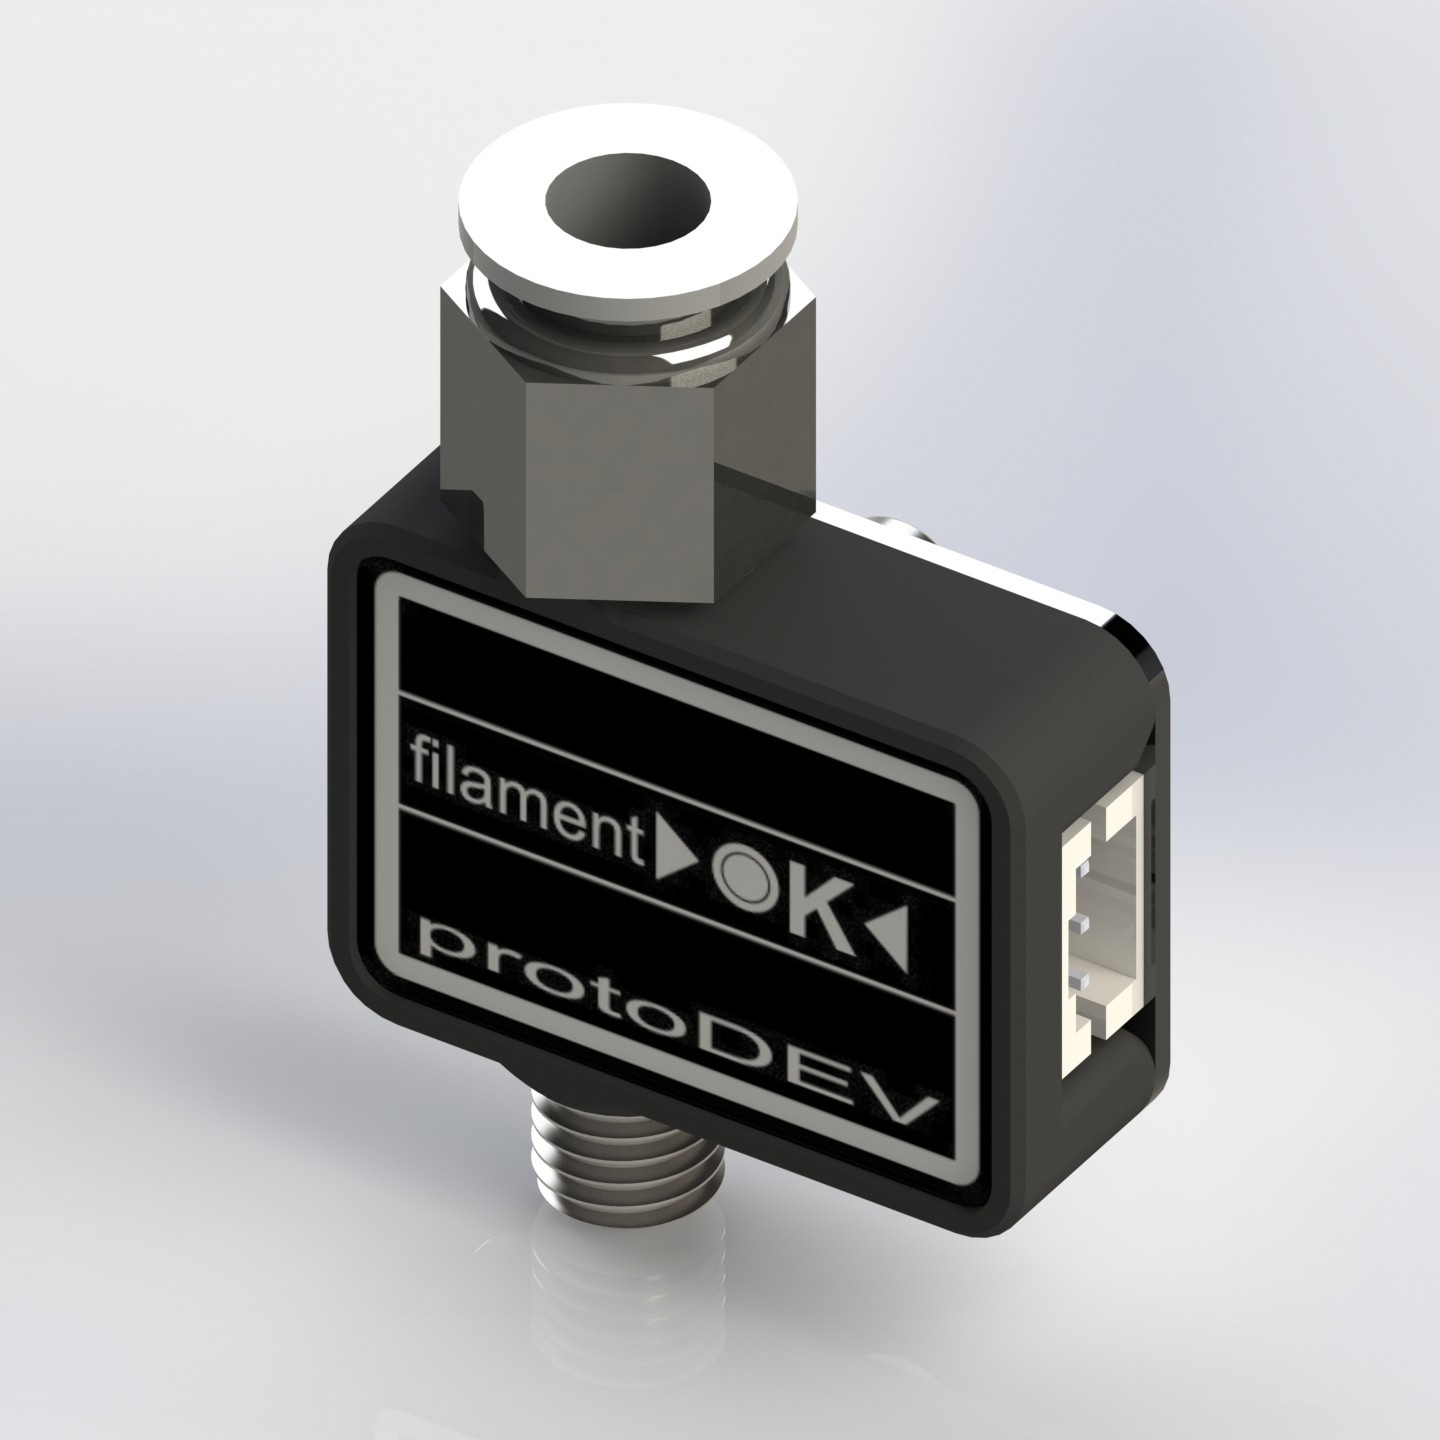
hall-e filament detector rev.a
10/05/2018 at 15:57 • 0 commentsI have been testing my very dumb arduino code for esp8266 written for dual input filament detector (it knows when filament ends on "spool" or when You want change filament). I'm running smoothiware so any changes in the firmware code made by me would never be merged (smoothie owner don't want to code any additional features and my skills are not with a quality they demand). That's why i'm using esp8266 connected to smoothie by serial and sending console commands / g-codes to control additional features like:
- pause on filament run-out
- sensing filament in extruder for semi-auto filament loading
- automatic heating up when detected that new spool is loaded
- sending the user instructions when filament changing or run-out that can be read on 3d printers LCD panel
A this point like i said at beginning the code is very stupid because it only sends commands but doesn't wait to receive any "ok" from the printer... And that's what i want to code next (will be glad if anyone want to help - code is on github inside protoDEV_coreXY project).
The second filament run-out detector installed on the system is a new one. It's my latest design with hall-e sensor, very small bearing and neo-magnet.
-
Uuuuups! What a nasty fail...
10/02/2018 at 09:42 • 0 commentsI was so happy that i will be using my latest extruder with BONDTECH gears that was working in big rush with the design. Most of time having in mind the „BONDTECH” part of the design... BONDTECH... bondech. I was very excited that i will print faster... the grip will be stronger...a last no under extrusion! Yeah.
.... With this attitude the stupid mode in my head was activated. The design was so bad that after just few days of using went into a disaster.
![]()
Someone want’s to say that stupidity doesn’t hurt? ;)
I was so angry about what i’ve done... that i was working “full time” to re-design that damn extruder.
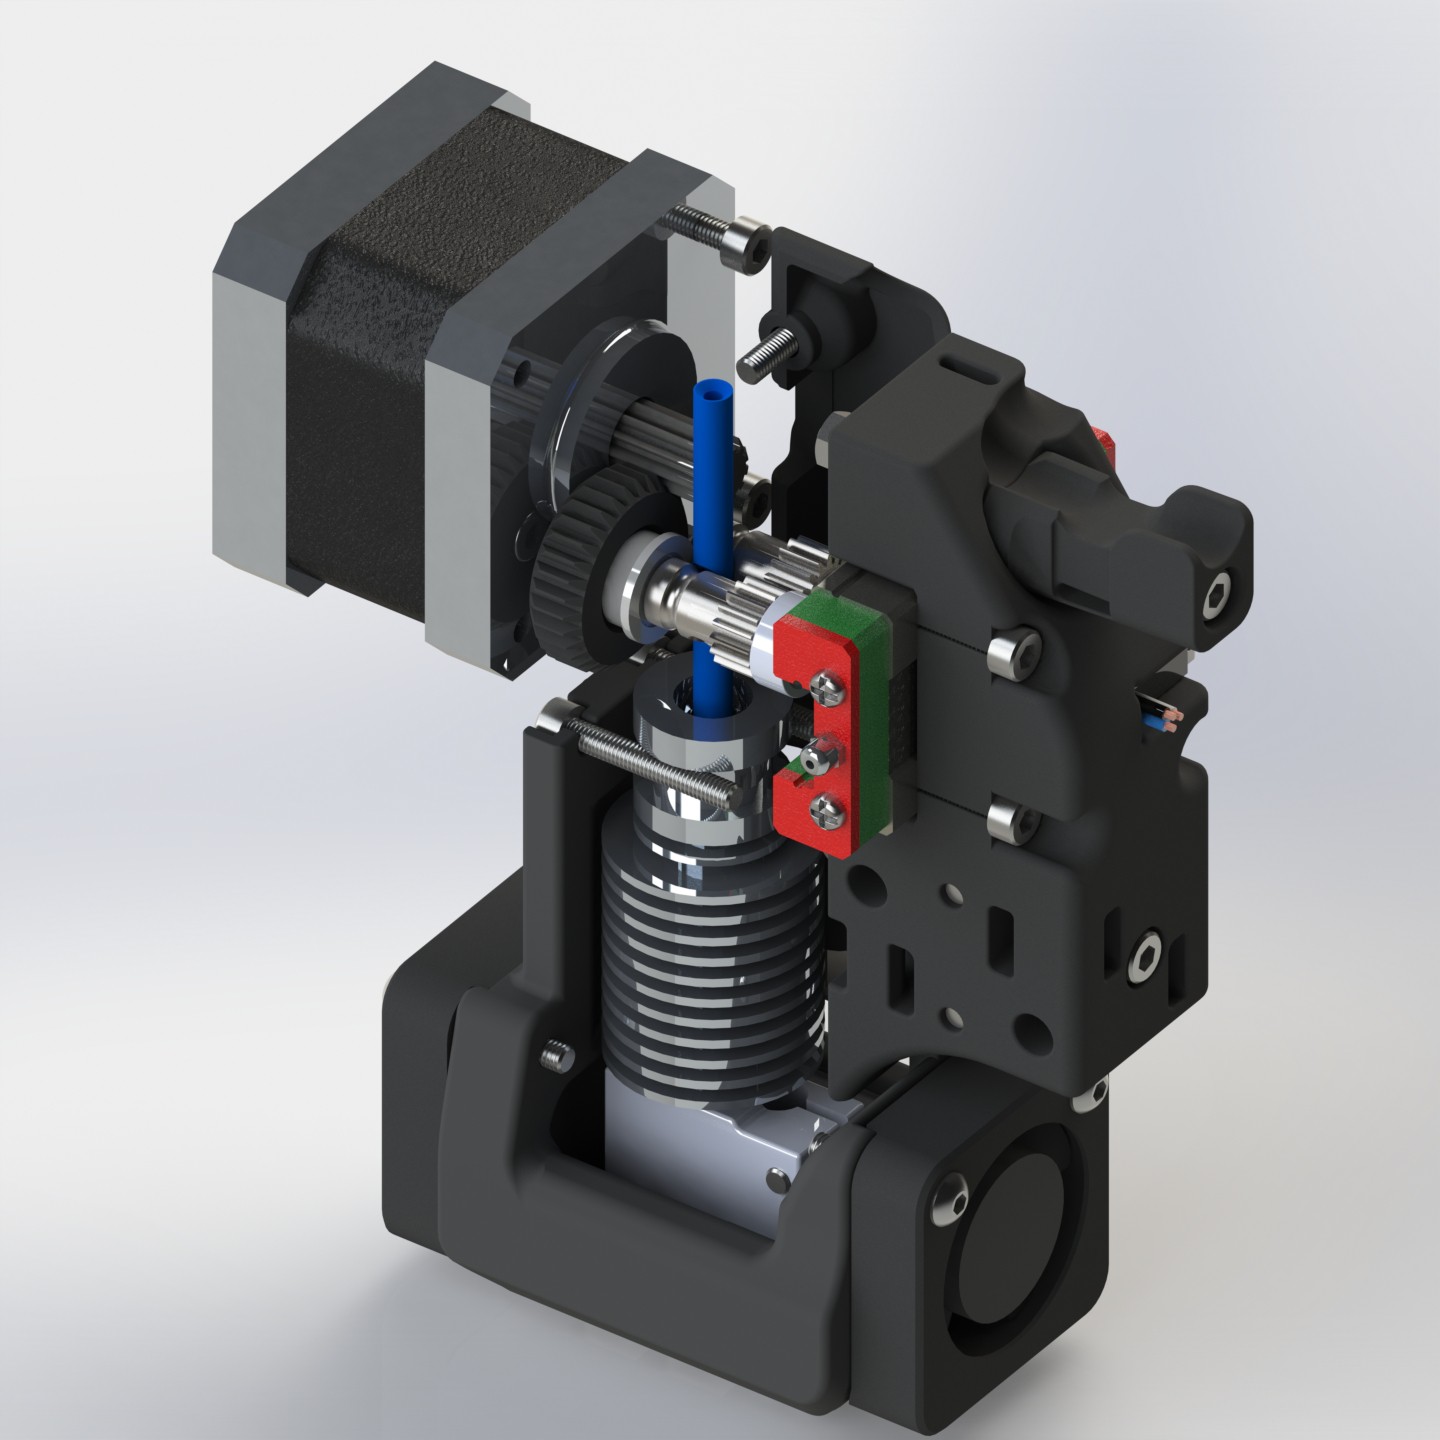
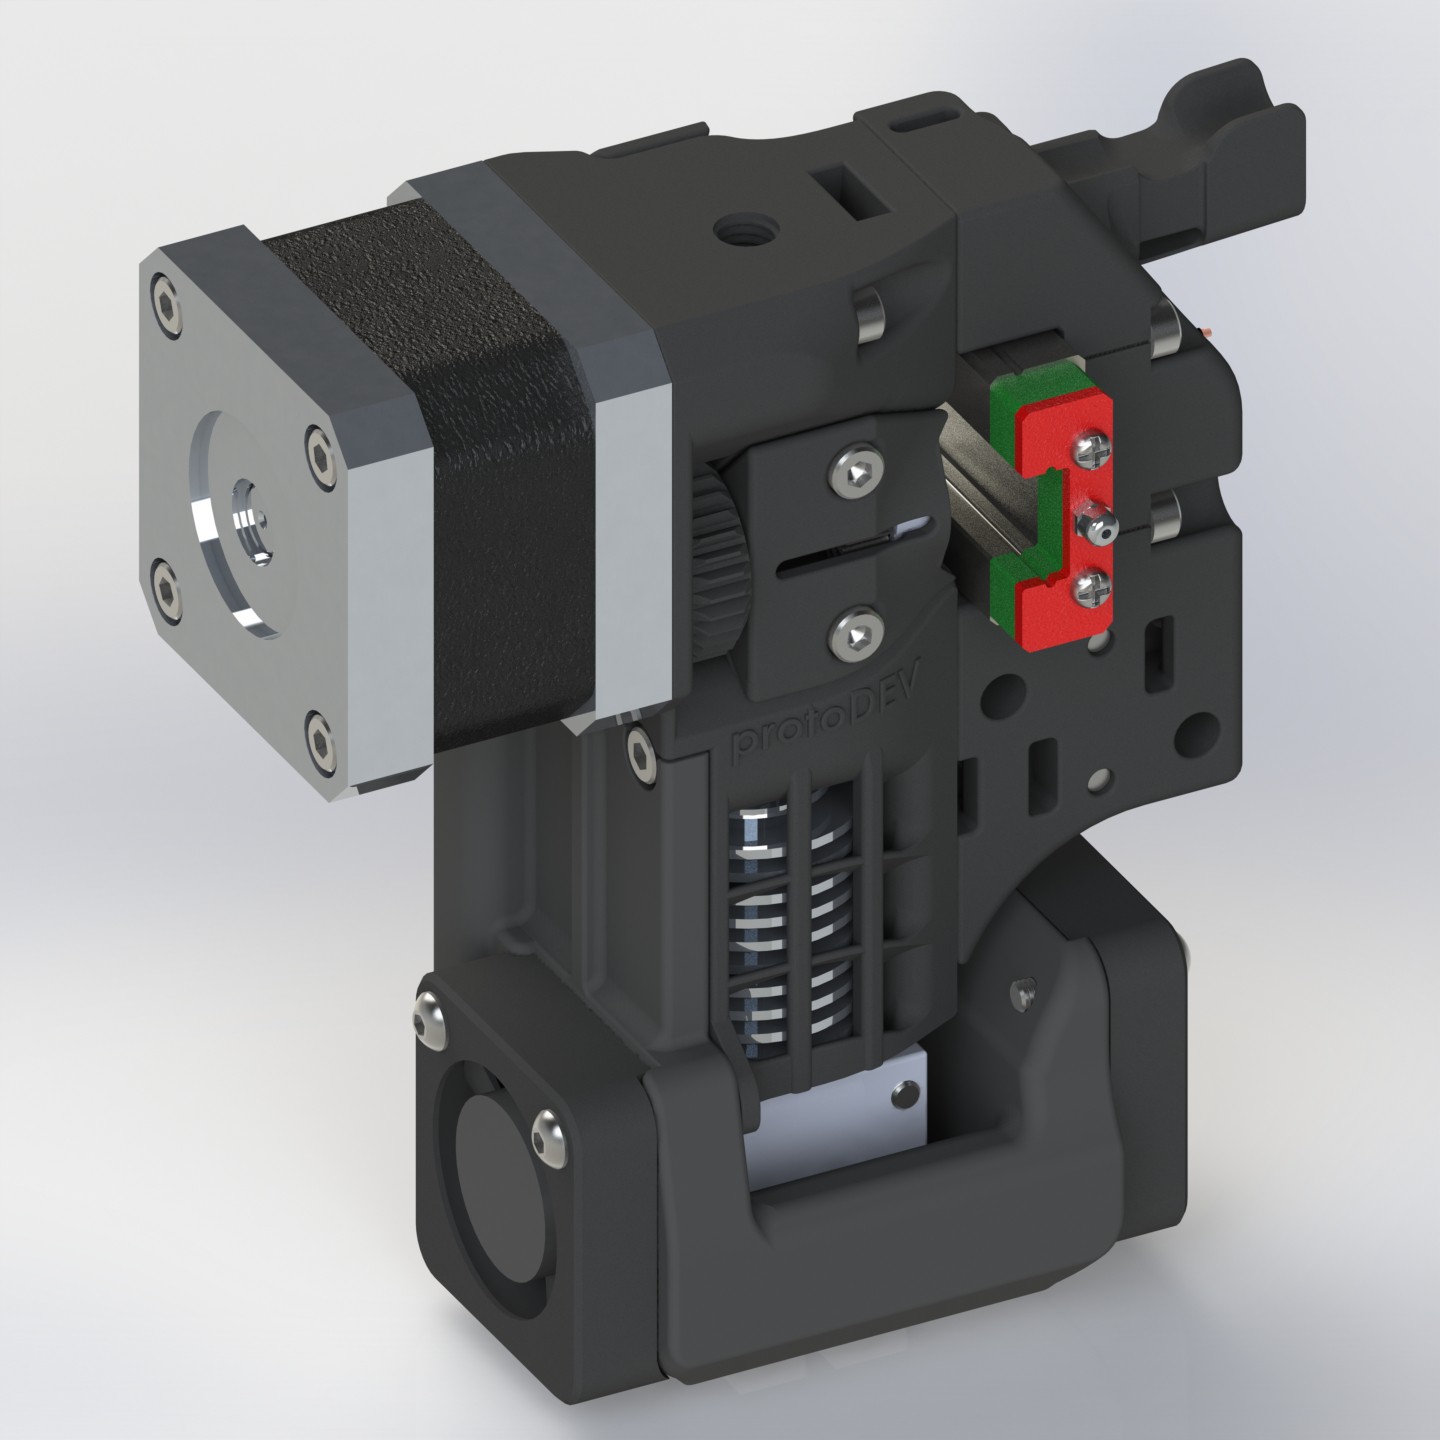
So now it works perfect. It’s simple. Stronger than last design. Don’t want to cover all my stupid mistakes done with the last design but right now they’re all gone ;)
![]()
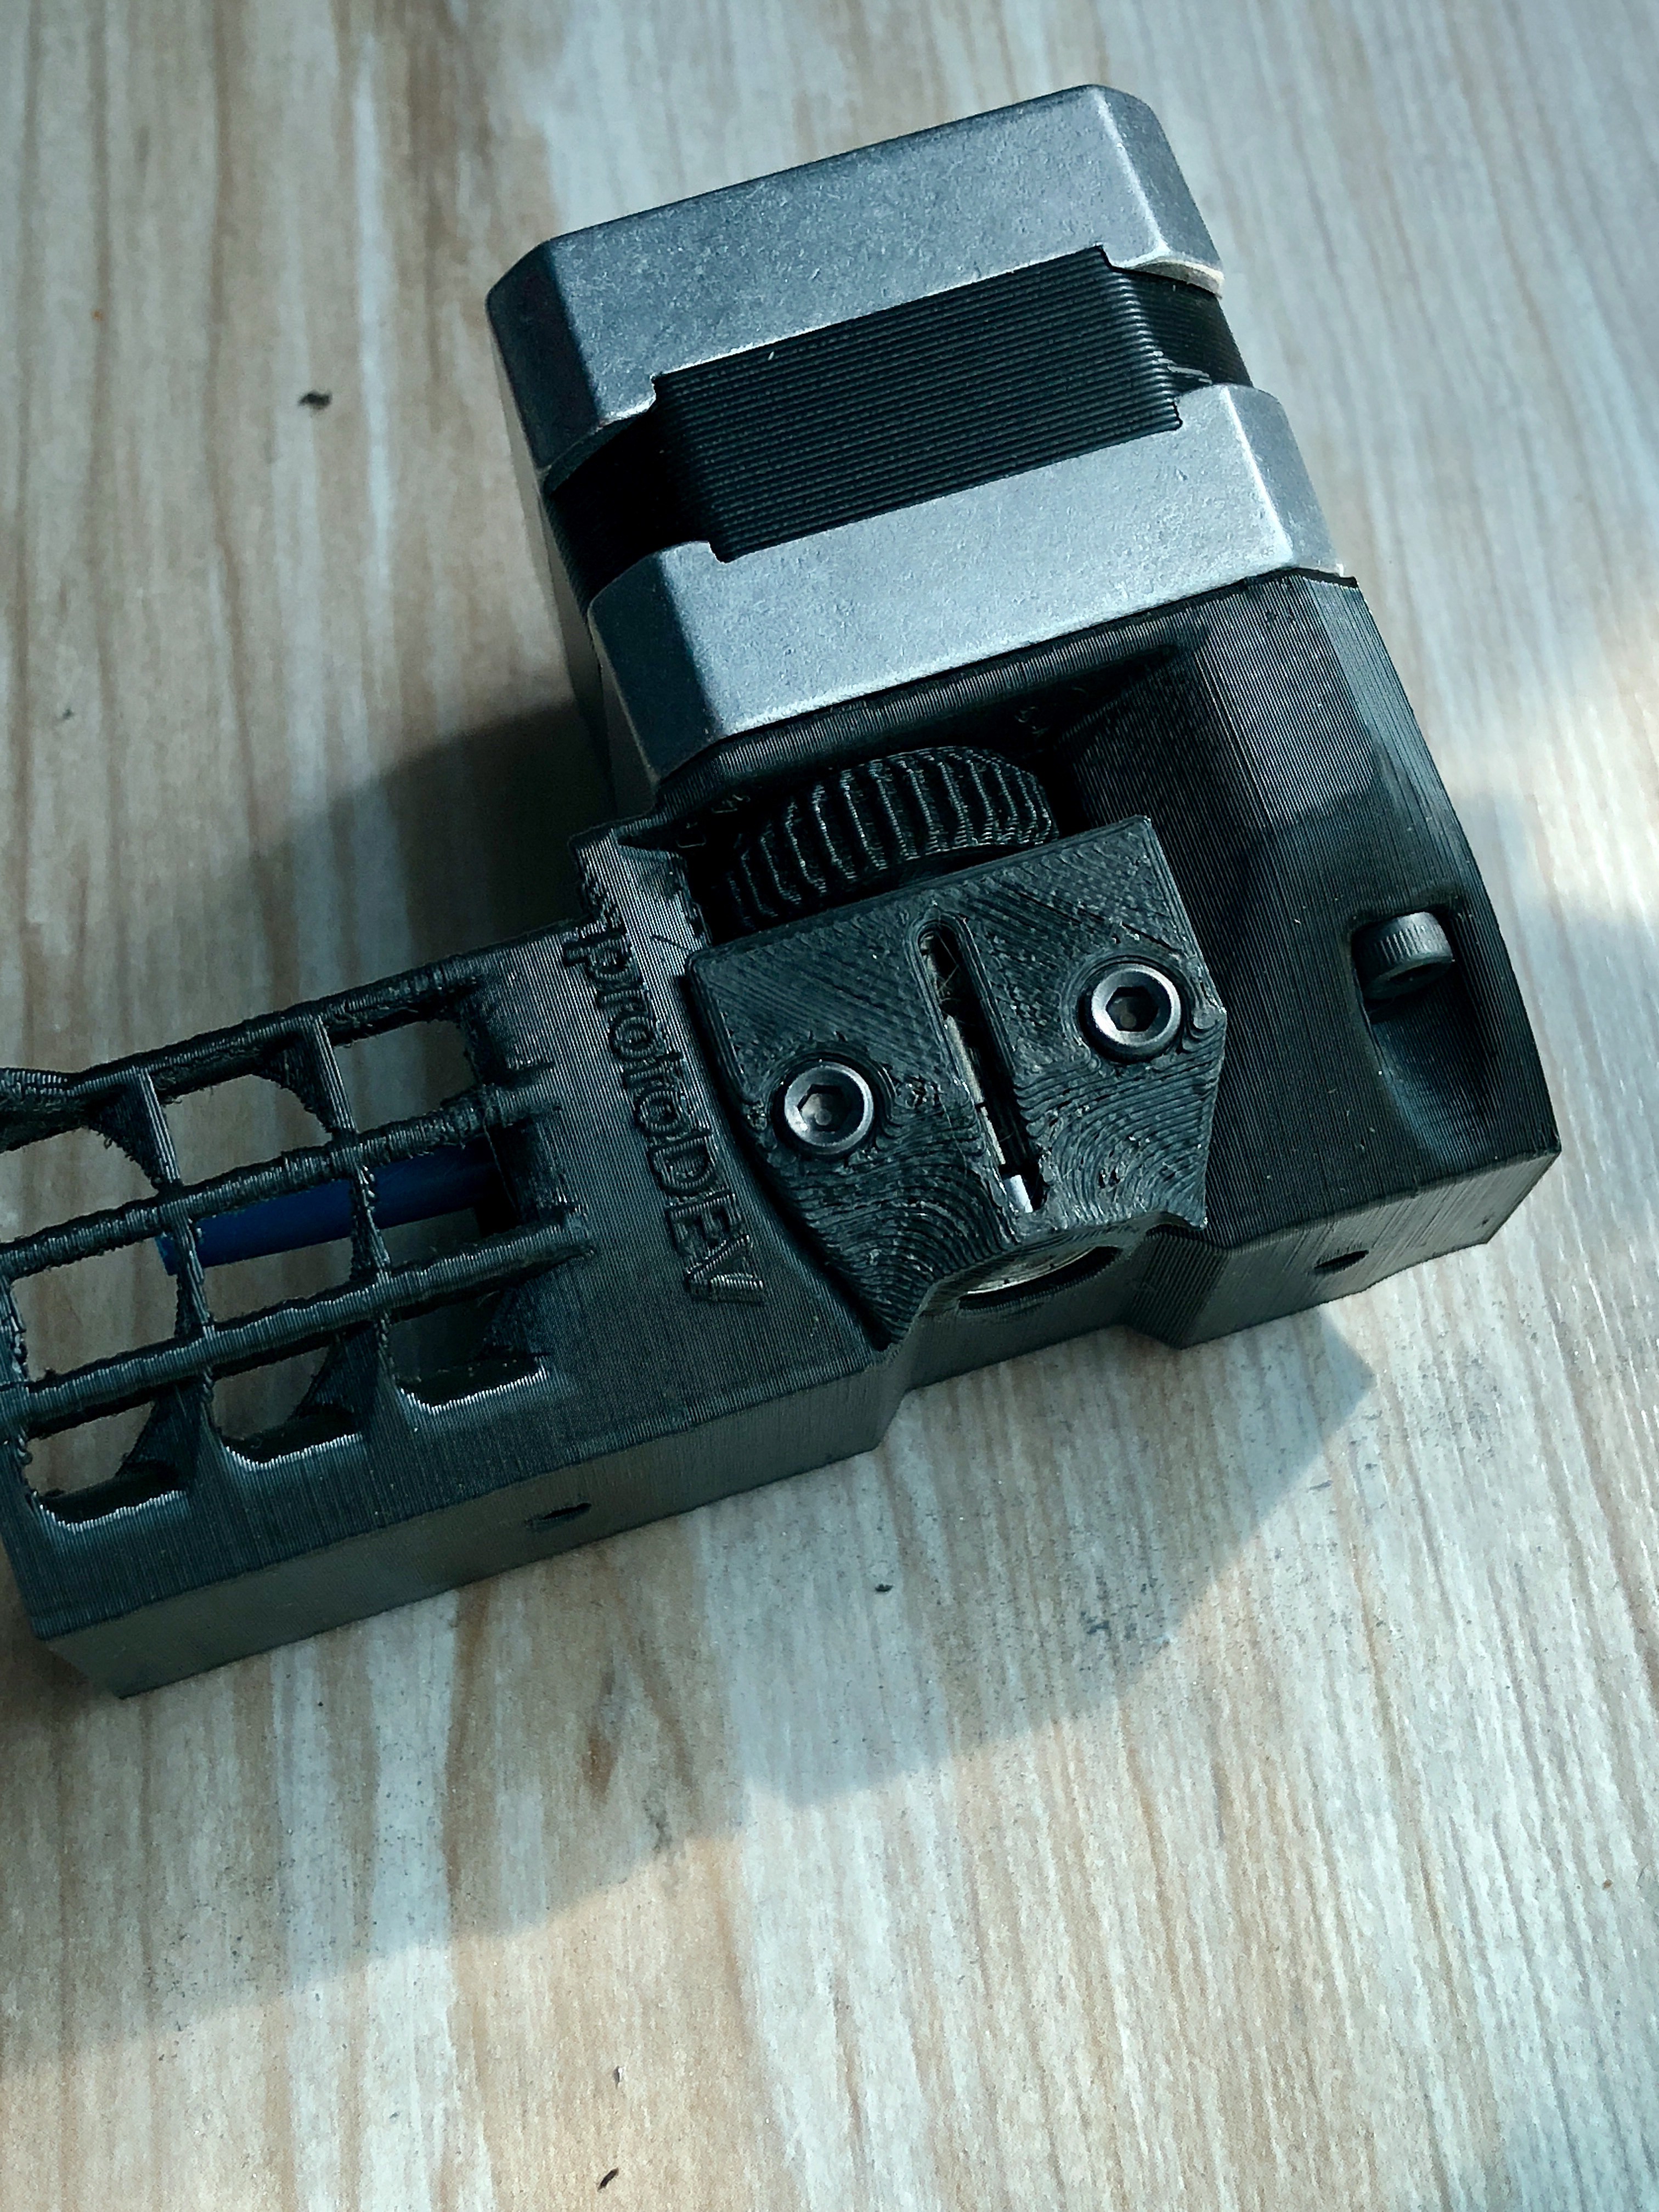
Files on gith hub are updated with latest design so You can grab it and test on your own.
Also working on a total overkill filament run out detector for lazy people like me but that will be shown in near future.
 Michal Wojciechowski