Martin Maly
-
Become a supporter!
08/30/2019 at 11:41 • 1 commentA new support page on Patreon is available now. Check your tiers and rewards...
-
Monitor v4
06/15/2019 at 13:35 • 1 commentSee GitHub page for details and download.
Main feature is a concept of "memory modules", so you can mix up your own EEPROM with software you want to use. (At this moment, the only module I can provide is TINY BASIC, but I am working on the EEPROM Writer etc.)
-
"To Zilog, or not to Zilog?"
06/13/2019 at 16:24 • 3 commentsThe question is simple: Do you want a Zilog Z80 based simple computer kit, similar to the OMEN Alpha? Please vote here.
-
Backplane and a Serial Ports
08/25/2018 at 15:04 • 4 commentsMy goal is to make a computer you can extend with some peripherals devices. Of course, the modern ones, no vintage cassette tape or light pen. But there is a problem: a lot of them has a SPI or I2C interface.
Of course you can simulate SPI and / or I2C by bit banging on 8255, but it is pretty slow.
Of course you can use a few 74's to make a shift register and a glue logic to send and receive data on the full speed.
You can use a buffer and a driver to bit-banged-but-faster solution.
OR
You can use a coprocessor.
![]()
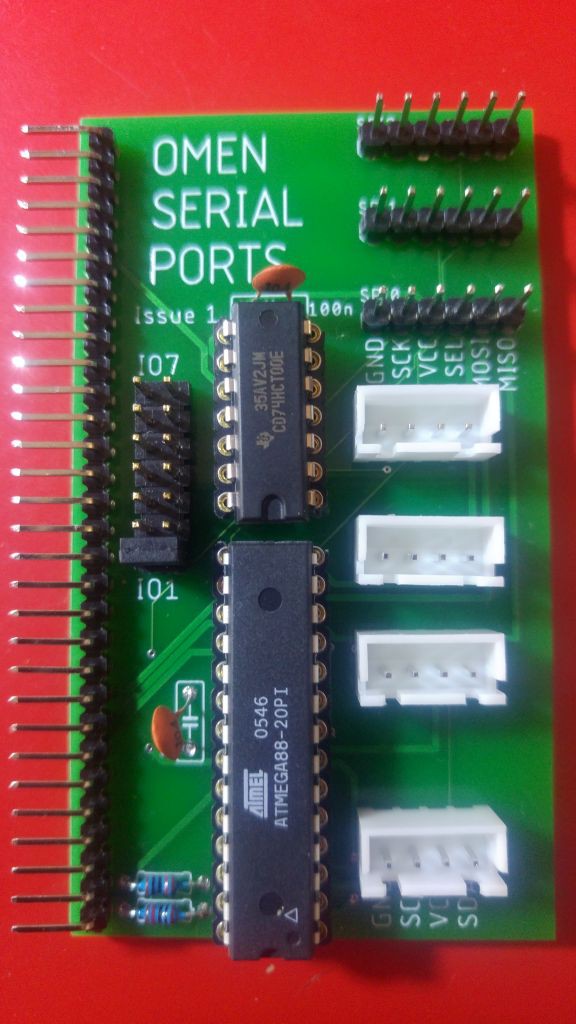
In my case the second processor is an ATMega88. Yes, it has more power than the whole OMEN Alpha, but never mind.
I have used the ATMega as an peripheral. It is connect to the system bus as a regular peripheral device. Chip select makes ATMega interrupt, read data from data bus and let the firmware work. The firmware decide if it's data or controll byte, and make all necessary operations for SPI or TWI bus.
Because there are no synchronization, I have to use simple "halt" mechanism by a simple R-S FF (1/2 of a 7400). Chip select set R-S to HALT (and drive the 8085's READY signal to low). ATMega can take its own time to read data from bus or write them back (regarding the /RD and /WR signals).
When ready, ATmega sets R-S back to READY (and drive READY high). The 8085 CPU now can work...
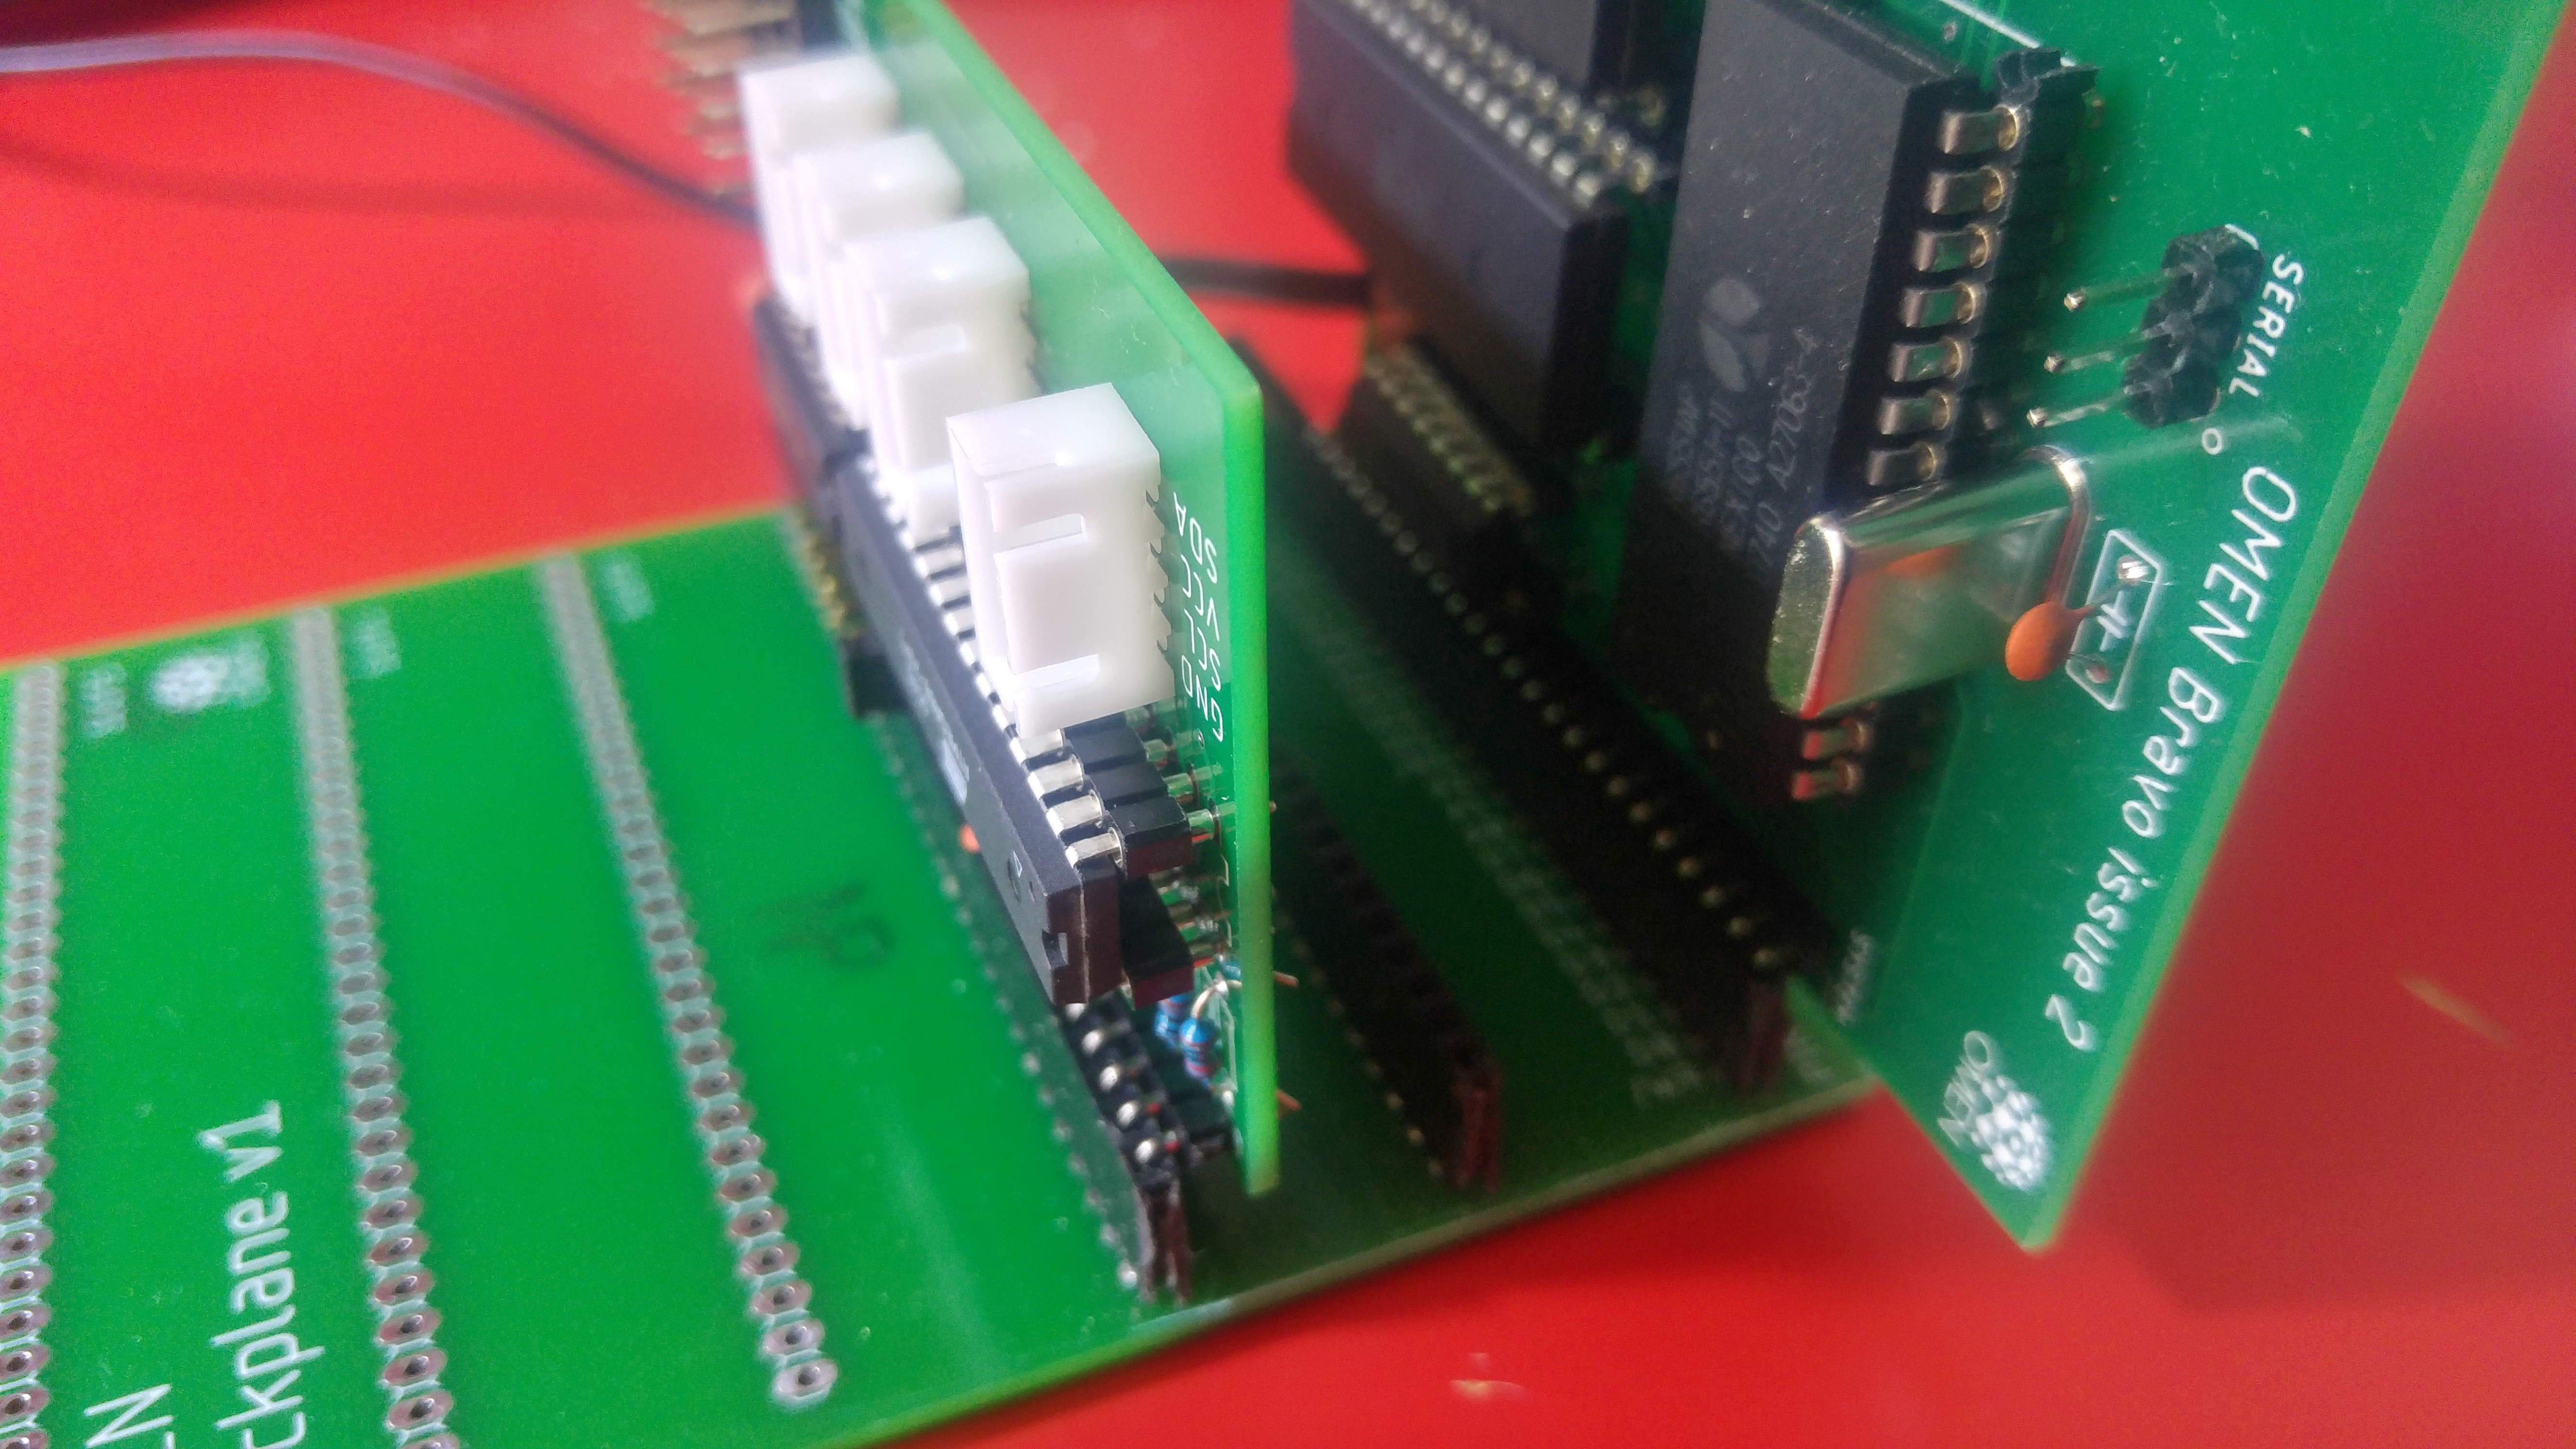
I will see if it works... It should...
![]()
-
PCB - Issue 4
08/12/2018 at 14:29 • 0 commentsMy Tindie shop is out of stock, so I decided to fabricate a new batch of PCBs. I have skipped the Issue 3 (backplane version) and made a new, slightly improved version, Issue 4. The improvements are:
- Signals RESET and READY are added to the application / system bus
- 10k pull-up resistor between READY and Vcc to drive this line with open collector drivers
- Removed the LED and 330R resistor. Three pins are added: SID, SOD and GND to enjoy a serial port.
- One place for 22pF capacitor was removed.
-
Alpha kit is available on the Tindie now
07/28/2018 at 11:46 • 0 comments![]()
Unfortunatelly sold out right now...
You can select three kit variants: PCB only, PCB + parts or fully assembled.
You can select no EEPROM, empty EEPROM or programmed EEPROM too.
-
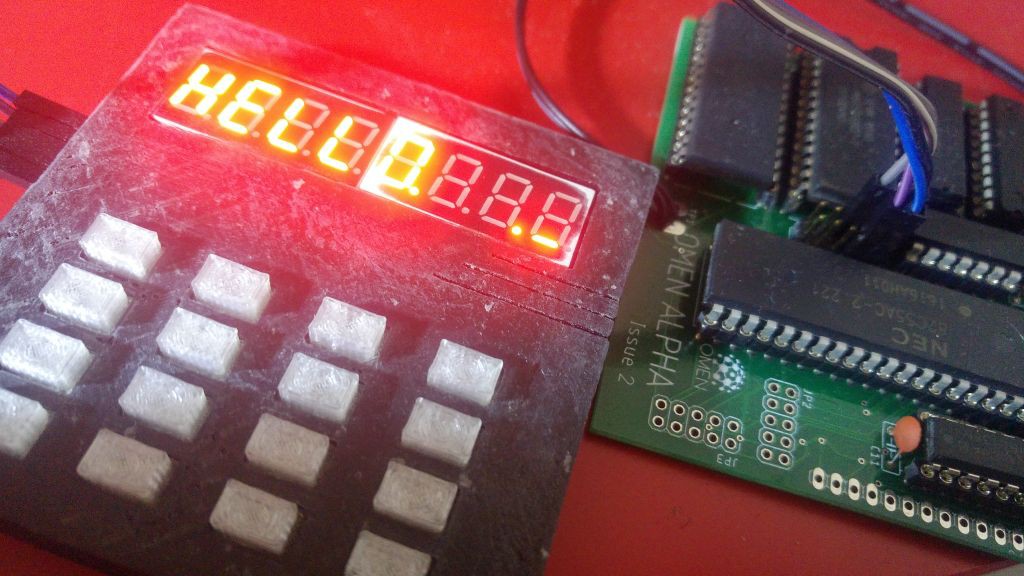
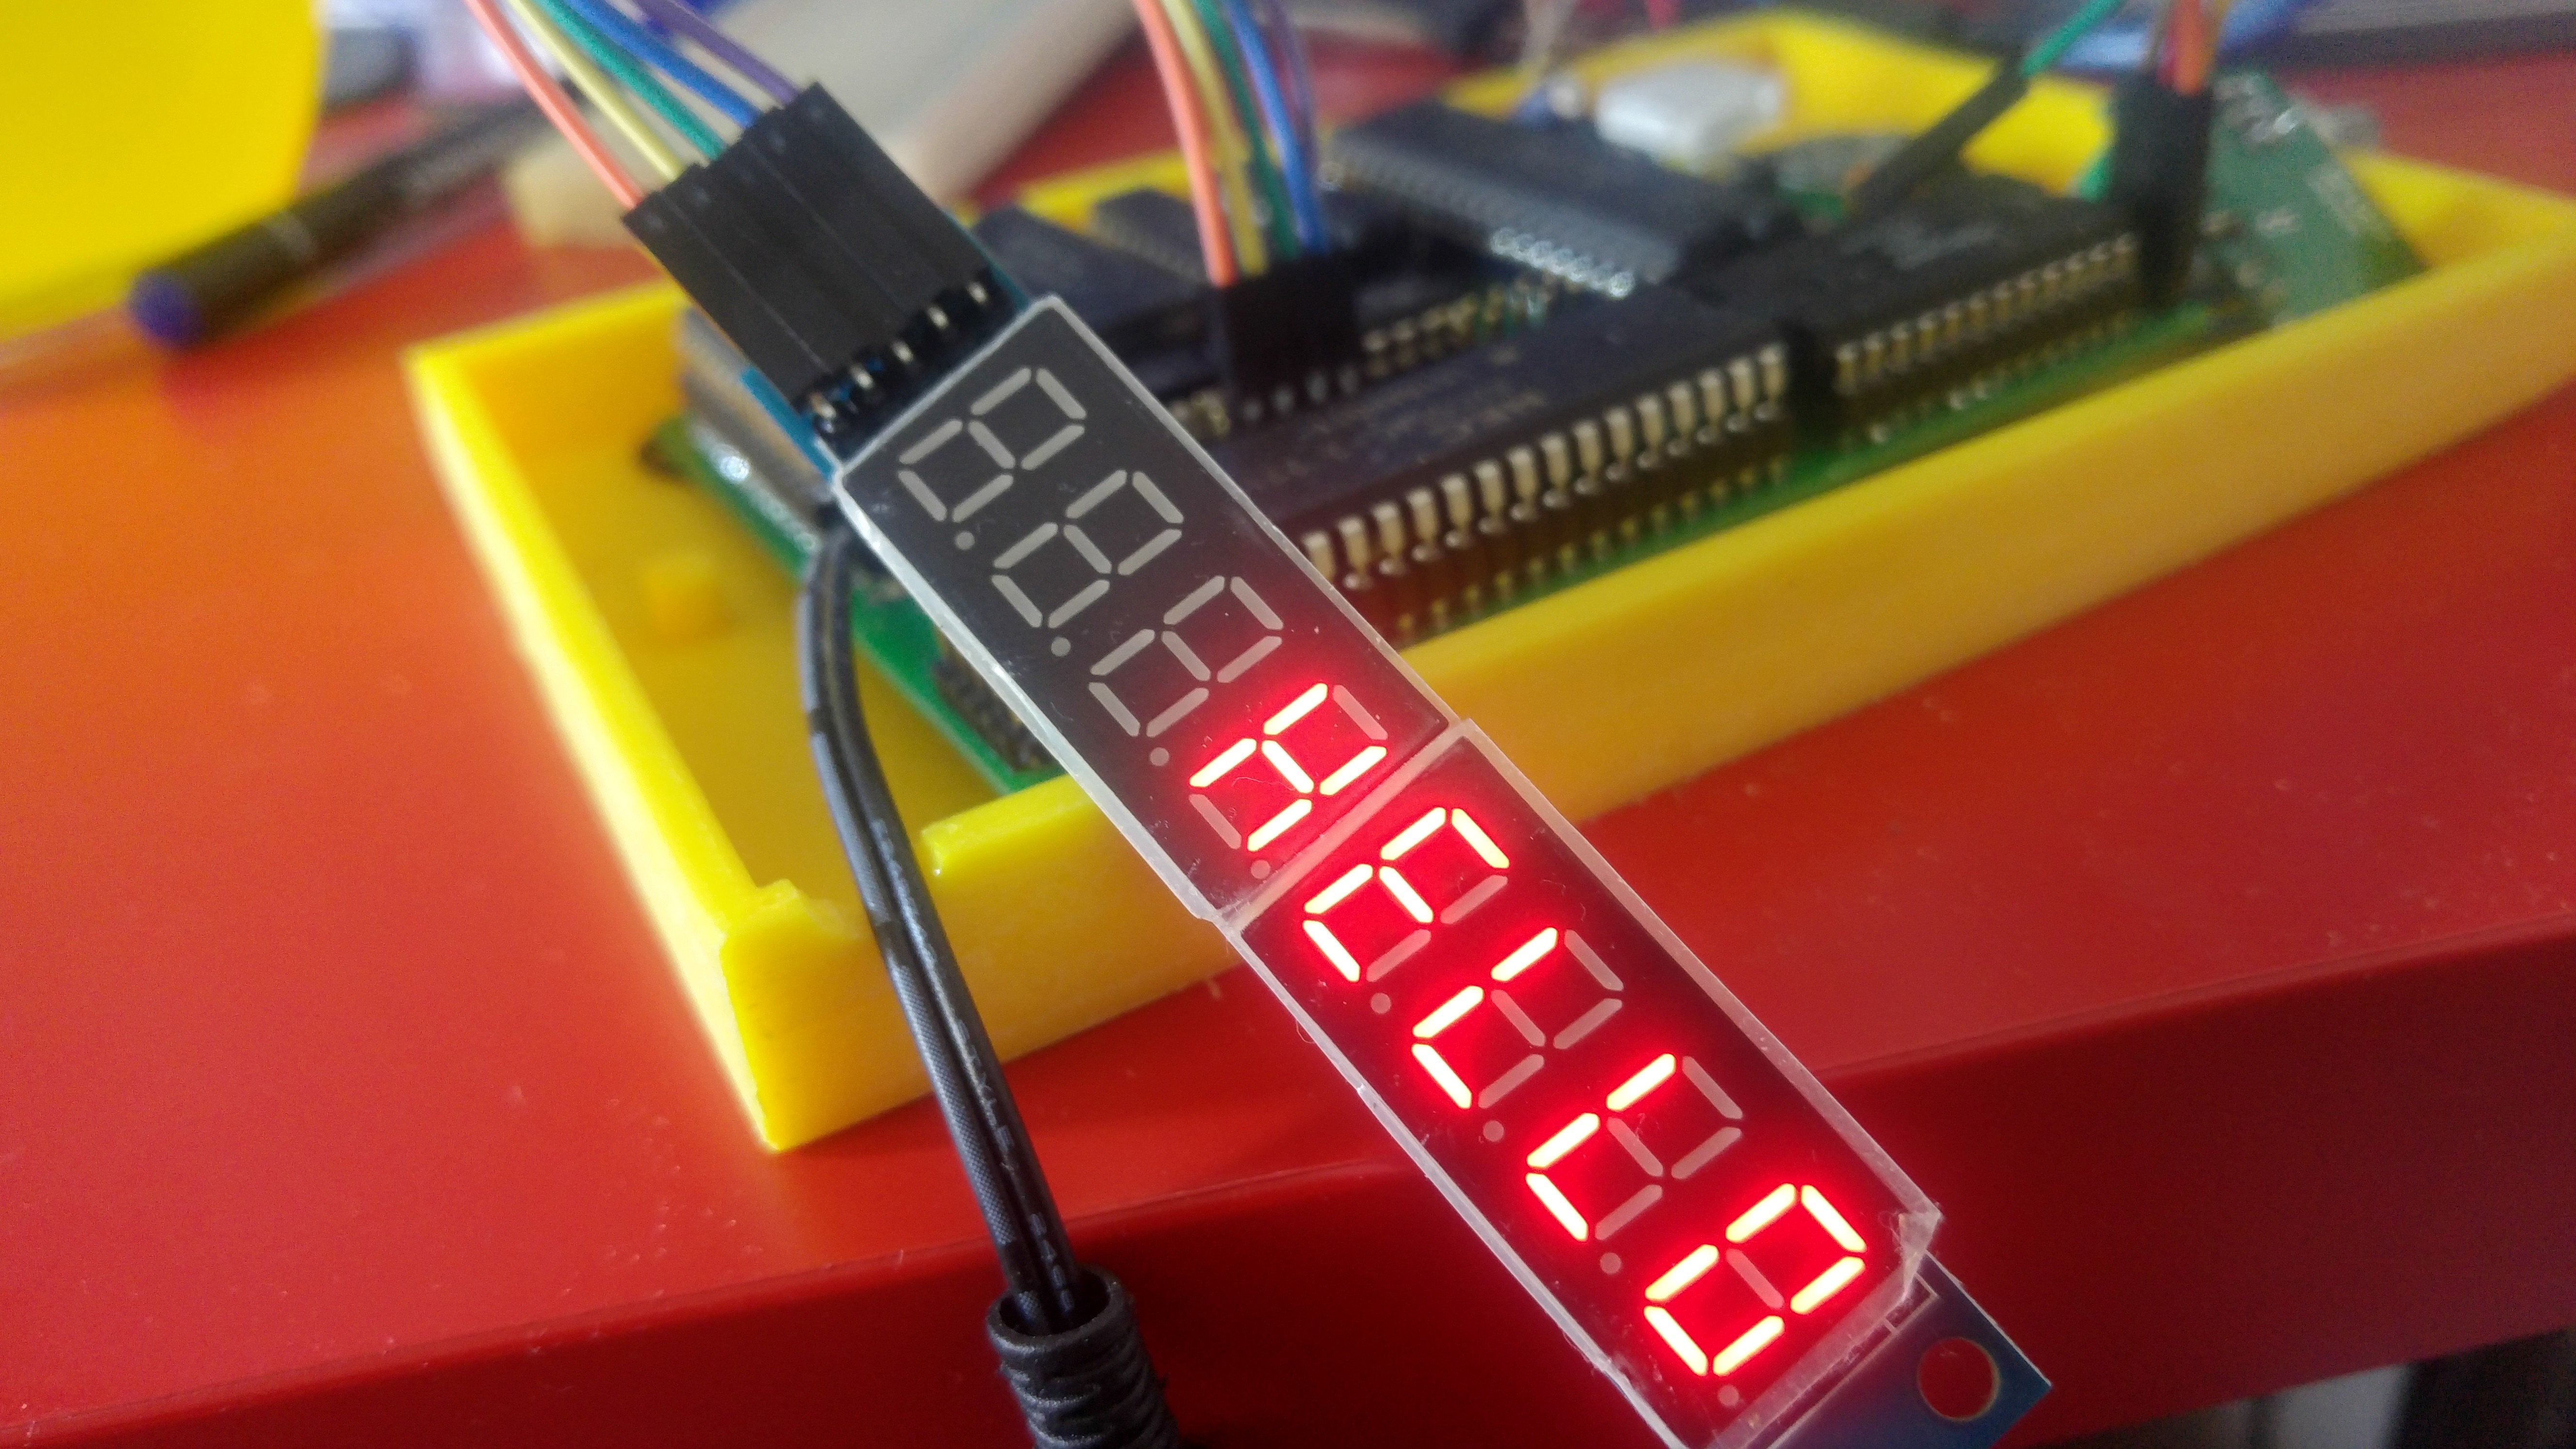
LED display and a hexadecimal keyboard
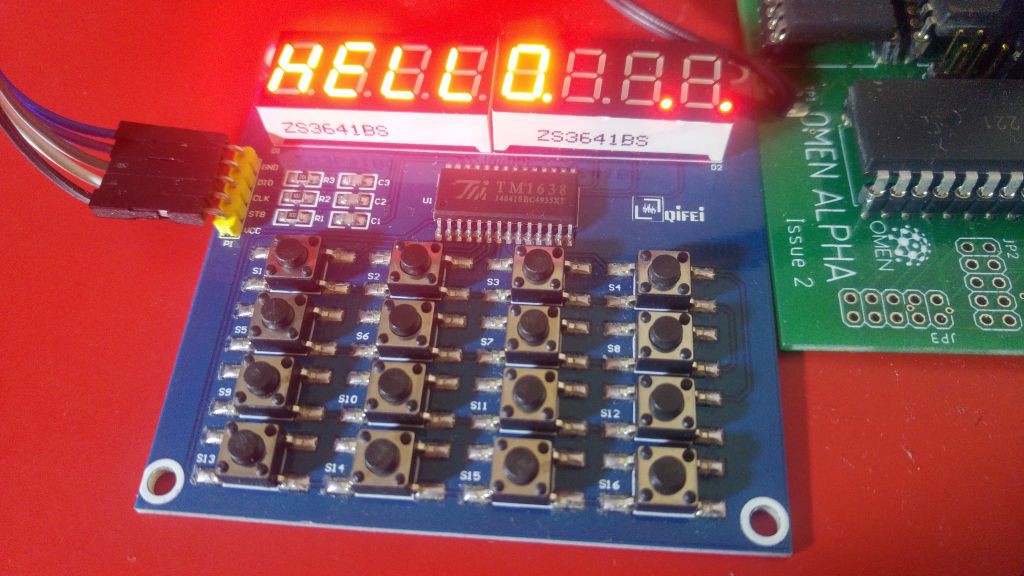
07/08/2018 at 17:30 • 0 commentsHere is the classic peripheral device for a single board computer: LED 7segment display and a hexadecimal keyboard.
Of course I can use the classic keyboard matrix and some 7segment displays, a bunch of resistors and transistors and solder a vintage one. Yes, I can, and it's easy. Instead I have used the cheap LED+key module from China. Its type is QYF-TM1638. This is it:
![]()
You can buy it on eBay or AliExpress for about 3 USD.
It provides the modern LED display driver and keyboard scanner. It has a serial interface - not an UART, but some kind of SPI with bidirectional data line.
You need three pins to connect this module: strobe pin (output from CPU), clock pin (output from CPU) and data (bidir). So there was a problem: How to achieve a bidir interface in the OMEN Alpha?
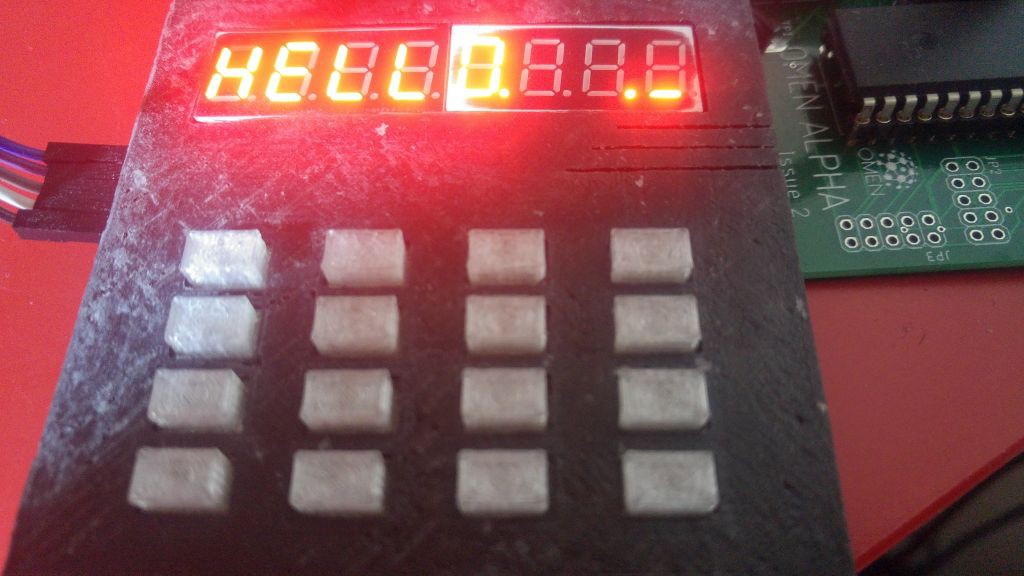
I have used the 82C55 parallel interface, port C. Port C can be split into two groups (higher and lower half, PC7-PC4 and PC3-PC0), which can be configured as input or output independently. Ports A and B has the same direction for the whole port.
So I have set the lower half of port C as output for STB and CLK, and the upper one I can switch between input and output. Data pin DIO is connected to port C pin 7.
Here is a source code for the driver. It is not optimized, straightforward and rather ugly, but it works!
![]()
![]()
-
"Sneak peek" - what's coming on?
07/06/2018 at 13:39 • 1 comment![]()
Yes, this time it's compiled!
(I write this compiler from this Monday, so its output and the expression evaluation is not optimized at all...)
-
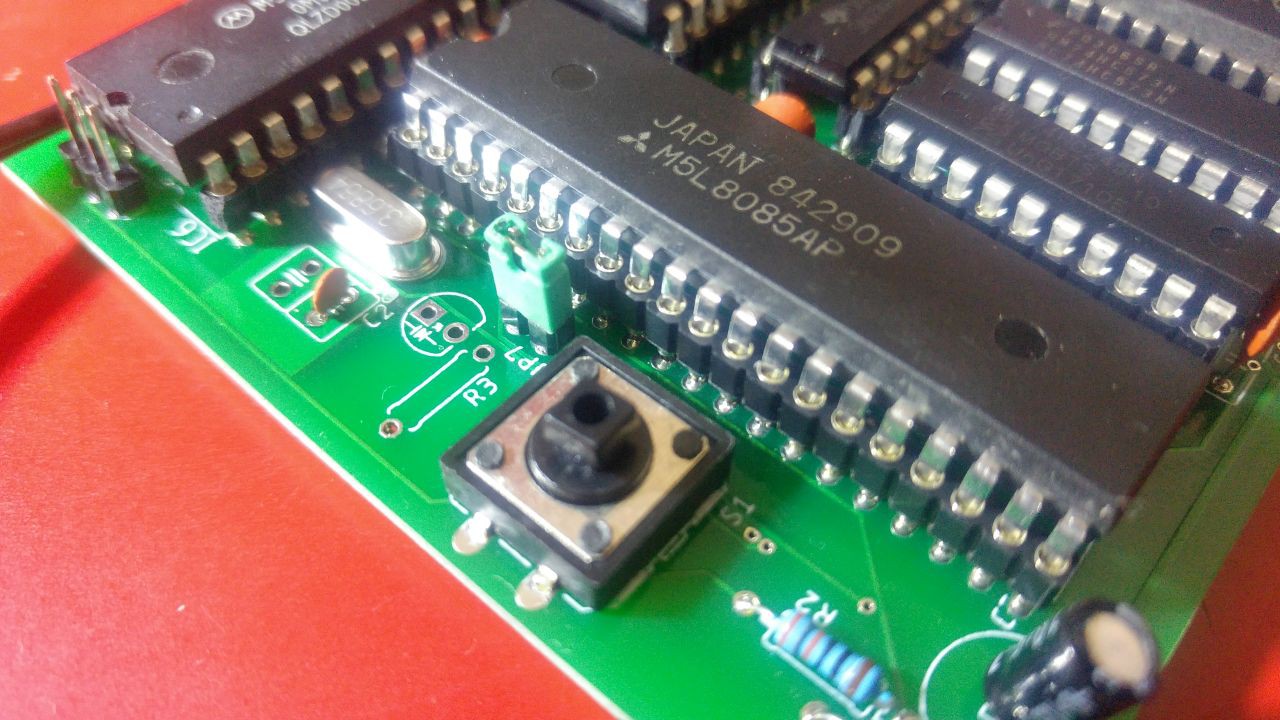
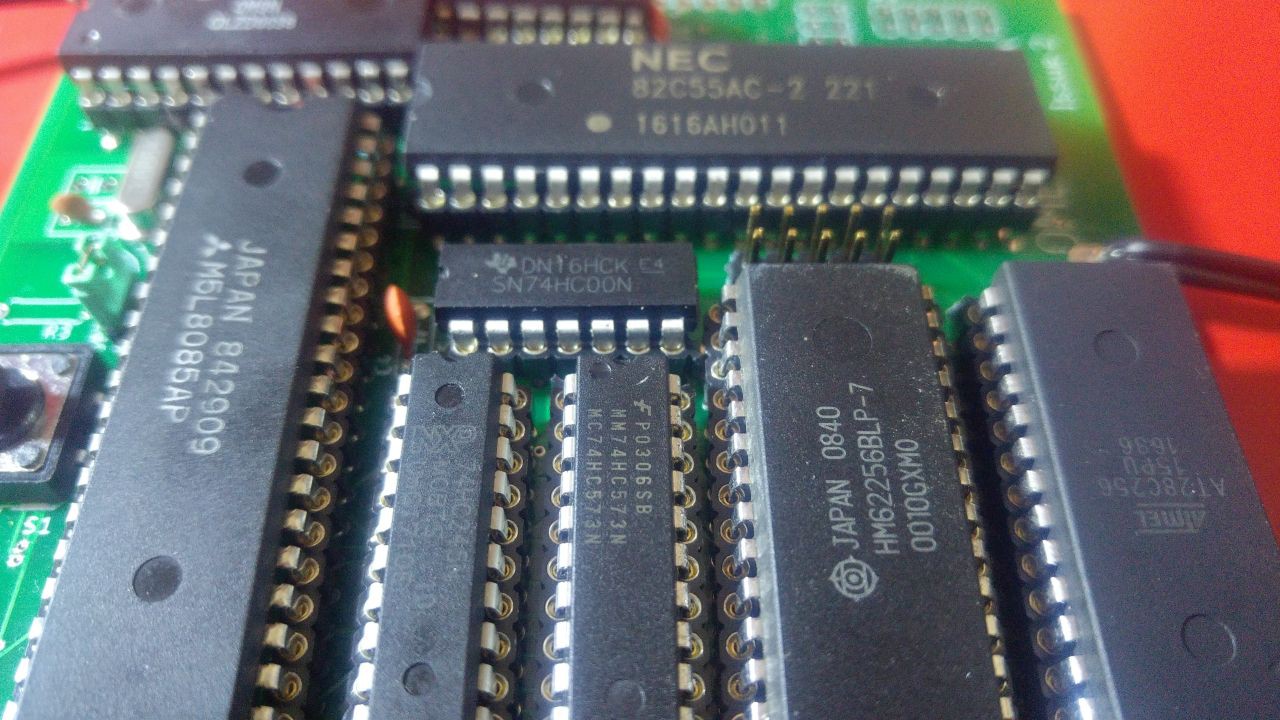
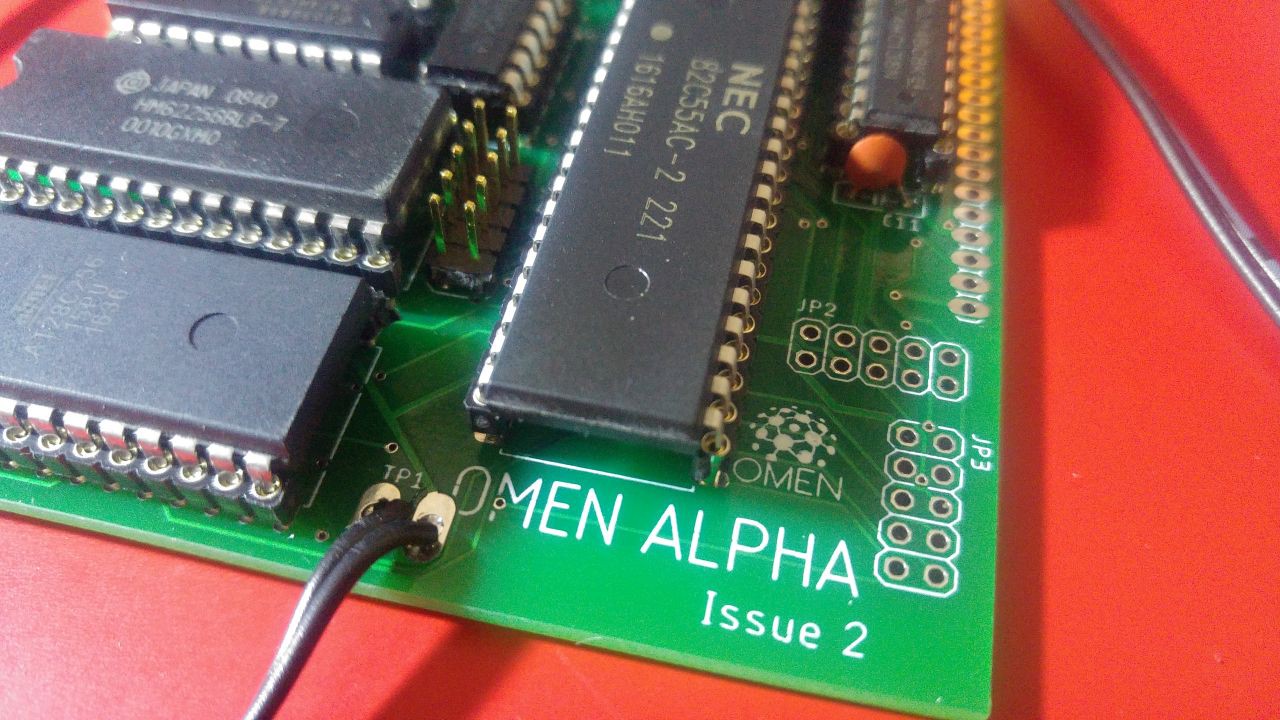
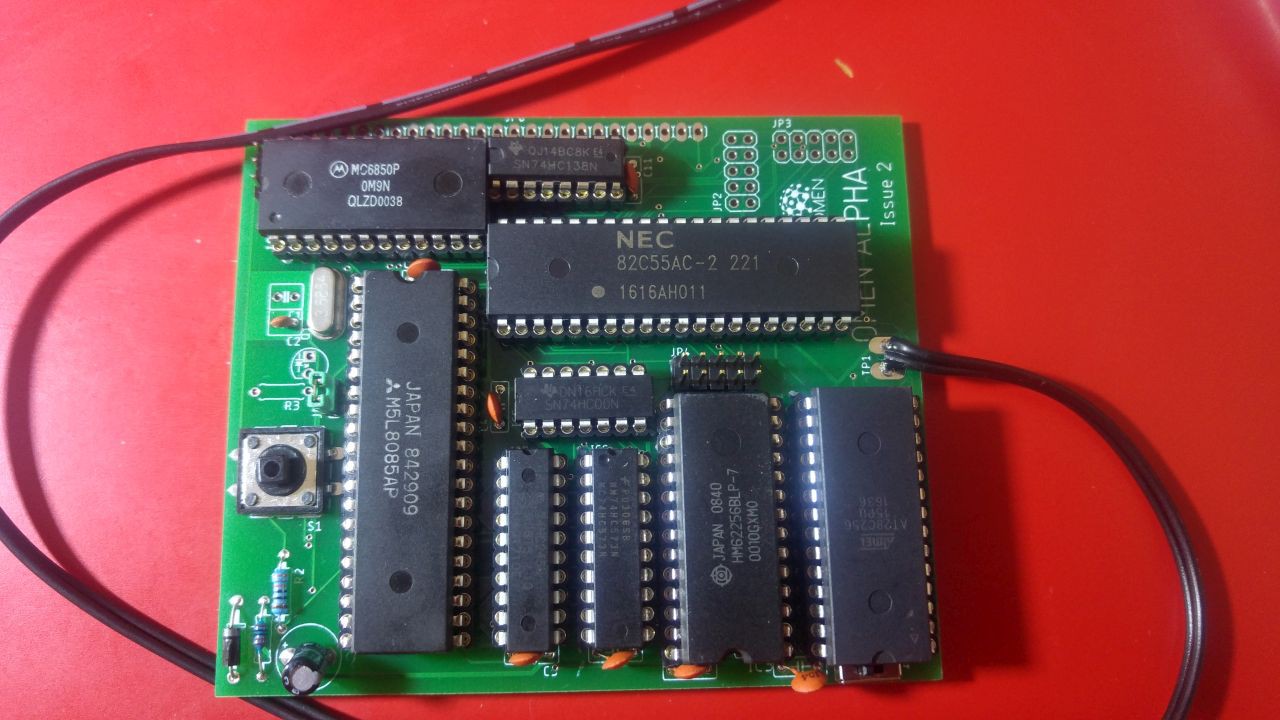
The first Alpha issue 2 assembled!
06/17/2018 at 15:55 • 0 commentsThe second version of PCB has some new features:
- System connector (24 pins) with data bus, A0-A2, /RD and /WR, seven /CS (decoded), system clock and an interrupt
- Selectable IRQ (RST7.5) for external interrupt request
- Switchable /WE for EEPROM to enable in-place programming...
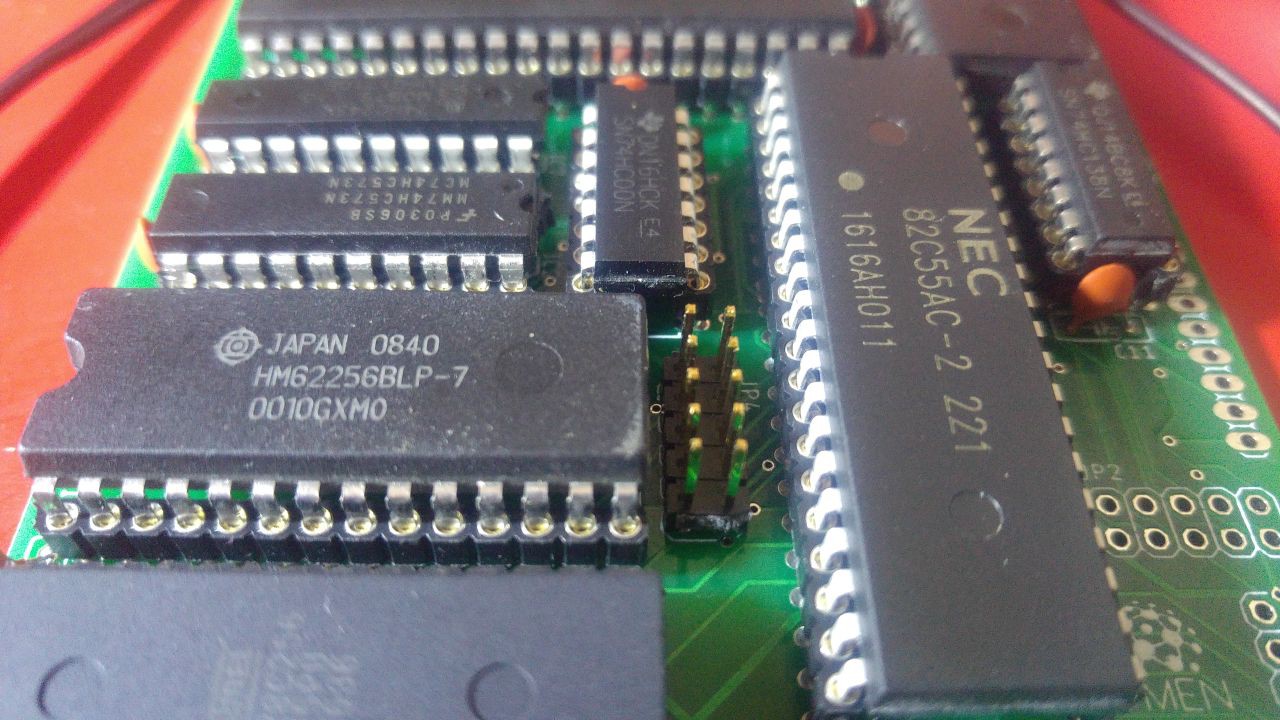
Here are some photos:
![]()
![]()
![]()
![]()
![]()
![]()
![]()
-
7segment display module and the Alpha
06/02/2018 at 18:16 • 2 comments![]()
Just take the MAX7218 module and connect it to port C of 8255. Of course, I could do it more "retro way", and maybe one day I will. But for now it's simple and working.
Step 2: I try to use TM1638 module to control the Alpha in the SBC way. This module has 16 buttons only, so there is no extra buttons for "action keys". But Heathkit ET-3400 has 16 keys too...