 Roger
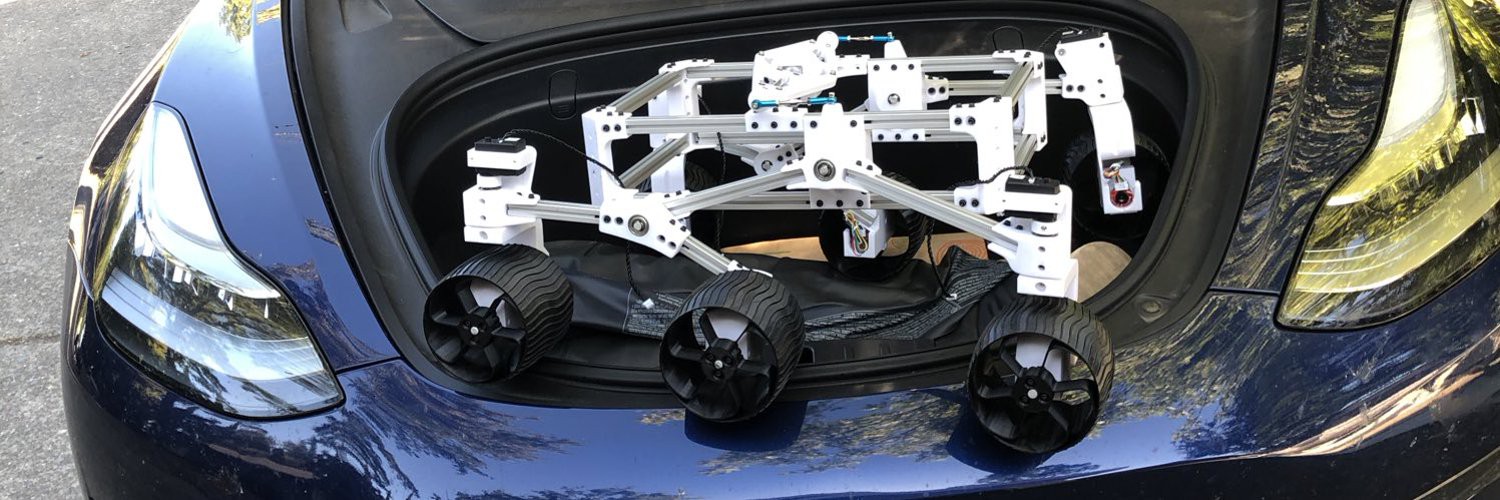
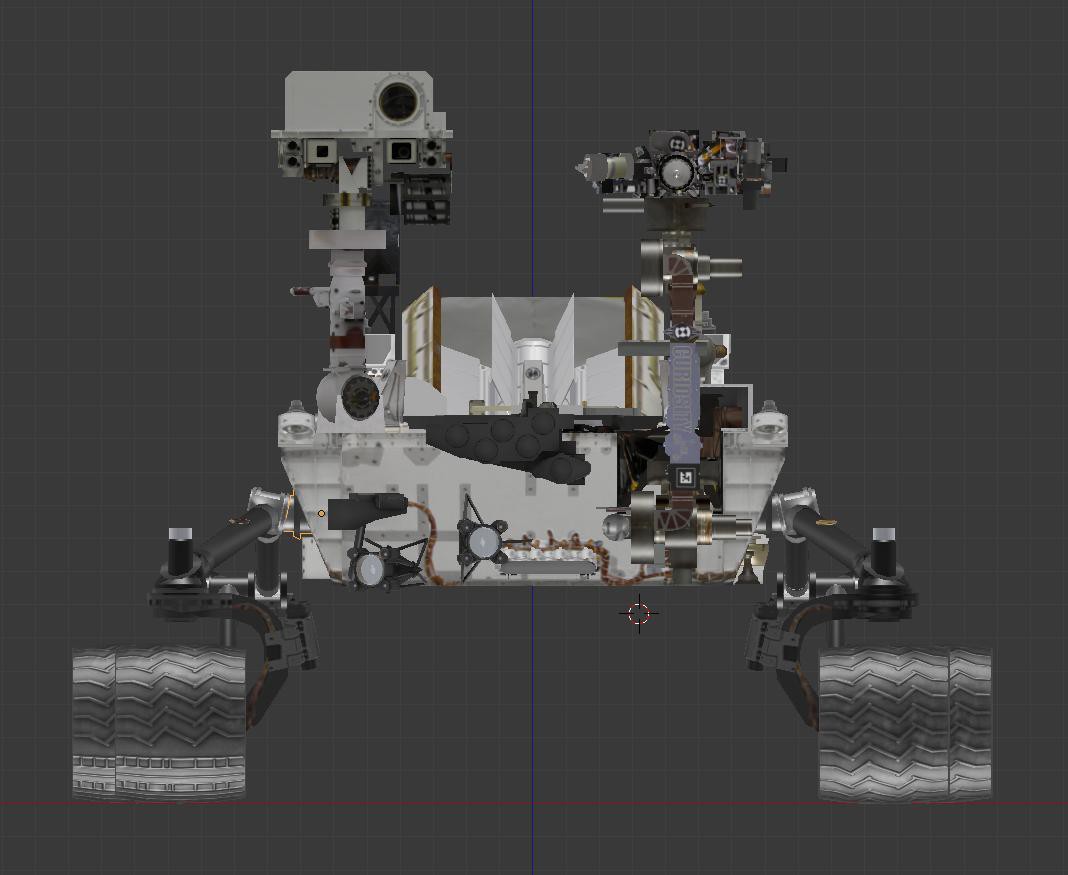
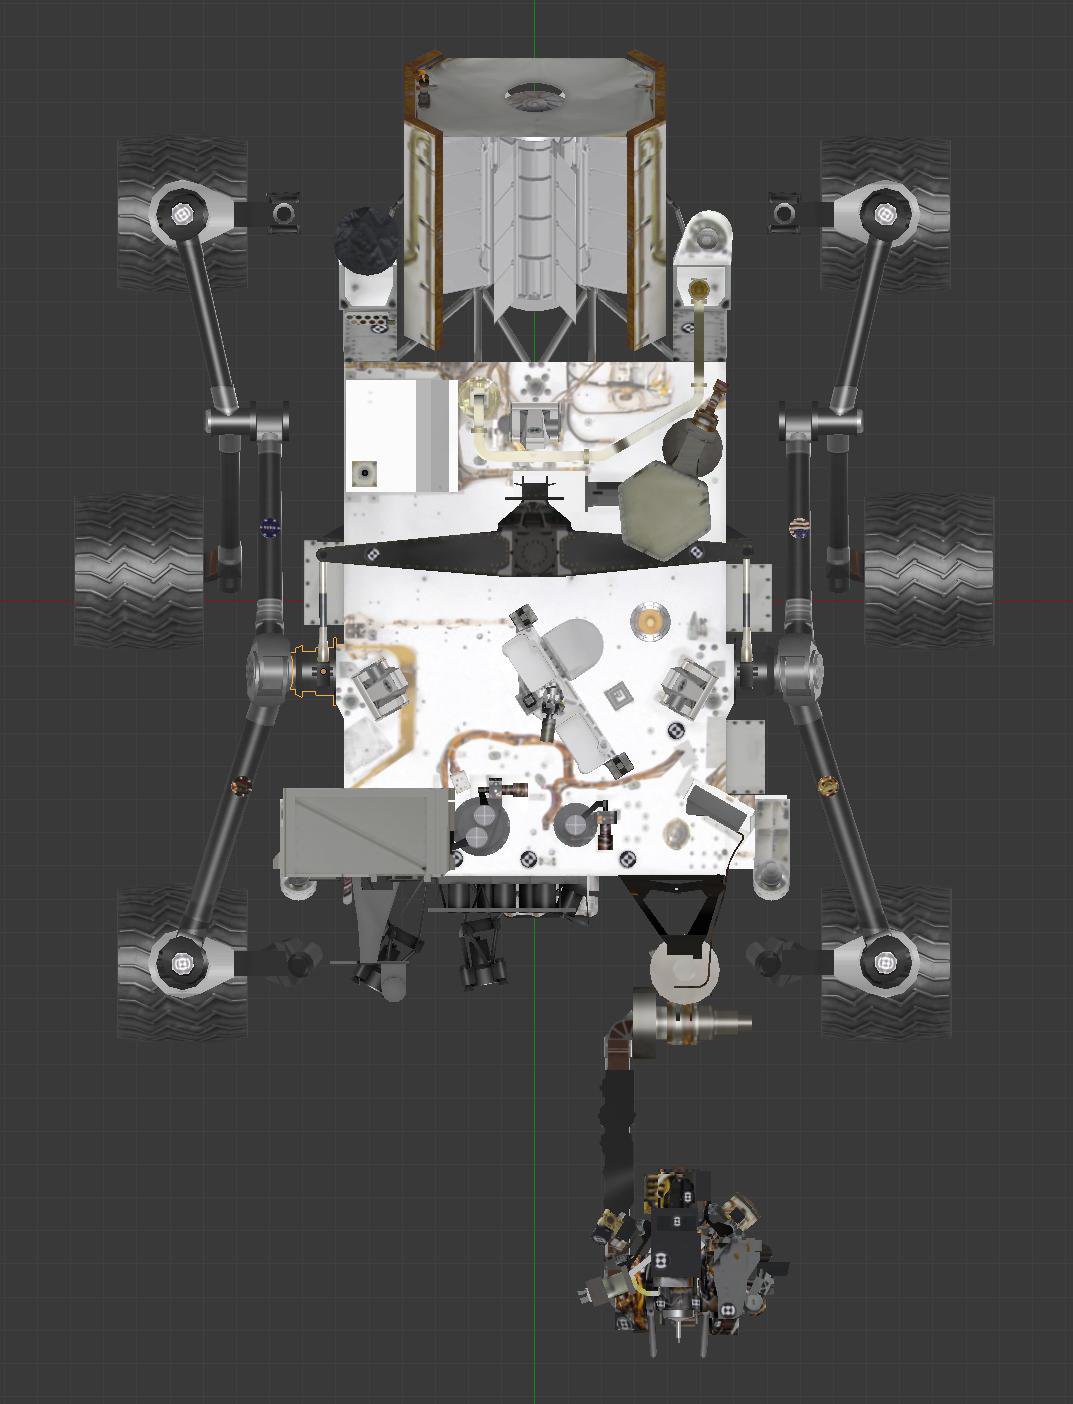
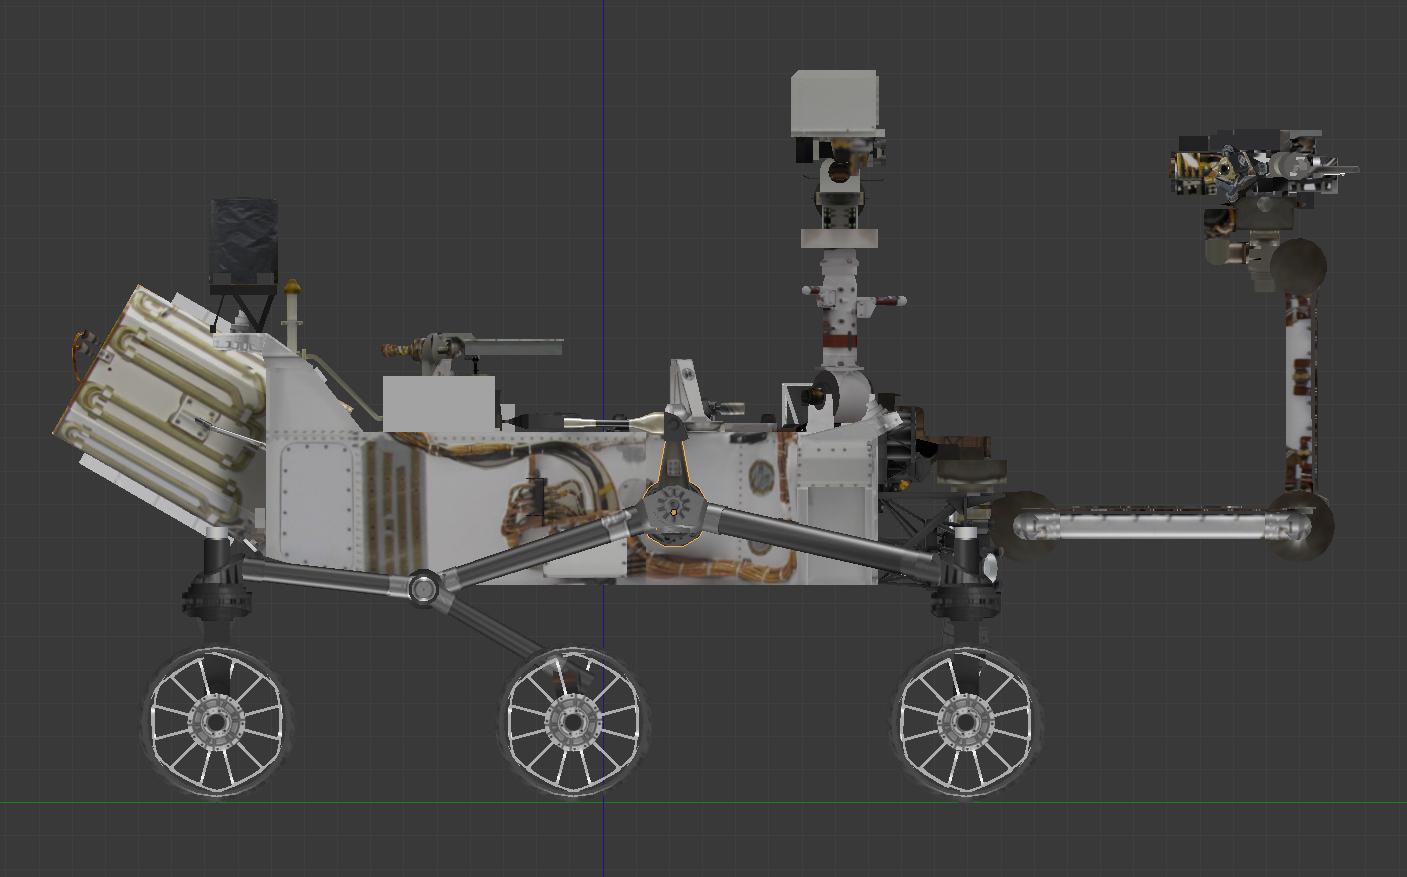
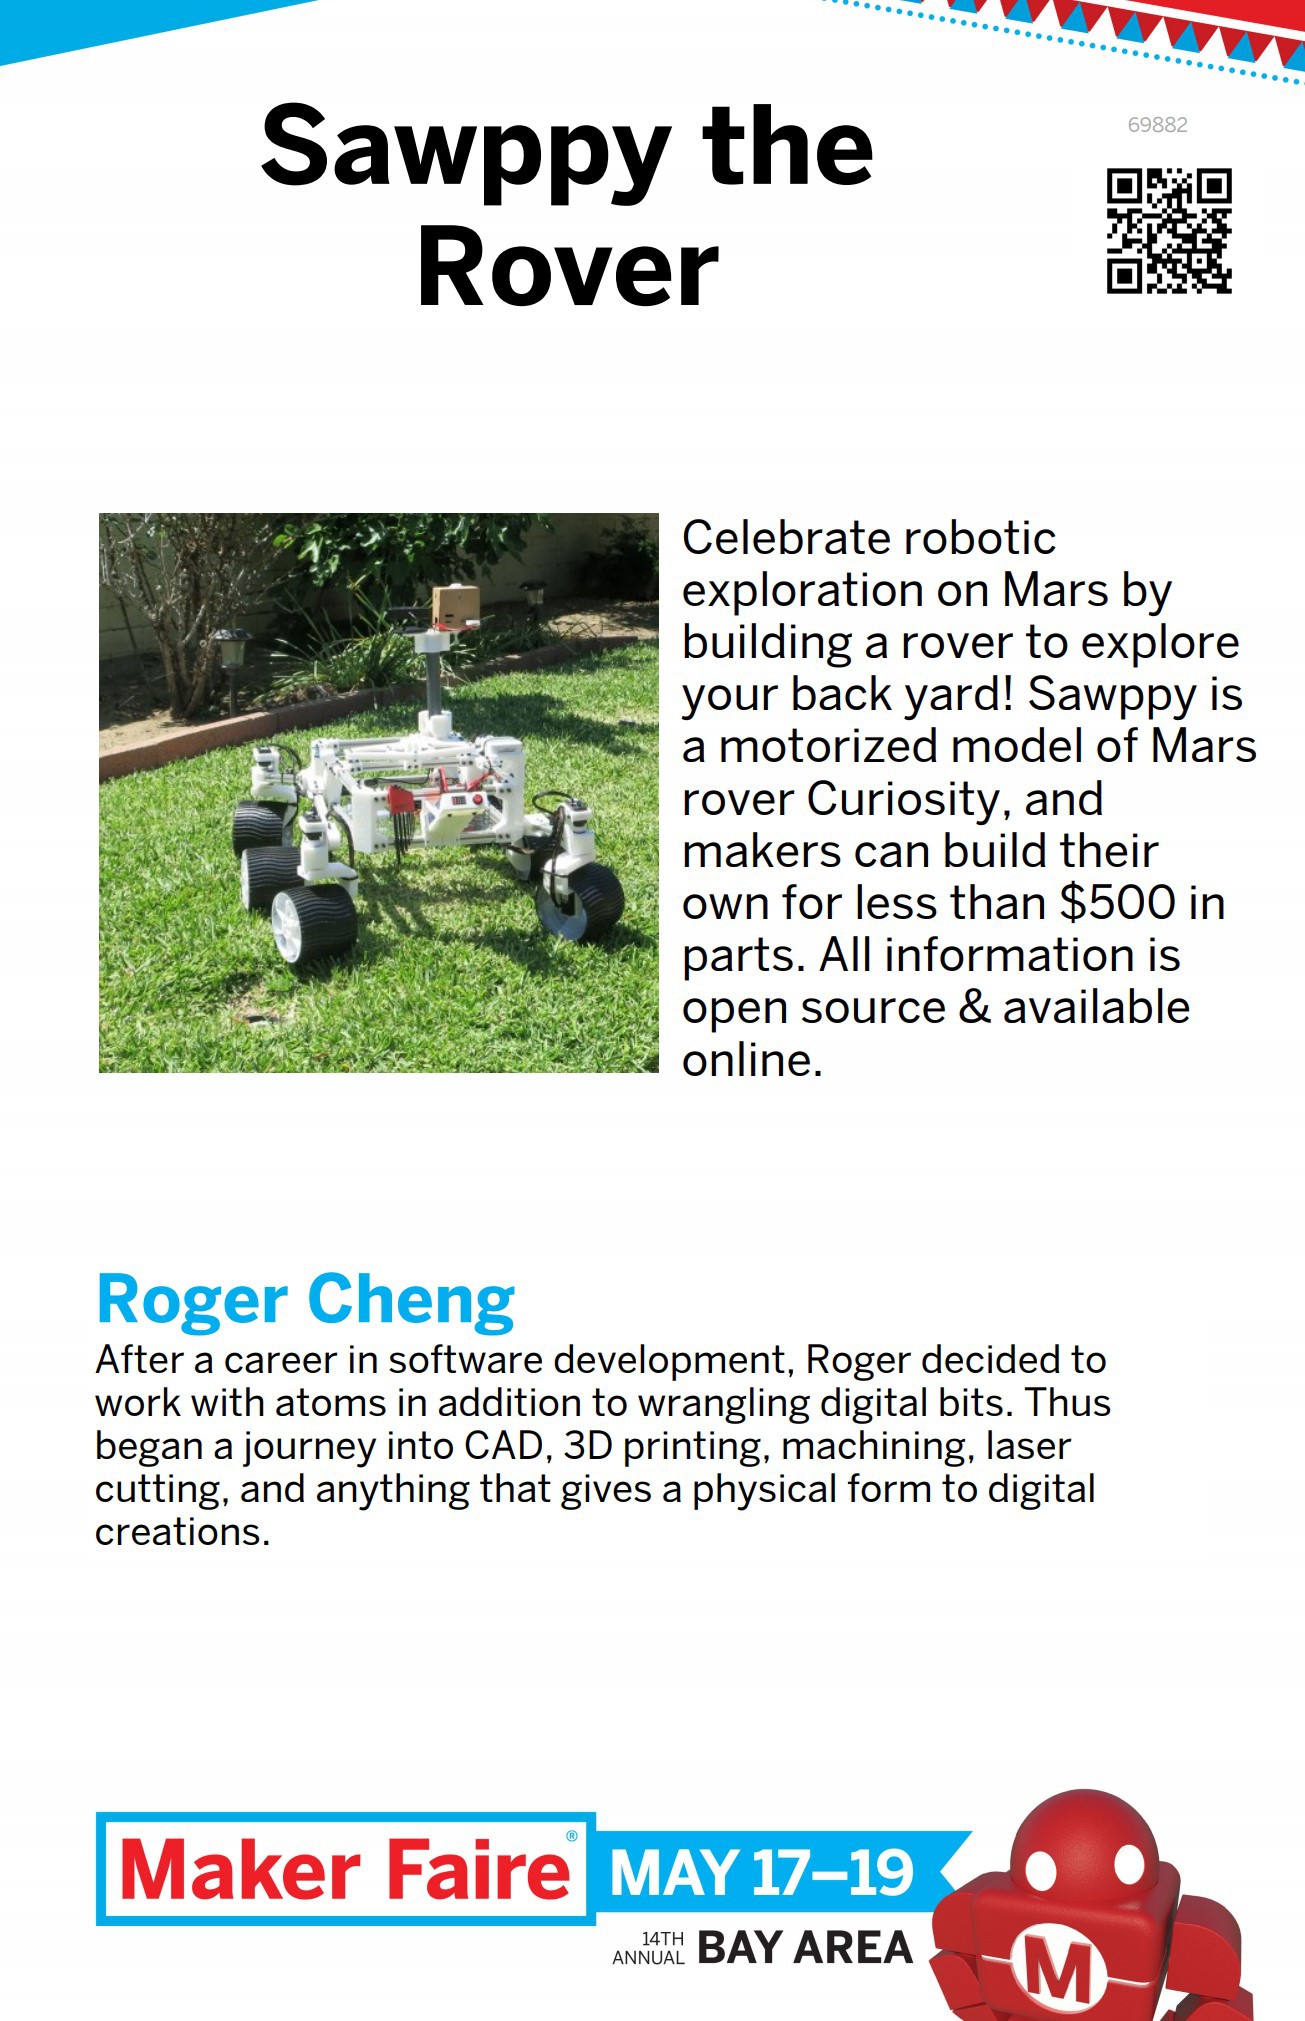
RogerSawppy the Rover was inspired by JPL's Open Source Rover project. Most of the differences between Sawppy and its JPL inspiration were motivated by a desire to reduce cost and complexity. JPL's rover is designed for education, to be assembled by a school team and give a robust foundation for structured curriculum. Sawppy is more suited for individual hobbyists like myself who are happy to tinker and willing to make some trade-offs to lower cost.
The budget was $500, and getting there required the following changes:
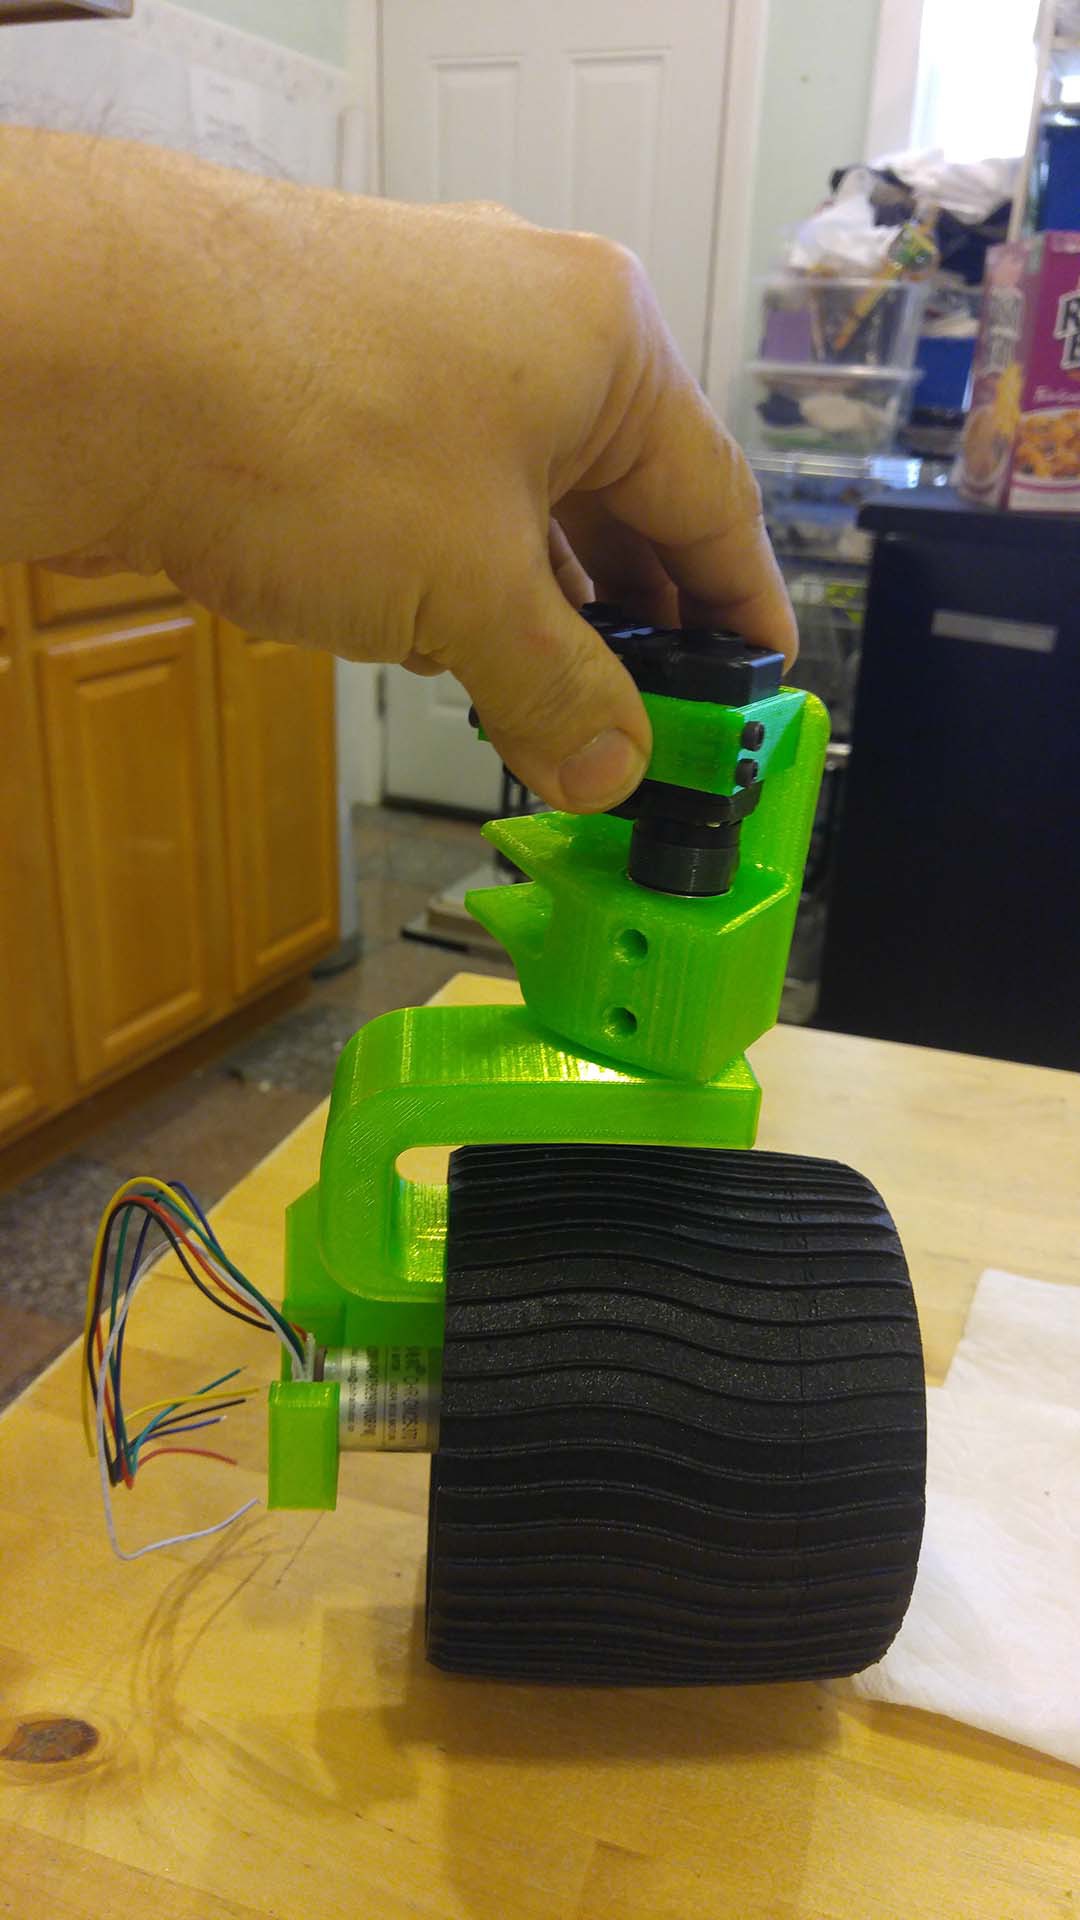
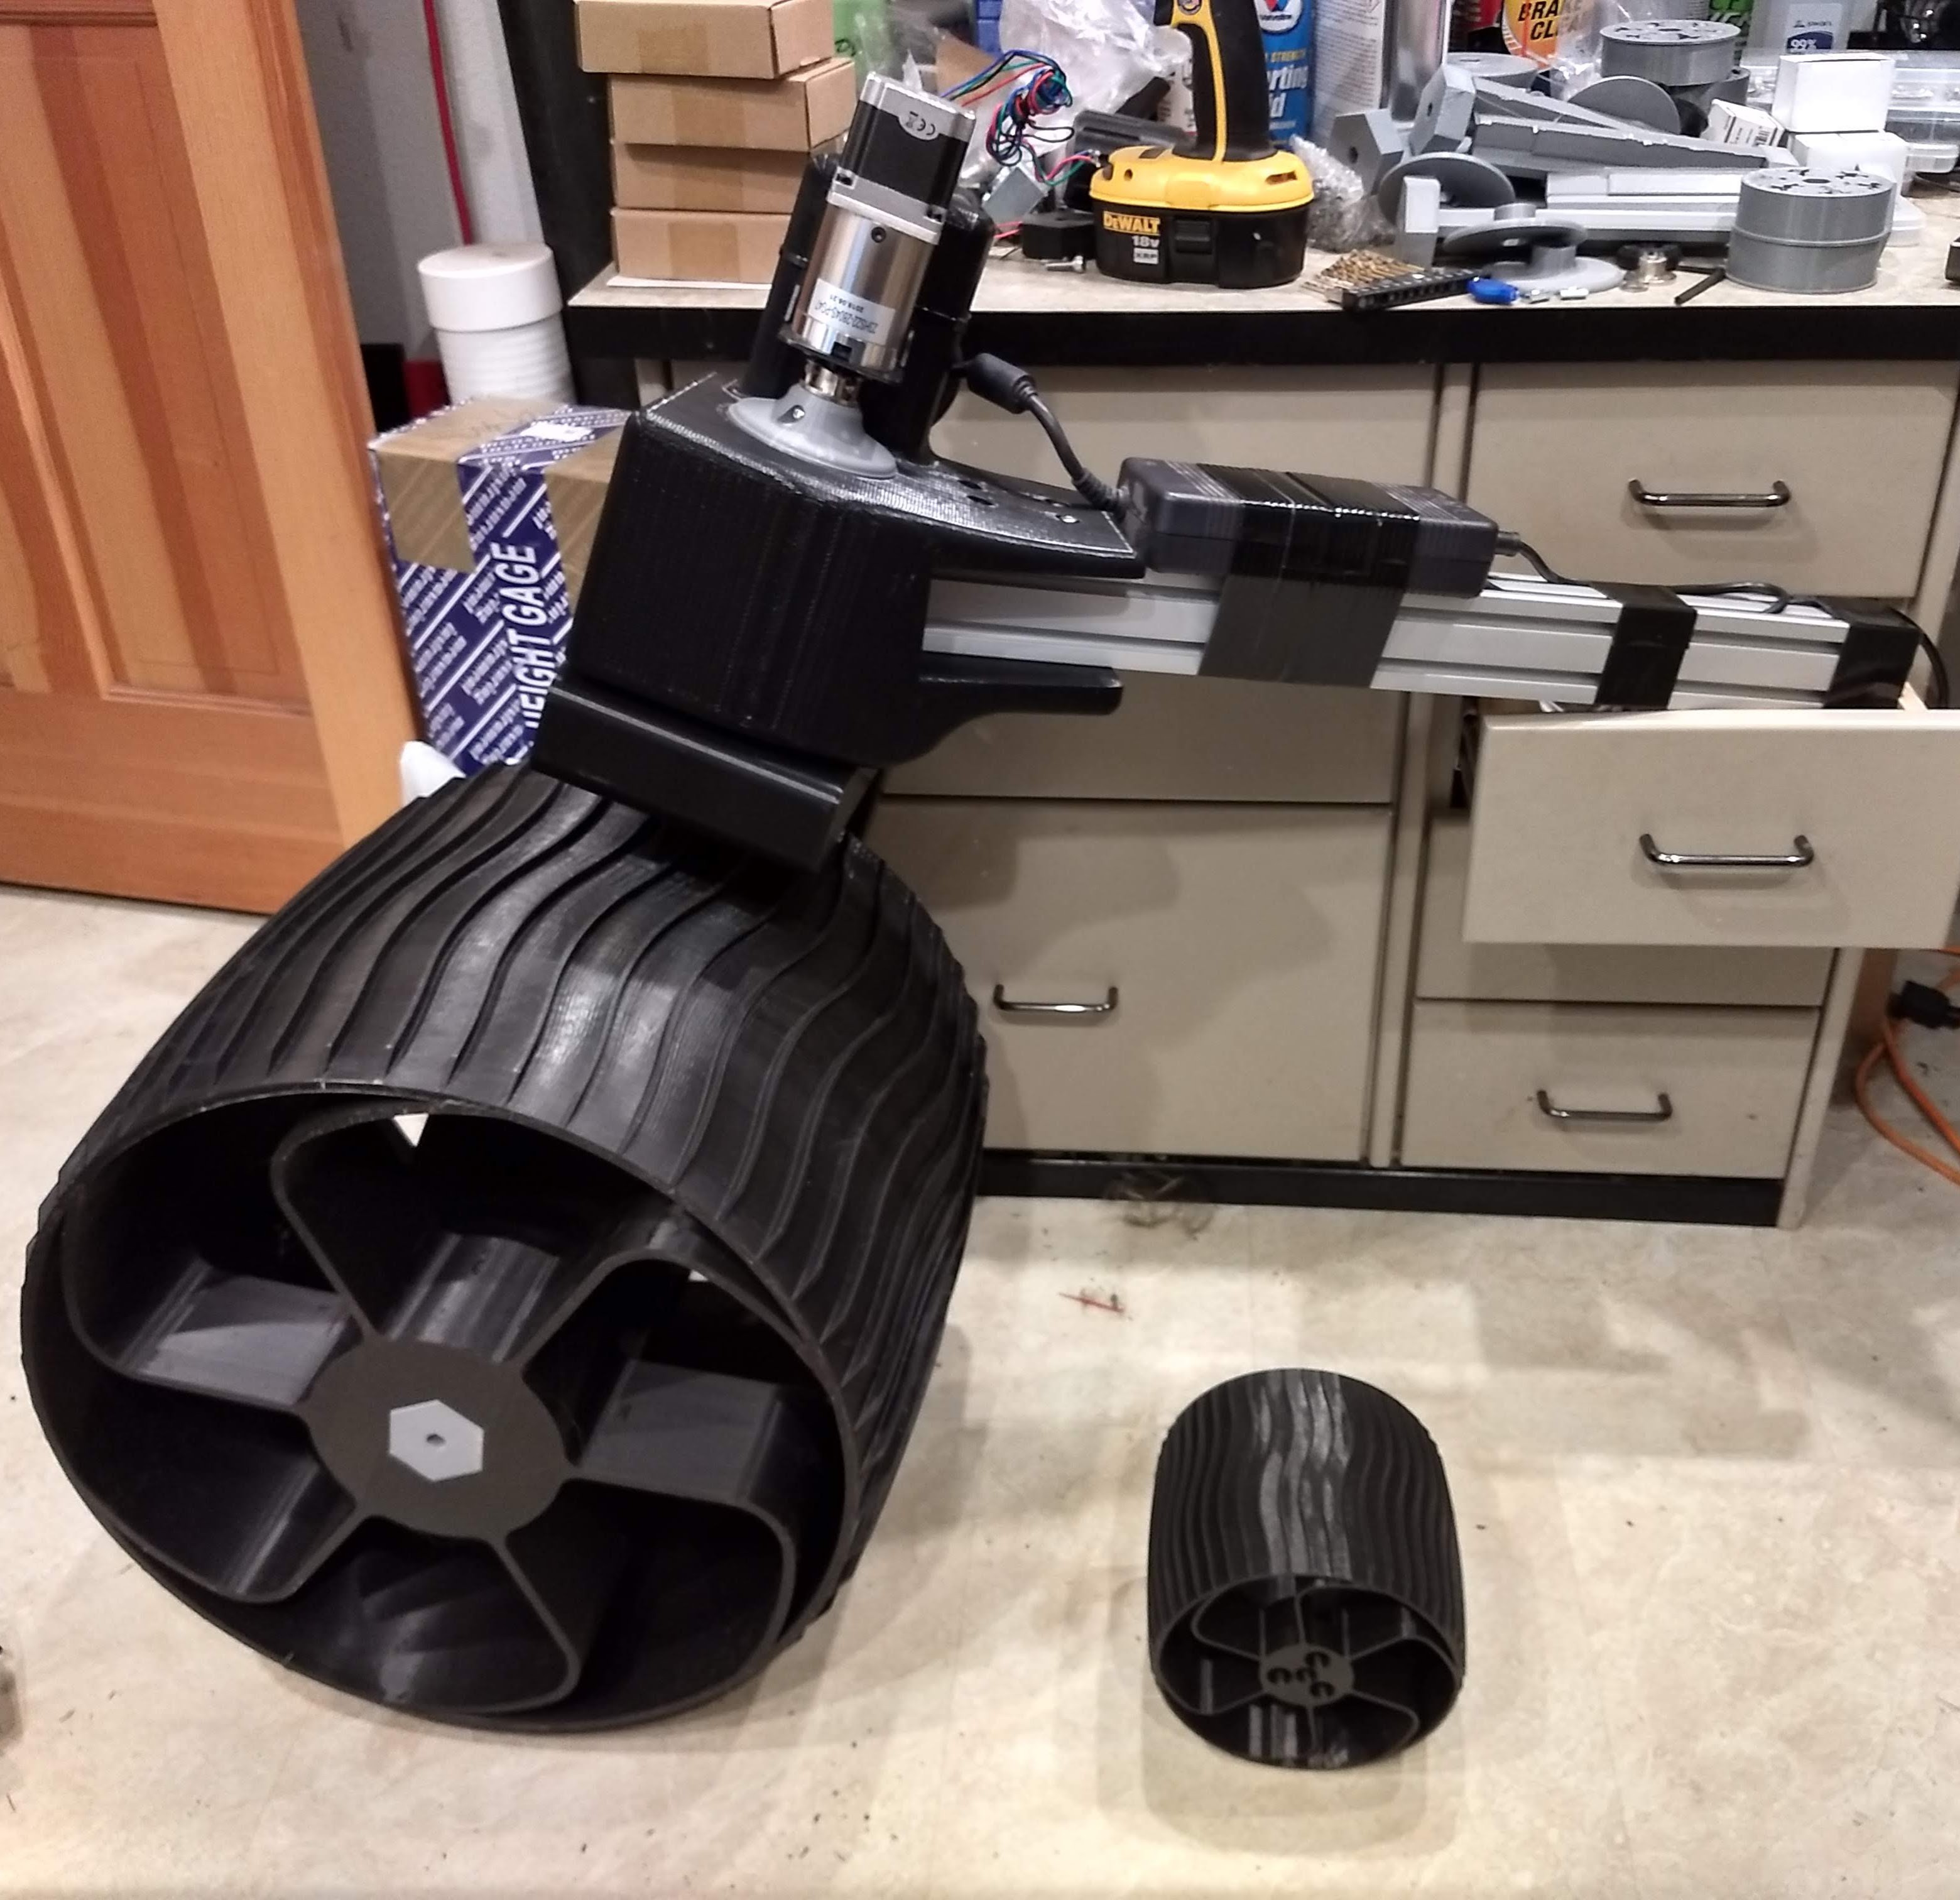
- Motorization: Instead of using gearmotors with encoders managed by RoboClaw motor controllers, moving the wheels will be done with serial bus servo motors.
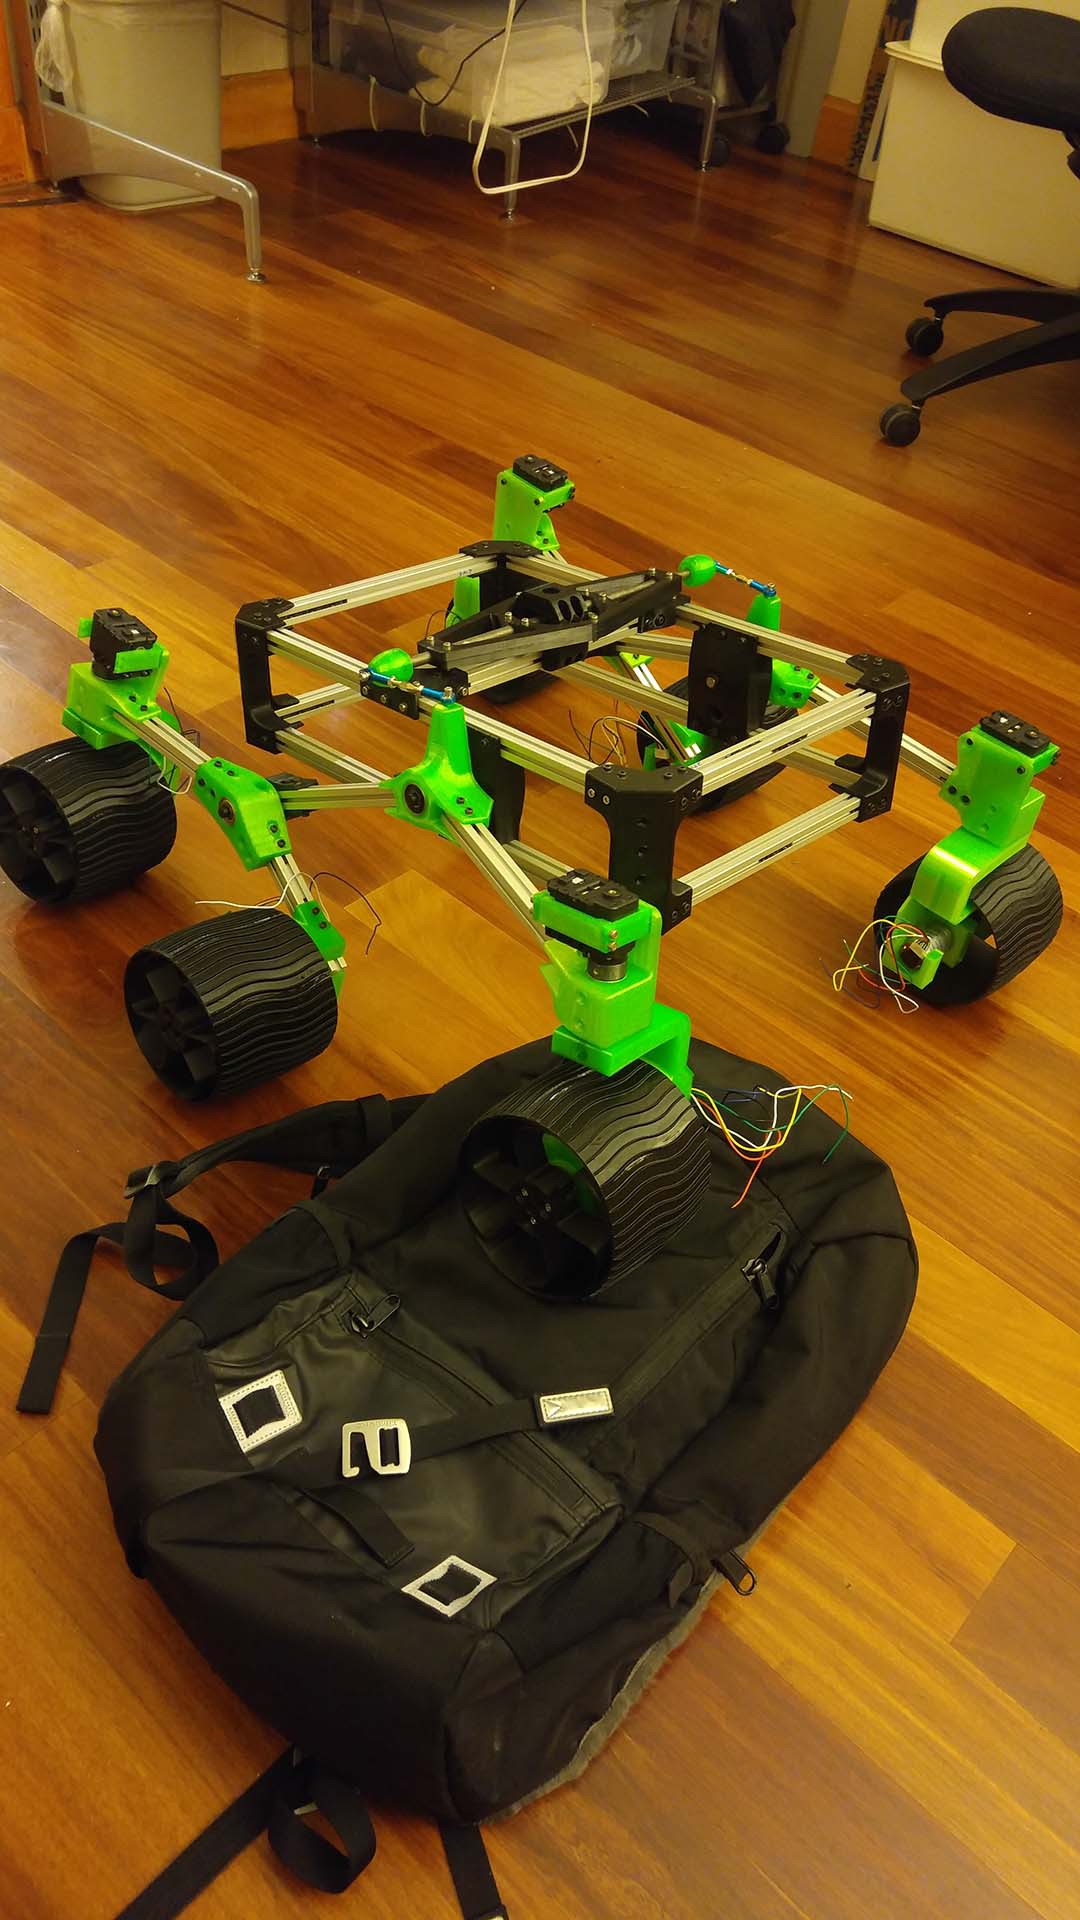
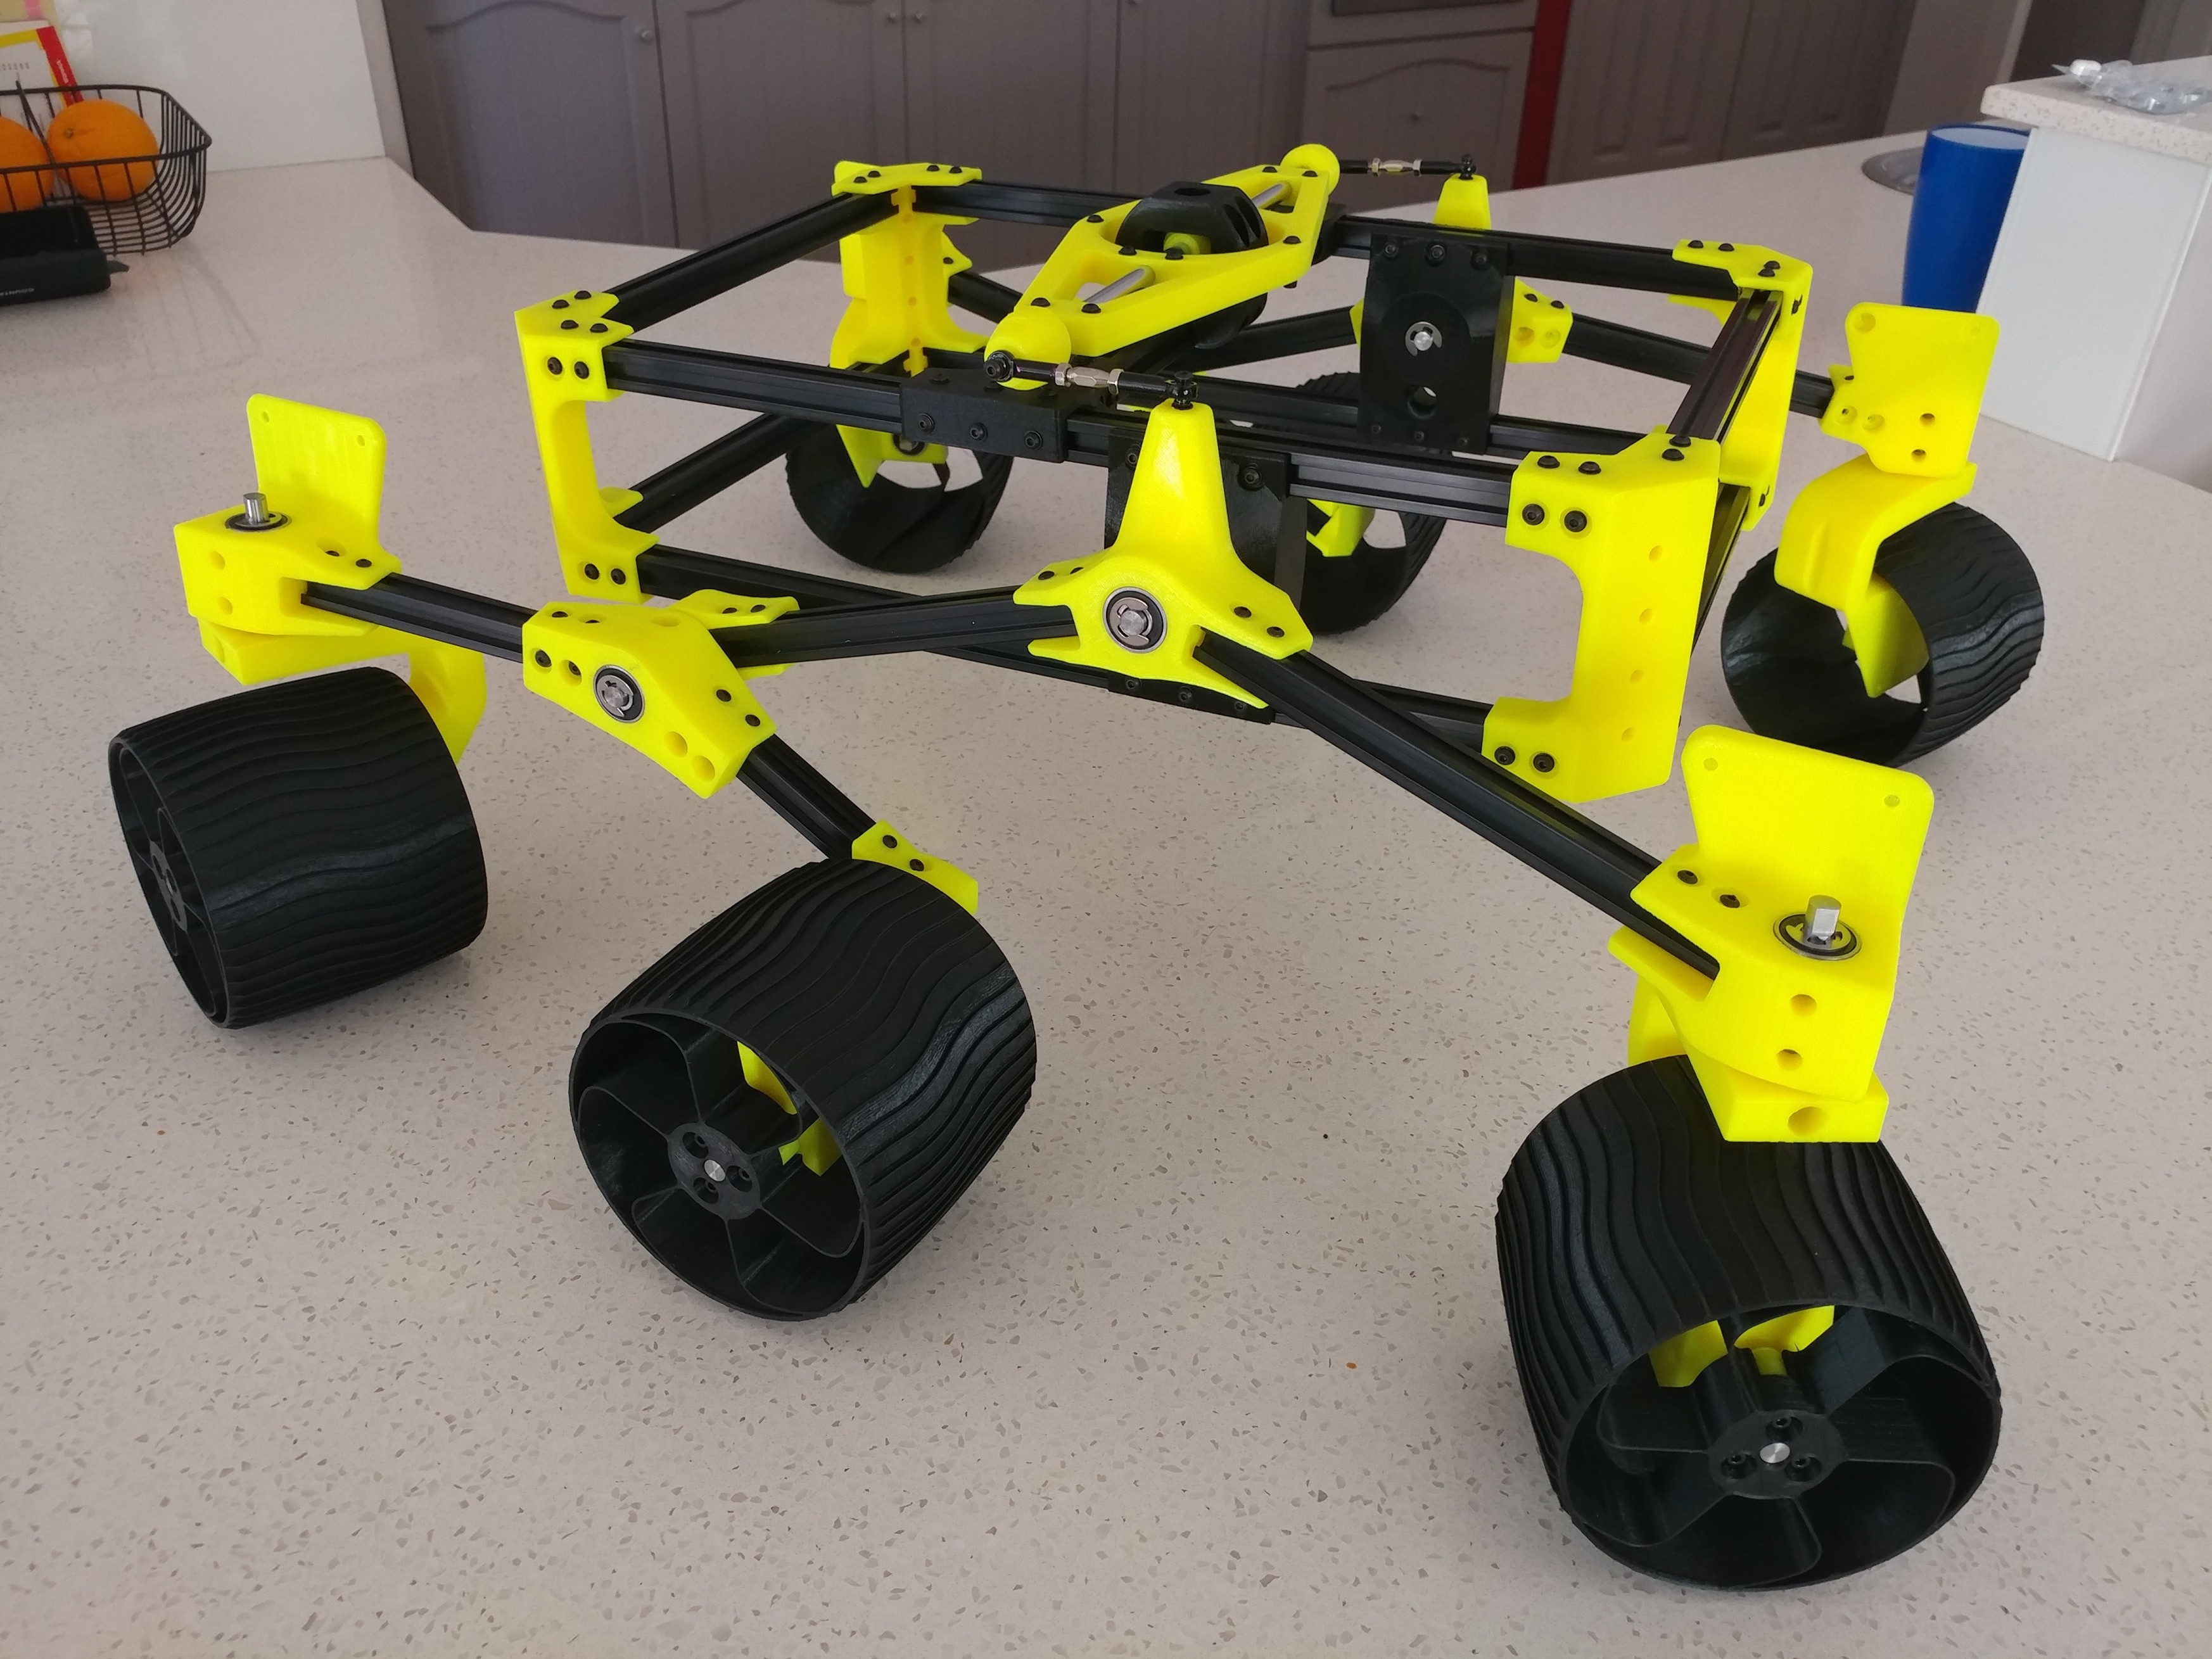
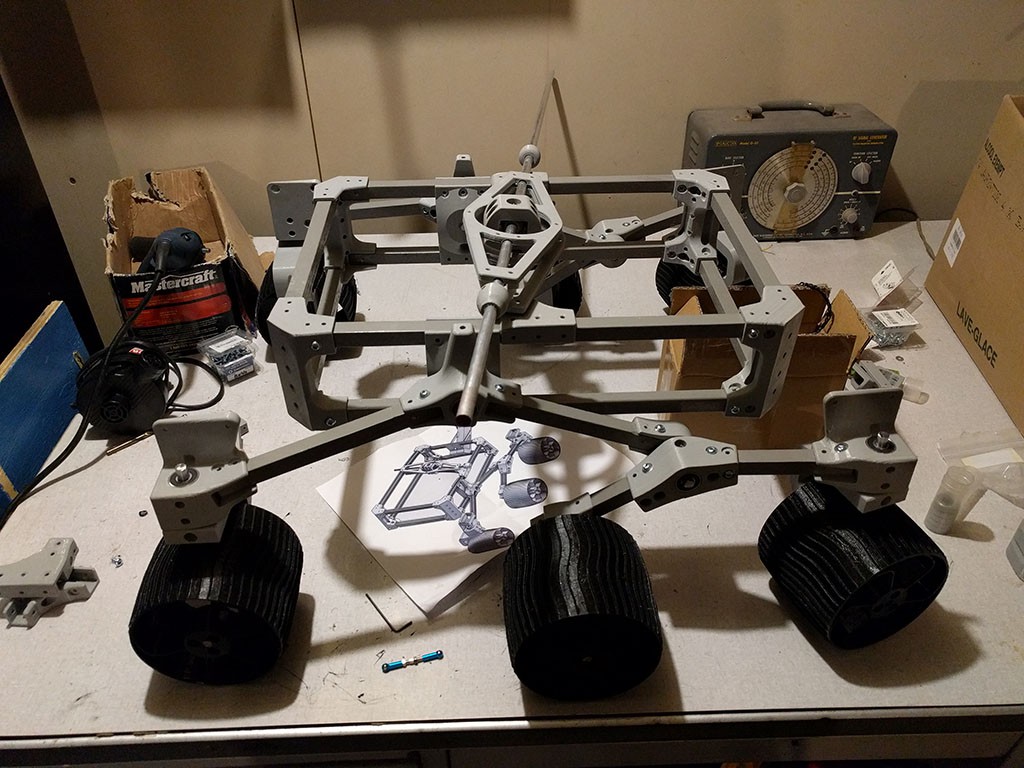
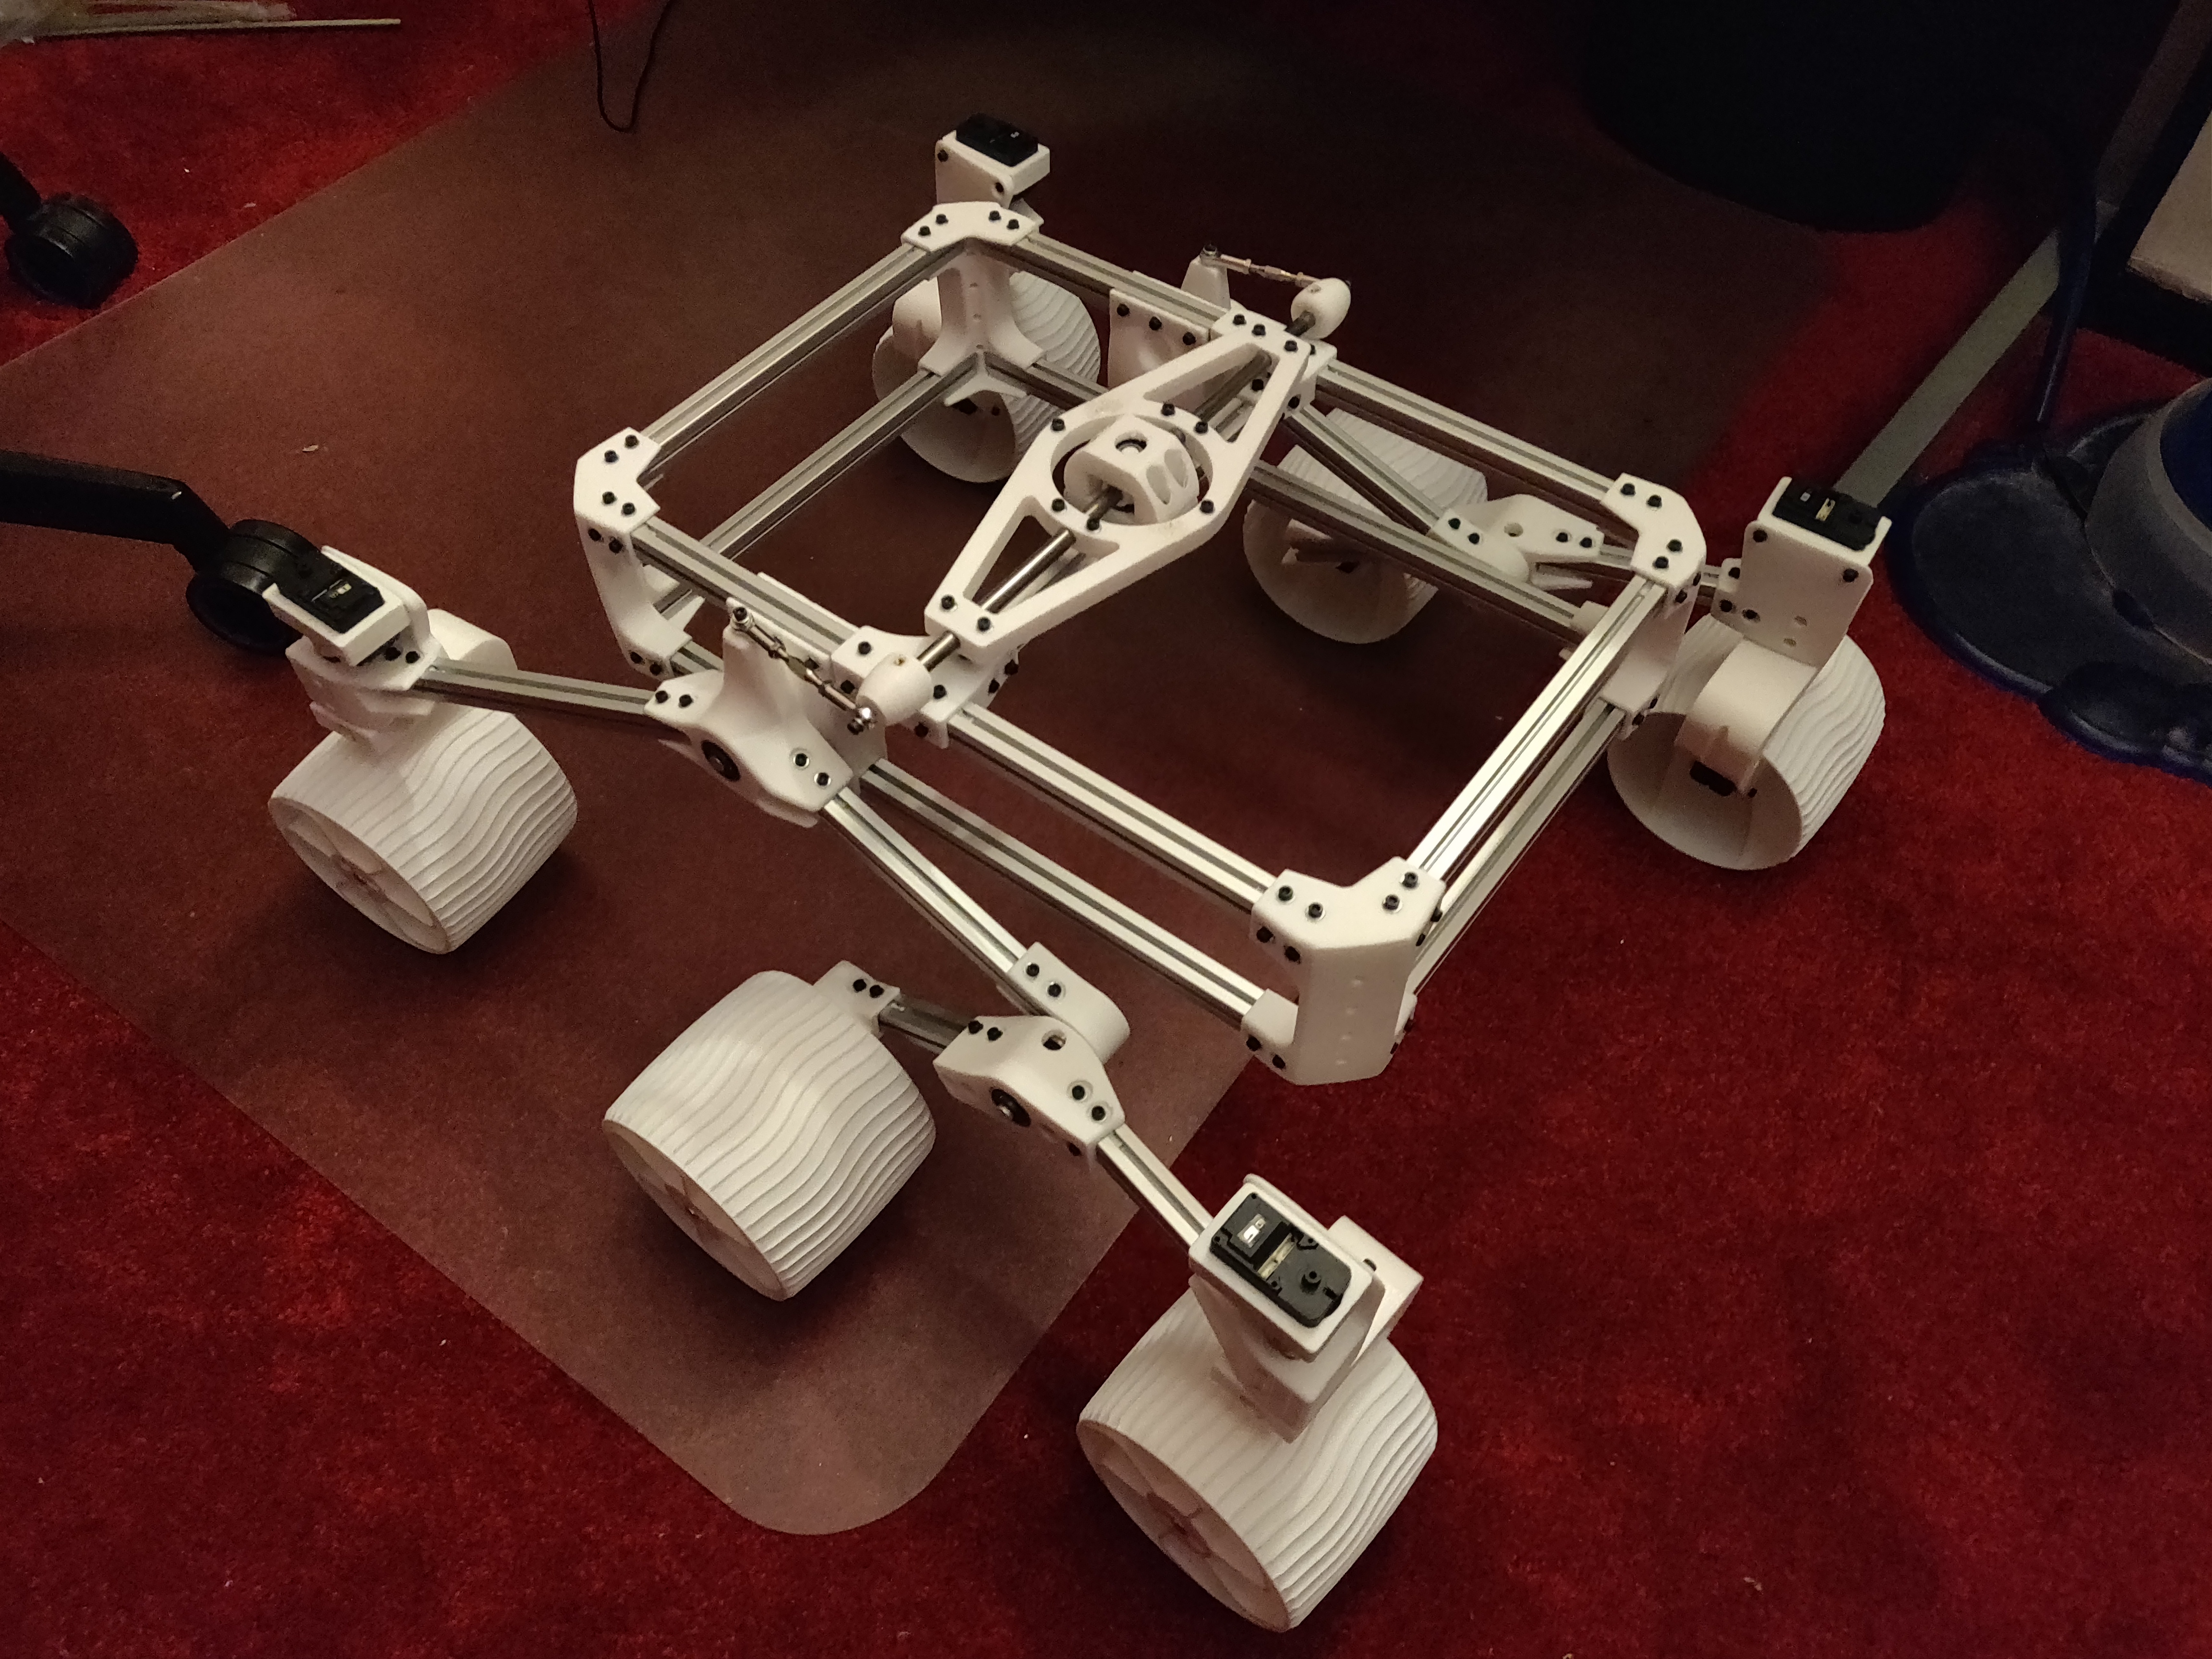
- Construction Method: Instead of using the Actobotics construction system, Sawppy will be built from Misumi 15mm 3-series aluminum extrusions beams connected by 3D-printed plastic parts.
These two major design goals can be summarized as: Servo Actuated Wheels, Printed Interconnect For Extrusion. The acronym SAWPIFE led to the nickname "Sawppy".
See the "Links" section for pointers to additional information:
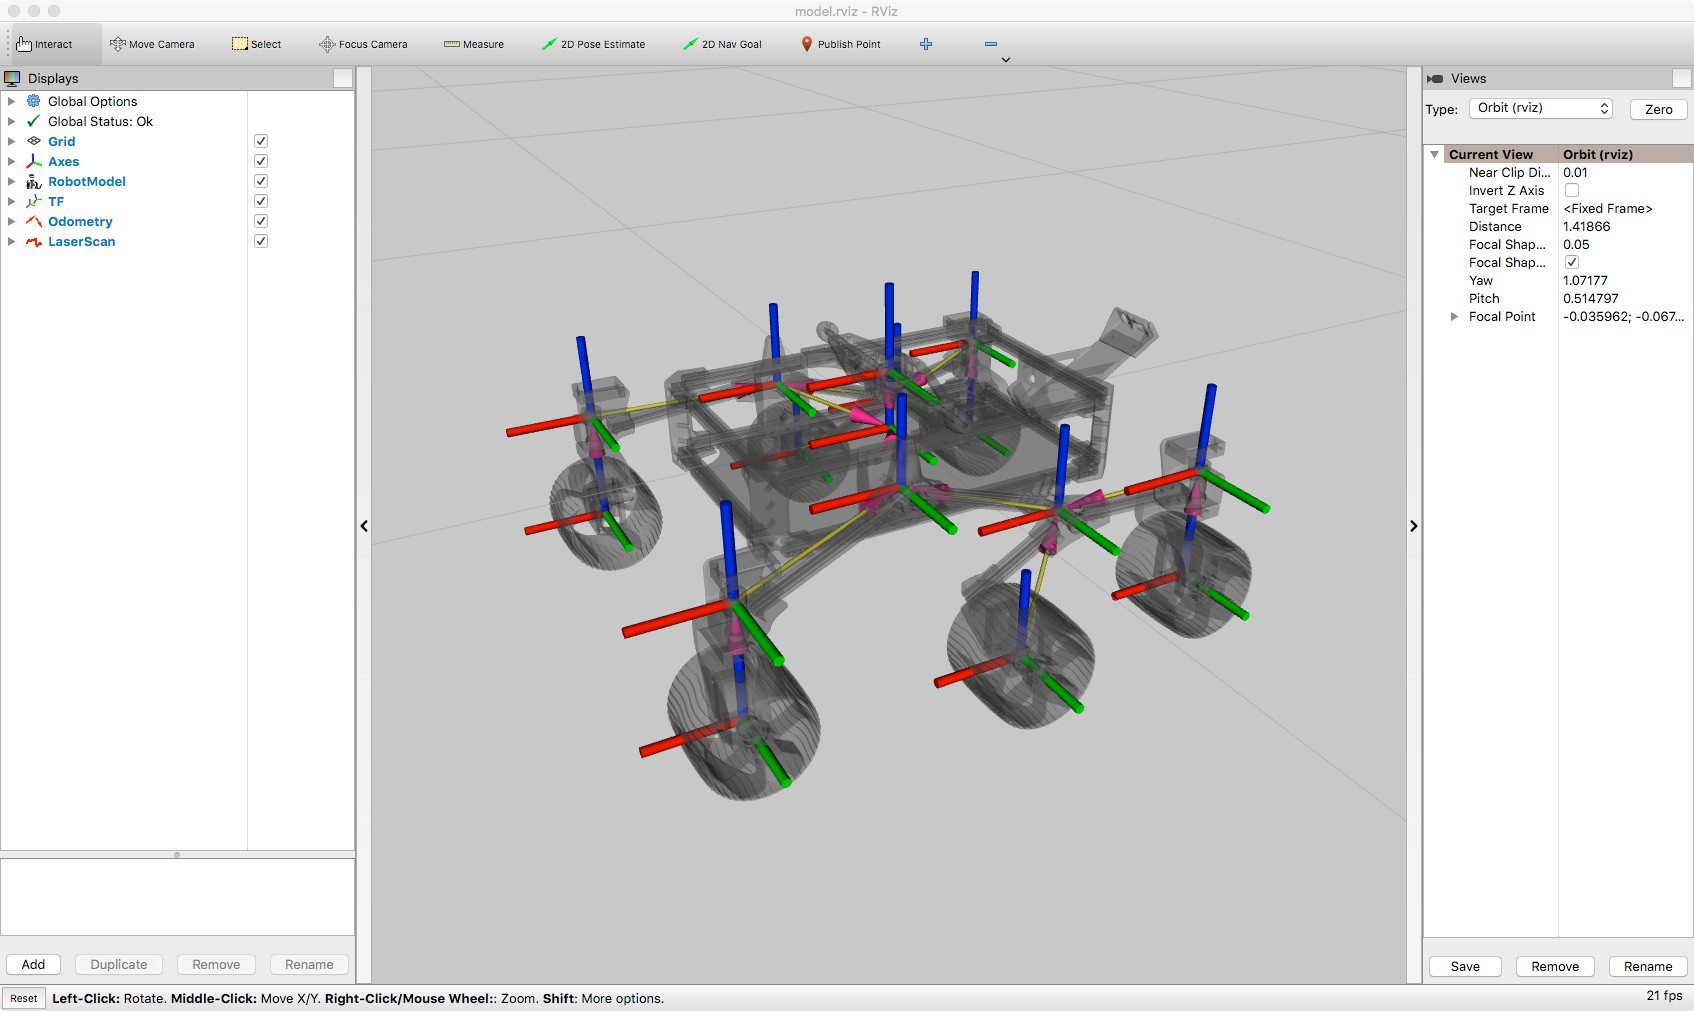
- Live Onshape CAD file: This is where I'm tweaking and building Sawppy in full public view. Be warned the live file has upsides (latest ideas!) and downsides (latest idea doesn't work!)
- Github: This is where the assembly instructions currently live. It also has a snapshot of Sawppy components in STL file format. These parts may lag behind the live CAD data, but they have been printed, installed, and proven to work on my rover.
- Build Blog: The history of Sawppy, including stories of design goals and lessons learned from failures.
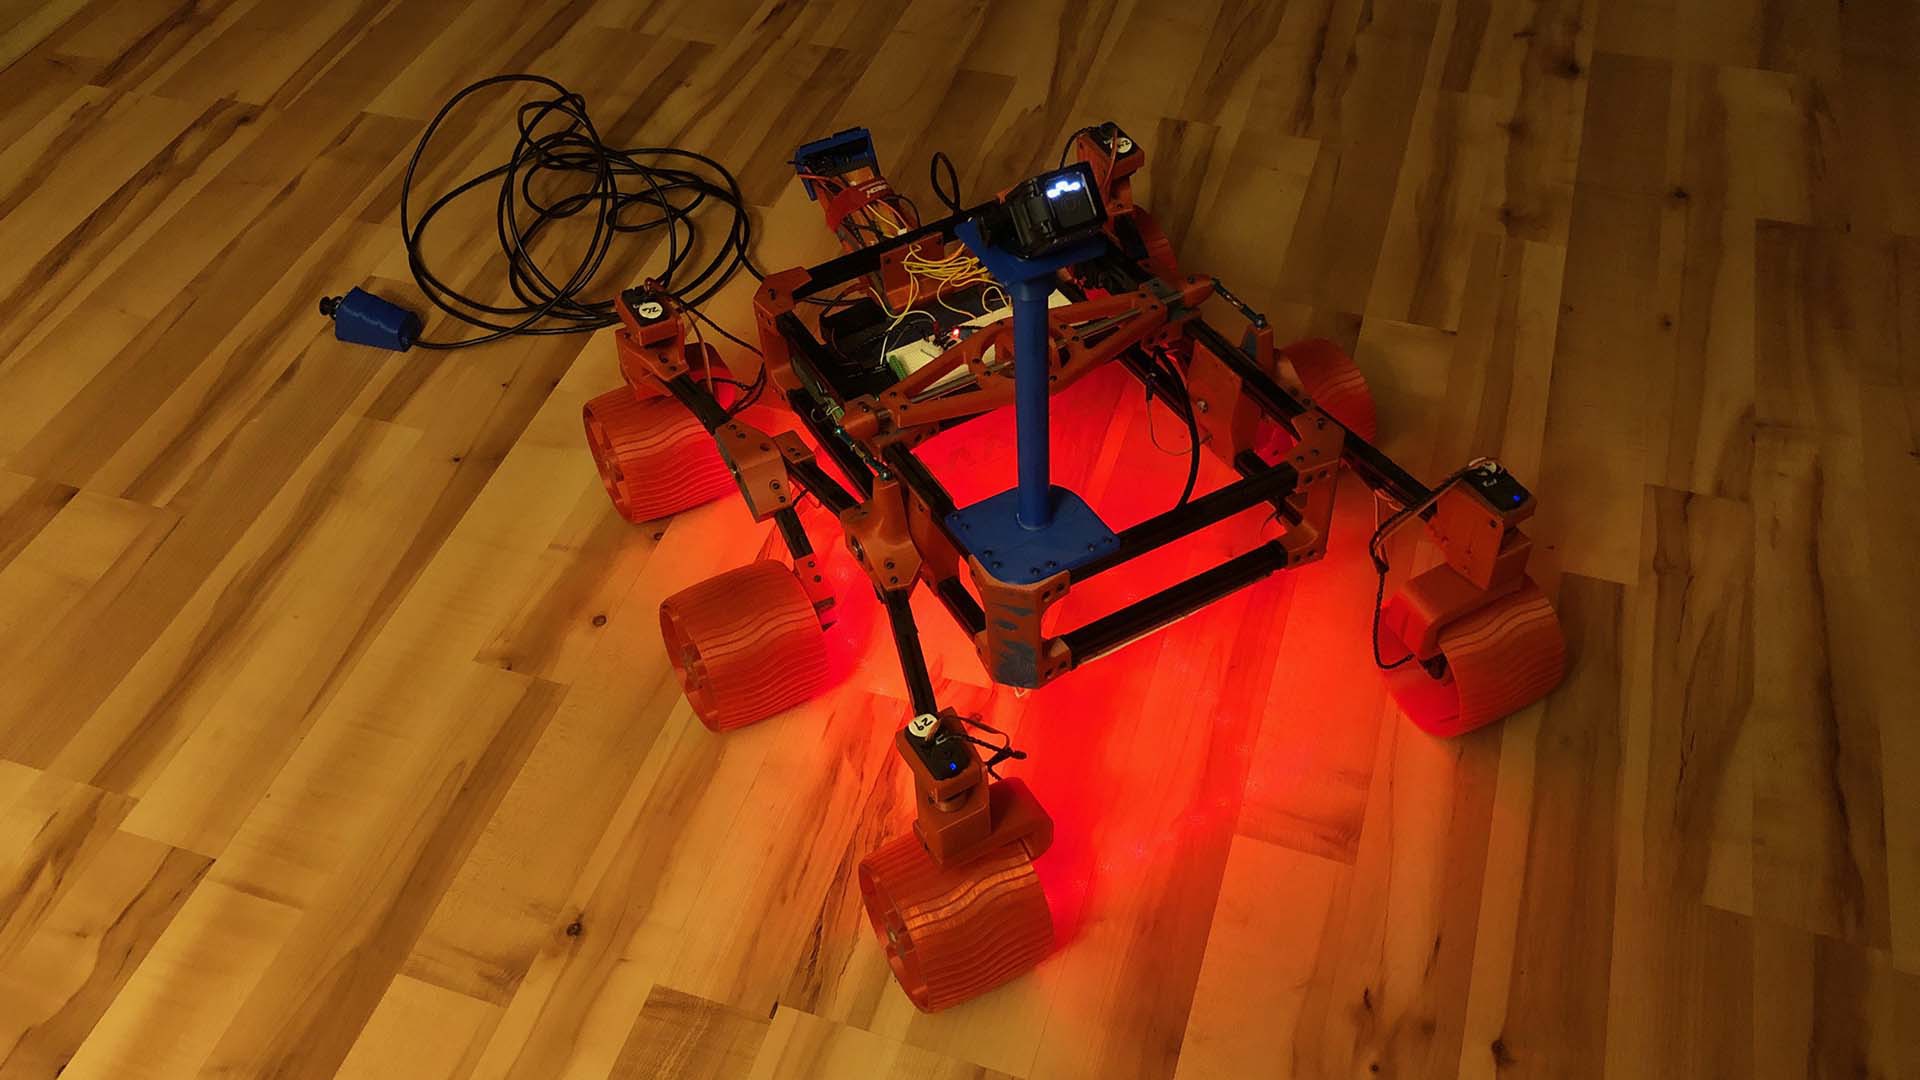
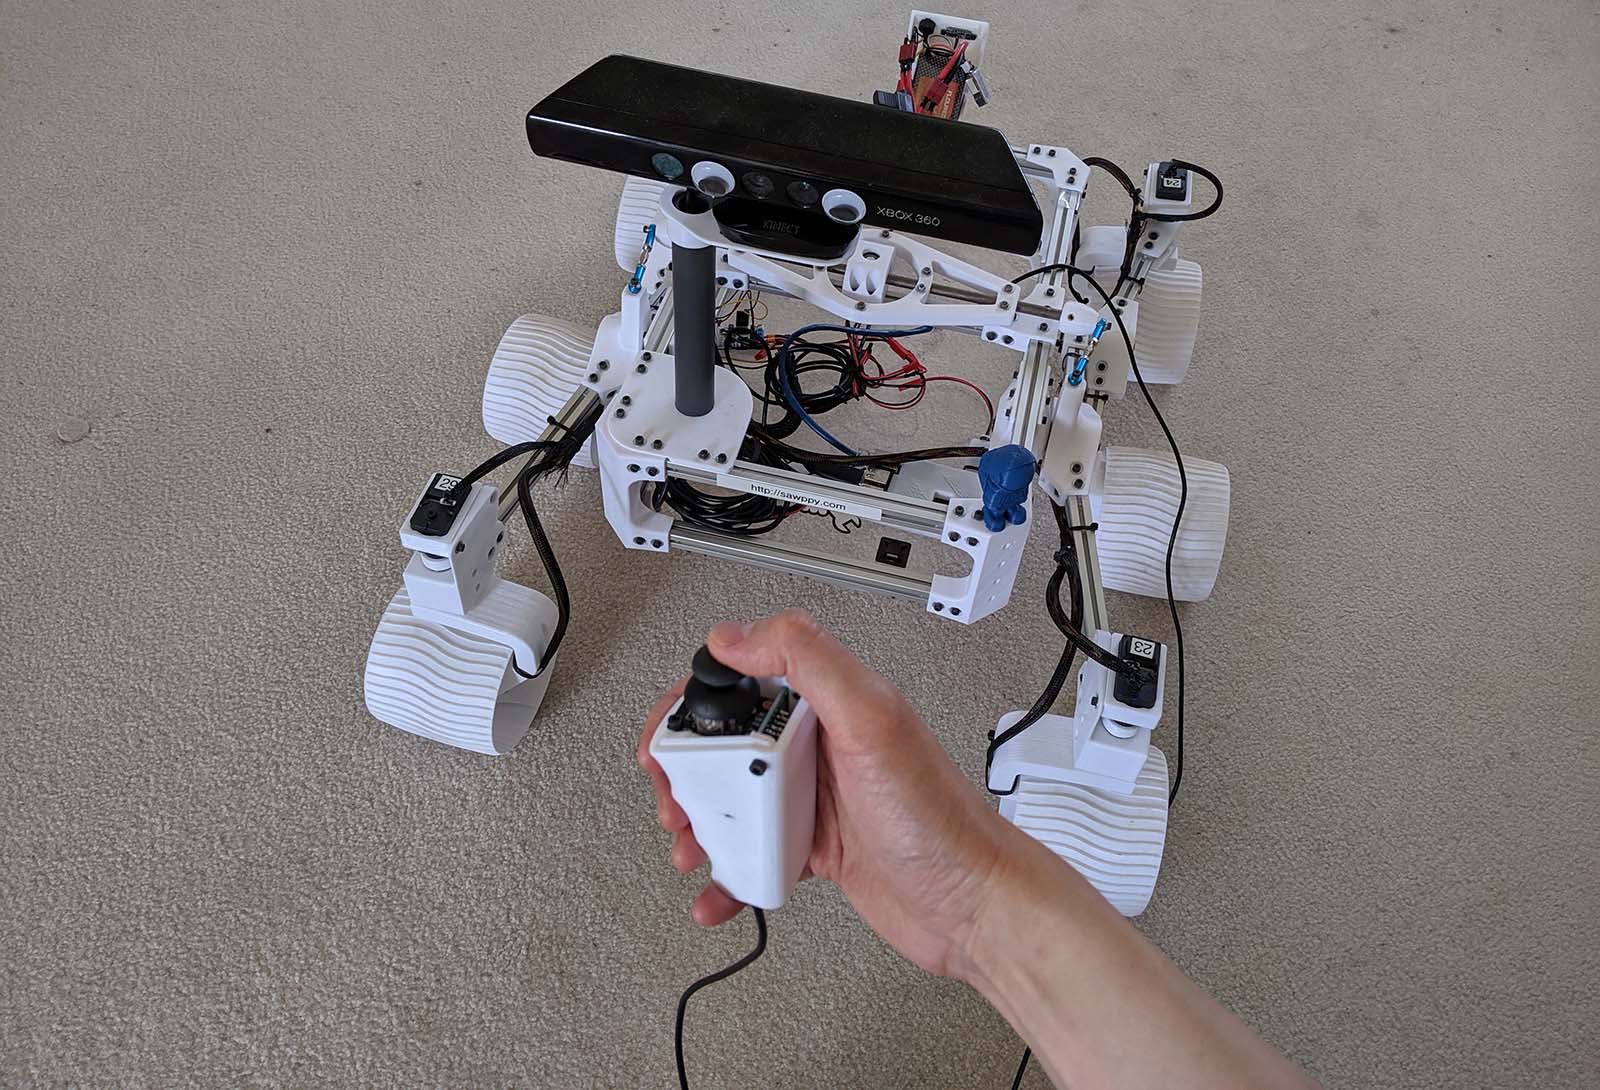
Since the time I declared Sawppy version 1.0 (mechanical foundation) complete and posted assembly instructions, others have built on top of what I've released to the world! They're outlined in the project log "Sawppy Builders" entries, page 1 and page 2 with more to come as I hear about more rovers.


 Aleksandar Bradic
 Steve Pendergrast
 Kaspar Emanuel
+1 I just built this as well. Great job on this project Roger.
Here is a link to a video I made of it: https://www.youtube.com/watch?v=vTzPXhKfGCg
Couple of thoughts/questions:
1. What is the purpose of the differential brace? I can't seem to figure out what it is supposed to do. It is a big part so I decided not to print it. It seems like everything works without it.
2. If you are scared of using hand power tools to cut steel at home (like I am) you can use a hacksaw to cut the steel bars. It takes about five minutes to cut through a bar. On a related note, you can also use a hacksaw to cut the grooves for the retaining clips. Just put the shaft in a vice, do a couple swipes perpendicular to the vice with the hacksaw, then rotate the shaft a couple millimeters and repeat.
3. You used a cheap 3D printer (about $200). I also took this approach and bought a used Ultimaker Original for about $300. It looks like you ended up spending another $100 to upgrade the hot end. I spent hours and hours fiddling around with the printing settings, making adjustments in the model, filing / sanding / hammering parts to get them to fit together well. Amidst all of this I purchased an MK3S kit for about $700. Everything printed perfectly with no changes in the settings and printed several times faster. You may want to point out that you may save a couple hundred dollars by getting a cheap 3D printer, but you are going to pay for it by fiddling around with your cheap printer for many hours. I also noticed that the better precision that you can get with the better 3D printers results in more structural integrity of the PLA. My parts were much stronger when I printed them with the exact same infill and the exact same model with the better printer. PLA is actually pretty strong and it should not fail at the loads it will be carrying in this thing. The only advantage of PETG would be that it is more resistant to heat.
Again, great work. I found this project because I was originally going to build the JPL open source rover, but then realized I didn't want to spend $5,000 to develop something that extremely over-engineered to drive around in my back yard :)