Instax SQ6 Lens Transplant
Adding a "real" lens to Fujifilm's first (and only) analog square format instant camera.
Adding a "real" lens to Fujifilm's first (and only) analog square format instant camera.
To make the experience fit your profile, pick a username and tell us what interests you.
We found and based on your interests.
SW6_BOM_R1.csvBill of materials for the superwide SW6.ms-excel - 1.28 kB - 11/28/2020 at 03:54 |
|
|
sw6_main_r1.zipKiCAD files for the superwide SW6. Also contains PDF files of the board schematic and PCB layout.x-zip-compressed - 353.27 kB - 11/28/2020 at 03:54 |
|
|
SW6 lens ring v2.stl3D file of the lens adapter for the superwide SW6.Standard Tesselated Geometry - 134.07 kB - 11/28/2020 at 03:53 |
|
|
SW6 monocle v2.stl3D file for the lens monocle for the superwide SW6.Standard Tesselated Geometry - 66.49 kB - 11/28/2020 at 03:53 |
|
|
Inner Shroud r0.STLPrototype inner shroud, now with the correct length! Use with "Lens Flange.STL".Standard Tesselated Geometry - 24.72 MB - 11/04/2018 at 08:57 |
|
It's hard to believe that it's been over two years since the last update to this project. Since then, the Instax TLR has consumed countless film cassettes, and traveled overseas three times (breaking down only once, when the motor driver let out the magic smoke on a picturesque bridge in Hakone).
The camera does its job well, but leaves me longing in a couple of areas. Firstly, it's huge! The two lenses, helicoid, and mirror box easily quadruple the bulk of the SQ6 and make it difficult to pack. Top- and front-heaviness present some ergonomic challenges as well. It is a strange looking camera and attracts more than its fair share of odd looks and craned necks. The 80 mm Mamiya lenses render scenes beautifully, but the 40 mm (35 mm equivalent) field of view can feel restrictive at times. Finally, the overall design feels "inefficient" (for lack of a better word) - the TLR body seems like a bizarre growth hanging off the front of the SQ6, and the space inside the camera is still occupied by the original control board, disused and parasitized by a tiny purple PCB, held in place by myriad flying wires.
All this prompted me to start on a new design; something in a more compact package, with a wider field of view, and a more complete, integral design. It so happened that I came into possession of a Super Angulon 47 mm f/5.6 MC lens - one of the widest available lenses that covers a 6 x 9 frame (a 6 x 9 negative has a 100 mm diagonal, which exceeds the diagonal of Instax Square, at 88 mm). This would provide a 24 mm equivalent field of view - plenty wide for my taste. Another great detail about the SA 47 mm is an exceptionally short film-flange distance of 52.2 mm, meaning that the camera can be very compact.
So at this point, I was looking at building a superwide SQ6. It could be made as a simple point-and-shoot, because the wide field of view and relatively small aperture makes for very simple scale focusing, no rangefinder or ground glass required. It would be extremely simple to carry on as before, and wire in a motor controller and glue a thin helicoid between the lens and camera body. But that wouldn't be much fun, would it?
I decided to add the following features, to spice things up:
Since the SQ6 was first released, Fujifilm also added two new colors to the roster - bright red and light blue. I found a nice light blue example to use as my starting point (and definitely not because I accidentally broke the grey camera I had originally intended to modify). I removed and examined the original main control board - it is a pretty complex affair utilizing a Renesas RL78 MCU, with drivers for the film eject motor, focus motor, shutter solenoid, and flash.
I designed a drop-in (solder-in?) replacement for the main control board, using a Sparkfun Pro Micro (Atmel ATmega 32u4) as the brains for the operation. A good old-fashioned Toshiba TB6612FNG dual-motor driver propels the film eject and focus...
Read more »Time for an update! It's been some time since the last one. In short - I didn't get much use out of the re-lensed SQ6. Despite the better lens, it lacked a lot of the "creature comforts" that I've become so accustomed to. The viewfinder is tiny and tunnel-like, and is wildly inaccurate (it's actually angled towards the optical axis, optimized for portrait distances but useless for anything else). Zone focus has also proven very problematic - the point of the new lens was to allow some control over depth of field - so stopping the lens down and guesstimating focus defeats the purpose of that.
Originally, I had planned to bring the SQ6 on an upcoming trip, but those issues gave me serious pause. So, over the last couple of weeks, I slapped together a fun little variant of the original relensing effort that I'm calling the "SQ6t" ("t" for twin-lens reflex). I'll let the next photo speak for itself:
The SQ6t is basically the original relensed SQ6, but with a viewing lens and a waist-level viewfinder added. True to the original intent of the design, there are no permanent modifications to the SQ6 body. The mirror box and viewfinder are mounted to the custom "inner shroud" that was the centerpiece of the original set of modifications. The system is also designed modularly, such that you can remove the mirror box and second lens, so you could use it as a point-and-shoot (like before) rather than a TLR. But why would you do that?
Having full control over focusing and framing in a bright, crisp waistlevel finder feels good. It makes the camera feel like it's worth using, and I think it'll encourage me to take more photos. I've only been shooting with it for less than a day, so I hope to have more example photos and thoughts on the camera soon.
Until then, I have uploaded the STL files for the camera parts, and the BOM below. No detailed instructions as of yet - I was in a rush to put this together for my trip, so there's a distinct lack of documentation.
| Component Filename | Quantity |
|---|---|
| "front standard.STL" | 1 |
| "helicoid mount.STL" | 1 |
| "inner shroud.STL" | 1 |
| "mirror box.STL" | 1 |
| Item | Quantity | Source |
|---|---|---|
| Lens, Mamiya-Sekor 80mm f/2.8 TLR (black ver., chrome ver. may also work) | 1 | eBay, your local used camera shop |
| Viewfinder, Mamiya RZ67 Waist Level Finder | 1 | eBay, your local used camera shop |
| Focusing Screen, for Mamiya C330 (any variation, e.g. microprism, etc.) | 1 | eBay, your local used camera shop |
| Focusing Helicoid (macro tube adapter), M58 mount | 1 | eBay |
| Front surface mirror, 1.25mm x 63mm x 57 mm | 1 | Kaleidoscopes to You |
| McMaster Part No. | Product | Quantity |
|---|---|---|
| 94100A110 | 18-8 Stainless Steel Press-Fit Nut for Soft Metal & Plastic, M3 x 0.5 mm Thread | 10 pcs |
| 91698A300 | Black-Oxide 18-8 Stainless Steel Phillips Flat Head Screws, M3 x 0.5 mm Thread, 4 mm Long | 6 pcs |
| 91698A302 | Black-Oxide 18-8 Stainless Steel Phillips Flat Head Screws, M3 x 0.5 mm Thread, 6 mm Long | 4 pcs |
| 91595A098 | Alloy Steel Dowel Pin, 3 mm Diameter, 4 mm Long | 1 pcs |
| 90190A051 | Phillips Rounded Head Screws for Sheet Metal, Zinc-Plated Steel, Number 1 Size, 1/4" Long | 8 pcs |
| 90006A079 | Slotted Flat Head Screws for Wood, Zinc-Plated Steel, Number 2 Size, 3/8" Long | 2 pcs |
The 3D printed parts - the lens shroud and the lens flange - arrived last weekend. I'm very pleased with the quality of the prints from Shapeways. It was my first time using their HP Multijet material. I may never go back to white strong and flexible. Parts are very rigid, have a nice surface finish (with the process currently in beta), and don't have that "dusty" texture that WSF has.
Look at the detail on the barrel! I wasn't sure how well it would be resolved in the print, but is very well defined.
Okay, enough ogling. Now let's get to business. The lens flange screws down onto the main camera chassis using the same screws and attachment points as the original lens unit. There are a couple of minor issues with the current model which need correcting:
With the above modifications, the lens shroud fits pretty much seamlessly with the rest of the camera. The camera's original light seal (just a black plastic gasket) between the lens unit and camera shell is pretty wimpy. I ended up replacing this with light sealing foam, too.
This is where I got a little fast and loose with the documentation; I forgot to take some pictures in between this step and the finished product. Basically after this point, the lens helicoid gets glued to the lens shroud, the lens flange gets glued to the helicoid, and the lens is attached to the flange. Then the whole thing is reassembled in the opposite steps as the first project update. And here's the result!
Some initial results, below. Scale focusing with this camera is a bit of a pain, but it can be done! The original lens on the SQ6 is little more than a toy, and having real glass helps do the Instax film justice. The ability to manually control focus, exposure, and depth of field makes shooting with the camera more of a challenge, but the first few photos I've taken have shown that it's worth the effort.
The past week or so has given me a surprising amount of mental turmoil - more than a "fun" project like this should. Allow me to explain (or just skip ahead, because, fair warning - I'm going to ramble a bit here):
When I first started this project a couple of weeks back, I noted in the project description that the actual documentation of Instax teardowns, repair, and modification is surprisingly sparse considering the vast userbase. I attributed that to Instax's broad appeal to casual photographers, people who generally view such cameras as appliances first and foremost, without much interest to the aforementioned topics (and I don't mean that in a disparaging way at all - it is this low barrier to entry which is probably keeping this medium alive and well). But, as it turns out, there might be a little more behind this lack of information.
A week or so ago, I received a pointer from an acquaintance on Instagram regarding the film eject circuit I had drawn up and shared in a previous project update. As it turns out, there was an important element missing that would have rendered that circuit useless. It's likely that this pointer saved me a week or so of head scratching and retooling. But, this detail came with a caveat, namely that I was not to share that information, for fear of spawning clones and copycats.
Enter my recent cognitive dissonance - on one hand, I'm thankful for the advice and would like to respect the desire to keep such tribal knowledge, well, tribal. But on the other, I think that such knowledge would be incredibly useful for anyone trying to undertake a similar project to mine. I believe that there is so little substantive information about how to modify Instax cameras, that this in itself poses a major obstacle to people who would be excited to modify their cameras themselves. In the end, I've decided to do the latter - share this information freely at the risk of burning a bridge or two. Yes, I realize that there is some pride to having the one and only Instax camera with an X-Y-or-Z, and that some are able to monetize this hobby by employing the tribal knowledge of the ins-and-outs of Instax. But with a medium as mercurial and fleeting as instant photography, I think everyone should have a chance at building their own.
Okay, rambling over. Let's get to the good stuff!
What I learned from my Instagram acquaintance is this: the film eject motor requires some degree of braking to avoid overrunning the position switch. Without braking, the motor will keep turning even after the position switch opens at the end of the cycle, and the camera will keep ejecting film continuously. You can see that the position switch fits into a small hole in a gear at the end of the cycle. If the motor is not braked after the switch opens, it will easily overrun this small window. I don't recommend taking apart this mechanism as shown below. It's a pain to get back together, especially the exposure counter part, which has a bunch of fiddly parts that are hard to seat correctly.
Thus, the simple MOSFET motor "control" in my original circuit was insufficient. When the motor is turned off, the terminals must be shorted to prevent it from coasting. By far the easiest way to do this is by using an H-bridge IC (also at the recommendation at my Instagram acquaintance). The motor looks to be a 130-size brushed motor, and at 6V I would assume the stall current to be around 1A (just a guesstimate). I opted to buy a couple of Pololu DRV8838 boards, which can drive a single DC motor up to around 1.8A. The general principle of the wiring from the simple MOSFET board remains the same:
When the SLEEP pin is driven high when the power switch is closed, the driver is powered on and the motor brakes when not in motion. When the power switch is opened, the SLEEP pin goes low due to an internal pulldown resistor...
Read more »
One of my goals with this lens transplant project is to keep it a simple and DIY-able as possible, without having the final project look like a hack job. To that end, I'm trying to keep the number of custom mechanical parts as low as possible. There will be just two such pieces:
First, what I'm calling the lens shroud. This is a direct replacement to the original SQ6 lens unit. As such it screws down to the flange on the camera's plastic chassis using the same attachment points. Then the front shell goes over it, and the part should blend in seamlessly with the rest of the camera. I've tried to keep some of the styling cues consistent, like the diagonal debossing on the barrel.
Here's the view from the back. You can see here the features of the lens shroud which mate up to the camera chassis and provide some light-tightness. The inside of the barrel is textured in hopes of reducing internal reflections.
Directly on the front of the lens shroud goes a focusing helicoid purchased from eBay. It extends nominally from 17-31mm (my example was more like 16.9-31.4, to be extra pedantic). More than likely this'll just get glued onto the lens shroud.
And on the front of the focusing helicoid goes the lens flange, which is quite a simple thing. Just a disc with a hole cut out for the lens to go through, and a few features for locating it on the helicoid.
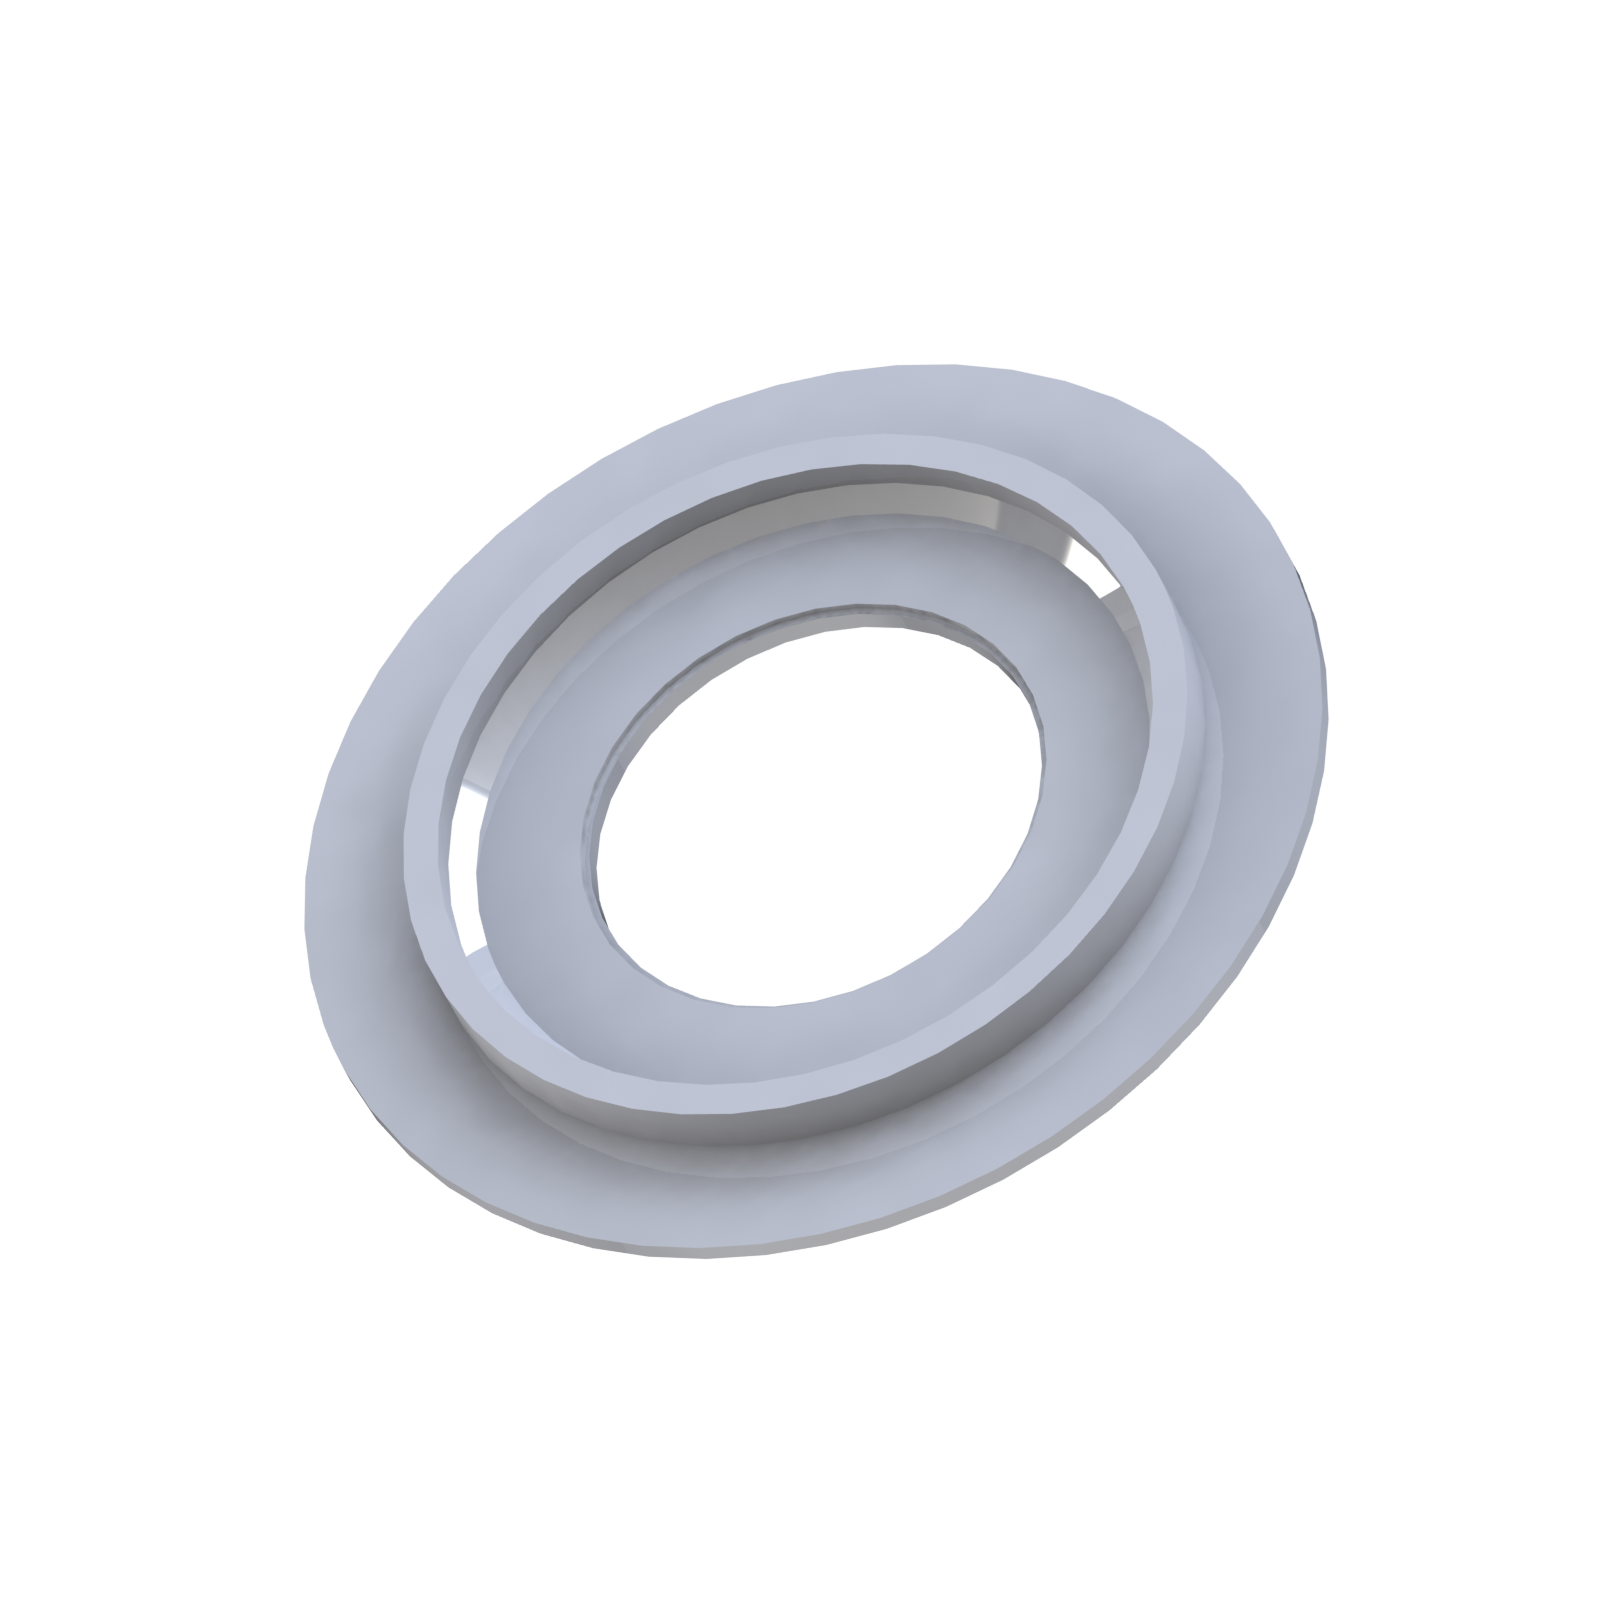
I sent these off to be printed by Shapeways. I haven't used them in a while, so was sad to see that they killed off alumide, my favorite material. We'll have to see how this HP Multijet stuff holds up. It's pricey, at about double the cost of standard nylon sintered prints. My hope is that the quality will be good enough that I won't have to print the exterior - then it'd be worth it.
Parallax is the bane of point-and-shoot cameras, particularly ones with a lot of separation between the lens and the viewfinder. This is the case with the SQ6, which has numerous moving lens and film processing parts separating the objective and viewing optical paths. Cameras like the Instax Mini 90 have a fancy parallax correcting viewfinder, but users of the SQ6 are not even graced with the presence of correction lines. The user manual makes some reference to the camera needing to be shifted up and to the right while shooting nearby subjects, but there’s hardly anything quantifiable to glean from that statement. In my teardown of the SQ6, I noticed that the viewfinder is actually already angled down and to the left, to compensate for some of that error at the minimum focus distance. However, this exacerbates parallax error at distances beyond around 2 meters.
So all that begs the question – how are you supposed to reliably center photos with the SQ6? A bit of trigonometry holds the answer.
First, let’s consider the phenomena of parallax. Parallax error occurs because the image-taking path is not collinear with the viewing path. In our case with the SQ6, the paths are askew – they intersect at a given distance, but diverge elsewhere. At distances besides the “ideal” viewing distance, the lens and the viewfinder are aimed at different targets.
Suppose the viewfinder is angled towards the optical axis by an angle theta with an offset between the lens and viewfinder of a_o. Then, the ideal viewing distance, at which the viewfinder and objective axes are aligned, is:
I have measured the angle of the viewfinder as about 1.57 degrees, and the horizontal offset of the lens and VF as about 65 mm. Thus the ideal viewing distance is 2.4 m. For objects closer than this, you must tilt the camera up and to the right, for it to be centered. For objects further away, the camera must be tilted down and to the left. But by how much exactly?
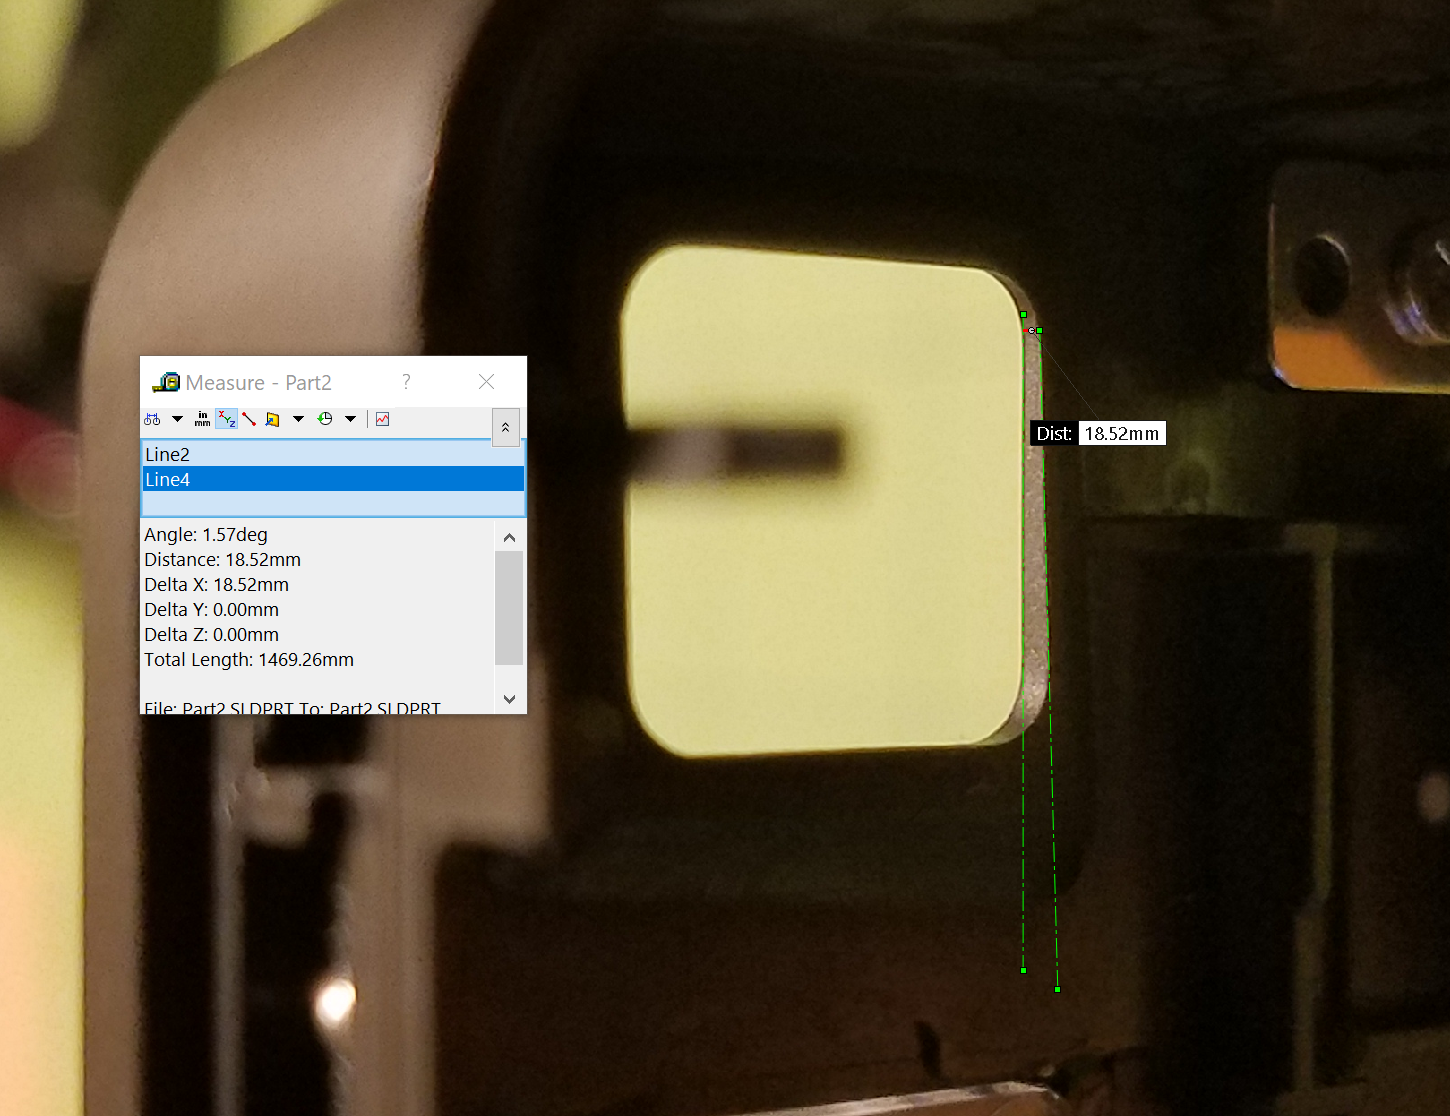
In the above example, we would need to point the camera 2.2 degrees to the right to center the image correctly. All of this is well and good, but have you ever tried to move a camera precisely 2.2 degrees? It would be more helpful if we could quantify the actual amount of parallax correction needed, in the viewfinder.
By my estimates, the viewfinder spot (the little etched ring used for aiming) of the SQ6 spans about 5.7 degrees. So, in the previous example, when focusing on an object 1 meter away, you would have to shift the image in the viewfinder .38 spots up and to the right. Or, refer to this handy dandy plot, generated with the above equations. You would shift the viewfinder such that the center of the target object aligns with the dot marked “1m”.
This is no substitute for a fully-parallax corrected viewfinder. But it’s a start! It’s a simple enough reference that you could print out a little copy and stick it to the back of your camera. I would do that, but mine is in pieces.
As was mentioned in the last project log, we need to somehow tell the ejection mechanism when to turn the motor on and off - because this is really the only part of the SQ6 that we're interested in using. The camera's main PCB (which normally handles the motor control) does a lot more stuff than that and is pretty complicated - I don't want to mess around with that. Instead I will make a simple surrogate PCB that handles the film ejection.
I also noted in the last update that there's a position sensing switch in the mechanism that opens whenever it has completed a cycle. We can use that, along with the original shutter button, to create what I'm calling the film eject circuit:
The user presses the shutter button (MAIN. SW), which applies +6V (from the camera batteries) to the N-channel MOSFET's gate pin. This switches on the motor, and as the mechanism moves from the rest position, the position sensor switch (POS. SW) is closed, which keeps the MOSFET gate high and the motor turning. Eventually the mechanism finishes its cycle and the position sensor switch opens, and the MOSFET goes low, turning off the motor (as long as the user has released the shutter button).
Two Schottky diodes are added for reverse polarity protection and as a flyback diode, for good measure. By choosing some modestly-sized SMD components, the resulting board measures only 10 mm x 14 mm and will slot in easily inside of the camera body:
The best part is, 3 PCB's only cost $2.40 from OSHpark (even with their Super Swift Service)!
Take this:
And add one of these:
To form this:
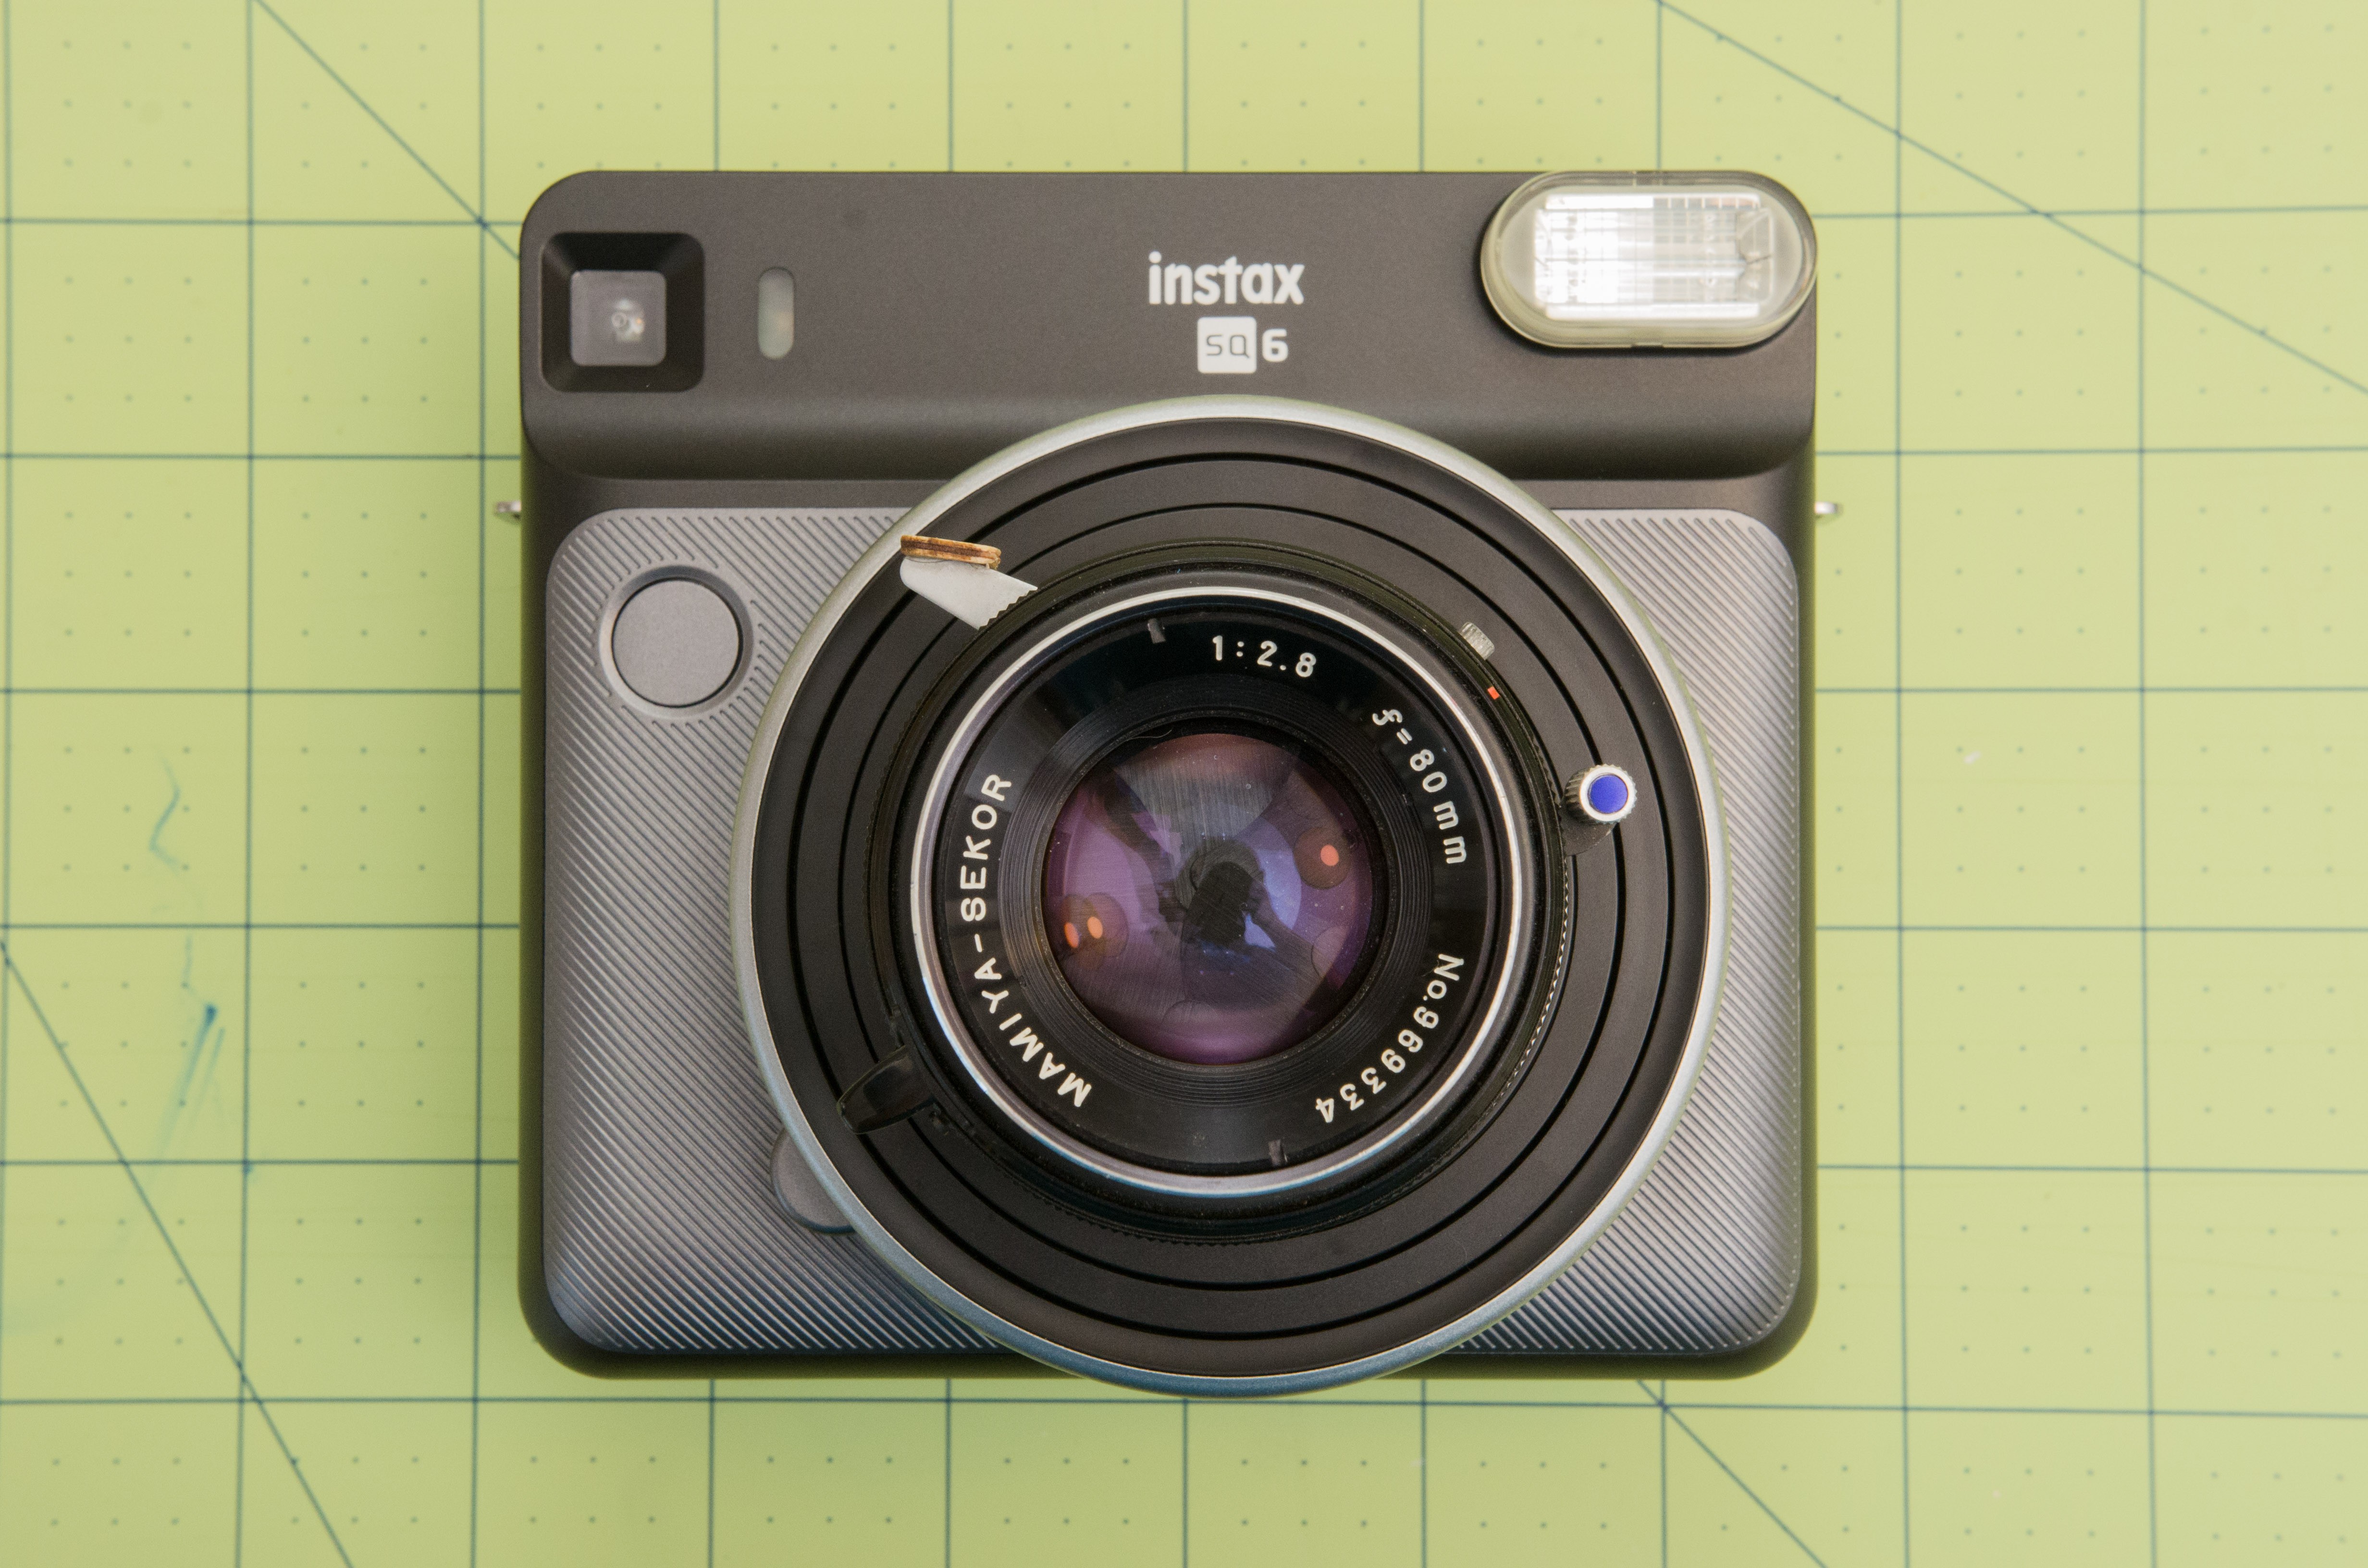
The SQ6 is a fun camera, but I think it lacks the image quality that it would make it great. The two-element 65mm f/12 lens is pretty limiting; the images aren't as sharp as the Instax film can resolve, and the defocused areas look hazy and smudged instead of smooth. The lack of manual controls can be frustrating; exposure controls are automatic only, and even with the relatively small aperture and three focus zones, parts of images are often out of focus.
I already have a couple of Mamiya TLR lenses from other projects, and I thought they'd be a natural fit for this project. The 80mm f/2.8, in particular, seems like a good choice. Previous use of this lens on FP-100C (RIP) shows that the image circle is quite a bit larger than the 56 x 56mm frame it was designed for:
The bottom line is, the 80mm lens will cover the 62 x 62mm Instax Square film nicely, be 4 stops faster, and offer manual exposure control. Upon making this realization - scarcely 48 hours after buying the camera - I pulled it apart to see how I might complete this lens transplant.
The first step is to remove all of the exterior screws. Typical for a Japanese camera, the screws are not Philips-type - they are JIS (Japanese Industrial Standard). Using an appropriately sized Philips head screwdriver won't hurt anything, but the job is made easier with the right tools. Moody Tools makes a nice and affordable set of JIS screwdrivers, which I highly recommend for this type of work.
Before I delve into things, please remember that high voltage is present inside the camera, so conduct your disassembly accordingly. Even with the batteries removed for an hour or two, charge is held in the flash circuitry and will give you an unpleasant shock if you unwittingly touch the wrong terminals. You have been warned.
There's one screw on the viewfinder side:
One more screw on the flash side:
Note that the screw on the flash side is longer than the viewfinder side. Keep that in mind for reassembly.
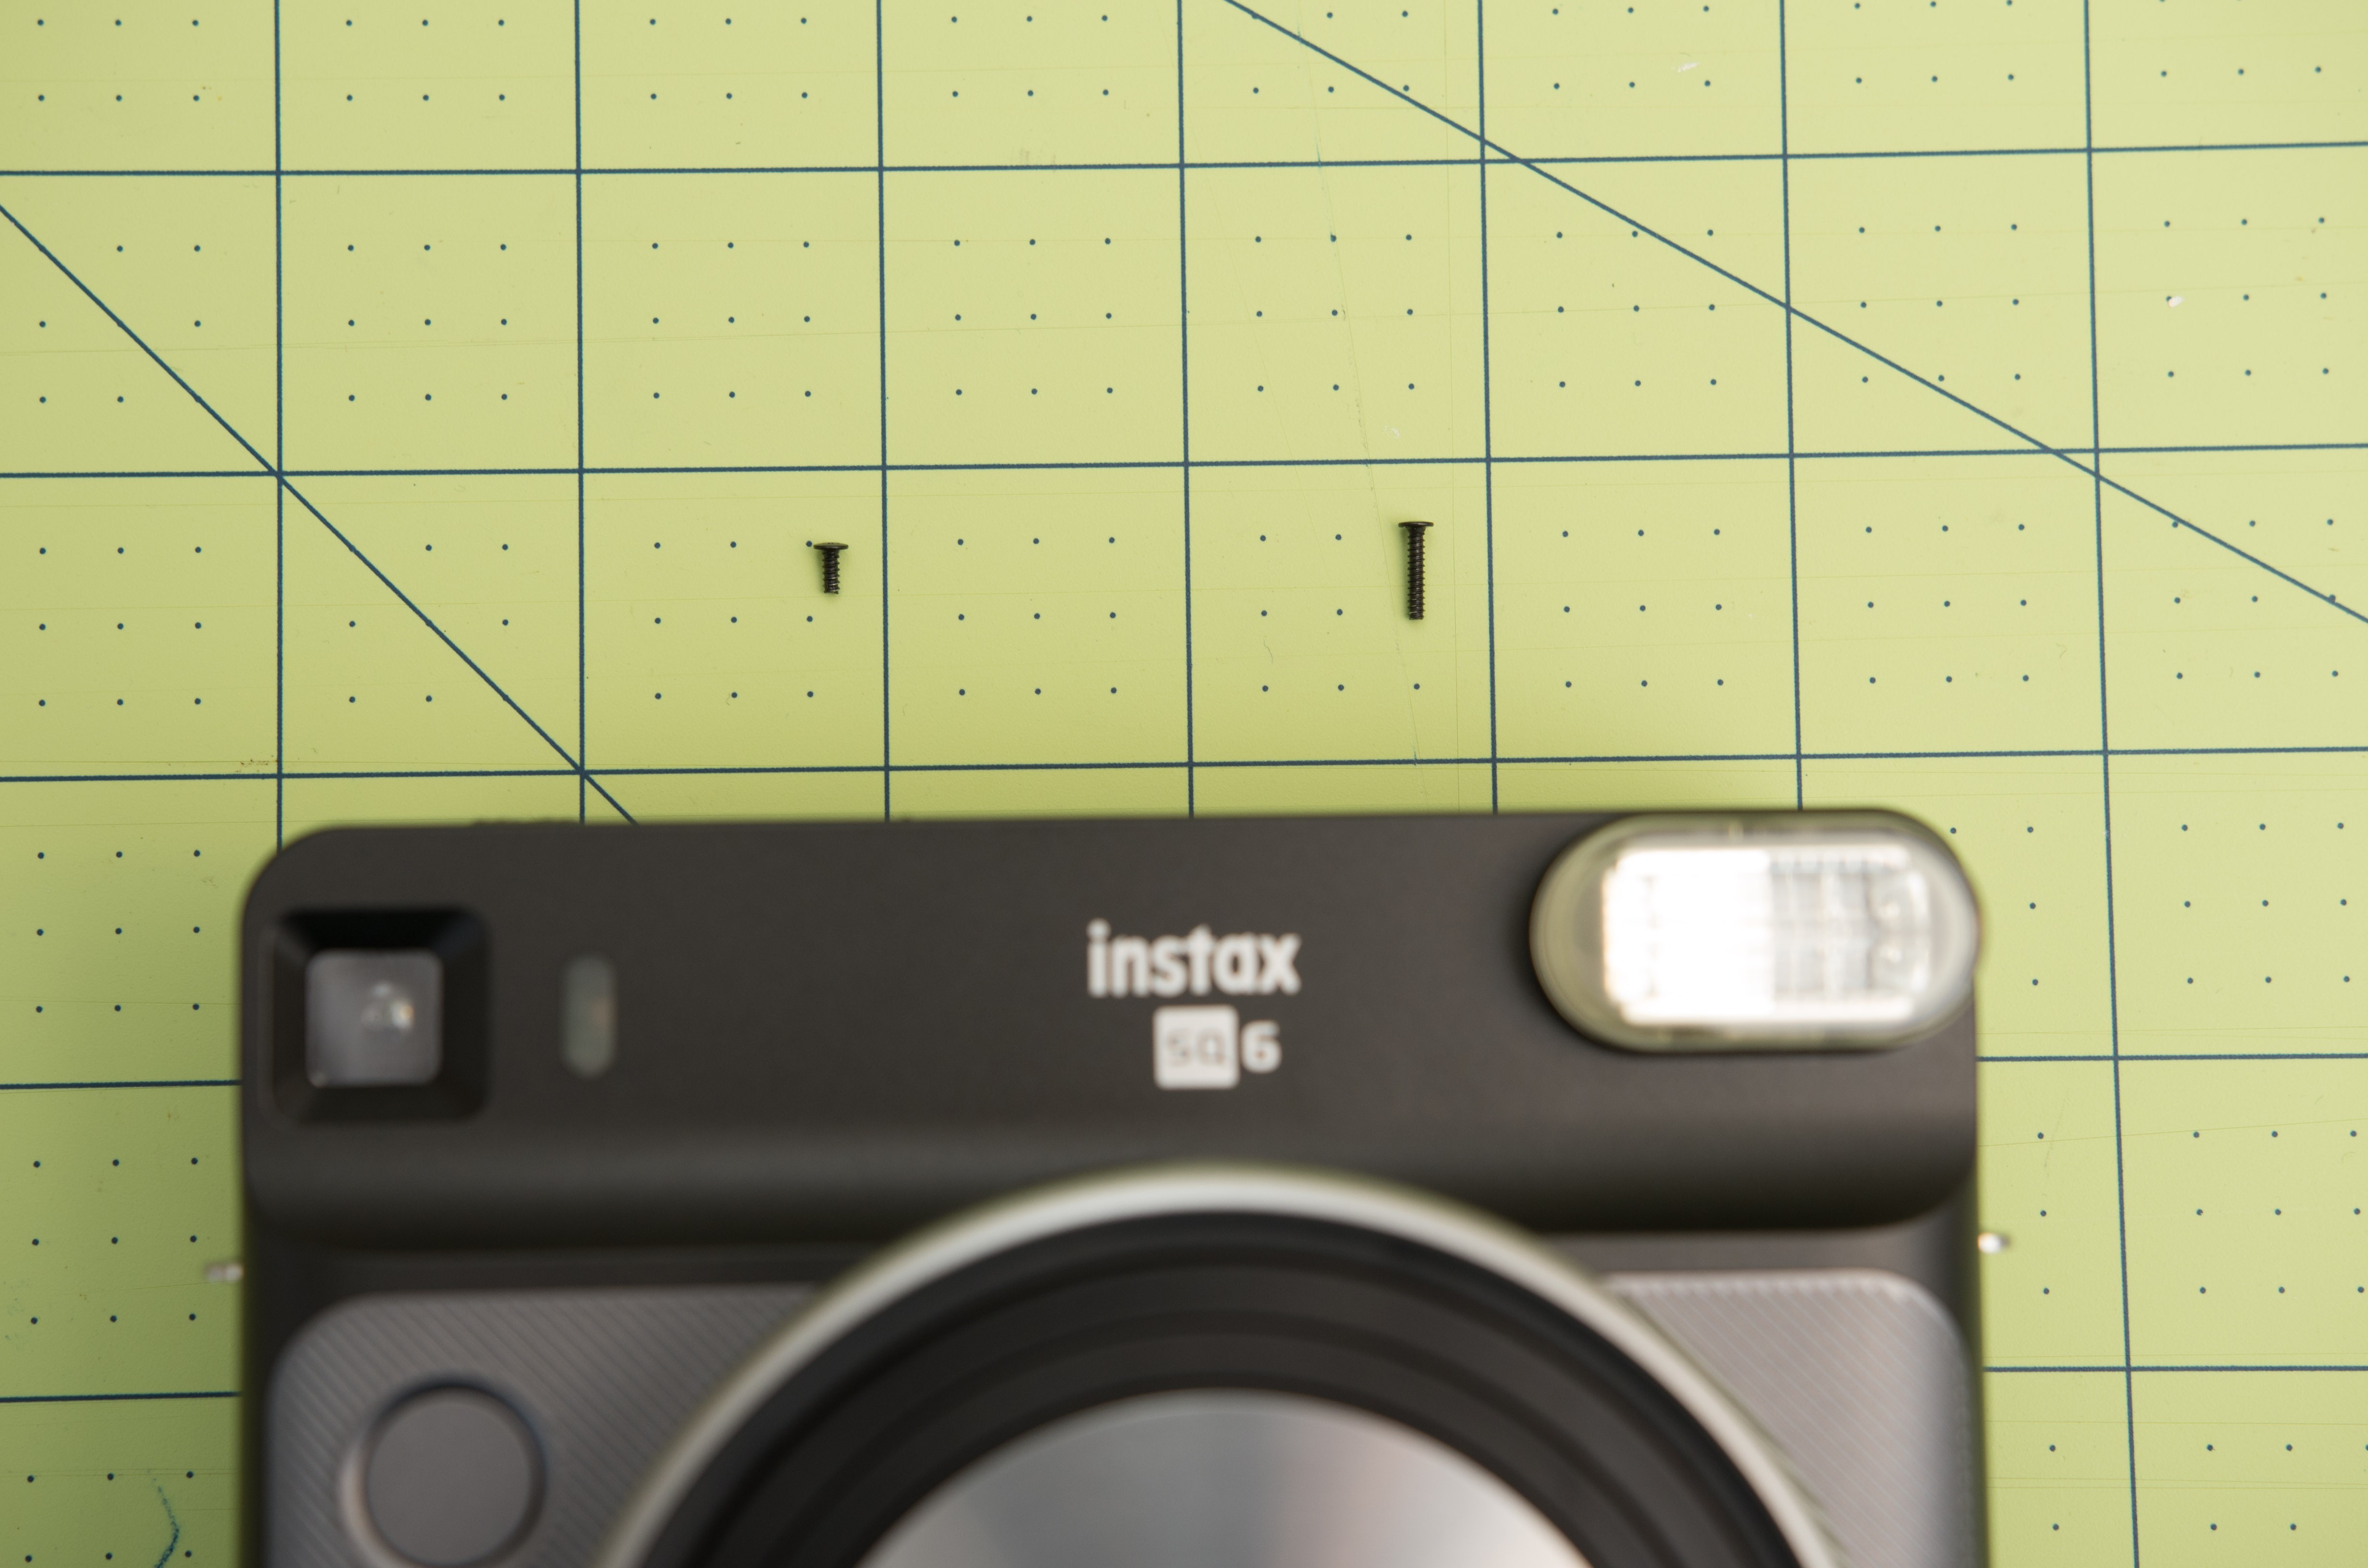 Five more screws on the bottom of the camera:
One screw in the camera compartment:
Now, you should be able to wiggle the two halves of the camera shell apart. Right now, the top will not separate because there are still some screws to remove. At this point, the tripod mount will probably fall out, make sure you save this.
The halves are kept together with a myriad of tiny clips:
The top fascia must be removed. You could do this with a plastic spudger, or as I have done, a thin strip of metal.
The top fascia is held on with a combination of clips and double-sided tape. Keep peeling away at it until it pops off. The power switch will also probably fall out somewhere in this process, keep that one safe too. From here you can see the two screws on top of the camera which must be removed.
By now, you probably have an assortment of orphaned parts: the power switch, tripod mount, and 3 control buttons.
With the last of the screws removed, the two halves of the camera can be separated:
A thin plastic ring will fall out when you separate the front shell and the main camera unit. I think this is a light sealing gasket.
Here's what the main camera unit looks like, from the front:
...and the back:
To remove the lens unit, remove the four screws around the periphery of the lens unit:
With that done, you must disconnect the lens unit ribbon cables from the main control board. There are two ribbon cables:
Take a pair of tweezers and gently undo the latches of the ribbon connectors, which are the black features opposite the female end of the connector. Then, you can remove the ribbon cables. Very very little force is required for both of these operations. Don't force anything. A little wiggling here and there will do it.
Separated! At this point, the...
Read more »
Create an account to leave a comment. Already have an account? Log In.
And there's one more thing I forgot.
3. Does the exposure need compensating when shooting near focusing objects?
I've discovered your project two weeks ago, and really like it ! I've been thinking of making something similar for ages, with Instax mini or wide, and even more till Square is available. Yesterday I pass by a camera store, and had a look at the SQ6, with ideas in head... Till I realize its size ! It's huge ! I was dreaming about something quite small to use with old medium format, or even 135 lenses... It could work but there would be much more work to make it smaller... And viewing your pictures I'm no even sure that it could be...
So, I'll maybe switch to a field camera back instead !
Side note : I'm in the process of designing a polaroid 600 back for a press camera for a client of mine. This should be cool too. :)
Thank you for having shared your journey through modifying this camera !
Hi,
I've completed the 600 pack I was talking about last time. Maybe it can be of some interest to you !
I found myself having the same motor breaking issue you had, with mirror release happening before the motor stops. In my case that was not a problem, as mirror is no longer used on the back...
Become a member to follow this project and never miss any updates
 Chris
Chris
 Kevin Kadooka
Hi, I've just followed up this project. It's really amazing. Thanks for sharing all the process and design files to us.
I still have a couple of questions.
1. Could other Mamiya TLR lens (such as 55/4.5 & 65/3.5) work on this camera?
2. Since the two lens (photo lens and viewing lens) are separated, there would be an effort to tune the focusing system, which make both of the lens focus on the same plane, right?
Thanks again for sharing generously!