 Matous Pokorny
-
1Print your own set
If you want to prepare own set, start with 3D printing. List of 3D printed plastic parts is described in the documents m-Bitbeam-parts_list-1.pdf and m-Bitbeam-complete_parts_list-czech.pdf. All STL files are available in github repository
-
2Complete non-printed parts
Nuts and bolts connect beams. O rings are used like tires. Document m-Bitbeam-complete_parts_list-czech.pdf lists their sizes and counts.
List of sensors and the electronic parts is in m-bitbeam_edu-arduino_sensors_modules-v01r03.pdf. We recommend you to use this list. We tested them. They are good quality, cheap and perfect fit to the 3D printed boxes. Sometimes, i.e., two sensors look same on the picture, but real dimensions are different up to millimeters.
-
3Save it to the box
The last item in the list m-bitbeam_edu-arduino_sensors_modules-v01r03.pdf is the organizer. If you use this particular box, you can inspire by the document m-bitbeam-part_organization_in_box-czech-v02.pdf how to organize it in the box.
-
4Build your first robot with m-BITBEAM
![]()
Build instructions for your first m-BITBEAM robot Ferda is in l07-ferda-v01r01-web-en.pdf.
-
5Robotic arm with magnetic effector
![]()
Build instructions for m-BITBEAM Robotic arm with magnetic effector is in l03-ramenak-v01r01-web.pdf (in Czech).
-
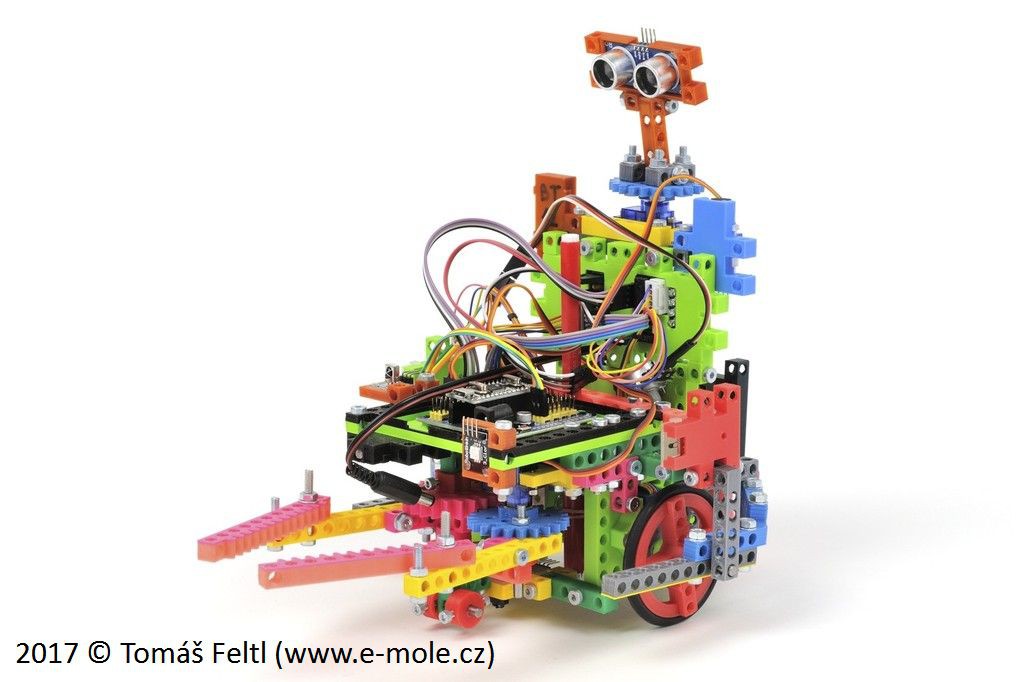
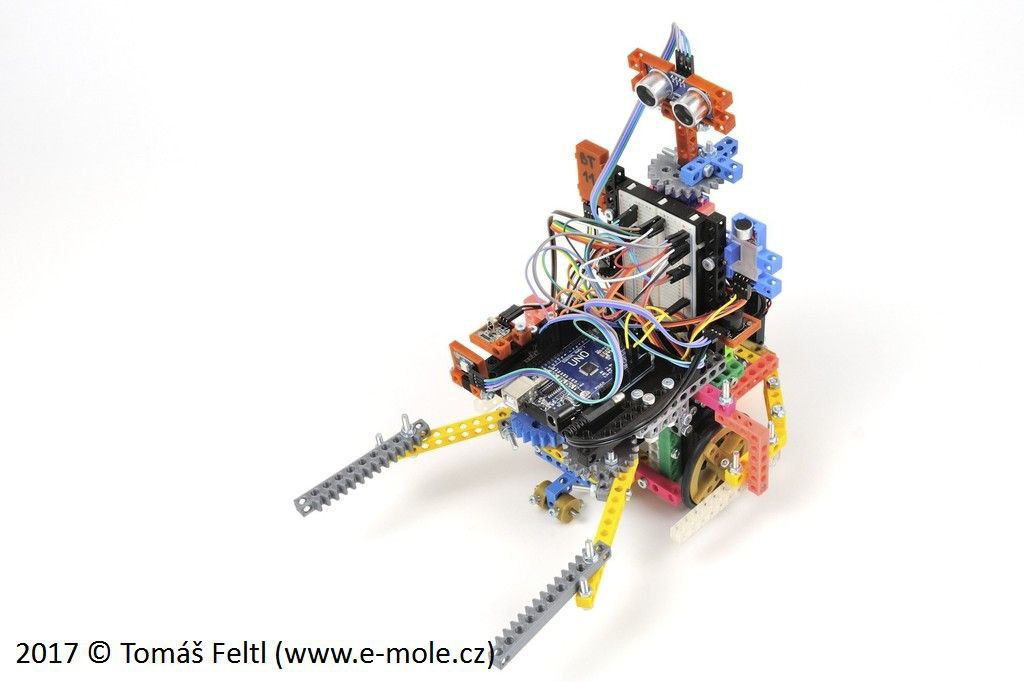
6The advanced robot with the gripper - steppers version
![]()
Build instructions for m-BITBEAM advanced robot with the gripper is in l08-molik-v00r02-stepper-web.pdf (alpha, in Czech).
-
7The advanced robot with the gripper - servos version
![]()
Build instructions for m-BITBEAM advanced robot with the gripper is in l08-molik-v00r02-servo-web.pdf (alpha, in Czech).
m-BITBEAM construction set
m-BITBEAM is a 3D printed construction set based on the Bitbeam concept including some additional parts like wheels, holders, boxes, etc.


Discussions
Become a Hackaday.io Member
Create an account to leave a comment. Already have an account? Log In.