 Open Green Energy
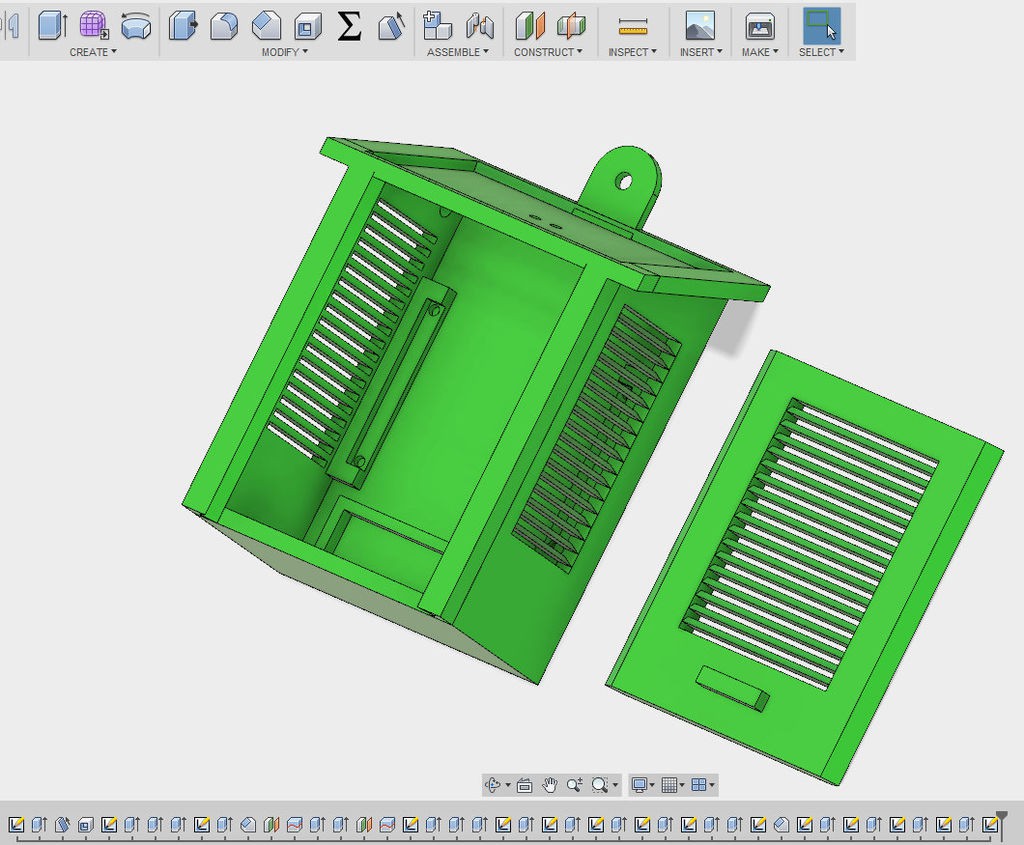
Designing the Enclosure :
This was the most time consuming step for me.I have spent around 4 hours to design the enclosure. I used Autodesk Fusion 360 to design it. The enclosure have two parts : Main Body and Front Cover
The main body is basically designed to fit all the components. It can accommodate the following components
1. 50x70mm circuit board
2. AA battery holder
3. 85.5 x 58.5 x 3 mm Solar Panel
4. 3dBi external antenna
Download the .stl files from Thingiverse
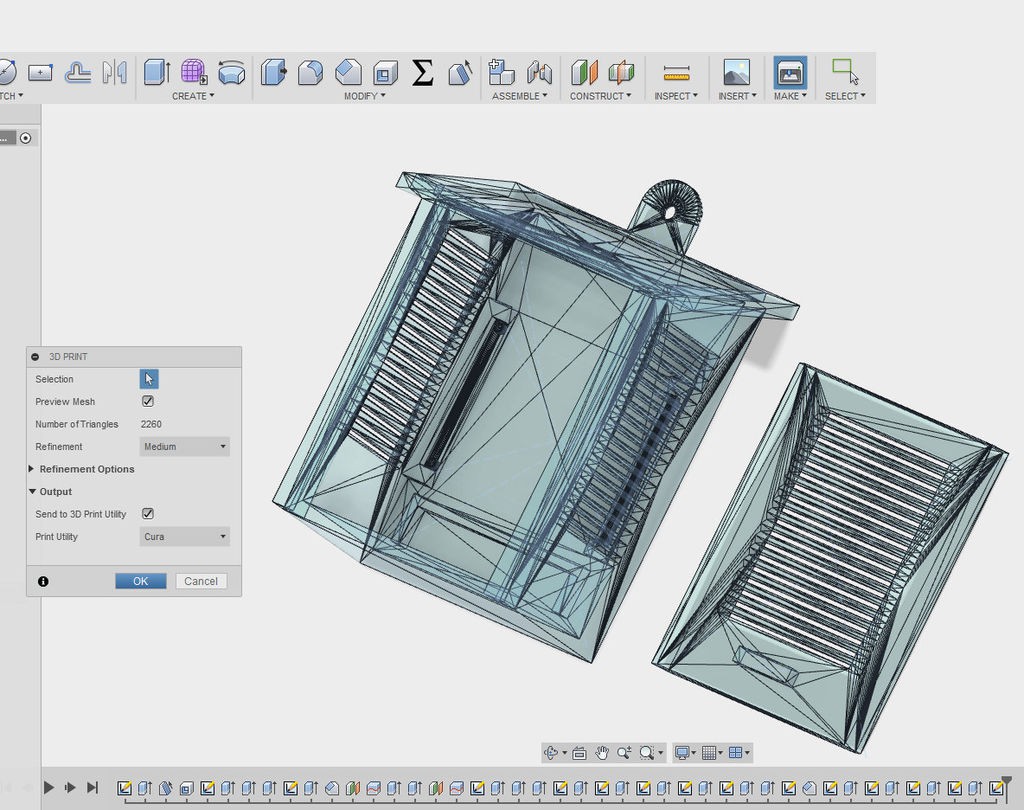
3D Printing the Enclosure :
After completion of design, it is time to 3D print the enclosure.In Fusion 360 you can click on make and slice the model by using a slicer software.I have used cura to slice the model.
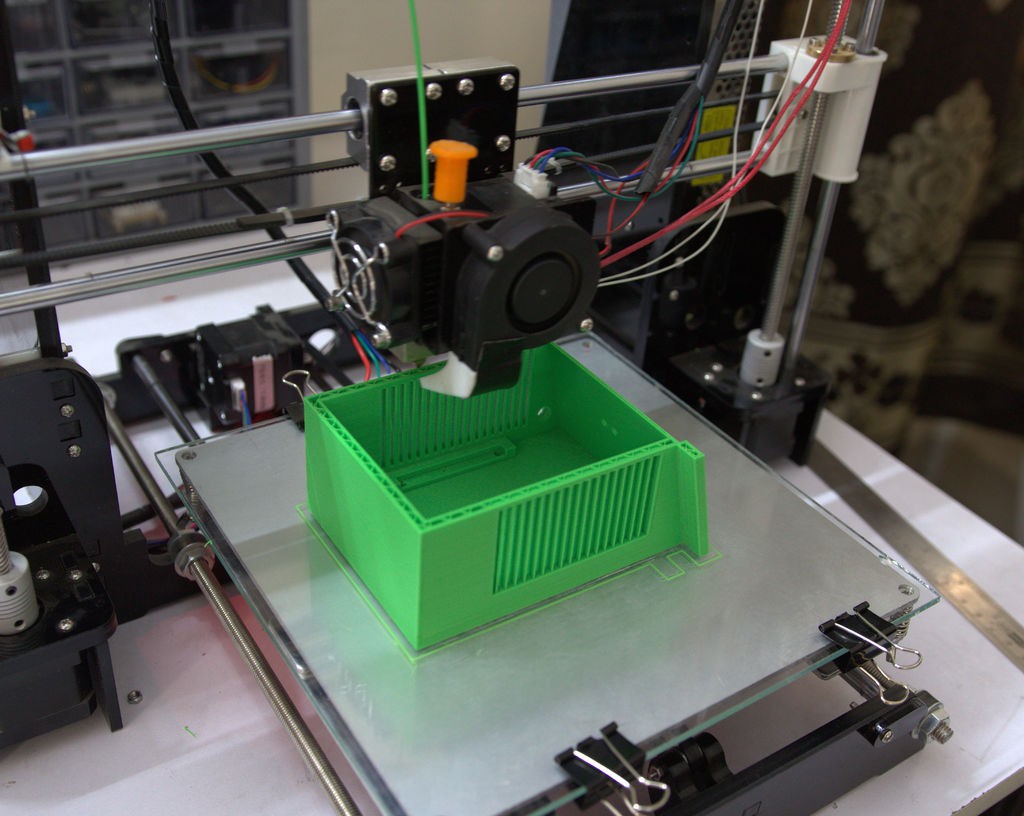
I used an Anet A8 3D printer and 1.75 mm green PLA to print out all the body parts. It took me about 11 hours to print the main body and around 4 hours to print the front cover.
I will highly recommend to use another printer for you that is Creality CR - 10. Now a mini version of the CR-10 is also available.The Creality printers are one of my favorite 3D Printer.
As I am new to 3D designing, my design was not optimistic.But I am sure, this enclosure can made by using lesser material ( less print time ). I will try to improve the design later.
My settings are:
Print Speed : 40 mm/s
Layer Height : 0.2
Fill Density : 15%
Extruder Temperature : 195 degC
Bed Temp : 55 degC
Discussions
Become a Hackaday.io Member
Create an account to leave a comment. Already have an account? Log In.