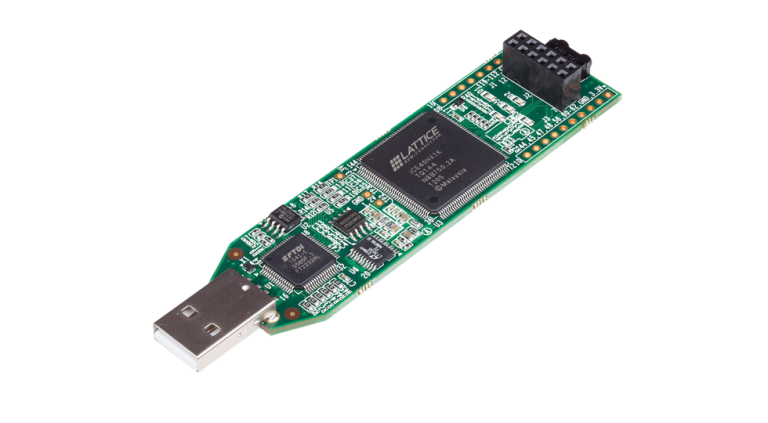
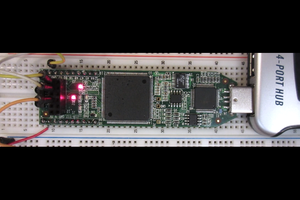
In the last two bootcamps, you developed a simple application and simulated it. That's nice, but you want to see real hardware working. That's what you'll do in this exercise. We'll use a $20-something board called an IceStick which contains a Lattice FPGA. There's three reasons we are going to use that particular board:
- Very inexpensive
- Easy-to-use since it just plugs into a USB port
- Open source tools that work well
The good news is that the basic workflow will be the same no matter what FPGA you want to use. You'll simply use different tools, so the details will be different. We will use a set of open source tools that include Yosys, Arachne-PNR, and IceStorm (which is a suite of tools). For simulation, we used EDAPlayground or Icarus in the last two bootcamps. The basic workflow will be:
- Synthesize Verilog into low-level constructs (Yosys)
- Simulate/test/debug system behavior (EDAPlayground or Icarus).
- Map low-level constructs to specific device blocks (Yosys)
- Place and route blocks -- this means to plan which blocks go where and exactly how to interconnect them (Arachne-PNR)
- High-fidelity simulate/test/debug on actual device-specific configuration (Not covered in this bootcamp)
- Program configuration to FPGA or configuration device (icepack/iceprog)
- In circuit test/debug, if necessary (your brain and test equipment)
This bootcamp is part of a series:
| Bootcamp 0 | Covers basic digital logic concepts with simulations |
| Bootcamp 1 | Introduction to FPGA coding and simulation with combinatorial logic |
| Bootcamp 2 | More FPGA coding and simulation with flip flops (sequential logic) |
| Bootcamp 3 | Working with actual FPGA hardware (this bootcamp) |
When you are ready, move on to the steps and continue on your FPGA adventure! You'll also find background articles in the project logs. You might want to browse them first and refer back to them as you work through the steps. The logs also have a glossary you can check for any unfamiliar terms.
 Al Williams
 Luke Valenty
 Yann Guidon / YGDES
 Will Long