-
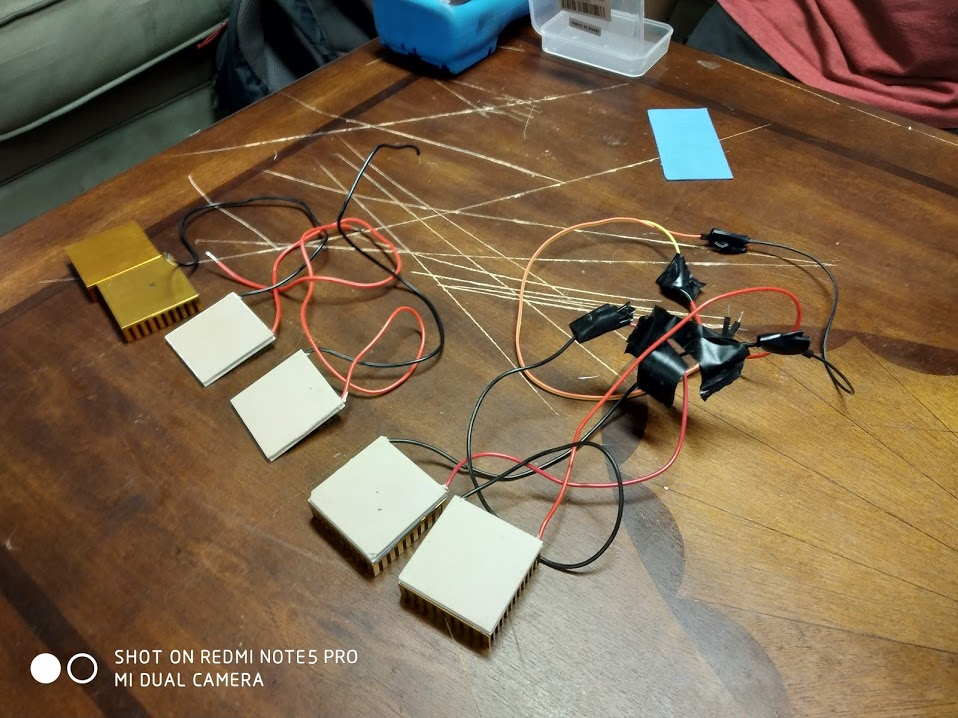
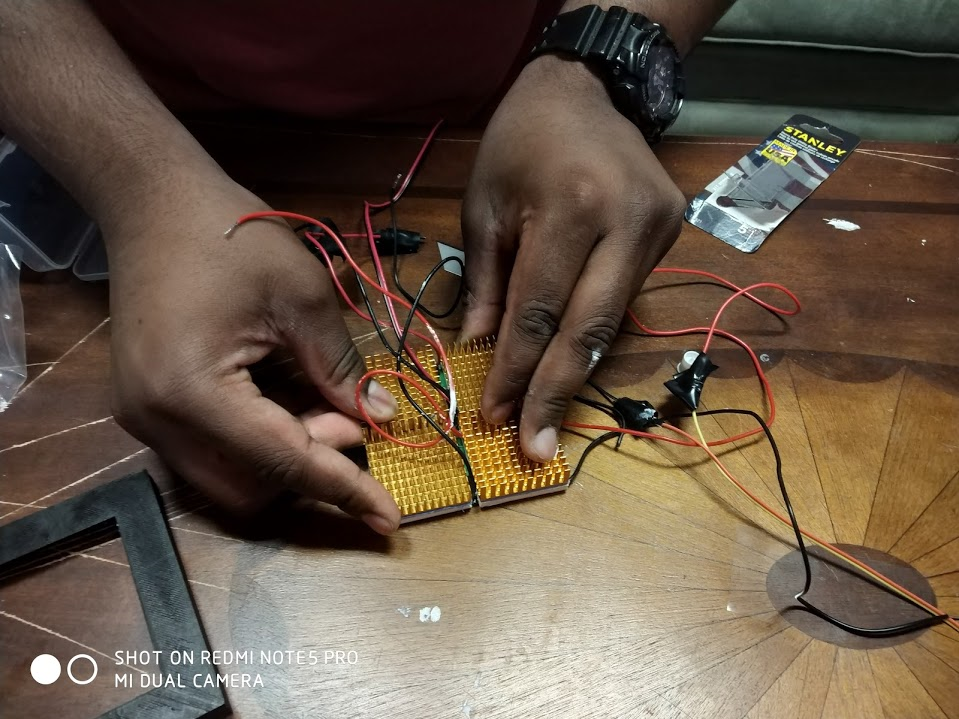
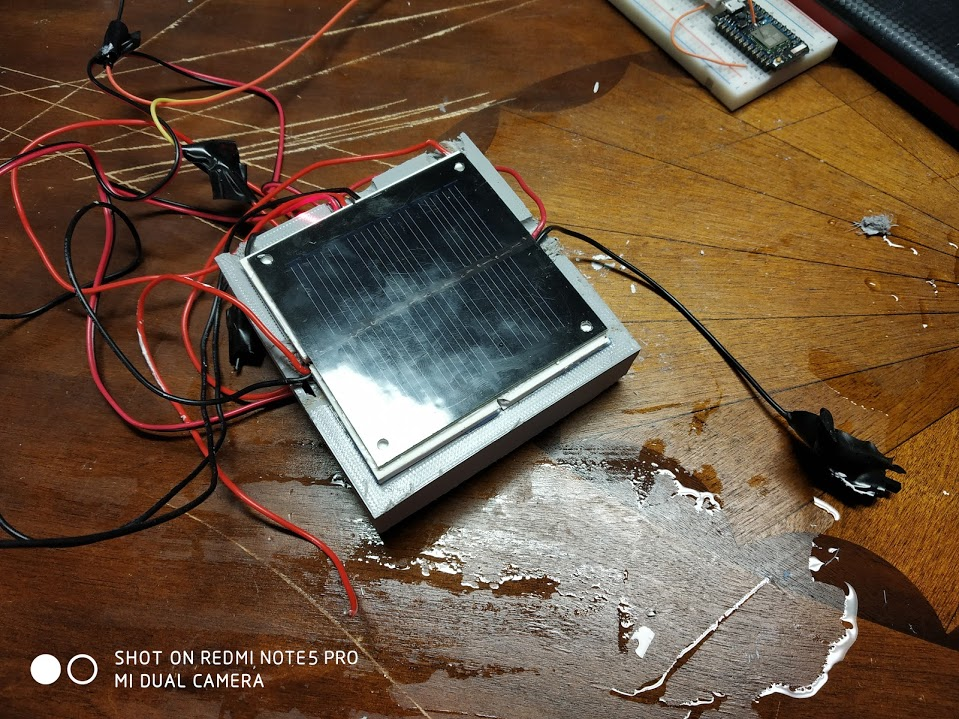
1Attach the cold side of the thermoelectric generator(TEG) to the heat sink using conductive sticky pads
The cold side of the thermoelectric generator is marked with numbers and letters. Using double sided thermally conductive sticky pads that come with the heat sinks connect them together. The heat sinks will be used to cool the cold side of the TEG
-
2Glue the TEG modules to the back side of the solar panel
There is a capacitor attached to the middle of the solar panel so the two sets of solar panels will have to be glue slightly apart from each. The side without the numbers should be directly glued to the panel
-
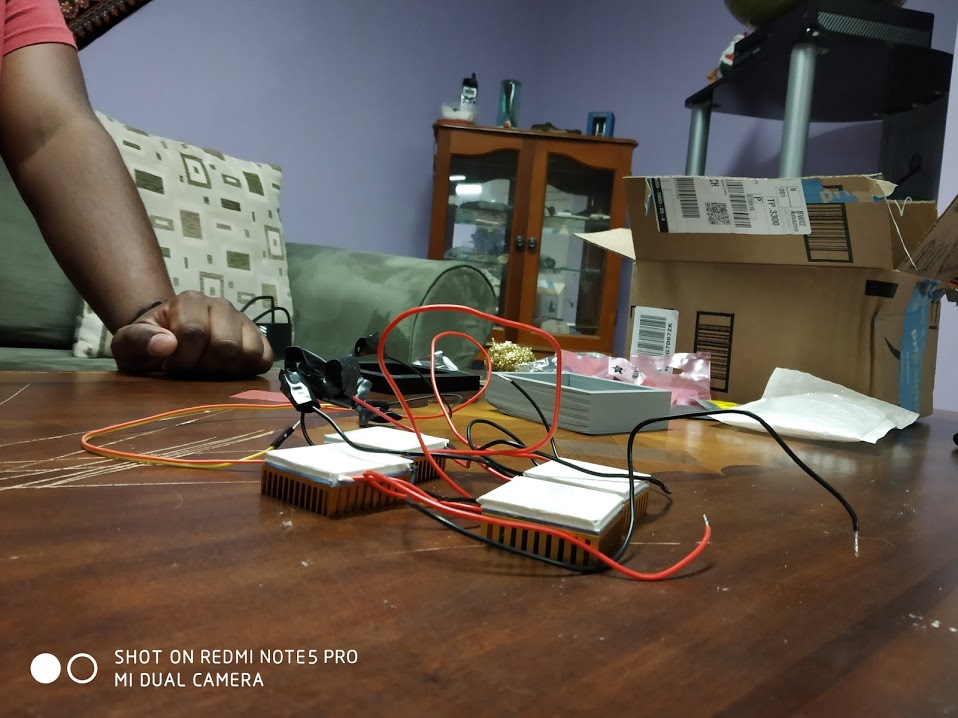
3Wire each of the TEGs in series with each other to produce a theoretical 4V with a 20 degree difference.
-
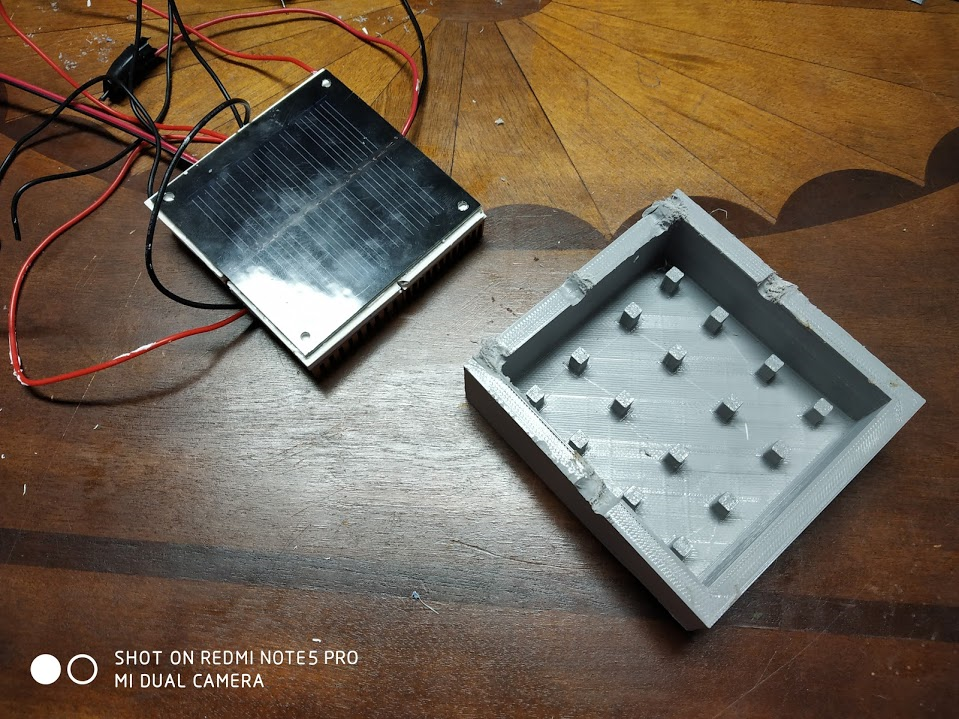
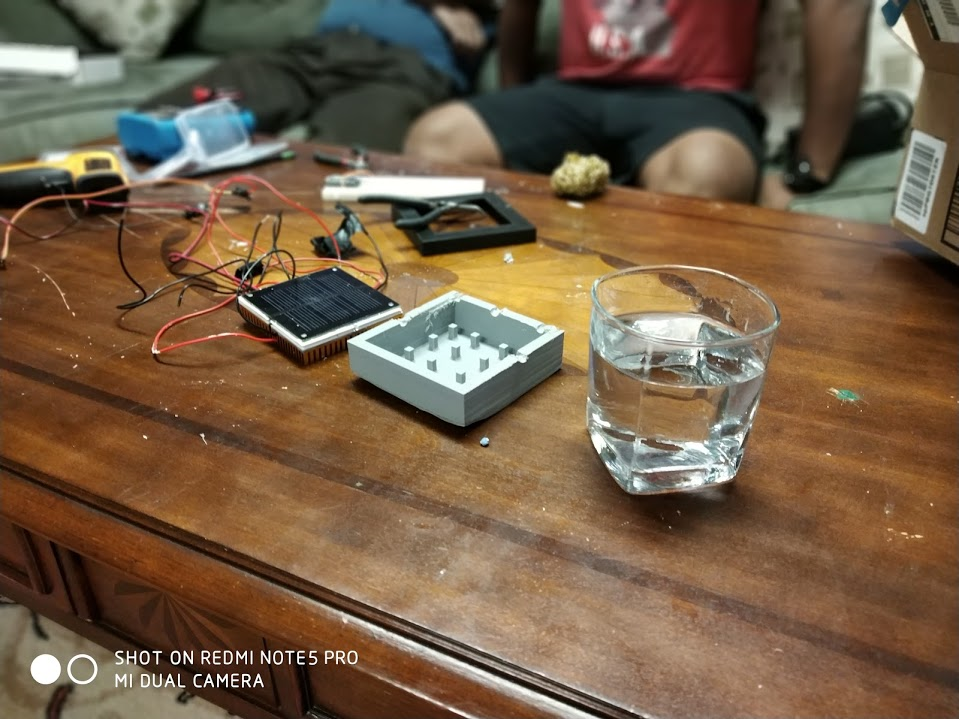
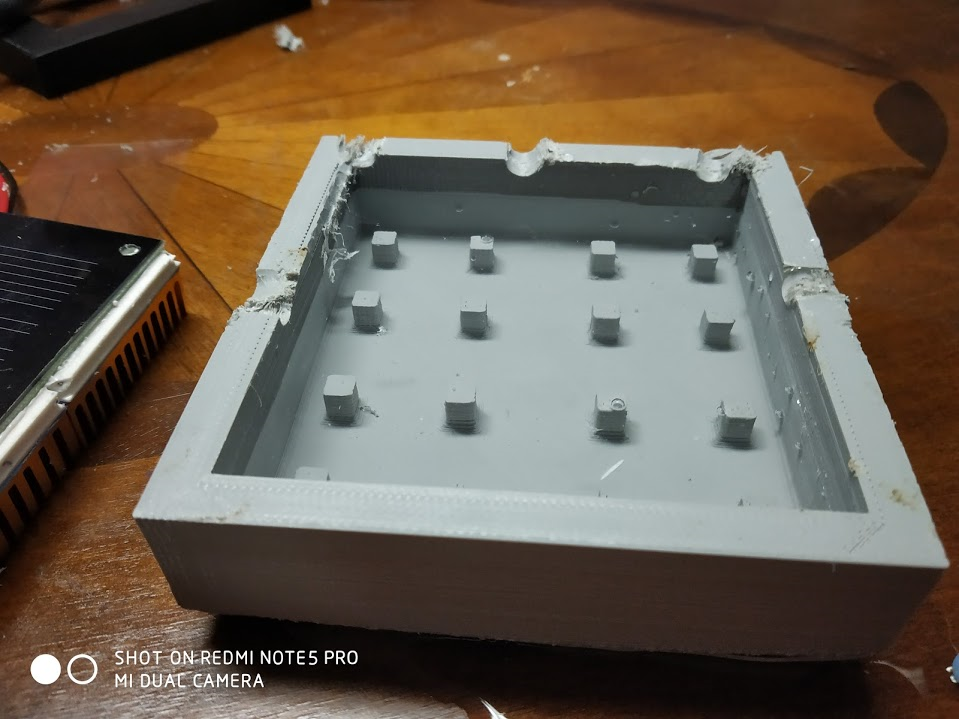
4Fill up the back housing with water upto 3mm under the top.
The water acts as a heat sink for the TEG. The heat that is absorbed by the solar panel is transfered into the water heat sink chamber. The water, having a high heat capacity, slowly heats up. The water therefore helps keep a temperature difference across the module for longer periods of time.
-
5Solder on Schottky diodes onto the positive sides of both the solar cell and TEG
The Schottky diodes help keep the direction of current the same way. This is important because at times of low temperature difference we don't want the solar cell to cause the TEG to become a load. The diodes should be wired so that the current flows from positive to negative.
-
6Press fit the module into the water housing.
-
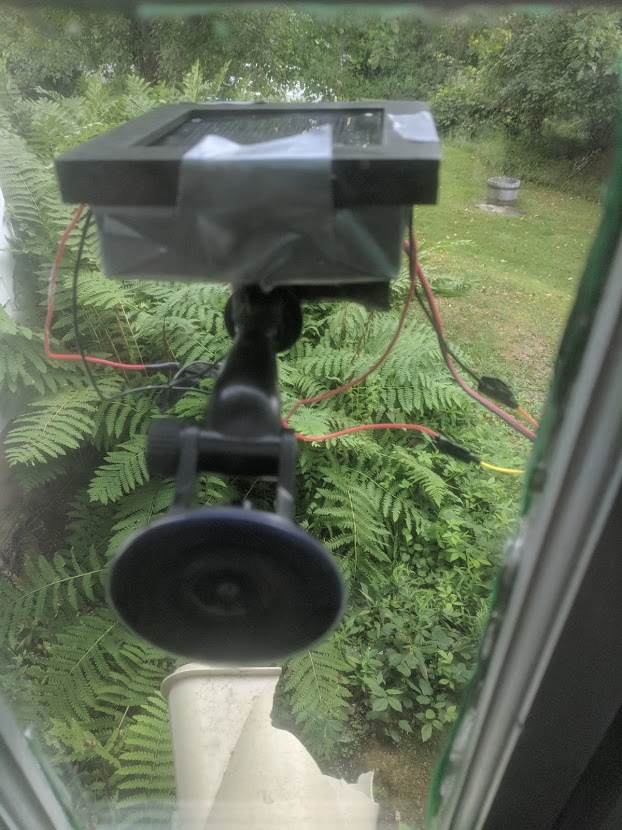
7Attach the housing cover and the go pro mount onto the main housing for ease of use
All the housing parts were modeled and 3d printed. The designs did not take do a good job of taking into account the wires and new holes will be needed for wires to go through
-
8Plug it in!
At peak voltage this module is good to power a particle photon for data collection. I had it wired directly to a photon and a soil moisture sensor. The particle was receiving enough current to operate. I highly recommend wiring a solar lipo charger and a voltage booster into the device. This is so it can power a small battery.
Hybrid Thermoelectric Solar Cell
Novel power harvesting module integrates the energy harvesting abilities of a thermoelectric generator with a solar cell to maximize output

Discussions
Become a Hackaday.io Member
Create an account to leave a comment. Already have an account? Log In.