Close
0%
0%

#un1eet Shitty Add On

an adventure into #badgelife SAO

Similar projects worth following
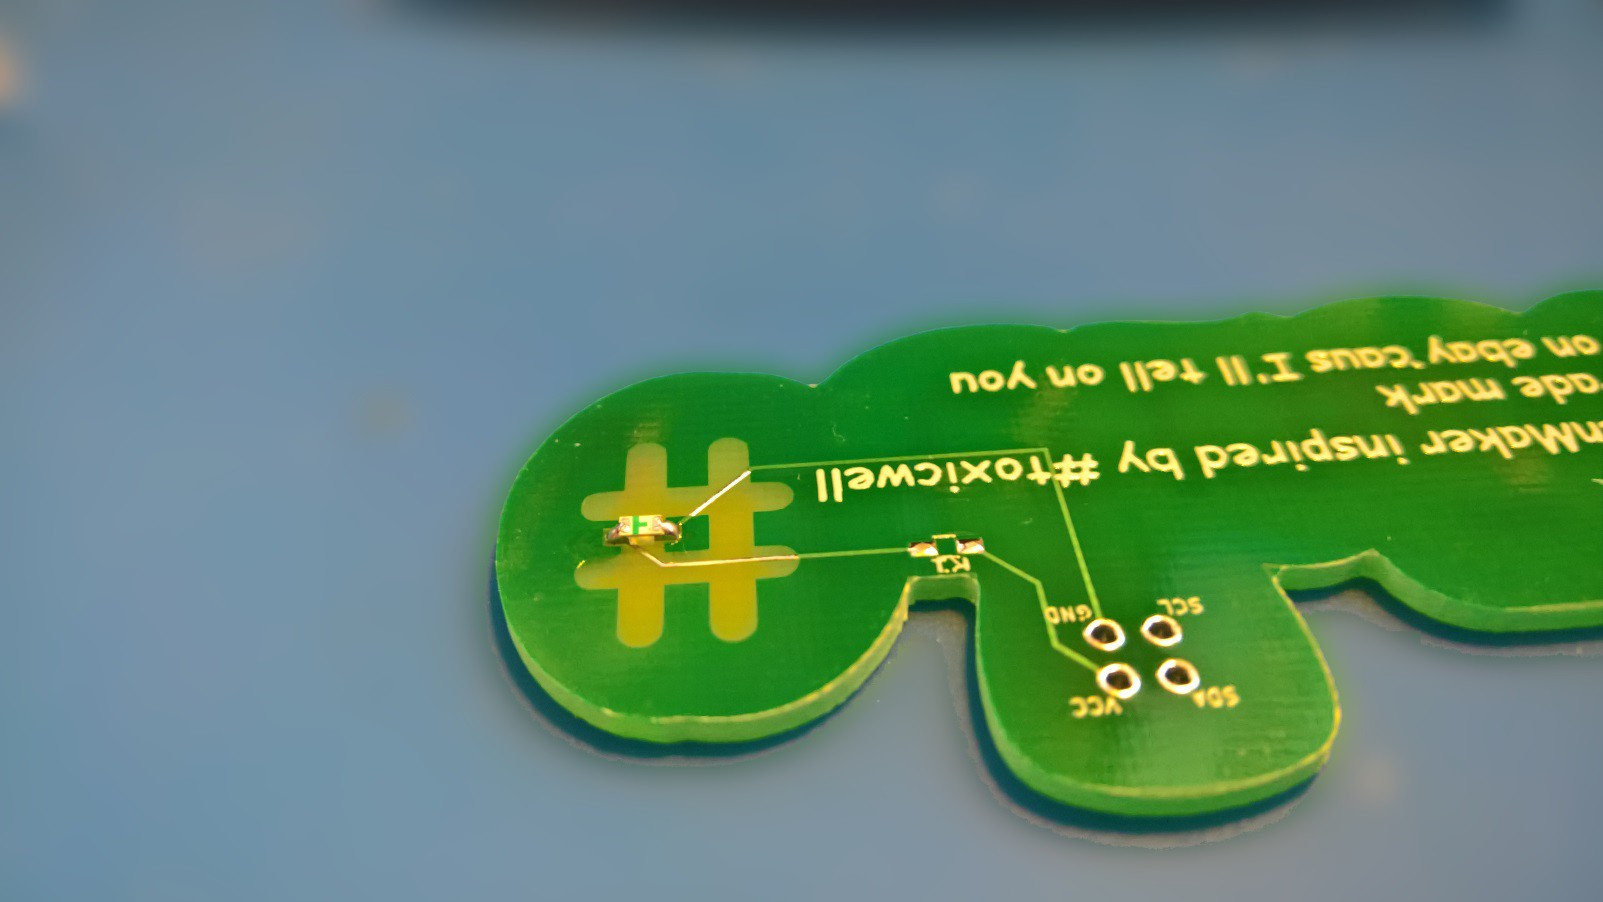
I kept meaning to go through the tutorial on making custom PCBs and never got to it. But then I decided to make this for DefCon: an #un1eet SAO. Now I want to see where this goes.

I used this project to learn KiCad. Specifically I wanted to learn the workflow from Inkscape to KiCad for PCB art. I leveraged the Hardware Flair community, went through Getting to Blinky on Contextual Electronics,  watched #badgelife live streams by AND!XOR and TwinkleTwinkie. I kept pushing forward and now I have something shitty to share, trade and talk about with fellow folks. I also want others to know why the #un1eet are important.

Find These on Tindie

  • 1
    I got an un1eet v1 - Now Wat?

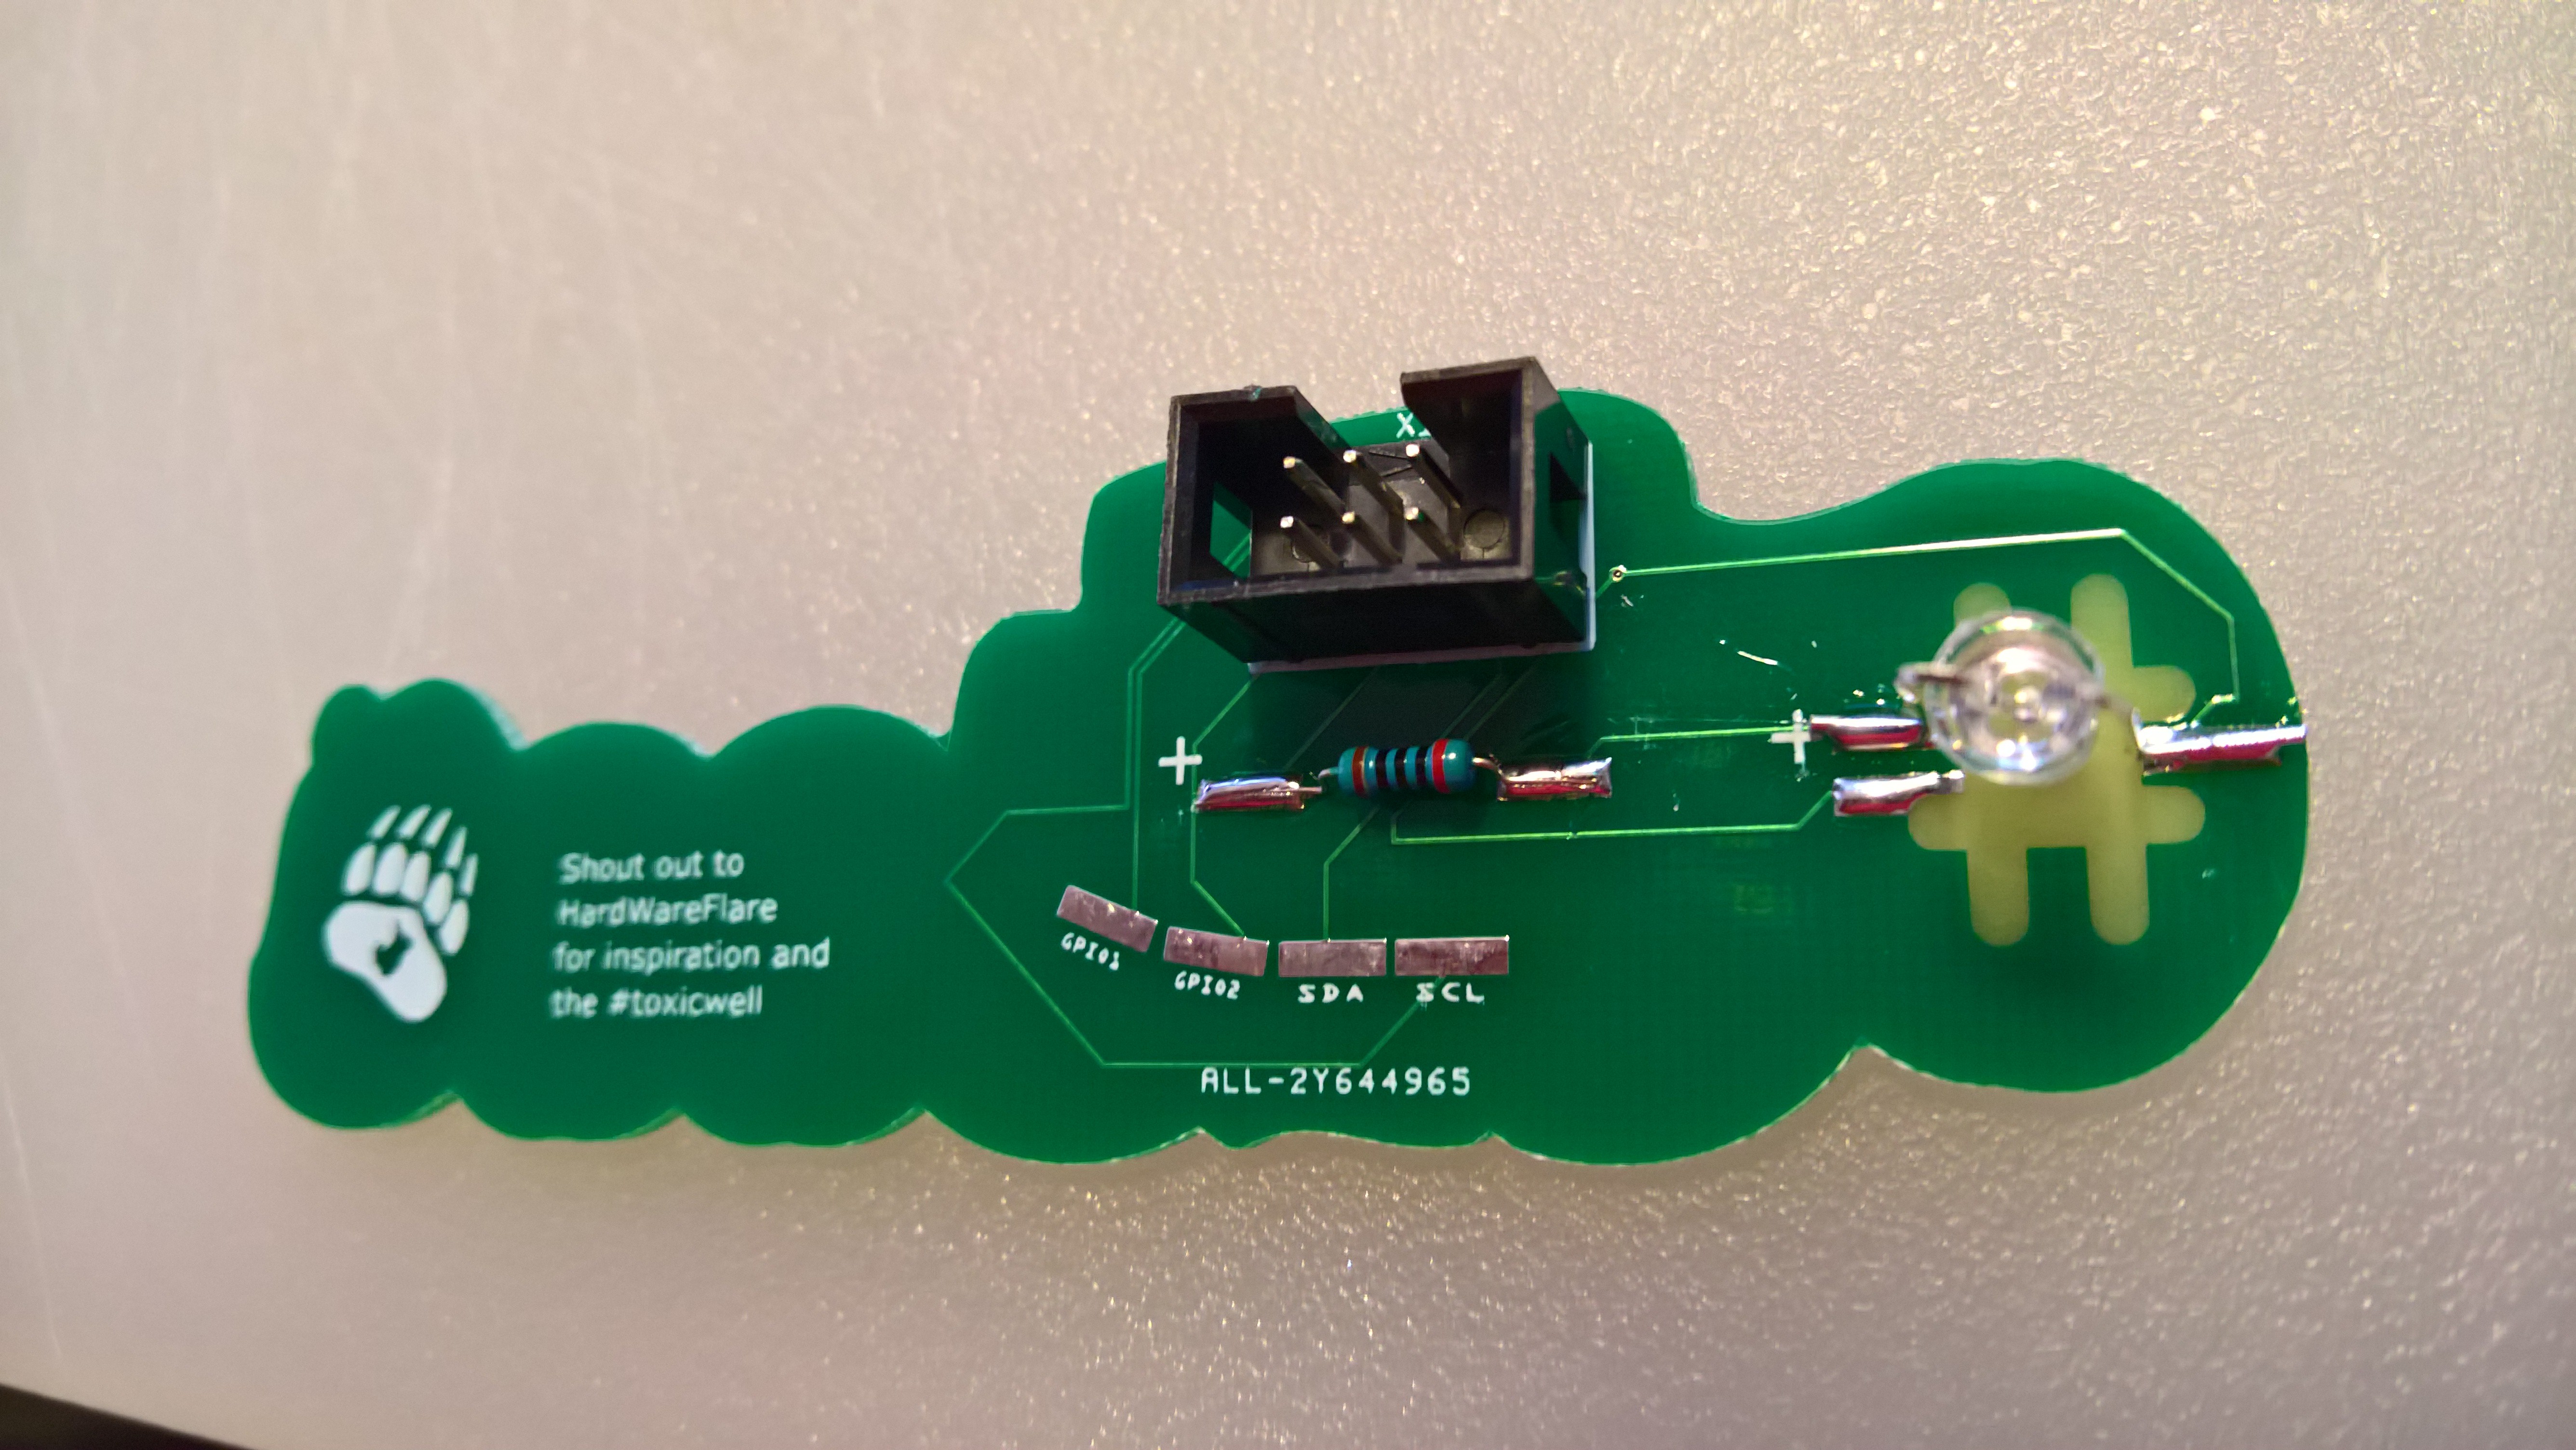
    So you got your new #un1eet Shitty Add On  and you are wondering: Why did I buy a kit? I just want it to blind onlookers. Well, as part of the complete #un1eet experience, you must hack it together yourself with scant instructions.

    What you should do:

    Instructions Part 1

    1. read instructions in full
    2. chance the resistor around the board and nearly loose it
    3. after searching for 20 minutes on the floor, realize it was in a fold of your clothing the whole time
    4. tin one solder pad
    5. heat the pad and bring the resistor in to the melting solder, then pull the heat away while holding it in place until the solder hardens
    6. optional: realize you don't know what a resistor is and worry you just put the led on... no worries, it will work this way too just not as cool
    7. solder the other end of the resistor

    A quick note about the LED

    This is where things go off the rails and you have options. The LED can be mounted in two different ways. The way it was meant to be attached, which will point back at the wearer. OR The reverse mounting, which will point the light through the PCB and look really cool... ok, a little cool.

    Keep in mind, with the LED direction matters. So take a look at the bottom, there will either be two dots that indicate positive, or a line ending in a perpendicular line. The perpendicular line side is positive.

    Instructions part 2

    Repeat 'Instructions Part 1' only with the LED or whatever the other part is that is left over, you are doing fine, there is no wrong answer, only disappointment and failure. (don't fret no matter what, keep reading)

    Instructions part 3

    Solder the headers so they are out the back of the badge. You are DONE!

    When you get a Defcon Badge that supports the SAO standard, you will notice the dot, just line those up when you plug/solder them together.

    In spite of my joking around, this project is for you to learn on something that matters little. If this is your first time with SMD and you burn up parts, just order some random bags of 0805 SMD leds and resistors for a couple dollars on Amazon or AliExpress and go nuts.

    I would like to invent a term here. When you overheat, melt, wire in backwards or otherwise break electronics, especially when letting the sparks and blue smoke out, while assembling via soldering, we will no more call it failure or a mistake or an error or the ilk. This will furthermore be known among the #un1eet as Gleaming the Circuit.

  • 2
    un1eet x2 assembly

    If you received the #un1eet x2, you should know that you have really been left to your own devices by |)3vice. This is a pcb that is meant to extend a badge and announce that you are not ridged in your thinking. The simplest thing to do with the badge is to put an led behind the hash with an appropriate THT resistor behind it.  You will notice the positive pads marked with a plus sign (+) and any pad not marked is ground (only three others). Notice I2C and SPI are both exposed so you can engage in shanagins.

  • 3
    Bonus Step: PARTY!

    Come to the Hacker Flairgrouns at Defcon and show off your #un1eet-ness !! 

    What is Hacker Flairgrounds?

    "The largest gathering of Hackers and LEDs in Vegas!"

    In reality it is a low-key event to let everyone stand around and gock at different badges and toys and meet the makers and enthusiasts like yourself! Talk to the hackers who beat the puzzles or repurposed the hardware. Learn about #badgelife and the process behind prototyping and manufacturing electronics by visiting with the amazing folks that engage in all-year activity. (and there will be refreshments near by)

    When and where is it?
    VW5weHJlIFN5bnZldGViaGFxZiAtIEZuZ2hlcW5sIE5odGhmZyAxMCBuZyA4Q1ogbmcgQ3luYXJnIFVieXlsamJicSBZbmYgSXJ0bmYgWWJhcWJhIFB5aG8=

    (hint: don't overthink it, if all else fails follow the blinky)

    Already have a party DefCon? Use a electronic badge. Come join us for a bit before you head out. We would enjoy to hear your story, no pressure, we won't have a stage or pressure anyone to talk. But don't be surprised if someone asks about your interesting piece of badge art. Don't like groups of people or any attention? Feel free to send someone down to show it off, or reach out to me and I will be happy to share your labor of love with folks who appreciate it.

View all 3 instructions

Enjoy this project?

Share

Discussions

Similar Projects

Does this project spark your interest?

Become a member to follow this project and never miss any updates