some of you got the shim in the white board and it looks something like this:
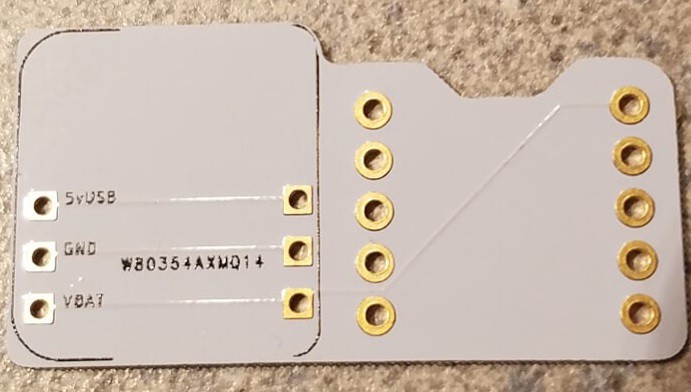
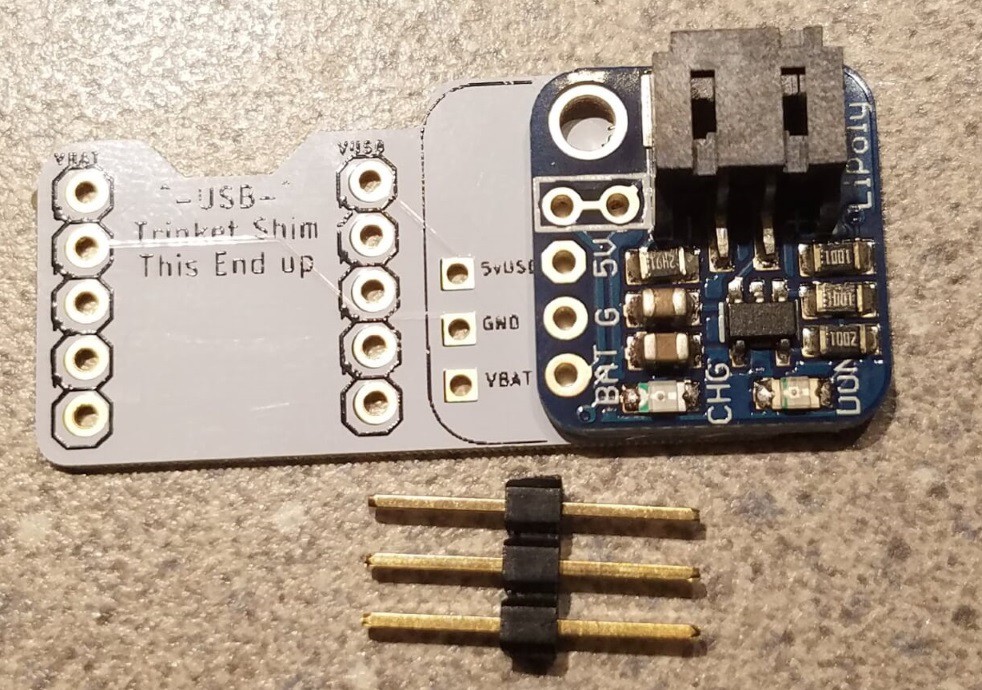
and the backside looks like this.now, when you add the power backpack, the holes align as such:
see how the backpack can go either on the front or the back of the shim. your choice!
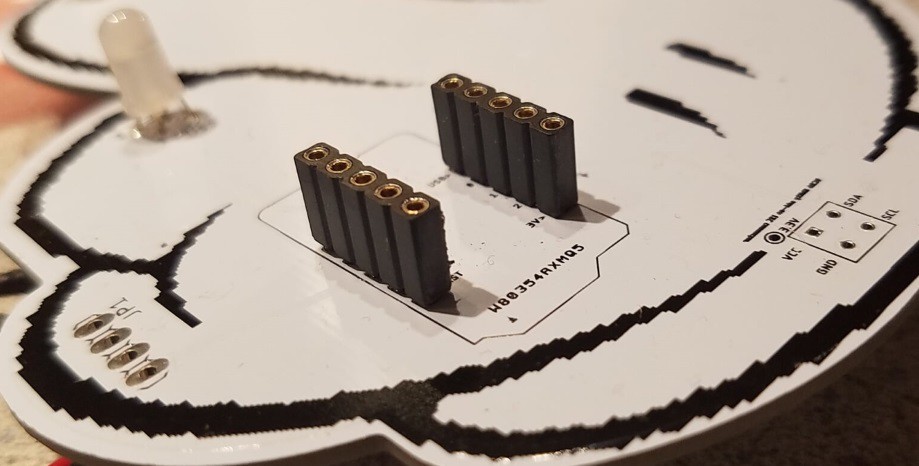
then you just have to figure out how you want to handle the sockets:
if you put them on the backside, be sure to solder the pins for the trinket in backwards! (while I didn't try this, it could work, good luck. but anyhoo)
ok now, see here: when you assemble the trinket with the shim, pay particular attention to the orientation of the usb notch, 2nd, you have to solder the shim to the pins to make a solid contact. go ahead and get creative if you have long pin sockets! but what I did here, what give it a quick solder tap on the 3 pins for vcc, gnd and usb, on the shim board, and them placed the trinket flush, and then soldred in the trinket.
so it looks like this: now, if you don't want it to be permanent, you can probably make it pinned, and socketed, and make it stackable.
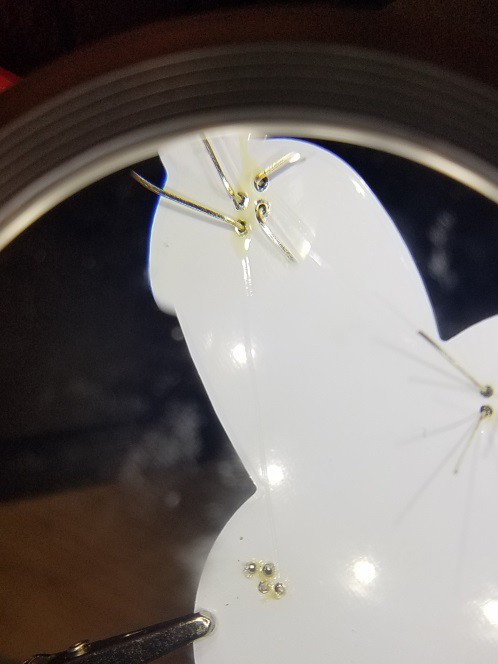
Tonight I soldered the parts together, Here's an action shot. First, placed the LED's in the right order. each LED has a flat side, and the board shows a flat side. make sure you align those. then, split each pin each way, so that they alternate, this makes it slightly easier to slip them through in the right order. it take a little bit or fussing with it, but once you get the feel for the first one the next ones are easy.
Added a little rosin flux, then soldered them in and clipped the long leads.
 El Jefe
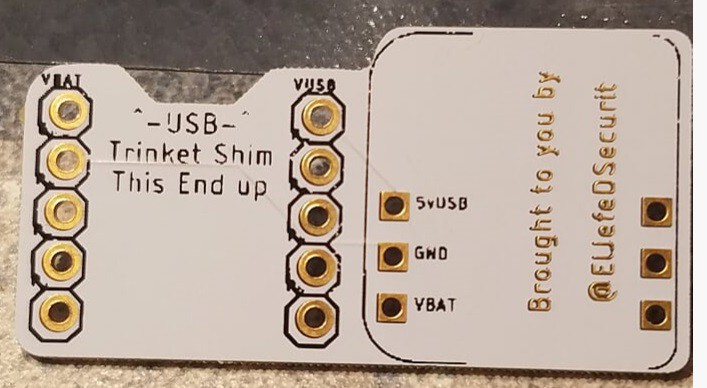

 if you put them on the backside, be sure to solder the pins for the trinket in backwards! (while I didn't try this, it could work, good luck. but anyhoo)
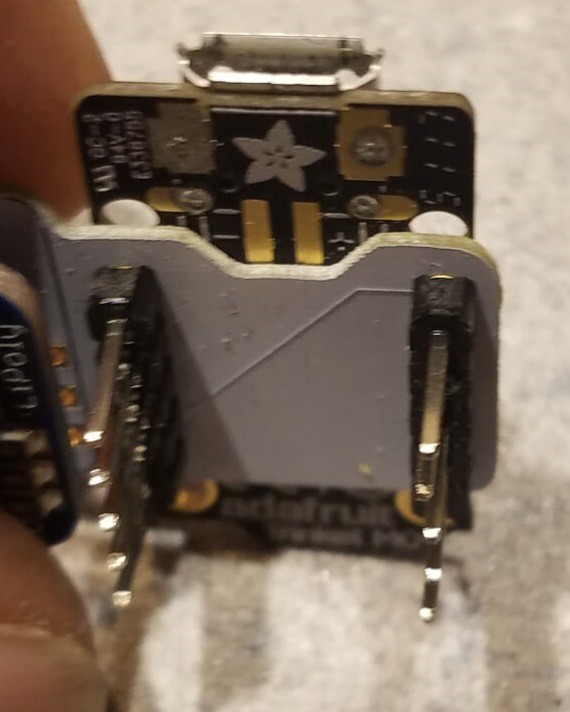 so it looks like this:
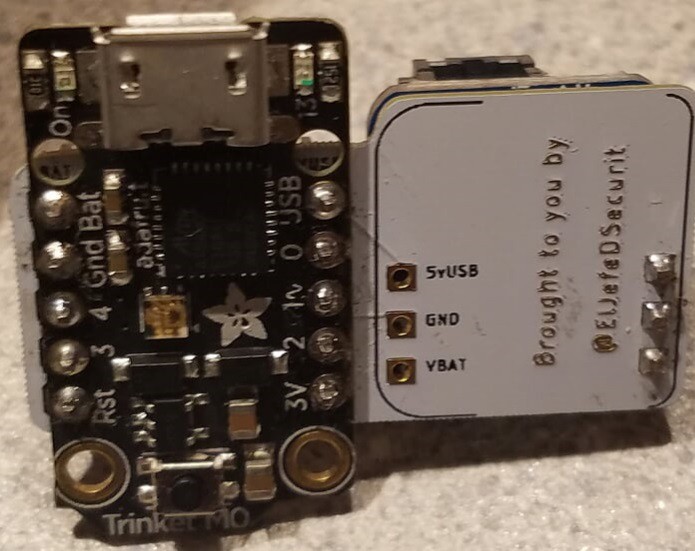 now, if you don't want it to be permanent, you can probably make it pinned, and socketed, and make it stackable.