 deʃhipu
-
1Attach the bolts
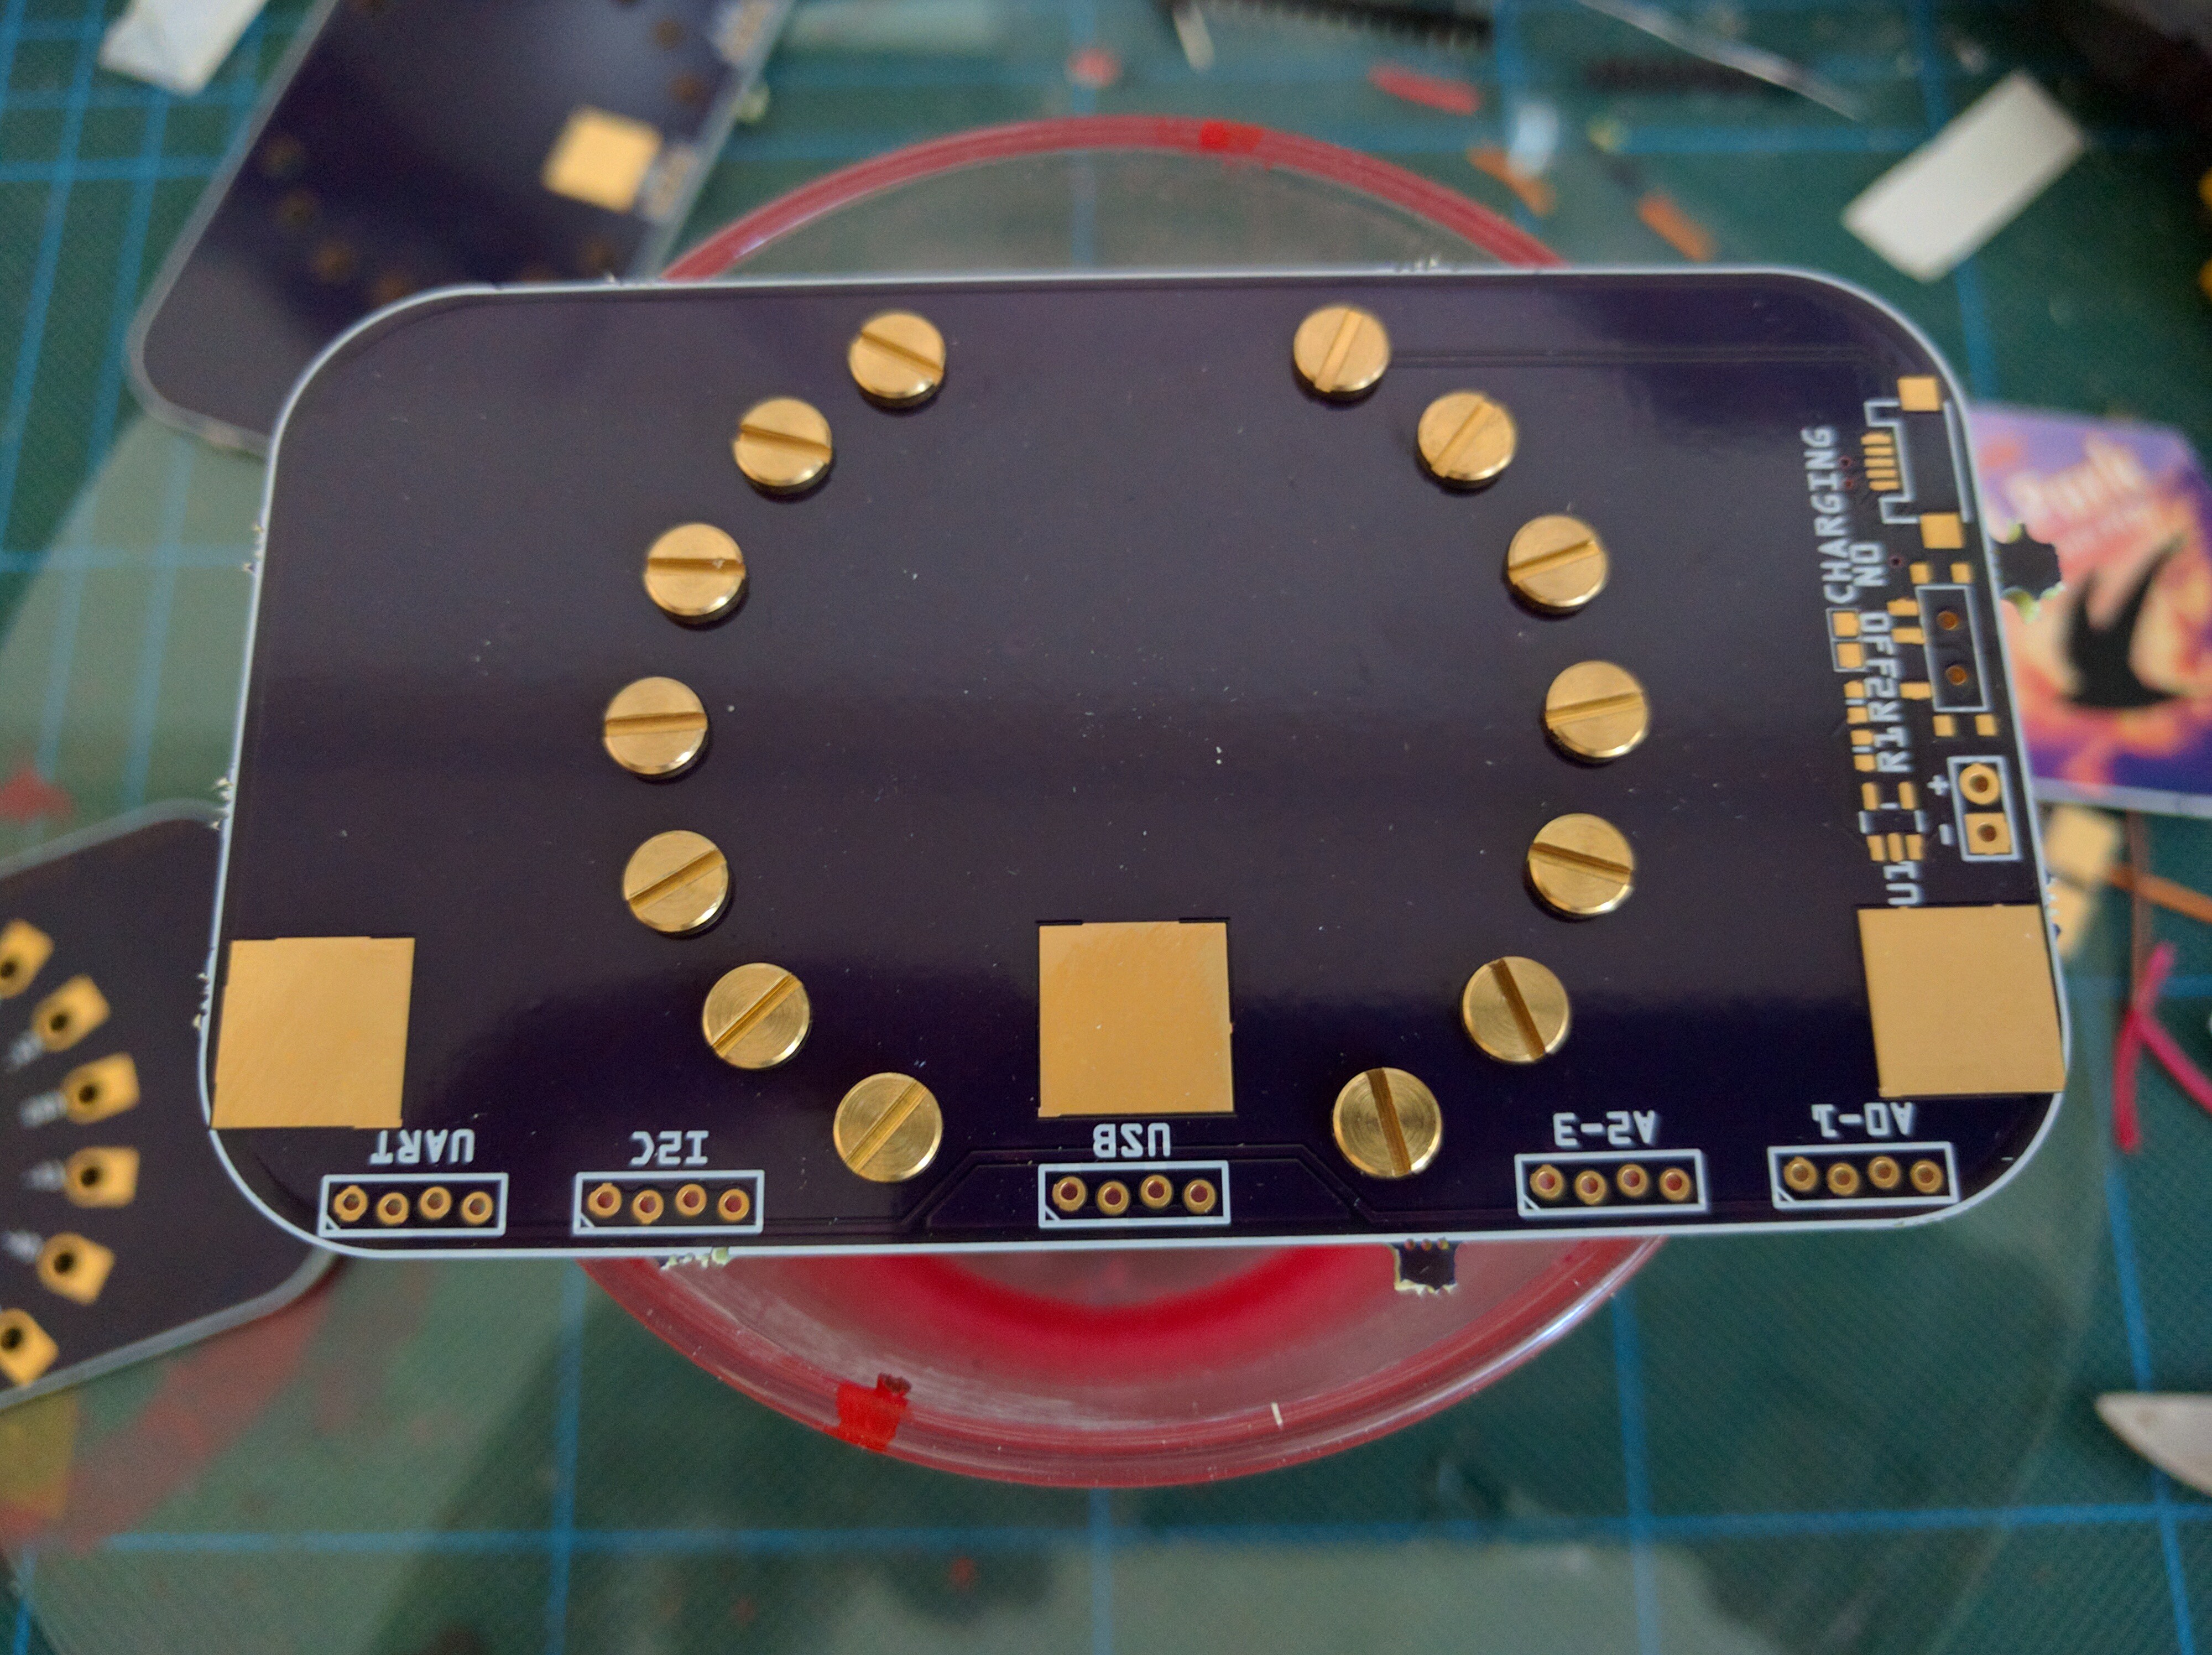
We will start with the hardest step: attaching the bolts. For this step you will need a second PCB or another kind of template to hold the bolts for you. Insert all the bolts into the holes:
![]()
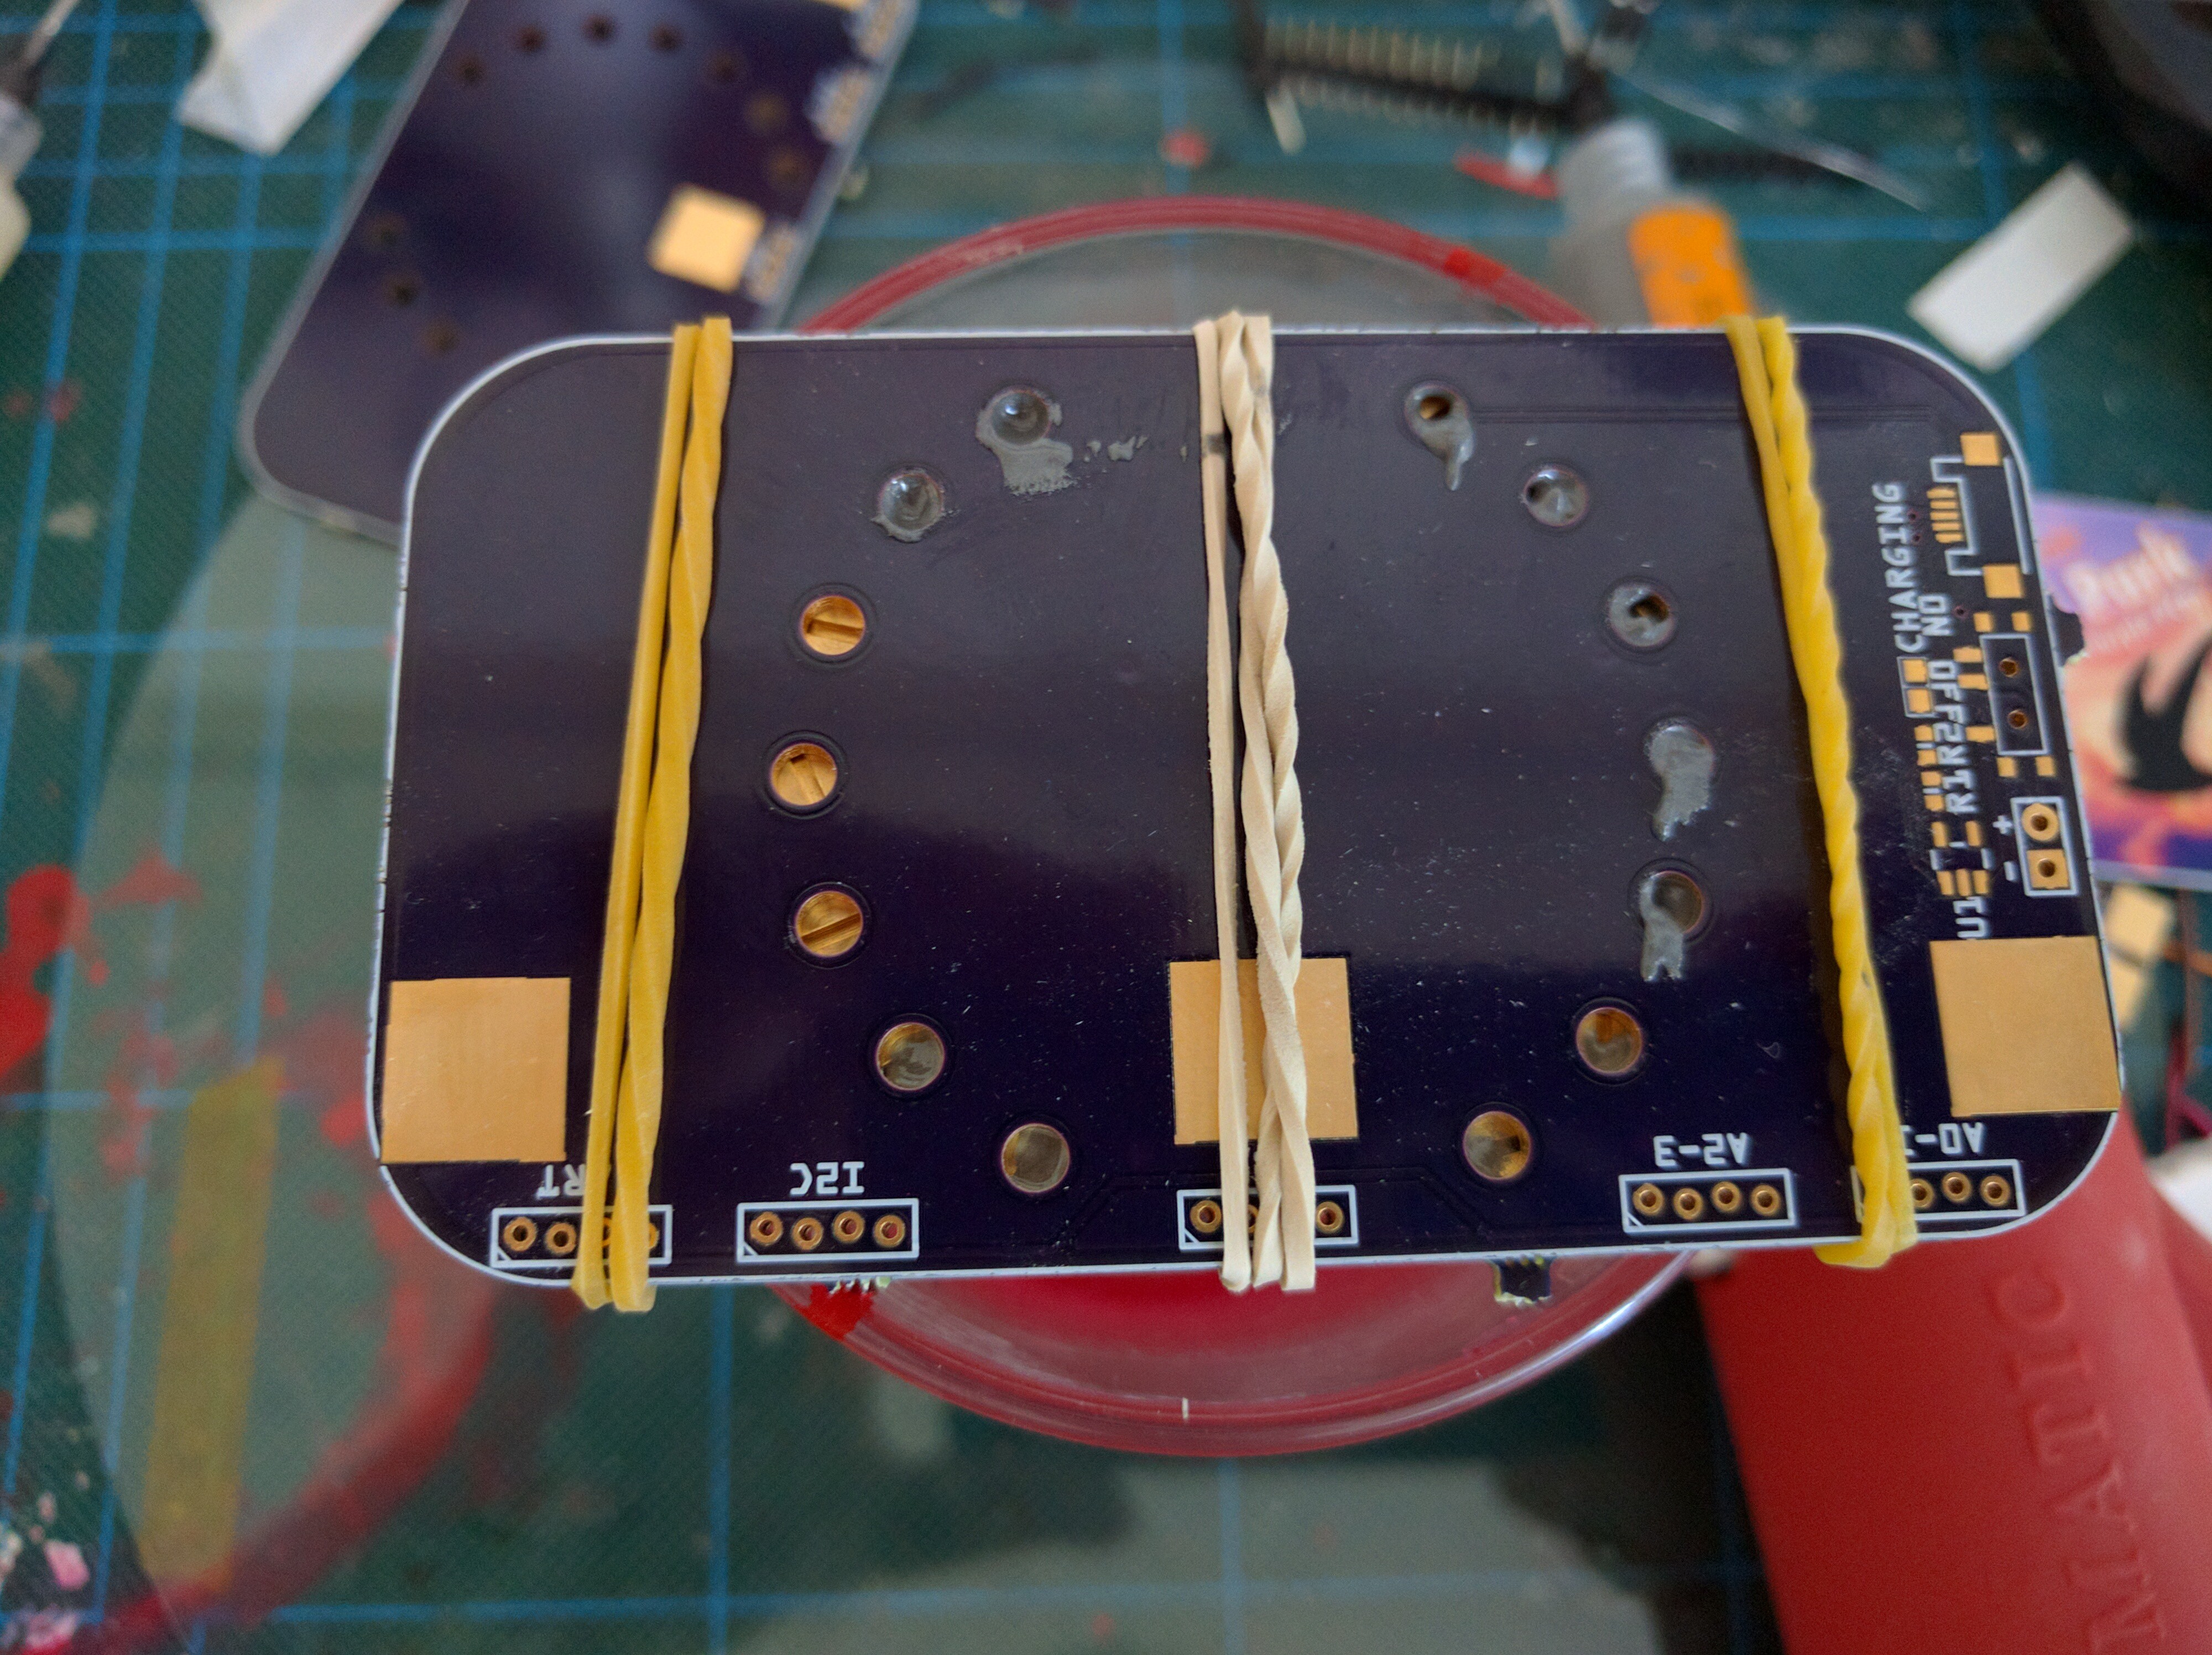
Then cover it with your actual PCB, making sure the front is downwards. Secure it with rubber bands, and fill the holes with solder paste:
![]()
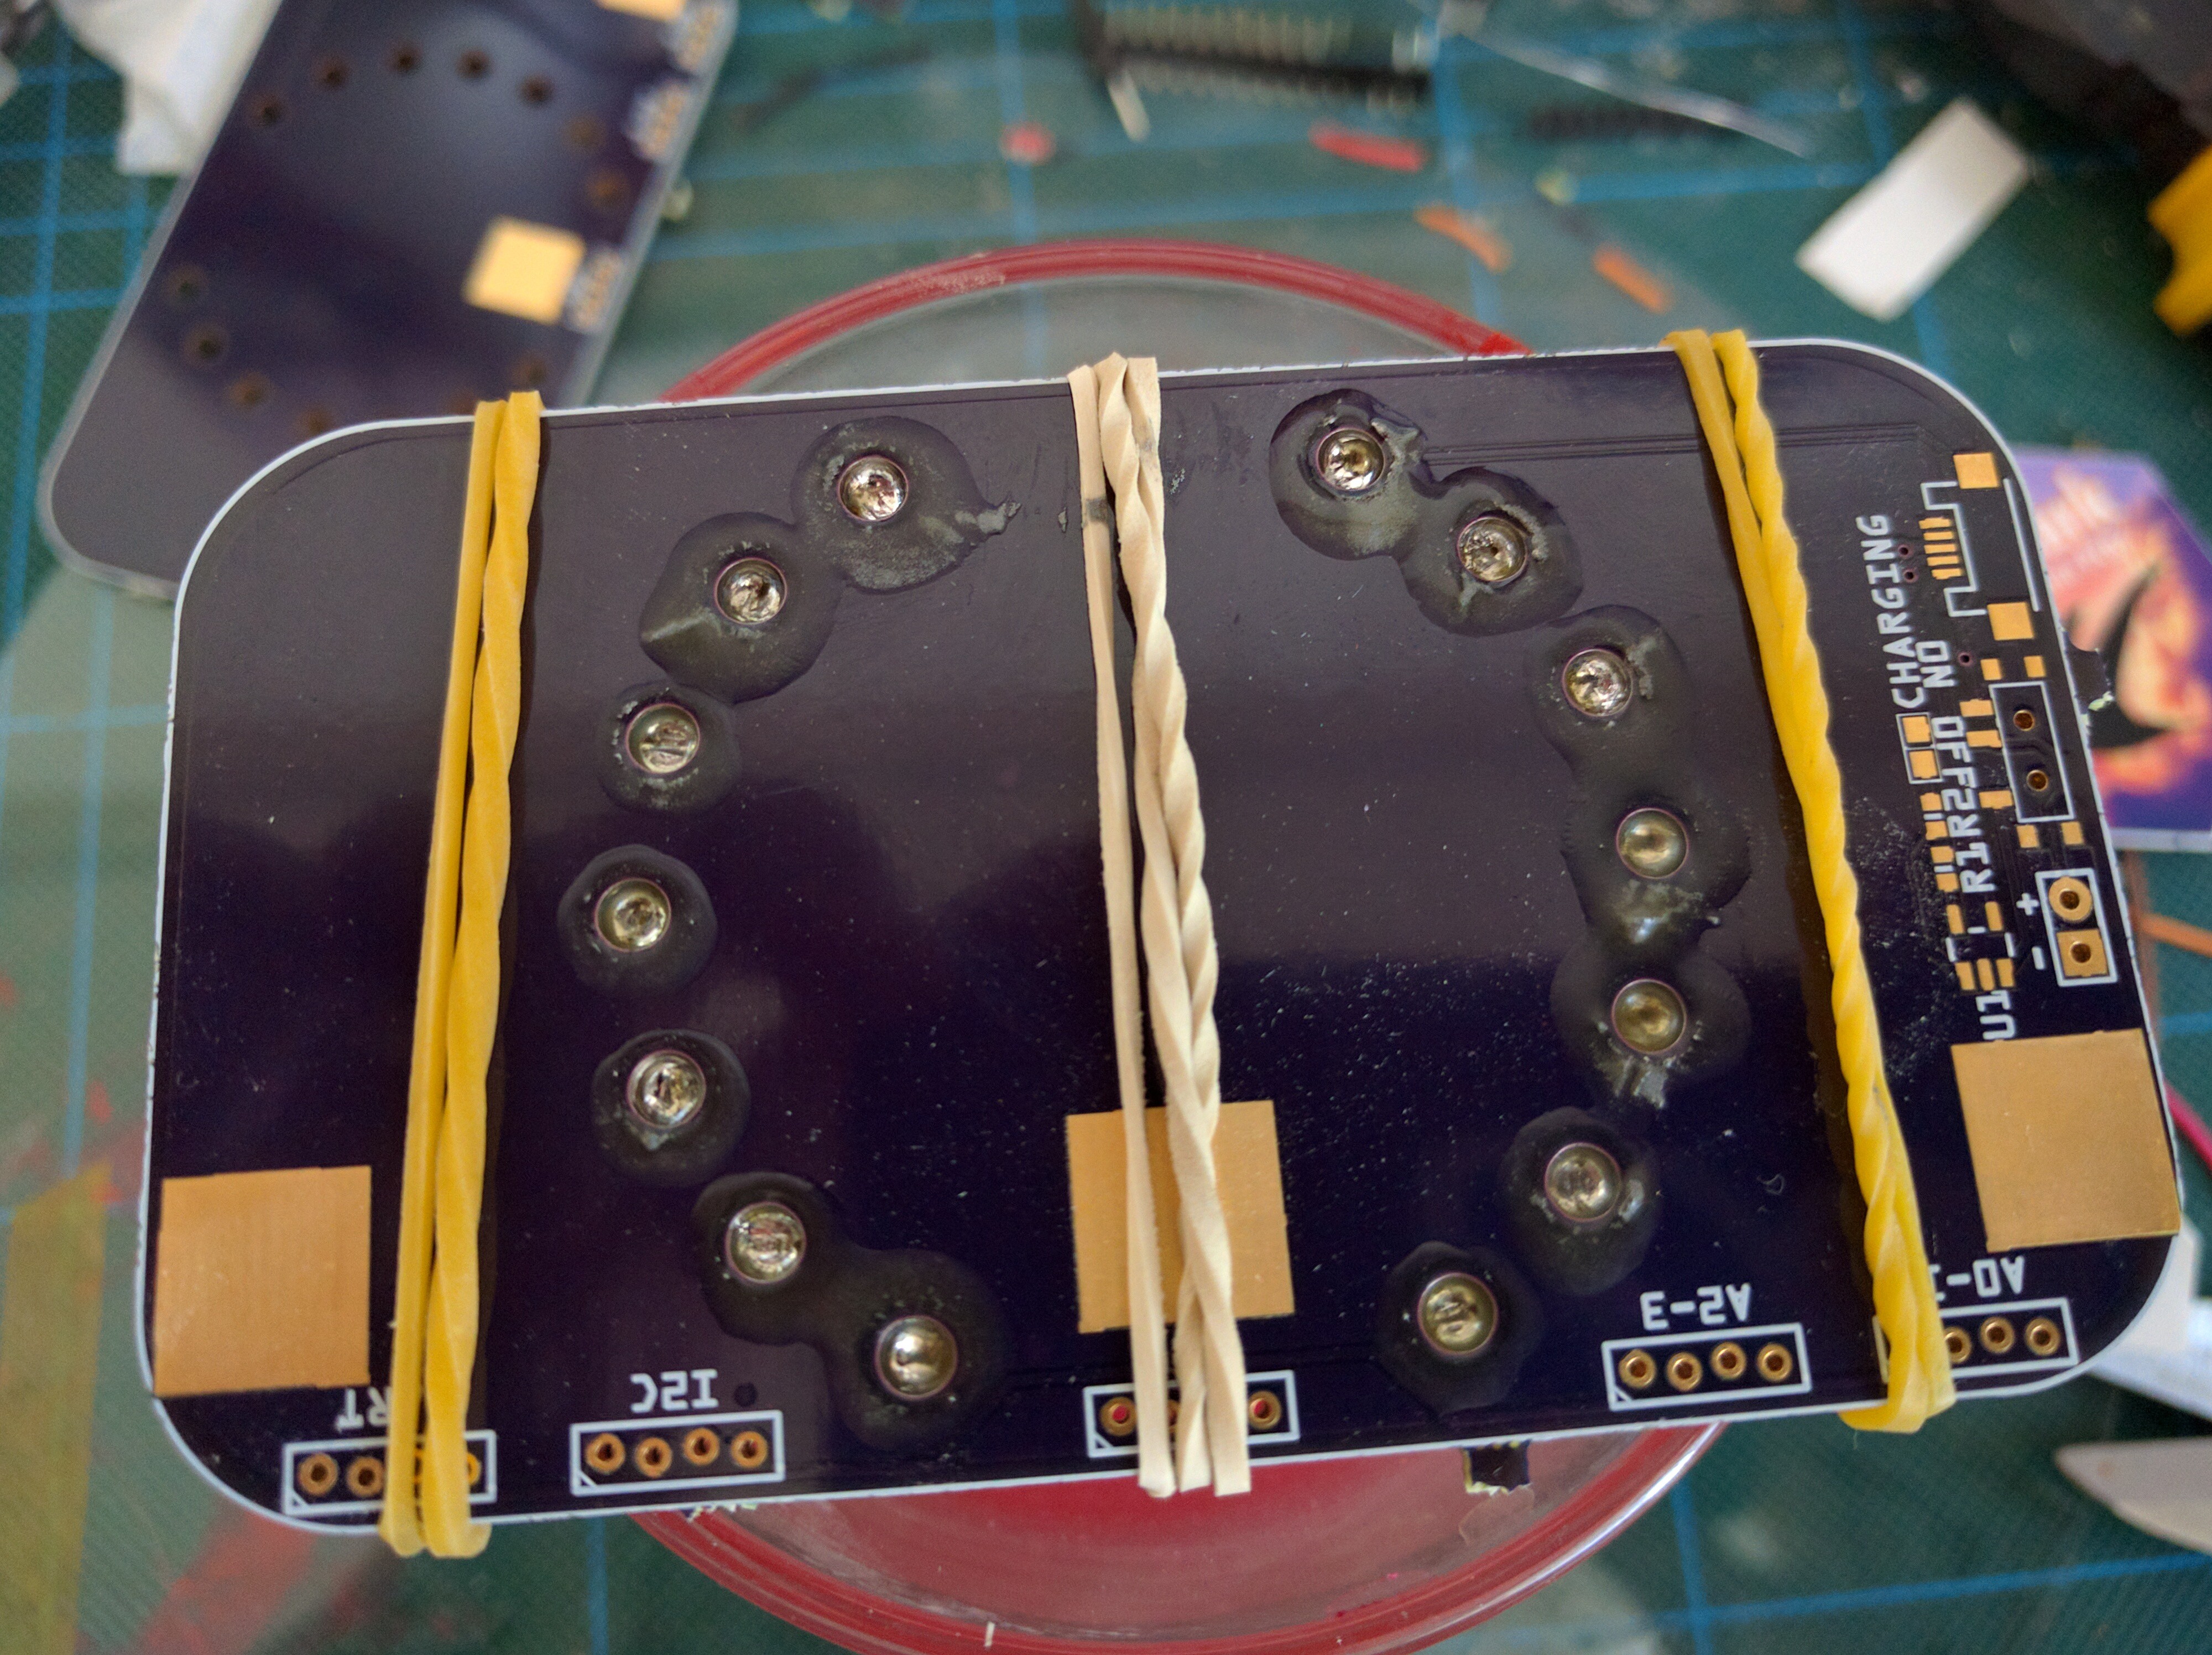
Then take your soldering iron, and melt the paste in every hole, stirring to make sure it all melts and catches the bolt properly:
![]()
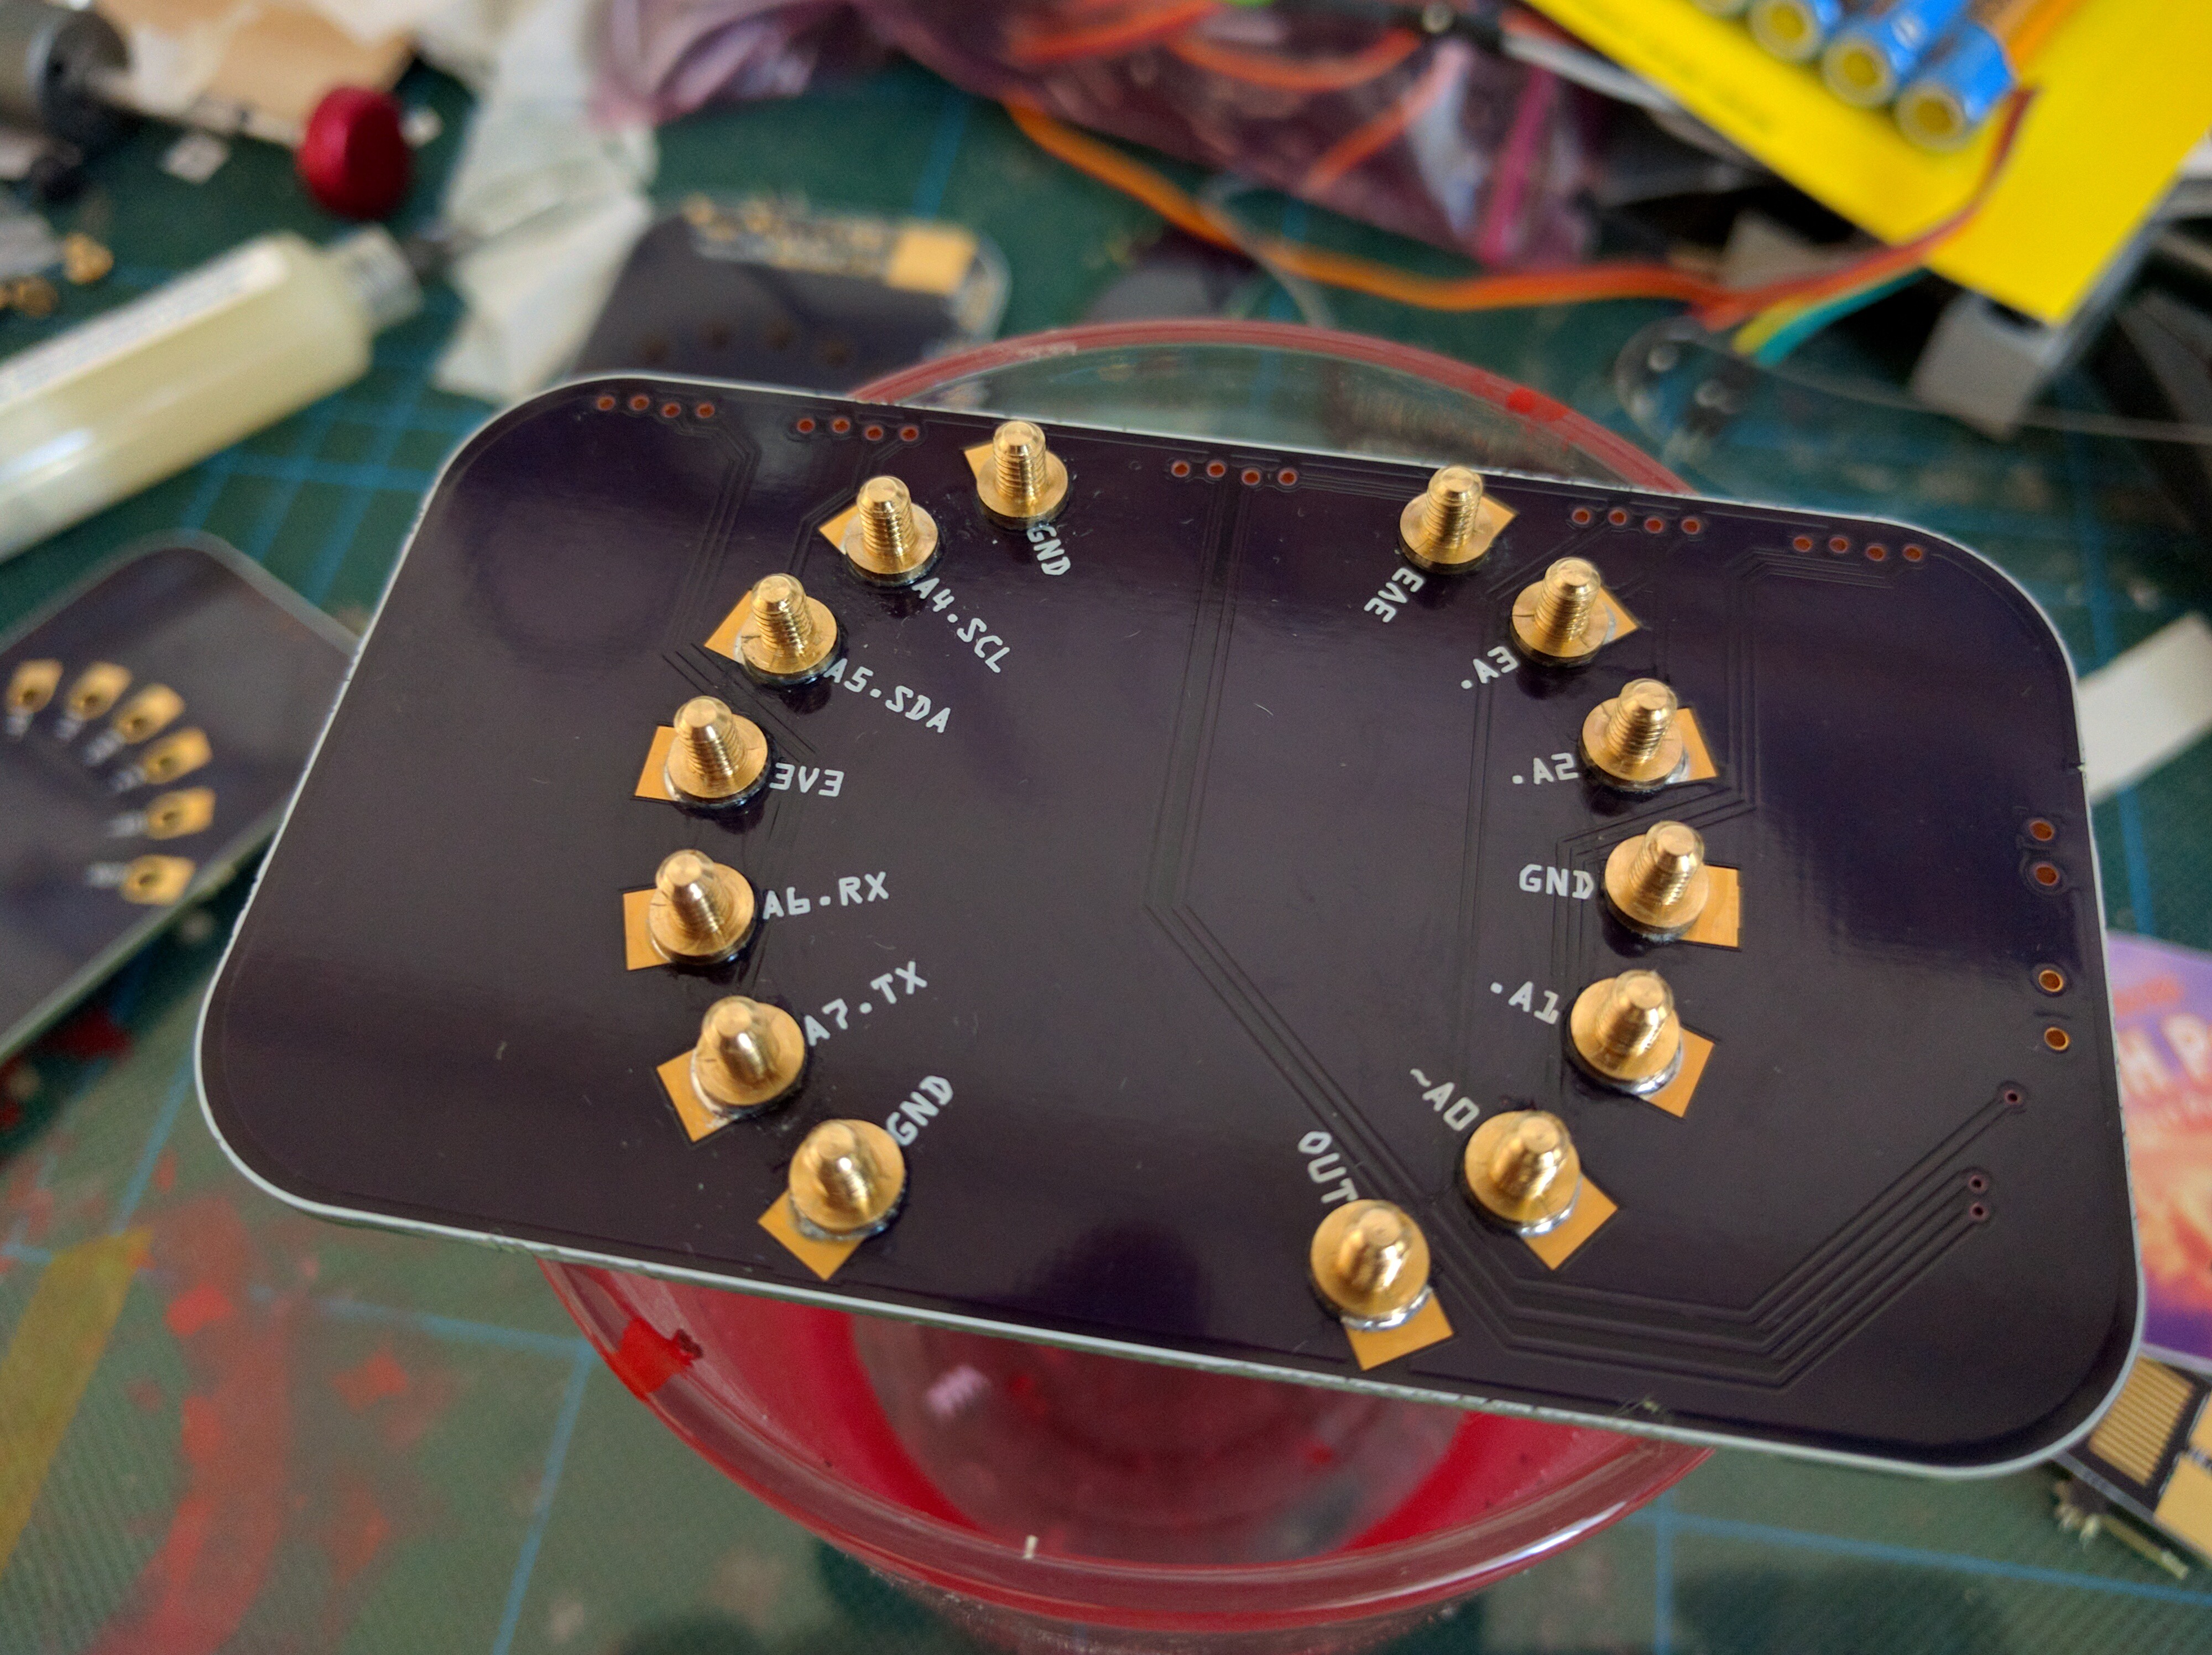
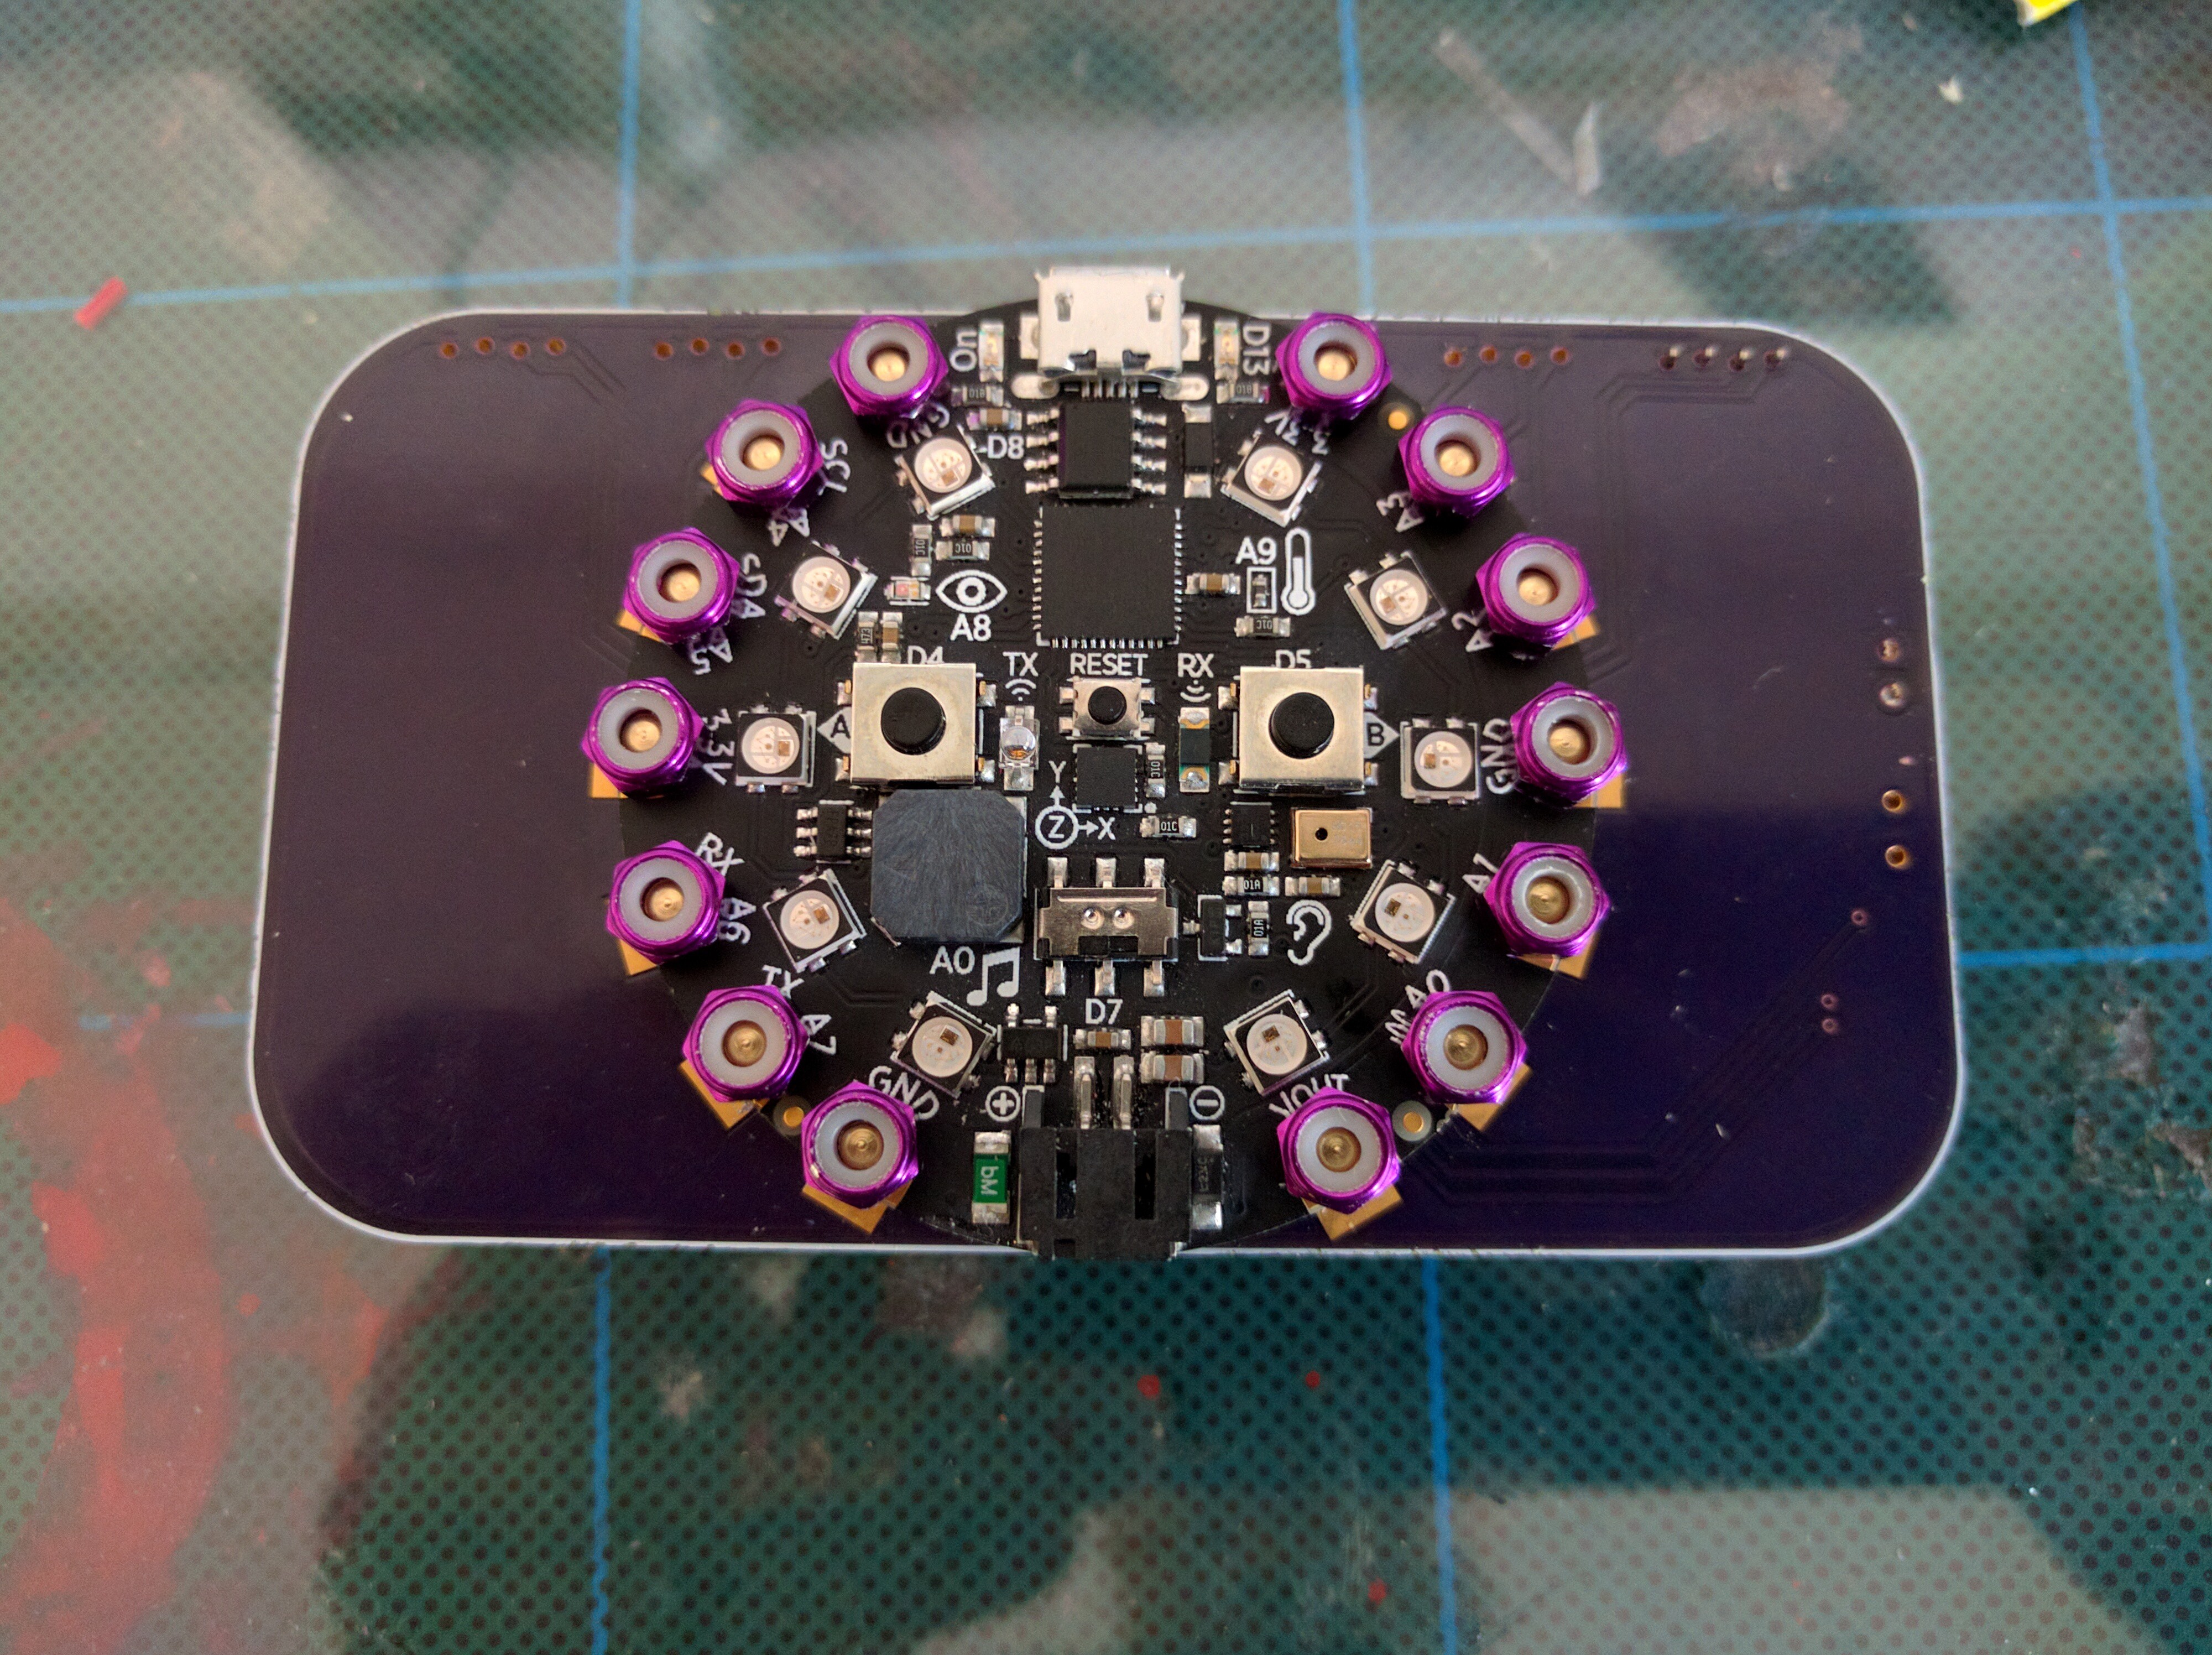
Finally remove the rubber bands and template and wash the excess flux and paste with acetone:
![]()
-
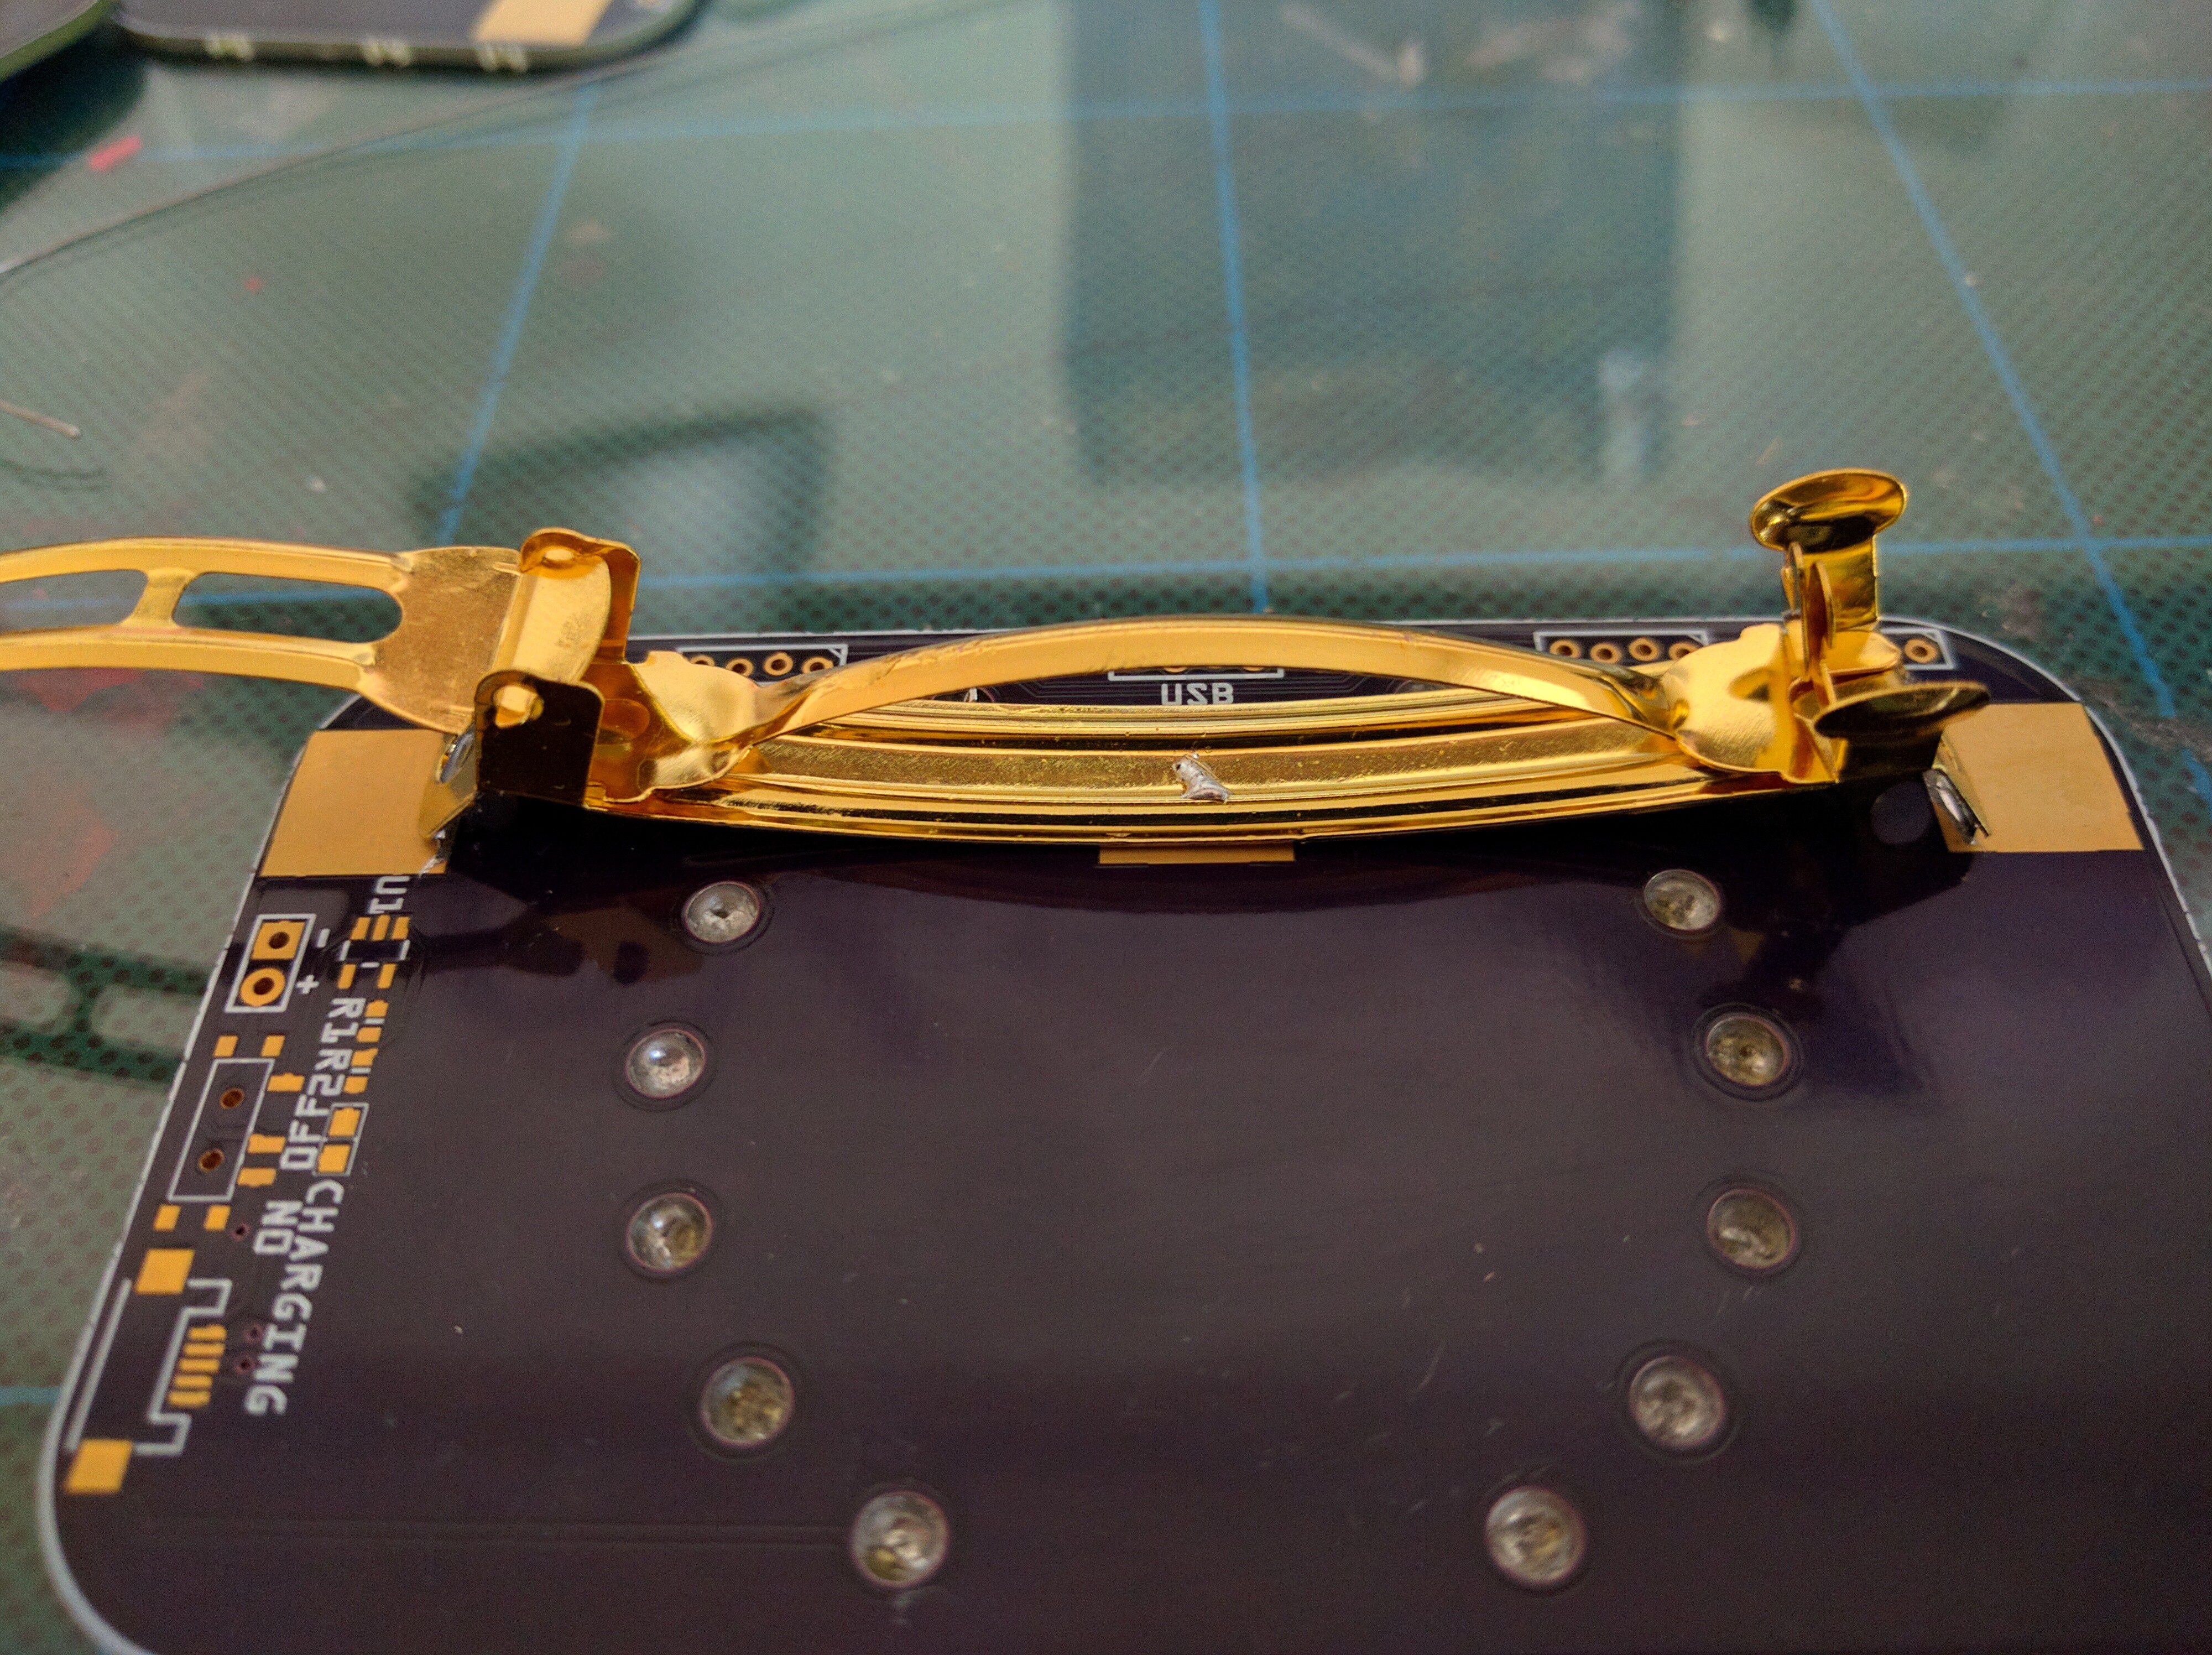
2Bend and solder the barrette
Next bend the the barrette's ends so that they are inline with the middle, and tin them, then solder it in place.
![]()
-
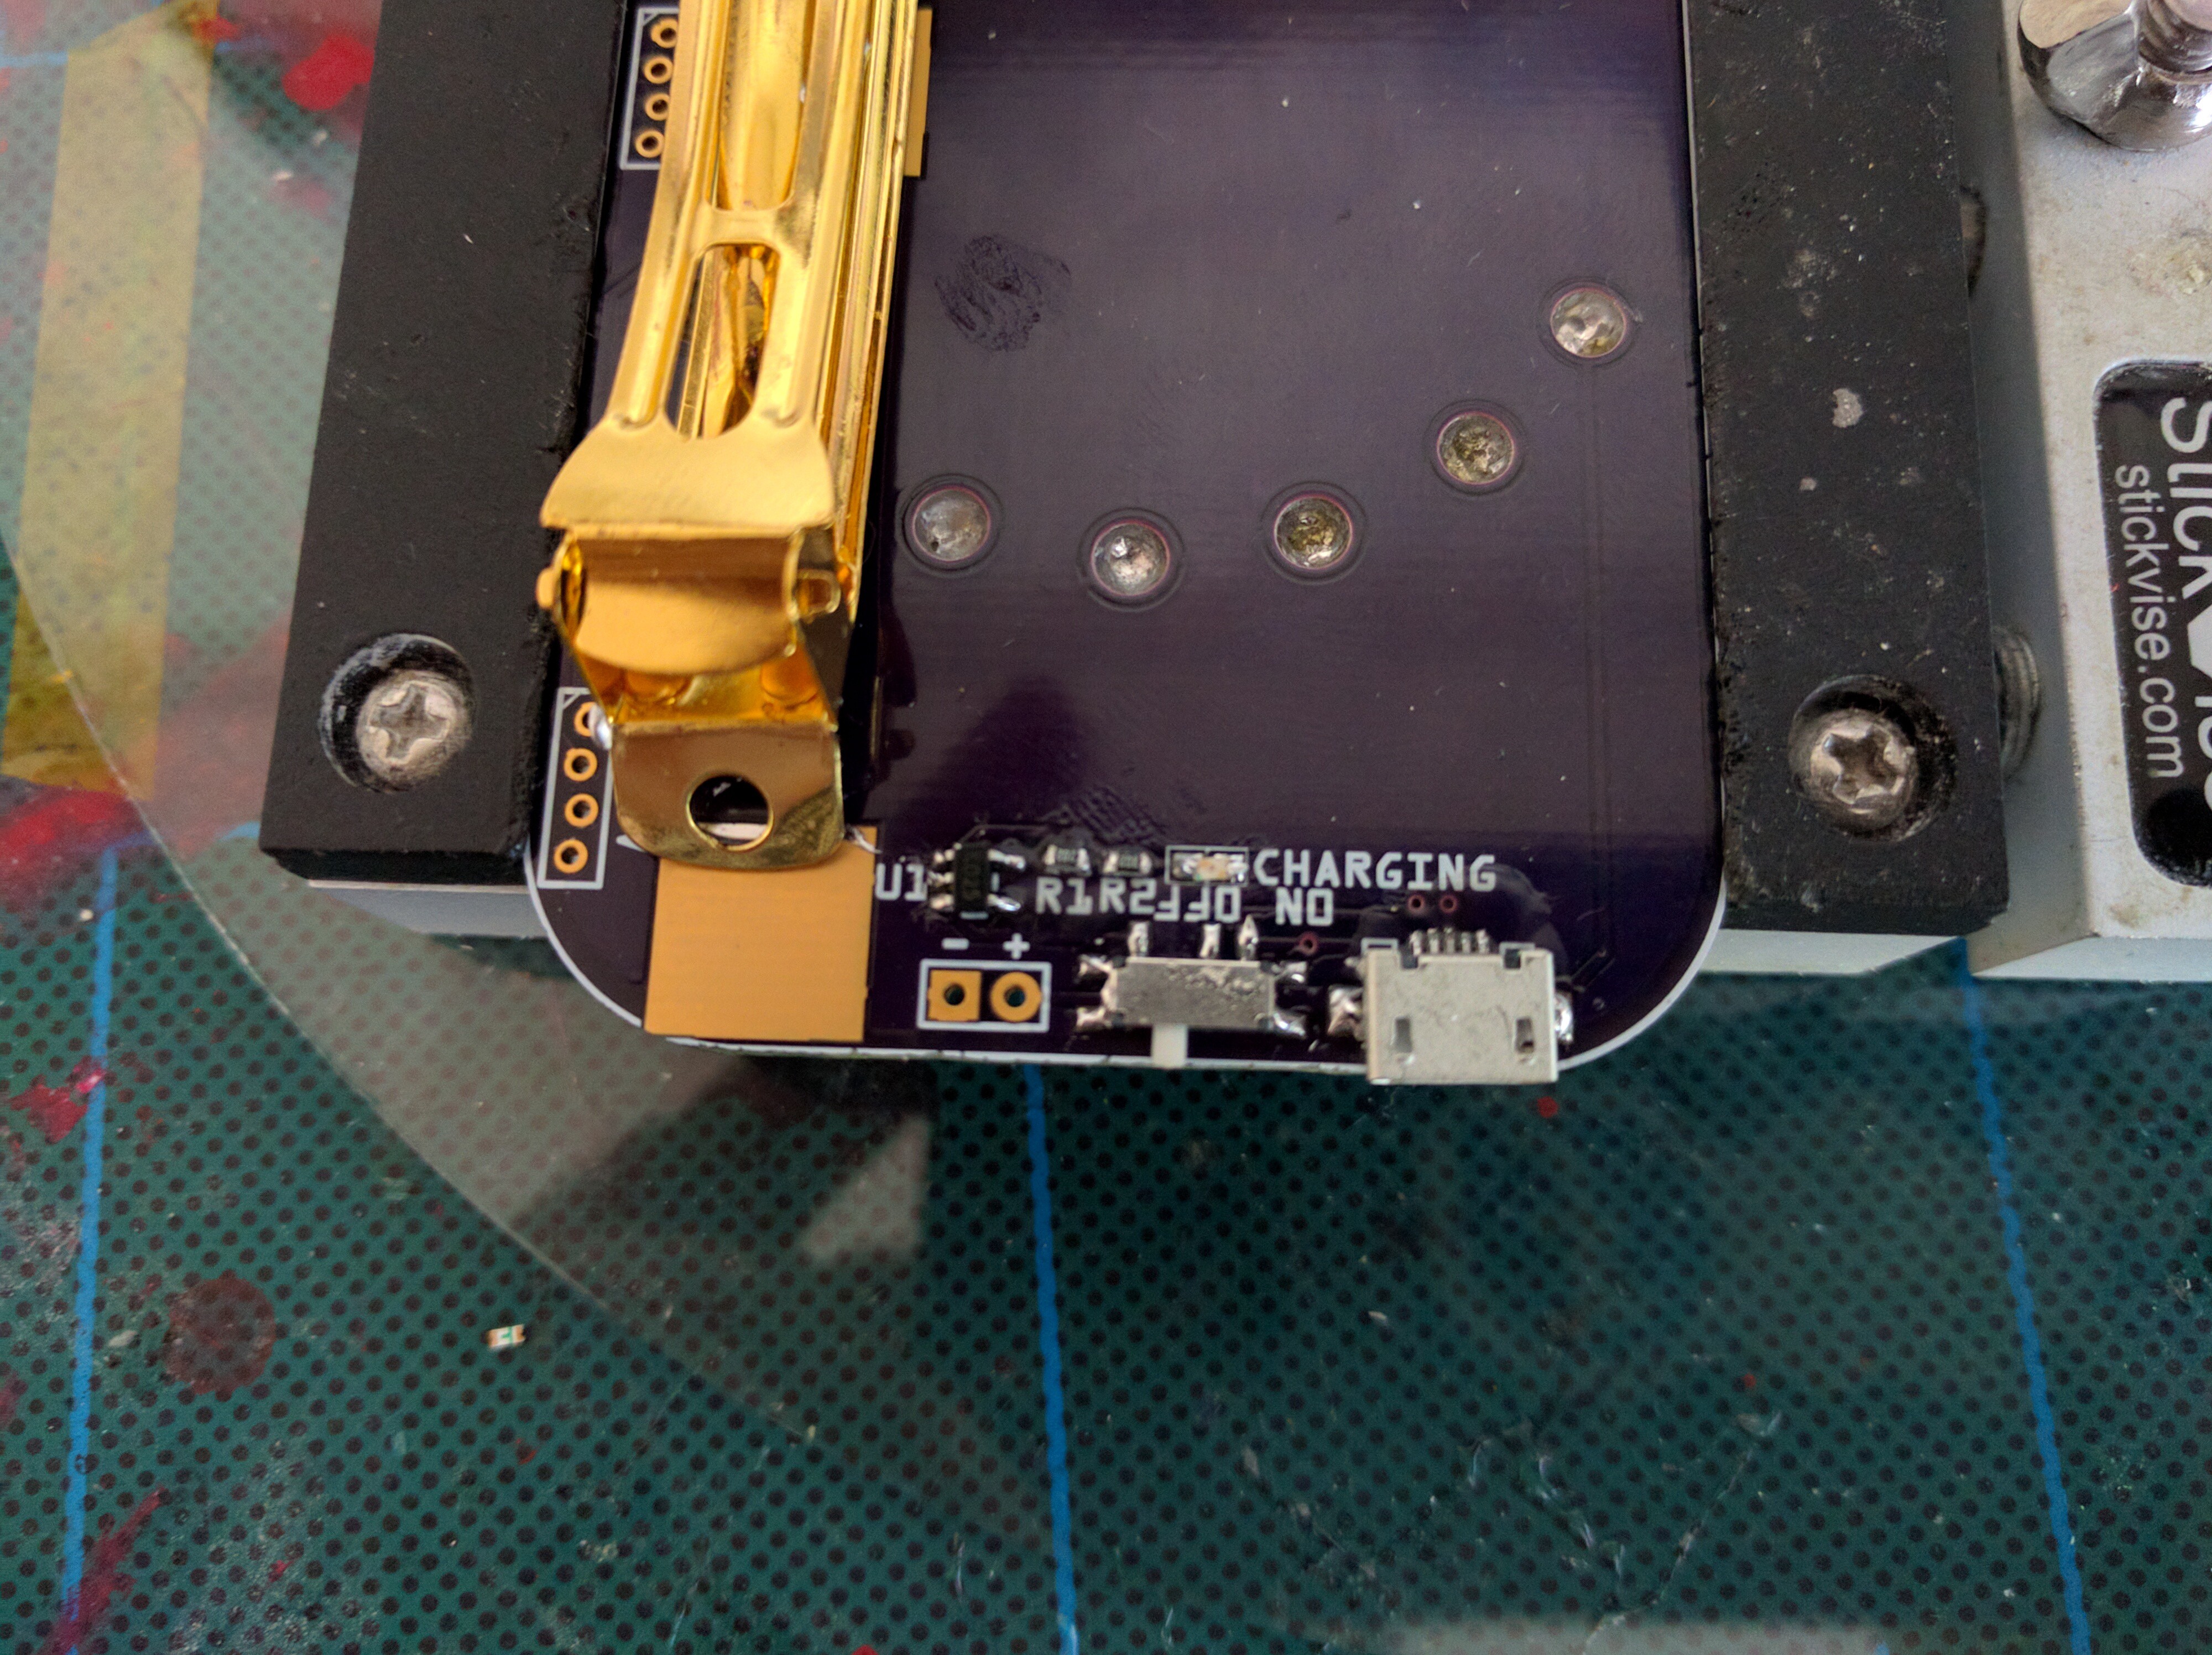
3Solder all remaining components
![]()
-
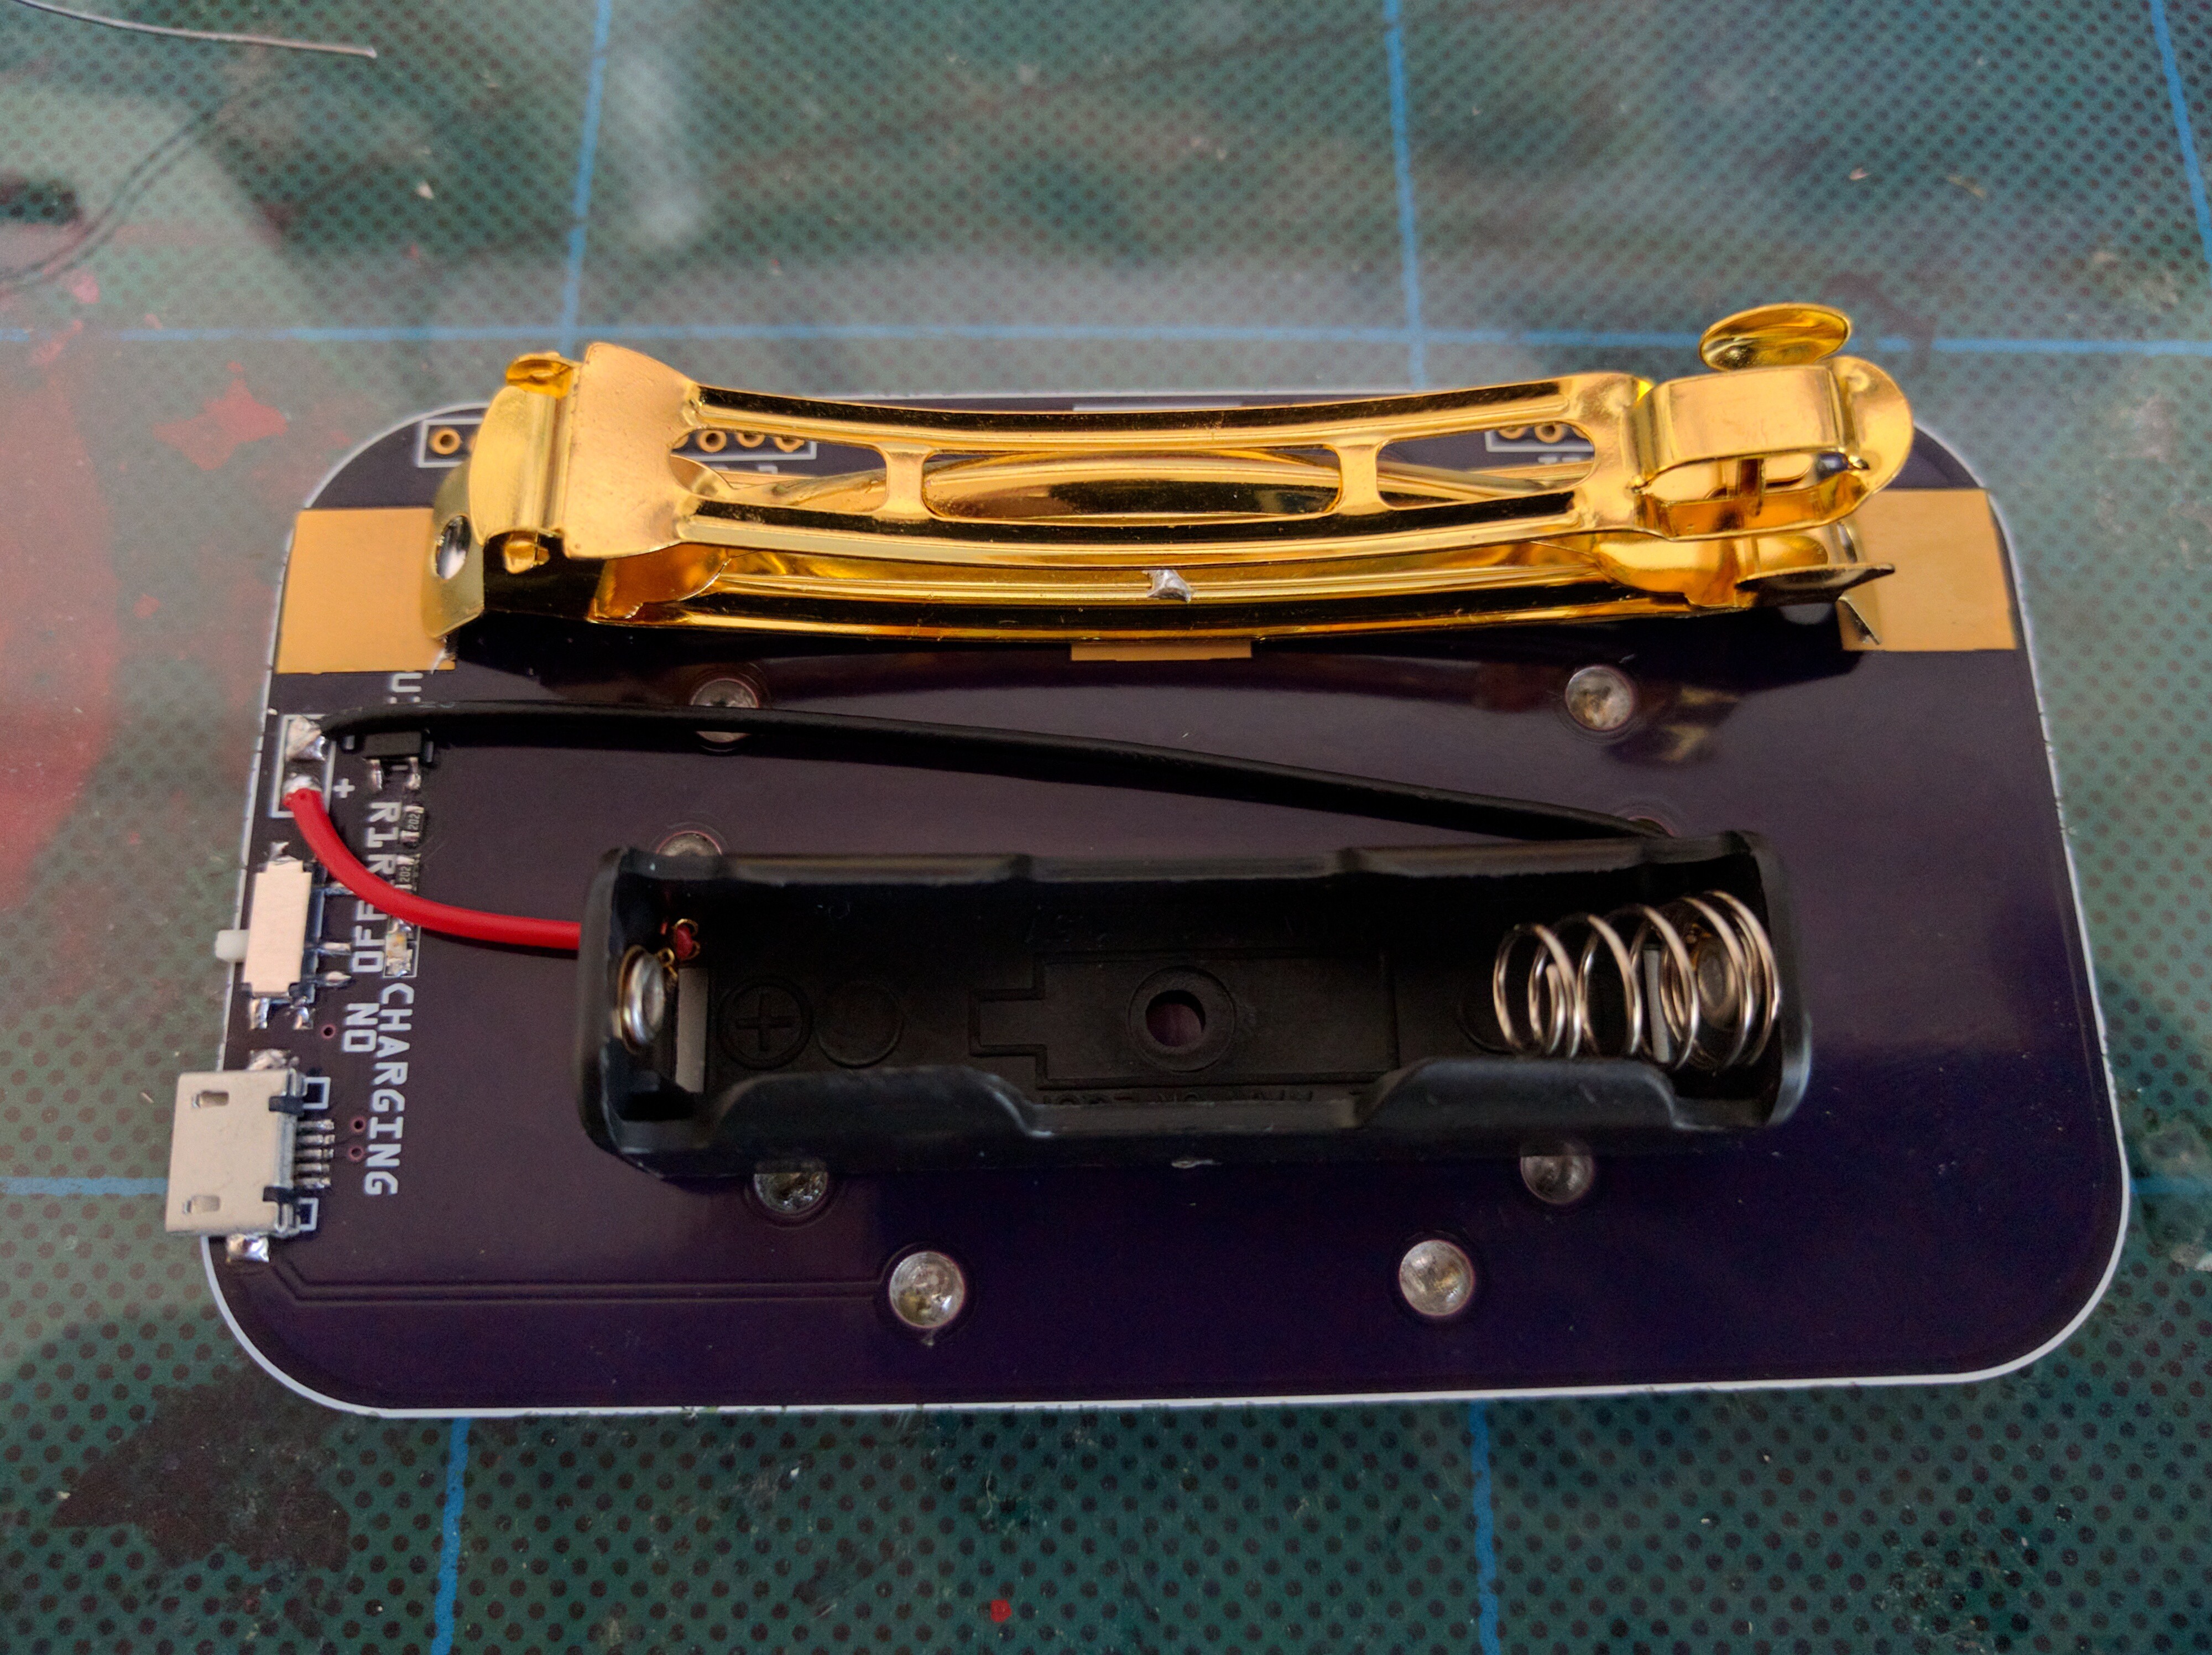
4Attach the battery
You can use either a battery holder, like I did in this case, or just a bag-like LiPo battery, depending on what you have available. In either case, attach it to the PCB with two-sided tape and solder the wires.
![]()
-
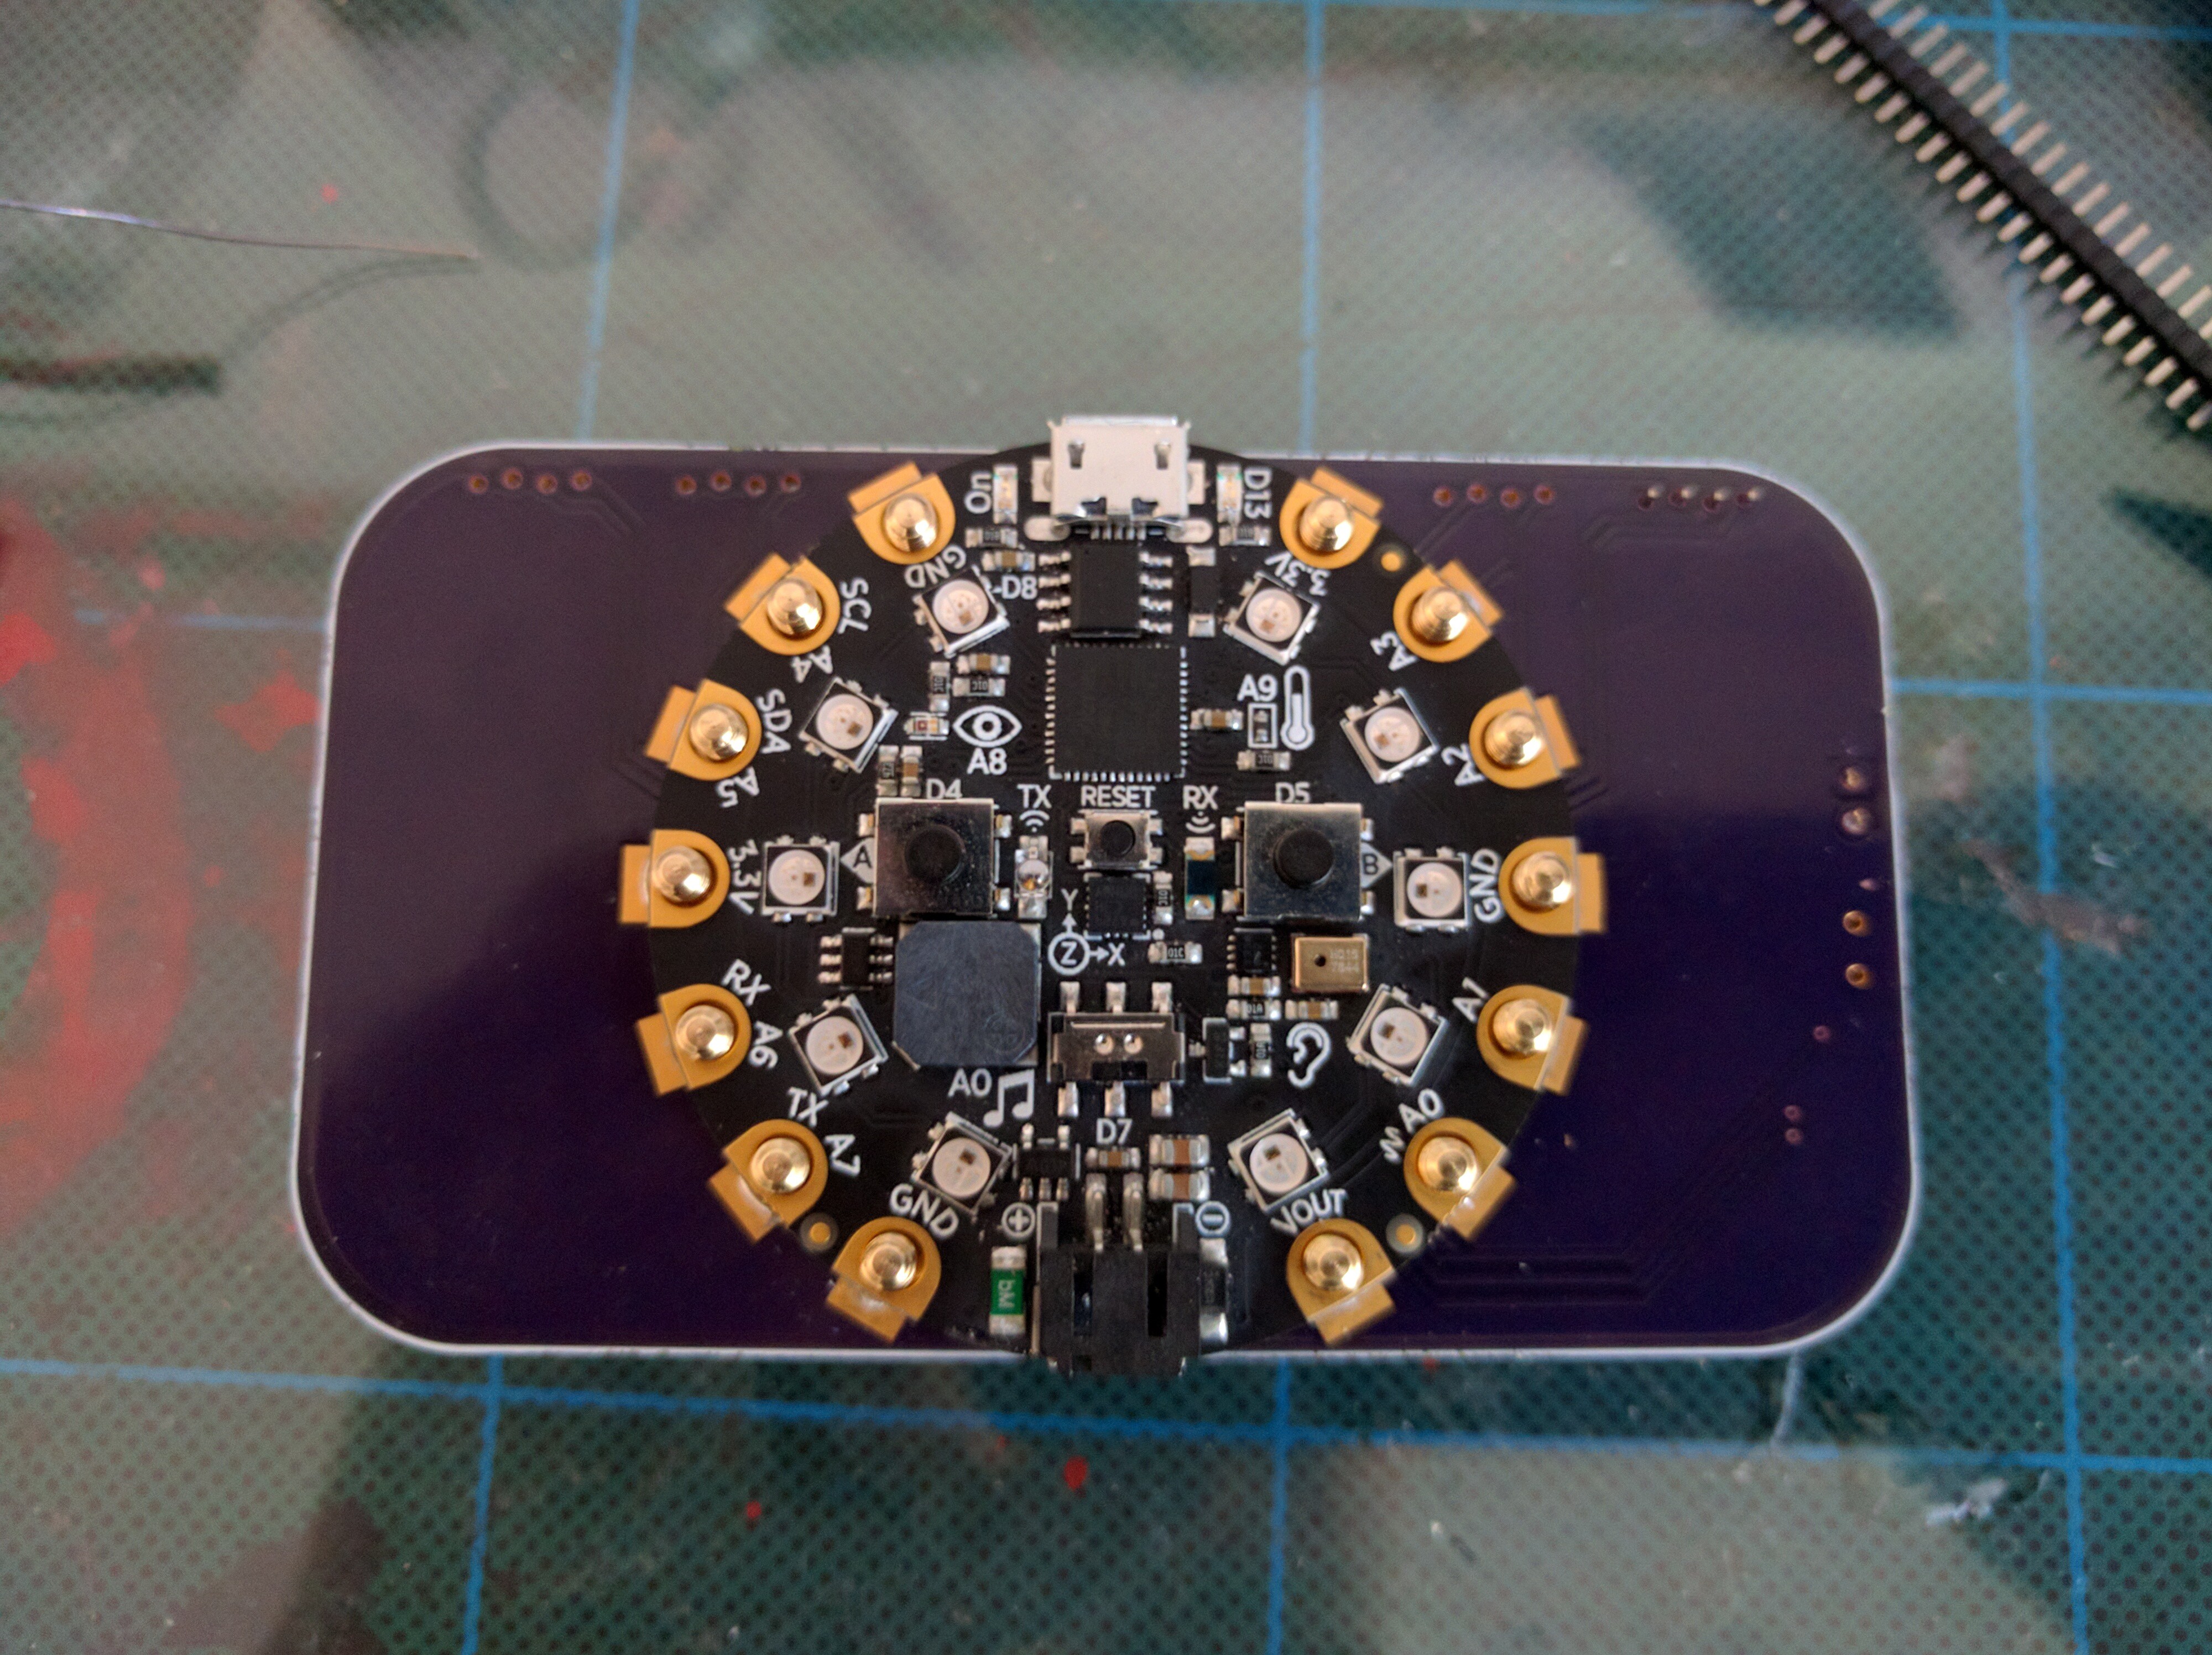
5Attach the Circuit Playground Express
Carefully insert the CPX onto the bolts. Make sure to move all sides at the same time, because otherwise it can get stuck — the fit is rather tight:
![]()
Then secure it in place with nuts:
![]()
Discussions
Become a Hackaday.io Member
Create an account to leave a comment. Already have an account? Log In.