When you've decided if you want a standard sized 3" or the Mini 2", you'll need to cut three things: the PVC body, the window frame, and the round window.
Tools I used: Chop saw, jigsaw, random orbit sander Materials needed: PVC Cement (and primer), plus all the PVC components
---------- more ----------
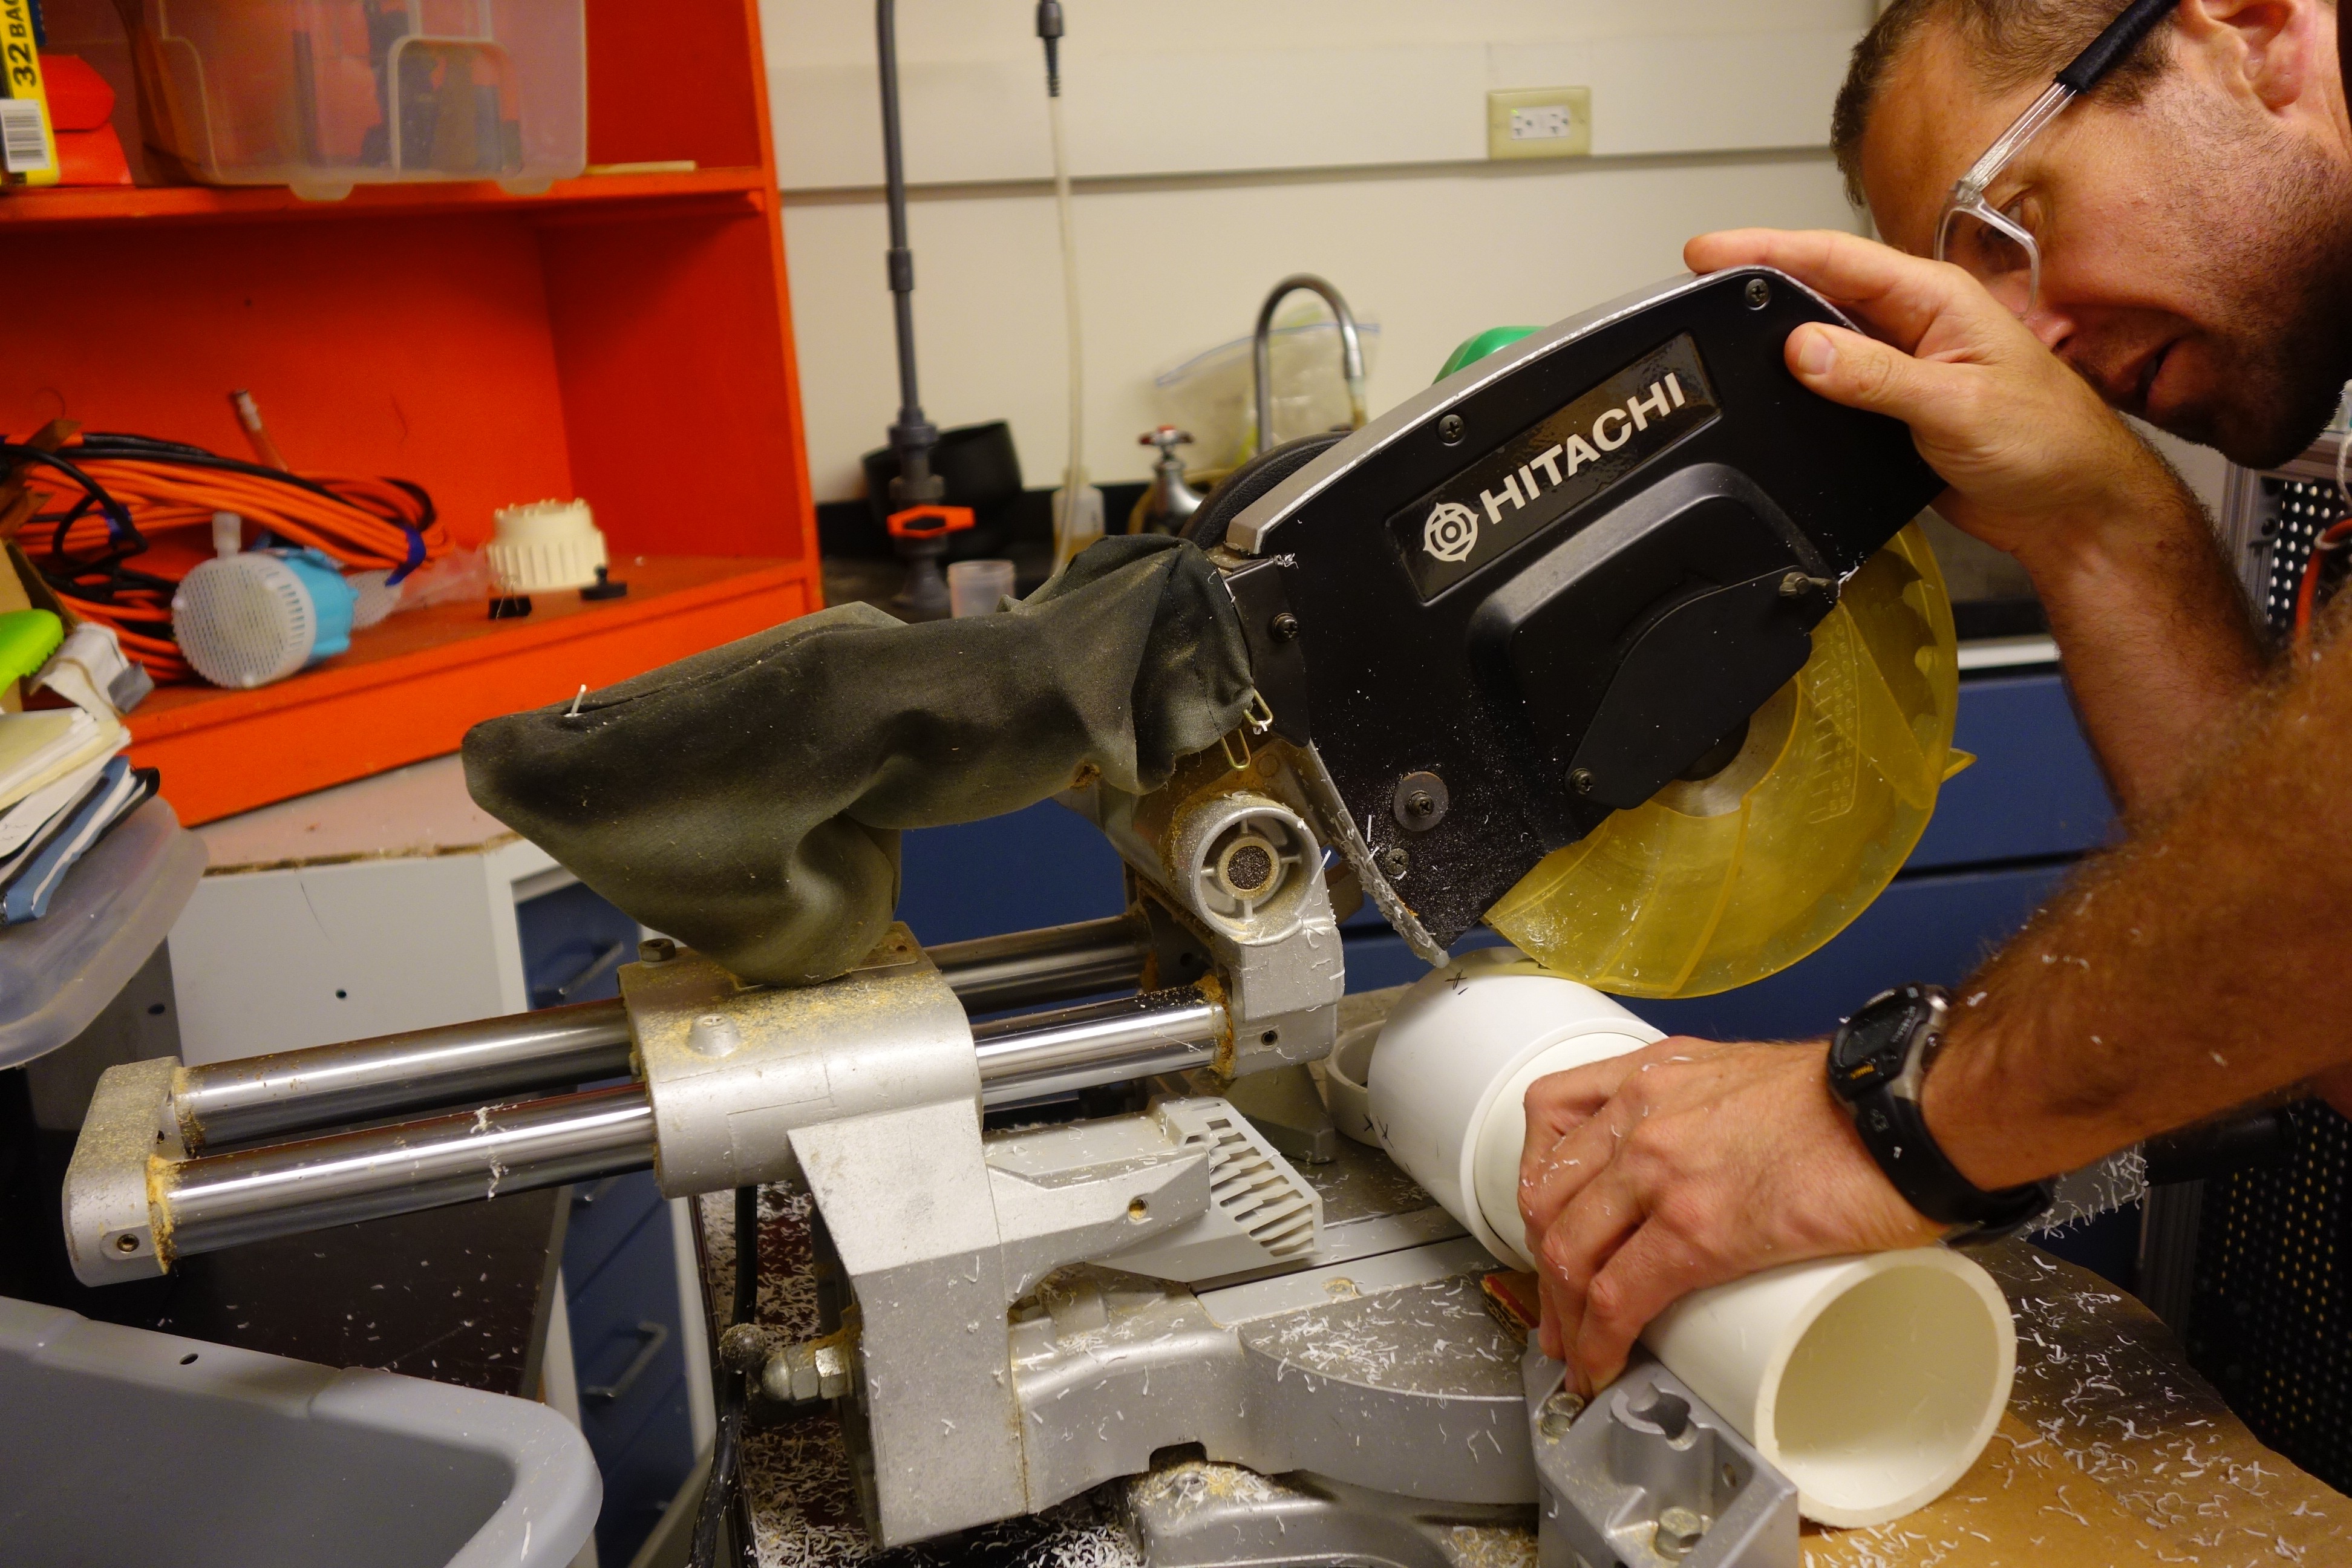
1.1 BODY Choose a length that your power bank/battery pack and sensor can fit in. I recommend choosing 6-9". I used a chop saw with a circular blade, but you can use any saw/cutter you have to cut the PVC.
Important: make sure one end is as flat as possible for best contact with window! Use a sander/sandpaper for this.
Image: Cutting extras of the coupling after the body is done.
1.2 WINDOW FRAME COUPLING Check the coupling, there should be a ledge in the middle on the inside. If one side is flat and the other is not, the flat side will be facing the window. The other side will be facing the open sea, so cut off the extra length until 0.5" (1.3cm) from the center ledge is left.
The extra 'frame' outside the window may come into the picture of your camera, especially if it has a wide viewing angle.
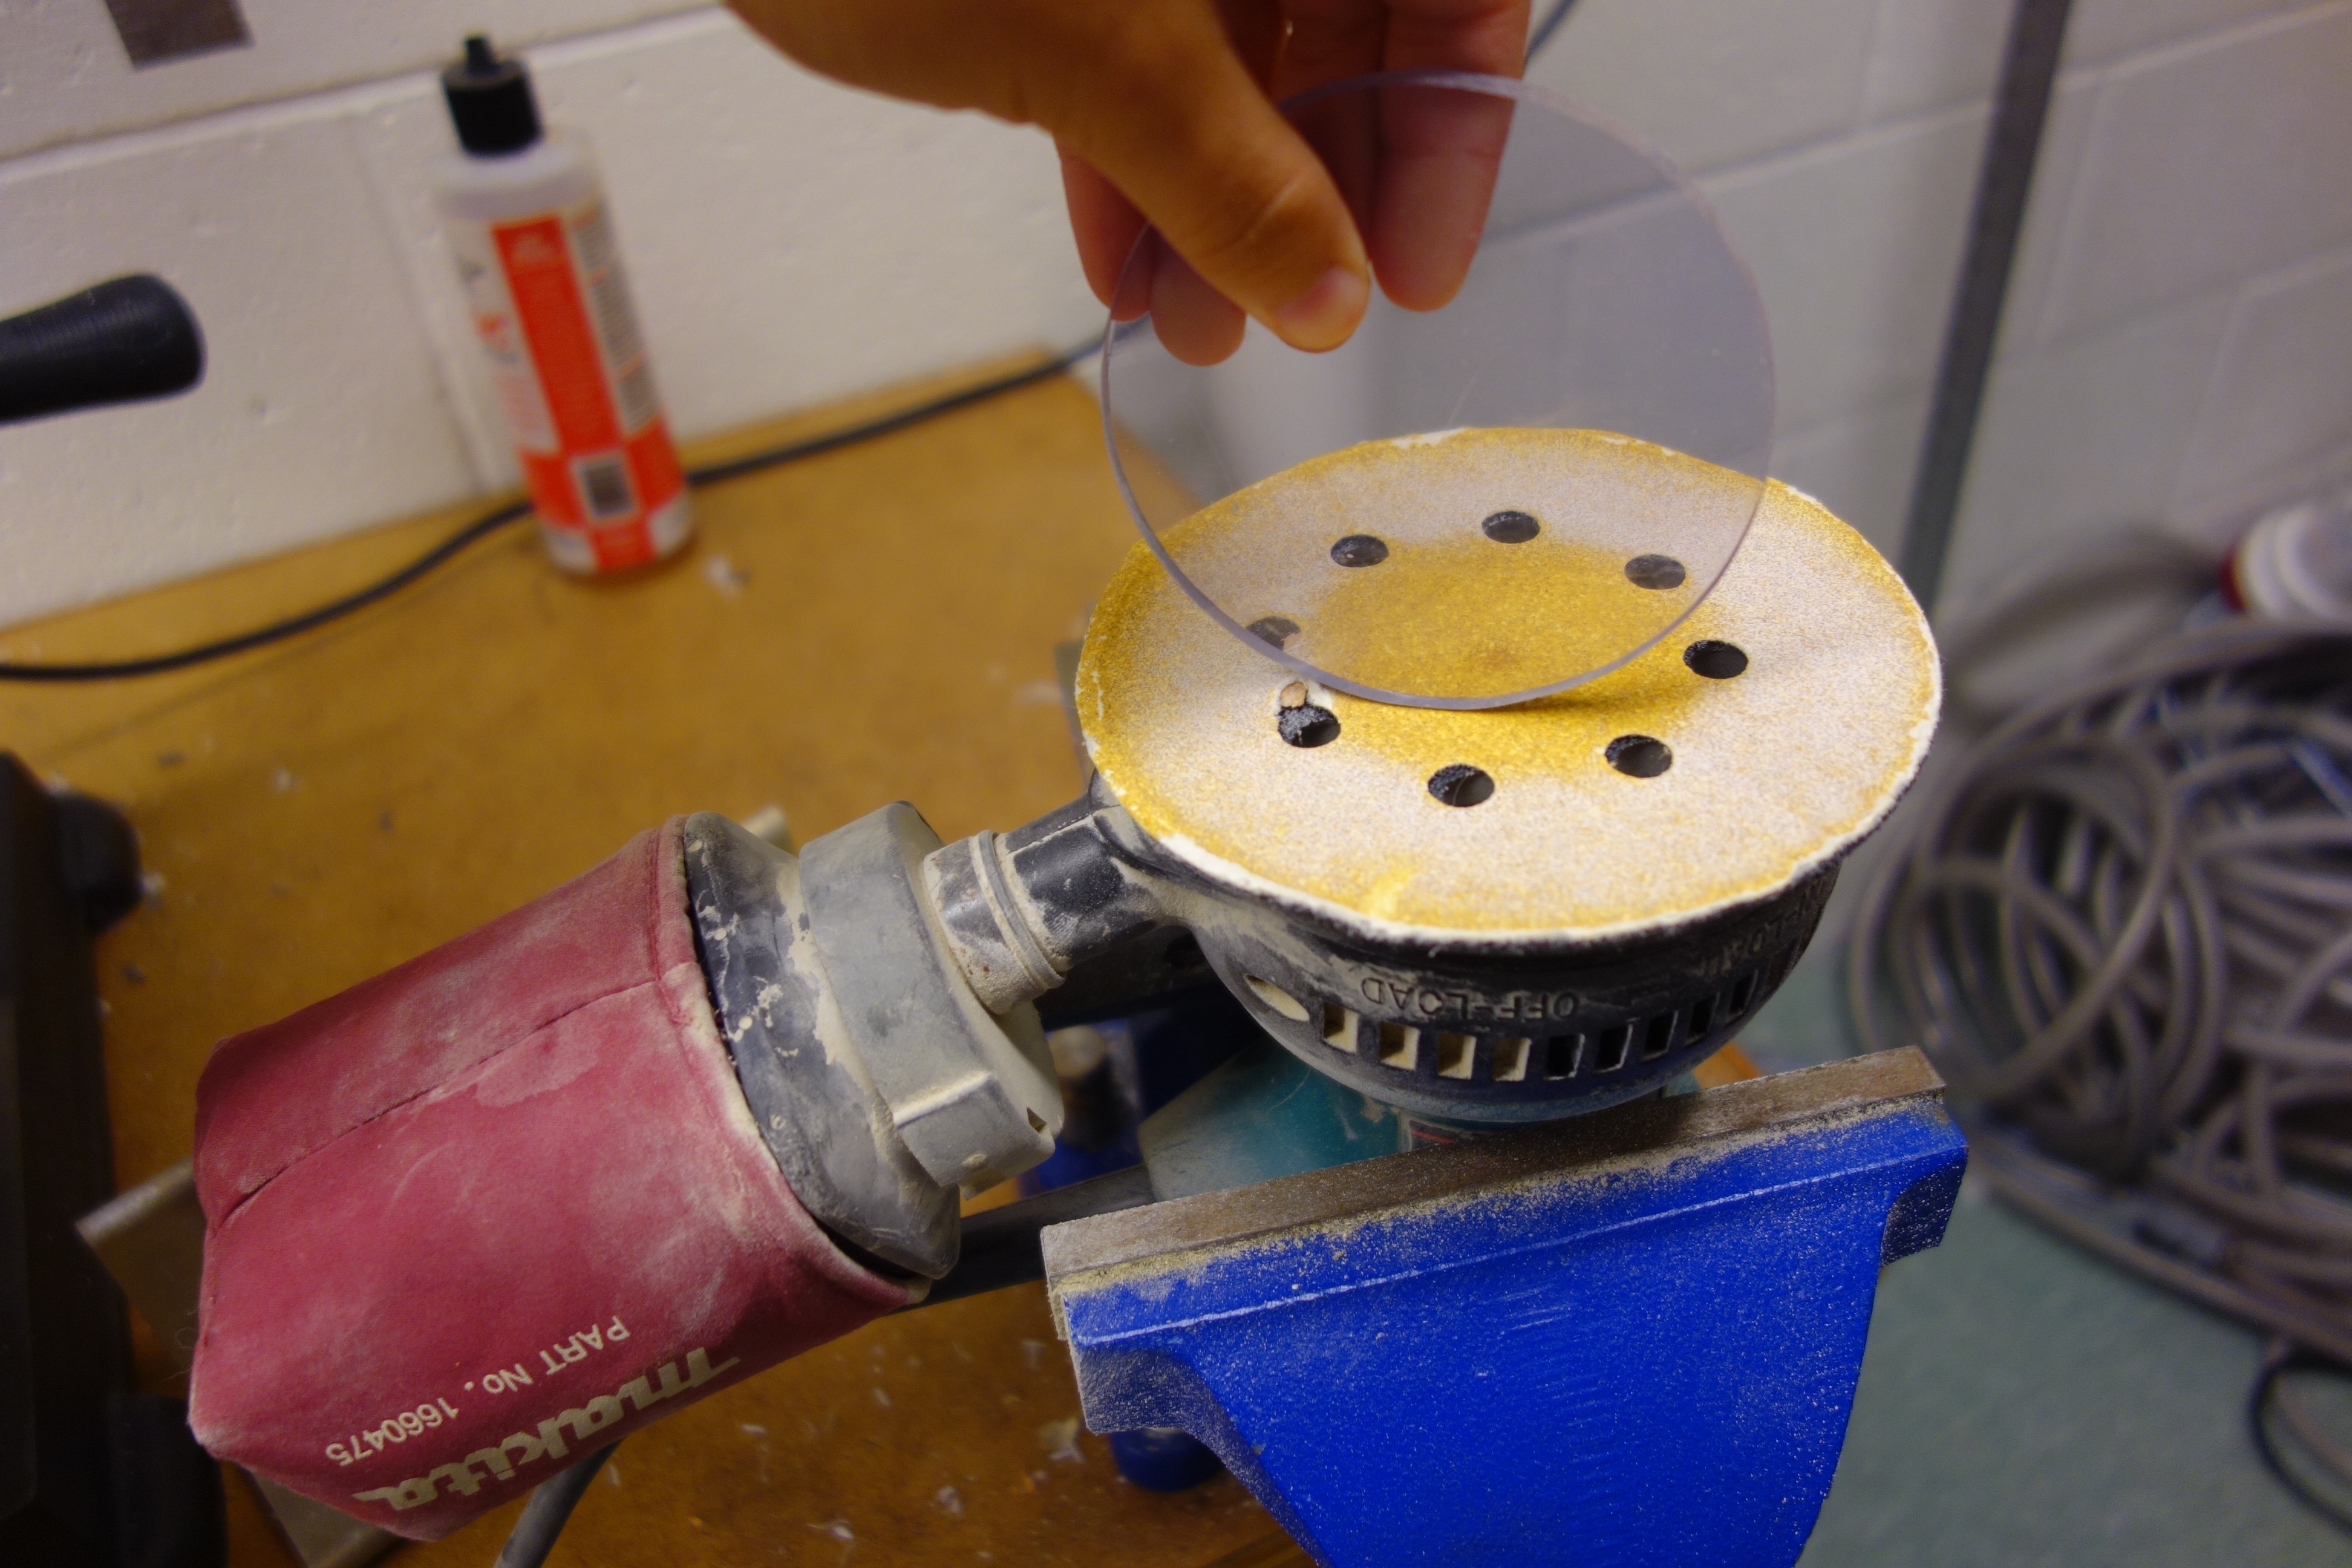
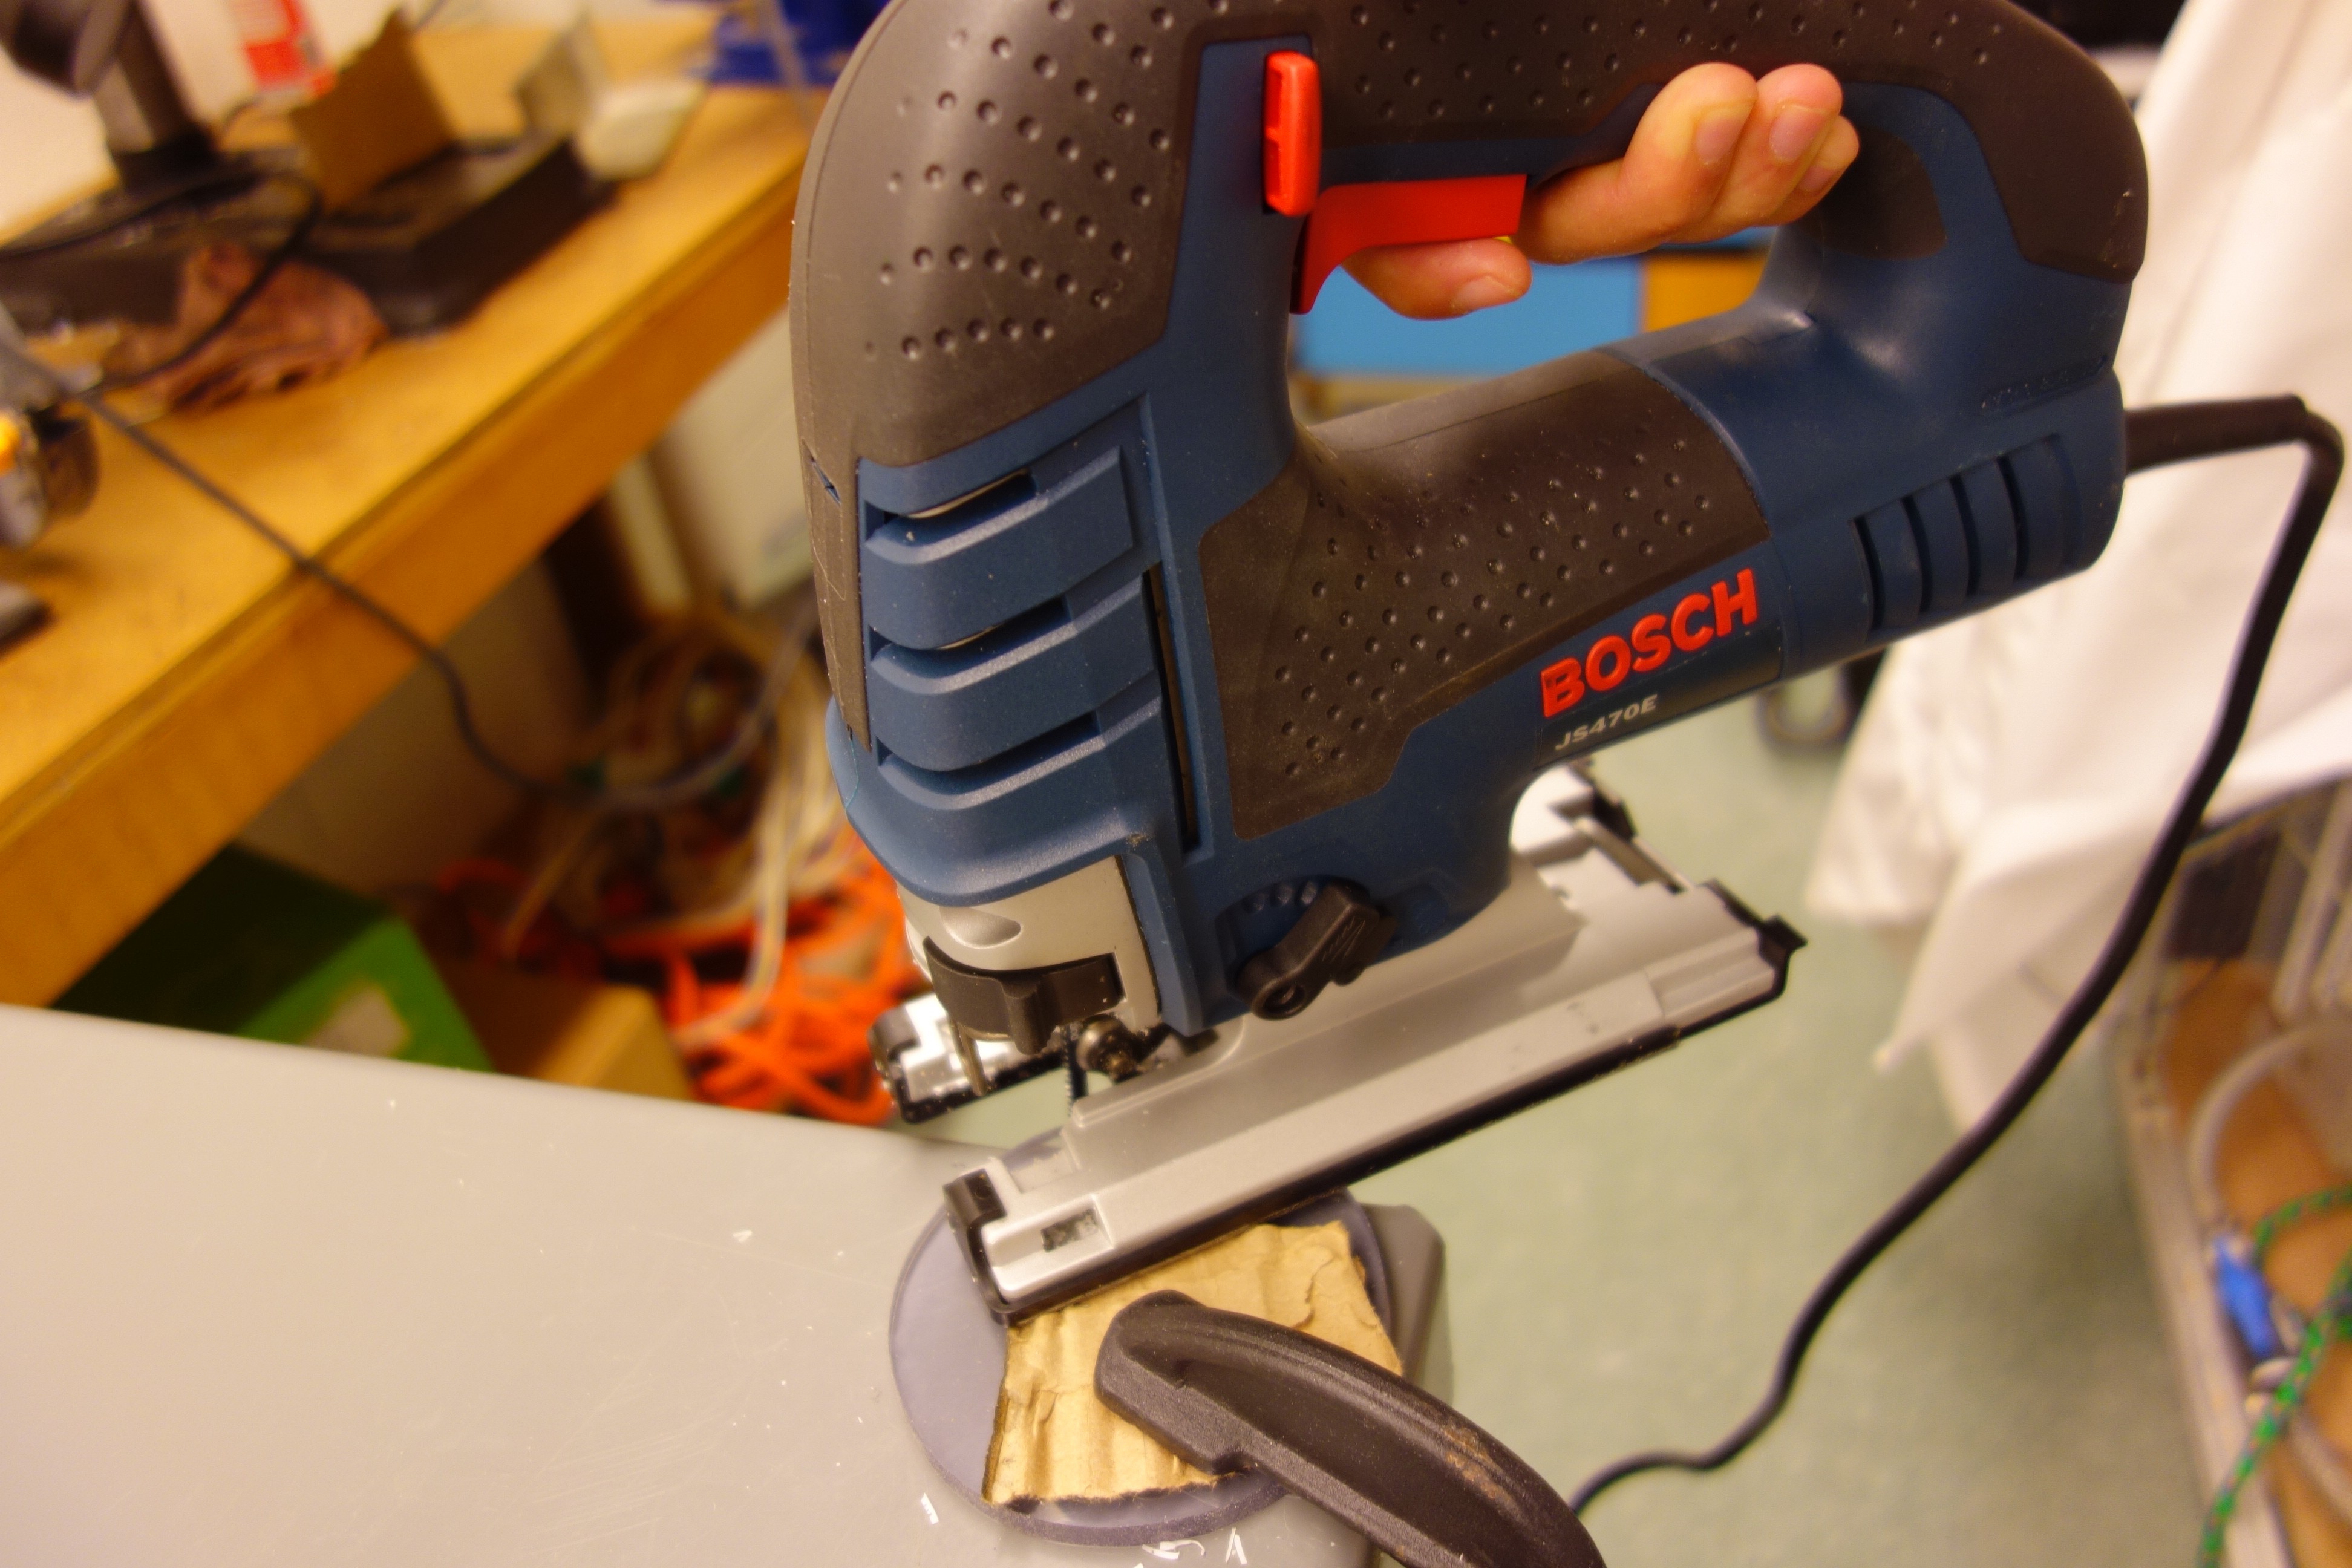
1.3 THE ROUND WINDOW This is the hardest, as you need to cut round lines with a jigsaw (unless you have a special saw). Place the body on the Acrylic/PVC sheet and trace a circle. Cut the circle with the jigsaw and use the sander to make it round.
o This takes the longest time to do well!
Important: As you sand off extra bits, keep checking how well the window matches the body and how well it fits the coupling frame. Test it by putting the body, window, and coupling together.
1.3 GLUE TIME Put PVC primer on ALL contact surfaces, then smear the PVC cement glue generously as well. Make sure there is lots of glue on the contact between the body and the window!
Important: Work fast, PVC cement dries fast. You might have to press the parts together REALLY HARD to get the window and body all the way into the coupling.
1.4 LEAK TEST
After an overnight or 1-2 days (depending on what glue you use and how much you smeared on),stick some dry tissues in the housing, tie a rope and some weights to your housing unit and drop it into the water! Try various depths so that you can tell where and when it leaks. Some leaks are slow, so it's good to leave it in the water a couple of hours or overnight.
2
Setup Raspberry Pi Core
Install OS on Raspberry PI and make sure you can connect to it over Wifi.
 Ellie T
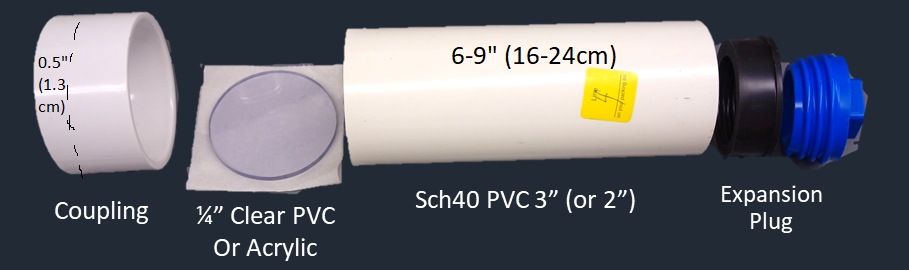
Discussions
Become a Hackaday.io Member
Create an account to leave a comment. Already have an account? Log In.