 Matt Bradshaw
-
11Install threaded inserts
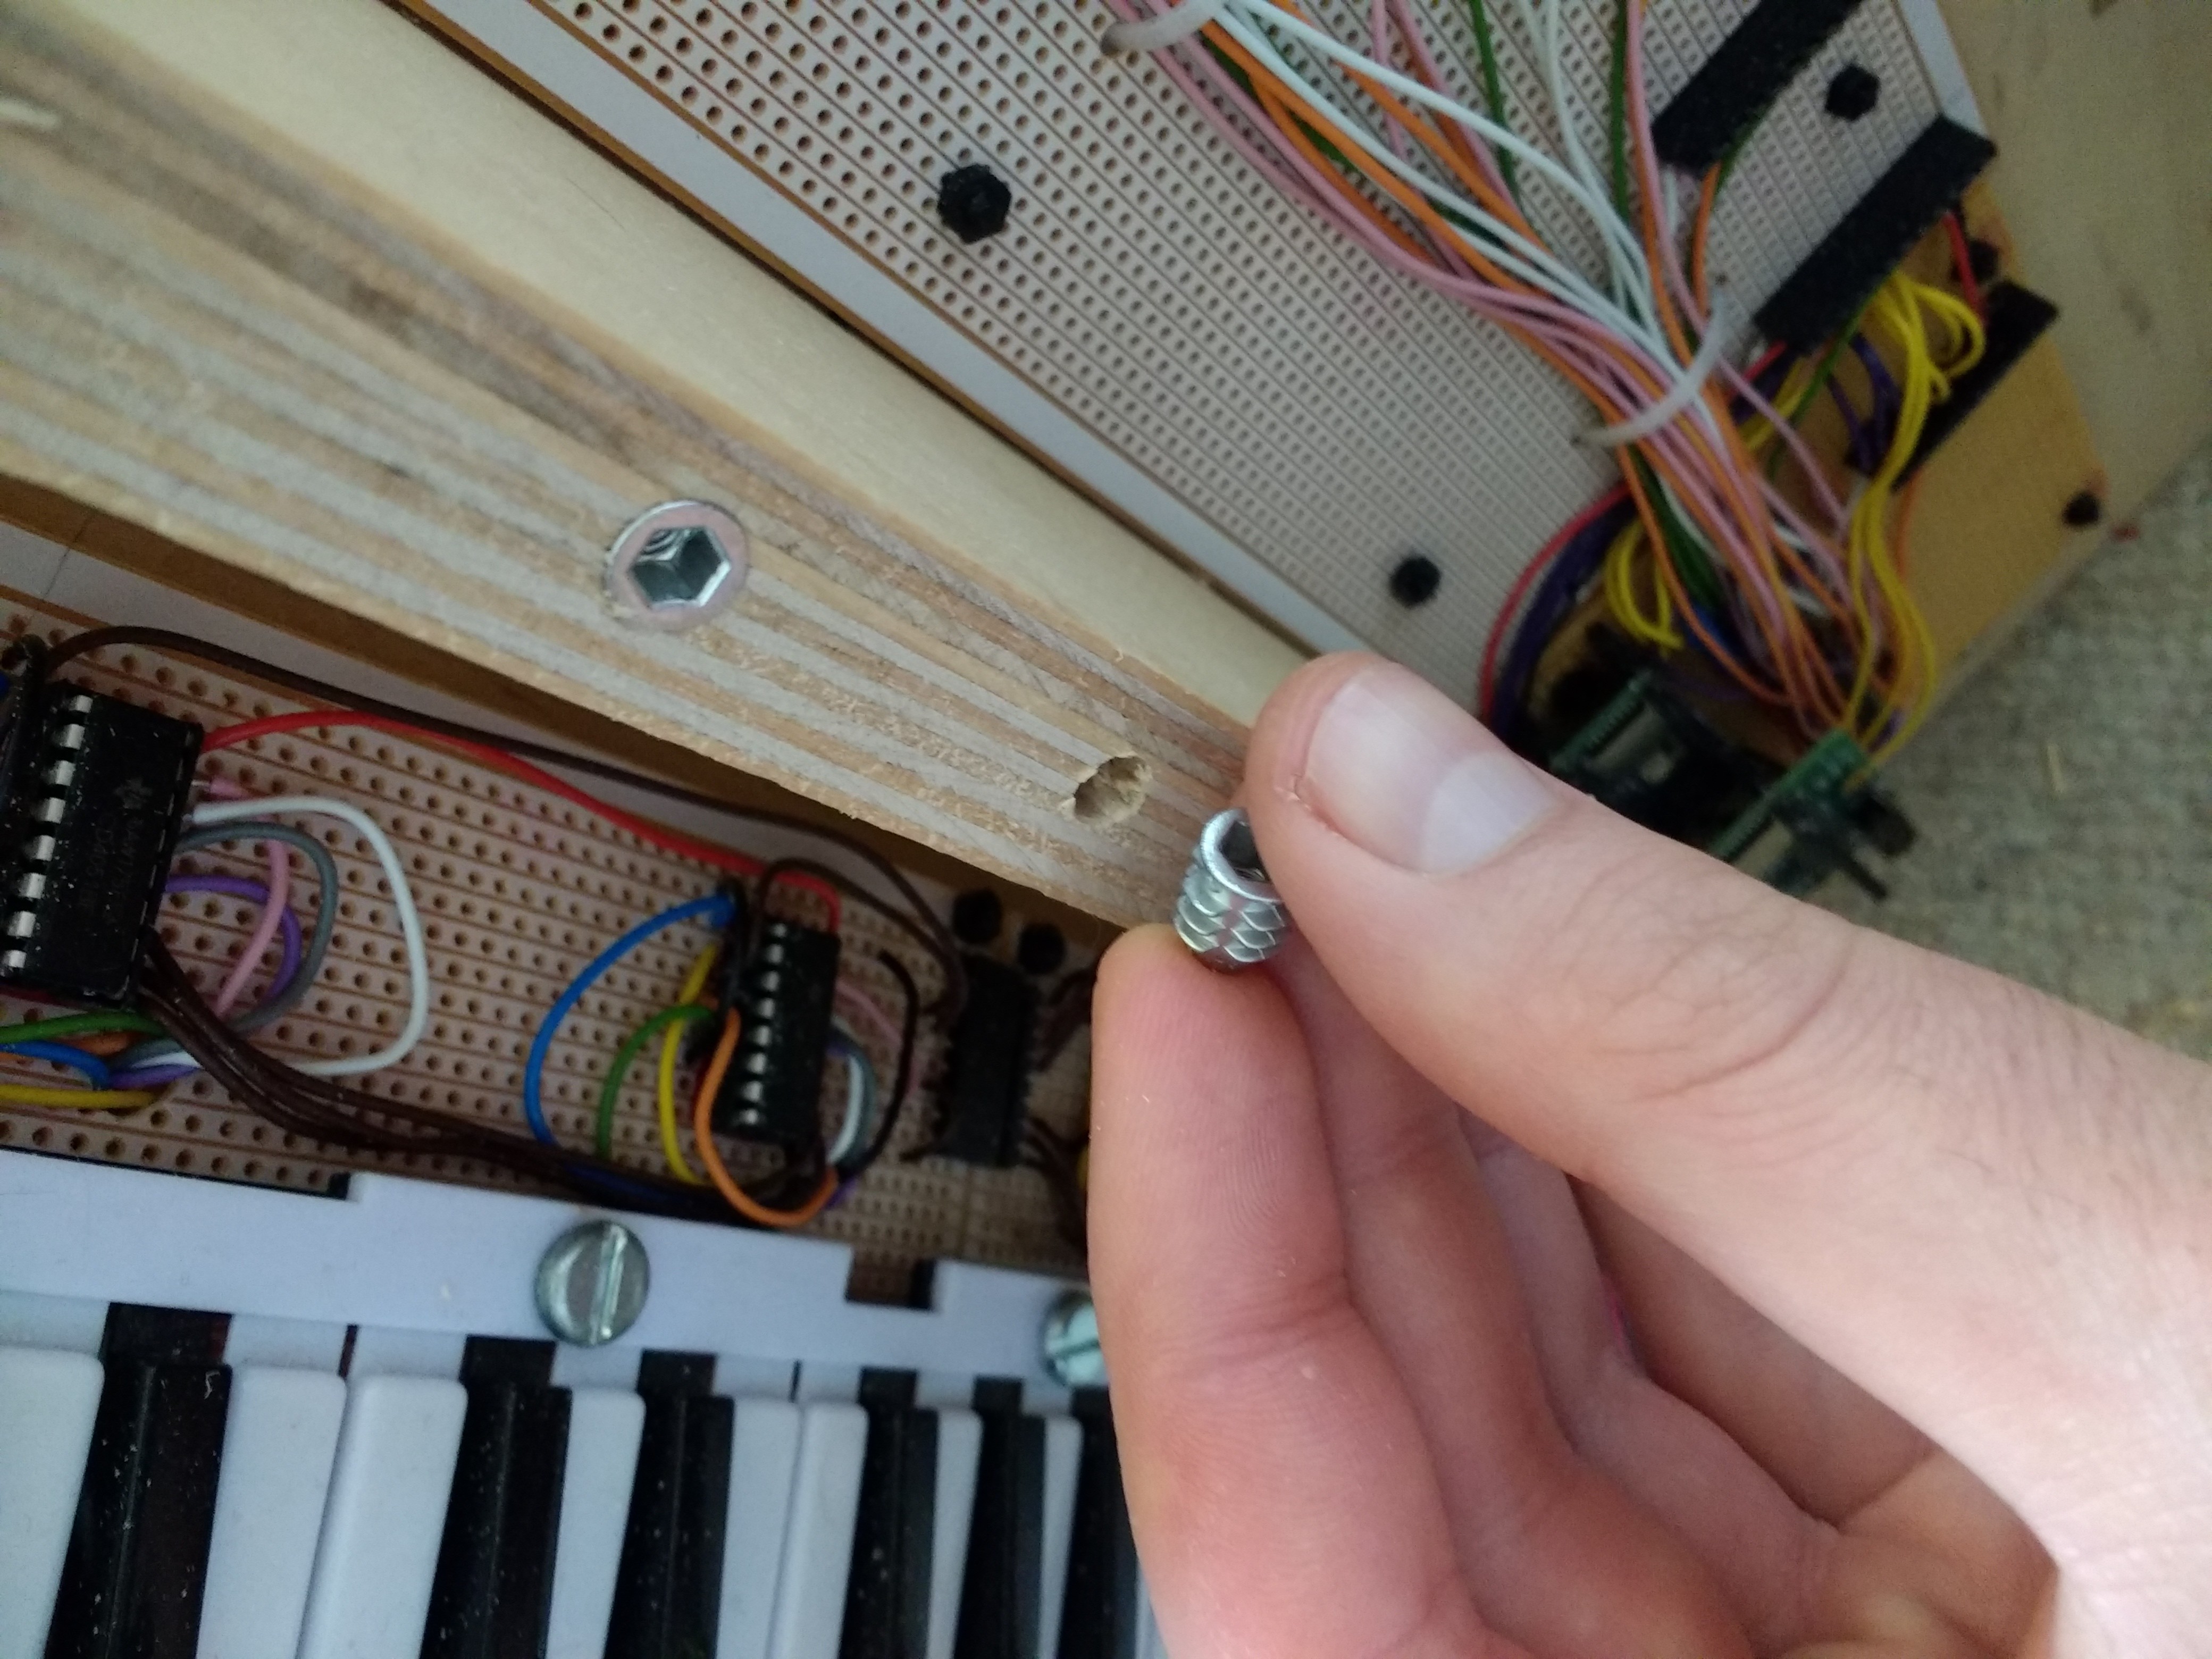
One of the final, fiddly jobs on this build is to add the threaded inserts, which will act as a thread for the thumb screws to engage with. These are spaced at 38.1mm intervals (this very specific number is because the modules are 15 stripboard holes apart). If you are not accurate with your drilling, the modules will not sit nicely alongside each other.
Threaded inserts require a pilot hole, and are installed using a hex key. Here's a photo of me installing them in my synth:
![]()
-
12Finish the modules
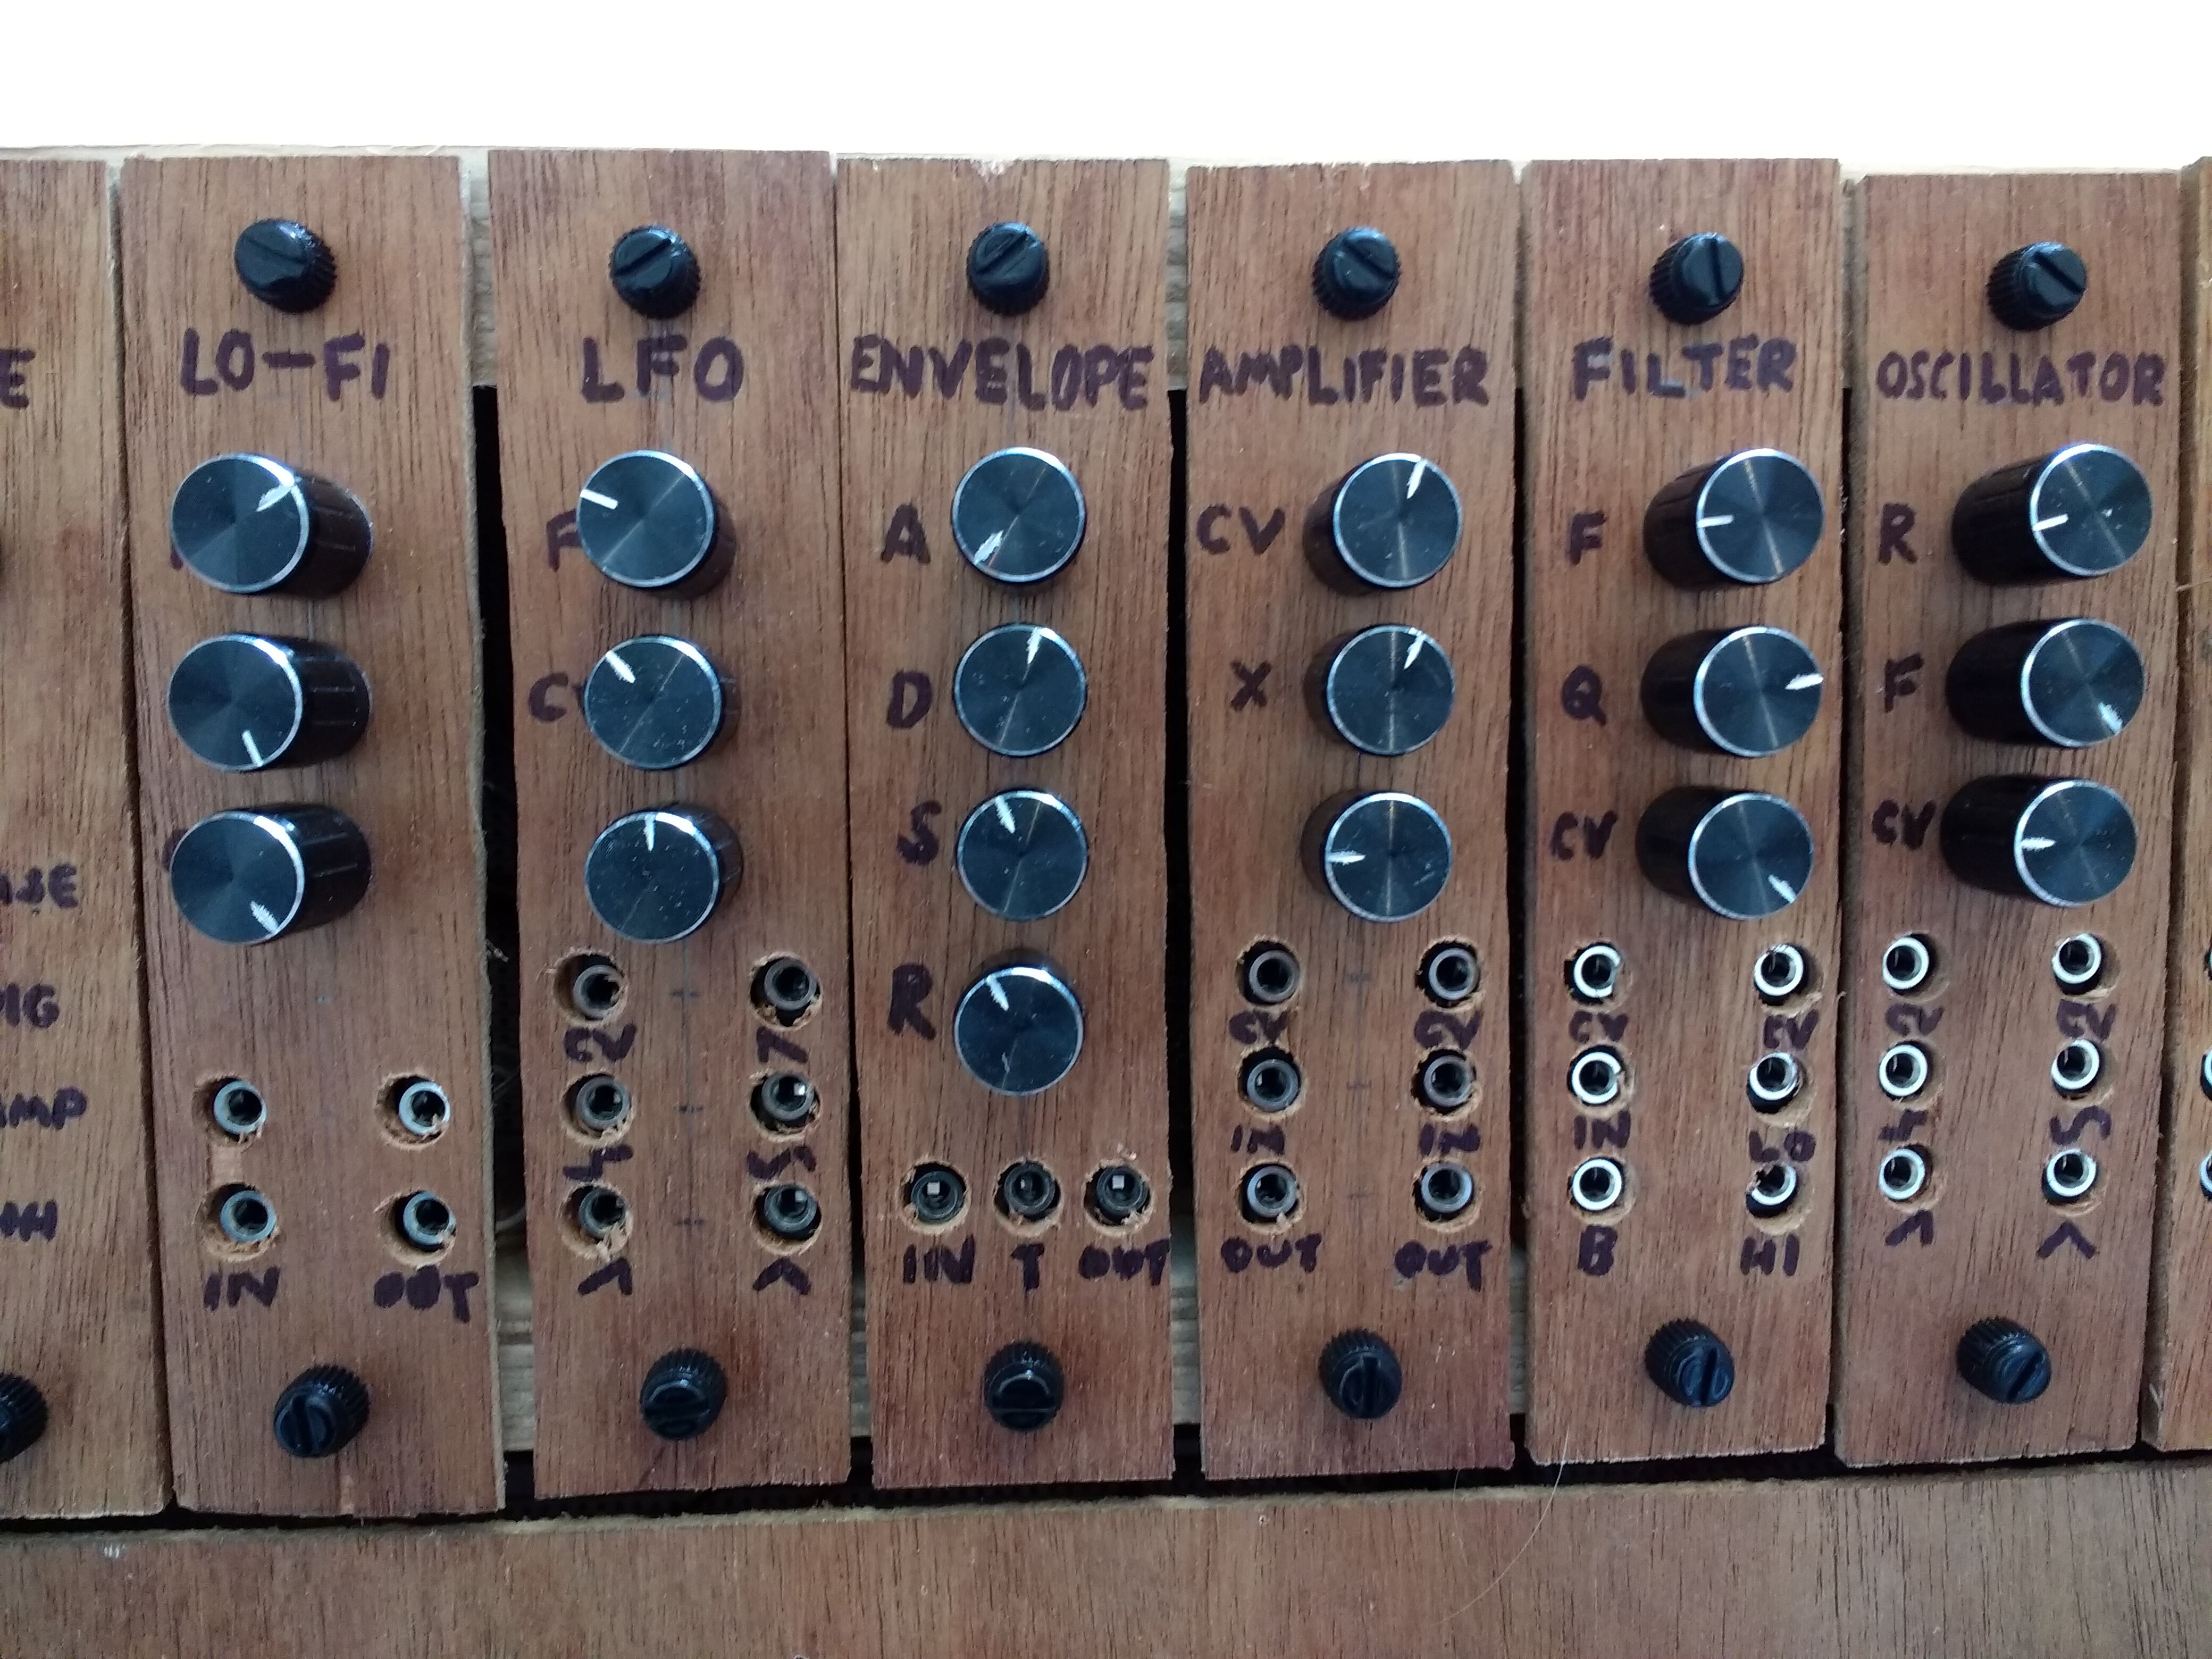
Each module needs a face plate, which should measure around 150mm by (max) 38mm, although you may want to make slightly narrower modules (e.g. 35mm) to make sure there's a bit of wiggle room between them.
Once you've cut your blank face plates, you will need to drill holes for the sockets and potentiometers. The placement of these holes will be different for each module. You will also need mounting holes at the top and bottom of the module, for the thumb screws - make sure these align precisely with you threaded inserts, or you'll have trouble mounting your modules in the case.
The master module on the right hand side of the synth is a triple-width module which also features a toggle switch and two LEDs. Here's how to wire these up:
- Solder a wire to each of the toggle switch's two terminals. Connect one wire to ground and the other to pin 8 of the Teensy.
- Solder a wire to the short leg of both LEDs and connect them to ground.
- Solder a wire to the long leg of both LEDs. The green LED should be connected to 3.3V via an appropriate resistor. The red LED should be connected to pin 5 of the Teensy, also via a resistor. The red LED will flash if there is a bad patch connection detected while playing the synth (input to input or output to output).
Secure the potentiometers using their included nuts and washers, and push the knobs onto the shafts. Label each socket and knob however you like. I used a felt-tip pen.
![]()
-
13Play your synth!
If you've got this far, you may have somehow built a synthesizer. Well done! Alternatively, if you're stuck or need more details, just drop me a message :)
PolyMod: modular digital synthesizer
A customisable digital synthesizer. Works like an analogue modular synthesizer but cheaper, and with the ability to play many notes at once.
Discussions
Become a Hackaday.io Member
Create an account to leave a comment. Already have an account? Log In.