Close
0%
0%

Pyxel Paradise

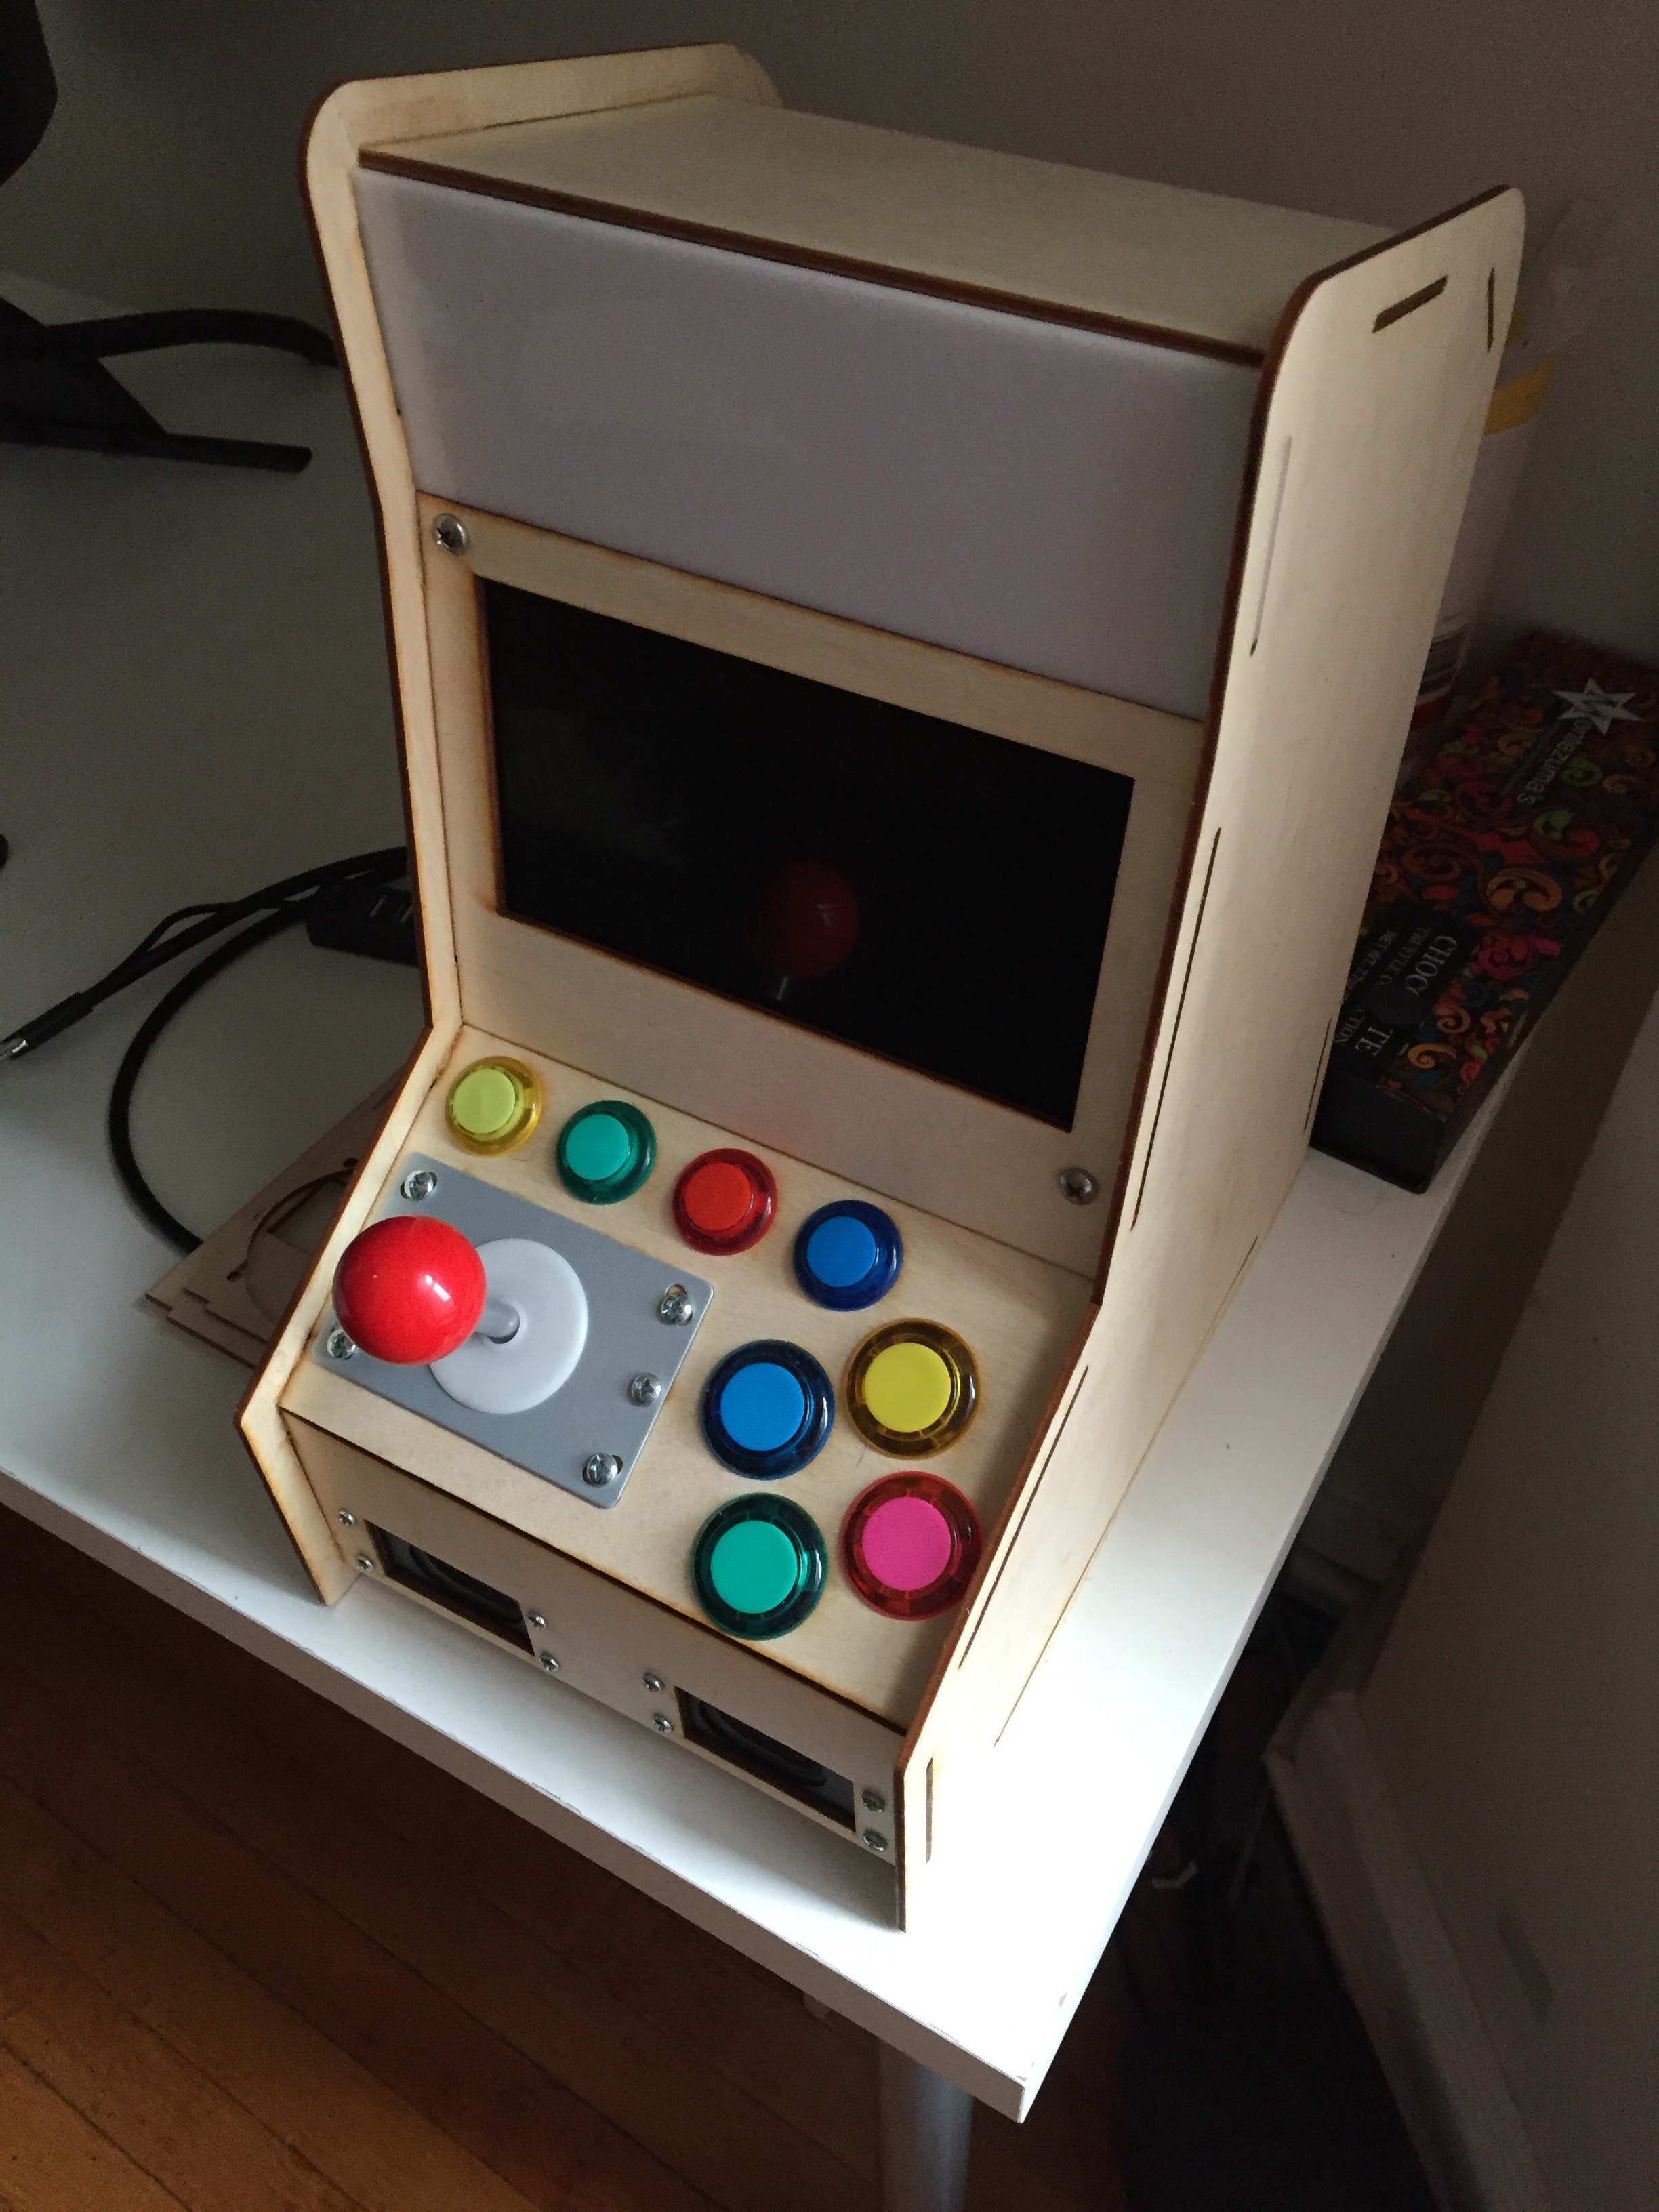
A DIY mini arcade cabinet that can run games built using Pyxel (https://github.com/kitao/pyxel) on the Raspberry Pi.

Public Chat
Similar projects worth following
When I first saw pixel I was mesmerized by the simplicity and potential of the entire framework, I could imagine kids and adults making retro games and remixes of popular games they grew up with. I also thought it'd be cool to allow people to make small games and allow them to play them on an arcade cabinet. While I know that there are many standards and an active arcade communities out there. As someone who grew up without access to arcade games, I figured that I would make my own remixed version of an arcade cabinet that can run these remixes games.

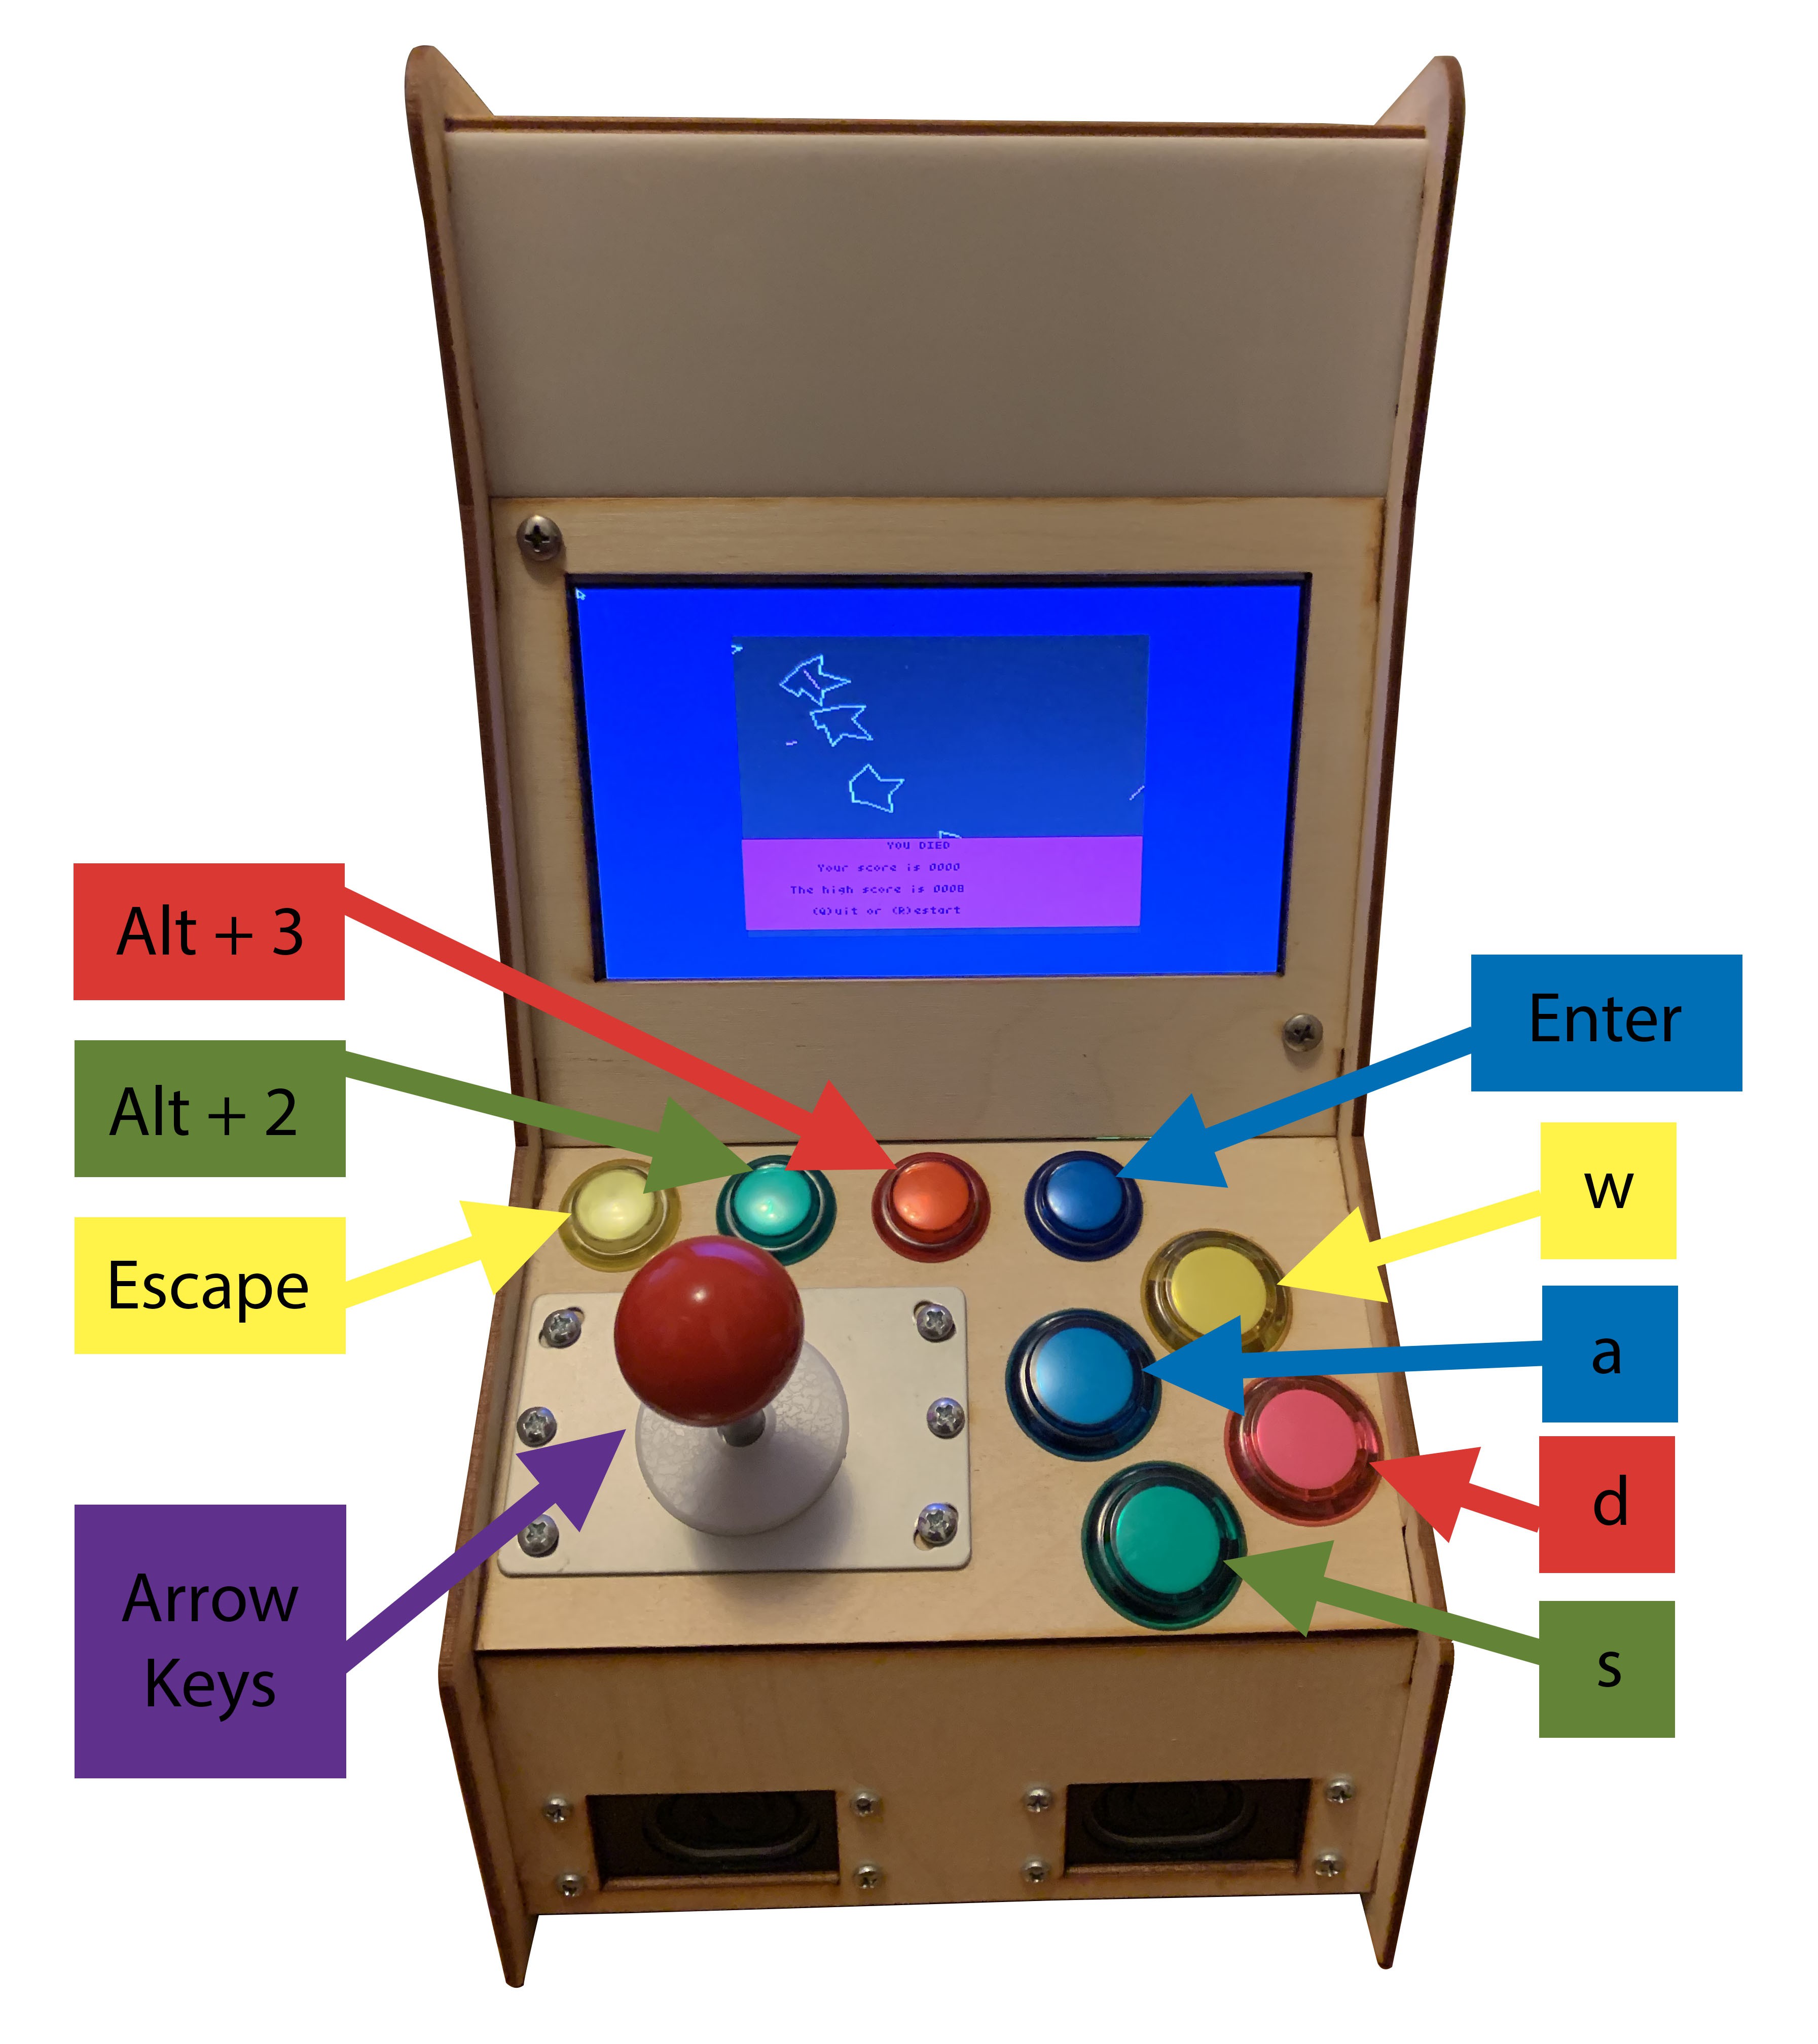
Keyboard Map

Action Arduino Keyboard
Joystick North 2 Up Arrow
Joystick East 5 Right Arrow
Joystick South 3 Down Arrow
Joystick West 4 Left Arrow
Meta-Button-1 15 Esc
Meta-Button-2 14 Alt + 1
Meta-Button-3 16 Alt +3
Meta-Button-4 10 Enter
ARCADE-BUTTON-UP 6
w
ARCADE-BUTTON-LEFT 7
a
ARCADE-BUTTON-RIGHT 8
d
ARCADE-BUTTON-DOWN 9 s

Assembly v29.step

step - 368.75 kB - 04/29/2019 at 13:34

Download

Assembly.f3z

Full Fusion 360 Assembly of the Latest version

f3z - 1.04 MB - 02/06/2019 at 17:27

Download

View all 23 components

  • Pyxel-Paradise Launcher Demo

    rkrishnasanka09/02/2019 at 20:21 0 comments

    So after mucking around a little in pyxel and having a chat with the creator, I decided to just make a very simple selection list on python/pyxel.  

  • GamePad PCB working

    rkrishnasanka08/28/2019 at 04:37 0 comments

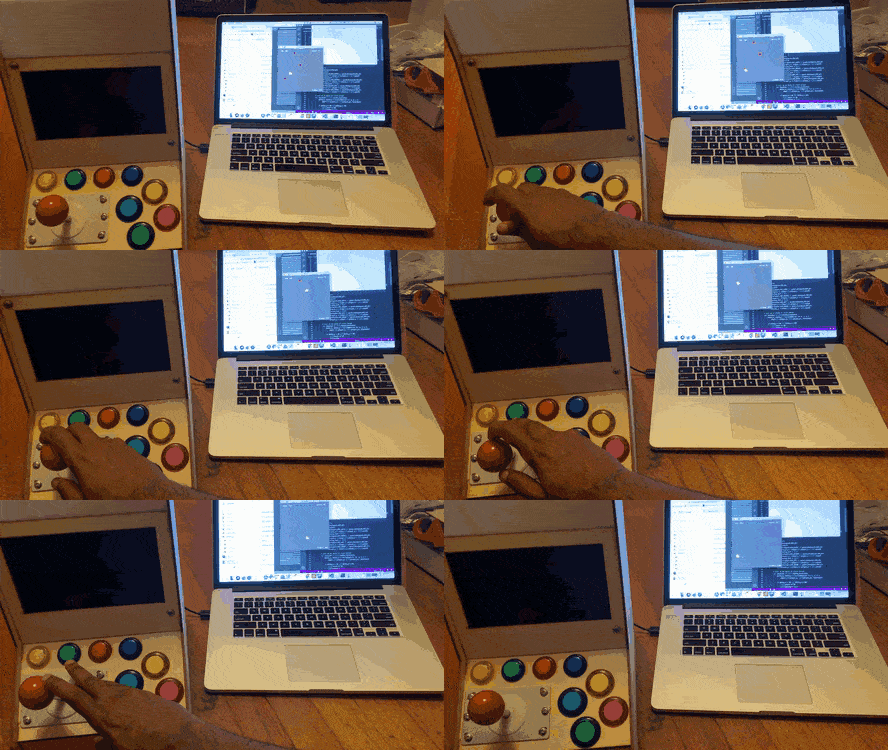
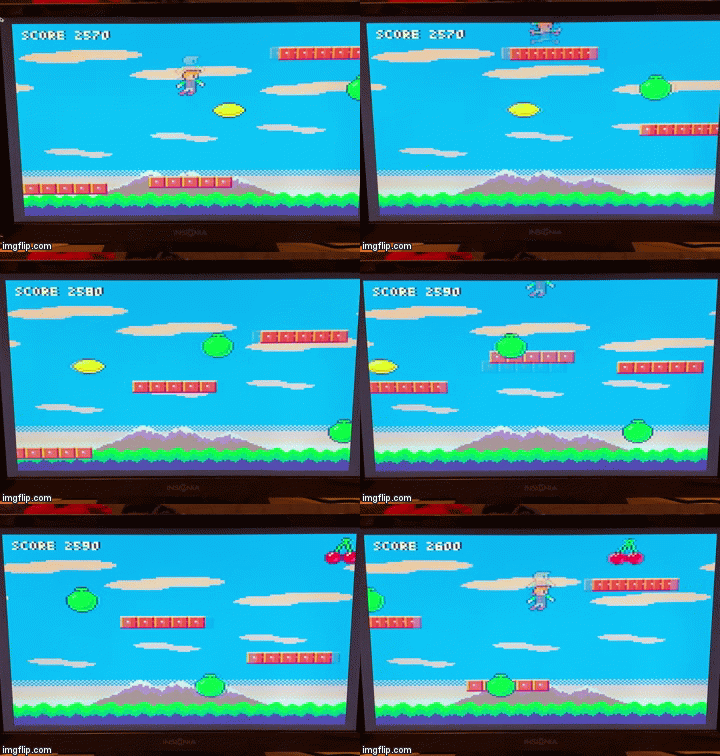
    So I got the GamePad PCB two weekends ago and I’ve putting off the soldering and test for a bit and finally got to it this weekend. It looks like all the button clicks and whatnots are working well and I just need to wait for the powerstrip PCBs to arrive now. Here’s the demo game in Pyxel working in conjunction with the joystick.

    Now all that’s left is the launcher for starting/selecting the games and crimping in all the power connections.

  • v1 of the Pyxel PCB

    rkrishnasanka08/05/2019 at 02:34 0 comments

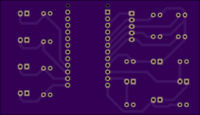
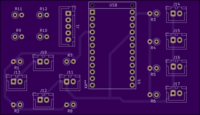
    So I finally got around to making the PCB for the arcade controls. I also send it the order to oshpark for this, Now I just gotto wait for it to come back

  • Debugging the joystick

    rkrishnasanka08/03/2019 at 16:37 0 comments

    So I had to change my initial design of the arcade joystick controller to from a low side switch to a highside switch to make it work correctly. I think I will need to create a separate reference diagram for the adafruit folks to add to their website. 

    Finally I decided that I'm going to crimp the joystick cable into a JST XH 5 pin so that it becomes easier to assemble on the board and because its easier to get the housing components.

    This assumes that the cable is at the bottom:

    WireDirectionPin Number
    (From Left)
    RedEAST/RIGHT5
    OrangeWEST/LEFT4
    YellowSOUTH/DOWN3
    GreenNORTH/UP2
    BlackCommon Ground1

  • Pyxel is now working on the RPi

    rkrishnasanka07/31/2019 at 04:50 0 comments

    In short I didn't do much work to make this happen it was the creator Pyxel who in his/her infinite wisdom decided to replace glfw as a dependency and decided to make sdl2 the base framework. The main trick to get half decent frame rate was that I killed the entire desktop manager beforehand.

  • Completed mechanical design finally !

    rkrishnasanka04/28/2019 at 21:19 0 comments

    So I finally pieced together the full cabinet. It seems like there are more things I need to address but for all intents and purposes, I’m done with the mechanical design. 

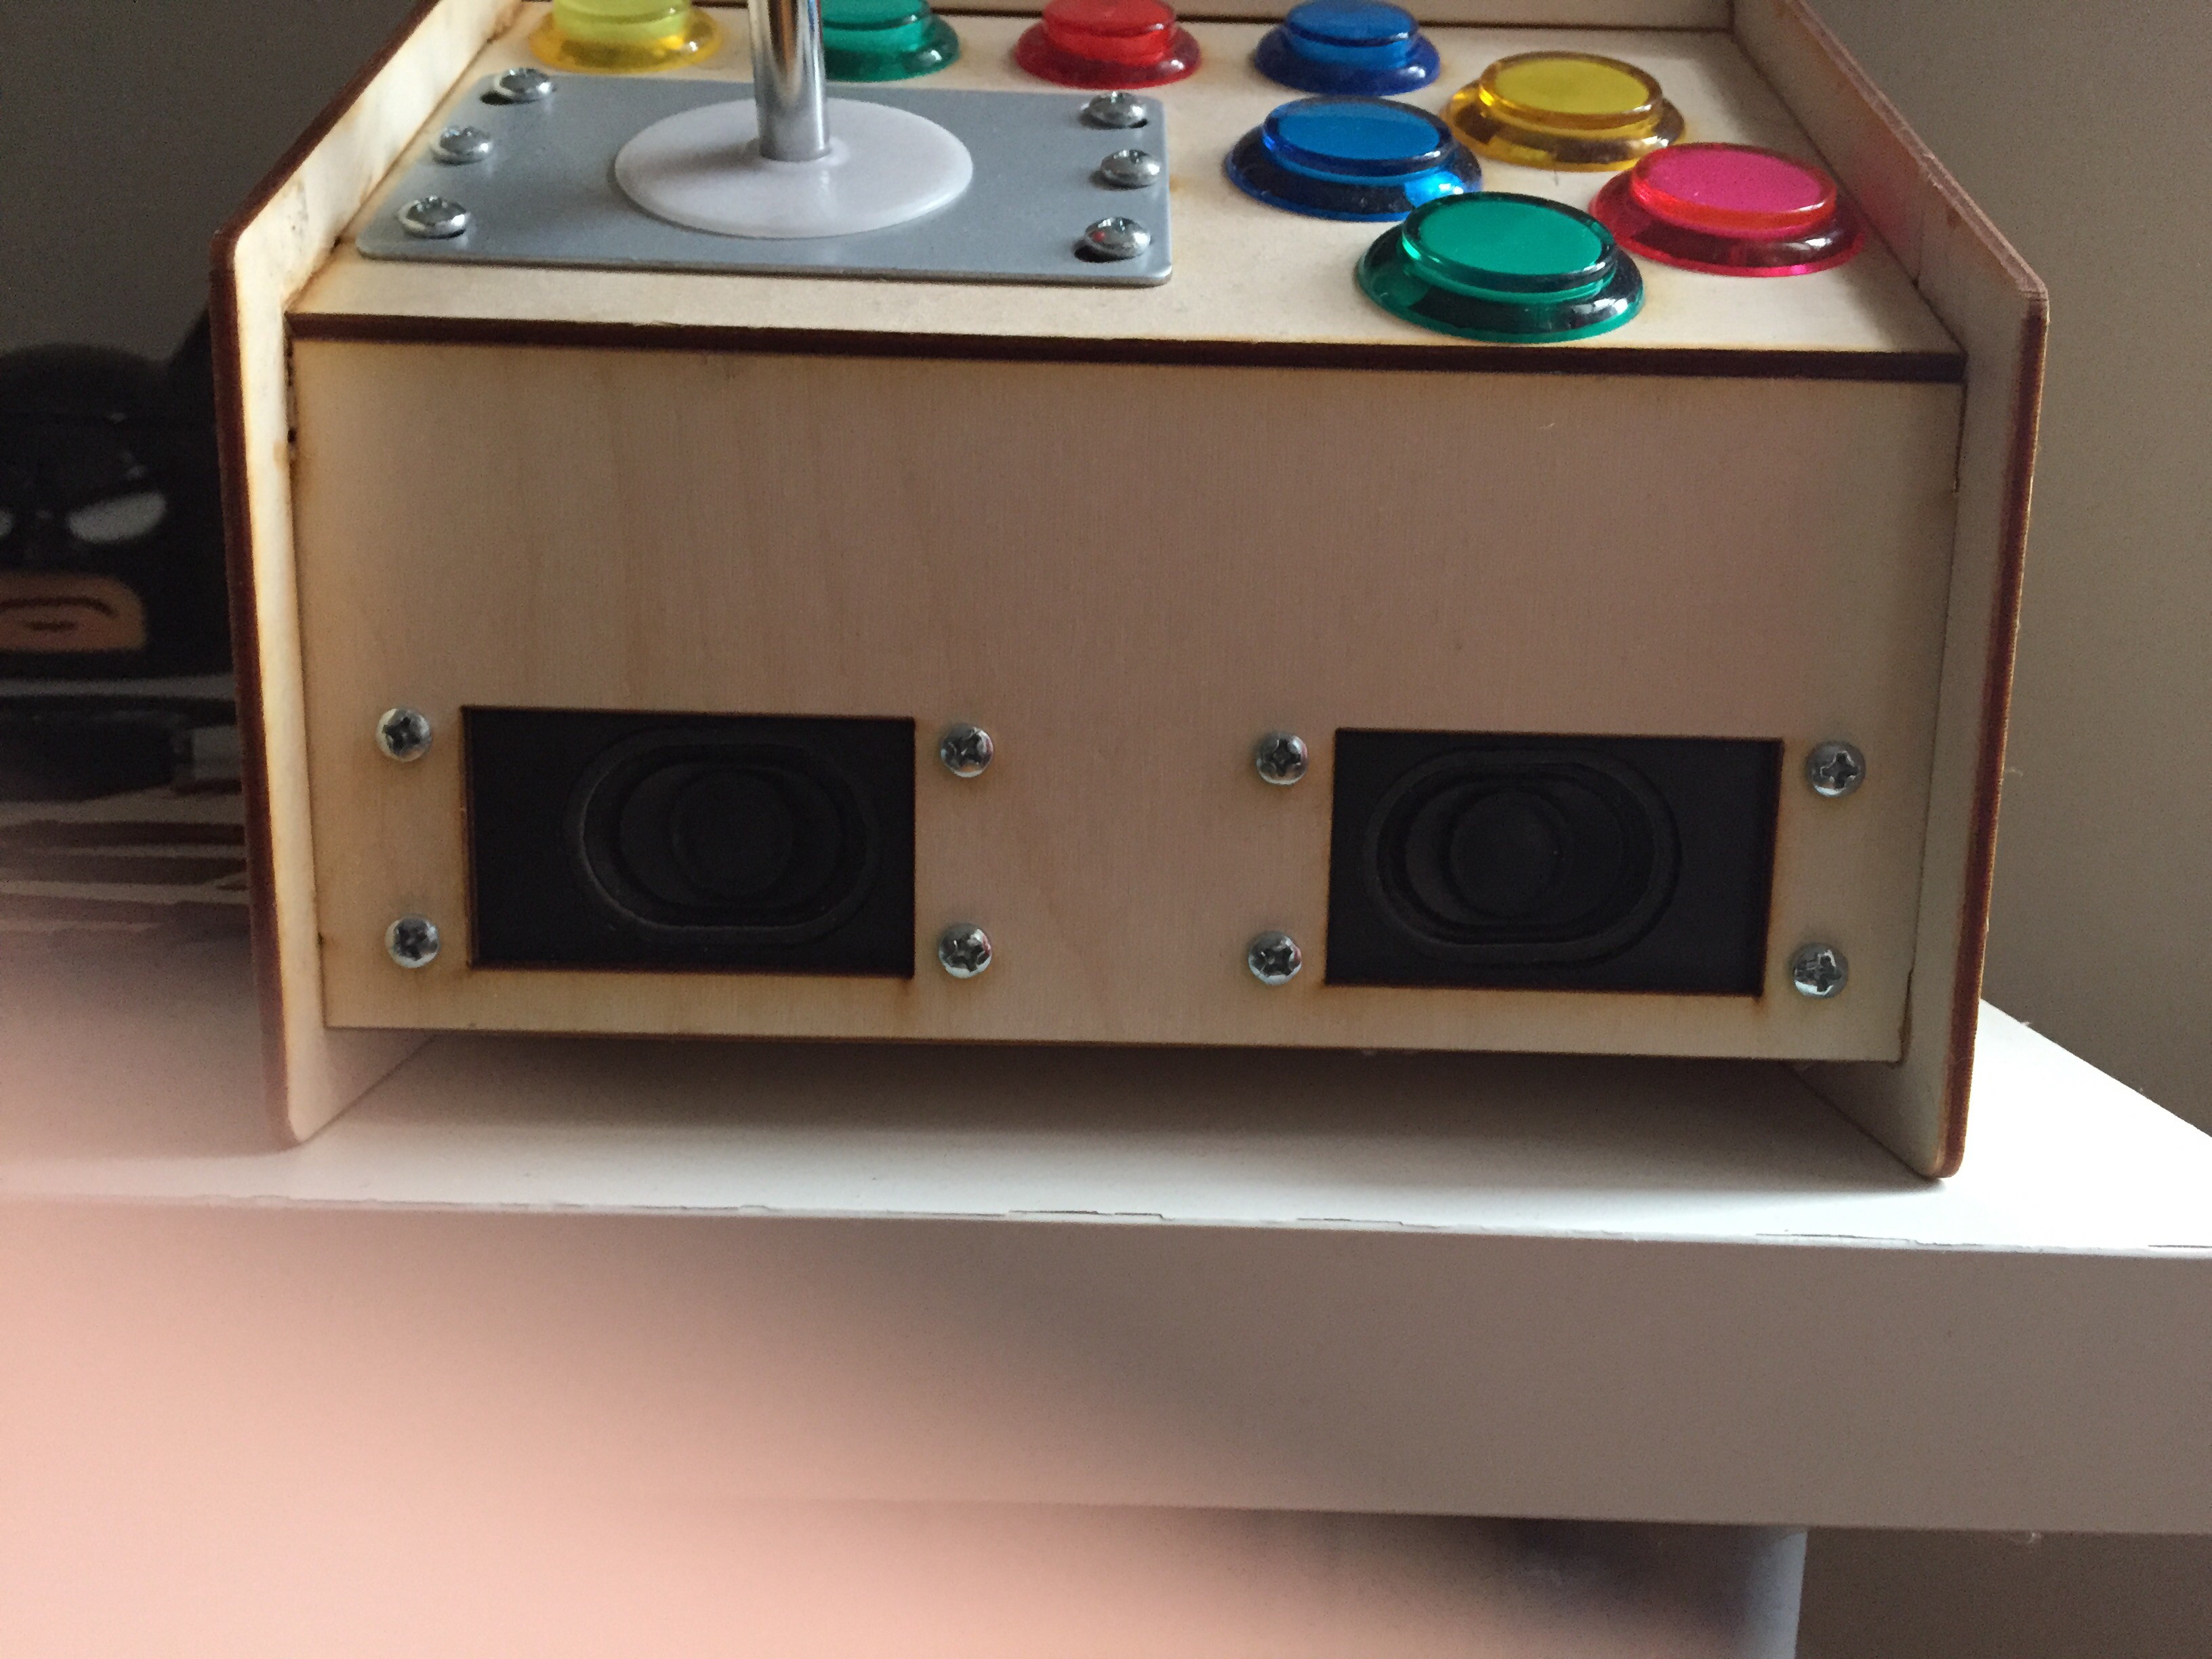
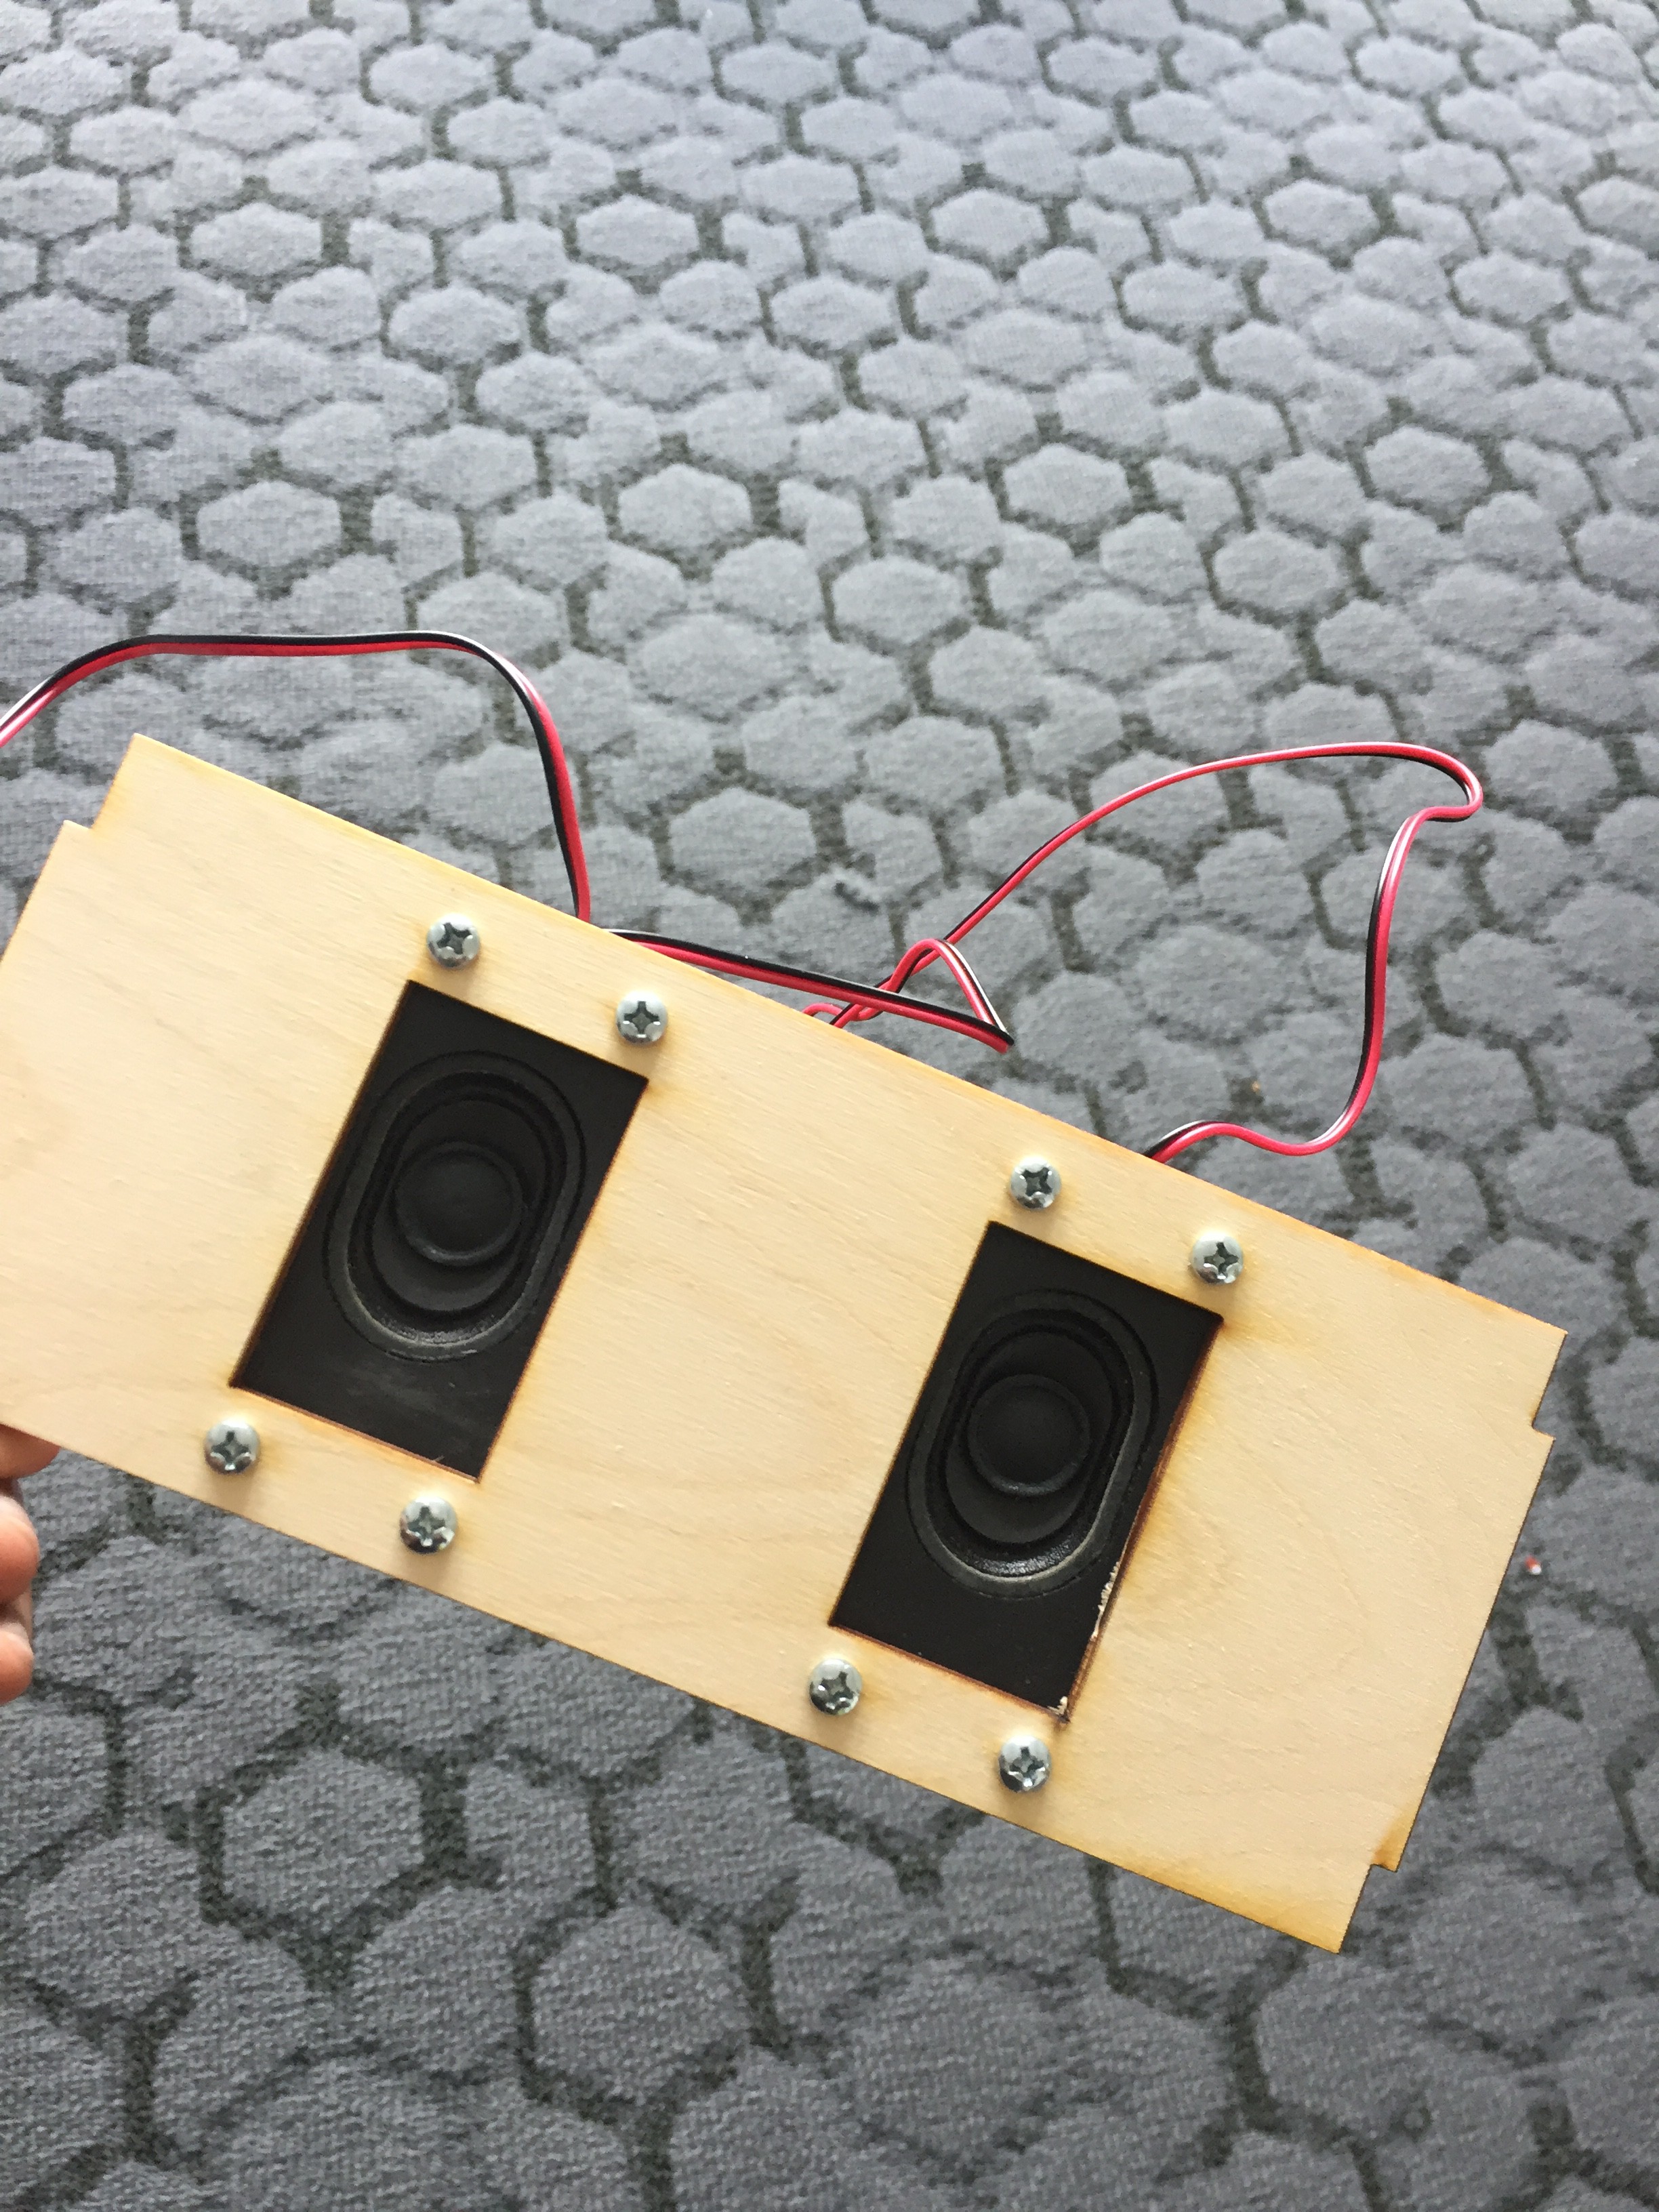
    I had to redo the speaker panel so that speakers are not vertical but horizontal. Though the speakers are smaller in dimensions, the thickness is larger. Caused the controller button to clash with the speaker box. Personally I like the newer orientation of the speakers, the older design kinda looked yucky.

    I think there’s definitely a bunch of things I’d like to change for version 2. Like the way I need to assemble this, right now it’s not super great I had to glue individual pieces one by one that was kinda annoying.

  • Finished the updated Speaker Panel

    rkrishnasanka04/27/2019 at 16:04 0 comments

    So after a months of waiting for the parts to come, I finally got fed up with the wait times and I ended up ordering a replacement speaker from Adafruit (https://www.adafruit.com/product/1669). I'll be wrapping up the construction tonight and then proceed to finishing up powerboard and the faux keyboard setup.

  • Finding the Right Connectors

    rkrishnasanka04/01/2019 at 02:13 0 comments

    So the project has been on a standstill for the past couple months because, my part orders didn't get processed through the university. But I've also been having a tough time figuring out what cables are being used for all the boards. Because most of the documentation for the Adafruit parts have been in chinese, it was impossible to find the specs so I ended up getting the Dirty PCB Cable Sample pack: https://dirtypcbs.com/store/designer/details/ian/3841/dirty-cables-sample-kit-v1-0 for this and future projects.

    I finally got the delivery last week (8 week delivery wait) and so now I'm checking against the other parts now.

    So here are the things I'm figuring out:

    PartSpecLink
    Joy Stick Connector2.54 mm KF2510 (5 Pin)https://www.adafruit.com/product/48
    Audio Port for Monitor2.00 mm JST-PH (4 Pin)https://www.adafruit.com/product/2301

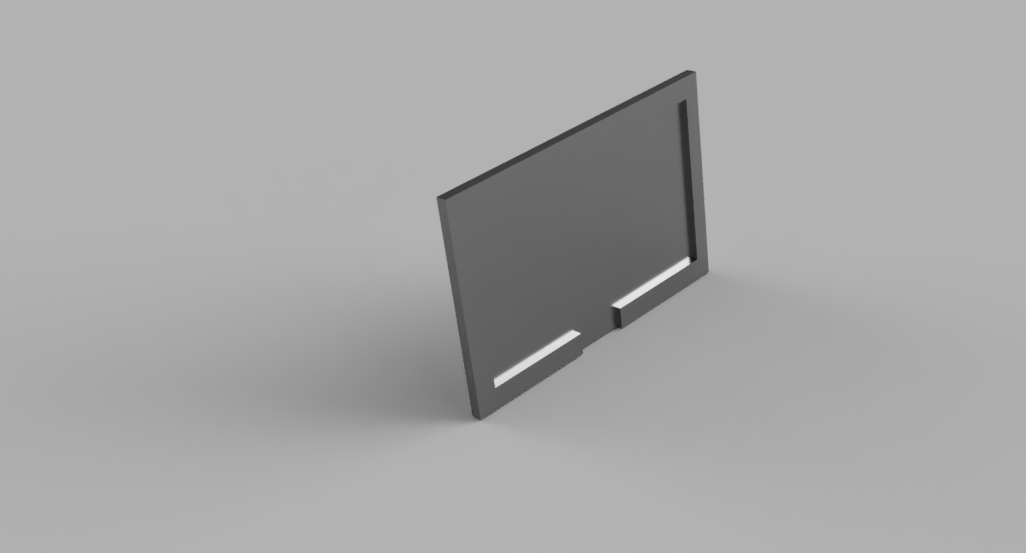
  • Creating a back cover for the Screen

    rkrishnasanka12/27/2018 at 00:01 0 comments

  • Burning the Raspbian Image

    rkrishnasanka11/13/2018 at 23:49 0 comments

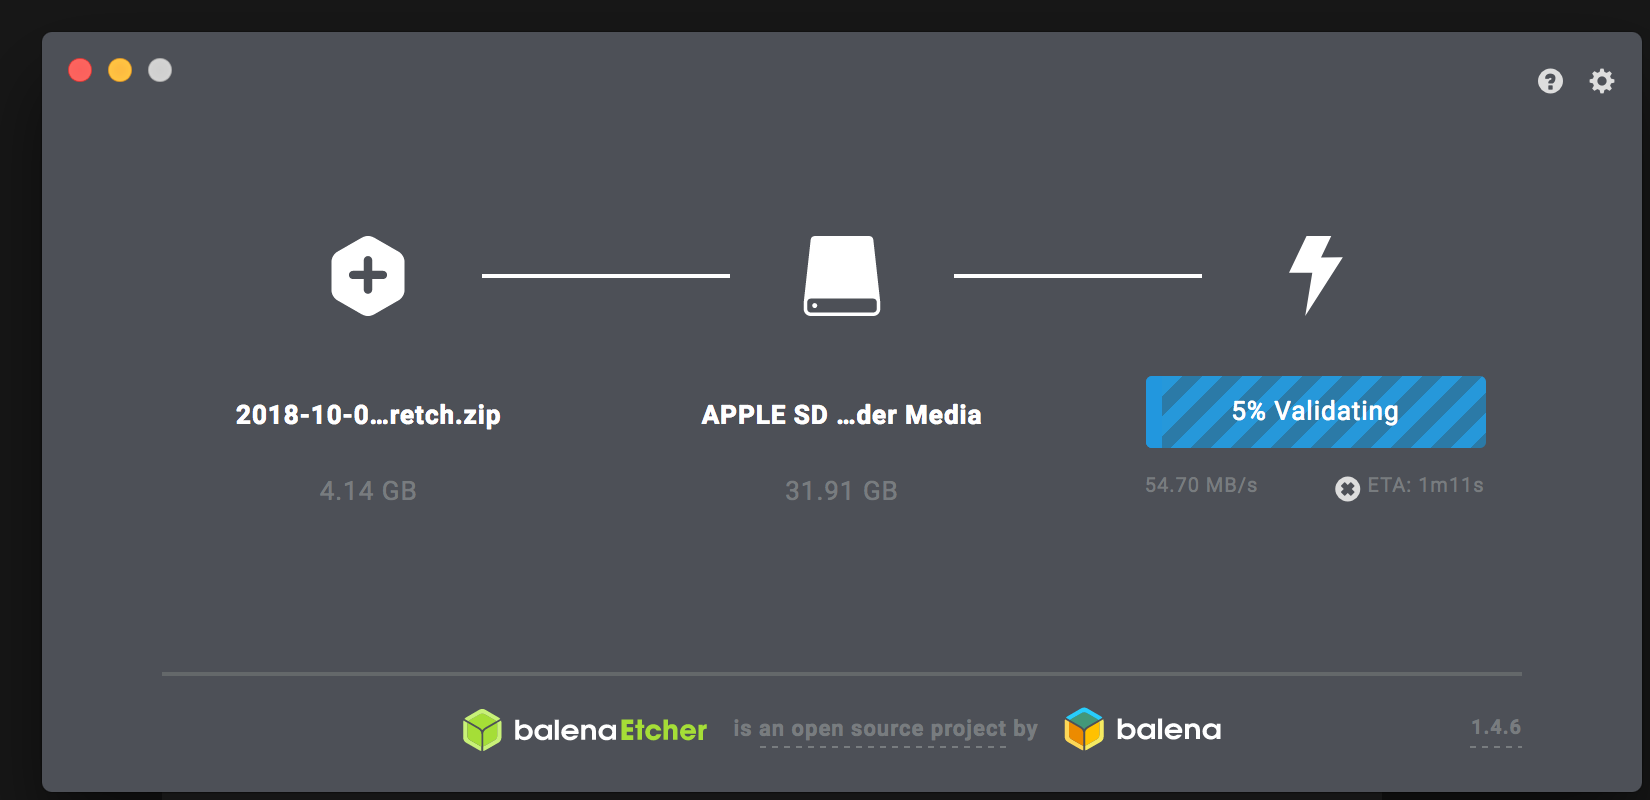
    So I put off the burning of the image until I got the new SD card for this. I realized that I had no microSD cards or a mini HDMI cable on hand (updated the parts list too).

    I'm following the instructions from the raspberry pi's main website, and I realized that Etcher is a really neat looking application that simplified the burning process a lot.

View all 14 project logs

Enjoy this project?

Share

Discussions

Florian Festi wrote 10/31/2018 at 16:58 point

Nice project! Some people in our hacker space build a similar arcade based on MAME. We also laser cut the housing:

https://hackaday.io/project/10649/gallery#5f9f4a7b30f63360f826531cb7848b27

It's very similar in construction to yours.

  Are you sure? yes | no

rkrishnasanka wrote 10/31/2018 at 17:55 point

Nice ! I like your construction better, this one was a pain to assemble. I know of MAME but I didn't want to go down that route. The point of this arcade project is to encourage people to make their own games (including me). Plus I wanted to add some other features using the RPi. It'll be cool if people can make games that use a standard keymap. I'm still deciding how I want to design the controller keyboard but I'm probably gonna decide on that pretty soon.

  Are you sure? yes | no

Similar Projects

Does this project spark your interest?

Become a member to follow this project and never miss any updates