-
11Plug the OLED shield into the Adalogger and attach the battery
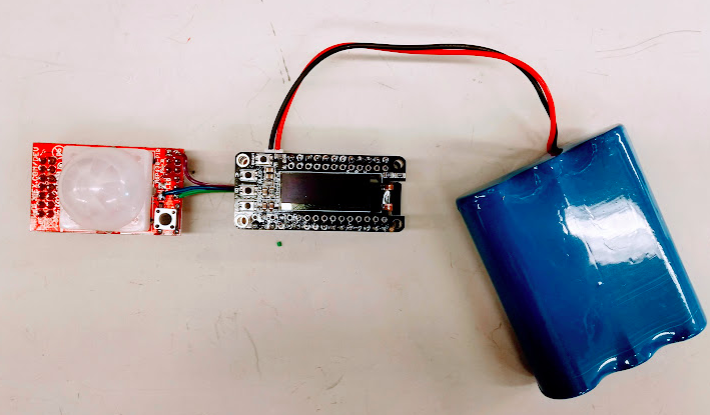
The battery will provide power to the device, which is important before setting the real time clock (RTC). The RTC will maintain the correct date and time on the device as long as the device is powered. If you lose power or the battery dies the clock will reset like and old VCR. So before flashing the RTC, we'll first power the device. Your assembled electronics should look like this:
-
12Flash the RTC
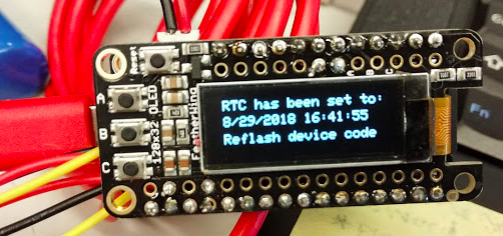
Flash the device with the RTC setting code (also available in the Files area.
If everything is correctly assembled the correct date and time should appear on the screen. NOTE: This code grabs the date/time from your computer, so make sure that's correct before flashing.
If the device loses power for any reason, simply repeat this step to re-set the clock, or follow the manual procedure for setting the clock outlined below.
-
13Flash device code
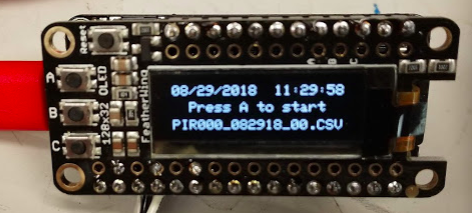
After setting the clock, repeat Step 4 to flash the PIR device sketch (also in the files area). The screen should show a start screen with the correct date/time at the top, a direction to "Press A to start" in the middle, and the logging filename at the bottom.
The filename is auto-generated and includes the letters "PIR", a three digit device # (you can set this manually as described below), the current date (MMDDYY), and an incrementing 2 digit number that reflects each new file that is started on the same date.
-
14Assemble the device into the housing.
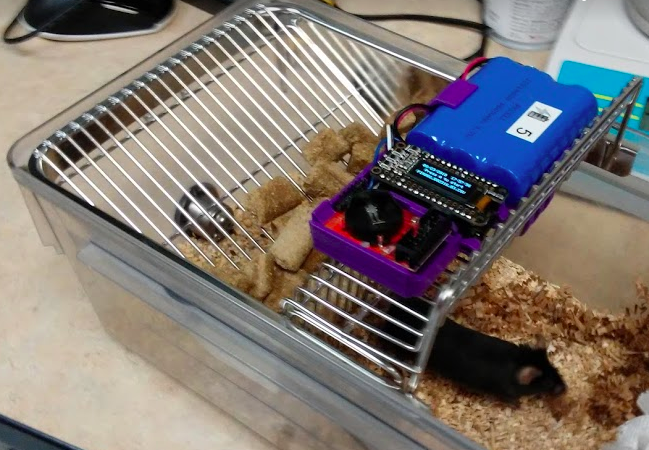
Snap the electronics into the housing. This housing was designed to fit into an Allentown NextGen wire rack, but can be adapted for other caging.
-
15Start logging!
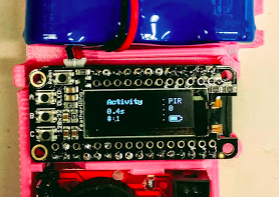
To start logging, press A. This will count total time the PIR detects activity, as well as the number of "bouts" of activity, and log these to the SD card once per minute. The end of each bout is defined as 2 seconds with no activity. These variables can be edited in the sketch. The battery should last about 3 weeks.
To edit clock and PIR number hold "B" on the start screen. This will activate a mode where you can edit the date/time and PIR device # directly from the device without reflashing. This is useful to reset the data/time if the battery is disconnected.
After an experiment, pull the SD card out and open the CSV file to view or plot data.
RAD (Rodent Activity Detector)
Using a passive infrared sensor and a datalogger to record activity patterns from rodent home cages
 Lex Kravitz
Discussions
Become a Hackaday.io Member
Create an account to leave a comment. Already have an account? Log In.