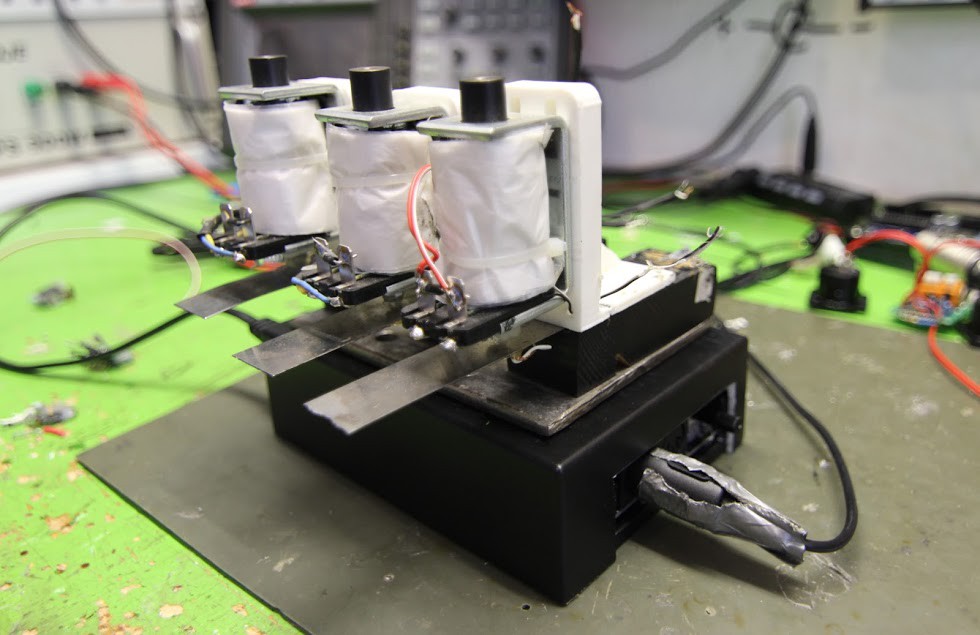
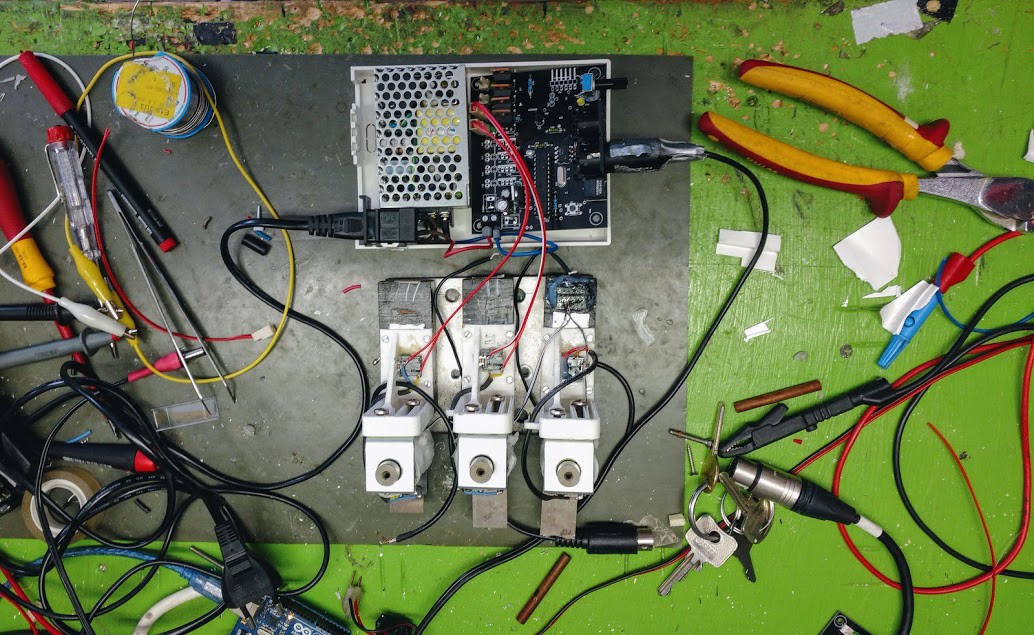
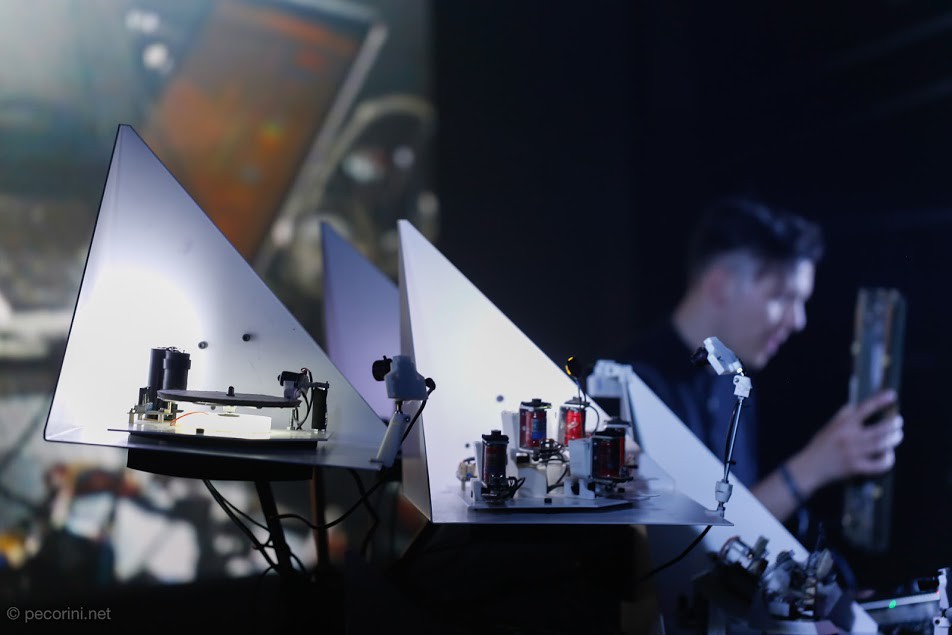
So I want to use my newly developed 808is -ike-futuristic-kalimba-robot as a music instrument on stage and it has to be stable. To build quick-and-dirty mockups is fine in the workshop and maybe studio - once a experimental hacked-together instrument breaks in front of a several hundert people audience and lets you leave stage in embarrassment, you swear to yourself to go the last mile the next time.
I have a lot of actuators in my workshop, motors, solenoids, stepper motors, gear motors. I don’t usually work with pneumatics, and I like DC motors from 12-24V most. I normally search on ebay or pollin (german cheap reseller) for cheap stuff and buy always 5-100 in bulk. Also I wrote Schulz Magnete (a high quality german solenoid manufacturer) and they gave me some of their over-stock for free. Very generous!
I often experiment with a lot of different solenoids to find the right one in terms of force and build volume. For this build I am using some solenoids (electromagnets) from Schulz magnet. The solenoids I bought from china often had a poor quality, in terms of mechanical precision (how the anchor moves in the coil) and of efficiency (electrical power-to-mechanical force ration).
When I started building robots I used a lot of wood, old piano pieces and old stuff I found on the scrap market. Then, I bought my first Makerbot 3D printer in 2013 and it changed my build from custom-made unique copies, to reproducible devices.
I design everything in Autodesk Inventor, and I designed most of my standard devices (solenoids, motors, LEDs, connectors) as 3D Models. I now have three 3D Printers in my workshop, two Replicator 1 and one new Prusa i3 (love it!) for more experimental material than PLA.
Since I have my 3D printers I print everything I can, and insert metal parts (e.g. as screw inserts) where I need more stability. For my last instrument TRIPODS ONE I also ordered some custom welded aluminum parts from a local welding shop.
for the building and designing process, working with 3D Printing mostly means I can use an iterative process. I sketch the rough idea by hand, maybe build a cardboard and wood model and then it takes 3-8 3D-Printed iterations until I have my last design. This definitly creates a lot plastic trash, but I give it to my local fablab in Dresden where they recycle it.
- 0.8mm Spring steel metal tongue
- Piezo Microphone
- 3D printed holder to adjust everything
- Solenoid 24V / 5A from Schulz Magnets
With the length of the spring steel you can change the pitch of the instrument. I ended up using five different tongues for different tones.
What I want to do to improve this is using a special made corpus that supports the frequency of the tongue. Every acoustic body has some main frequencies to it – you know that from an empty room with a standing wave, or from an empty bottle where you beat on. A normal instrument builder would avoid that: A guitar body for example tries to have more softer body-frequency spectrum with little spikes. But we can uses that to support our main frequencies of our bass drum tongue! Longer decay and a softer tone. I am currently building such a tuned body and will keep you posted about the progress.


 Moritz Simon Geist
Discussions
Become a Hackaday.io Member
Create an account to leave a comment. Already have an account? Log In.