 Benchoff
-
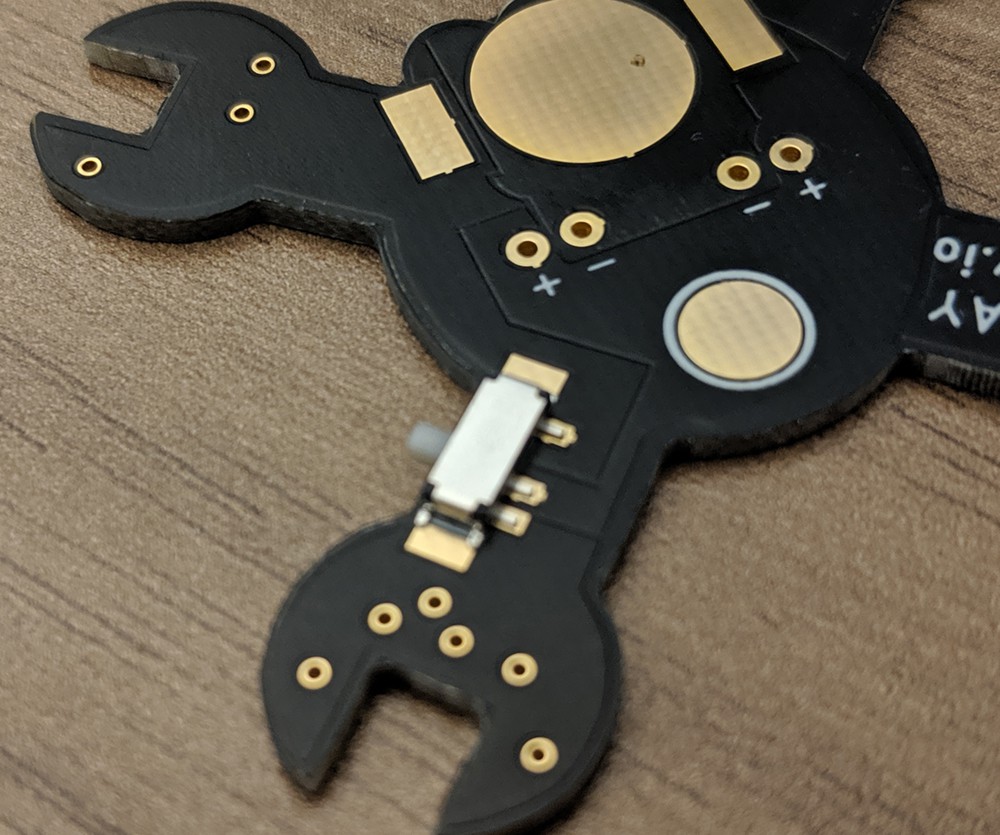
1Organize your components
Your blinky badge kit comes with the following parts:
- Pin PCB
- Slide switch
- Pin and clasp
- Battery holder
- 2 self-blinking RGB LEDs
- CR1220 3 Volt battery
![]()
To assemble the kit, you'll also need a soldering iron, safety glasses, wire cutters, tweezers, and solder flux.
-
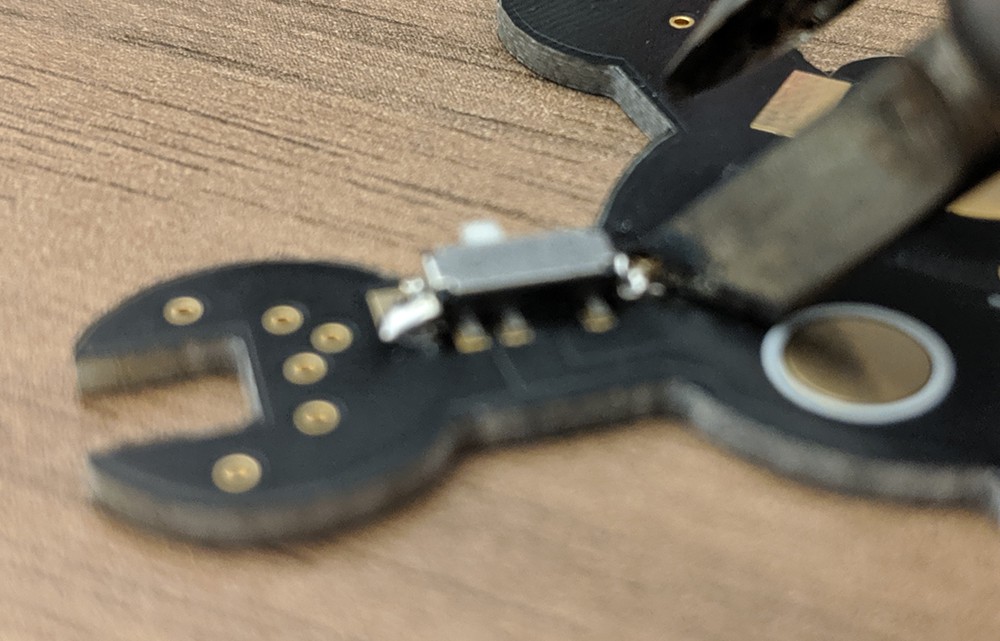
2Attach the switch
The switch goes on the right-hand side of the back of the badge. The switch lever points outwards.
![]()
Tin the pads on the side of the switch. These pads are for mechanical stability. Don't use too much solder.
![]()
Apply solder to the three small pins on the back of the switch. These provide the electrical connection to the battery and LEDs.
![]()
-
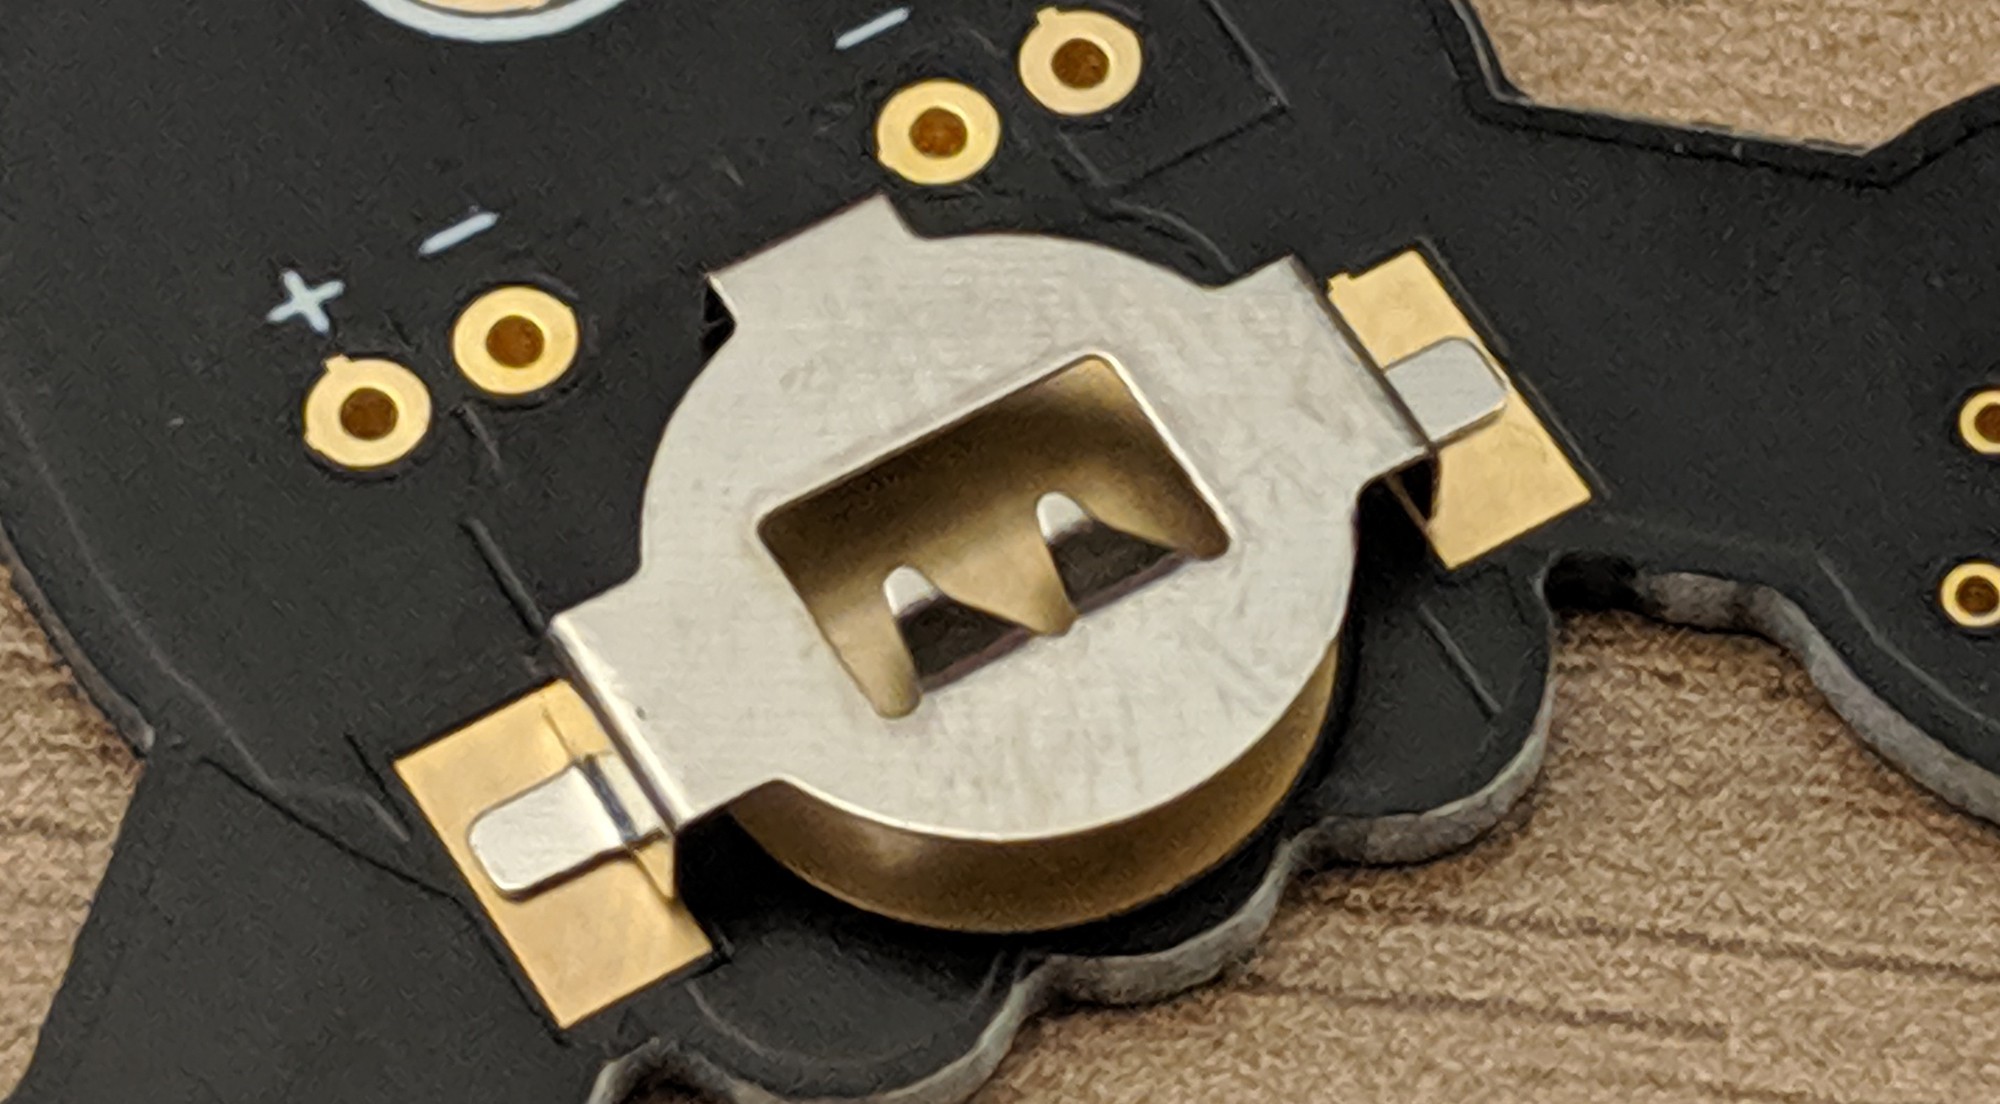
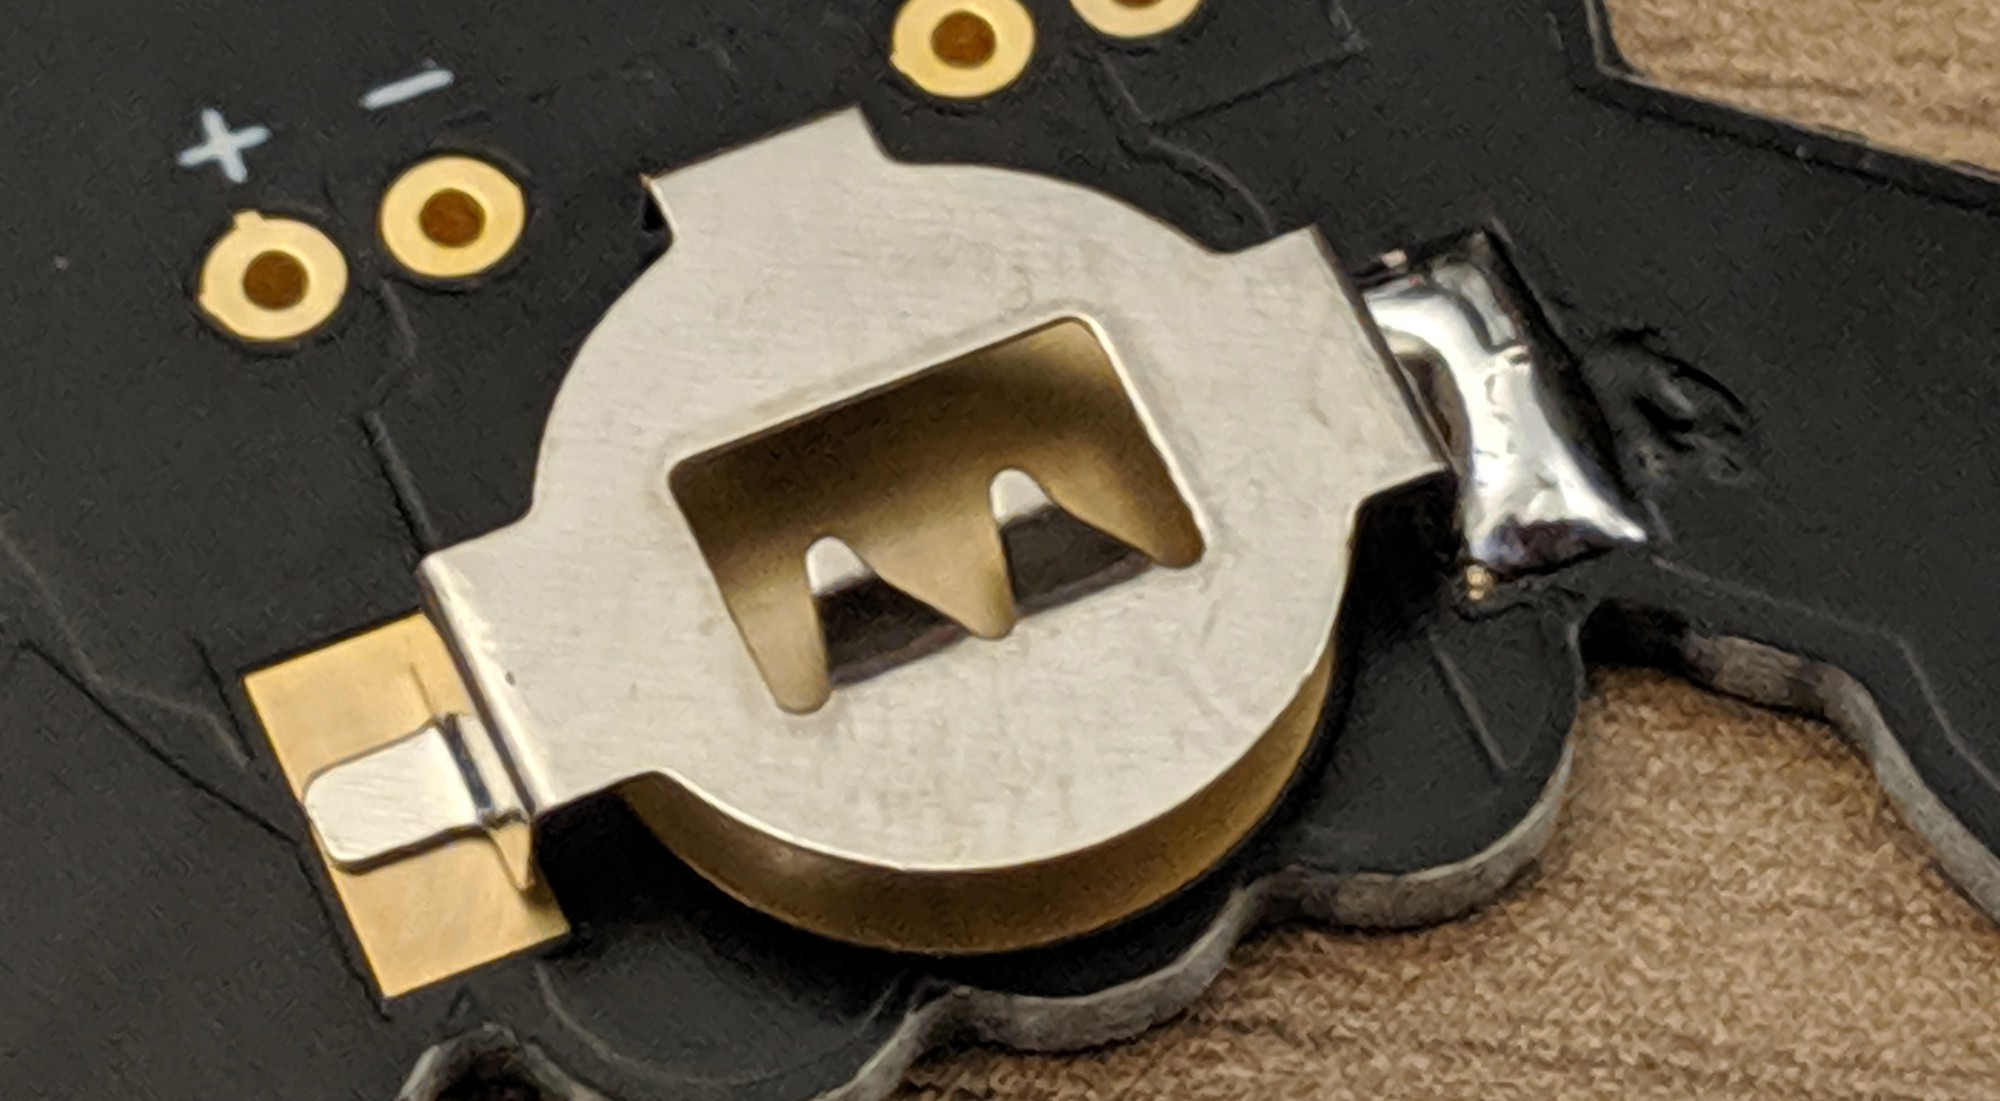
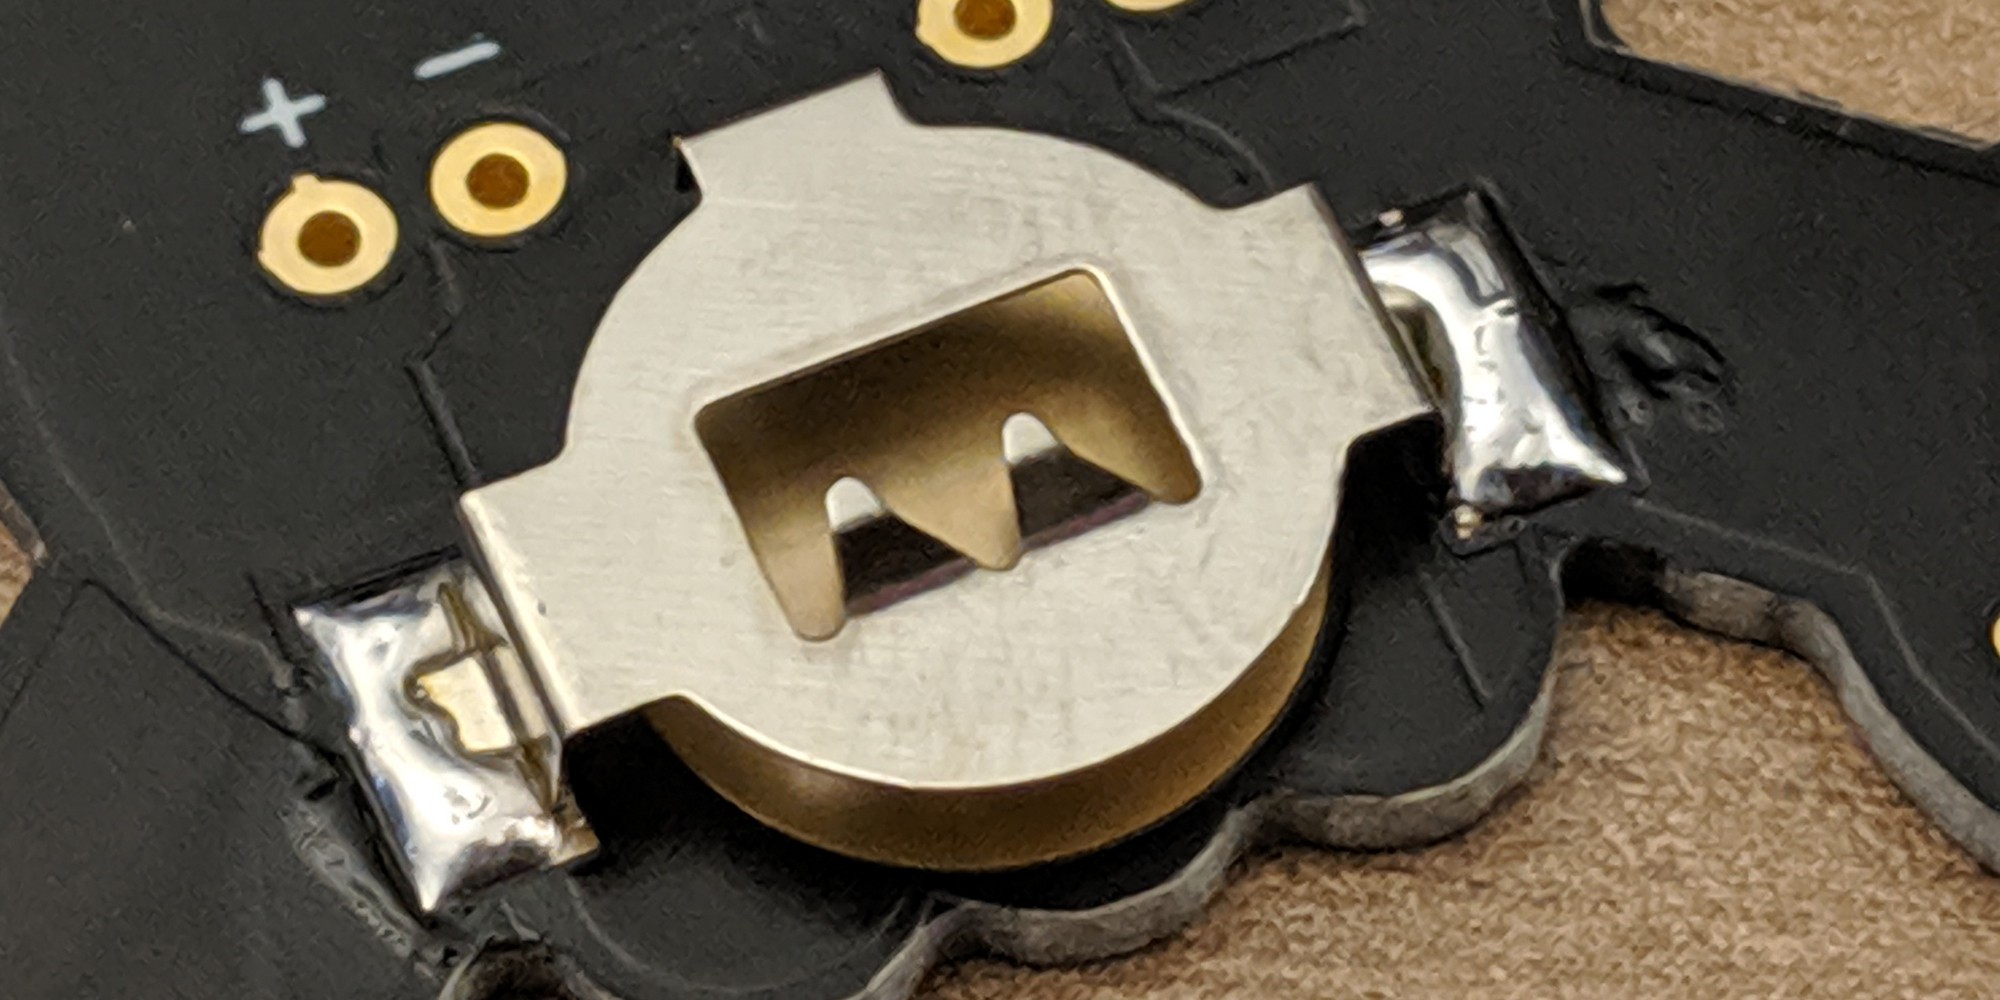
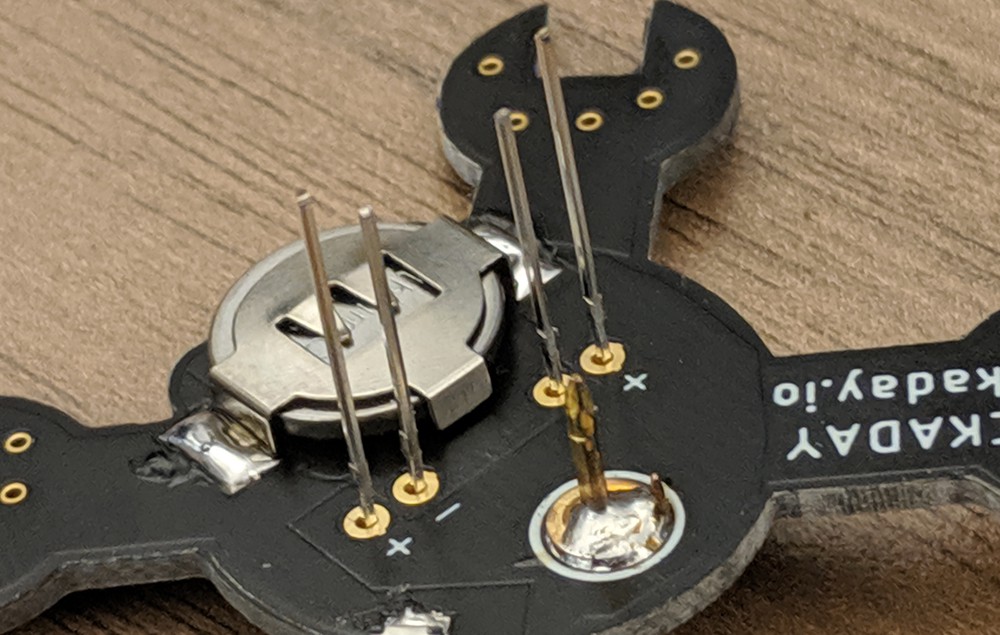
3Solder the battery holder
Place the battery holder over the large circular pad. The small metal 'nibs' of the battery holder go over the square pad. Make sure the 'open' part of the battery holder points toward the bottom of the badge.
![]()
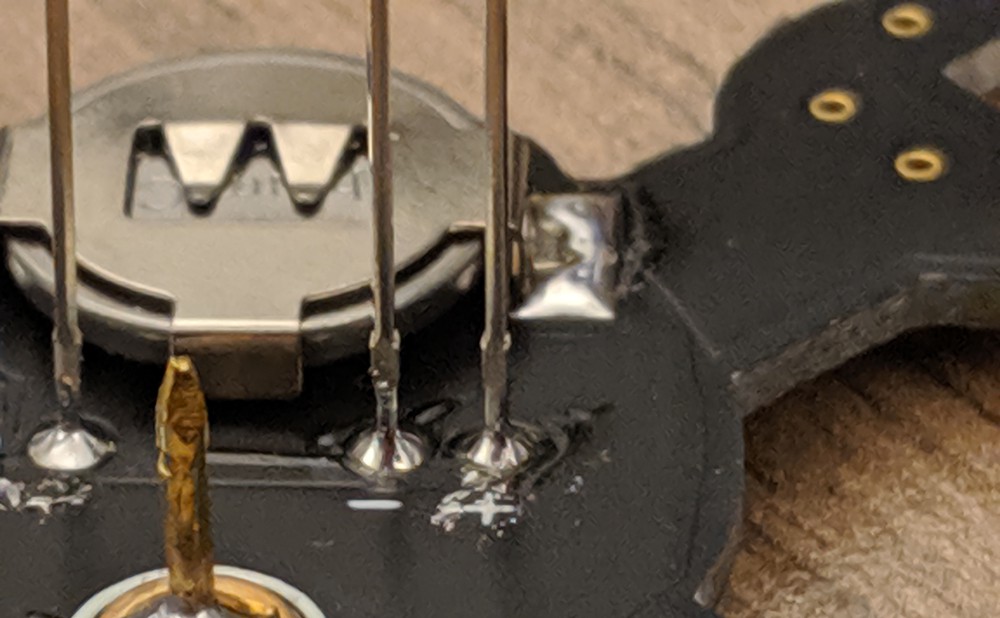
Solder one side of the battery holder, then solder the other:
![]()
![]()
-
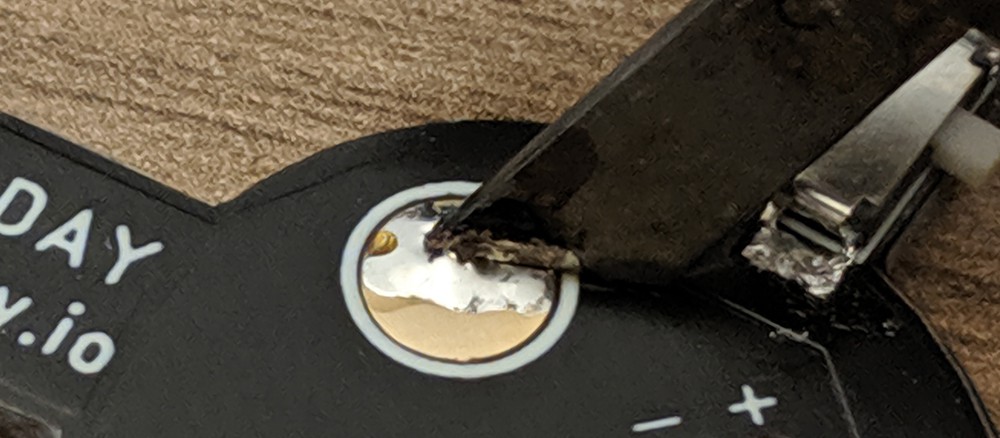
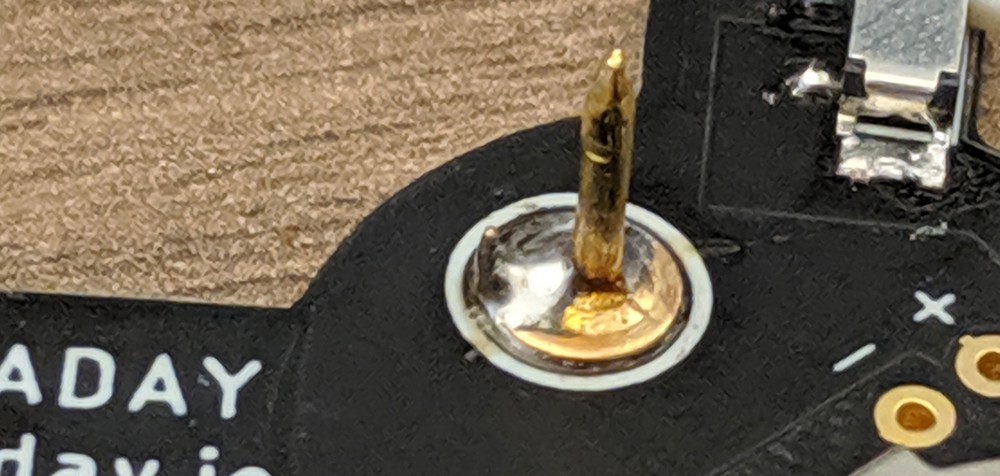
4Solder the pin
'Tin' the pad on the top of the PCB by applying solder.
![]()
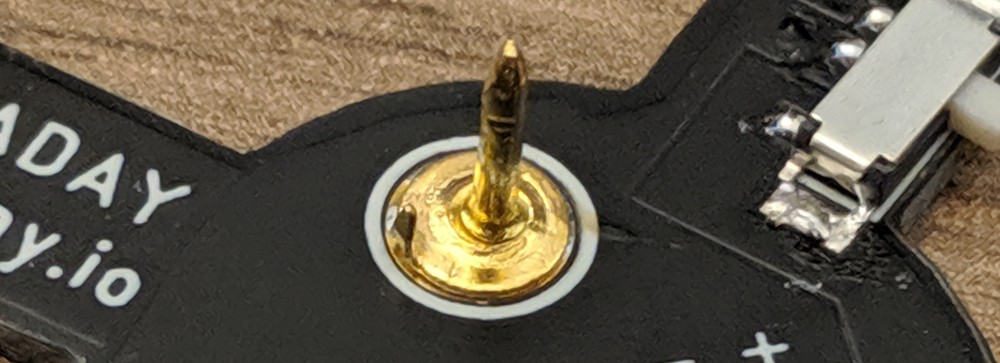
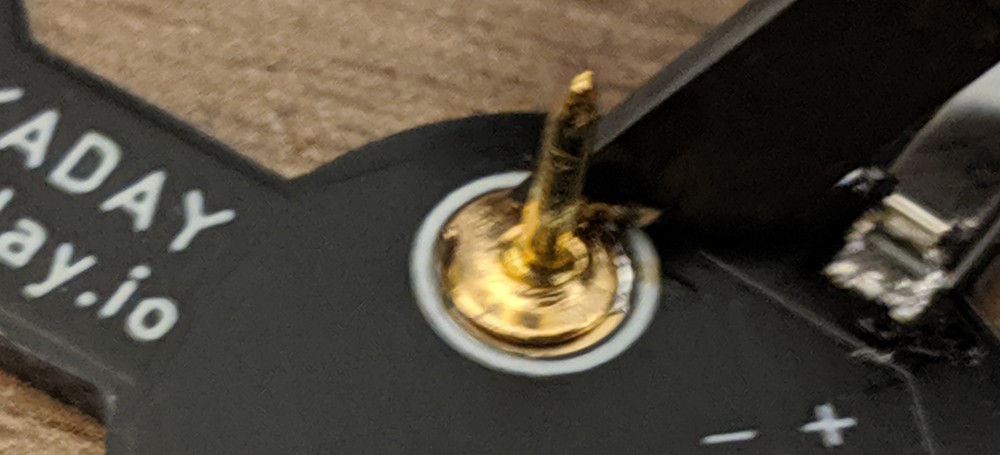
Using tweezers, hold the pin to the tinned pad and use the soldering iron to re-melt the solder. You may apply more solder to make the pin more secure:
![]()
![]()
![]()
-
5Solder the LEDs
There are two holes on the PCB for each LED. Put the LEDs into each hole from the front of the PCB. The longer pin (positive) goes through the hole with the '+' sign:
![]()
Solder the LEDs, then use wire cutters to remove the remainder of the LED legs:
![]()
Hackaday Blinky LED Badge
There's some through hole & surface mount soldering to be done, but when you're finished you've got a sparkly eyed Hackaday head lapel pin.


Discussions
Become a Hackaday.io Member
Create an account to leave a comment. Already have an account? Log In.