The box was so successful that it was requested to be used in an immersive, theatrical puzzle show involving escape room elements as well as live actors.
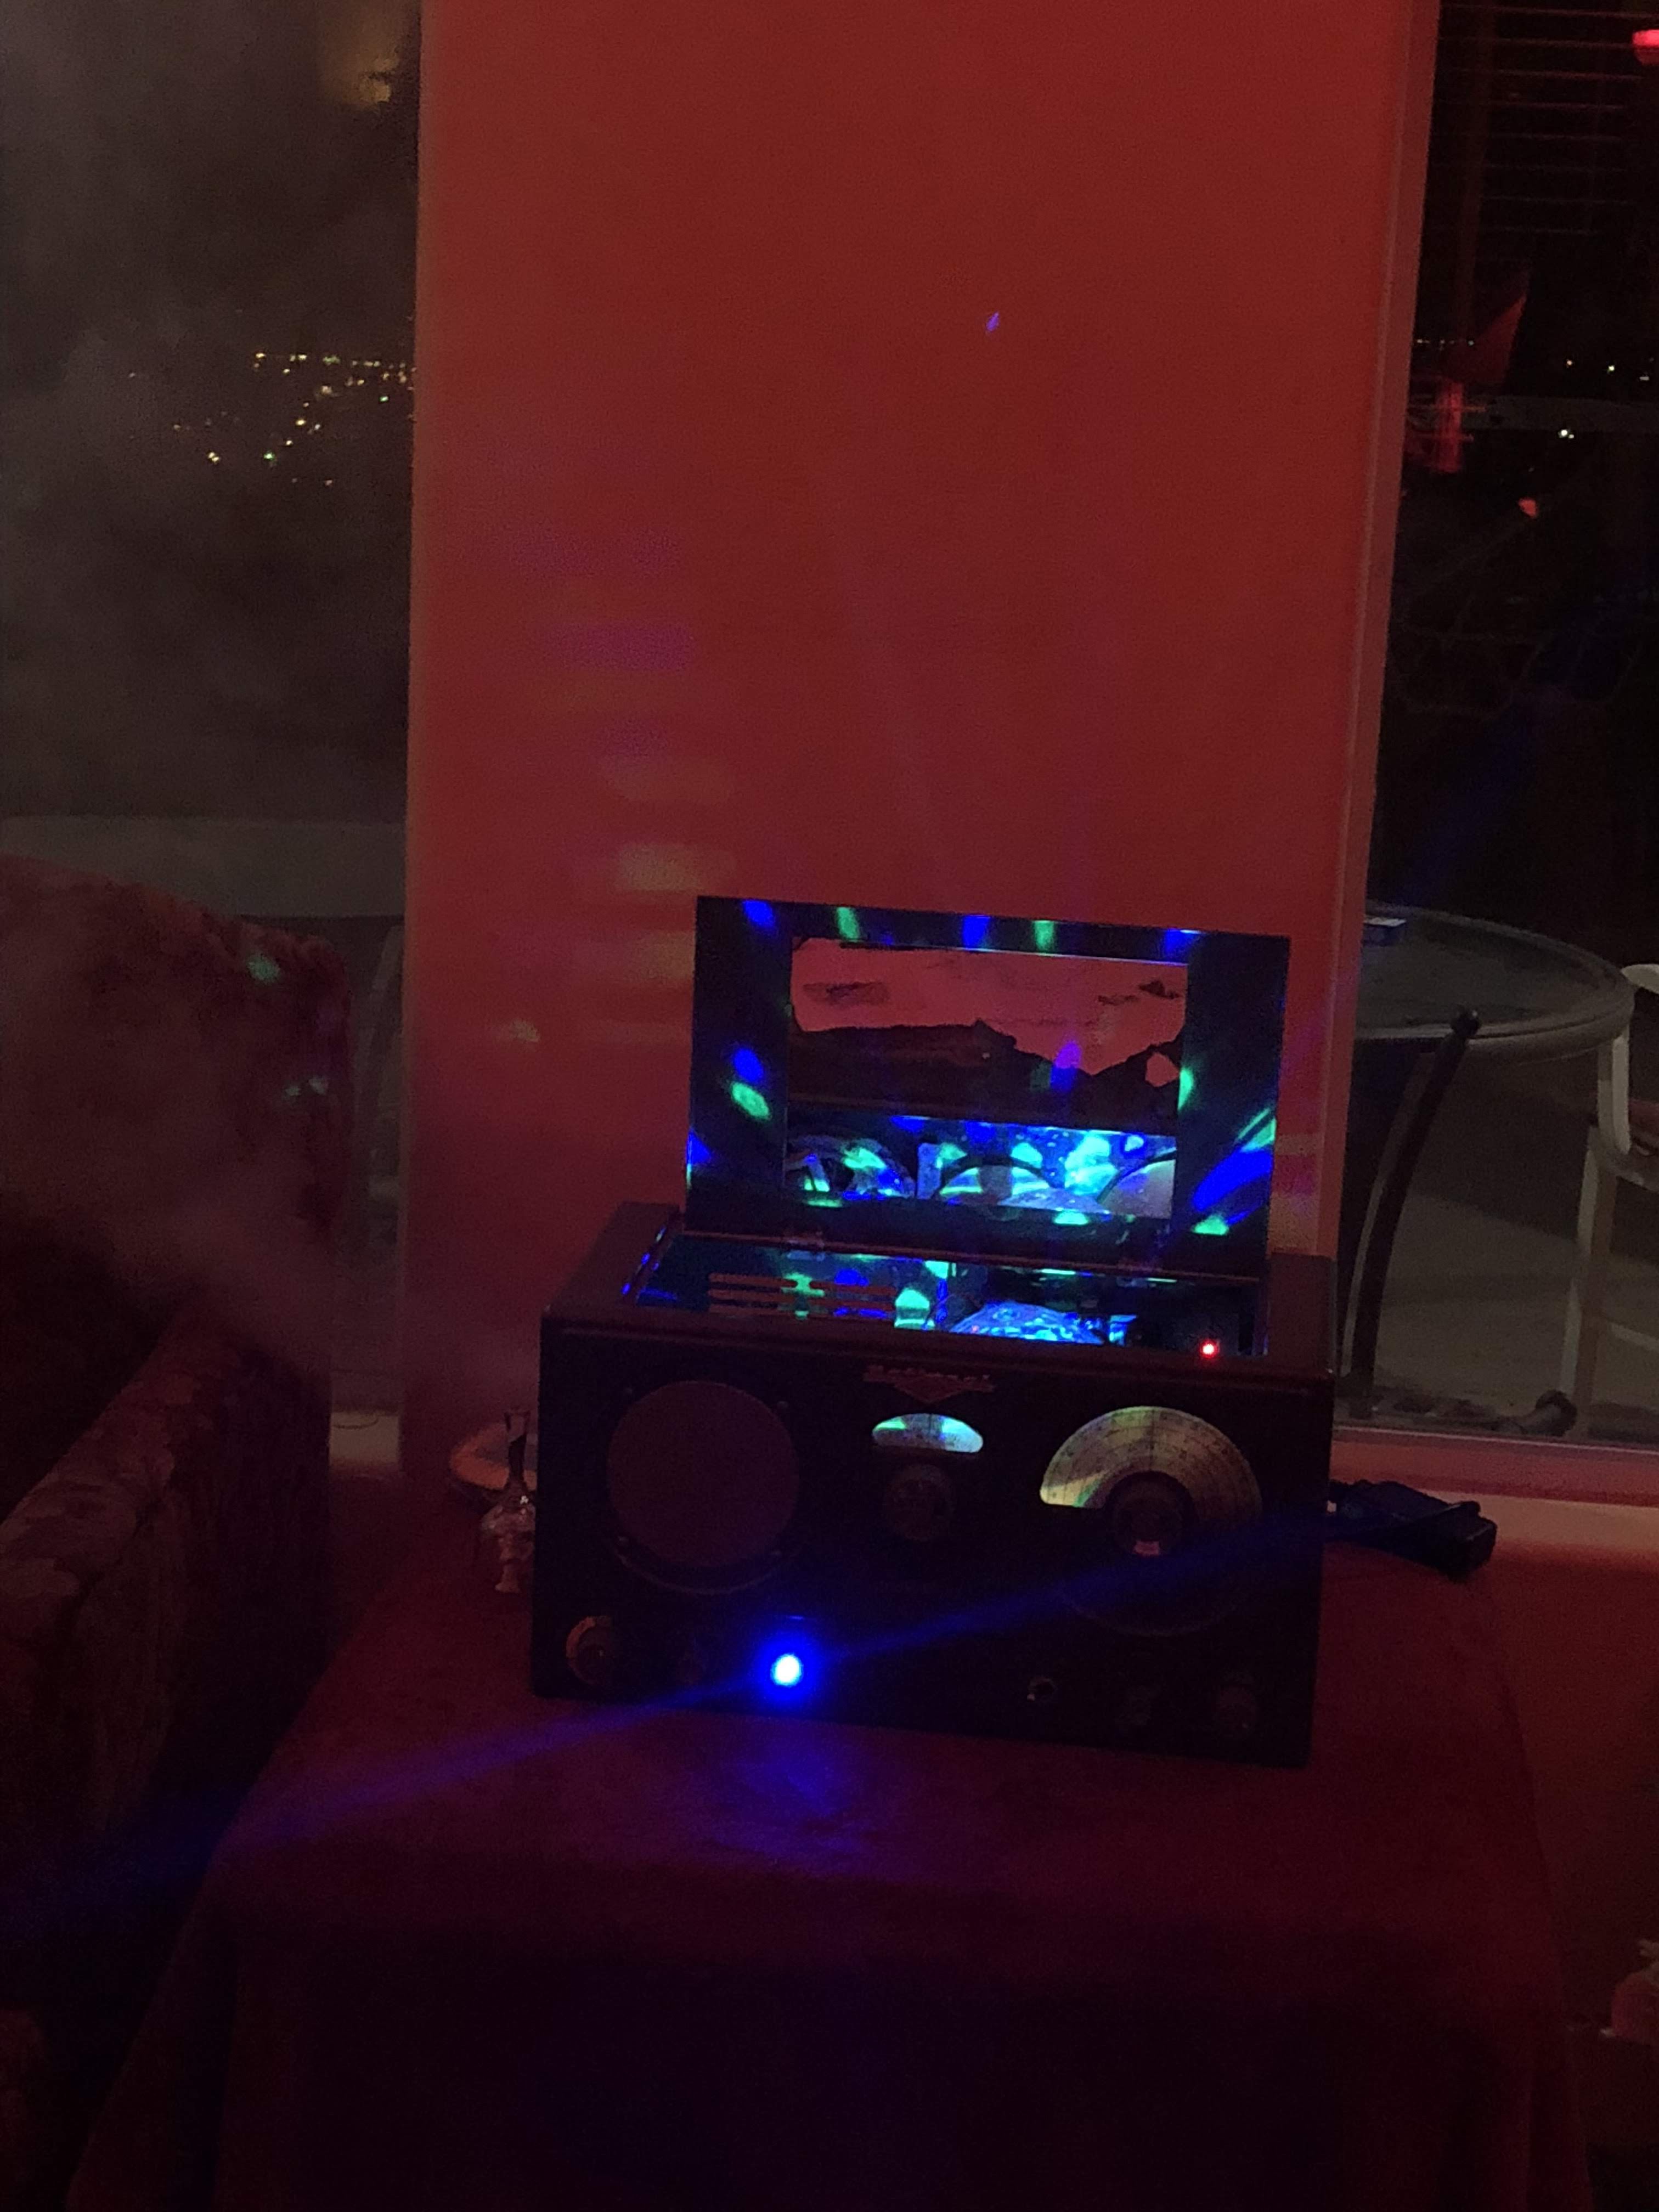
The box by itself was a little underwhelming for the show, so we found an old Korean karaoke machine from the 80s. We gutted it, painted it, installed LED strip lights and placed the radio inside of the top compartment.
New additions:
- Korean karaoke machine circa 1980s (as an enclosure for the box)
- Laser light boxes (blue and red) x 2
- added an additional 12v relay
Depending on which final code is entered, one of the two lasers with trigger (red or blue) as well as the smoke machine hidden in the bottom compartment.
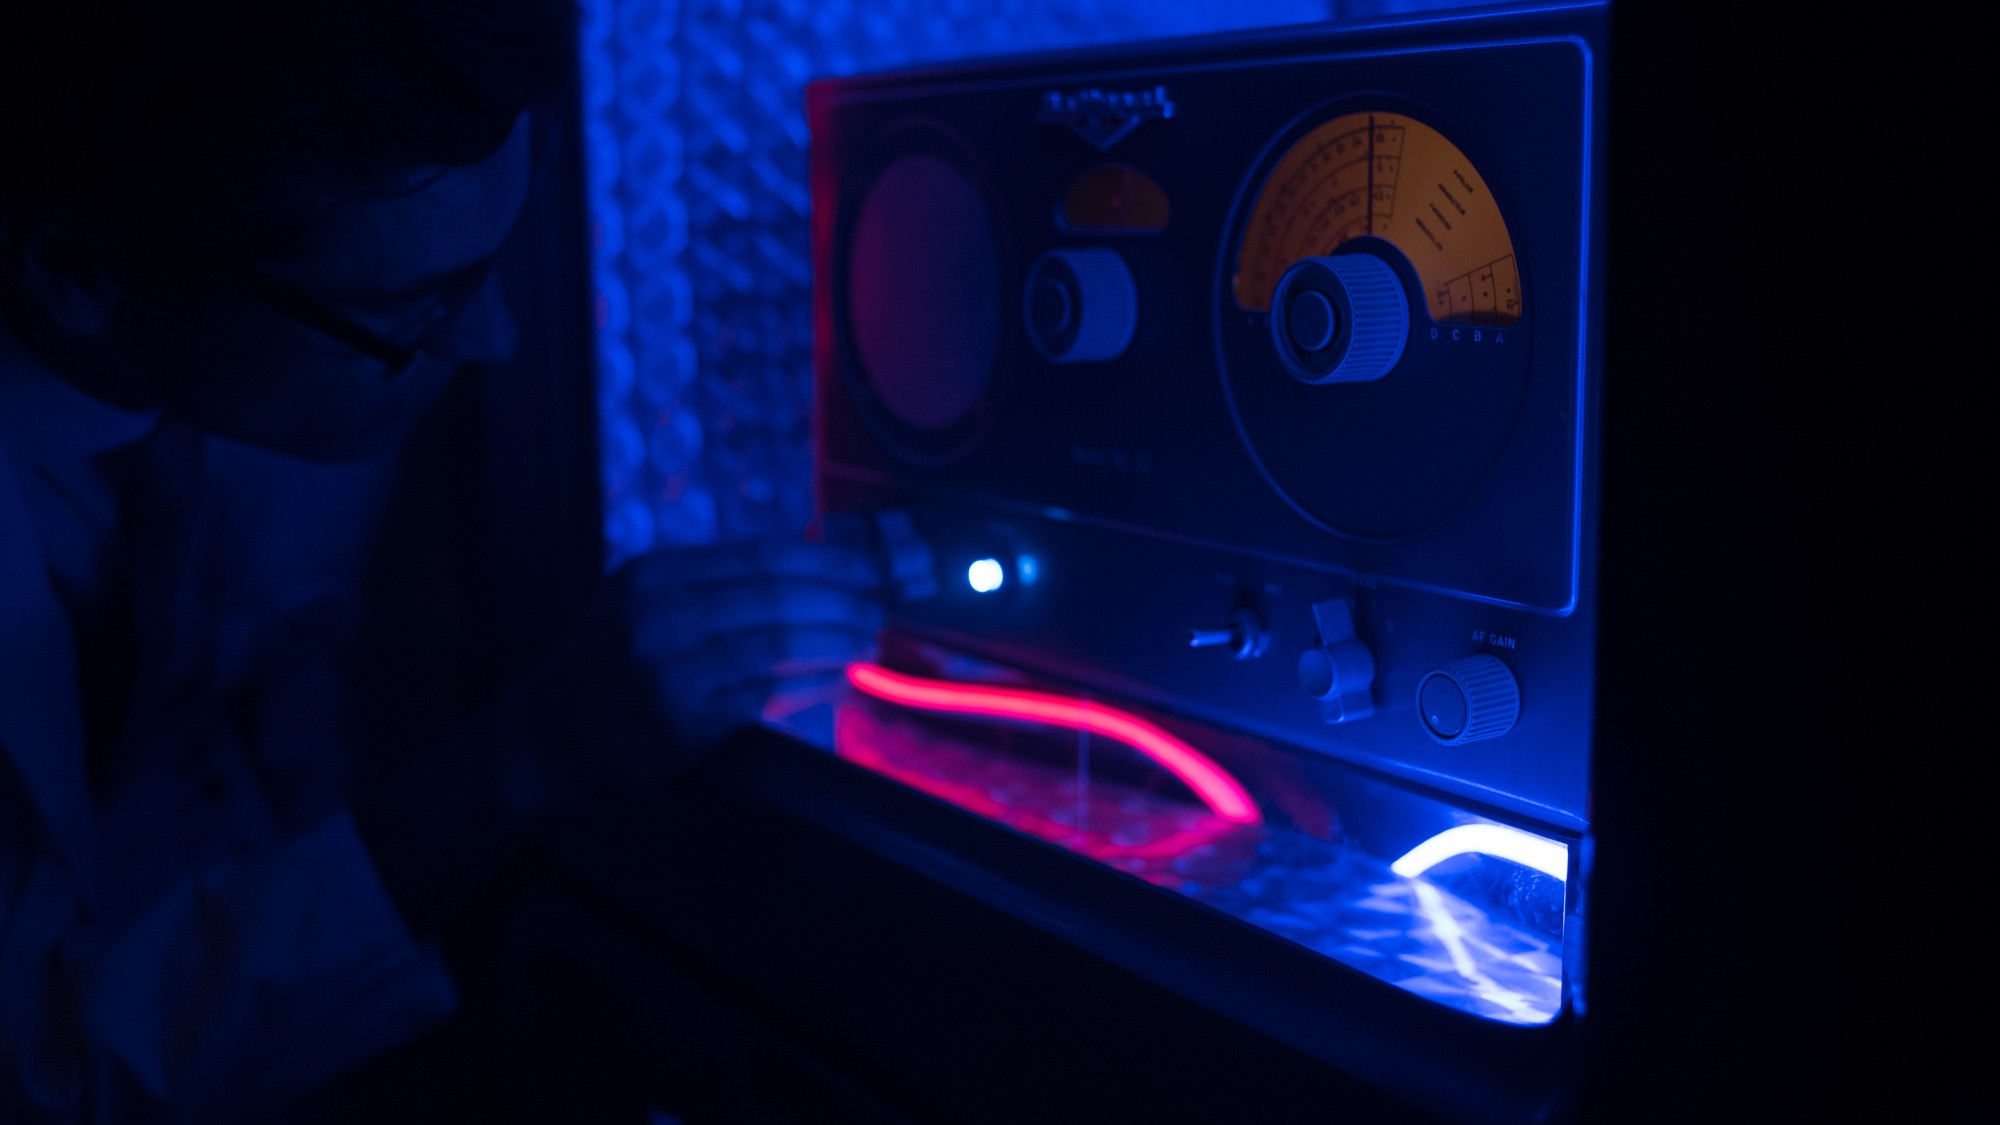
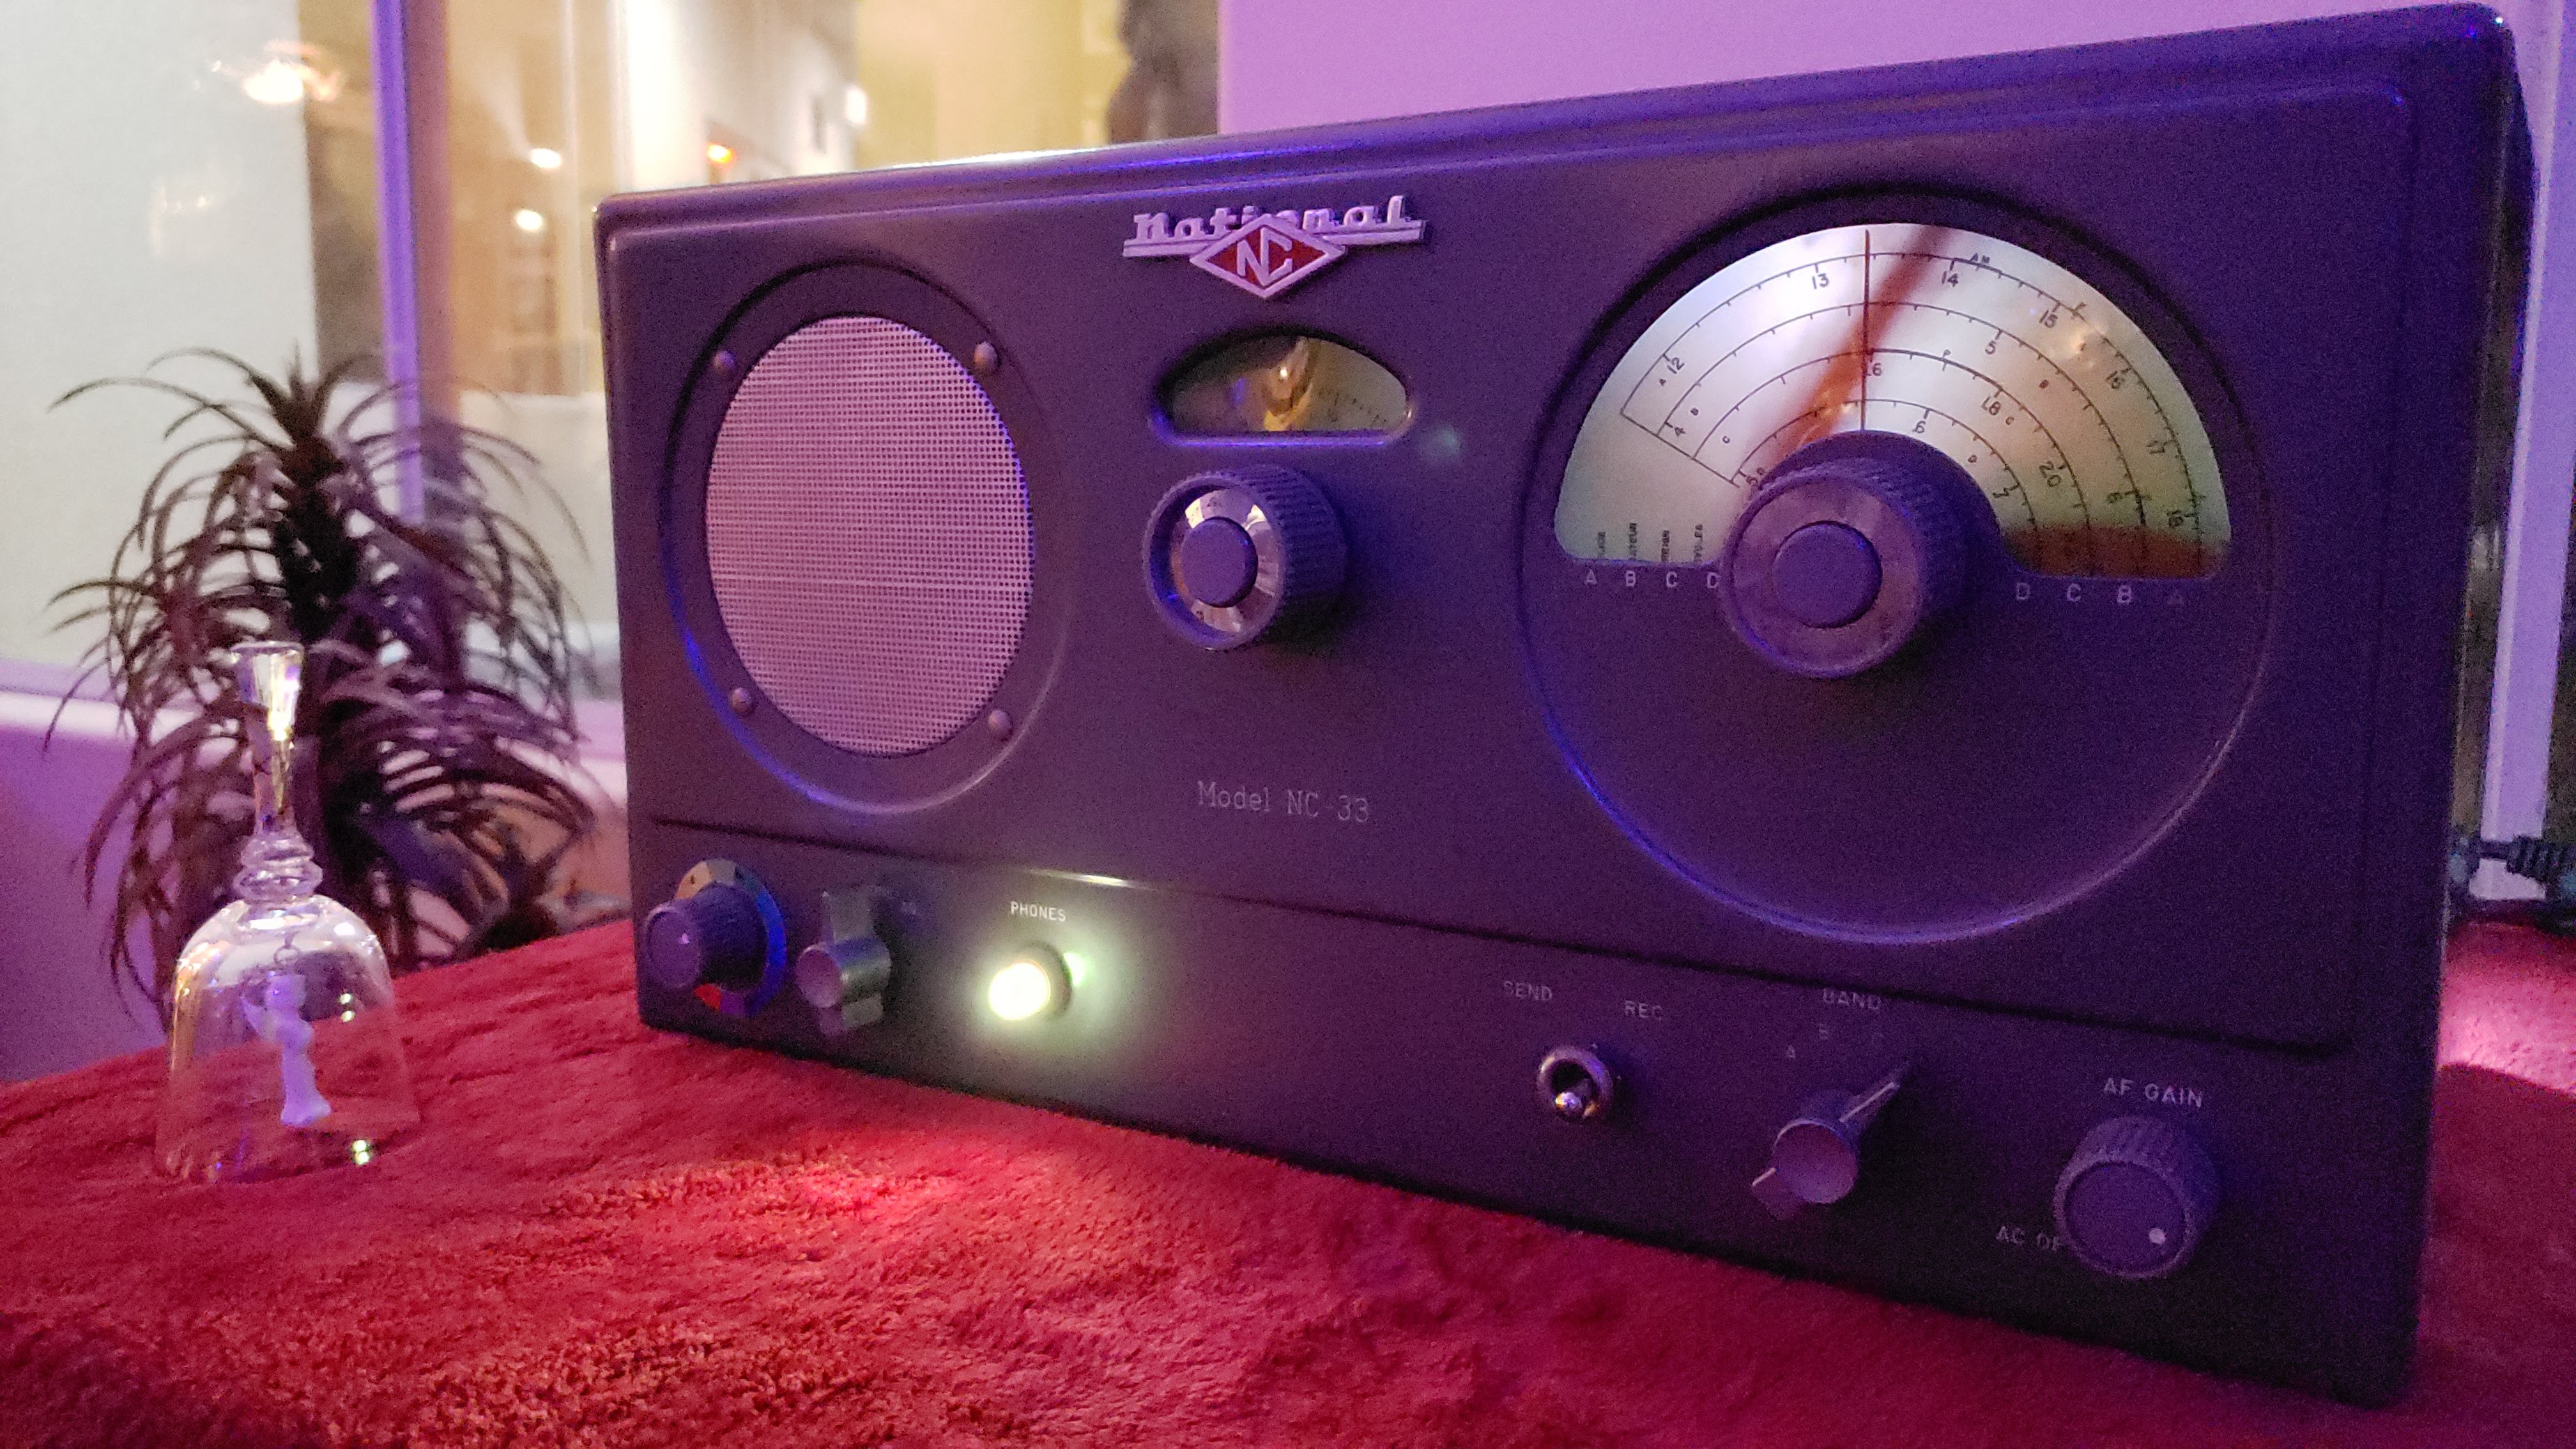
I chose a yellow color for the LED and an eerie static sound for the default standby mode. The switch at the bottom acts as the "enter" button once all three dials in play are set. When the switch is flipped the LED will turn either RED or BLUE depending on which team's code is entered. A nice sonar blip sound plays upon each LED flash.
The winning code was entered! A recorded message plays through the speaker, the light turns on and the smoke machine is activated!
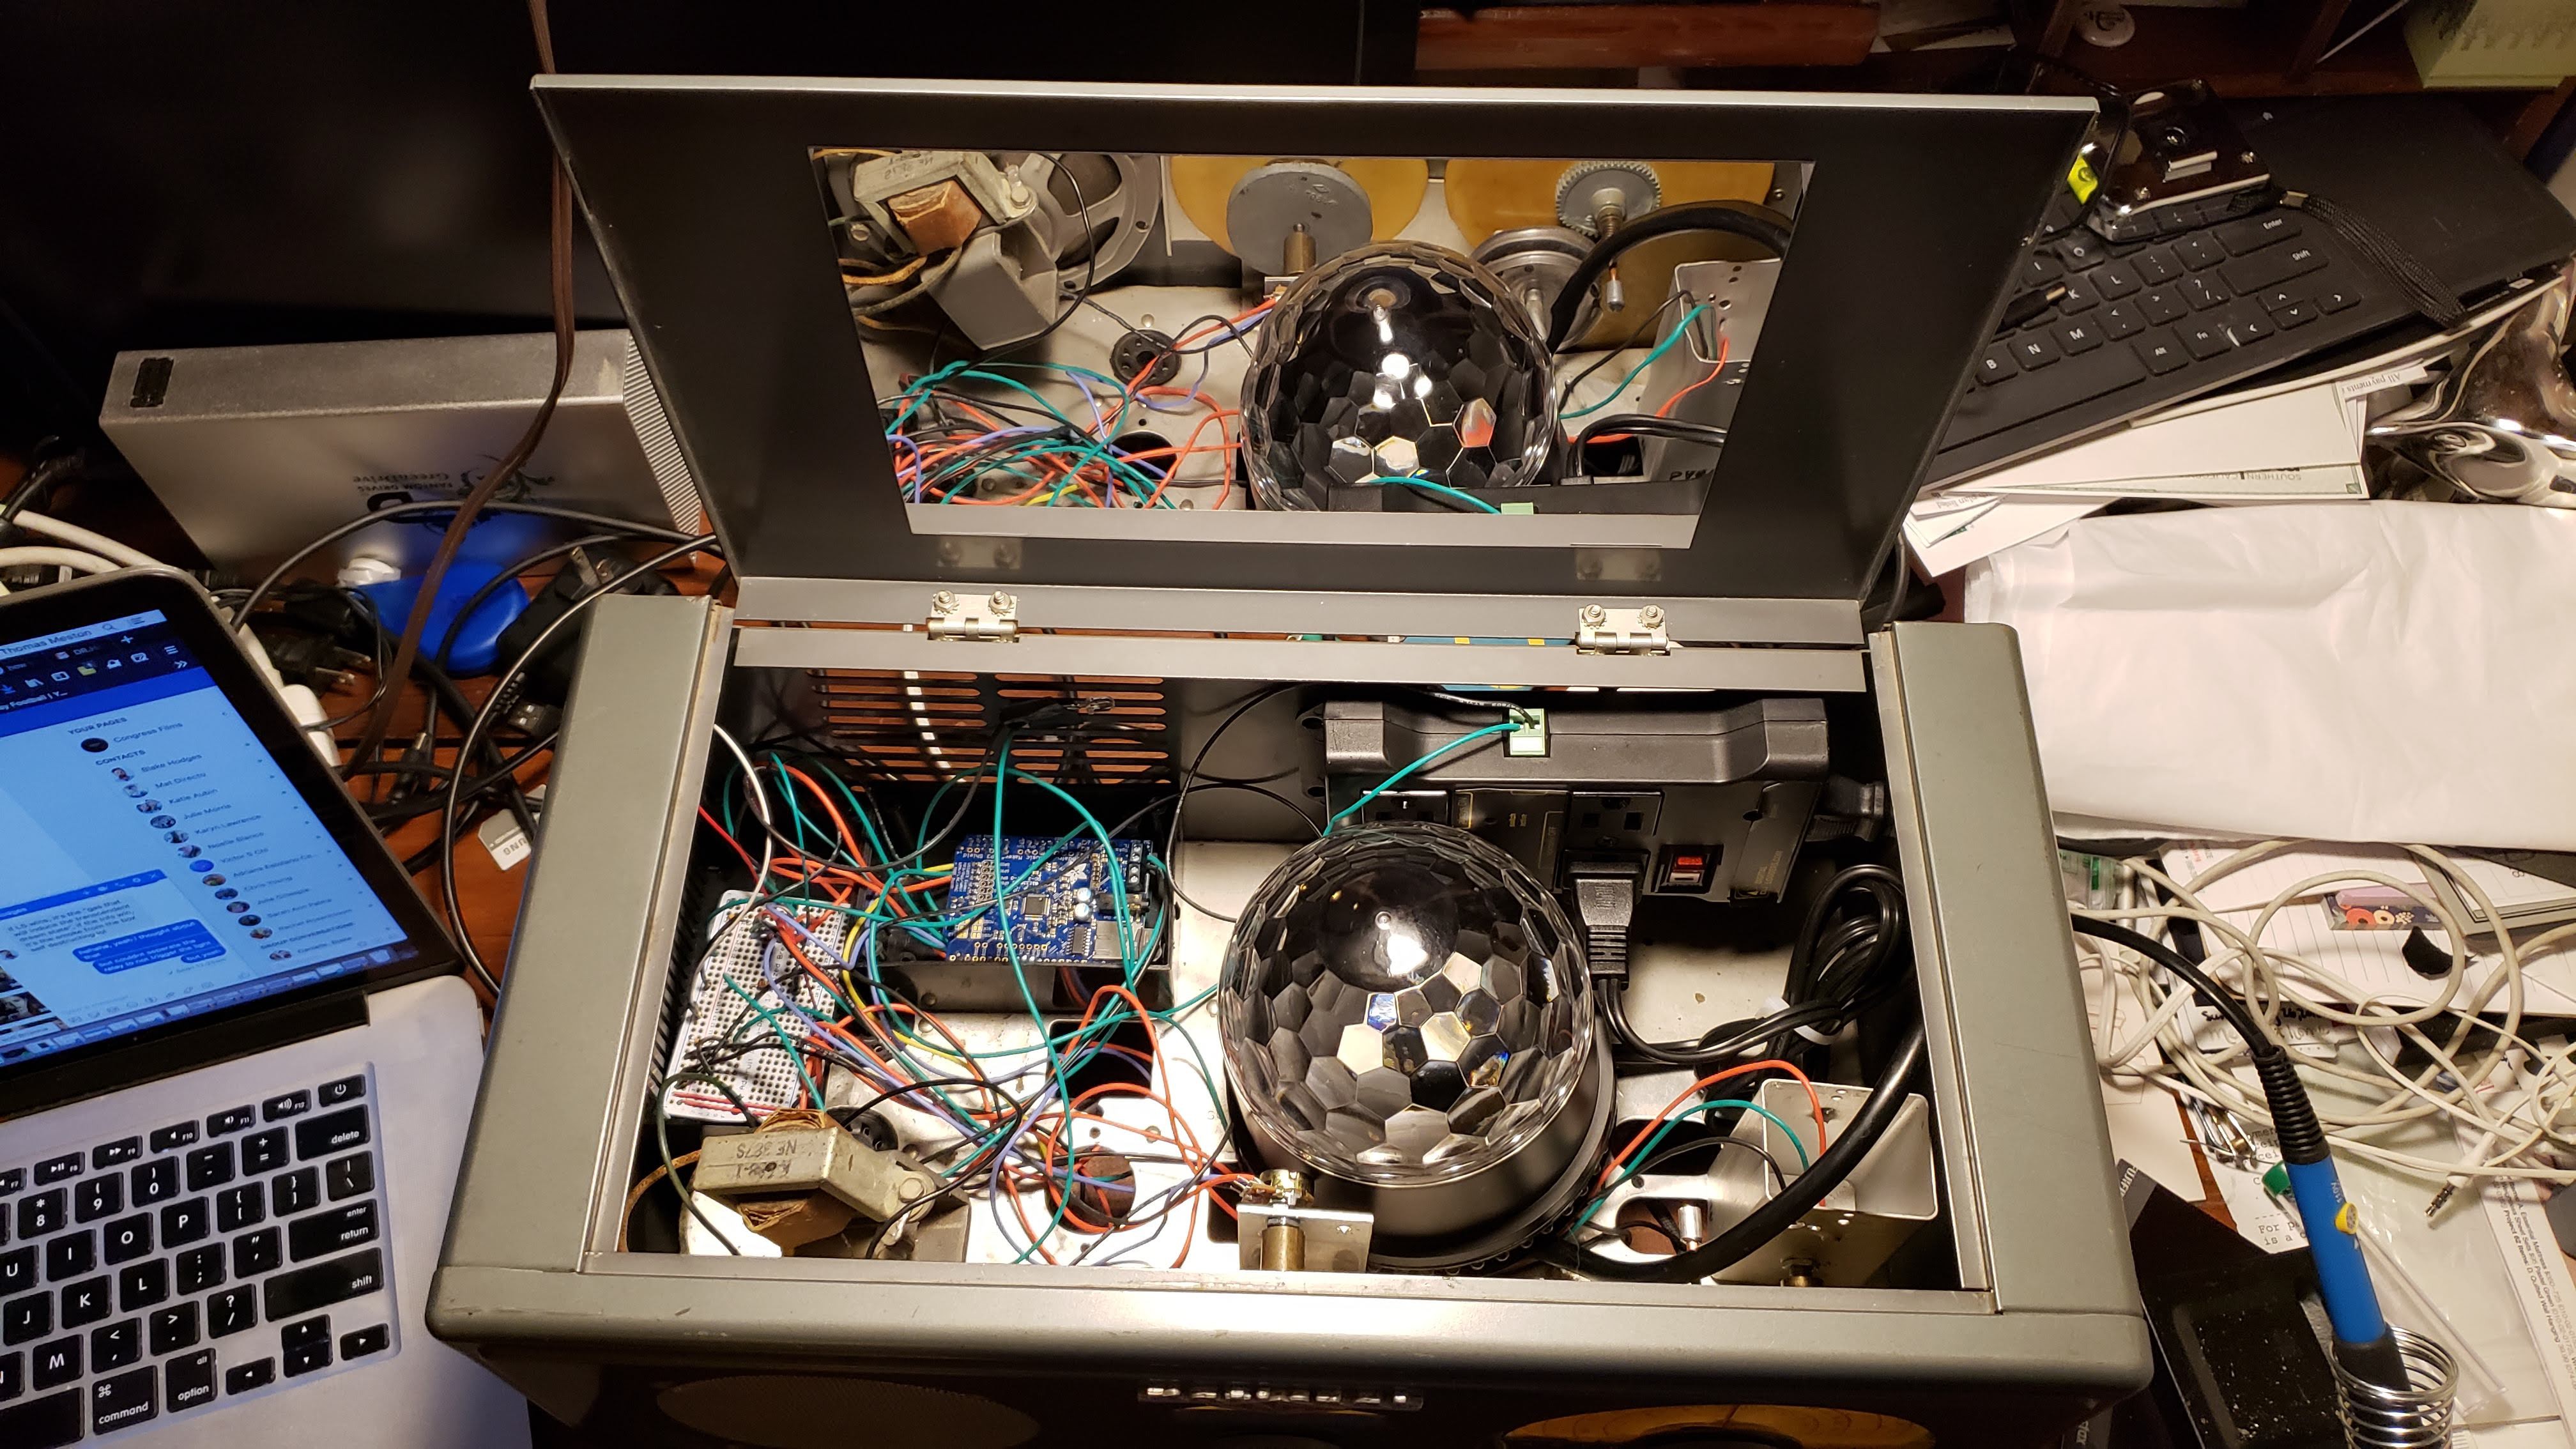
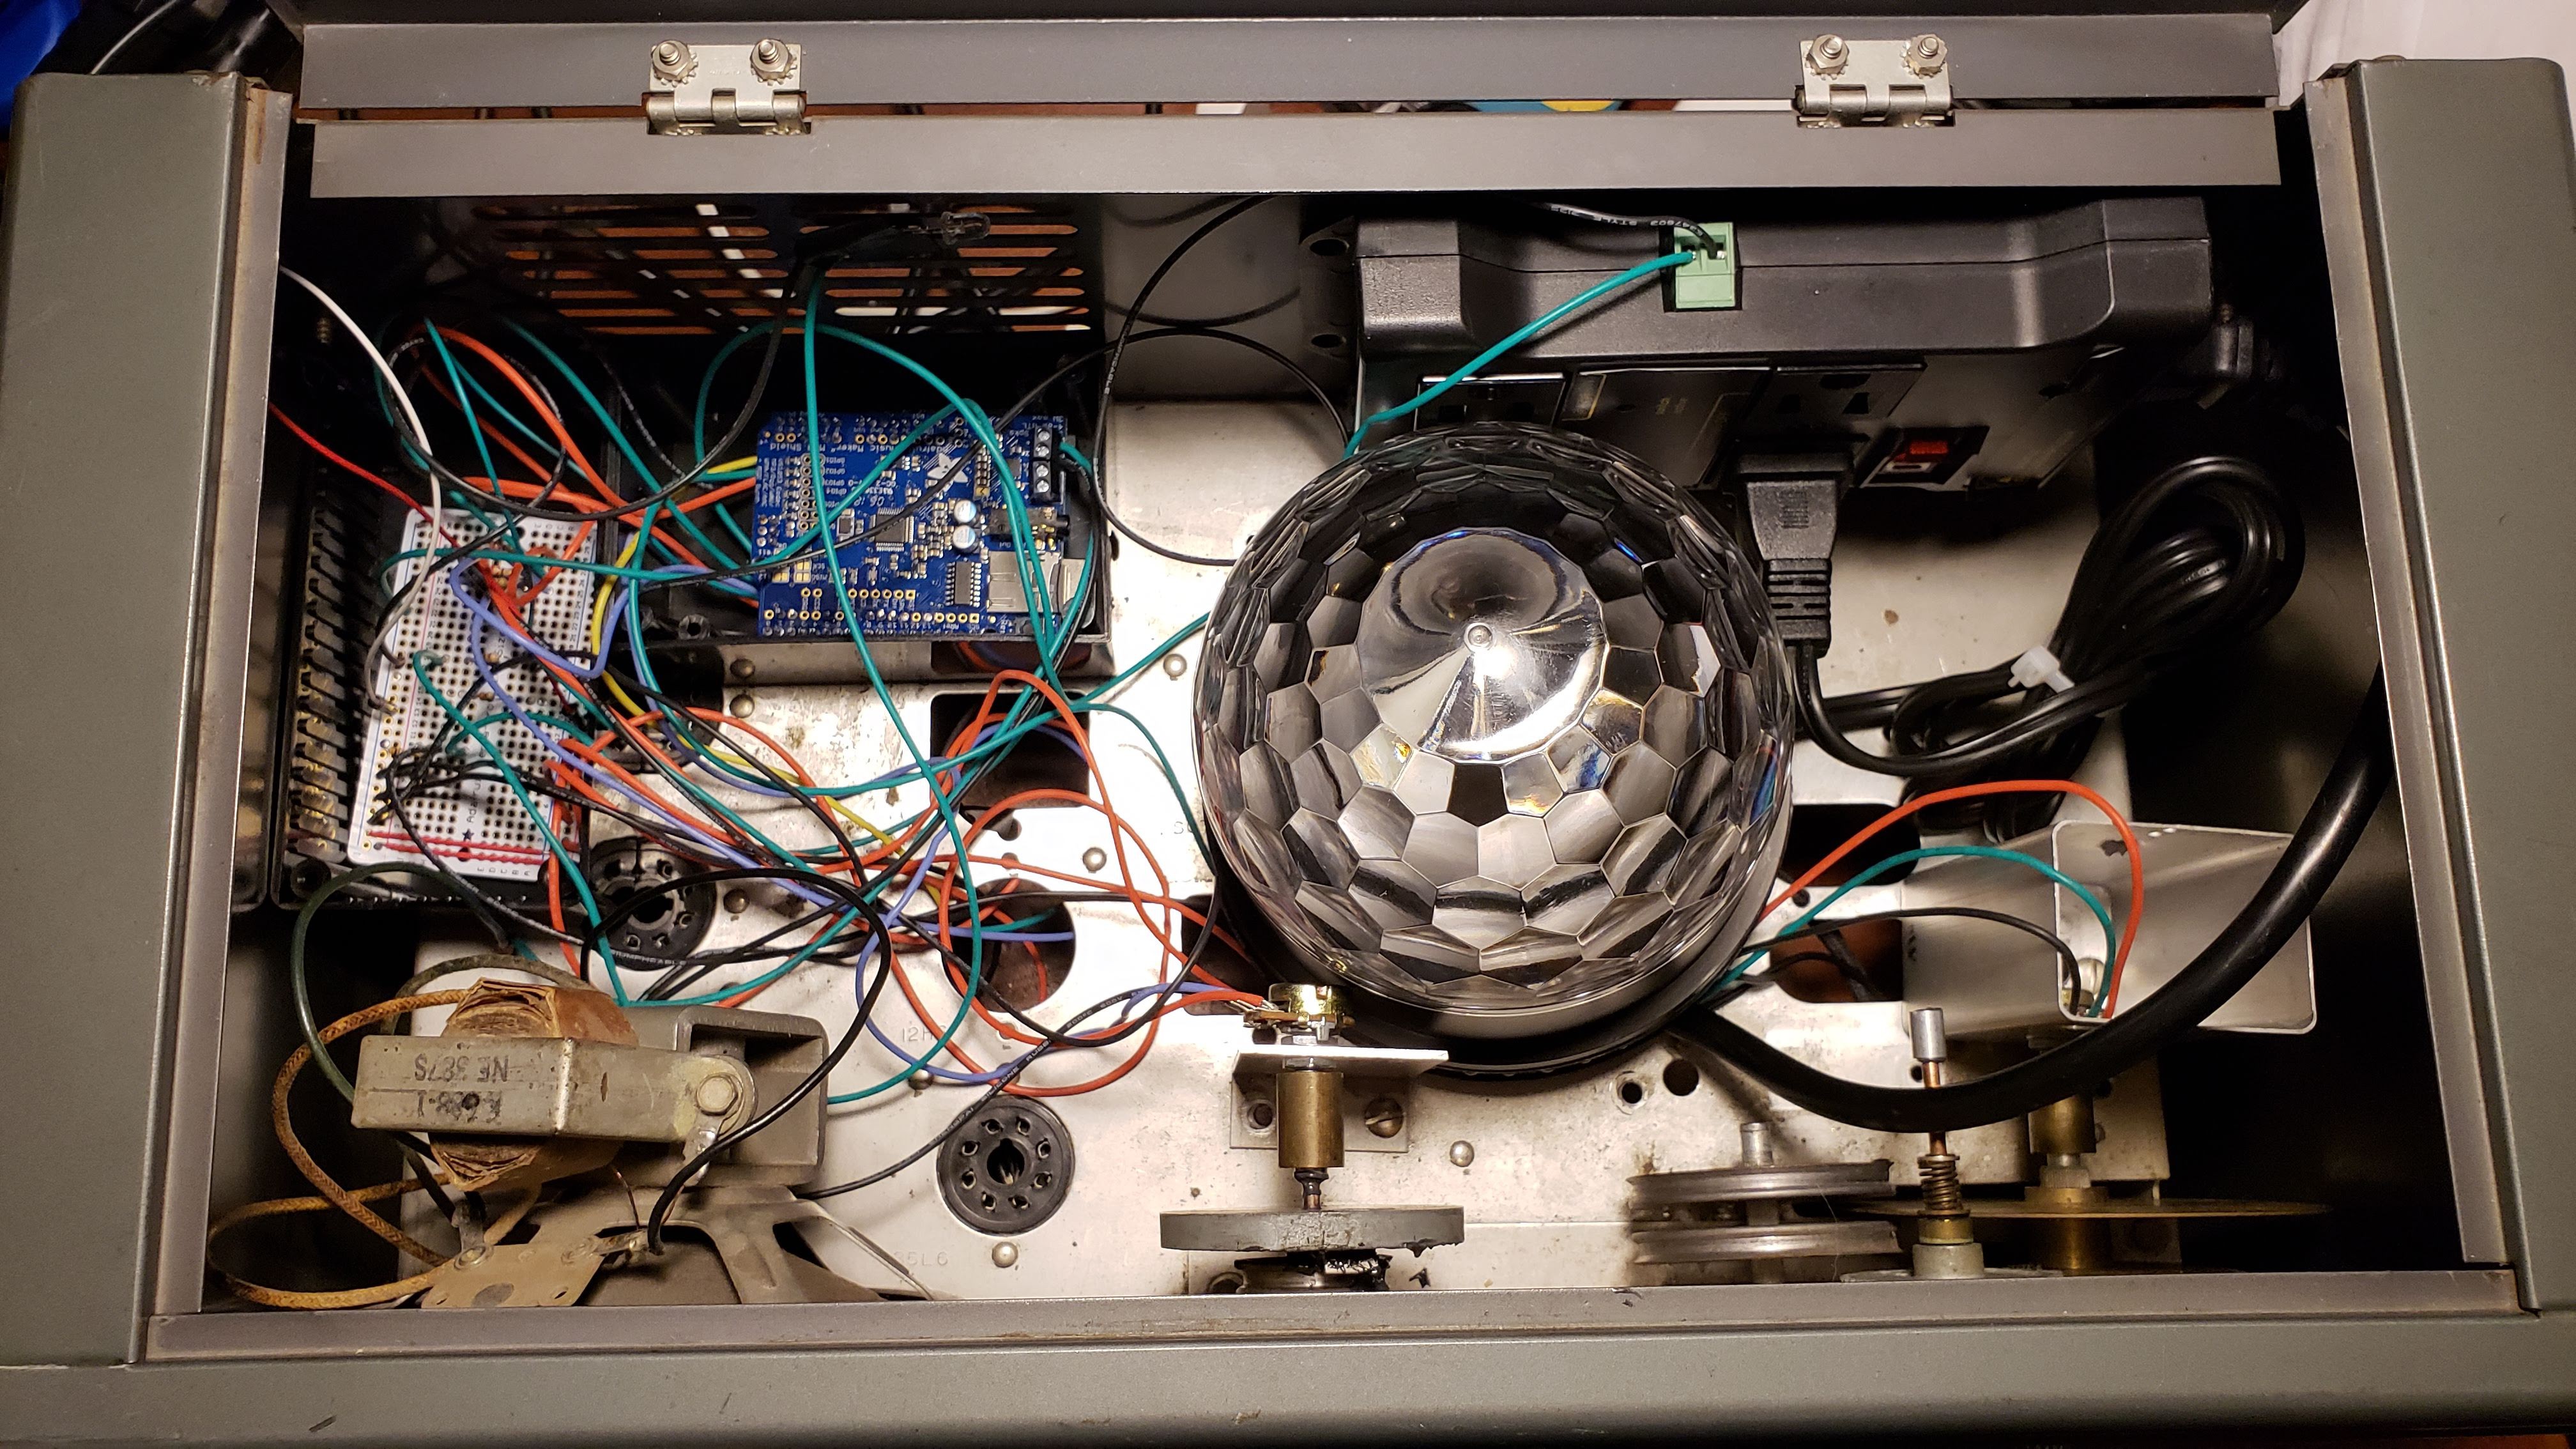
Everything crammed into the box. Probably should have spent just one more hour making it less of a rats nest. The party light ended up taking more room than anticipated. I added a mirror to the inside of the lid for extra party light action.
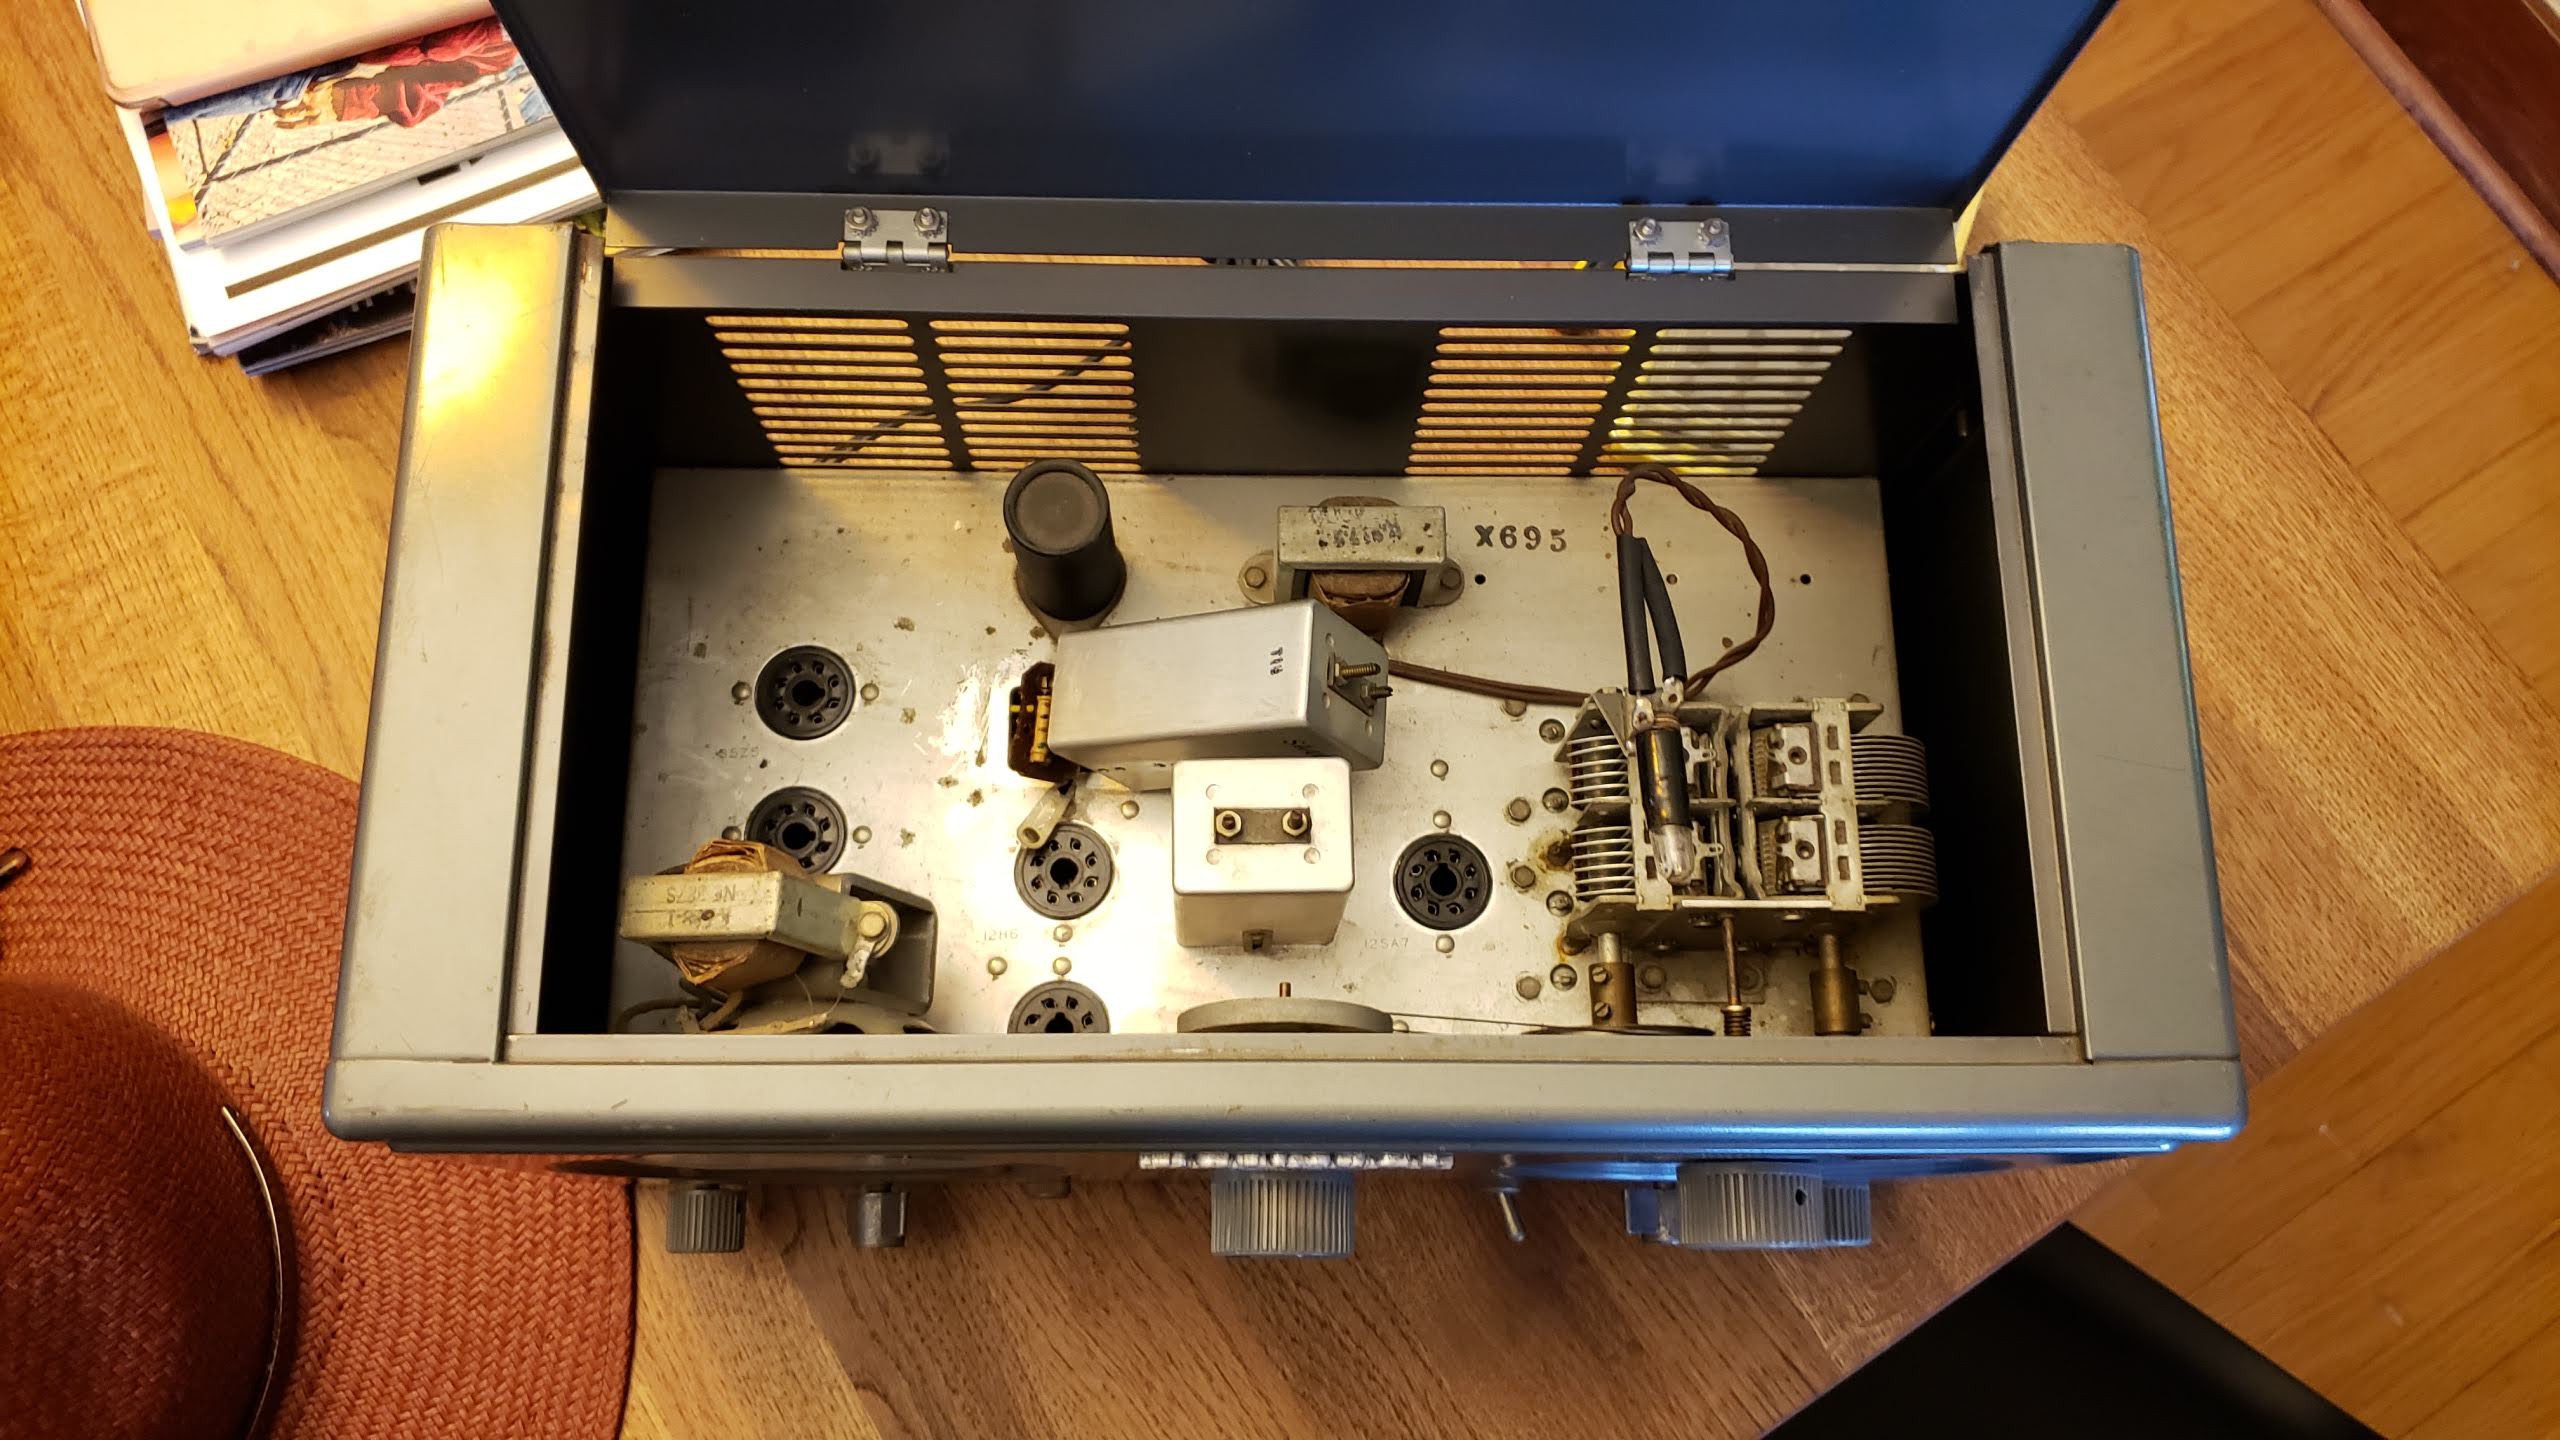
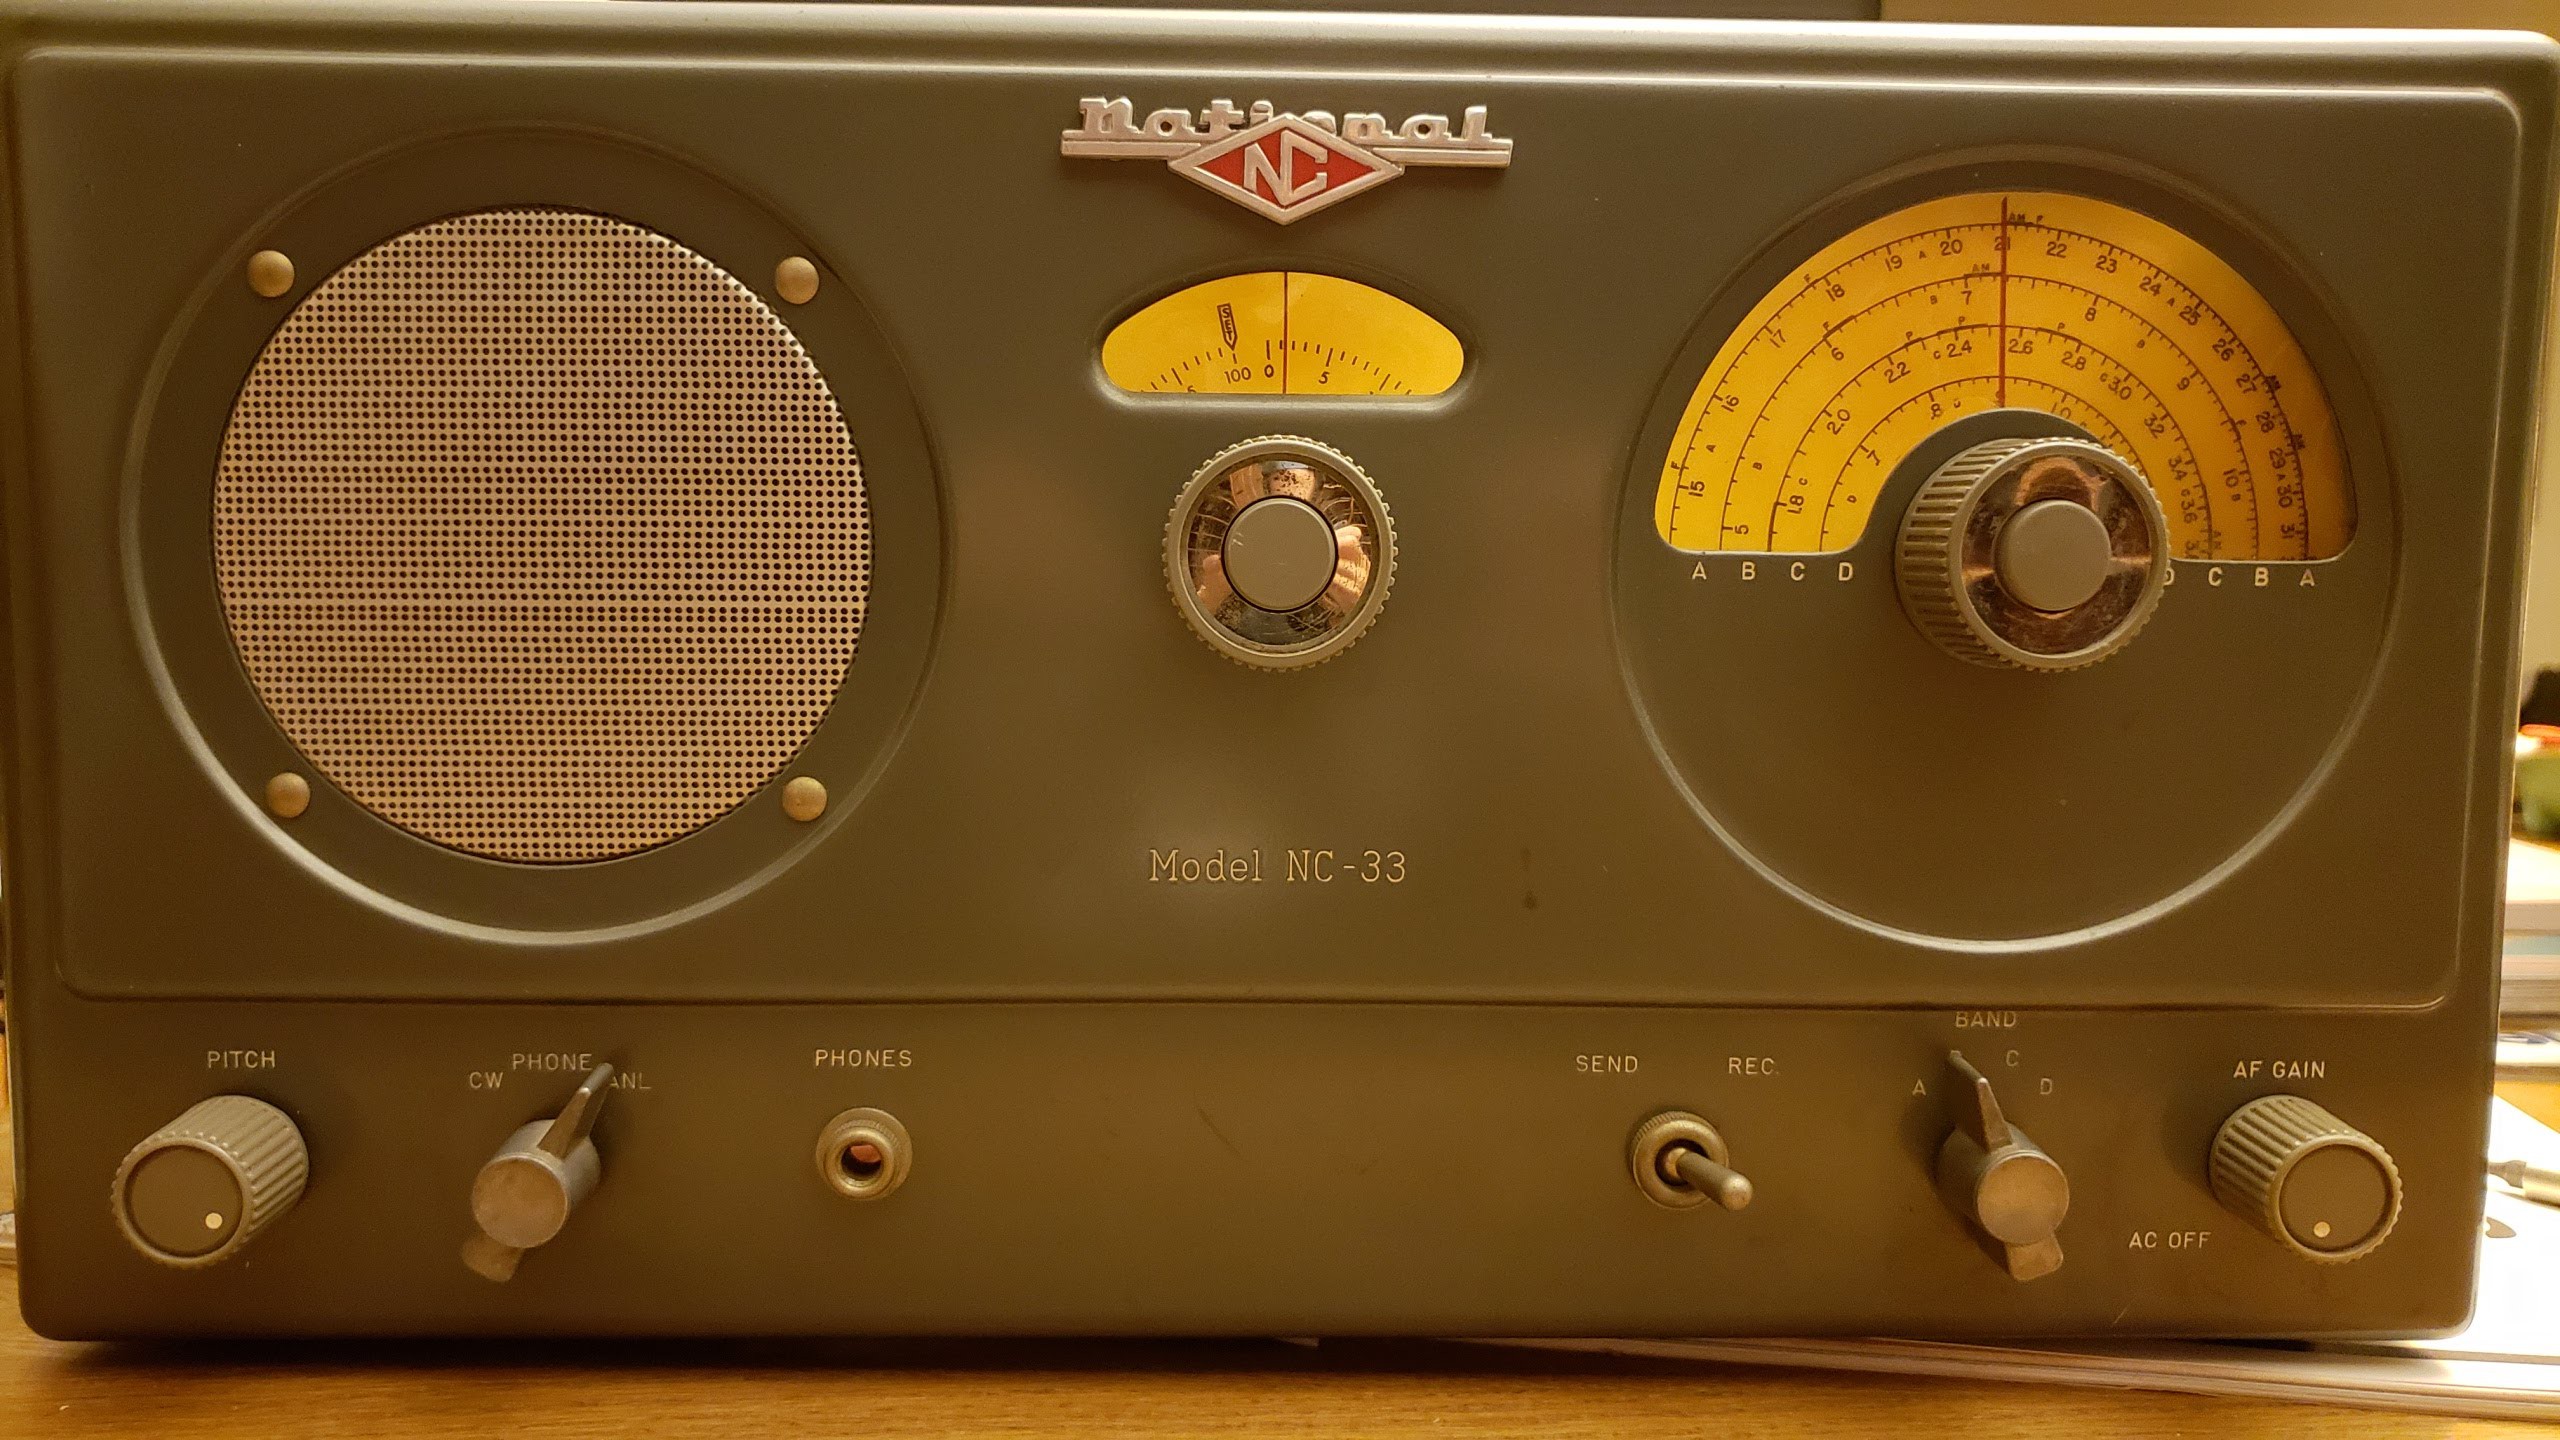
Here you can see i had to come up with completely new metal structures salvaged from other parts to install the potentiometers to the analogue dials. This involved many days of headaches, calibration and lots of cold welding. The 12volt relay fit in quite nicely allowing for two plug in devices to be triggered by the box. The goal was to trigger the party light and a small smoke machine hidden behind the box when the winning code was entered. The box ready for prime-time. The bottom left dial needed some sort of information around the dial so we chose a colorwheel for code entries. The other dial and switches are not in play.
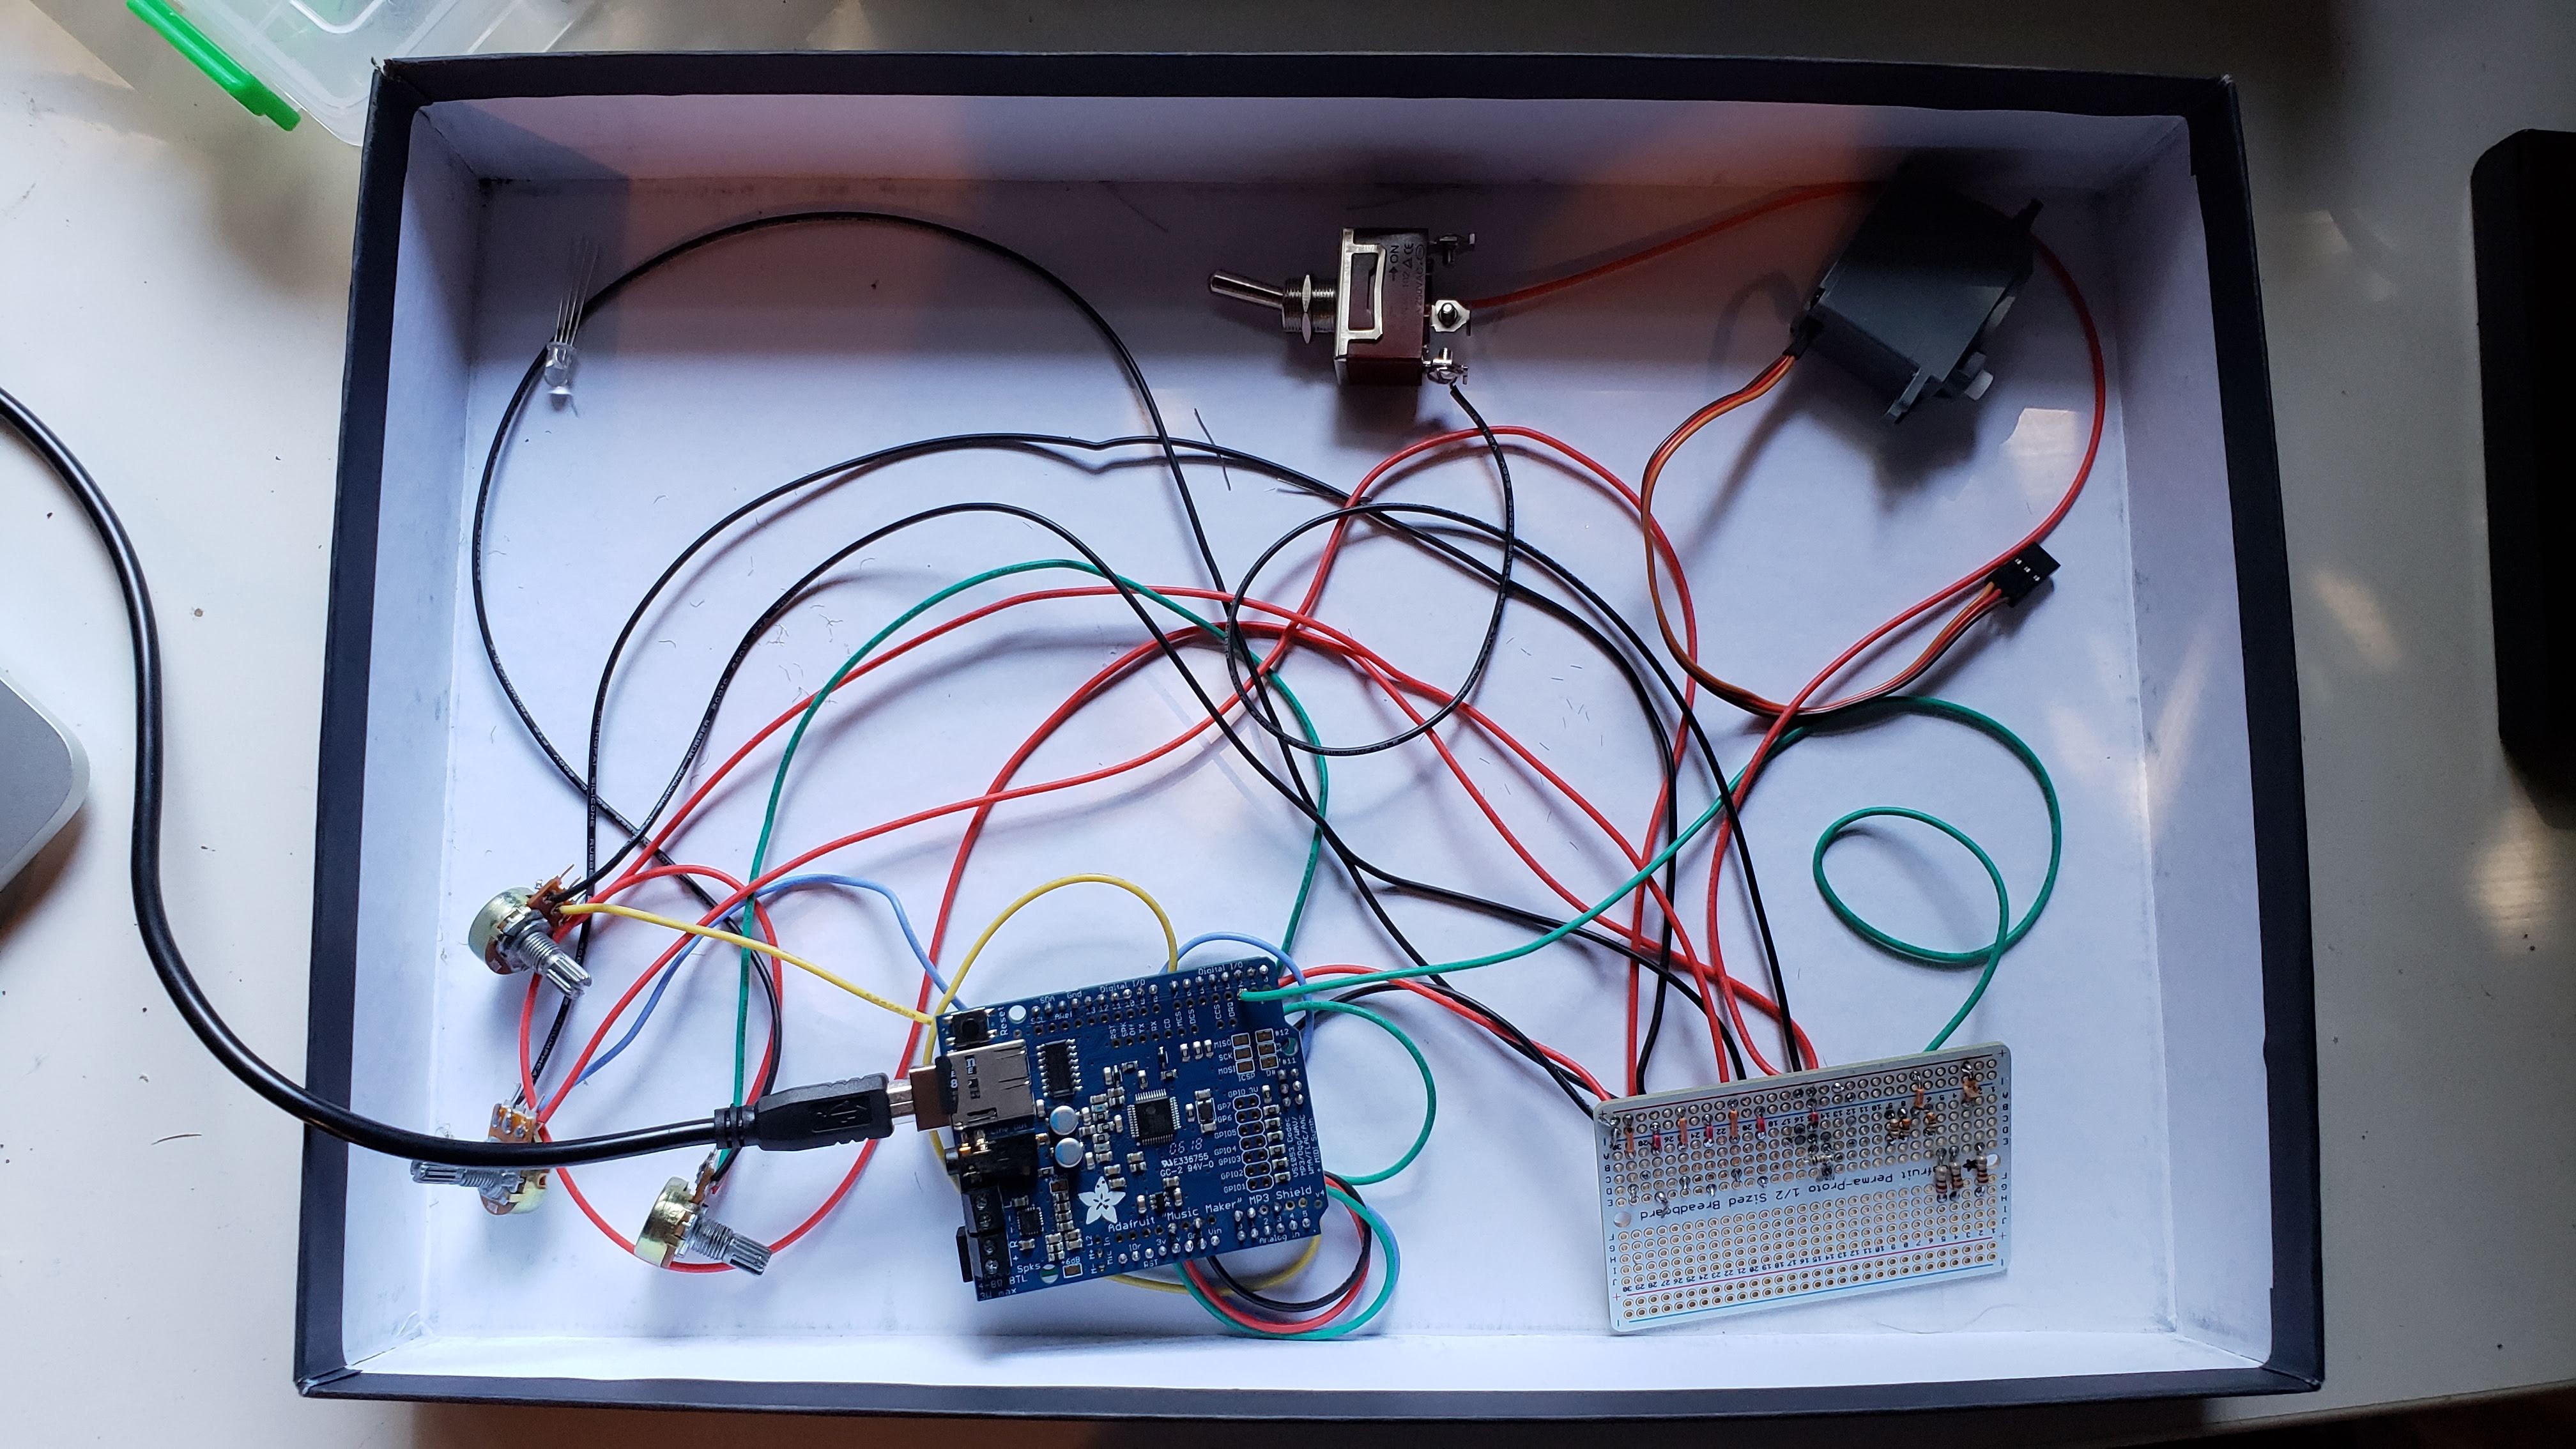
Initial testing of the potentiometers and entry codes. The guts of the box ready to be installed. Here are the three potentiometers, the switch, and servo connected to an Arduino Uno with an MP3 Music Maker Shield via the proto perma breadboard.
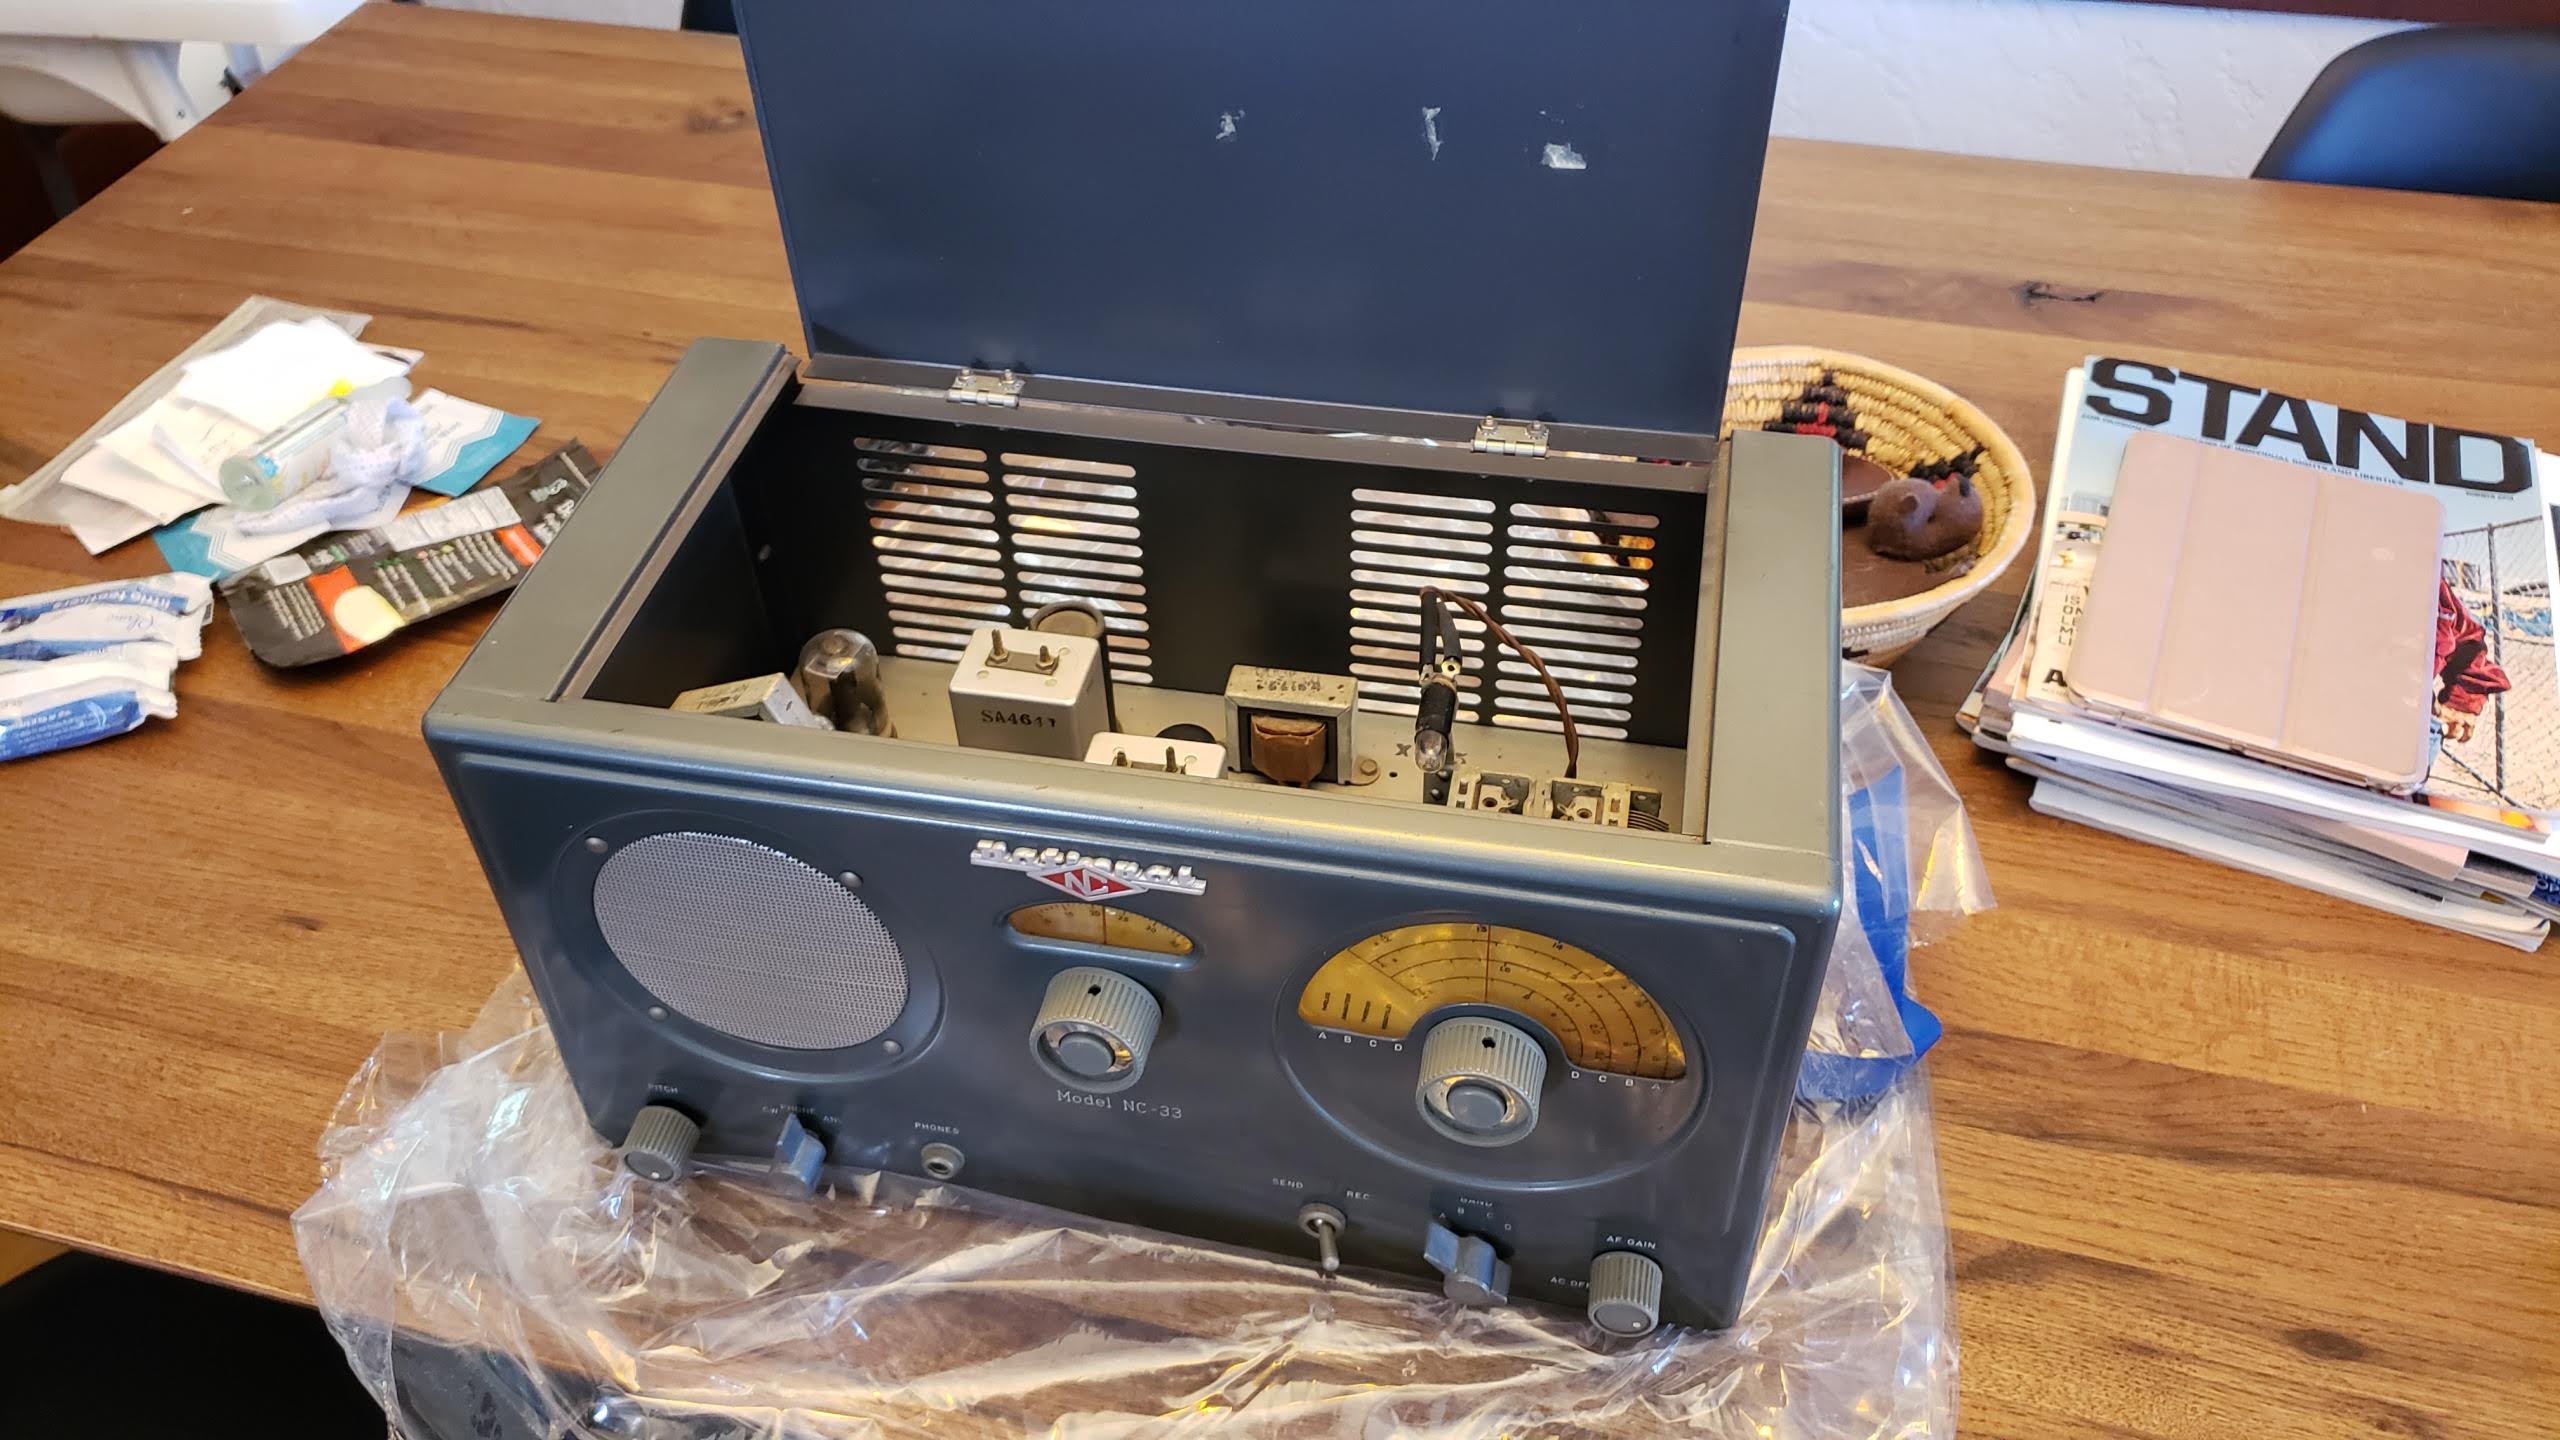
While broken, the radio was in very good condition. Didn't anticipate the gear and pulley system connected to the two major dials. This would prove to be one of the most difficult parts of the potentiometer retrofit.
The plan here is to utilize three dials, the switch at the bottom, and find a place for an RGB LED. I ended up using the two large dials at the top and the "pitch" dial at the bottom left. The headphone jack proved to be the perfect size for an ultra bright 5mm RGB LED. The original internal speaker luckily still worked and was used in the final product.
After a few hours of ripping, pulling and drilling. The radio is gutted expect for the original speaker.
By using our website and services, you expressly agree to the placement of our performance, functionality, and advertising cookies.
Learn More
 thomas.meston
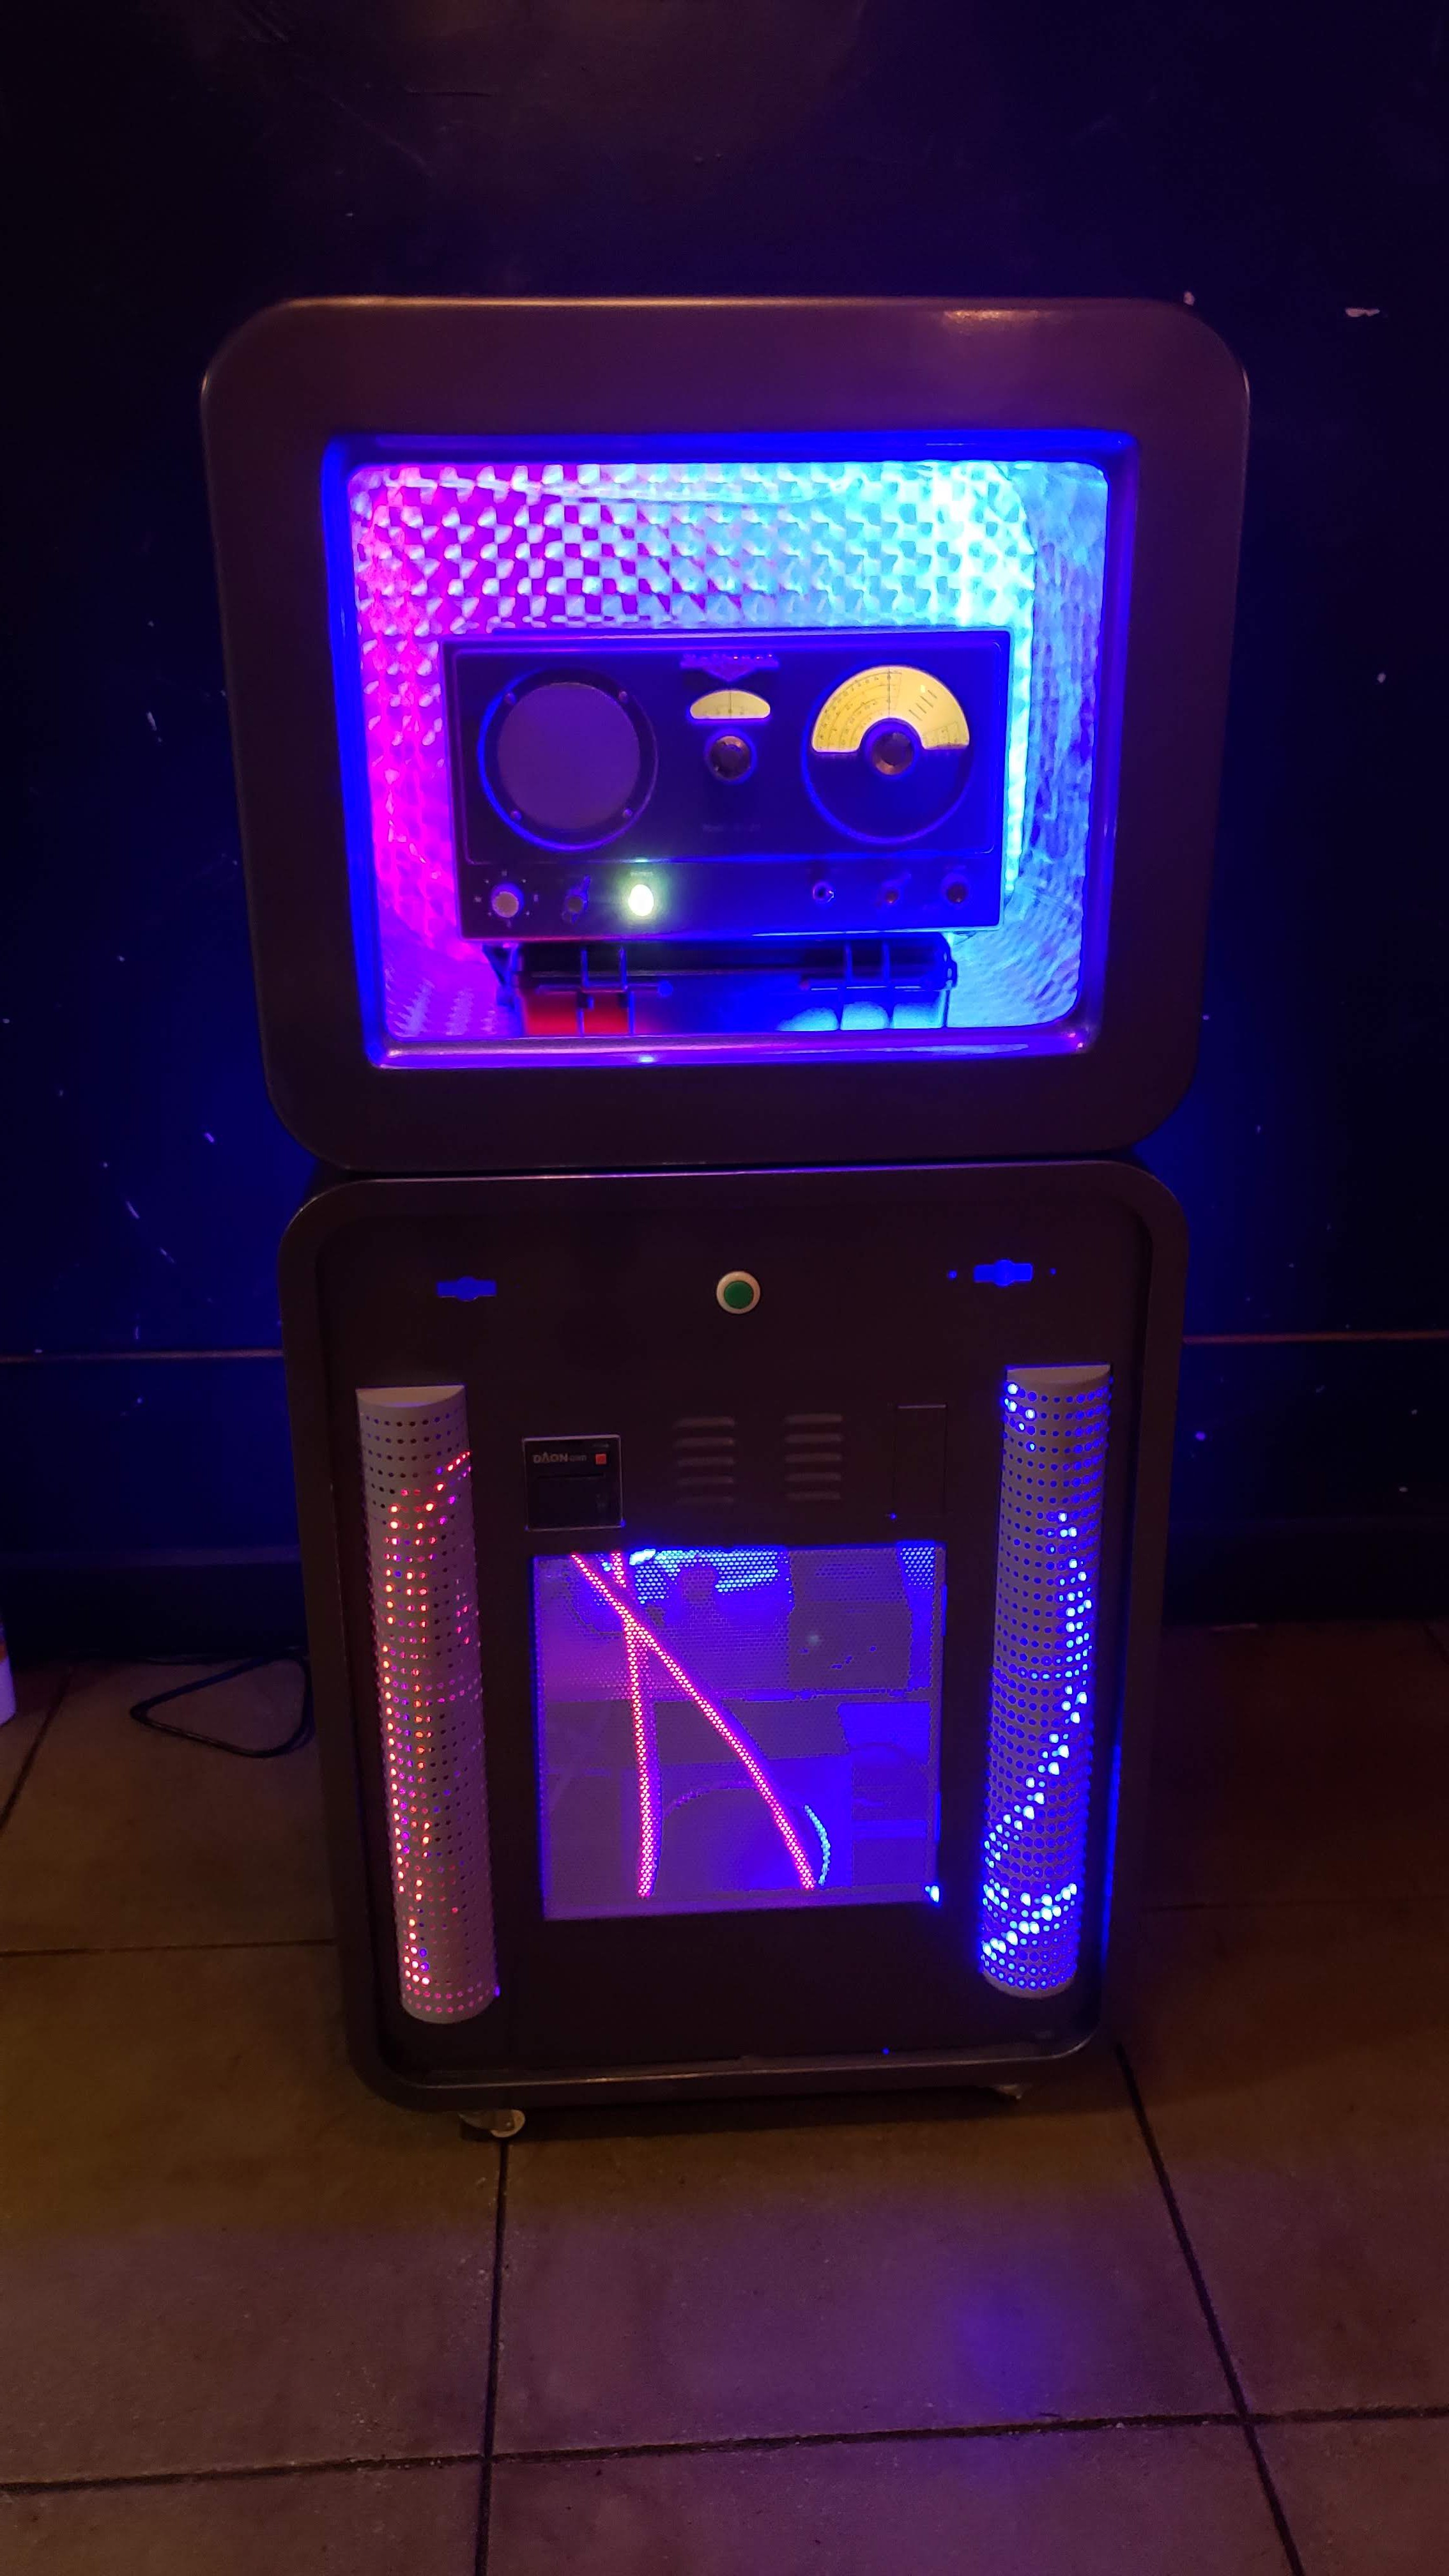

 The Lucid team wins! Time to drink!