 audreyobscura
Tools and Materials for this version of a collapsible UV resin oven
- 3D printer
- 3D filament
- insulating air foil
- UV LED strips
- Masking tape
- 5V USB Battery pack
- 5V -> 9V/12V USB step up
- Soldering iron + solder
- Heat shrink
- Jumper wires
- Hot glue gun + glue sticks
Conceptualizing the design
In a previous log post, I shared my idea for using the existing exposure unit I built (see original instructions for the PVC frame when I was still using the lamp primarily for cyanotype printing) with custom 3D printed end-caps.

Checking the Parts
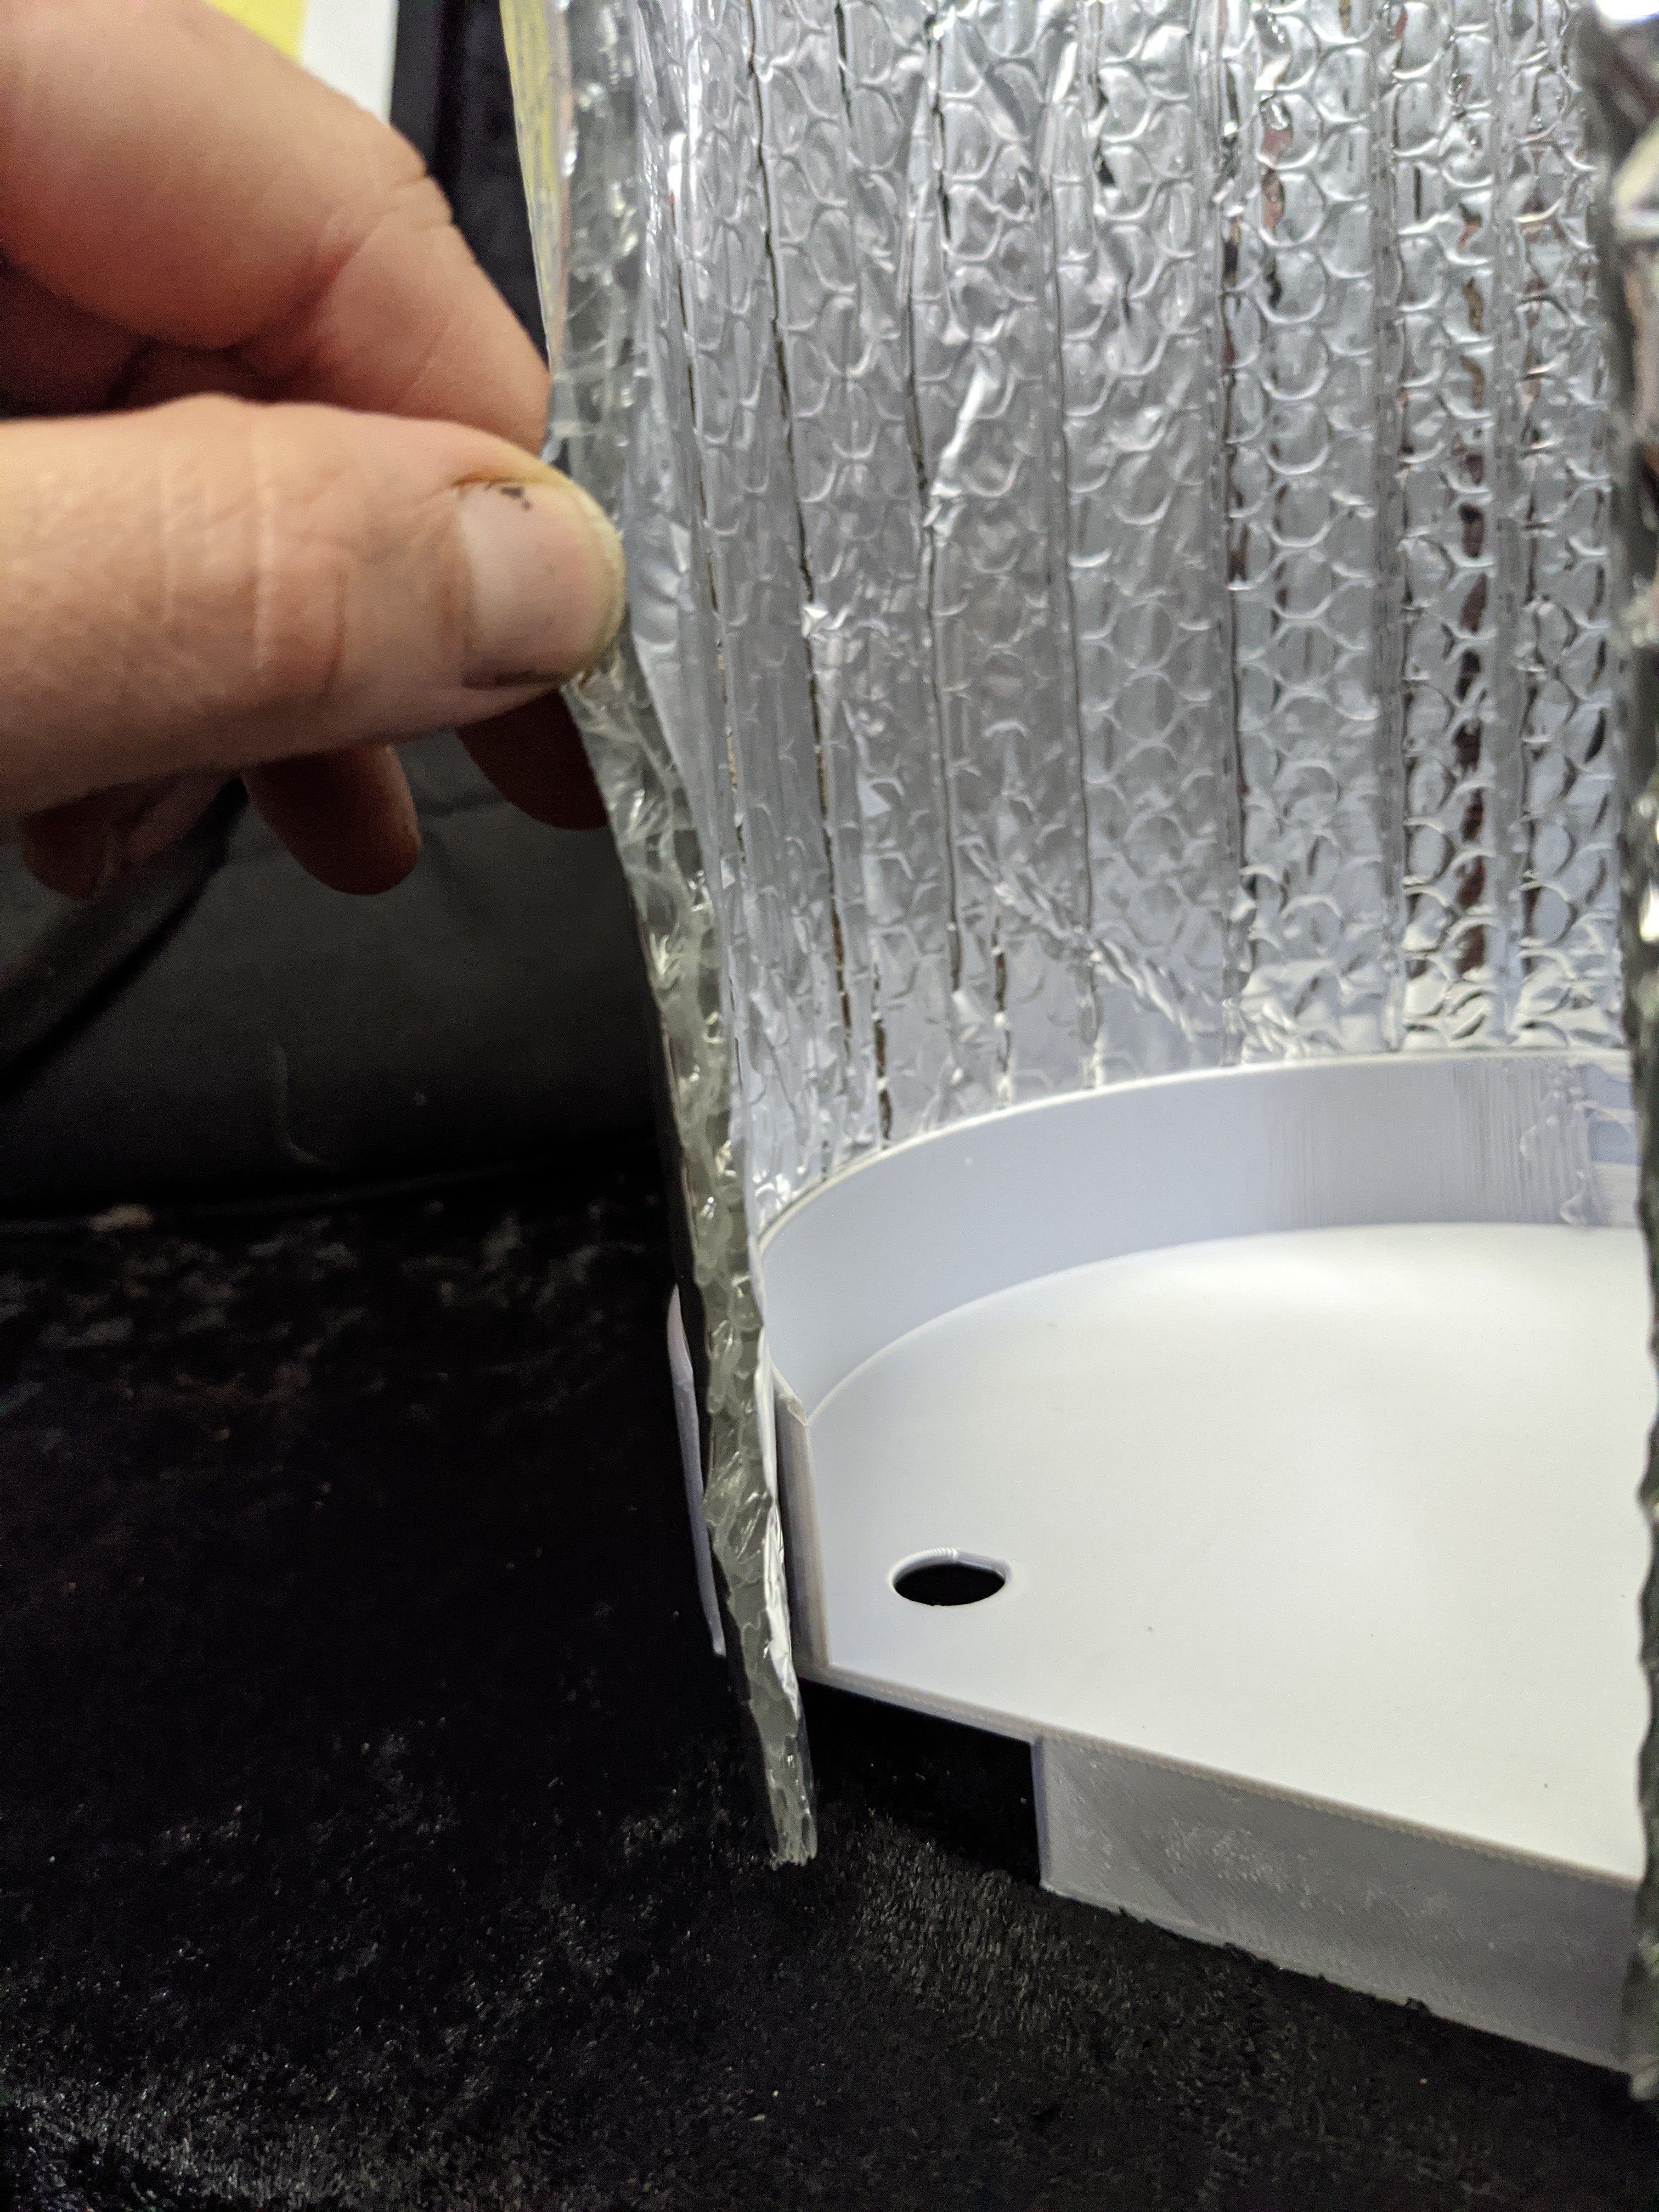
Once the models came off the printer, I did a quick fitting to make sure the parts would fit.
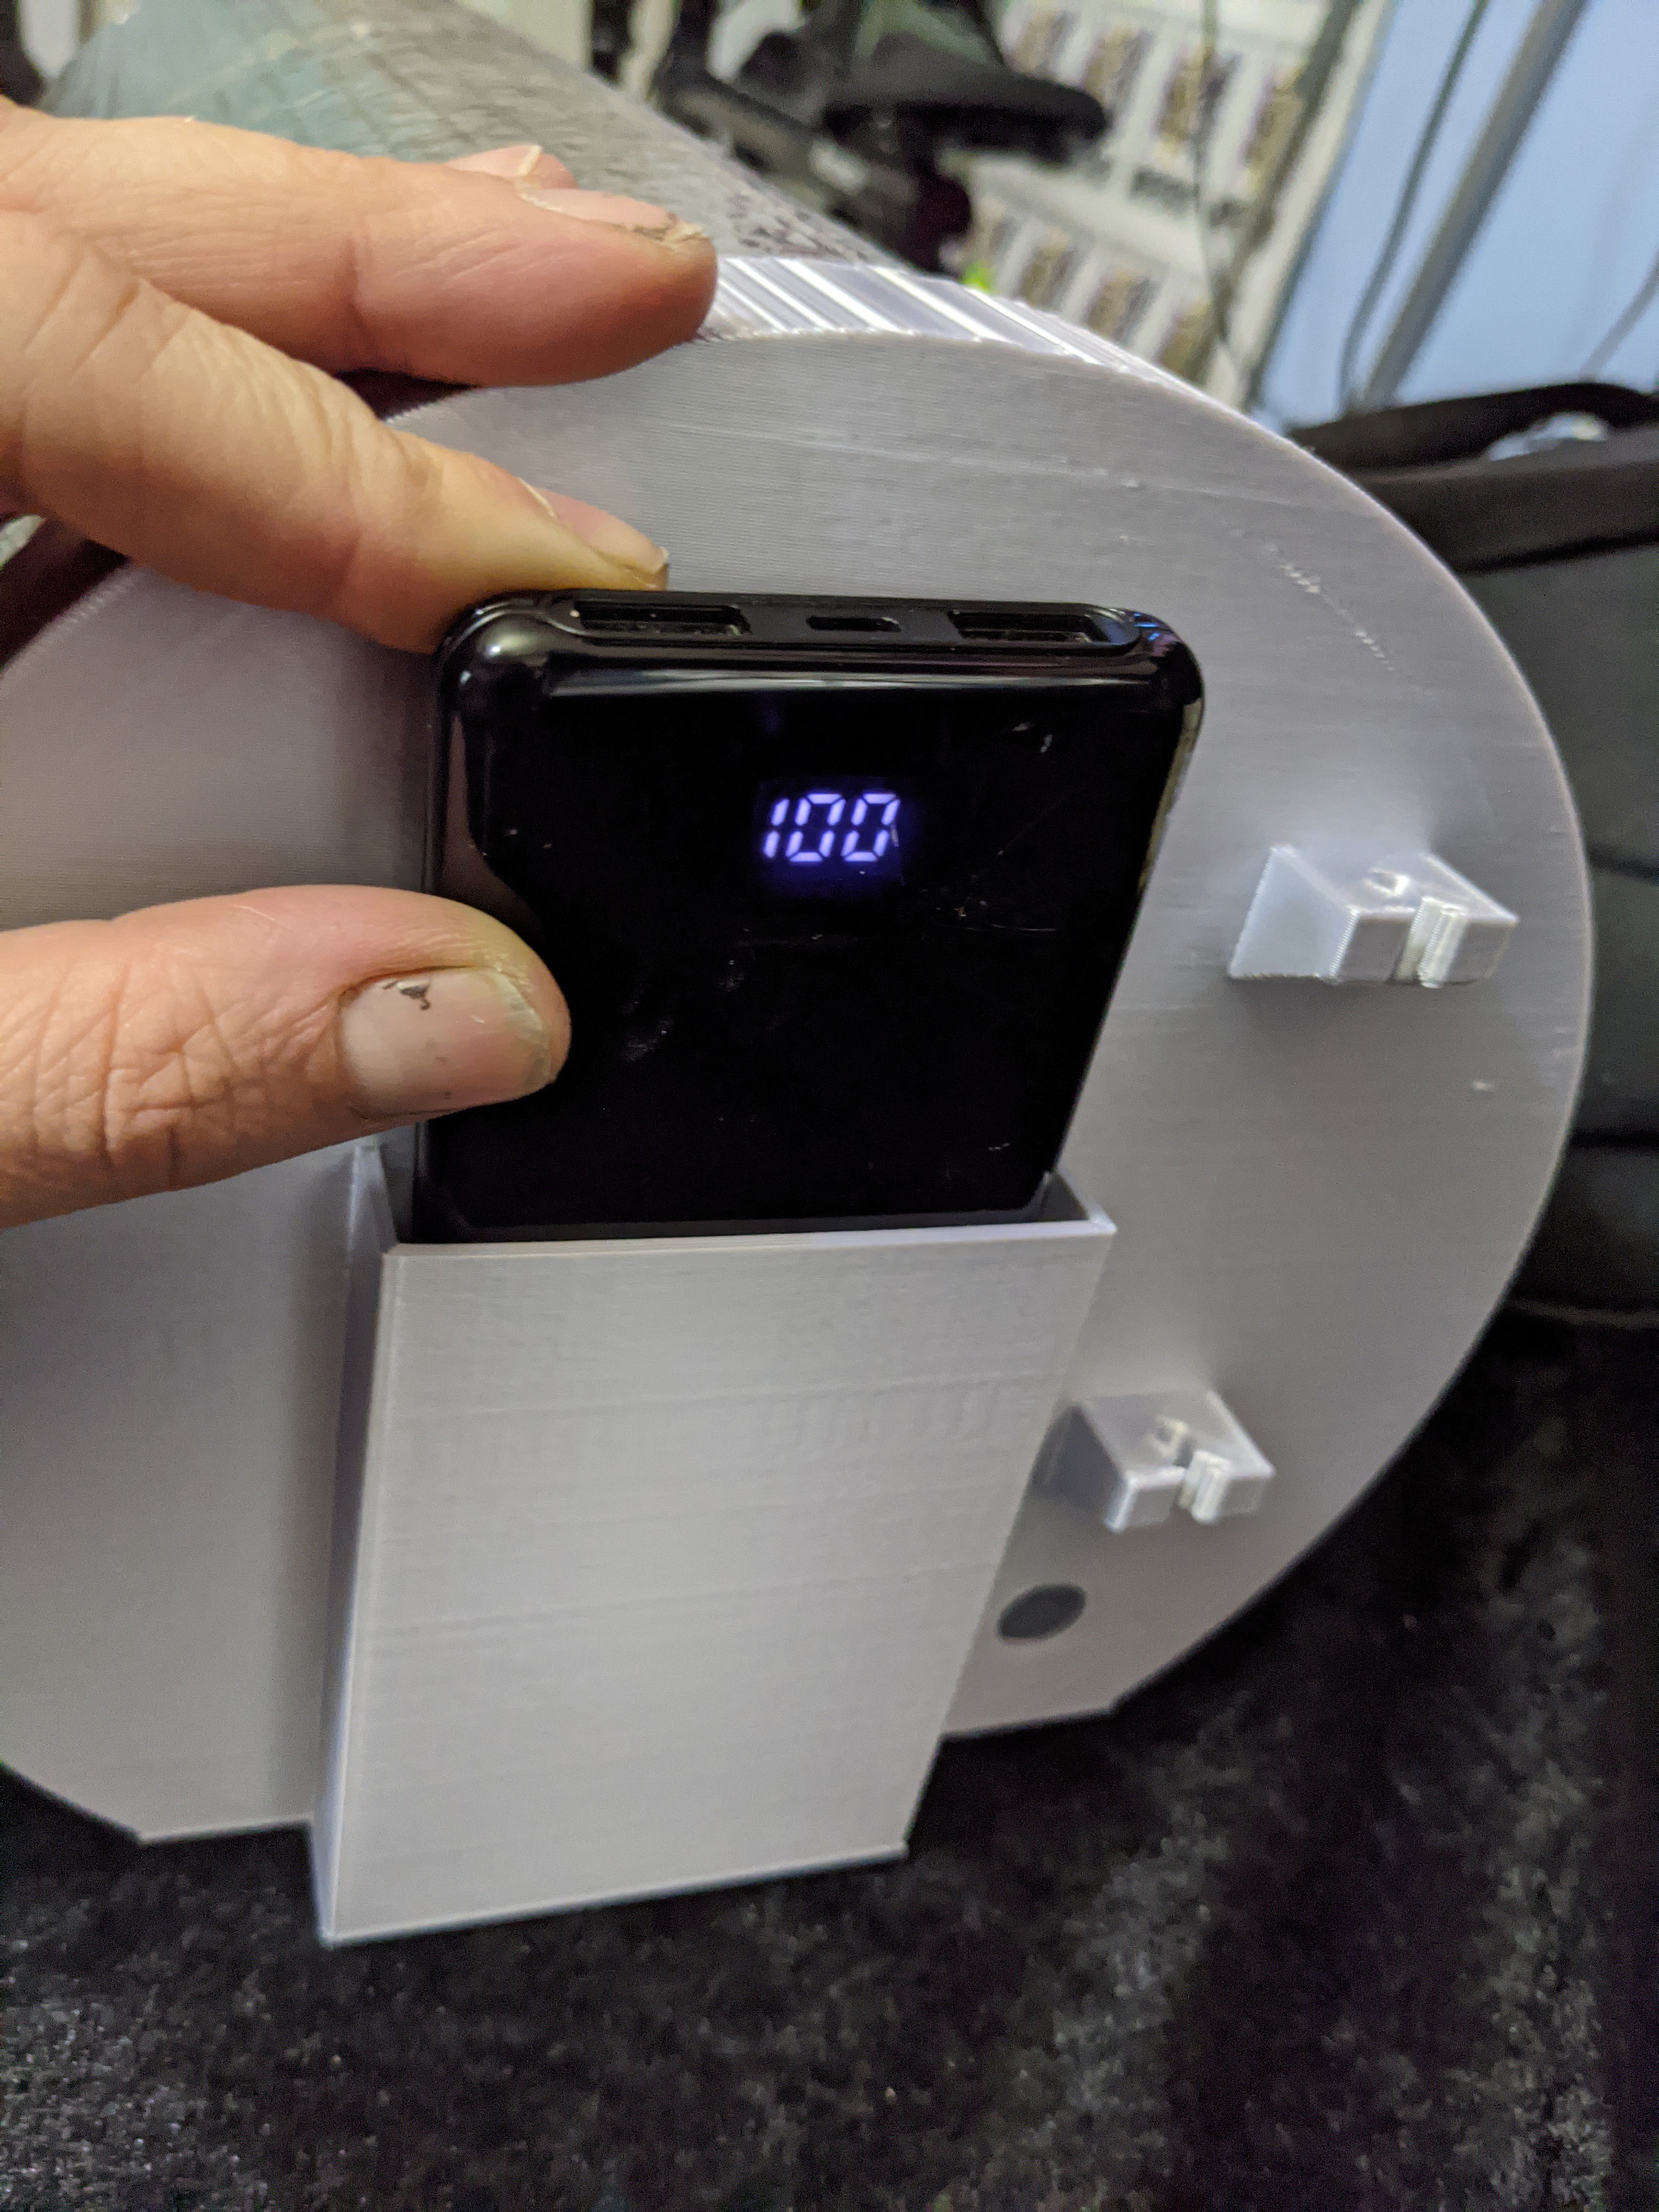
This 5v battery pack is super compact and has 2 USB outs - I found this 5V to 9V/12V step up USB cable to power the LED strip for this version of the collapsible UV lamp.
Assembling the tube
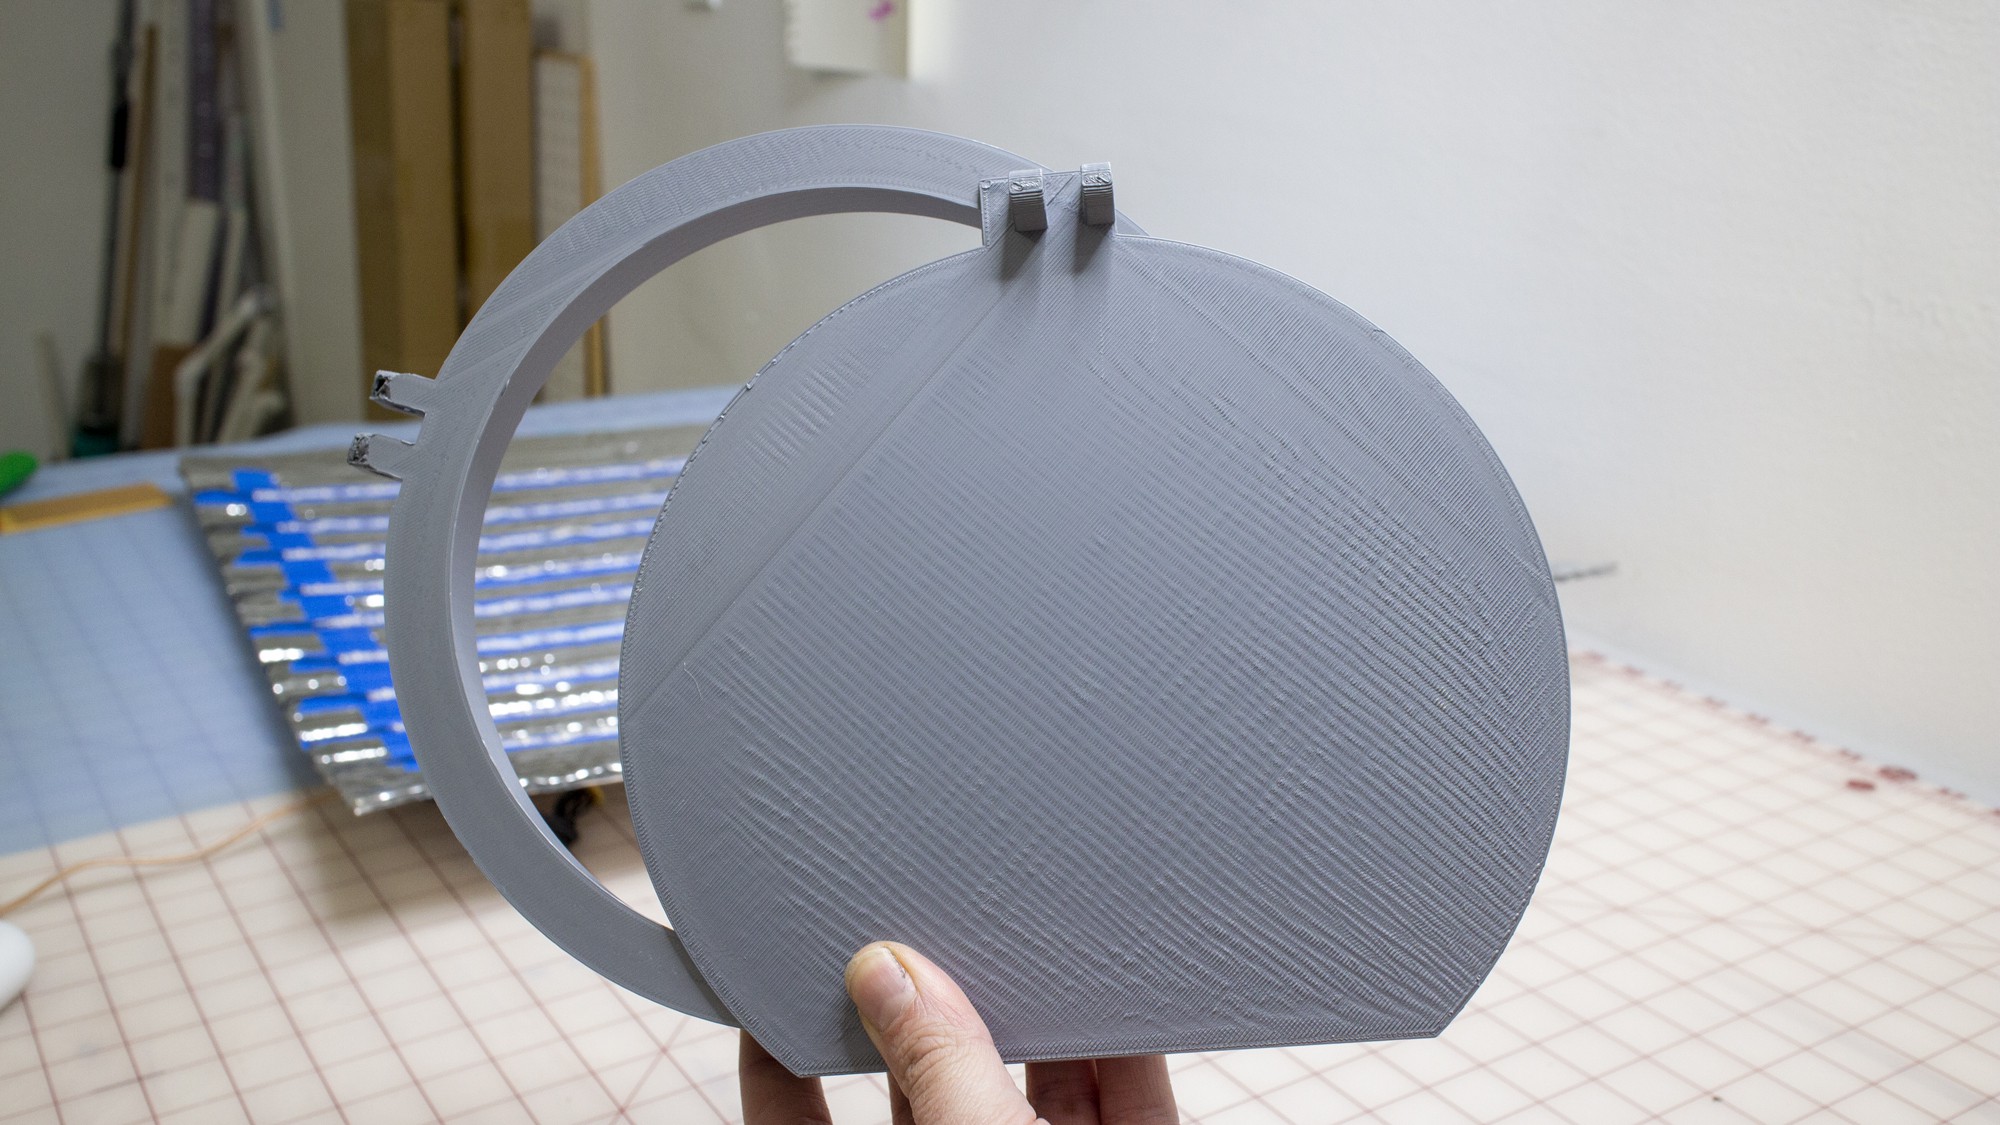
Each end cap served a different function - one end cap could support the power pack and LED plumbing, while the other end cap would function as a door for minimal fuss during resin exposure.
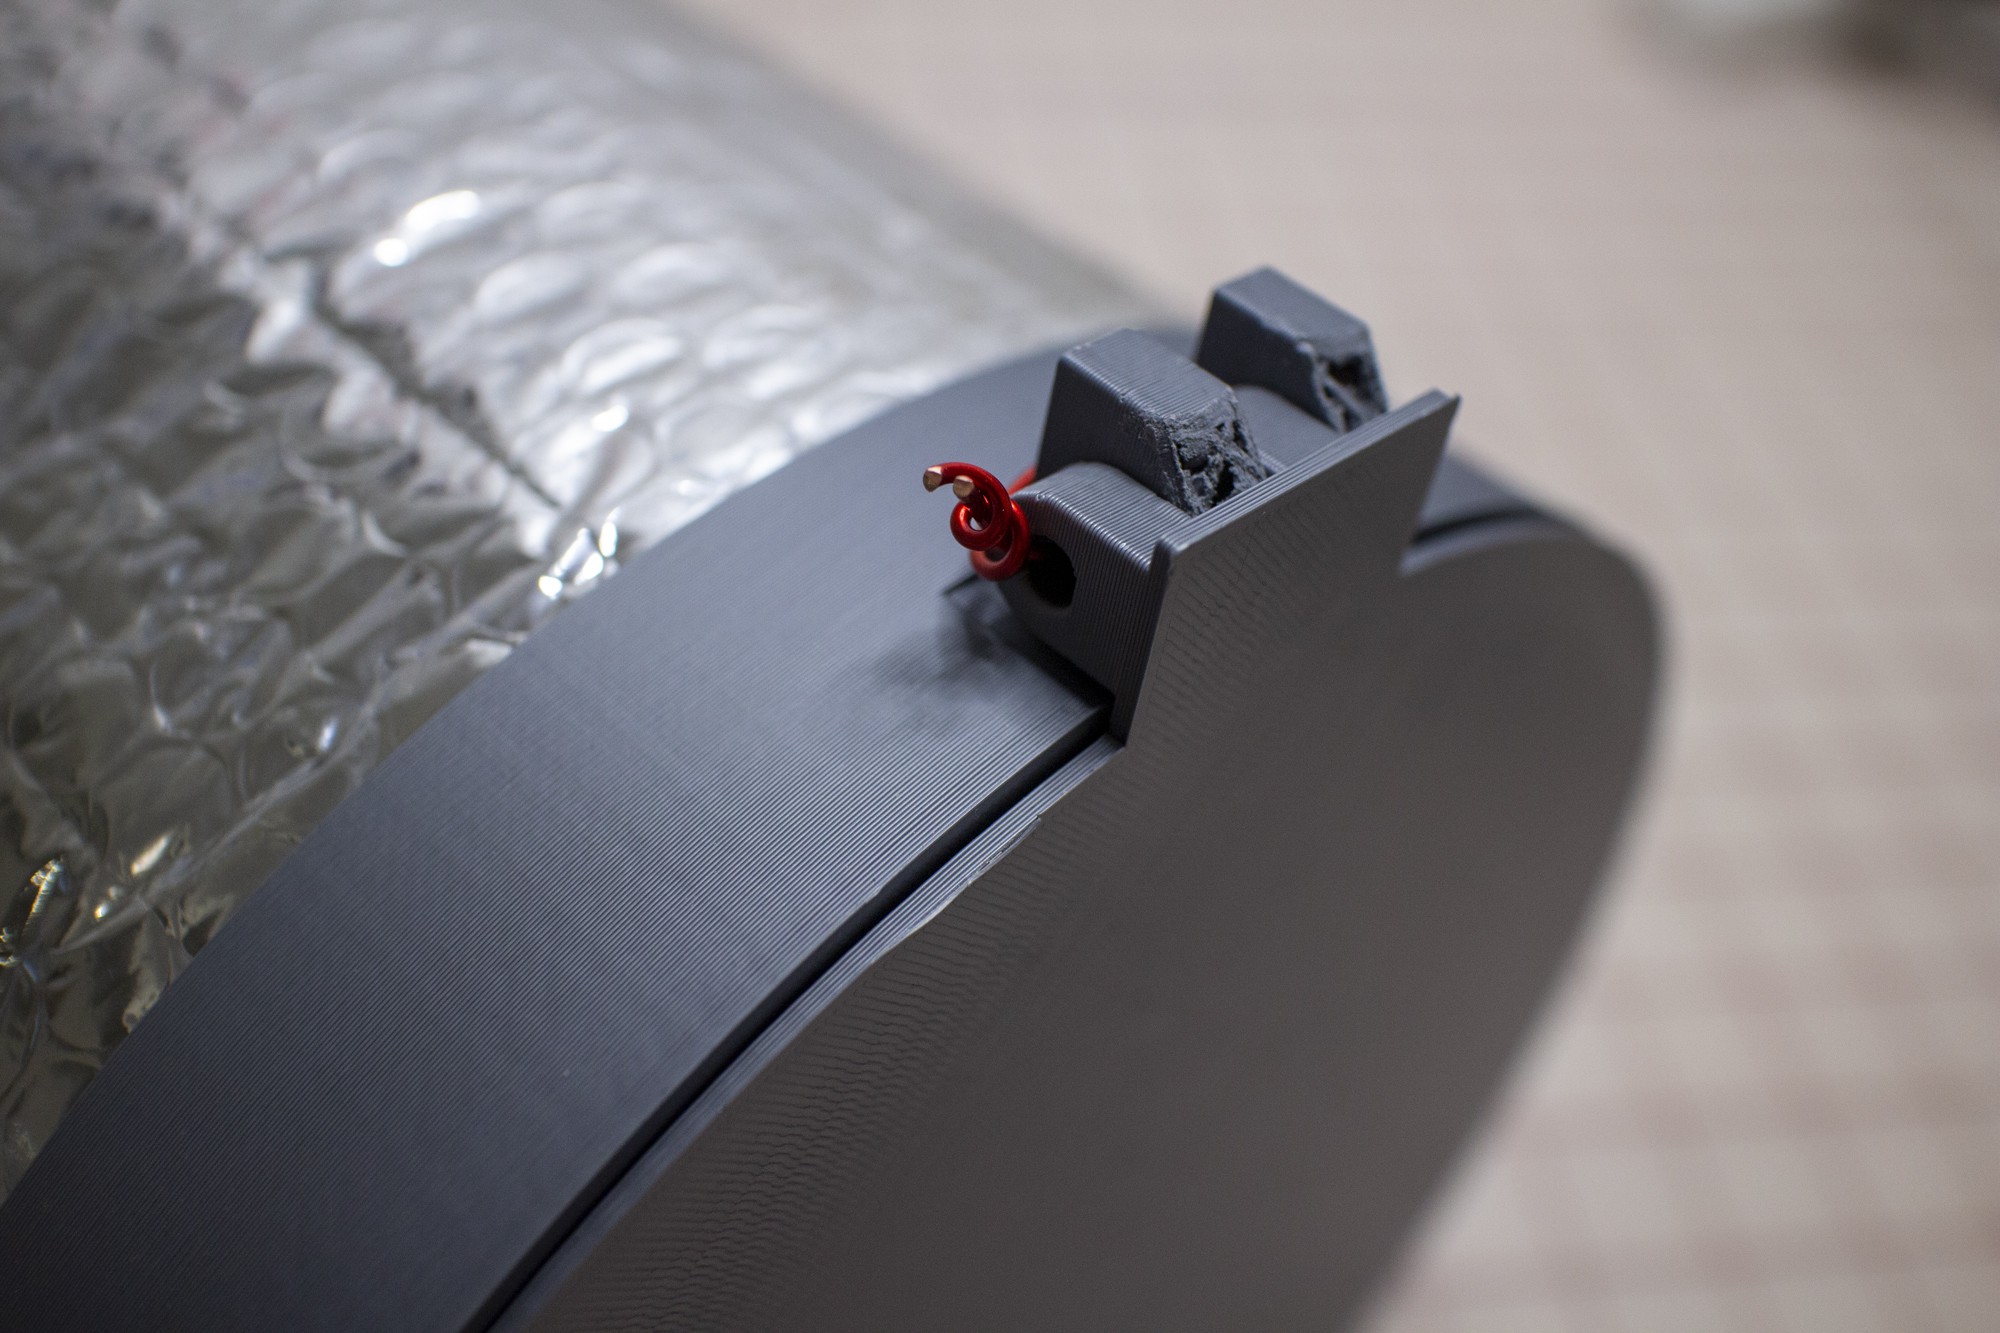
I used a piece of magnet wire to secure the hinge, but it could support a machine screw really easily. I had to grind down the hinge a little bit, but the revised models are attached to the main project page.
The design was created in Autodesk Fusion 360 and printed on a Prusa printer. Once the parts come off the machine, I measured how long of a piece of foil would be needed, and how many LEDs and would fit in a compact oven - this part is super customizable - have fun with it and scale it to the size that you need! (But you may need a bigger battery if you go big)
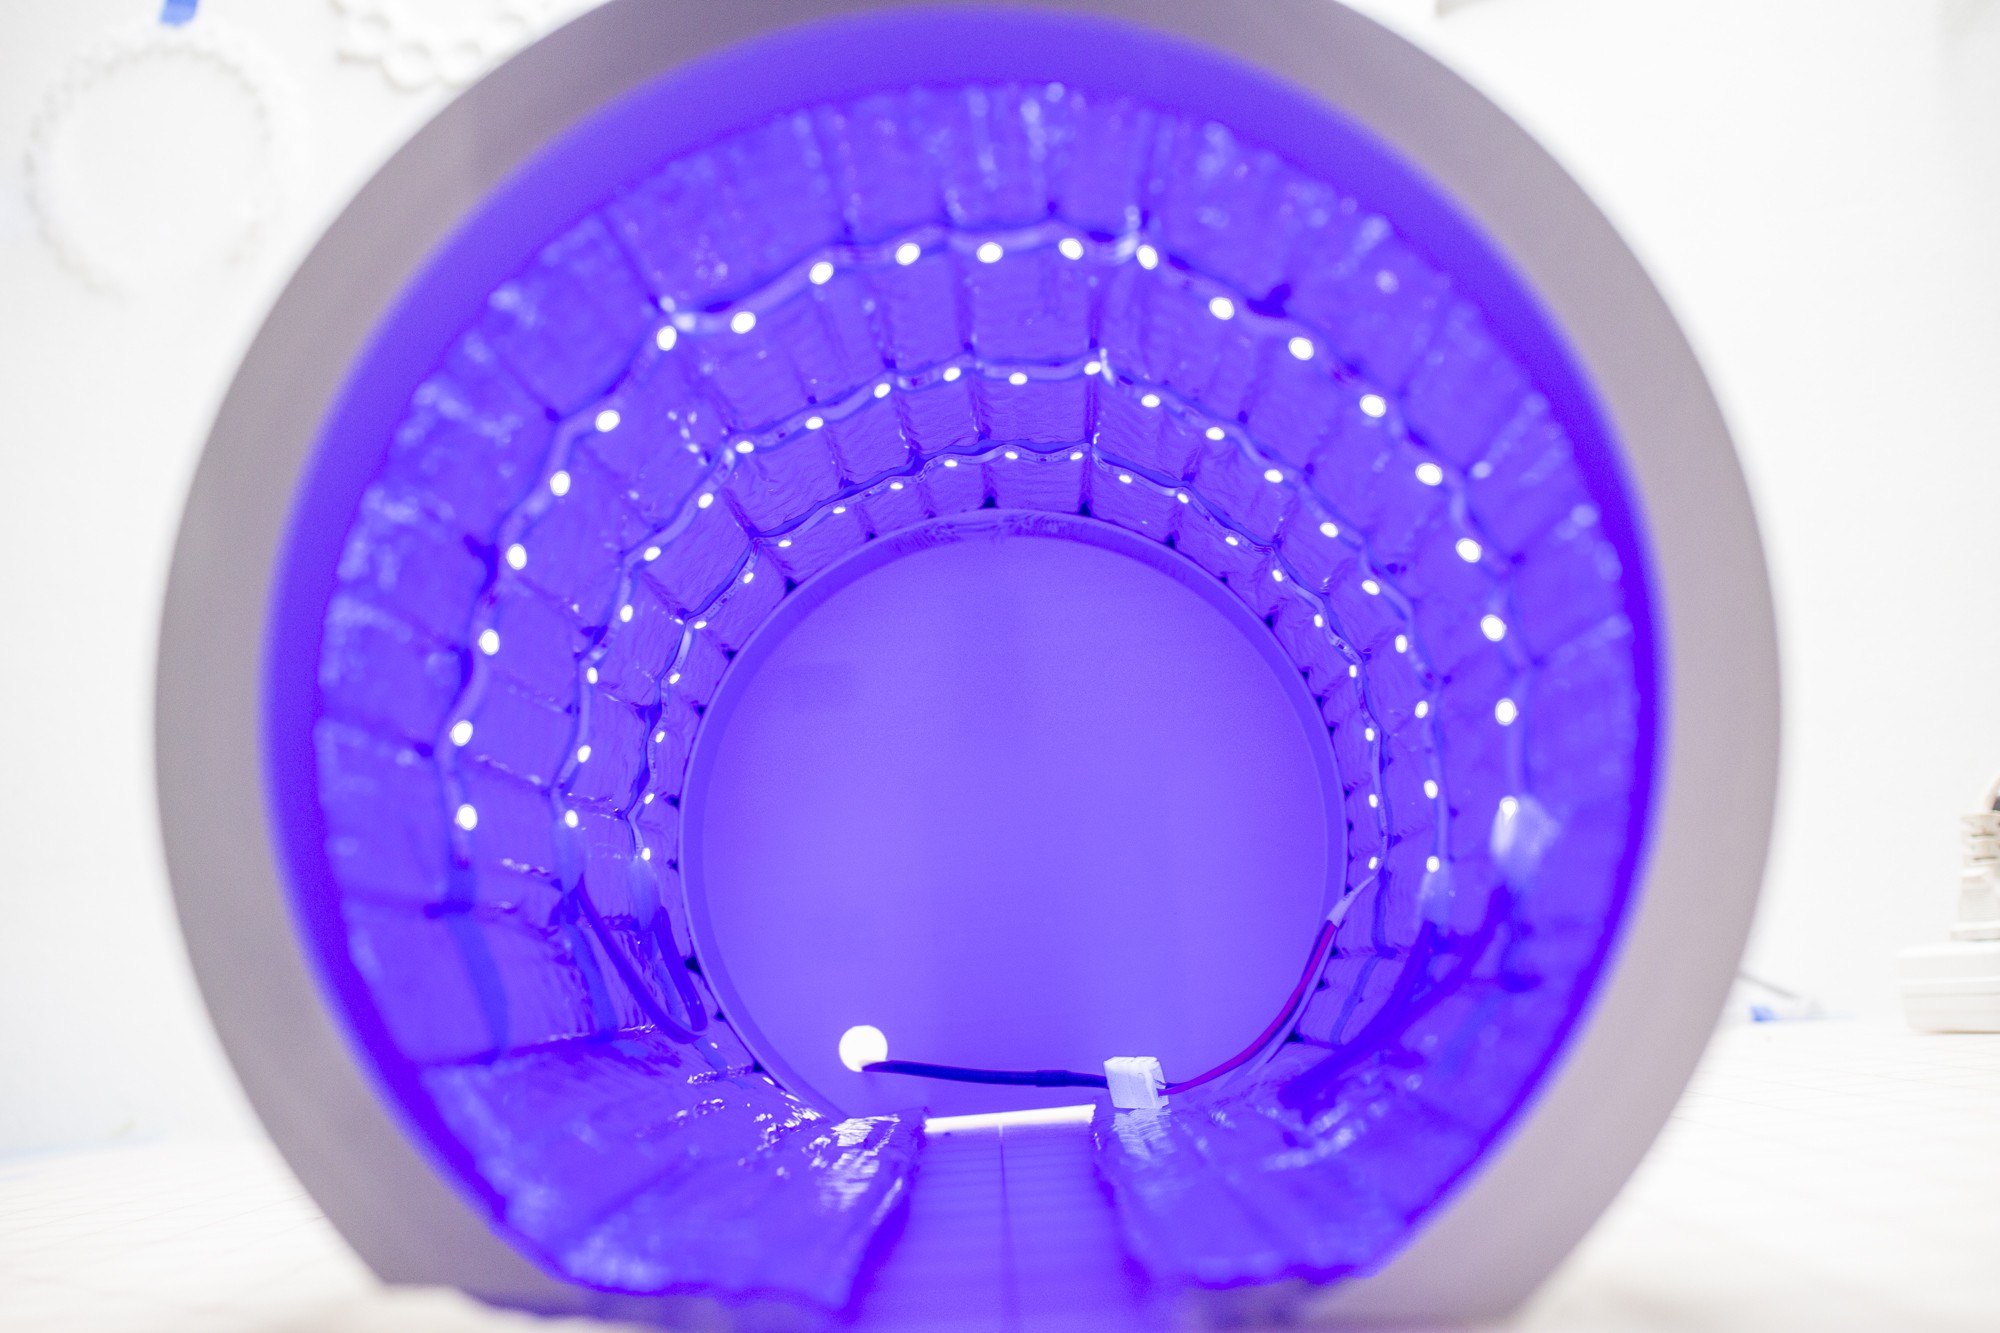
Collapsible construction and adding UV LED Strips
This video demonstrates the design and construction of the UV lamp, but not the wiring. For this version, the lights are wired in series, not parallel like the bag lamp. This might result in a voltage drop in a longer length of LED strip, but since this is so small, I didn't detect any dimming.
Testing run-time
A future log post will include testing of this lamp with resin! Thanks for reading - please let me know in the comments if anything could be made clearer and I can make some revisions.
Discussions
Become a Hackaday.io Member
Create an account to leave a comment. Already have an account? Log In.