 audreyobscura
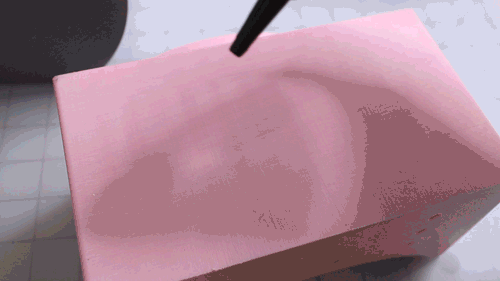
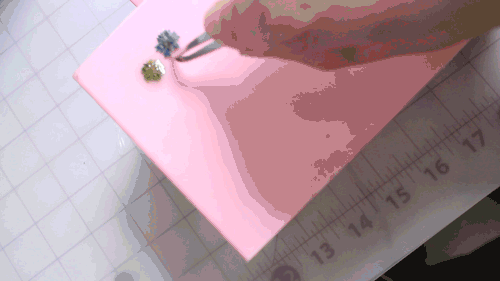
To test the 3D printed framed lamp unit, I 3D printed another little box form I've been producing for another project, that I was previously coating in polyester resin for durability, but have switched to coating with UV resin for the sake of testing the DIY lamp's capabilities.
Here's the part getting coated with UV activated resin with the help of a kitchen basting silicone brush:
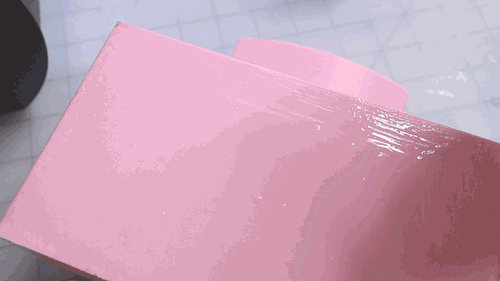
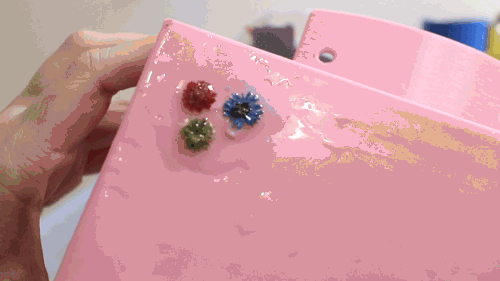
The coated part went into the oven for 10 minutes total, but I checked the curing progression at the 4 minute mark, 6 minute mark, and 10 minute mark.
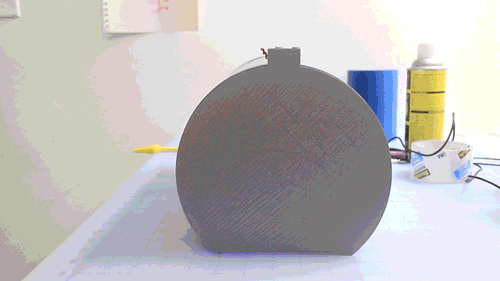
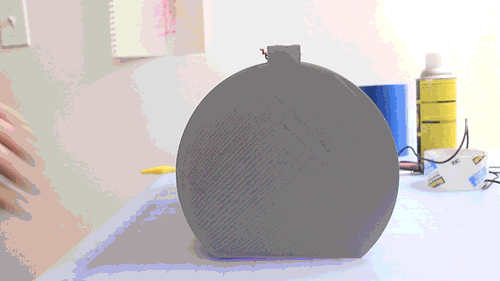
Material properties observed:
- If the bulb is too close to the surface of the uncured resin, it cures unevenly and extends exposure time.
- The middle of the resin coated surface that had about 2-3" of space between the LED lens and the surface cured the fastest.
- When embedding pieces (dried flowers pictured), layers thicker than 1/4" had uncured resin under the 'shadows' of the embedments and required longer time under the light.
Check out my last log post to see some conclusions around this style of lamp - thanks for checking out this iteration of the build!
Discussions
Become a Hackaday.io Member
Create an account to leave a comment. Already have an account? Log In.